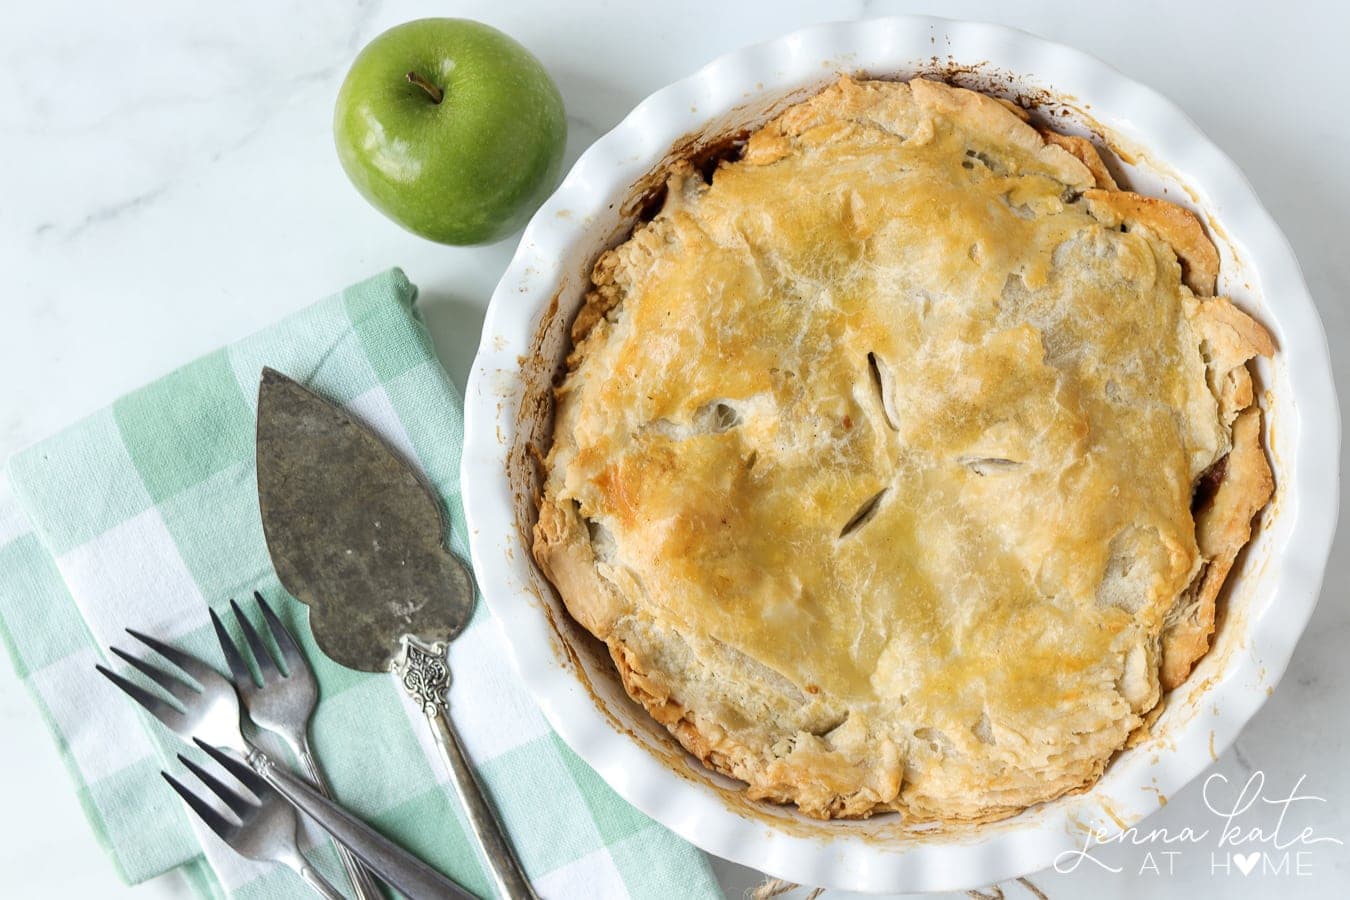
Granny’s Puff Pastry Apple Pie


A classic apple pie made better with a rich and buttery puff pastry crust.
Today I’m excited to be sharing one of my favorite recipes, Puffy Pastry Apple Pie.
One of my favorite memories of growing up in Ireland was visiting my Granny. She would always have a freshly baked apple pie and I wholeheartedly devoured a very large slice each and every time. Many of her recipes, such and this apple pie and her old-fashioned spice cake have been passed down through my family.
Whether it had a shortcrust or flaky puff pastry, it was always deliciously buttery and topped with freshly whipped cream. Granny’s Puff Pastry Apple Pie was THE BEST!
As a teenager, I learned to make all varieties of pastry in my school’s home economics class. I’ve loved baking since I was 12 years old and even now there’s something so cathartic about it.
When I first moved to Boston I was horrified by the premade pie crusts available in my local supermarket. They just weren’t a thing in Ireland. We did have pretty decent quality frozen pastry but most people I grew up with knew how to bake. It was just something you either learned at school or your mom taught you.
If you can read and follow instructions, you can bake!
I regularly read comments on other blogs from people who swear they can’t make pastry. Trust me, if a 12 year old with NO baking experience can follow the directions and make perfect pastry, you can too! There’s really nothing to be scared or intimidated by.
Yes, some pastries are more time consuming than others – but a delicious shortcrust is very easy to make. And while I’m sharing a slightly more time consuming crust today – my favorite buttery flaky puff pastry – I promise as long as you read the directions carefully, you will have great end results!
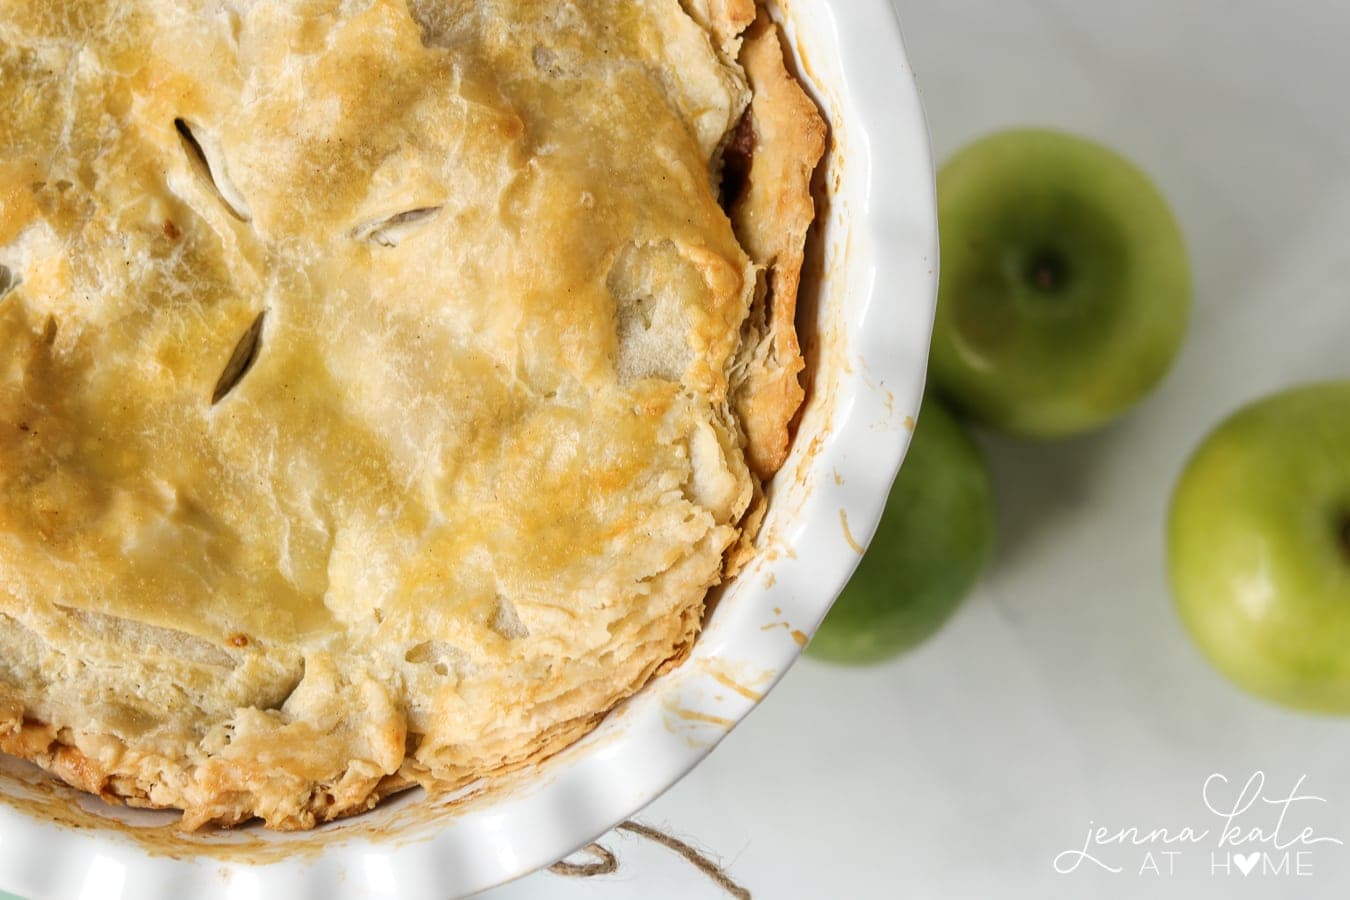
This apple pie is “rustic”. There’s nothing fancy about it and that’s the way I like it.
In Ireland we use baking apples such the Bramley variety, a large particularly tart apple. While those are not available in the U.S., a Granny Smith is similar in texture and taste and that’s what I now use. Saying that, any firm, tart apple will work.
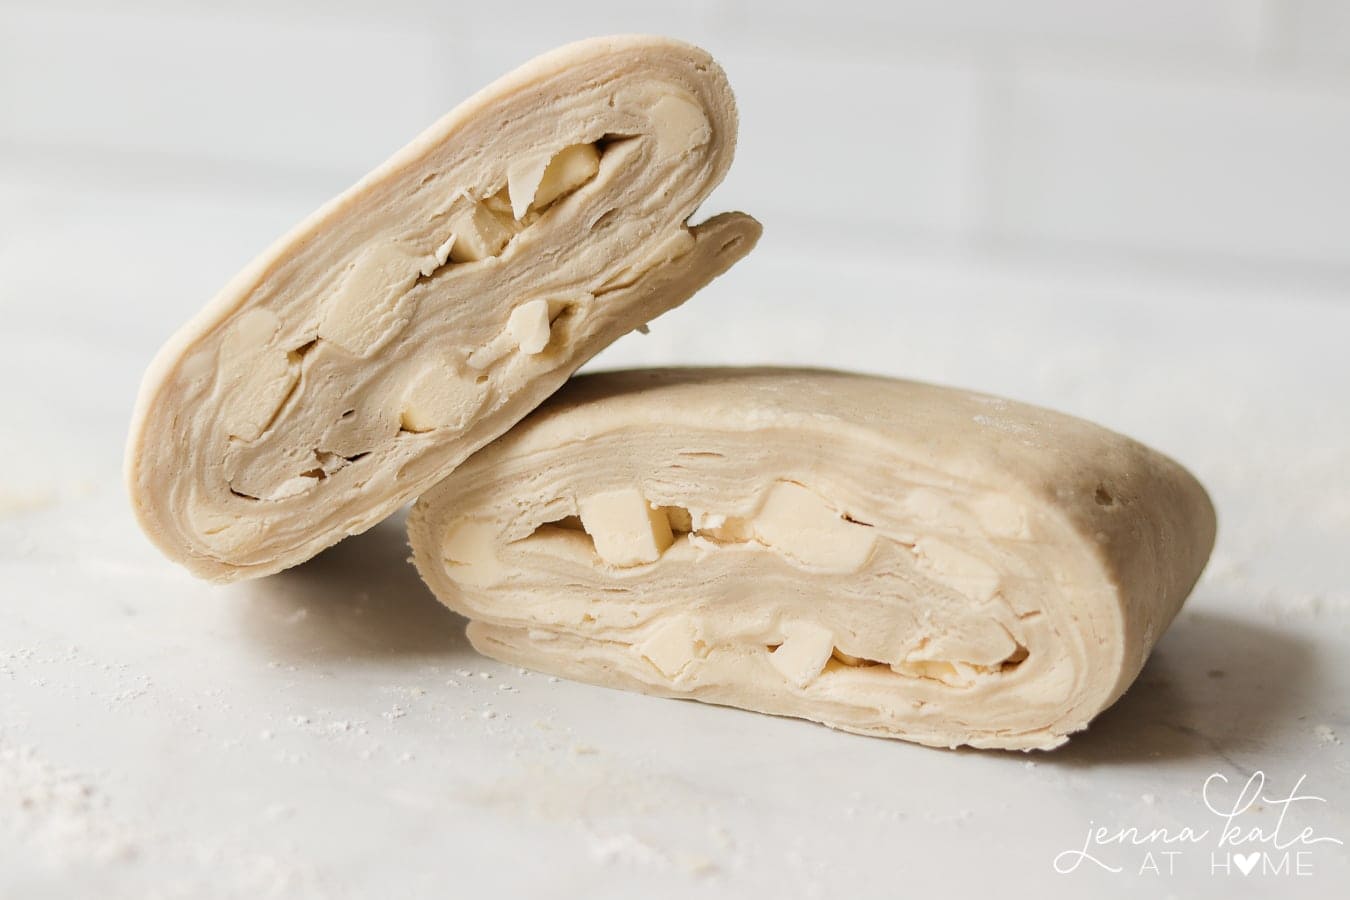
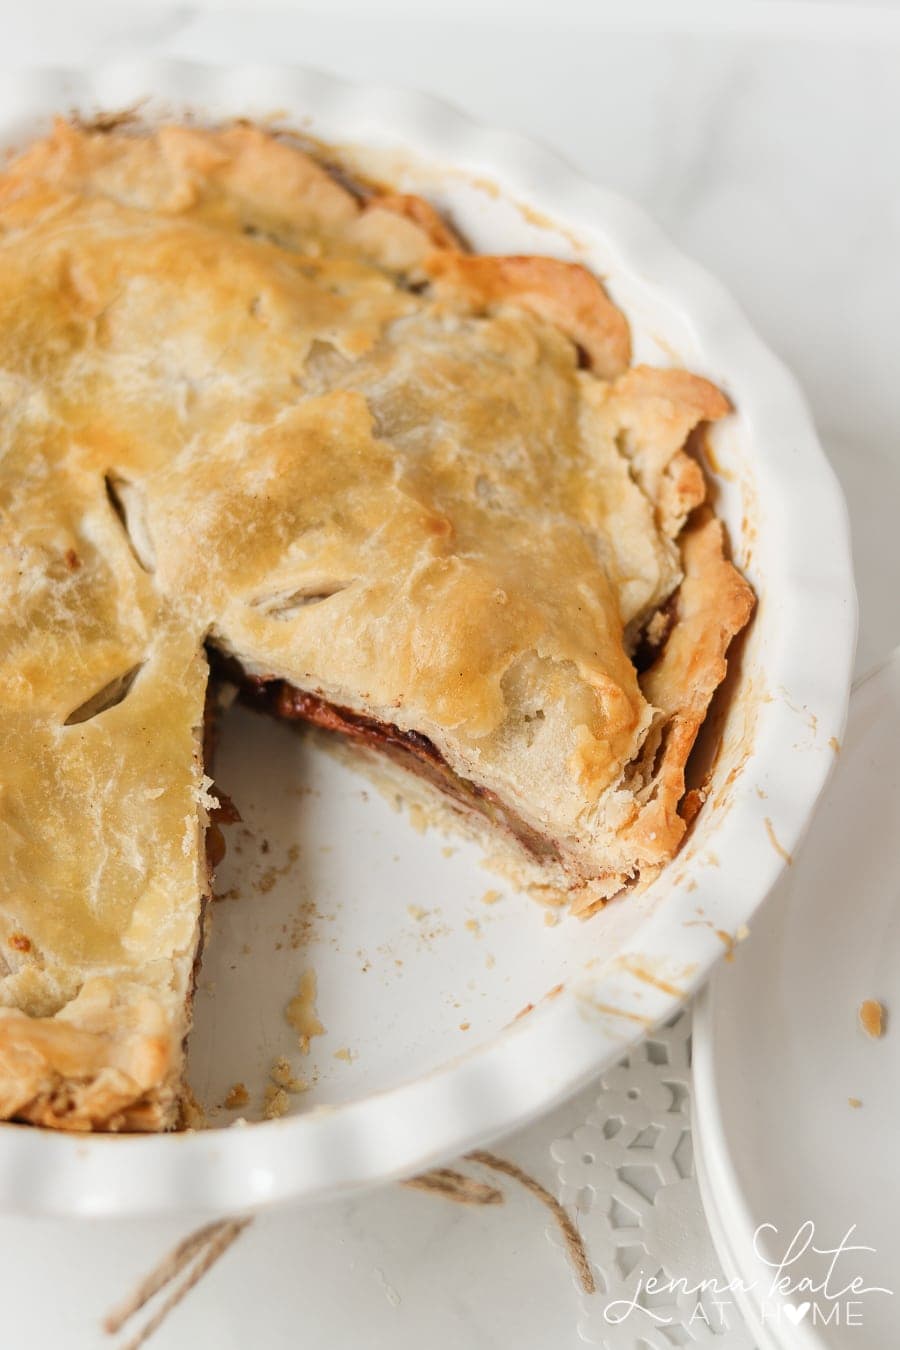
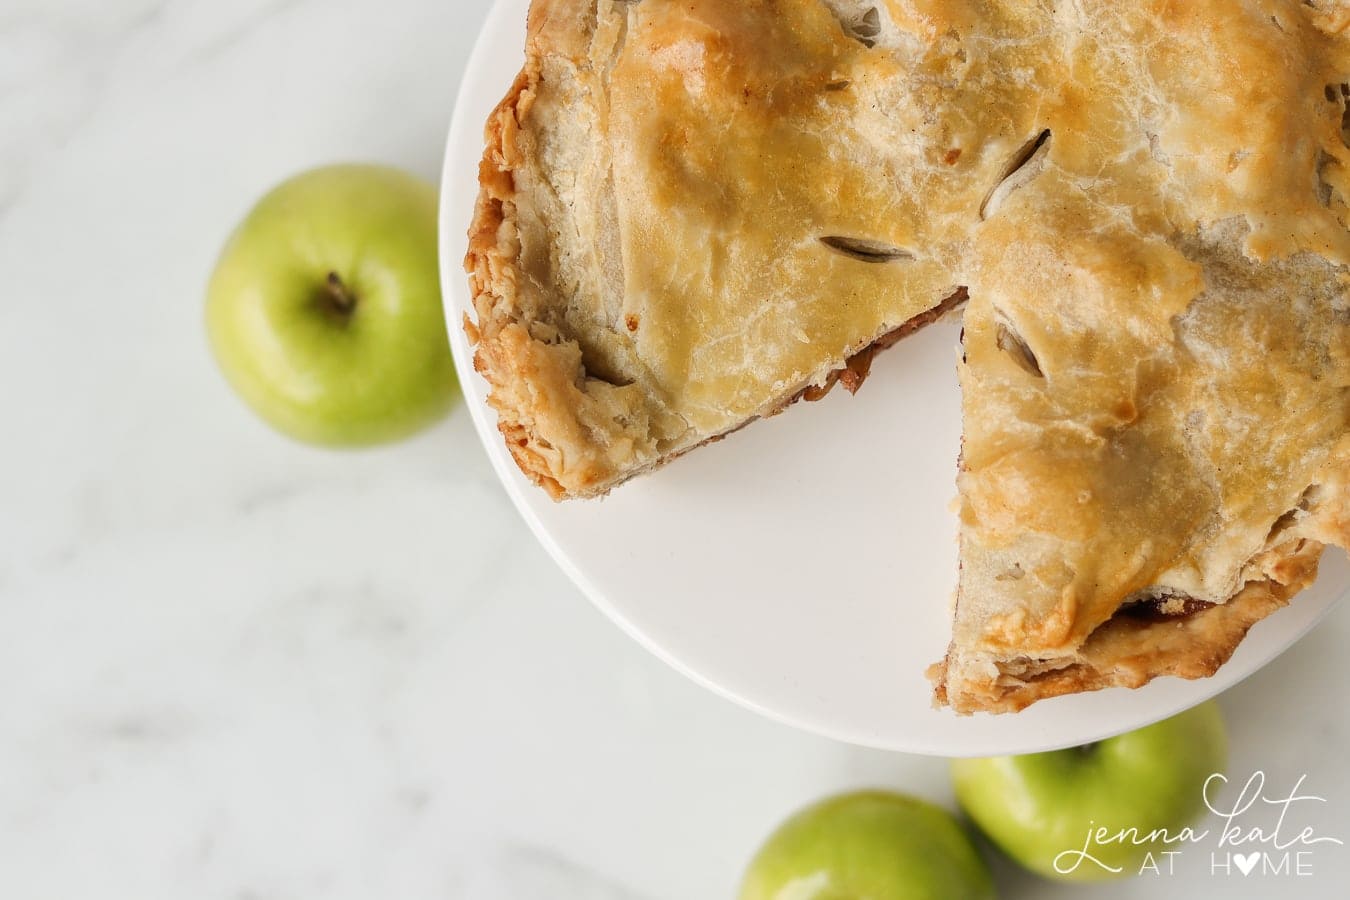
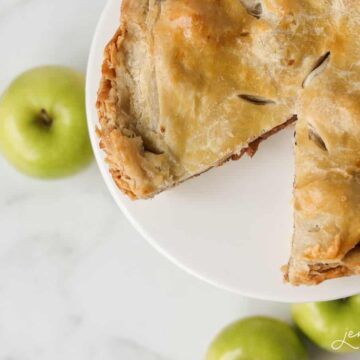
The Best Flaky Pie Crust
It’s easy to see from these photos just how flaky the crust is. Thanks to the method of creating layers in the pastry (the technical term is lamination) and using really cold butter, when the cold pastry hits the hot oven, the layers expand to create all that puffy, flaky buttery yumminess.
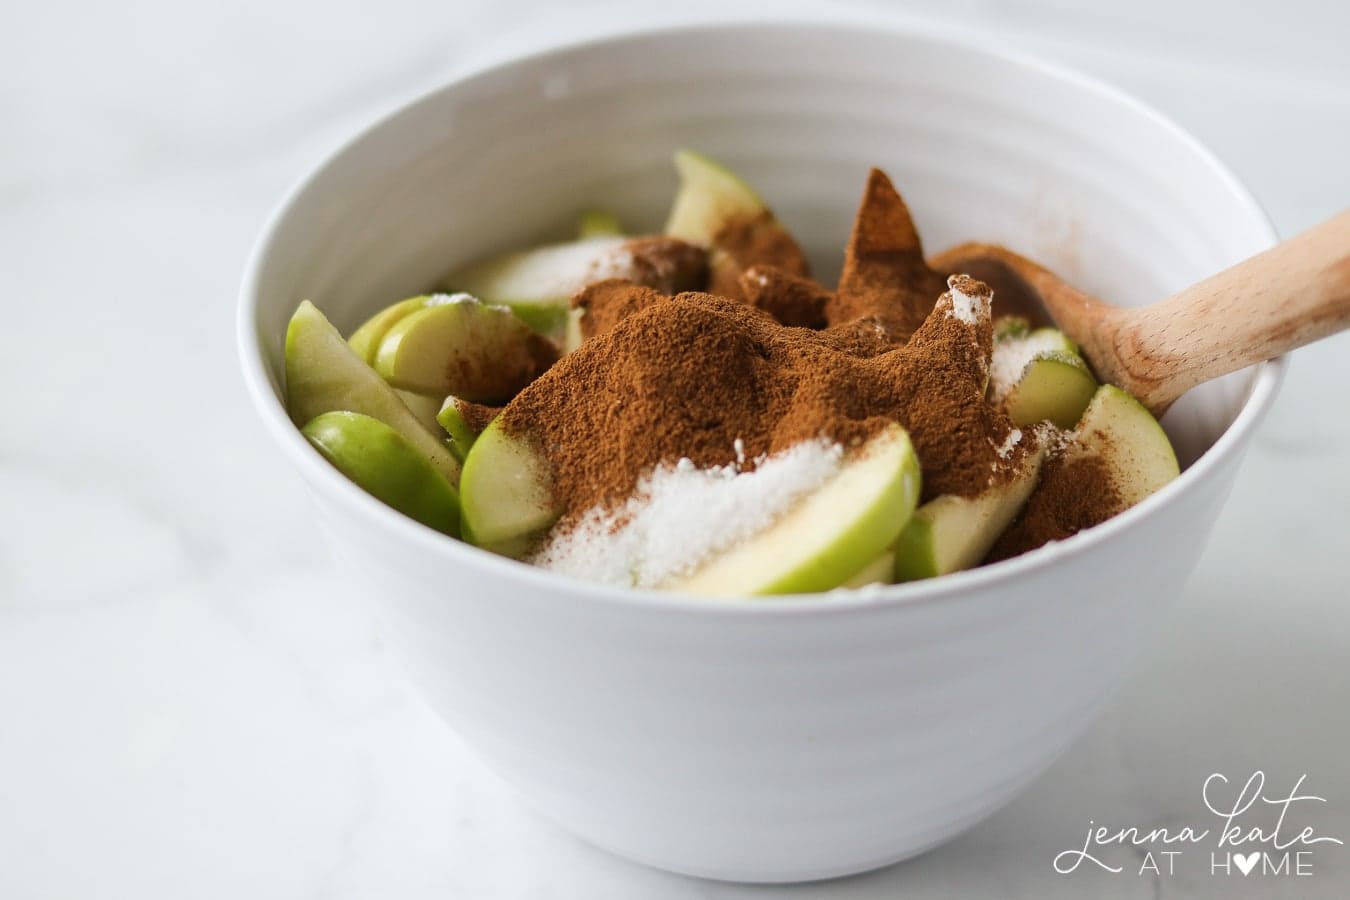
Simple Apple Pie Filling
My apple pie filling is simple – apples, sugar and cinnamon. You can vary the amount of cinnamon depending on your taste preferences.
In Ireland, we completely leave it out or just barely sprinkle it on. In the US, flavor preferences tend to prefer a heavier hand with it – so whatever you prefer!
And on another note, you can skip peeling the apples if you’re a bit pressed for time. Usually I will peel them, especially if I’m using Granny Smiths, but if I’m in a bit of a rush (and since the pastry is a bit time consuming) sometimes I’ll skip it.
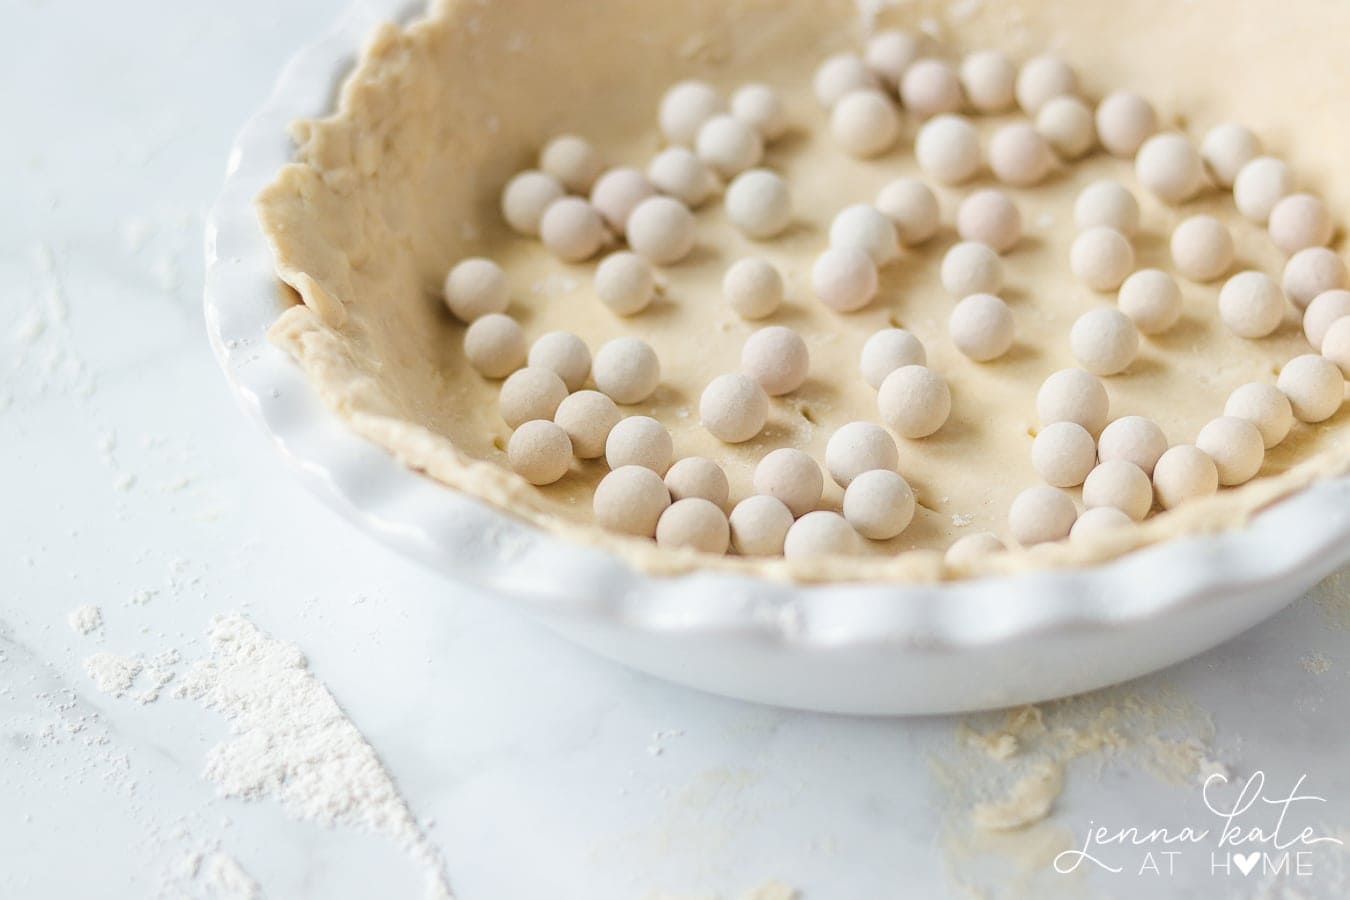
When dealing with fruit that has a high water content, I like to blind-bake (pre-bake) the base of my pie crust first. This ensures that the base of the pie gets a headstart and you don’t end up with a soggy bottom.
Just prick the bottom of the pie dough with a fork and pop in some baking beads or dried beans to weigh it down (you don’t want it puffing up!). Blind baking is not completely necessary but if you have the extra time, I find it worthwhile.
Don’t have that extra time? Bake the pie in a glass pyrex dish instead of ceramic – it circulates the heat more evenly and your bottom is more likely to cook through!
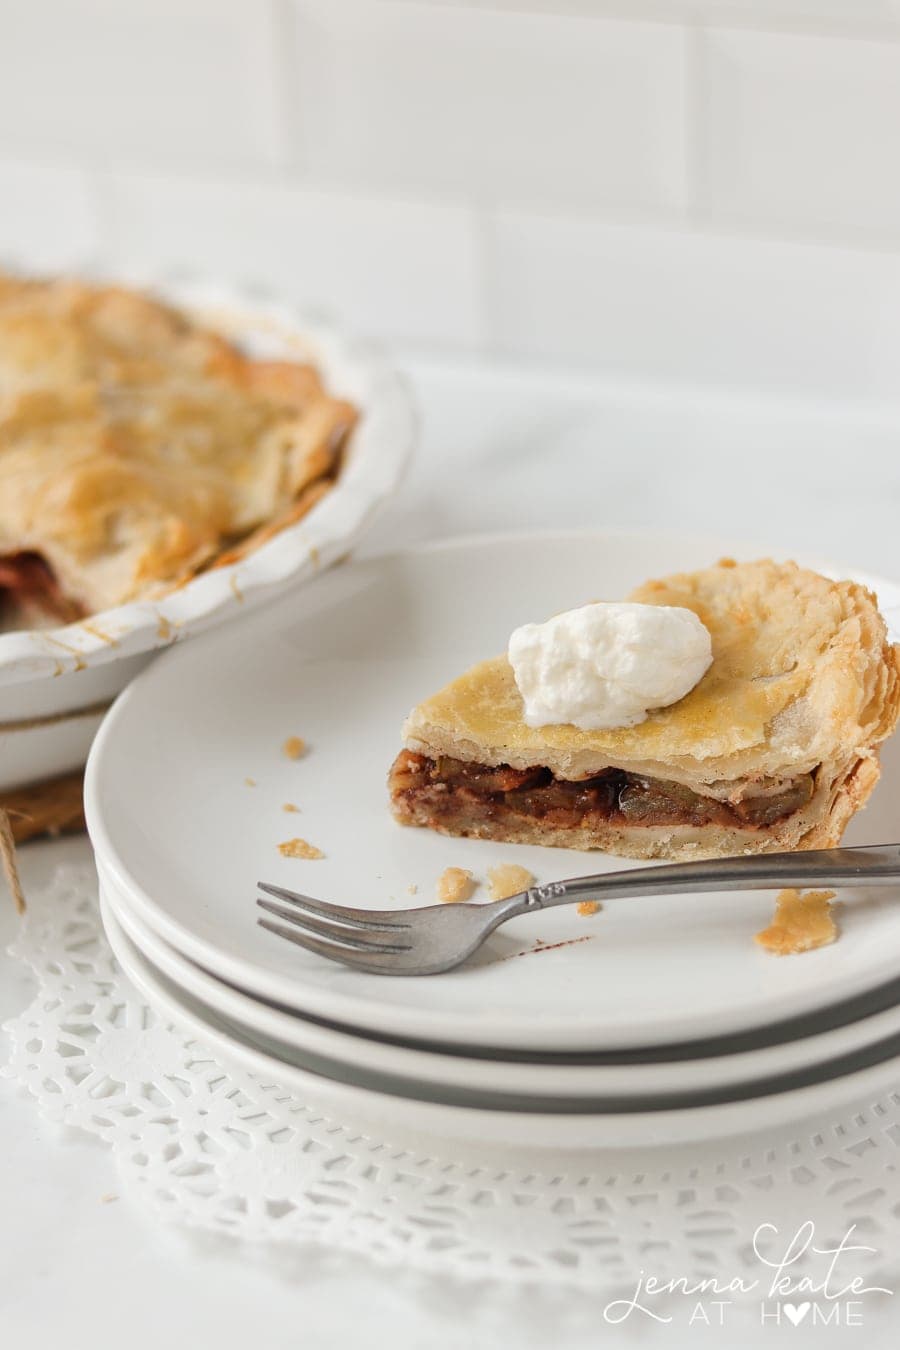
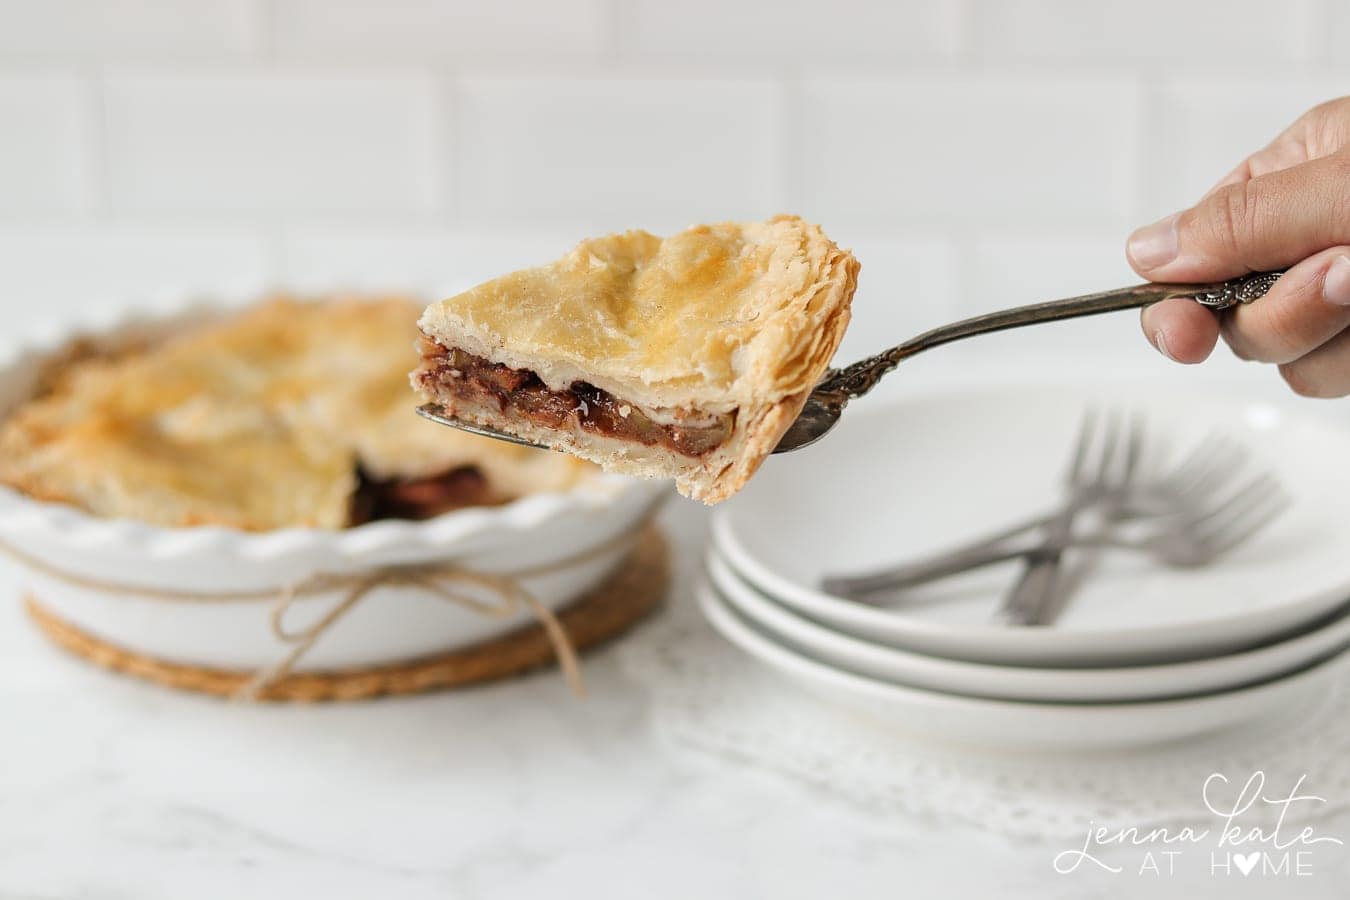
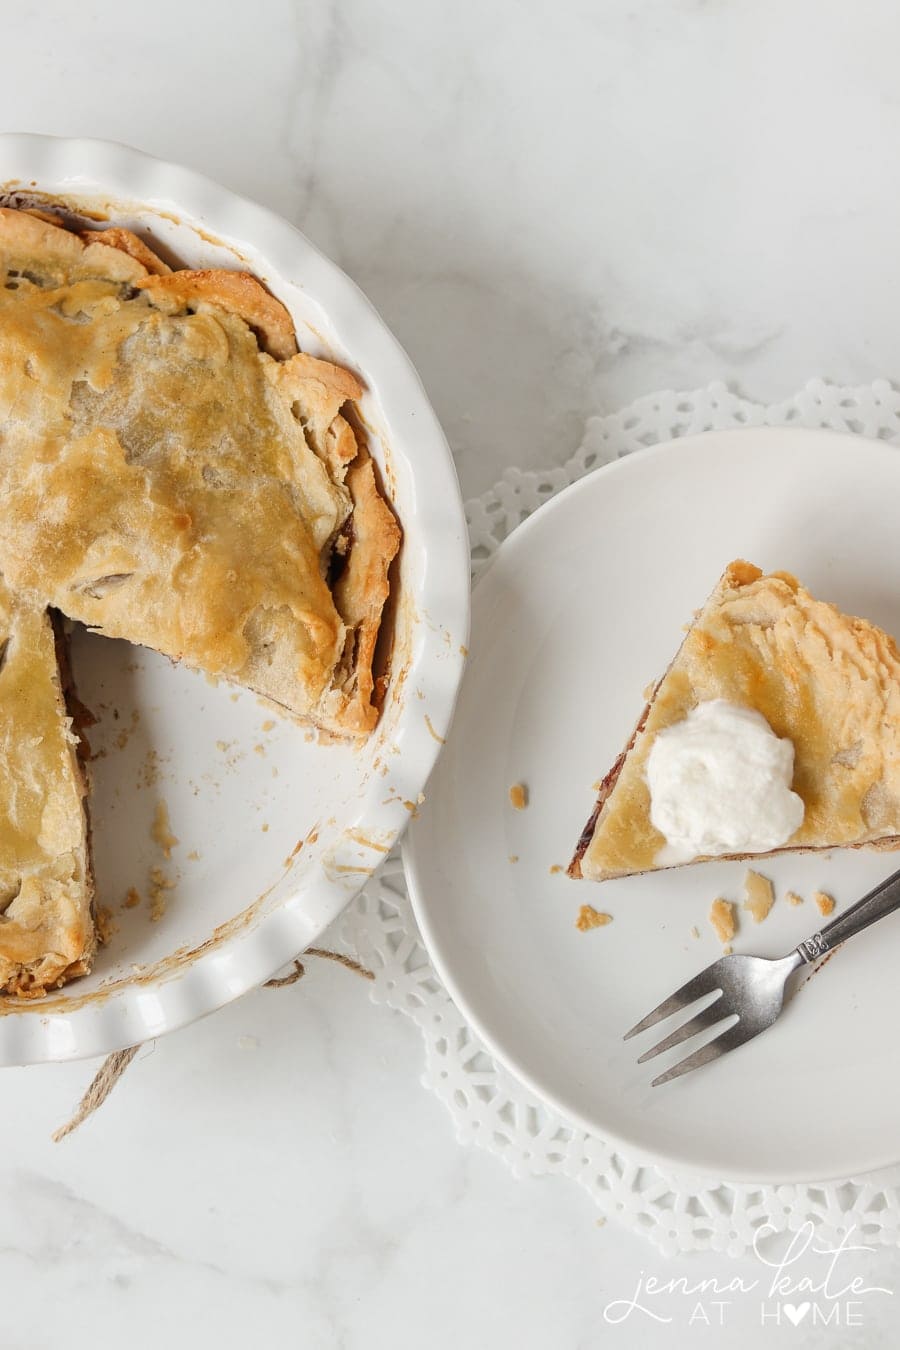
Serve With Freshly Whipped Cream
I recommend serving a slice of this puffy pastry apple pie with freshly whipped cream (whipped with a tablespoon of sugar and tsp of vanilla). Simple is better when it comes to something this delicious.
Other Uses For This Pastry
This pastry recipe is also the perfect vehicle for both sweet and savory pies as well as a sausage plait or sausage rolls (my absolute favorite!). If you don’t know what a sausage roll is, Google it. It’s puff pastry heaven.
I firmly believe that the best tasting baked goods are a result of using great ingredients to begin with. I prefer to use Kerrygold butter because not only is it made in Ireland but the fact that it’s from grass-fed cows makes the butter taste so much more…buttery. (Not at all sponsored but Kerrygold is the butter I grew up eating and I’m so happy that I can get it over it!)
Puff Pastry Apple Pie Recipe
Ingredients
- 2 ½ cups flour
- 1 cup cold unsalted butter preferably grass-fed Irish butter
- ¾ cup of very cold water start out with ½, but you may need the full ¾
- 1 pinch salt
- 1 egg to glaze
- 6-10 Granny Smith apples
- ½ cup sugar
- juice of 1 small lemon
- 1 tablespoon cornstarch
- 3 teaspoon cinnamon to taste
Instructions
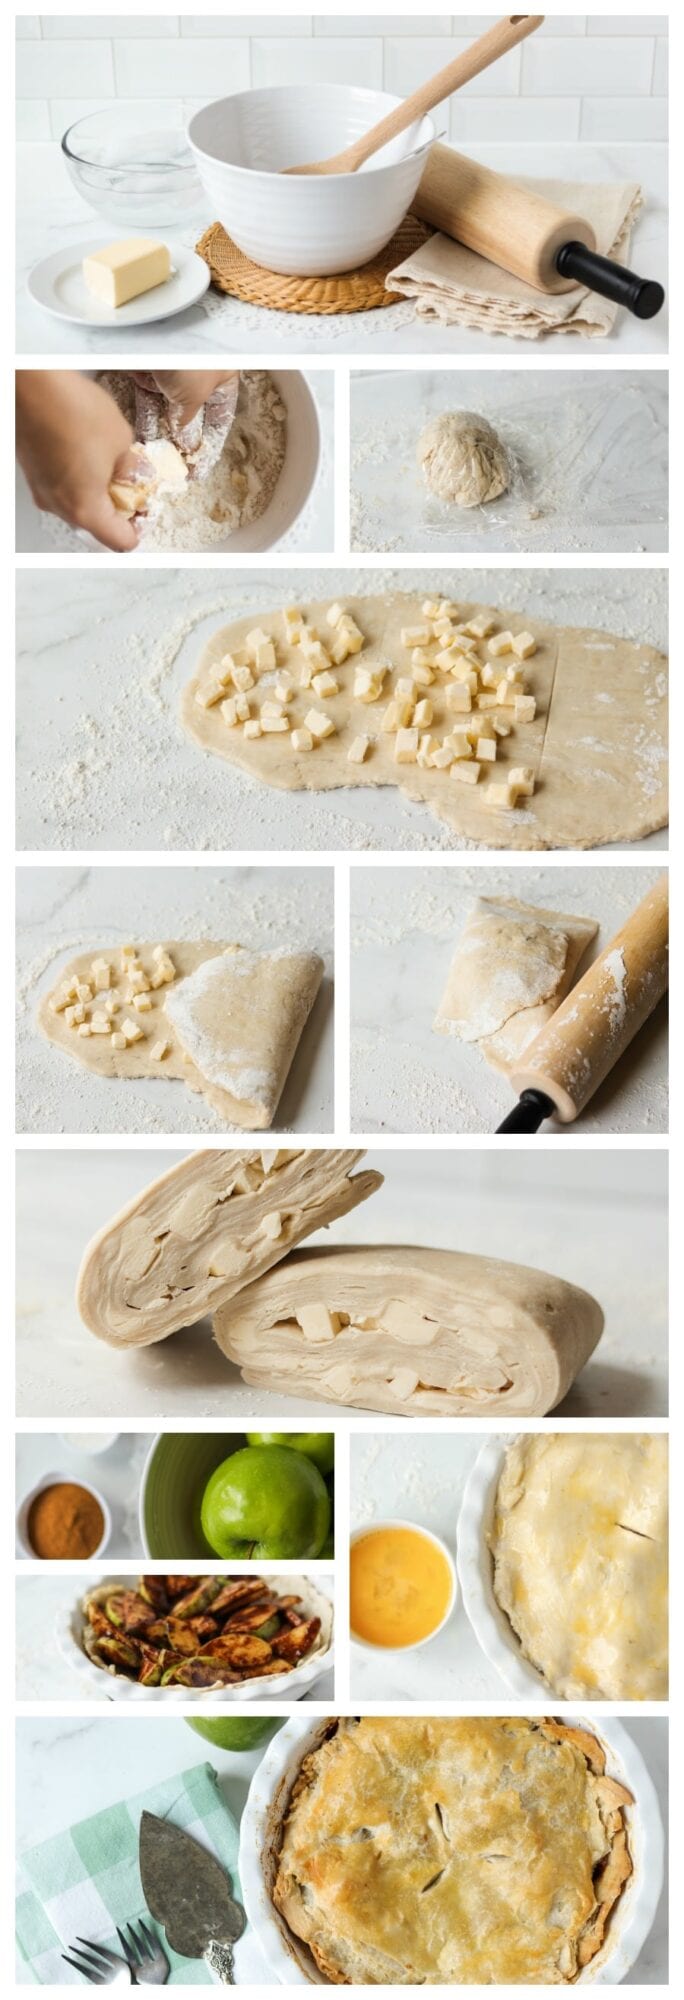
For the Puff Pastry
- Sieve the flour and salt into a bowl
- Cut both sticks of butter in half so that you have 4 equal pieces. Place ¾ into the fridge until you're ready to use them
- With your hands (or a knife) rub the remaining ¼ of the butter into the flour until it's broken up into pea size pieces.
- Mix the water and flour with a butter or palette knife. Only add enough water so the mixture comes together.
- Turn out onto a floured board and knead. Wrap in clingfilm, put it in the fridge and let it relax for 30 minutes.
- Roll out pastry into an oblong. Mark into 3 sections.
- Taking ⅓ of the remaining butter, cut up into smaller pieces and place on the first two sections of the pastry.
- Fold the pastry, placing the plain section on top of the center one, and leftover section on top of the other two.
- Seal the edges with a rolling pin.
- Turn the pastry and roll on into an oblong shape. Again, take the next 1/3 of butter and repeat process.
- Seal the edges with a rolling pin.
- Turn the pastry and roll out again and repeat the process with the last bit of butter.
- Cut in two equal pieces. Wrap in clingfilm and refrigerate for 2 hours.
To Make the Apple Pie
- Peel core and slice approximately 6 apples. I like to keep my apple slices pretty big so that they still have a bite to them. If you prefer a softer filling, feel free to cut them smaller.
- Whisk egg in a small bowl and set aside.
- Roll pastry into a circular shape. Use your pie dish as a guide, ensuring pastry is wider in diameter.
- Place pastry into pie dish, pushing it down so that it fills into the corners.
- Prick the bottom several times with a fork.
- In a bowl, toss the apples with the lemon juice, cornstarch sugar and cinnamon.
- Fill the pie with the apple mixture.
- Then, roll out the second piece of pastry dough for the top.
- Using a pastry brush, put egg wash all around the perimeter of the pastry (this will help seal it when the top piece goes on).
- Place the top piece of the pie dough on top. Seal the edges with a knife or fork by pushing down. You can also crimp them with your thumb and forefinger. Cut off any excess with a sharp knife.
- Brush entire pie with eggwash.
- Put three slits in the middle of the pie to help steam escape while baking.
- Place in the oven at 425 degrees F. After 15 minutes, reduce heat to 400F and bake for another 20 minutes or until the crust is golden brown.
- Keep an eye on the edges of the pastry. When they start to get golden, place some foil around the edges to stop them from burning.
- When the pie come out of the oven, let it rest for 30 minutes before eating it. This allows it to firm up.
- Serve with sprinkled sugar on top and freshly whipped cream.
Notes
Do not overwork or over-roll the dough.
Handle lightly and as little as possible.
Knead lightly, roll lightly. Never stretch pastry.
To prevent a soggy base, using a pyrex pie dish is preferable. The heat tends to circulate better. If you only have a ceramic pie dish, then add 15 minutes to the baking time. Cover with aluminum foil for these last 15 minutes so that the top of the pastry doesn’t burn but so that the bottom can continue to cook through!