Content may contain affiliate links. When you shop the links, I receive a small commission at no cost to you. Thank you for supporting my small business.

Welcome to the third and final installment of my Christmas Home Tour (see part 1 and part 2 here)!
This time around I’m sharing my Christmas Table Decorations with you. One thing I always struggle with is table settings. I don’t own a lot of different cutlery and have only one “good” dinnerware set. I mean, how often do I decorate my dining table anyway? Not very often! But for Christmas it’s nice to up the ante a little.
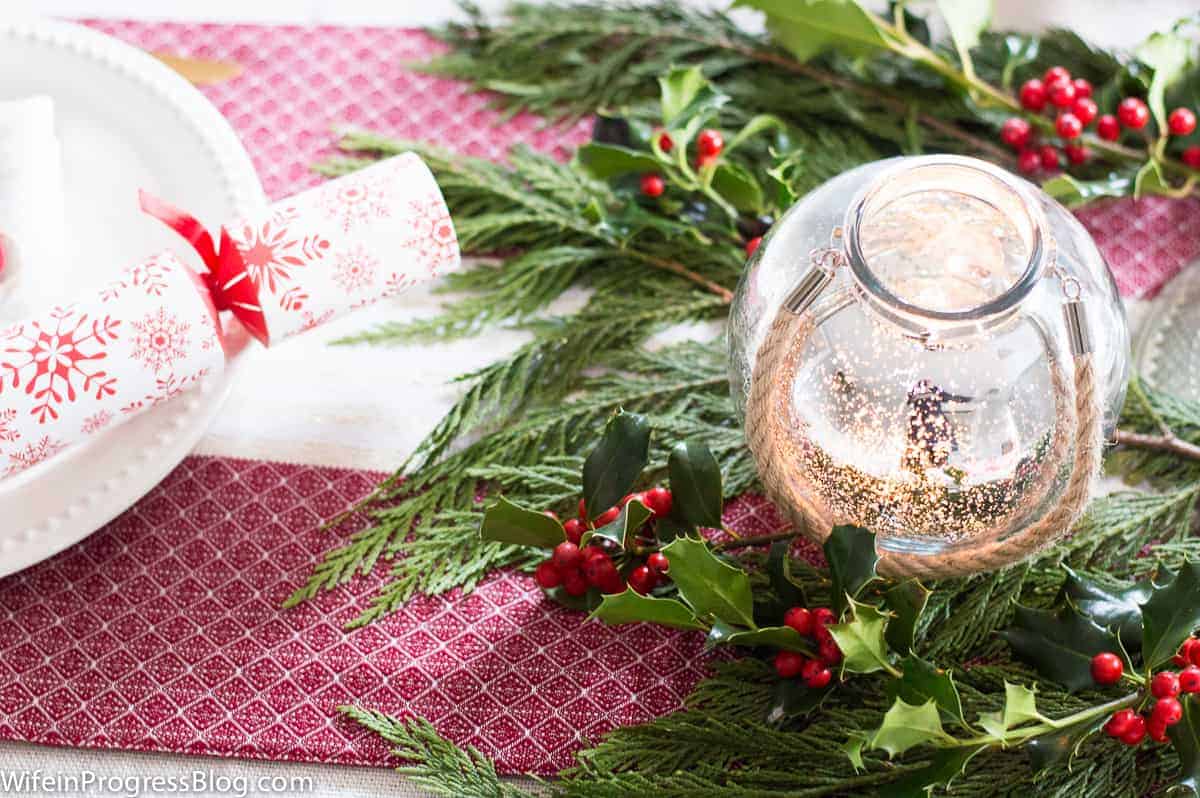
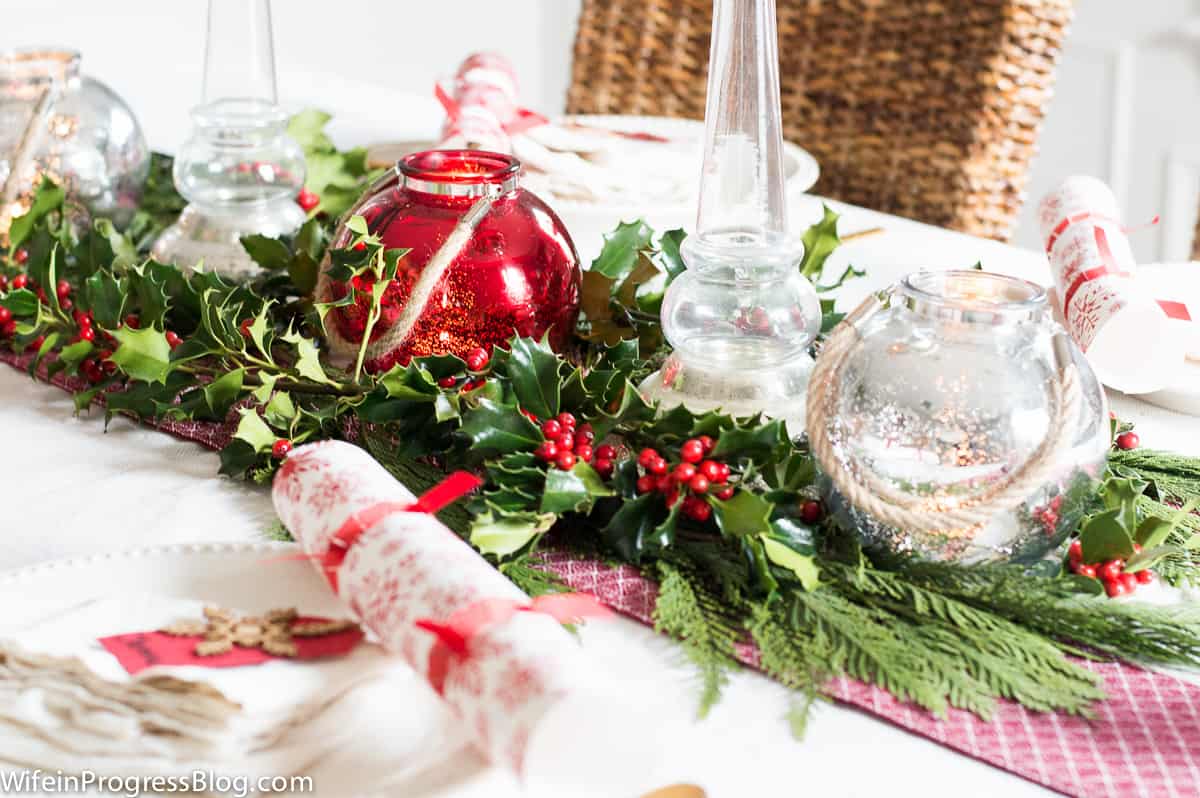
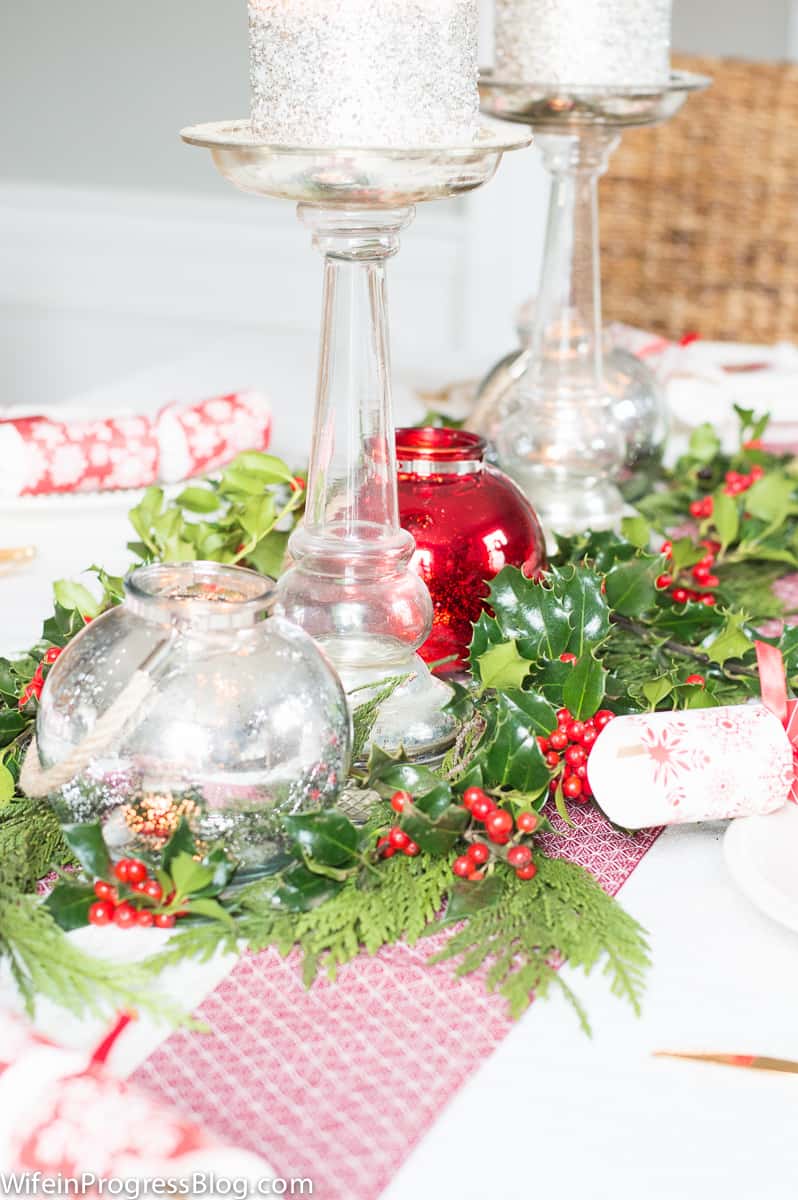
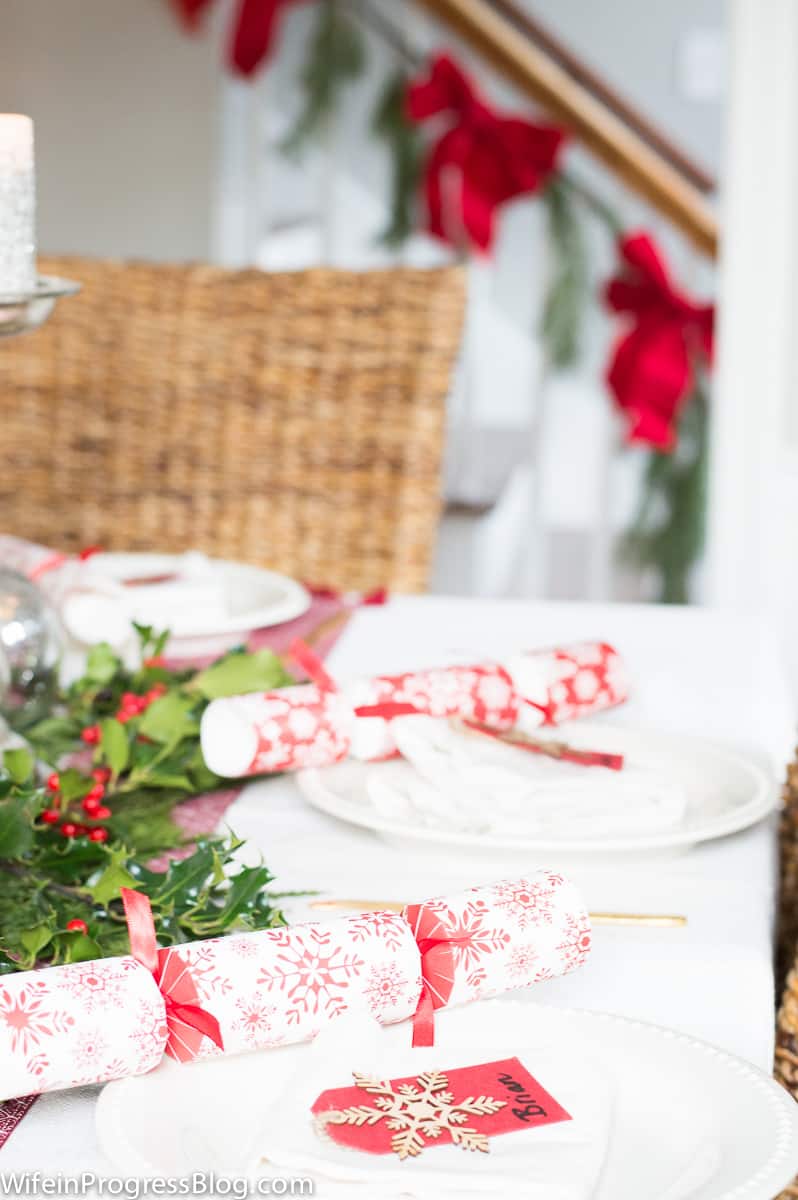
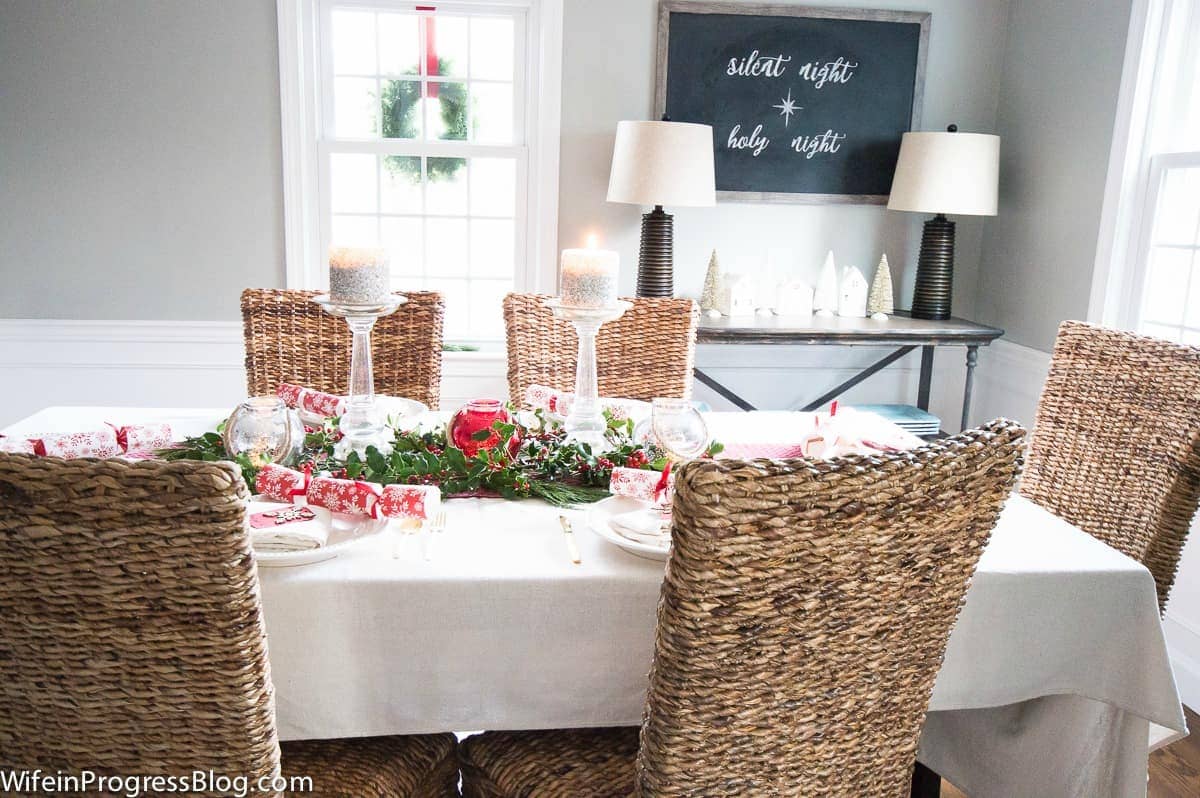
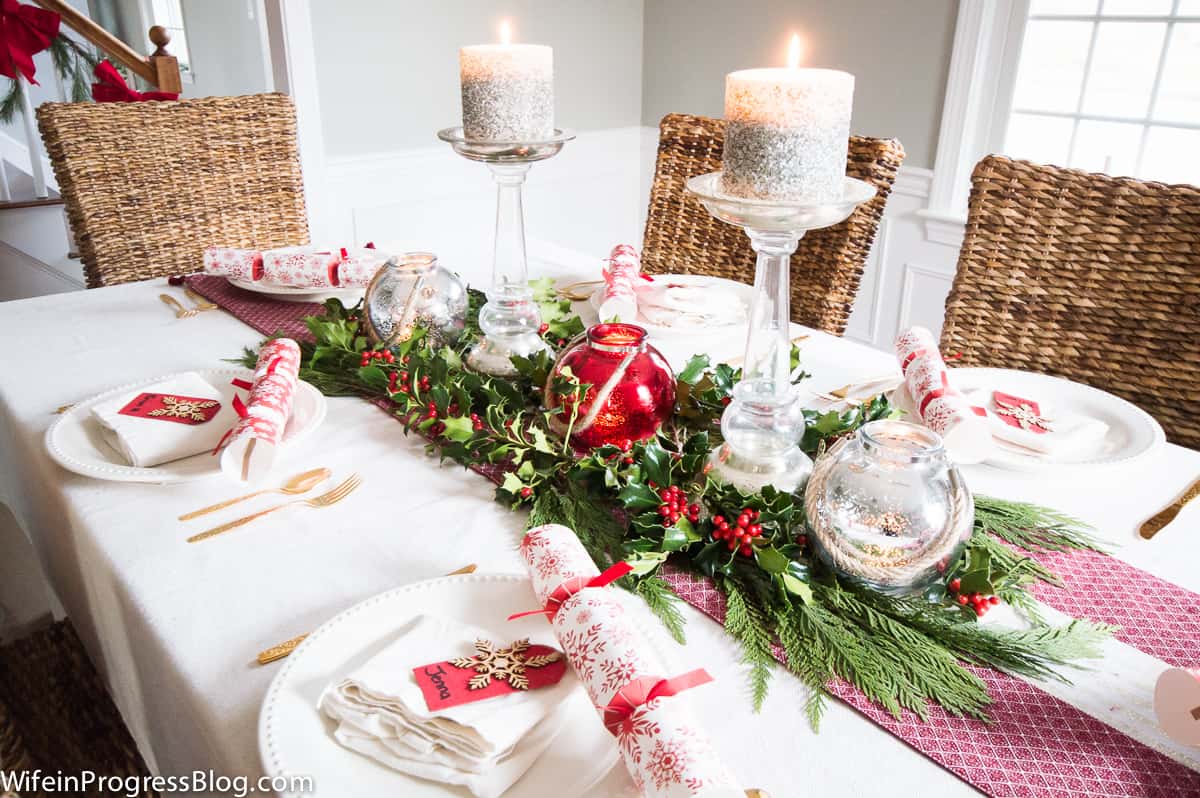
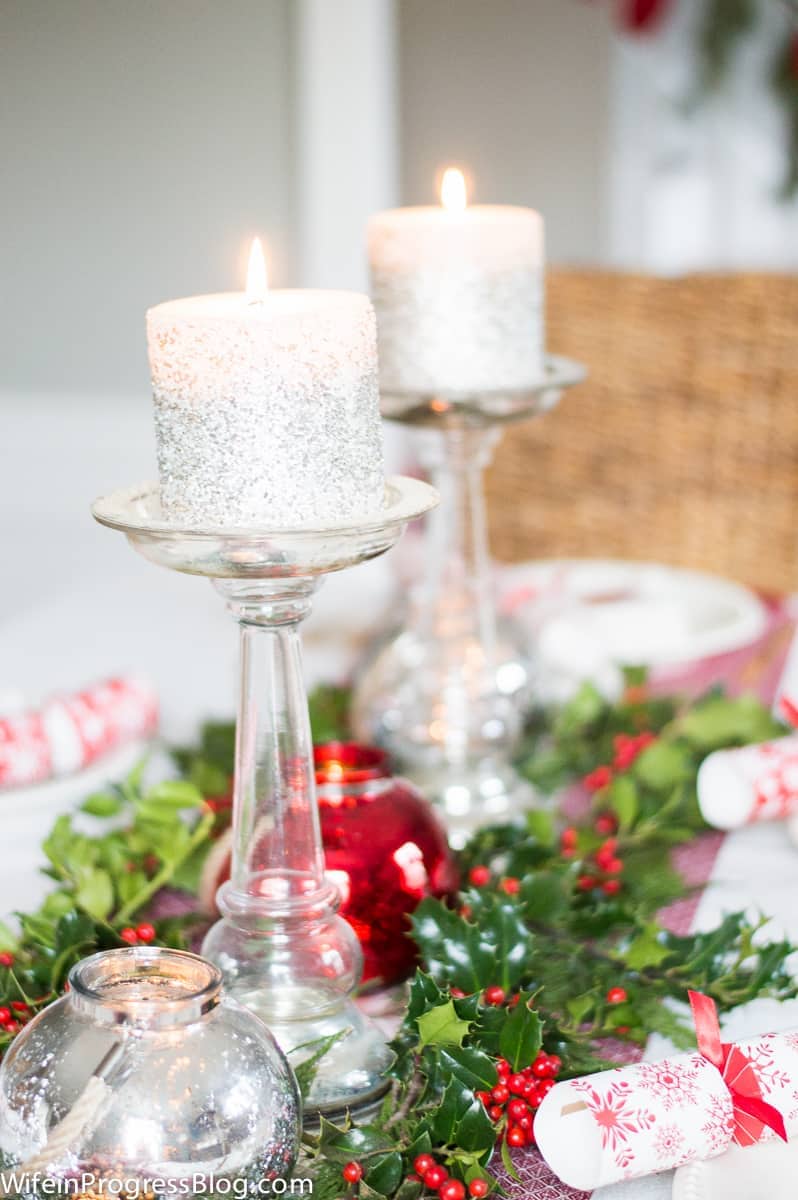
I kept the cost of these Christmas decorations way down by using items I already owned and simply adding fresh holly and greenery to the table as the centerpiece along with some pretty candle holders.
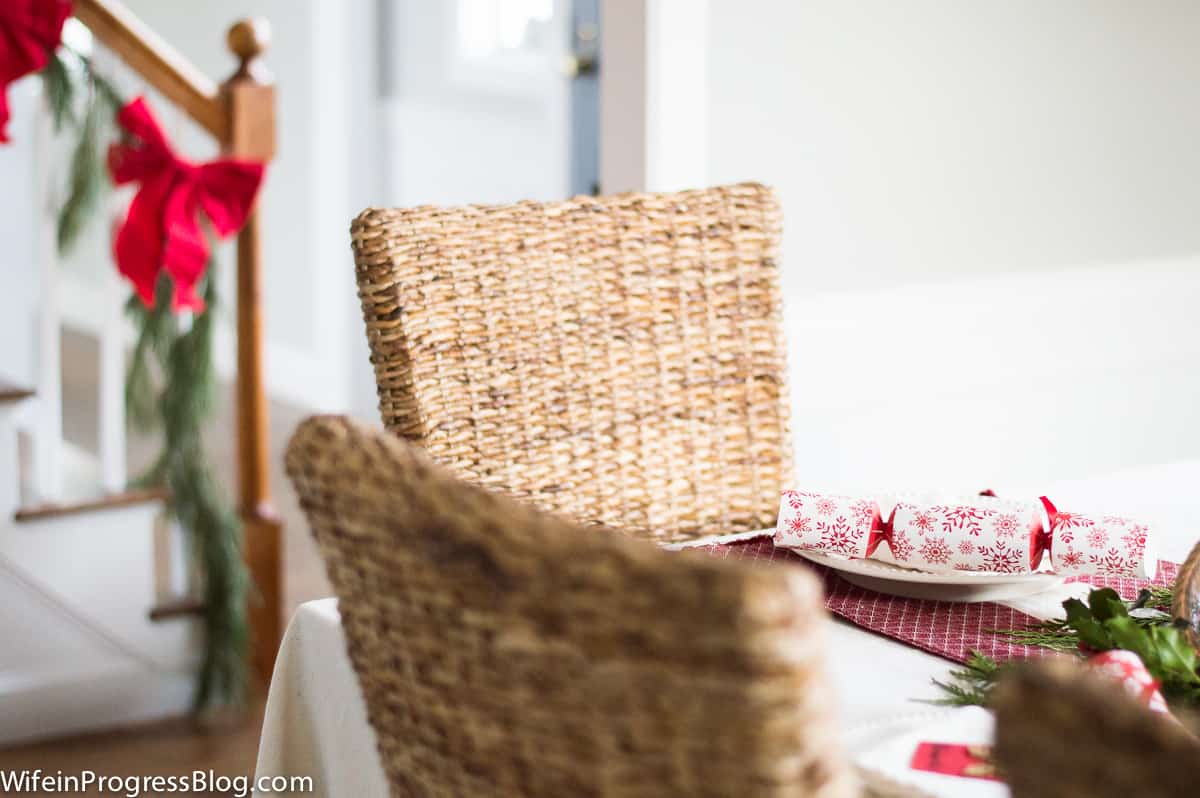
Have you seen Christmas Crackers in stores the past few years and wondered what the deal is with them? Well, they are a British and Irish Christmas tradition ’round the dinner table.
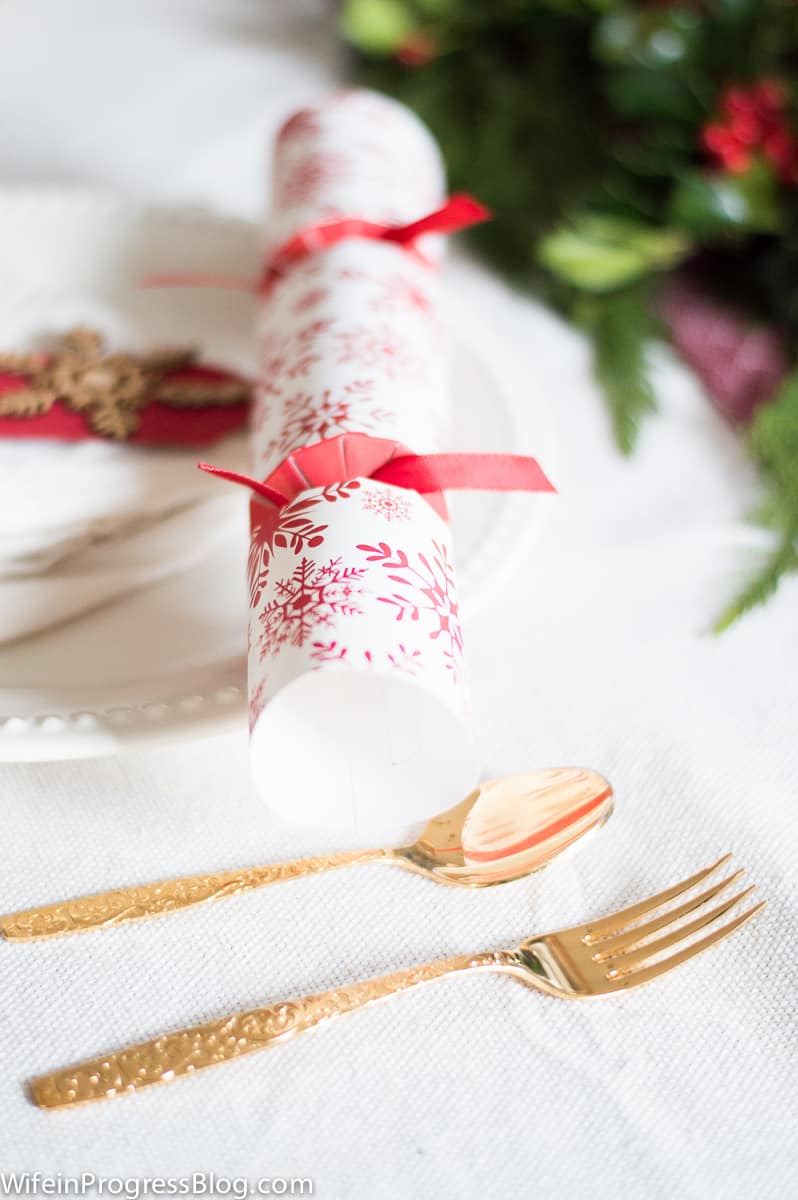
They are usually filled with silly junk gifts and a paper hat but they are still one of my favorite Christmas Dinner traditions! I’m so glad that HomeGoods stocks them every year!
*affiliate links included for your convenience*
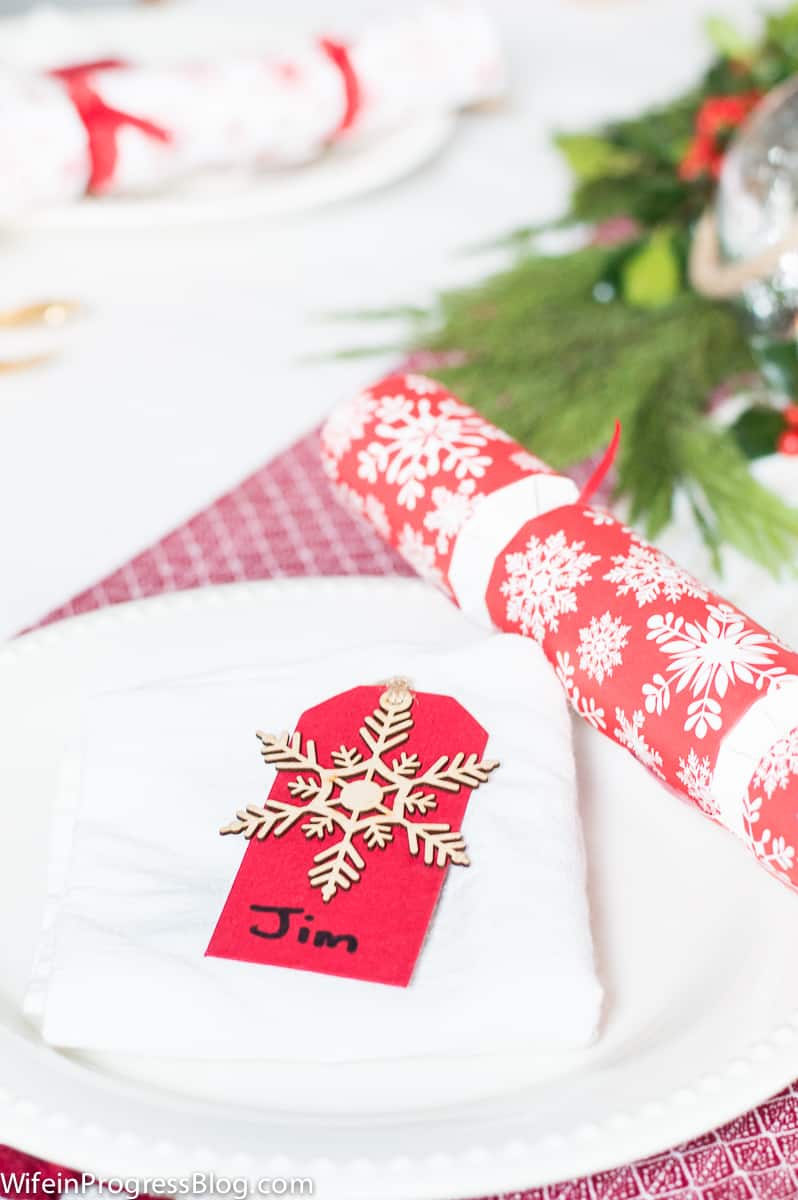
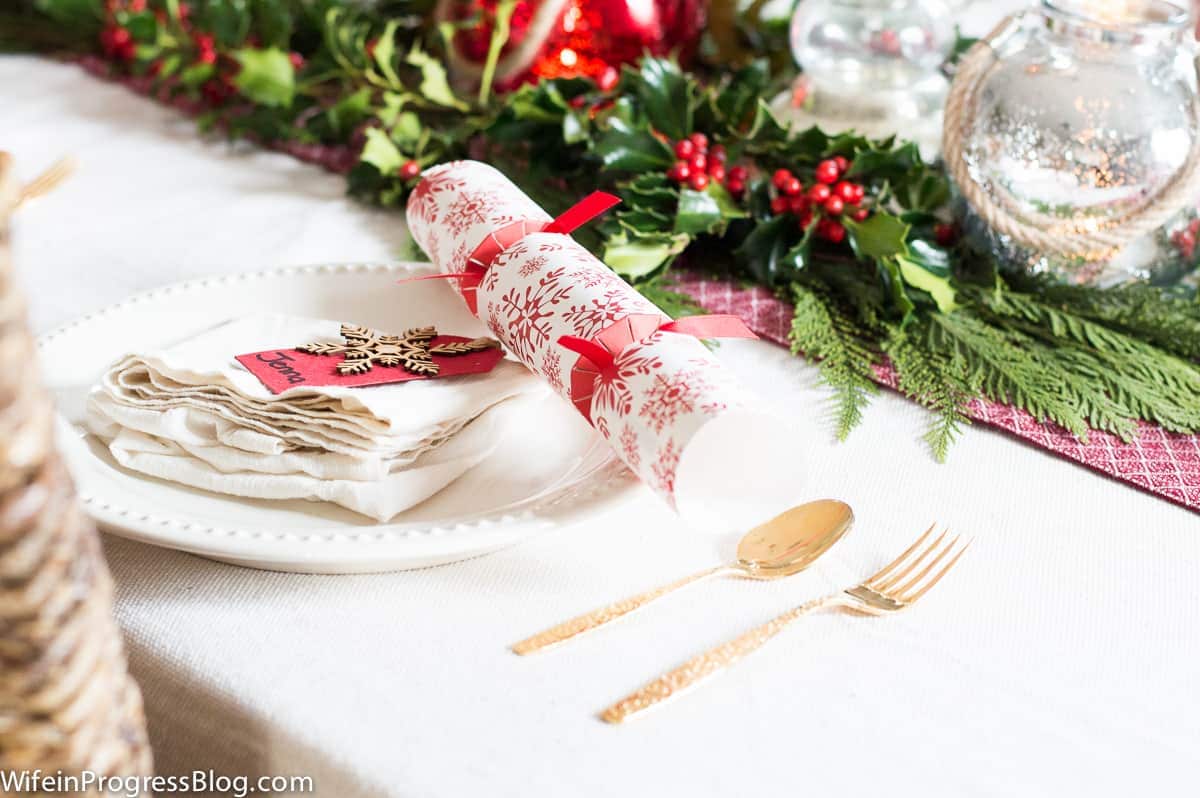
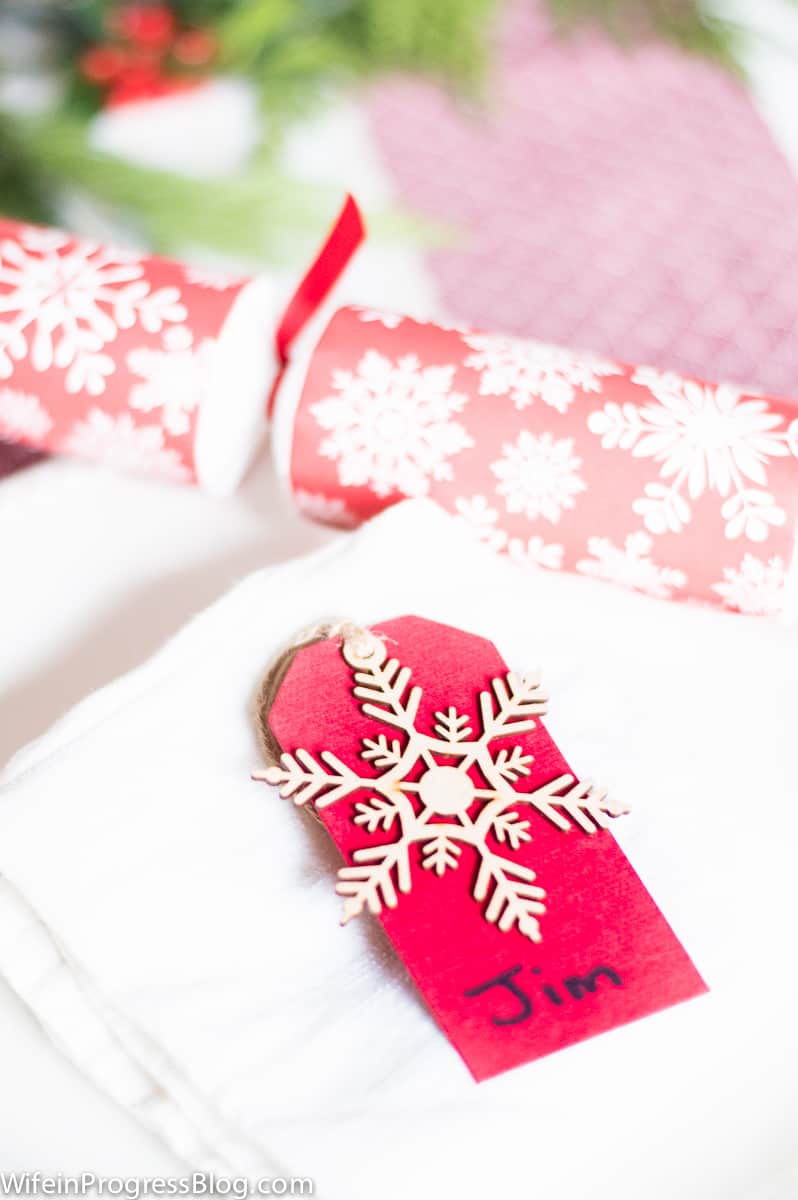
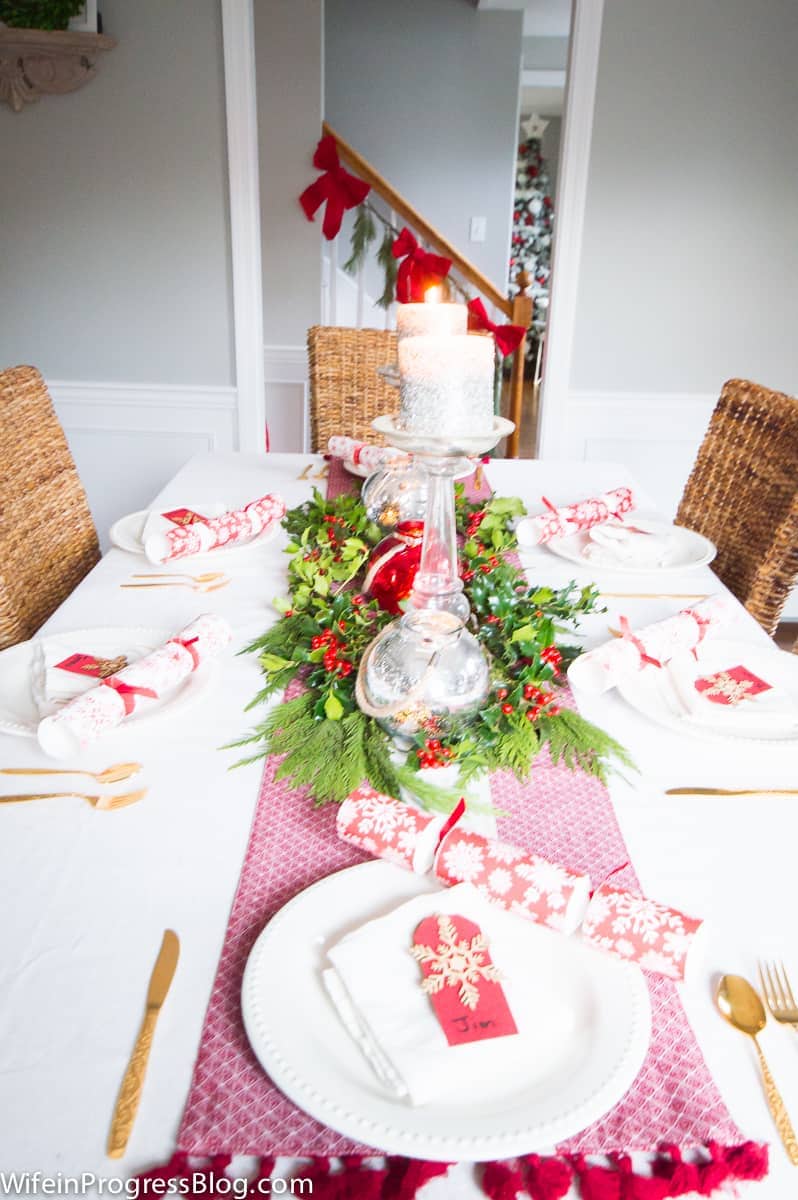
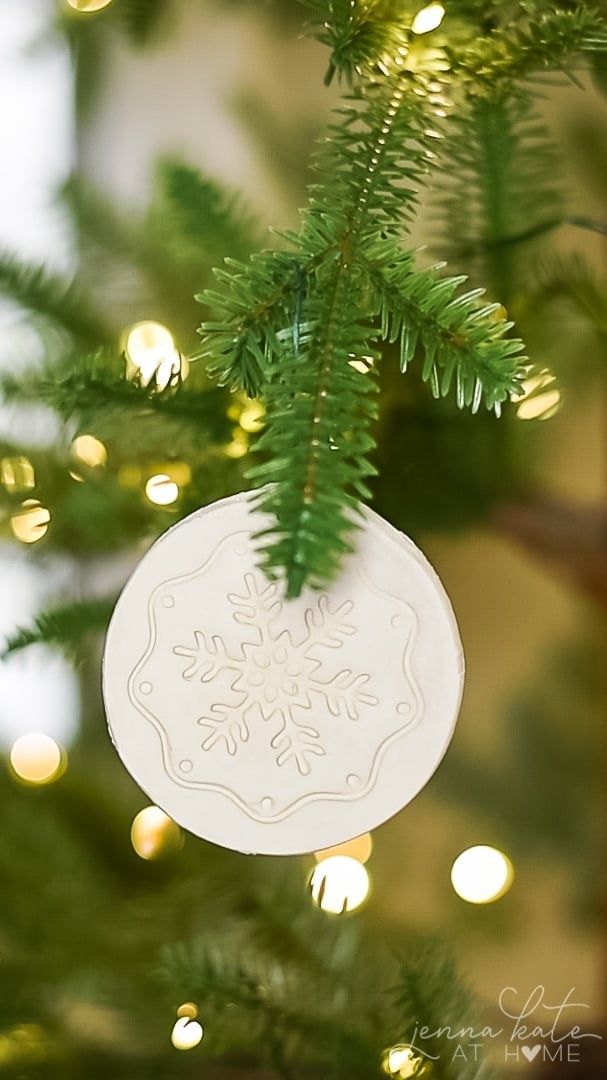
There’s nothing too fancy going on with my place settings. I’m using my favorite Emma plates with napkins folded right on top. For name cards, I’ve used these cute red gift tags with little wooden snowflakes tied on. Cute and festive and free since they were left over from last Christmas!
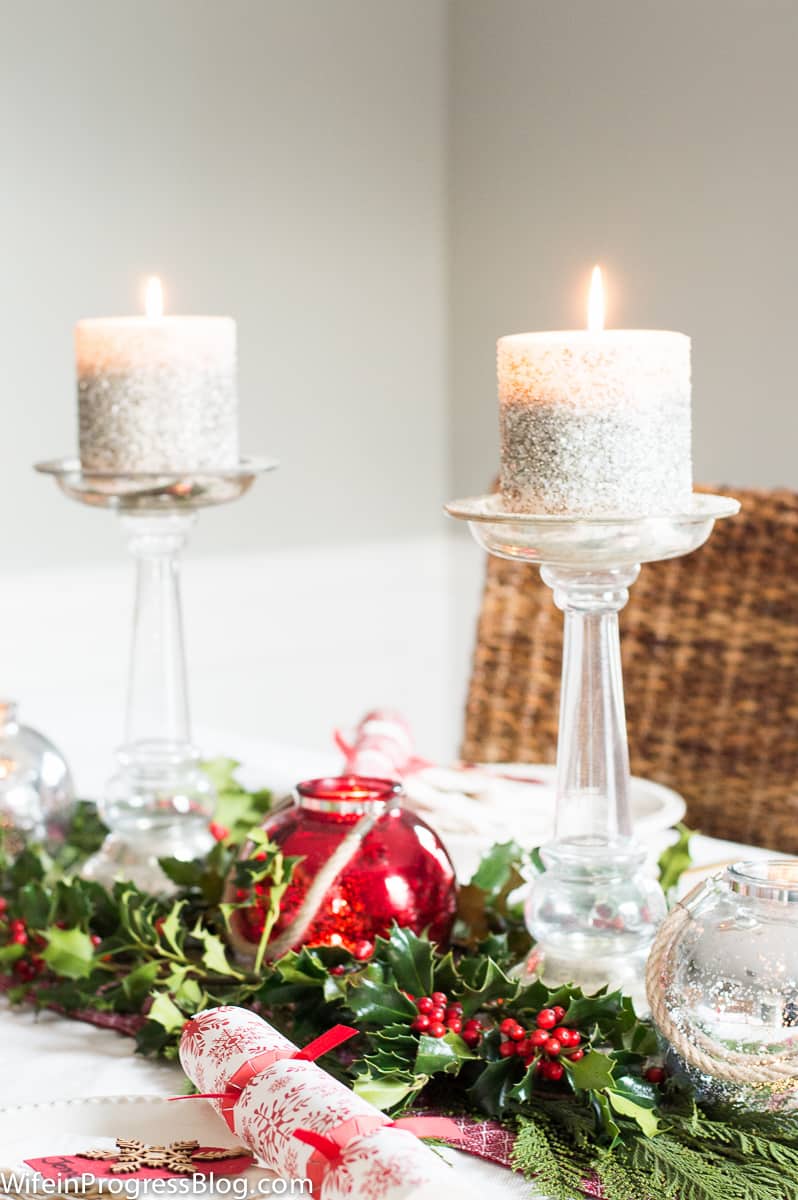
The red and silver mercury glass candle holders were also Target dollar spot finds from a couple of months ago. Unlike the bottle brush trees and the little village, I haven’t seen these since.

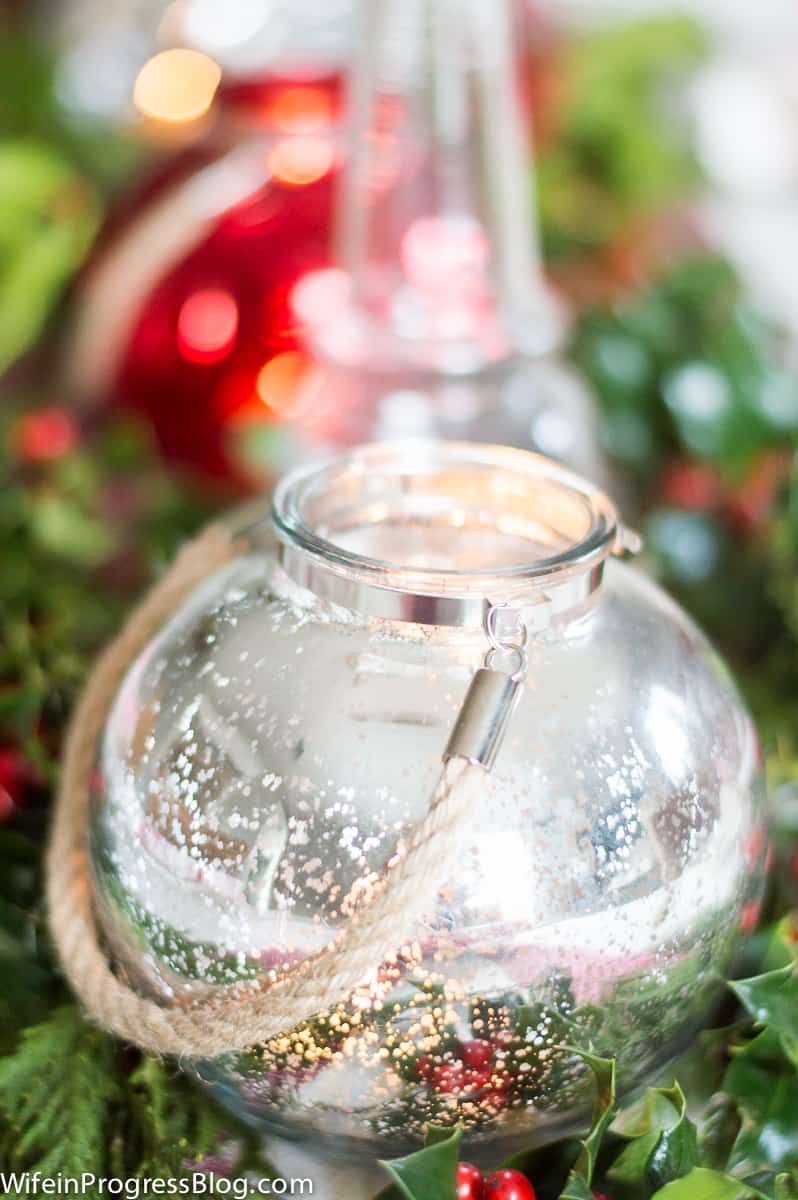
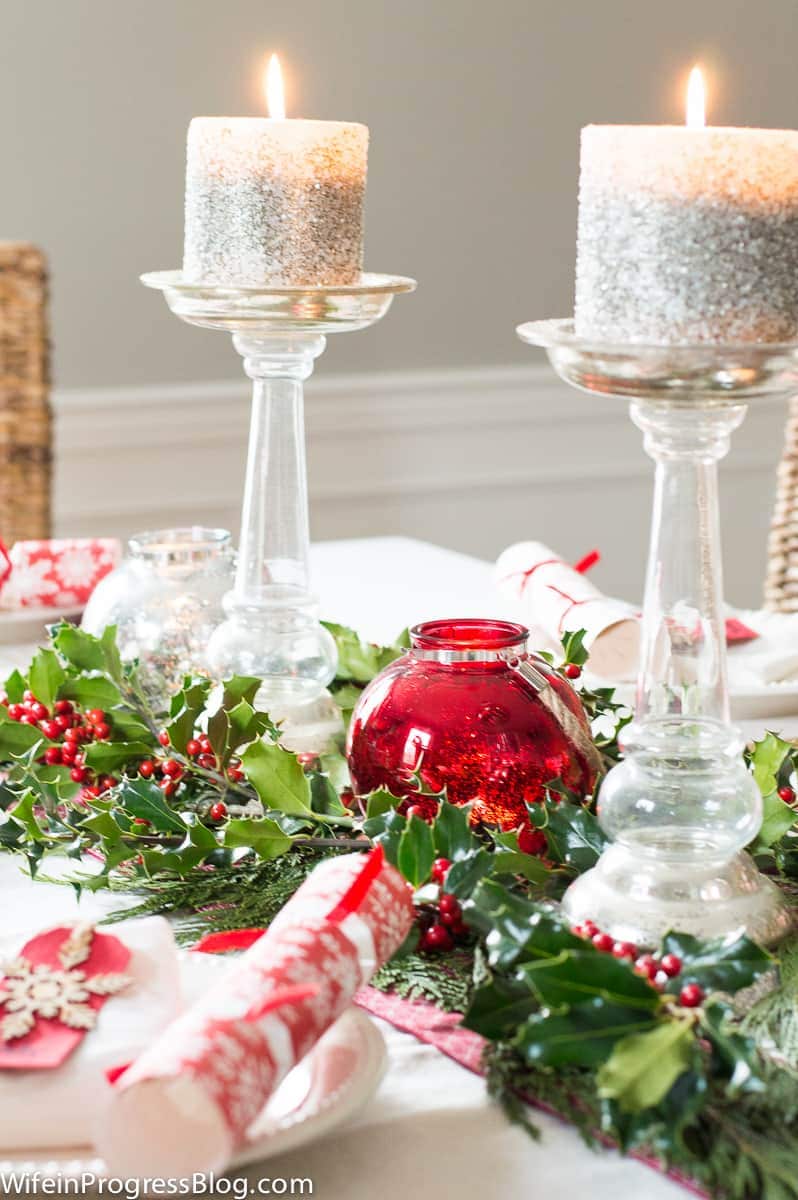
You wouldn’t believe how many times I pricked my fingers trying to arrange that holly on the table. The struggle is real, people.
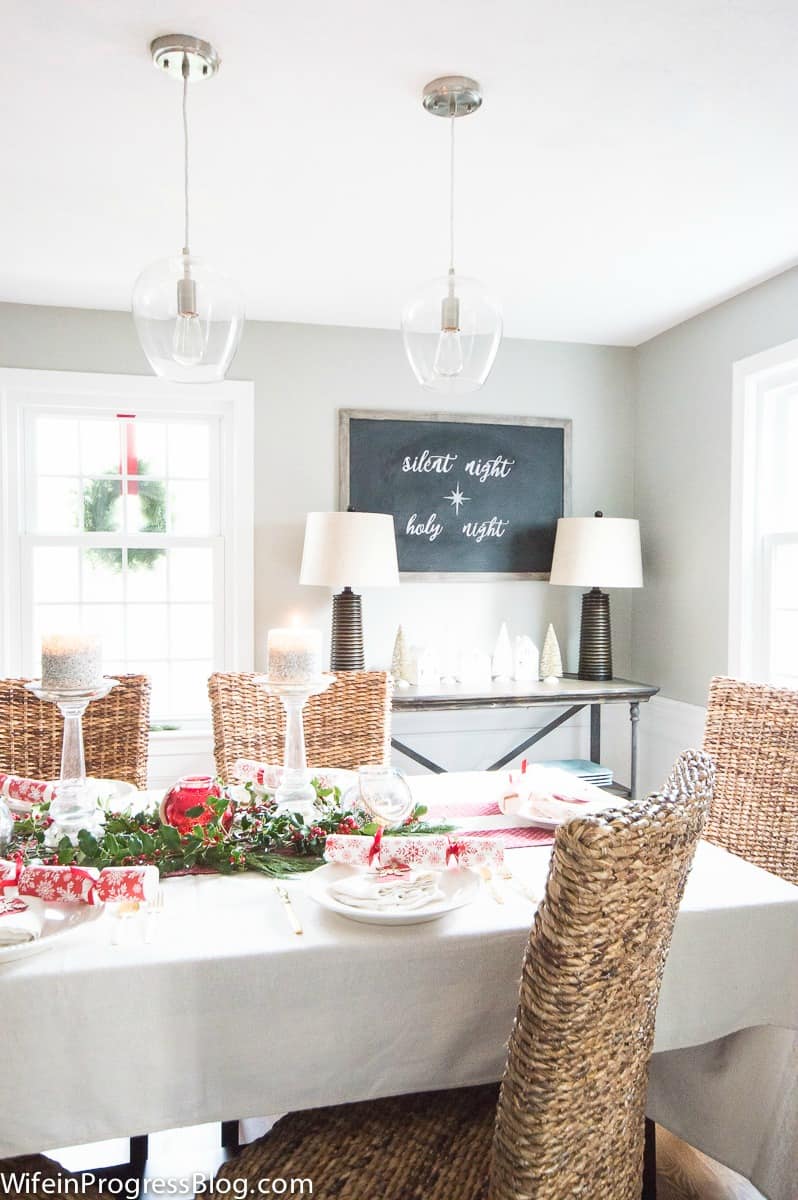
Oh, and I finally got around to changing my chalkboard. It has said Happy Fall since forever….and I wanted something a little more festive.

It’s just done with regular chalk that I stole borrowed from my son. I find if I snap it into pieces the sharp edges work pretty well to get a relatively clean line. I won’t be winning any awards but it’s cute. You can learn more about how I do my chalkboard lettering here.
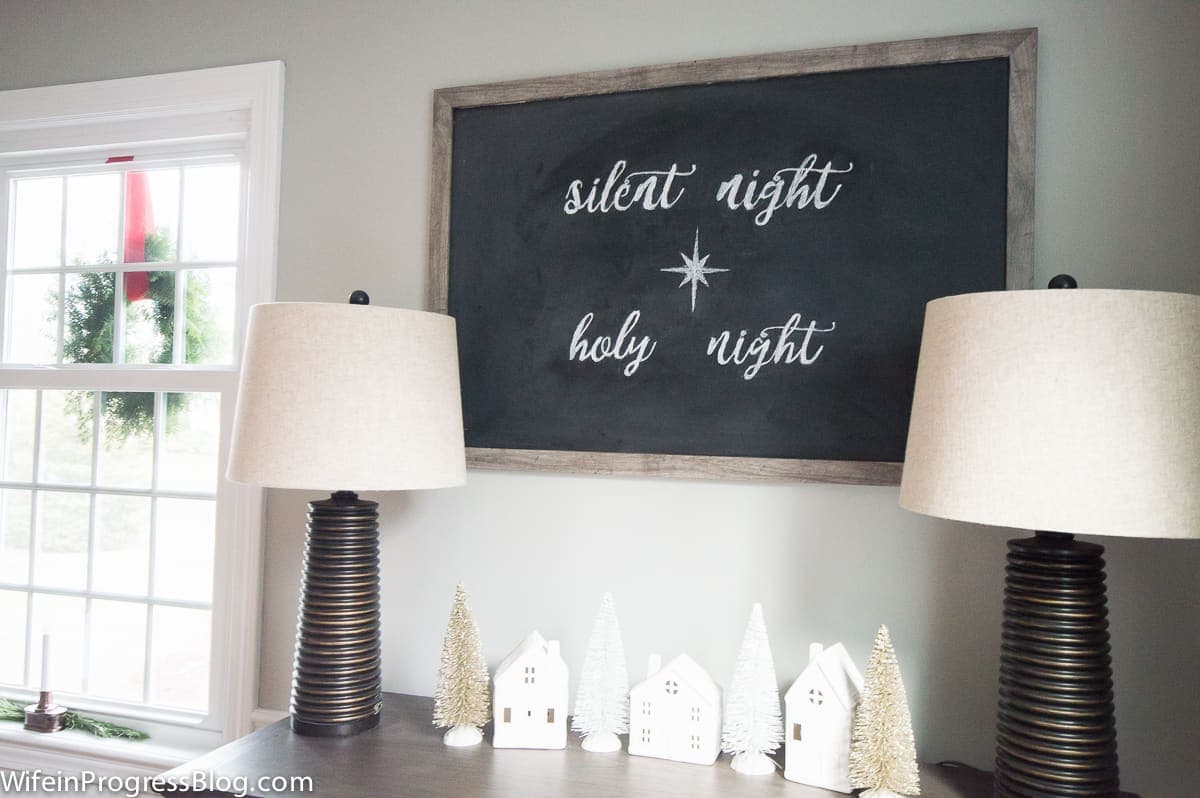
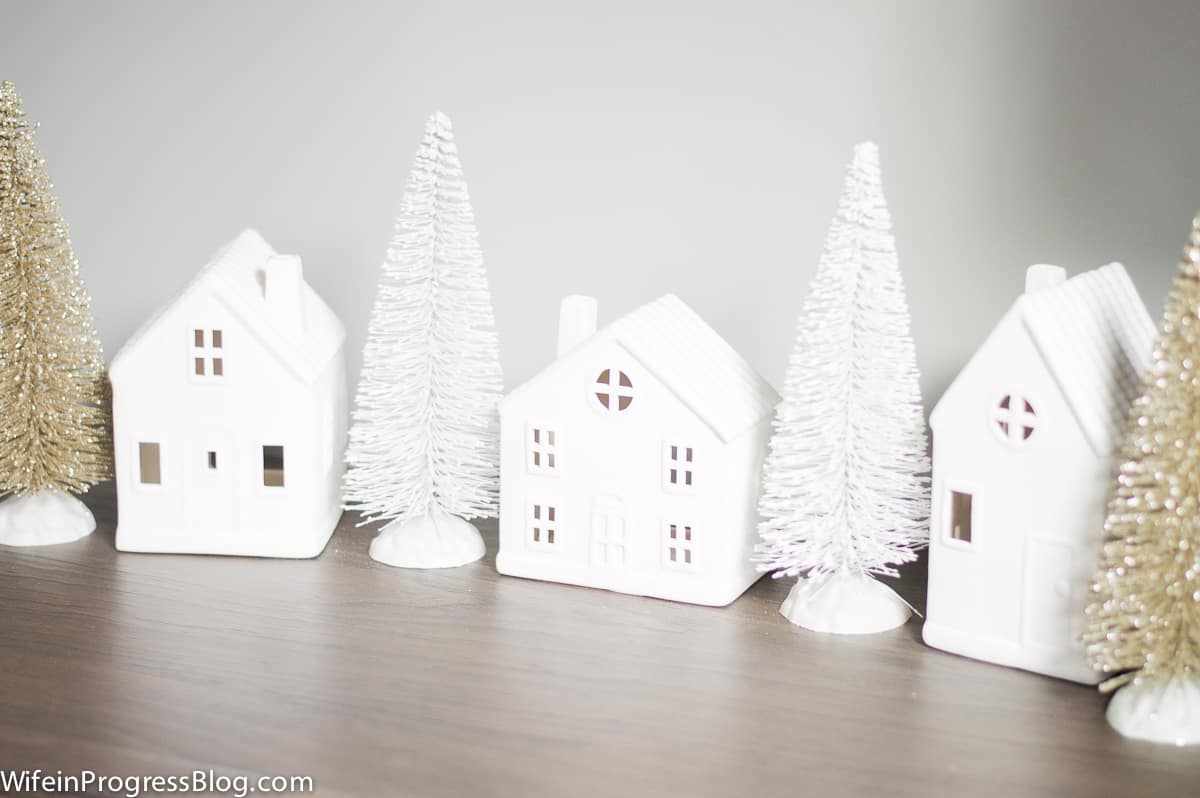
I’ve set up my some items from the Target dollar spot on the sideboard directly below the chalkboard. I love these little houses and wish I’d bought more – they’re so cute!
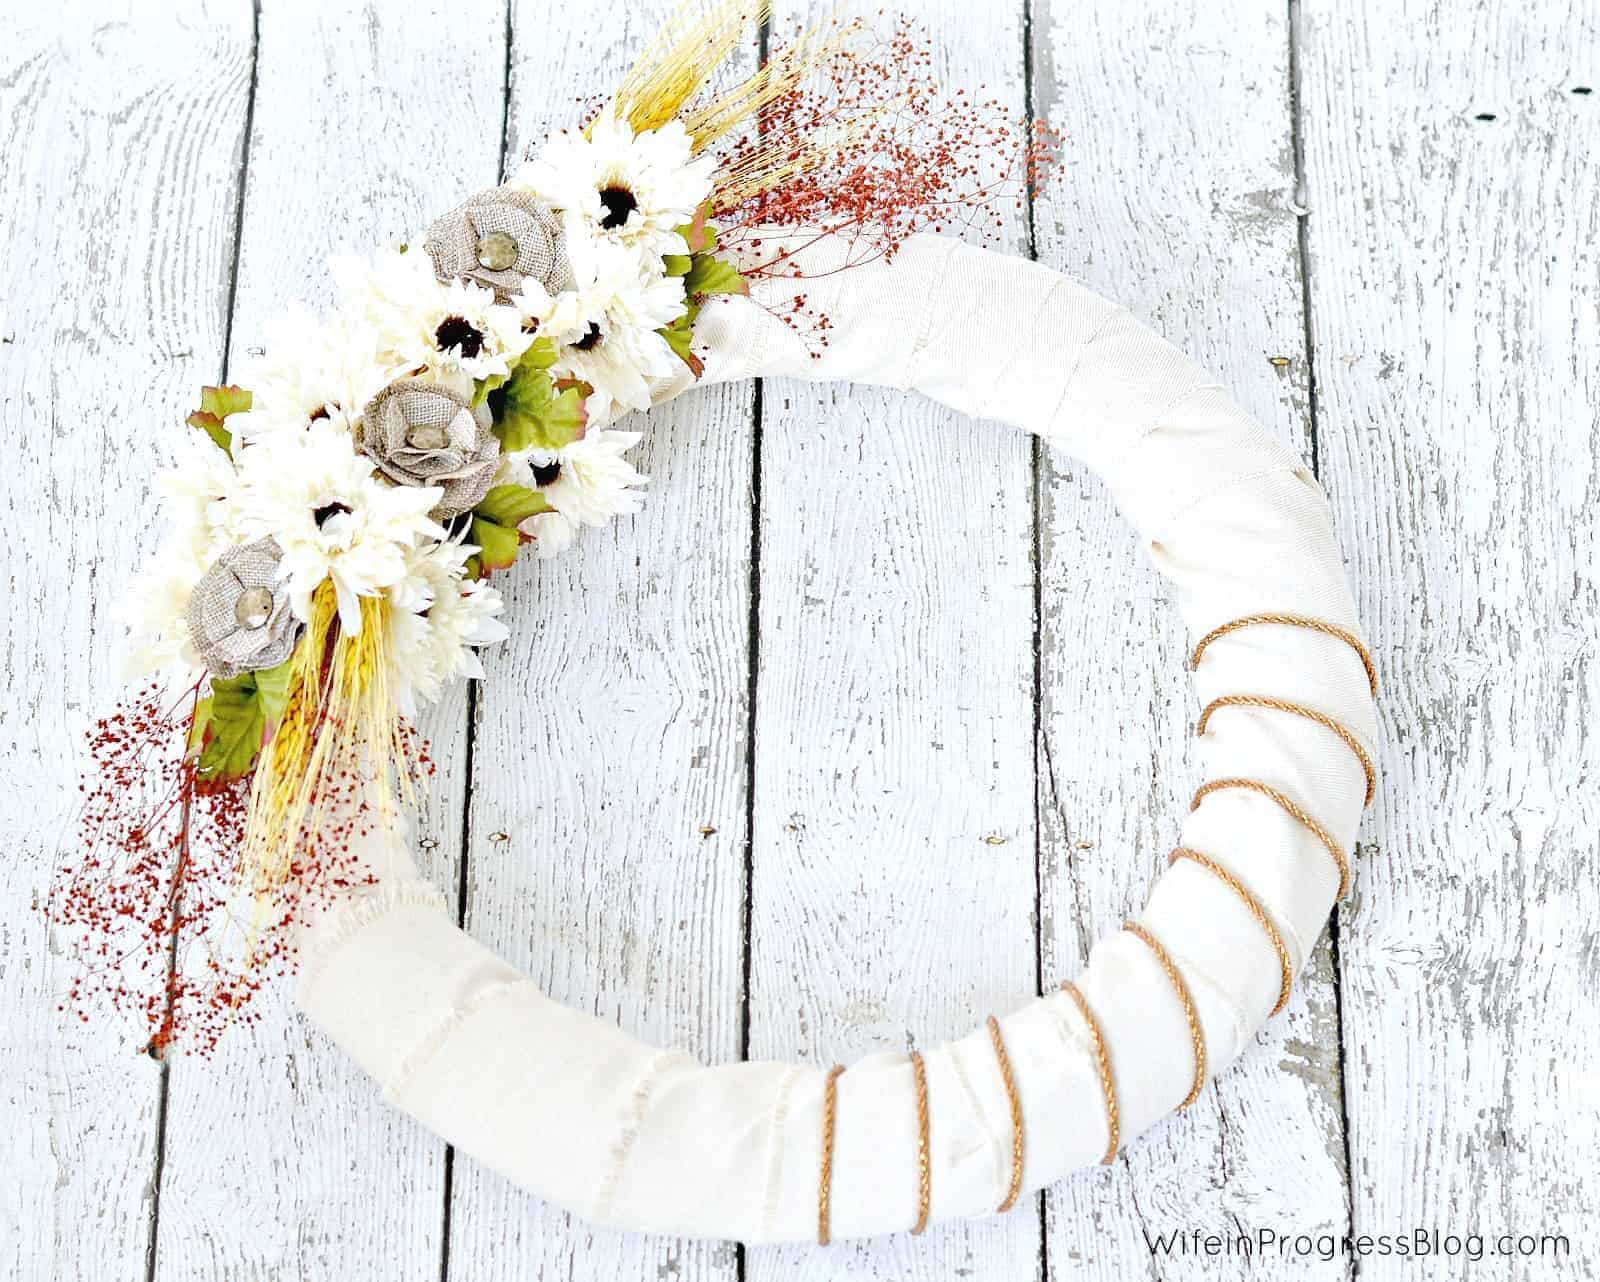
From this angle, you can see the wreaths that are hanging outside. I love that they add a little bit of color inside, too!
Excuse the too-long table cloth. I meant to crop it out of the photo…and then forgot. We have to add the leaves to the table for Christmas dinner so I needed a 120 inch table cloth!
We haven’t done much decorating in our dining room yet. You might notice that the walls are pretty bare. I don’t have a vision for in here yet…and I think that’s because I need to first switch up the wall color. But, it’ll do for now!
The rattan chairs were a combined birthday/Christmas present several years ago and they’ve held up great. They work with every style of decor and add a lovely warmth to the space.
Below, you can see through the dining room and across the hall into the living room. Have you seen Part 1 of my Merry & Bright Home Tour yet? You can see lots of pictures of our flocked tree that’s decorated all red and white!
If gold and silver and sparkly are more your style, then the Merry & Bright Holiday Home Tour Part 2 might be right up your alley!


What a beautiful dining room!! Thanks for linking up with us at Share the Wealth Sunday!