Content may contain affiliate links. When you shop the links, I receive a small commission at no cost to you. Thank you for supporting my small business.
This is a sponsored post on behalf of Walmart and Scotts.
Window boxes overflowing with colorful flowers are the best way to add curb appeal to any home during the spring and summer months. With these tips, even the most novice of gardeners will have stunning window boxes that will be the focal point of your home and envy of your neighbors!
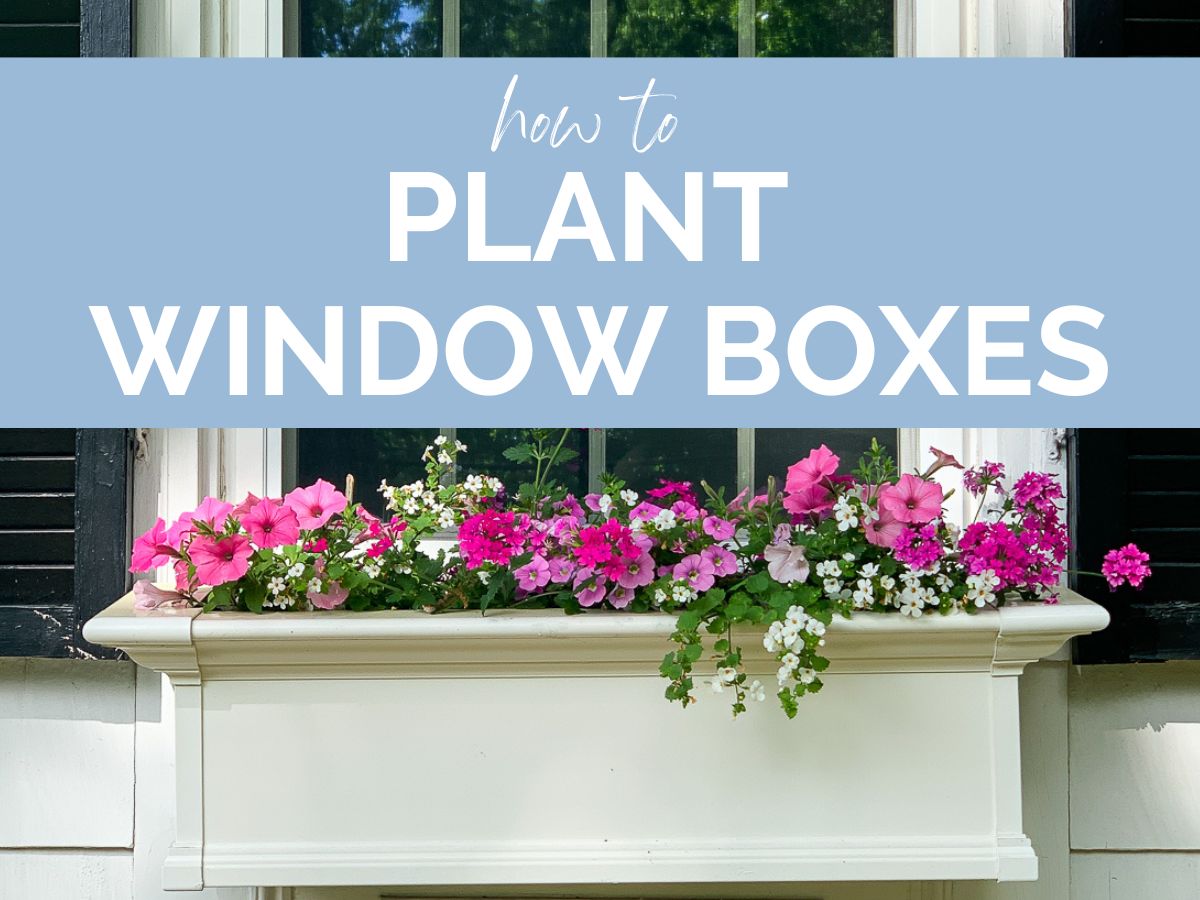
Window boxes bursting with color all summer long were always my dream when we bought our first house. It has taken me several years to overcome my black thumb, but I’ve finally figured out a winning formula for plants that will beautify my window ledges for months on end.
It’s really not difficult at all, and all the materials and plants will be readily available at your local garden center. So let’s cut to chase!
The Type of Window Box to Use
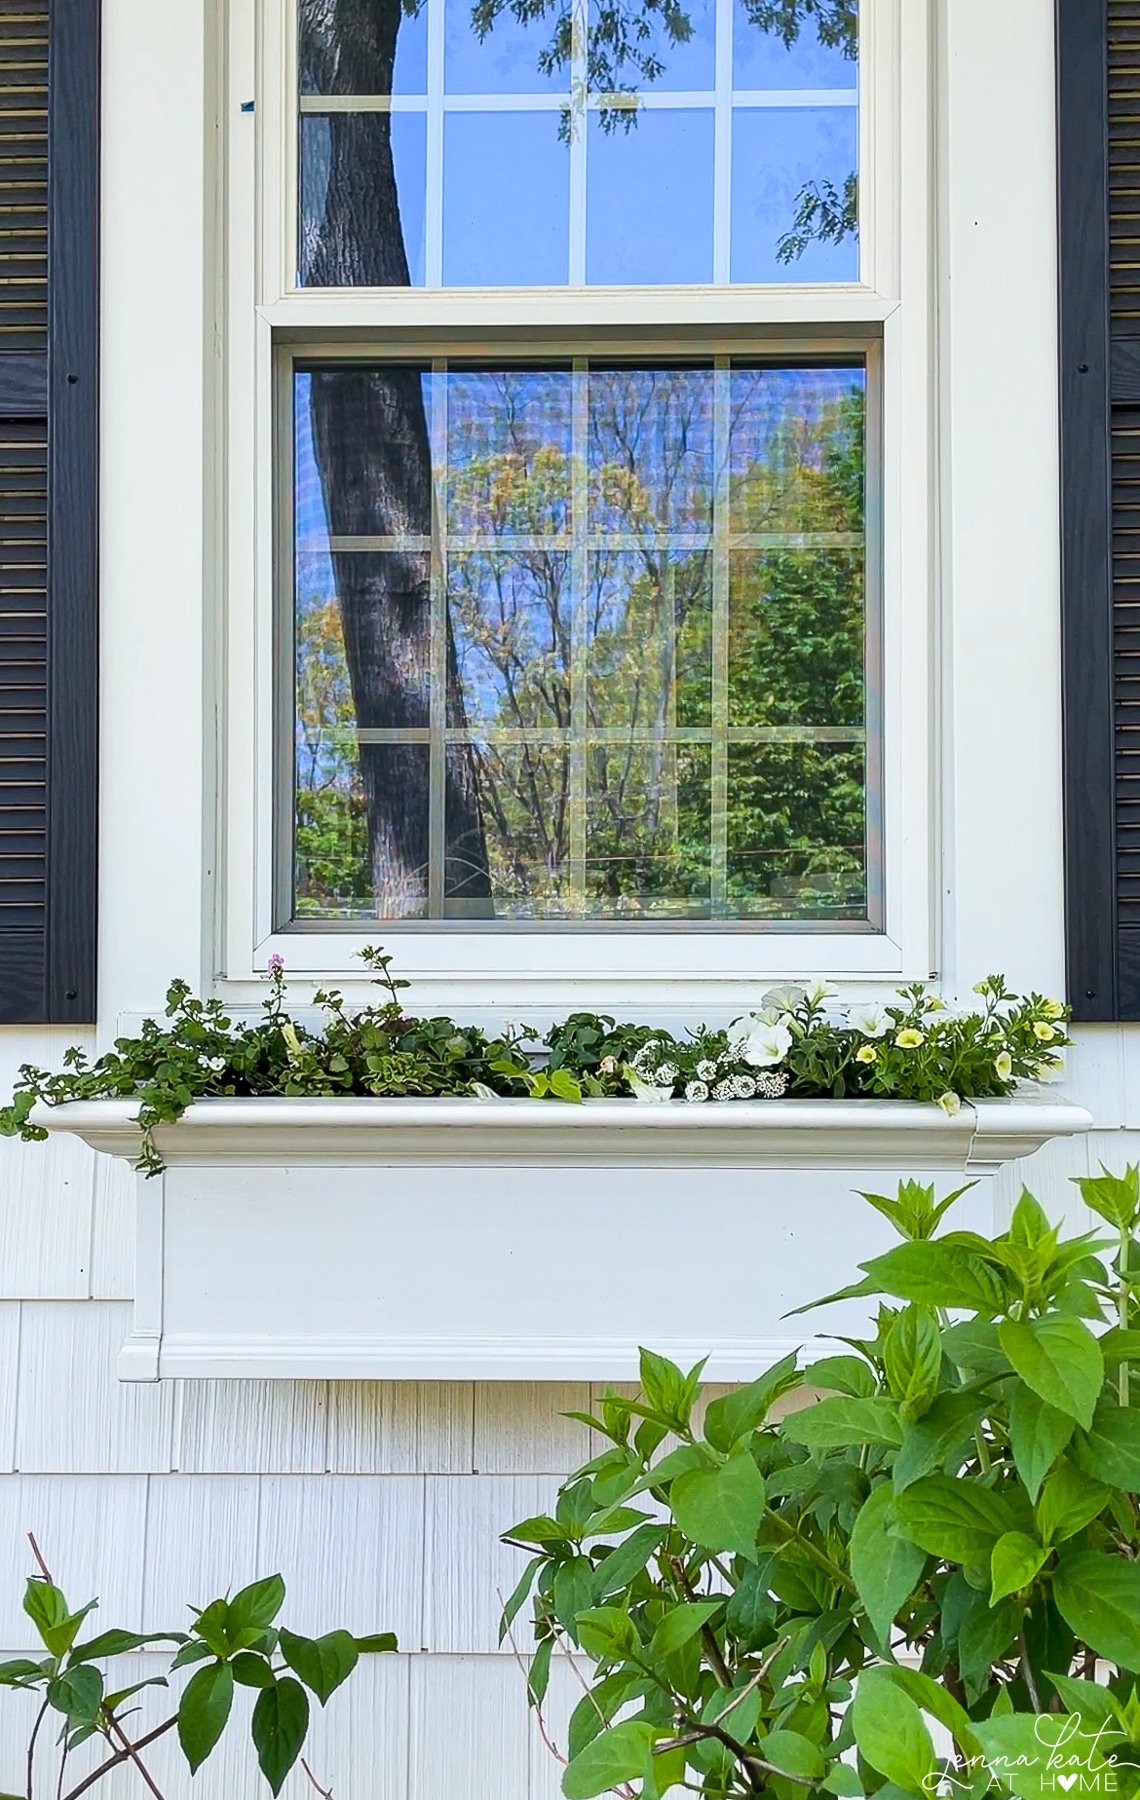
Self-watering window boxes made from PVC will last you for years to come. While wooden varieties look beautiful and classic, they can rot quickly unless you’re diligent about using window box liners. Neither type are inexpensive, so it makes sense to buy the type you know will last.
You’ll also want to ensure that your window box has good drainage. At the very least, you should have drainage holes in the bottom of the window box. Plants that sit in wet soil will quickly become diseased and die. So if there aren’t any holes, they are easy to drill yourself.
The self-watering type has a reservoir down the bottom, so once you water them well, the excess water can stay in the bottom pan and be absorbed by the plants as they need it, without the plants sitting in the soil the entire time.
Choose the Right Potting Soil
Choosing the right potting soil is essential for the health of your plants. You’ll want to avoid using garden soil, as it can be too heavy and may contain pests or diseases. Look for a high quality potting mix that’s specifically formulated for container gardening like Miracle-Gro All Purpose 25-Quart Potting Soil Mix. I have mine delivered from Walmart alongside my groceries to save me schlepping to the garden center for it.

Fill the Window Box
I don’t replace the old soil in my window boxes every year. I filled them up once when they new and now just top them up each spring. Beforehand, I loosen up the soil and clean out any debris, and then I’ll plant my flowers.
If you’re starting with new boxes, fill them with the potting mix a few inches from the top of the container. Ensure it’s nice and evenly spread, to give your plants the best environment to grow.
Once the plants are in, you can top the box up with additional soil but no more than an inch below the top as you don’t want the soil to overflow after watering,
Choosing What To Plant
When designing your window box, you’ll want to choose different plants for interest. I don’t use anything fancy or exotic and all these plants will be able at your local garden center.

Follow the Thriller, Filler, Spiller Rule
One of the easiest ways to design a window box is to follow the thriller, filler, spiller rule for the types of plants you choose. This formula works for a container garden, too.
This means that you should choose one tall, eye-catching plant (the thriller), several mid-height, full plants with lots of foliage or flowers (the fillers), and a few trailing plants (the spillers) to create a balanced, visually appealing arrangement.
You can see here how I planted the taller plants (impatiens in this case) at the back, then filled in with begonias, petunias and bacopa and finally added more wave petunias, sweet potato vine and calibrachoa that will flow over the sides of the window box.
Other good spillers include vinca vine, variegated english ivy and creeping jenny.
Texture
Texture is an important element to consider when designing your window box, too.
Mix and match plants with different textures to add visual interest to your display. For example, you could pair a soft, fuzzy plant like lamb’s ear with a spiky plant like ornamental grass for a striking contrast.
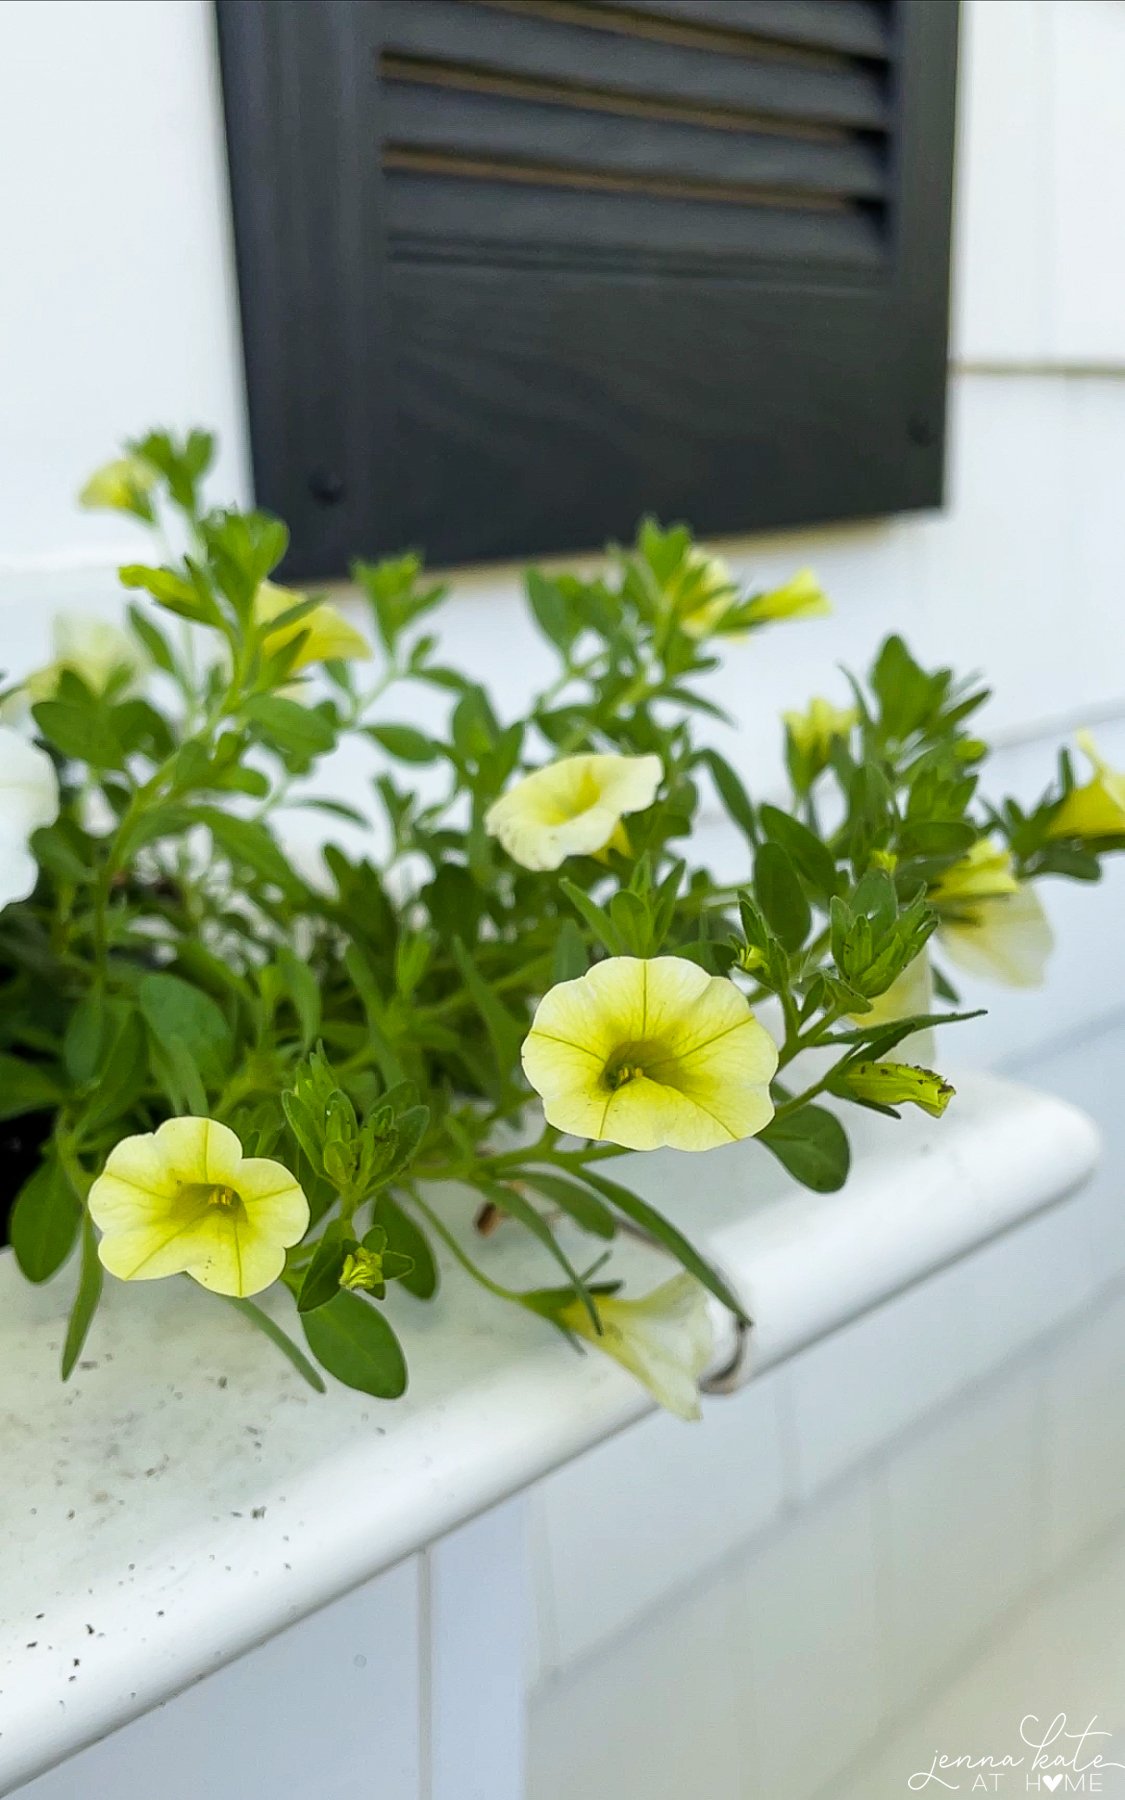
Choose a variety of larger flowers like petunias and small dainty ones like allysum, bacopa and calibrachoa.
Color Scheme
When choosing plants for your window box, consider the color scheme you want to create. You could go for a monochromatic look with shades of one color, or mix and match complementary colors for a bold, eye-catching display.
I personally love to use mostly whites with a pop of green from the foliage of the plants. I’ll vary the greens by adding in creeping jenny or sweet potato which has a beautiful lime green color. Other plants like begonias or have thick dark green leaves.
Equally stunning with the bright greens are shades of pink and purple. But color is personal, so you can choose as many or as few colors as your heart desires, but keep it consistent for a cohesive look.
Consider Light Exposure
One of the most important considerations before you purchase any plants, is to consider the amount of light exposure your plants will receive.
For example, if your window box is in a shady spot, choose plants that thrive in low light conditions. If you only get sun in the morning, choose plants that work well in part-sun conditionings. If you get strong sun all afternoon, then choose plants suitable for full sun (even if they don’t get morning sun). The little labels stuck into the plant’s containers will show you whether they’re best suited to full sun, part-sun, partial shade or shade.
The best plants for full sun include petunias, geraniums, and marigolds. For shadier spots, consider impatiens, begonias, or ferns.
How To Arrange Plants in Your Window Box
The Plants I Like to Use
I have a thing for symmetry so I like to keep the arrangement of plants pretty balanced. Taller plants to the back (the thriller), the fillers will get balanced through the middle and then the spillers on the sides and down the front.
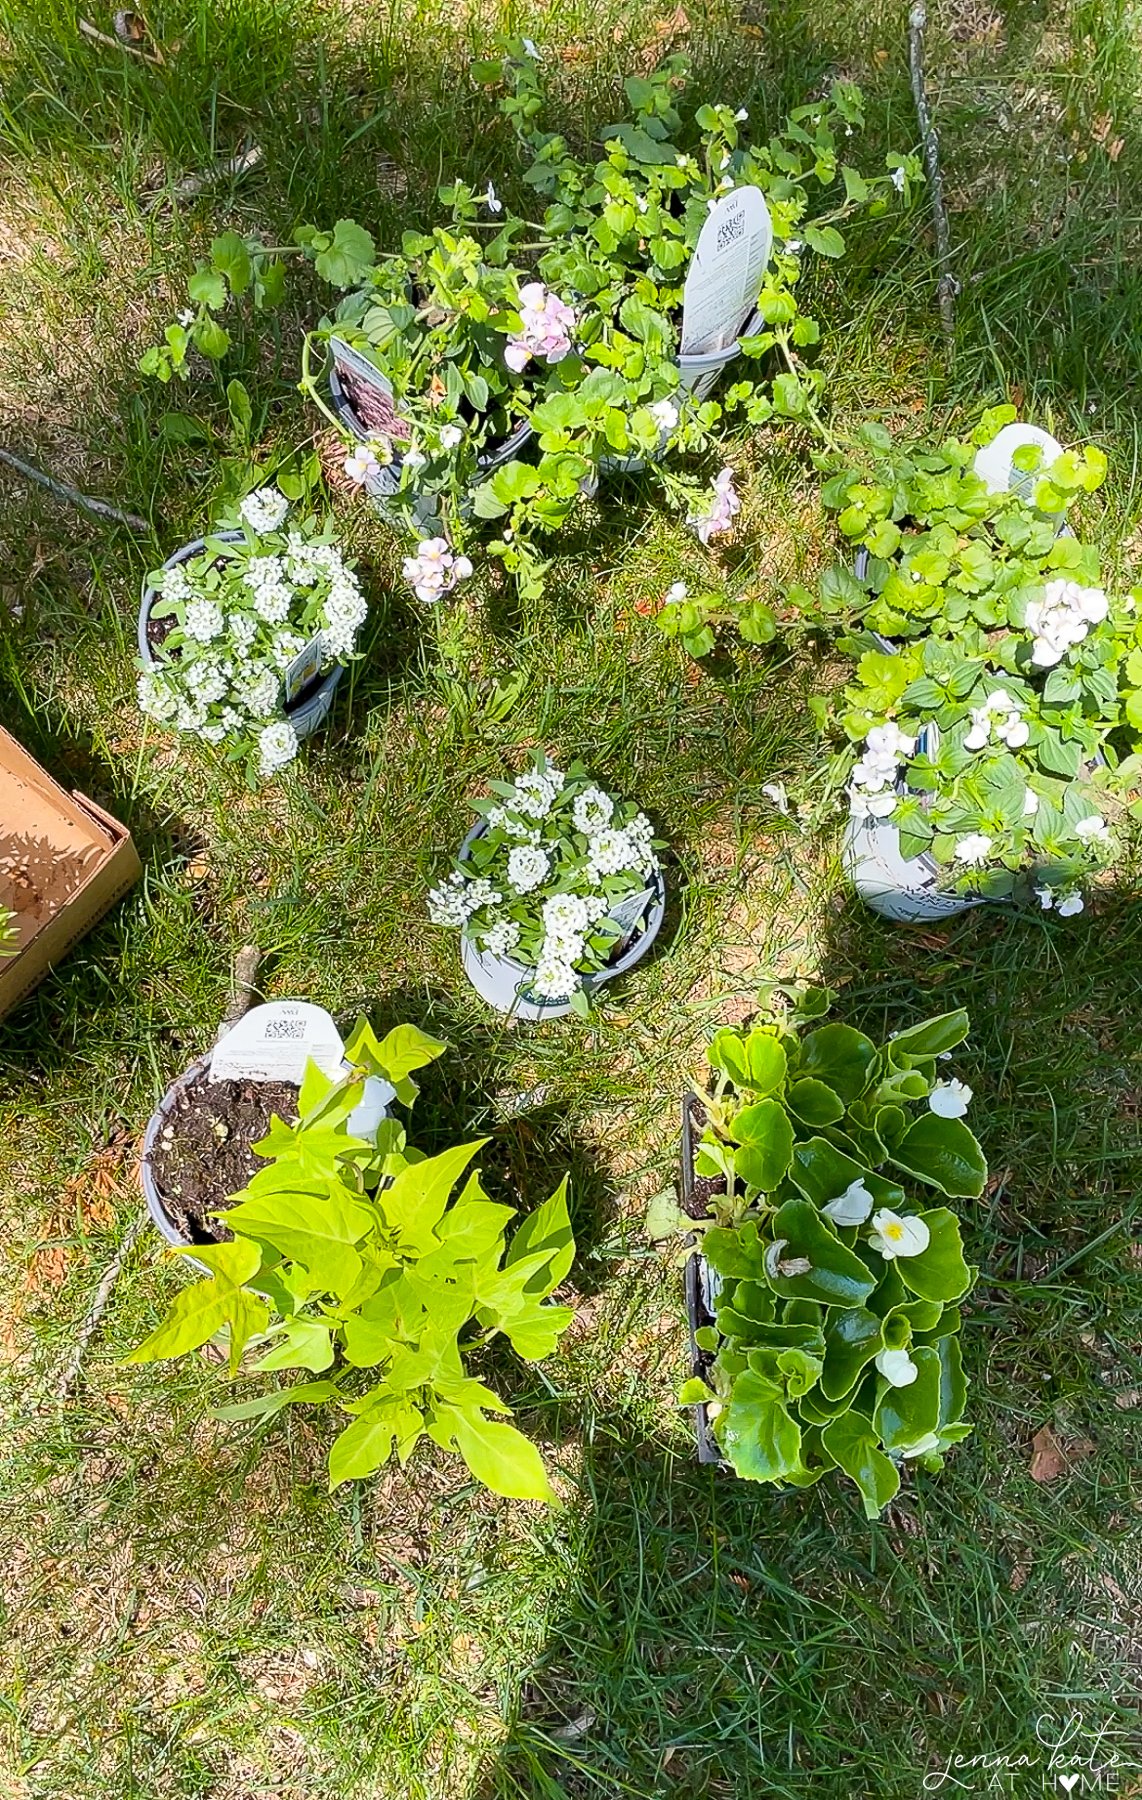
The first step, before you get anything into the planters, is to arrange them on the ground to figure out your placement. With window boxes, you’ll want tallest plants to to the back, fillers throughout the middle and then the spillers can flank the sides and fronts.
In this example we have impatiens in the back, wave petunias, calibrachoa (million bells) and sweet potato vine as the spillers down the front and back and then the middle in filled in with a mixture of begonias, bacopa and allysum.
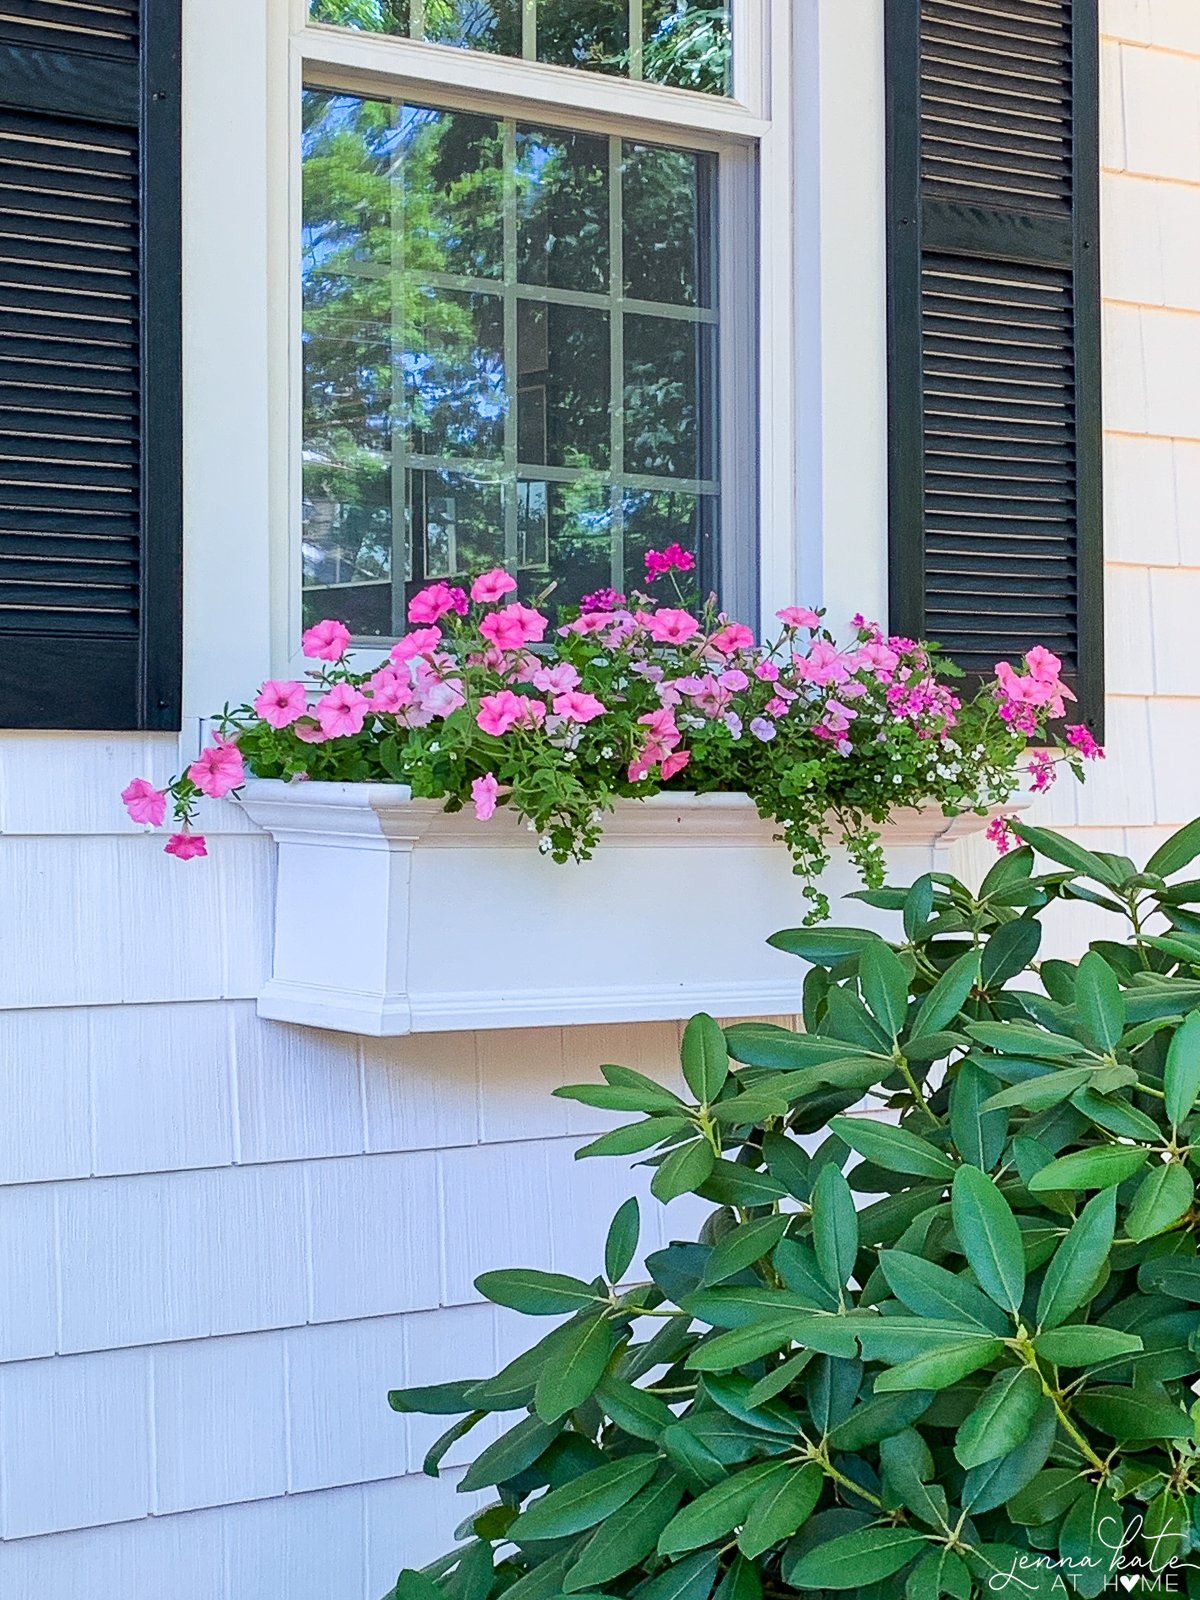
The previous year’s version went all in on the pinks with lots of petunias, calibrachoa, bacopa and verbena.
Spacing
I know the little tags on the plant containers and flats say to space out the plants to give the roots room to grow. But trust me, ignore that advice if you want window boxes that completely fill in and overflow. The prettiest window boxes are full of plants!
Our 4 foot window boxes have a ton of space to fill so don’t worry about going overboard with the plants. In fact, you’ll probably need a lot more than you first think. I put almost an entire flat of petunias in each of my window boxes!
Caring for Your Window Box
Once everything is planted, taking care of those beautiful plants is important to keep them healthy, in-bloom growing.
Watering
Your plants will need regular watering, especially during hot weather.
As soon as you’ve planted everything, give the soil a deep watering. Then, check the soil daily and water whenever the soil feels dry to the touch. Be sure to water the soil, not just the leaves, and avoid getting water on the foliage, as this can cause disease.
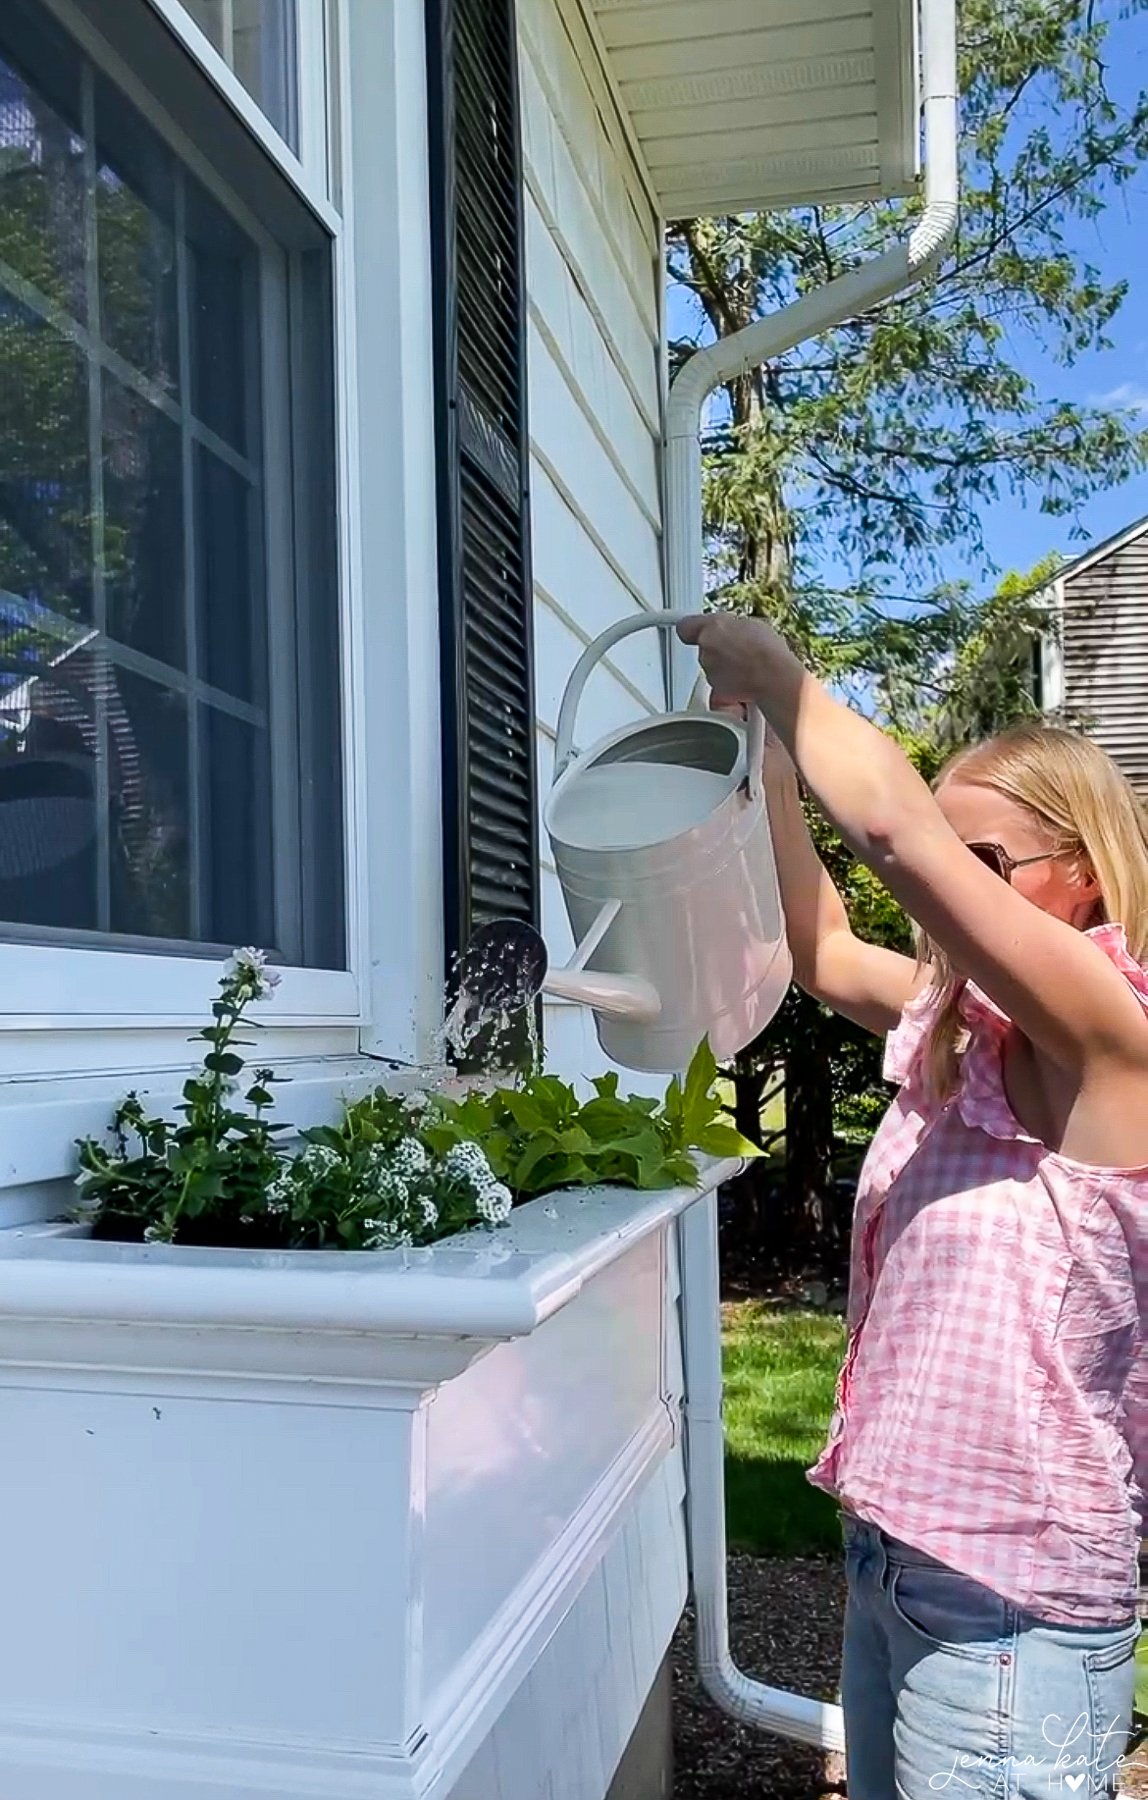
During the summer, I water my mostly shade window boxes every 2 days to maintain moist soil, but if you have a window box planter that gets afternoon sun, they’ll need a lot more water, so they should get a good soaking daily, unless it rains.
Fertilizing
A good fertilizer is the difference between a wimpy looking window box and one that will fill in thick and lush. Do not skip it!!
I prefer to use a slow release fertilizer such as Miracle-Gro® Shake ‘N Feed All Purpose Plant Food. I’ve used it for years and always been happy with the results! I’ve also used water-soluble fertilizer like Miracle-Gro® Water Soluble All Purpose Plant Food which I just add to a watering-can every couple of weeks and then water as normal.
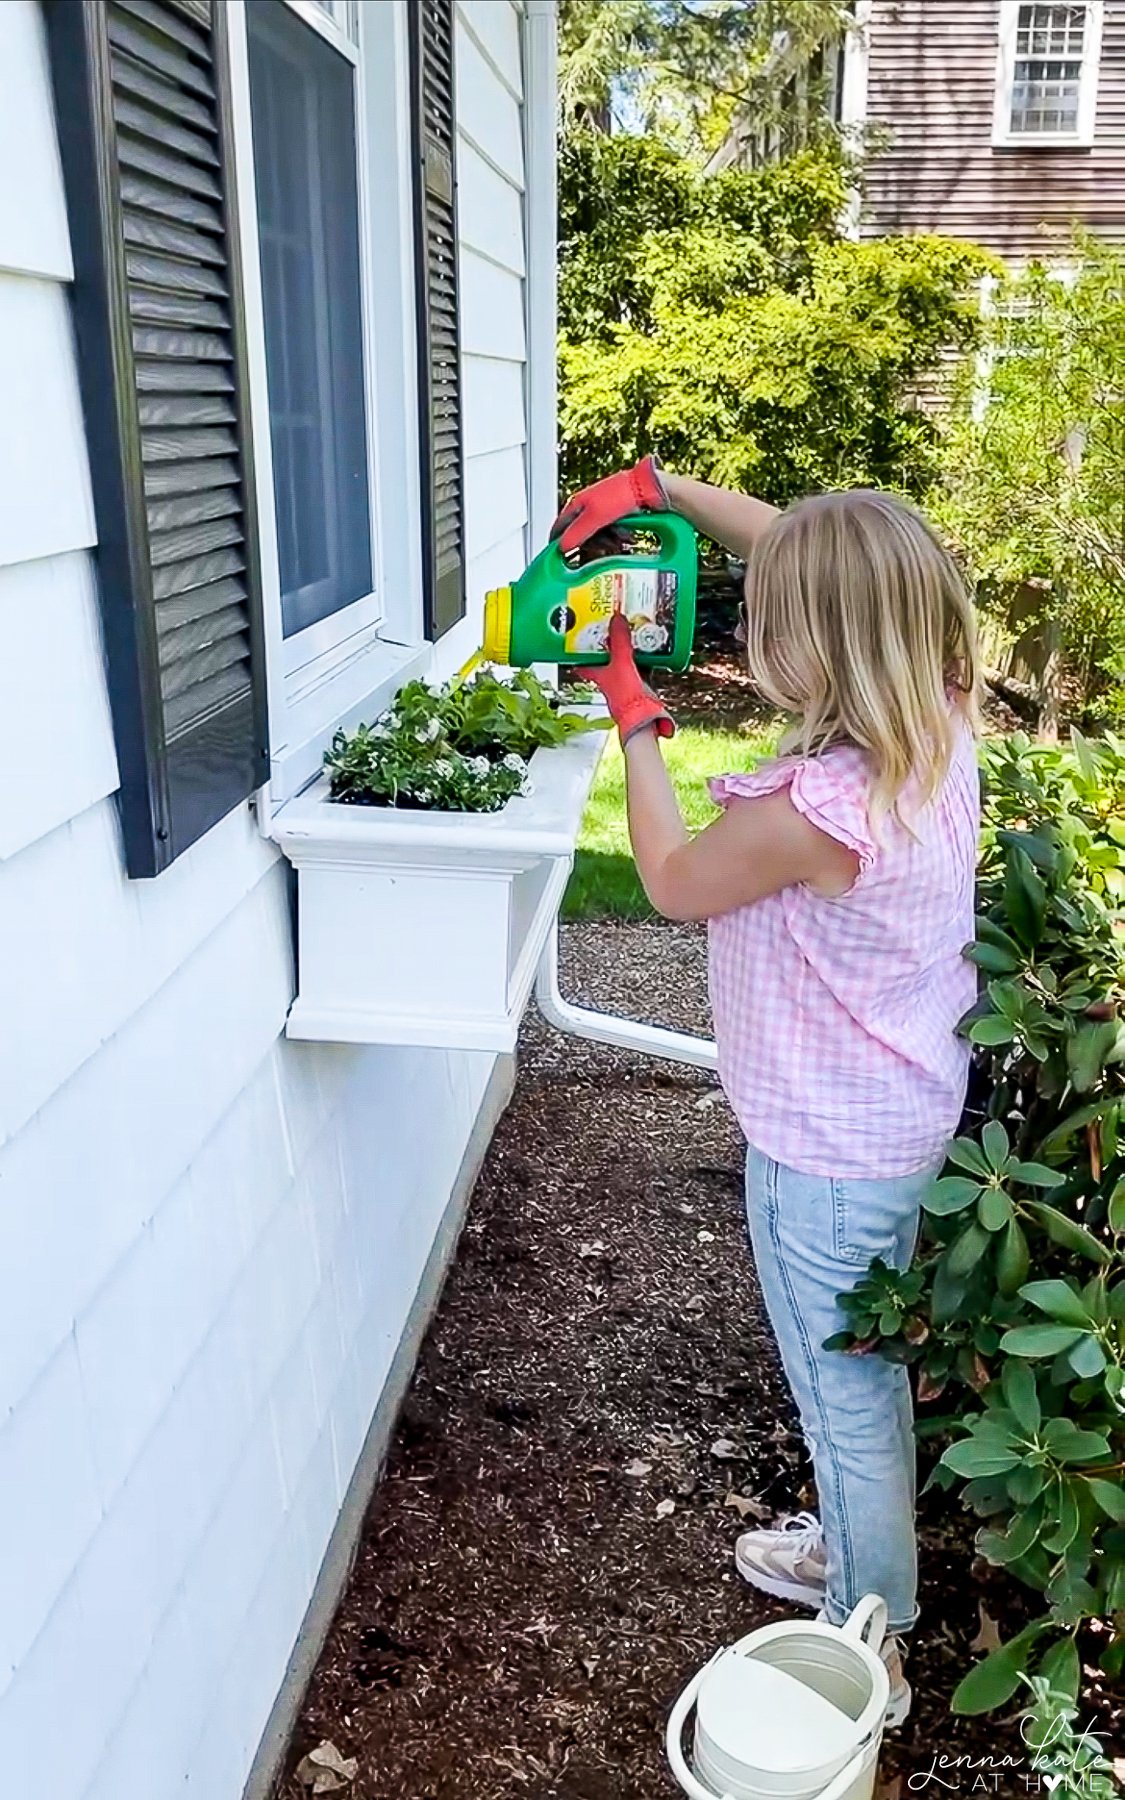
Be sure to follow the instructions on the package carefully, as over-fertilizing can damage your plants.
Trimming & Deadheading
Trimming your plants is important to keep them looking neat and tidy. If your trailing plants start to look “leggy’ (overgrown), then don’t be afraid to trim them back. They will thank you with new, bushier growth. Be sure to use sharp, clean scissors or pruning shears to avoid damaging your plants.
It’s also incredibly important to deadhead your flowers regularly to encourage new blooms. For most flowers, you can simply pinch off the bloom. For geraniums, you’ll need to pinch off at the node or joint.
A few other things you can do to keep your window boxes looking their best all season long:
- Remove any dead or diseased plants promptly to prevent the spread of disease.
- Clean your window box periodically to remove debris and prevent pests.
- Consider using a self-watering container to make watering easier and more efficient.
GET WHAT YOU NEED

Now are you excited to plant your own window boxes? If you have a particular favorite window box flower/plant combinations for spring and summer plantings, I’d love to know about them!