Content may contain affiliate links. When you shop the links, I receive a small commission at no cost to you. Thank you for supporting my small business.

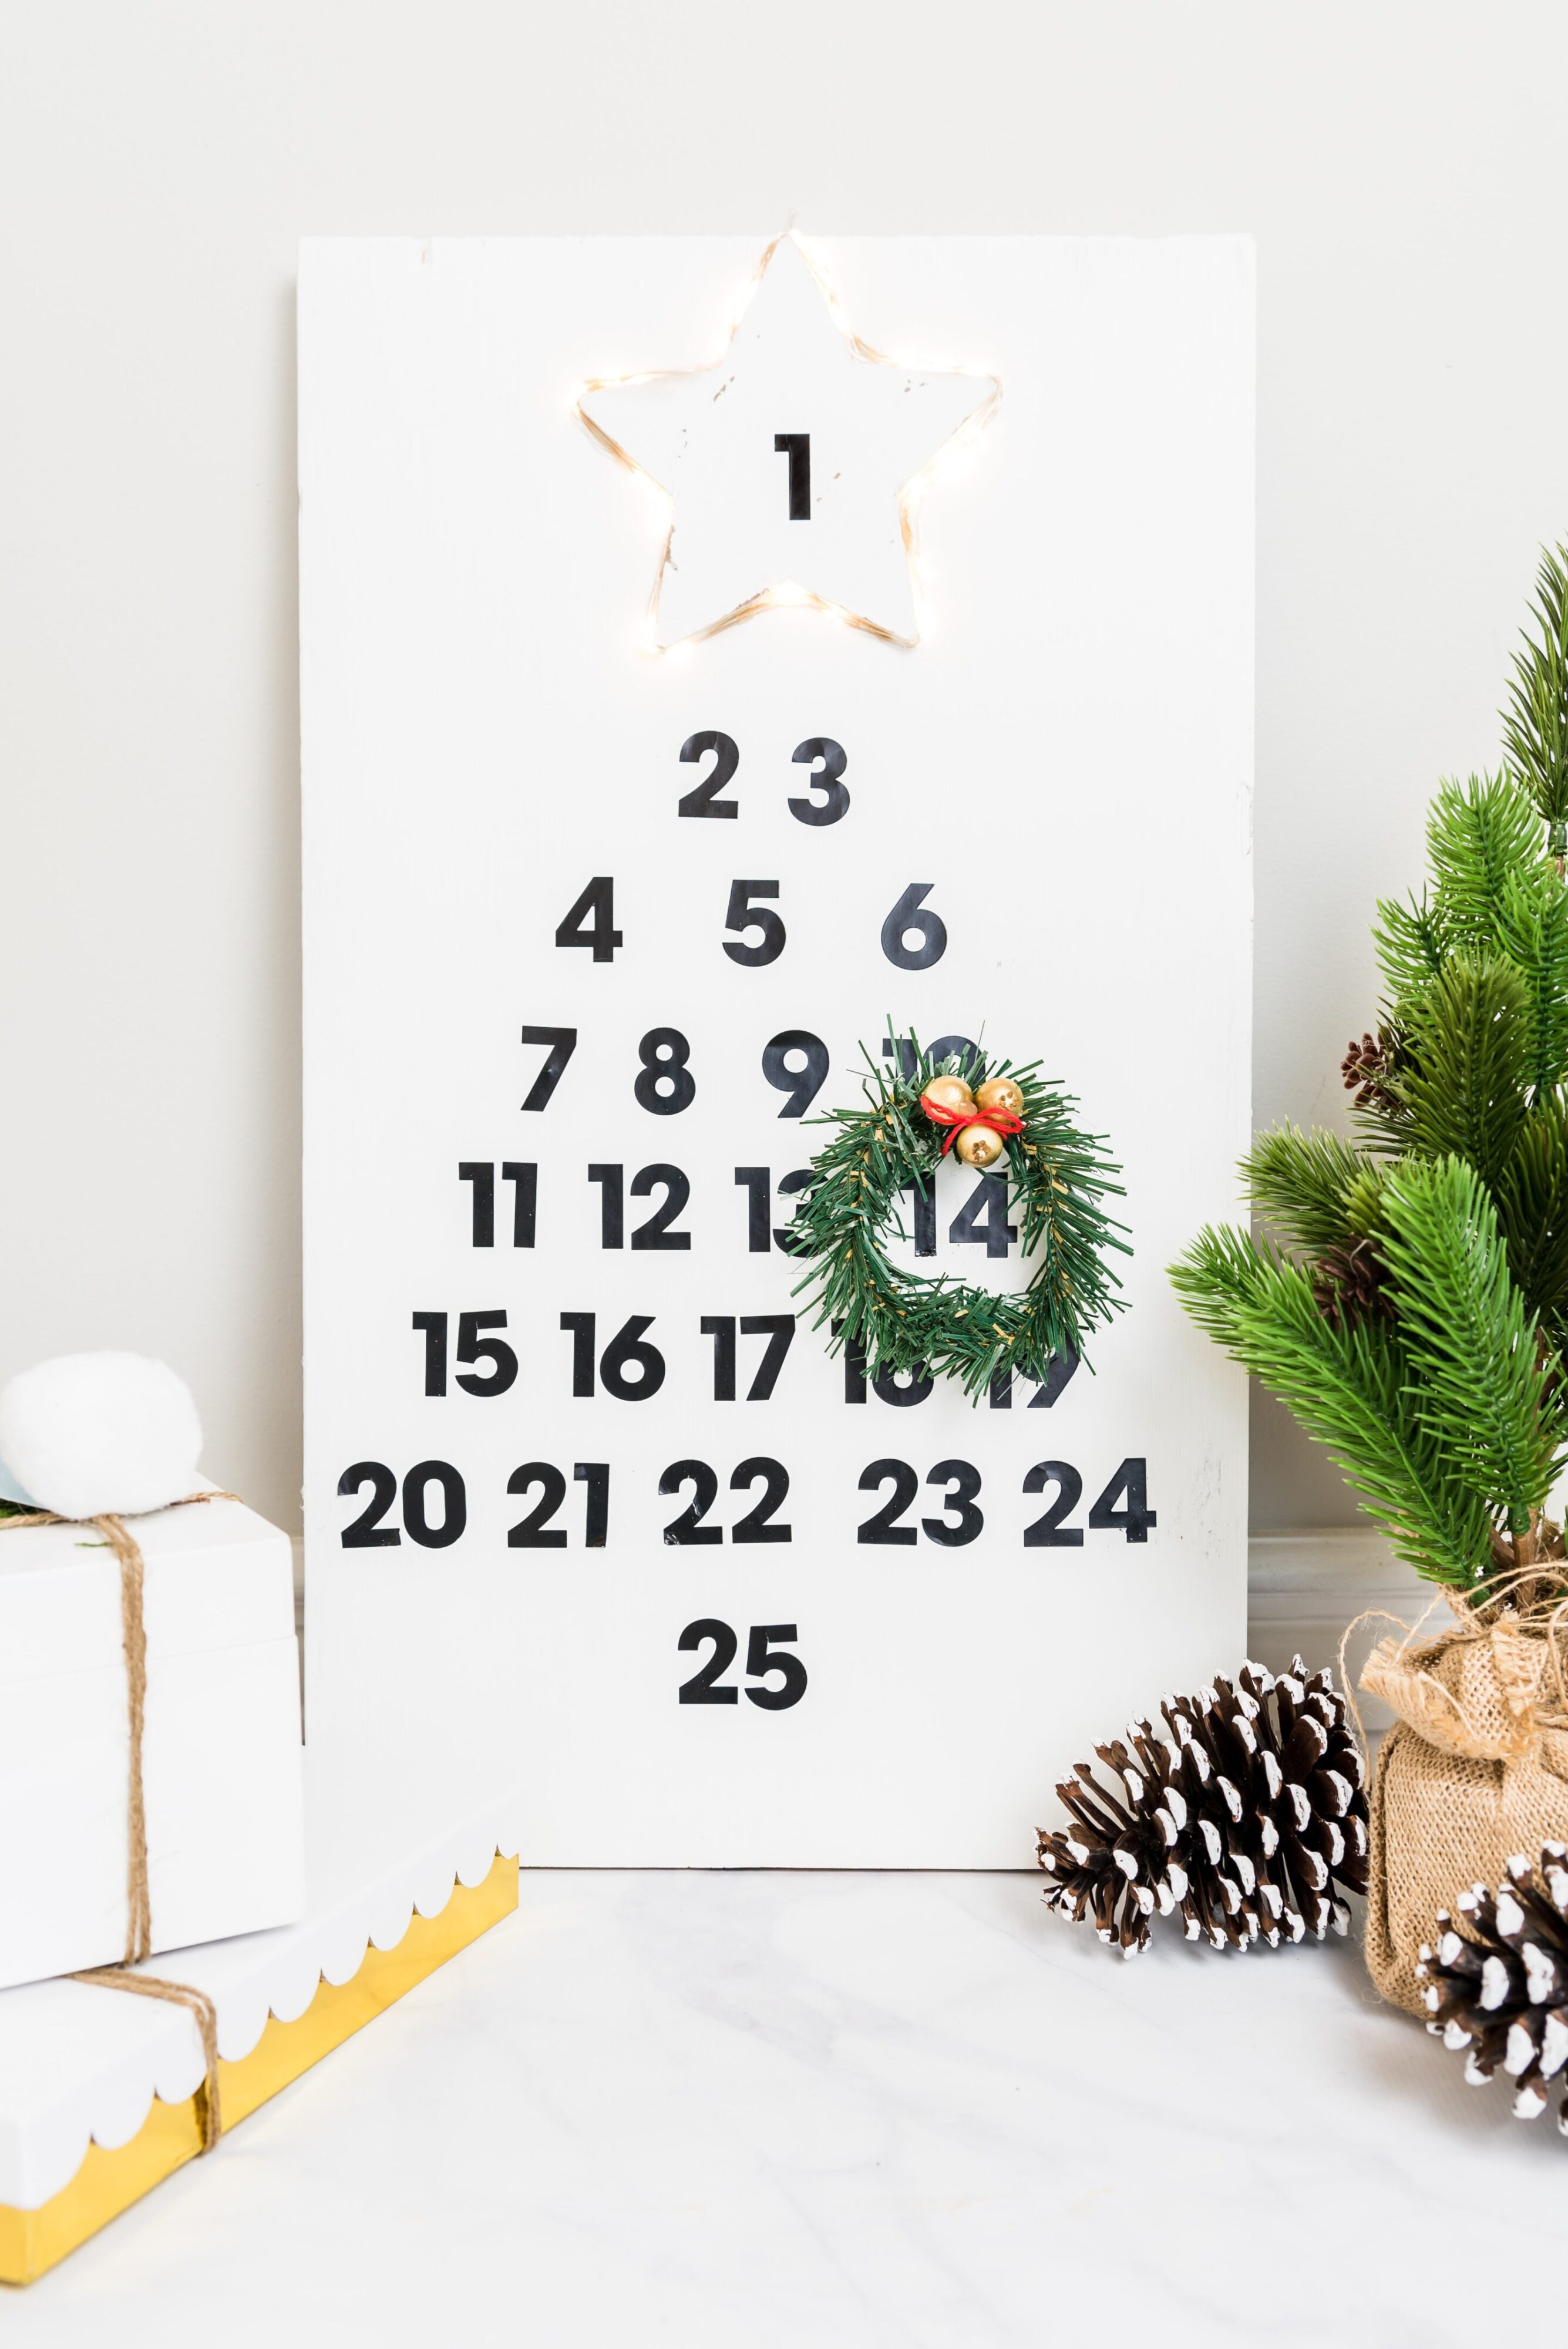
Learn how easy it is to make your own DIY Wooden Countdown Advent Calendar for Christmas with this simple tutorial. In fact, it’s so quick and easy that even the kids can help make their own!
Hands up if you love a simple DIY that not only looks pretty (and serves a purpose!) but that the kiddos can help with. I know I do! This project is easy enough for your children to join in on the fun of making their own calendar.
A wooden advent calendar is a great alternative to traditional paper calendars, as it can be reused year after year. Plus, it adds a rustic and cozy touch to your holiday decor for little to no additional cost. Creating your own wooden advent calendar is a fun change from the standard chocolate advent calendars or those with little treats and small gifts.
The great news? You don’t need much to put this one together! Gather your supplies and dive into this DIY Advent Calendar!

Materials:
- A large piece of wood, wooden palettes glued together, or a plywood board
- White paint
- Number stickers
- Wooden star
- Small set of twinkle lights
- Hot glue gun
- Small piece of faux garland (I cut a piece off a dollar store garland)
- Glue dots
You can get creative here with the paint color, vinyl numbers, type of faux garland, and any other holiday decor you’re just dying to use on your Christmas calendar!
How to Make the DIY Advent Calendar
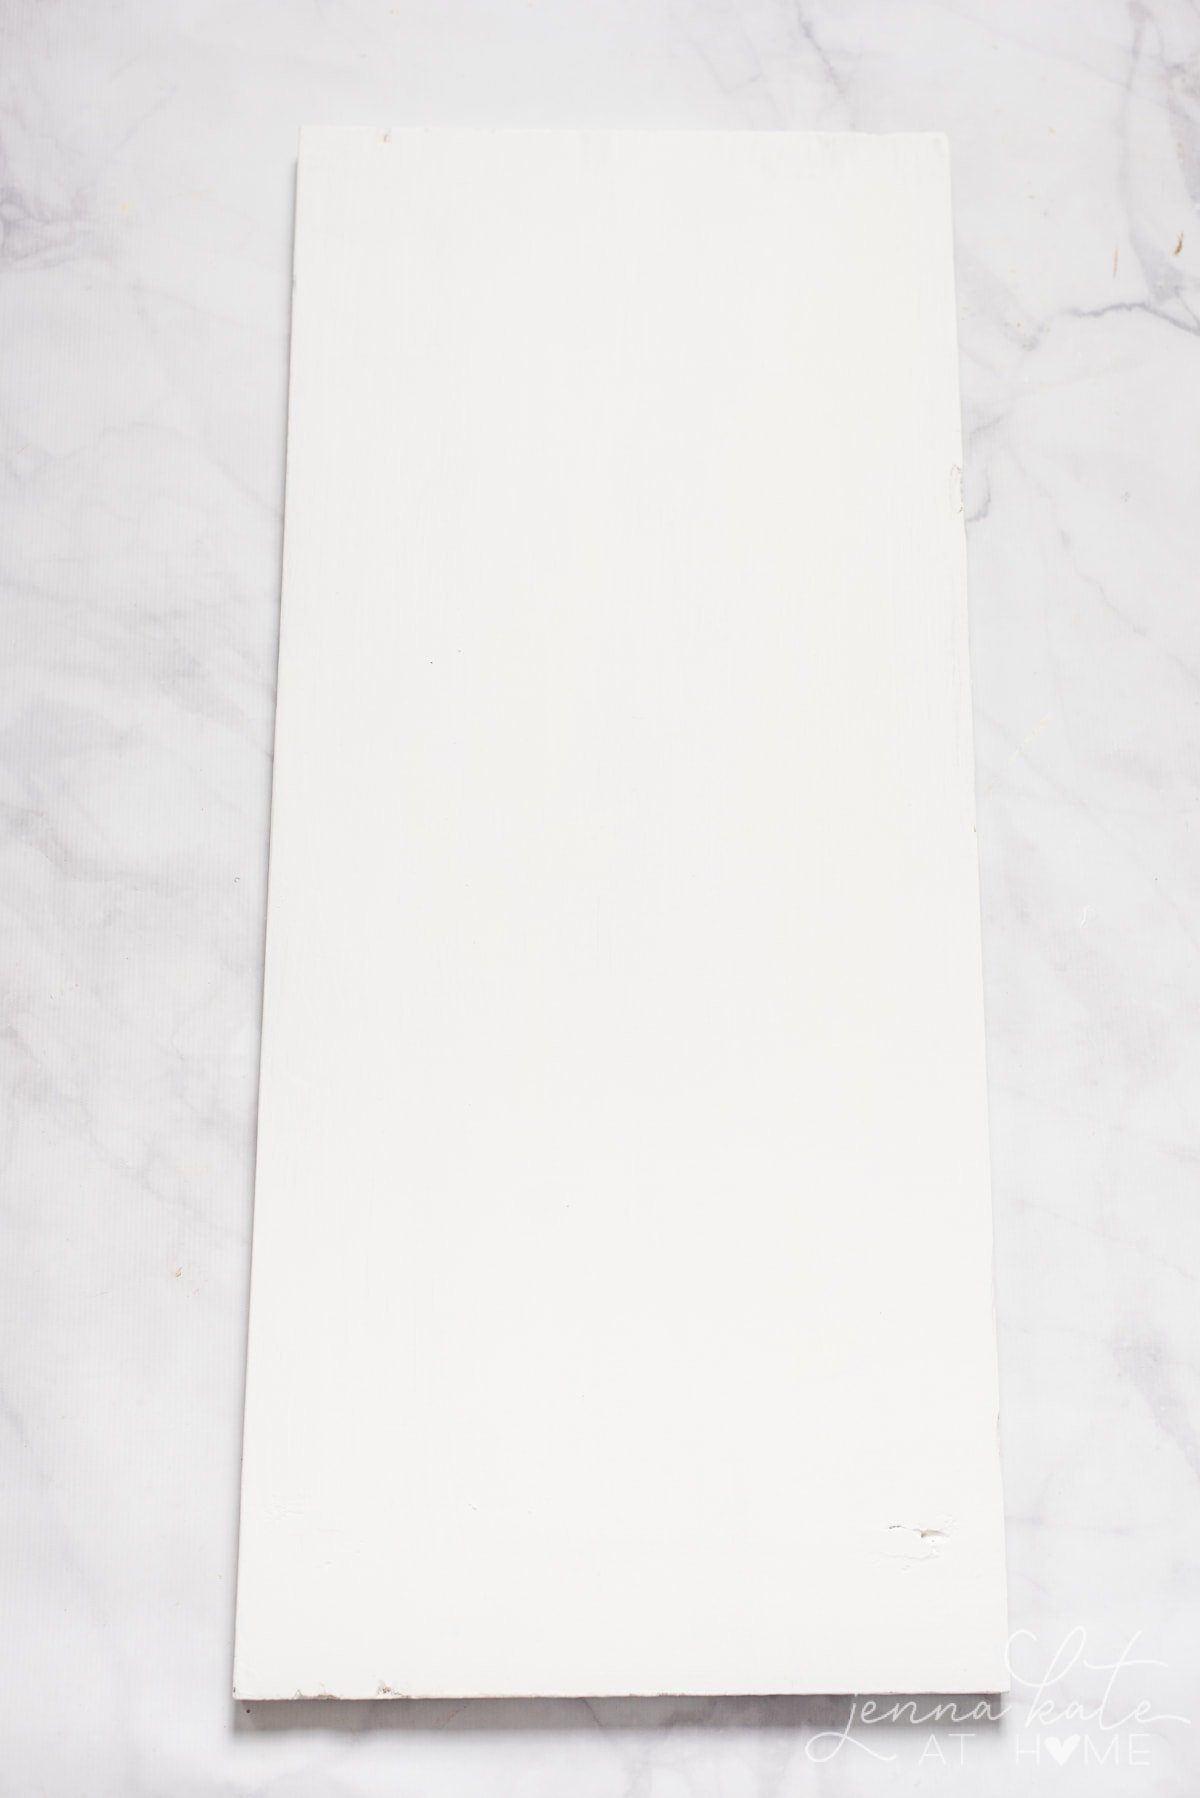
Step 1 – Paint the Wood
Start with a large piece of wood. It can be any size but mine is approximately 16 inches by 24 inches. Long pieces of pine, cedar, or birch are solid wood choices for this project. But, any wood should work! You may even have some old pallets of wood you can repurpose.
Ideally, you’d like something with some durability because you’ll be pulling this advent calendar out year after year.
Paint the wood white with a quality acrylic paint. You could also use your favorite wood stain for a farmhouse feel or black chalkboard paint. The beauty of DIY projects is you can customize them to fit your own home and style – so feel free to explore other color options! Once you have applied a couple coats of paint, allow to dry for several hours.
Additionally, you may choose to skip this step altogether and leave it as raw wood. This will provide a much more minimalistic look and simplify the project further. A wooden calendar is a classic and fun project regardless!
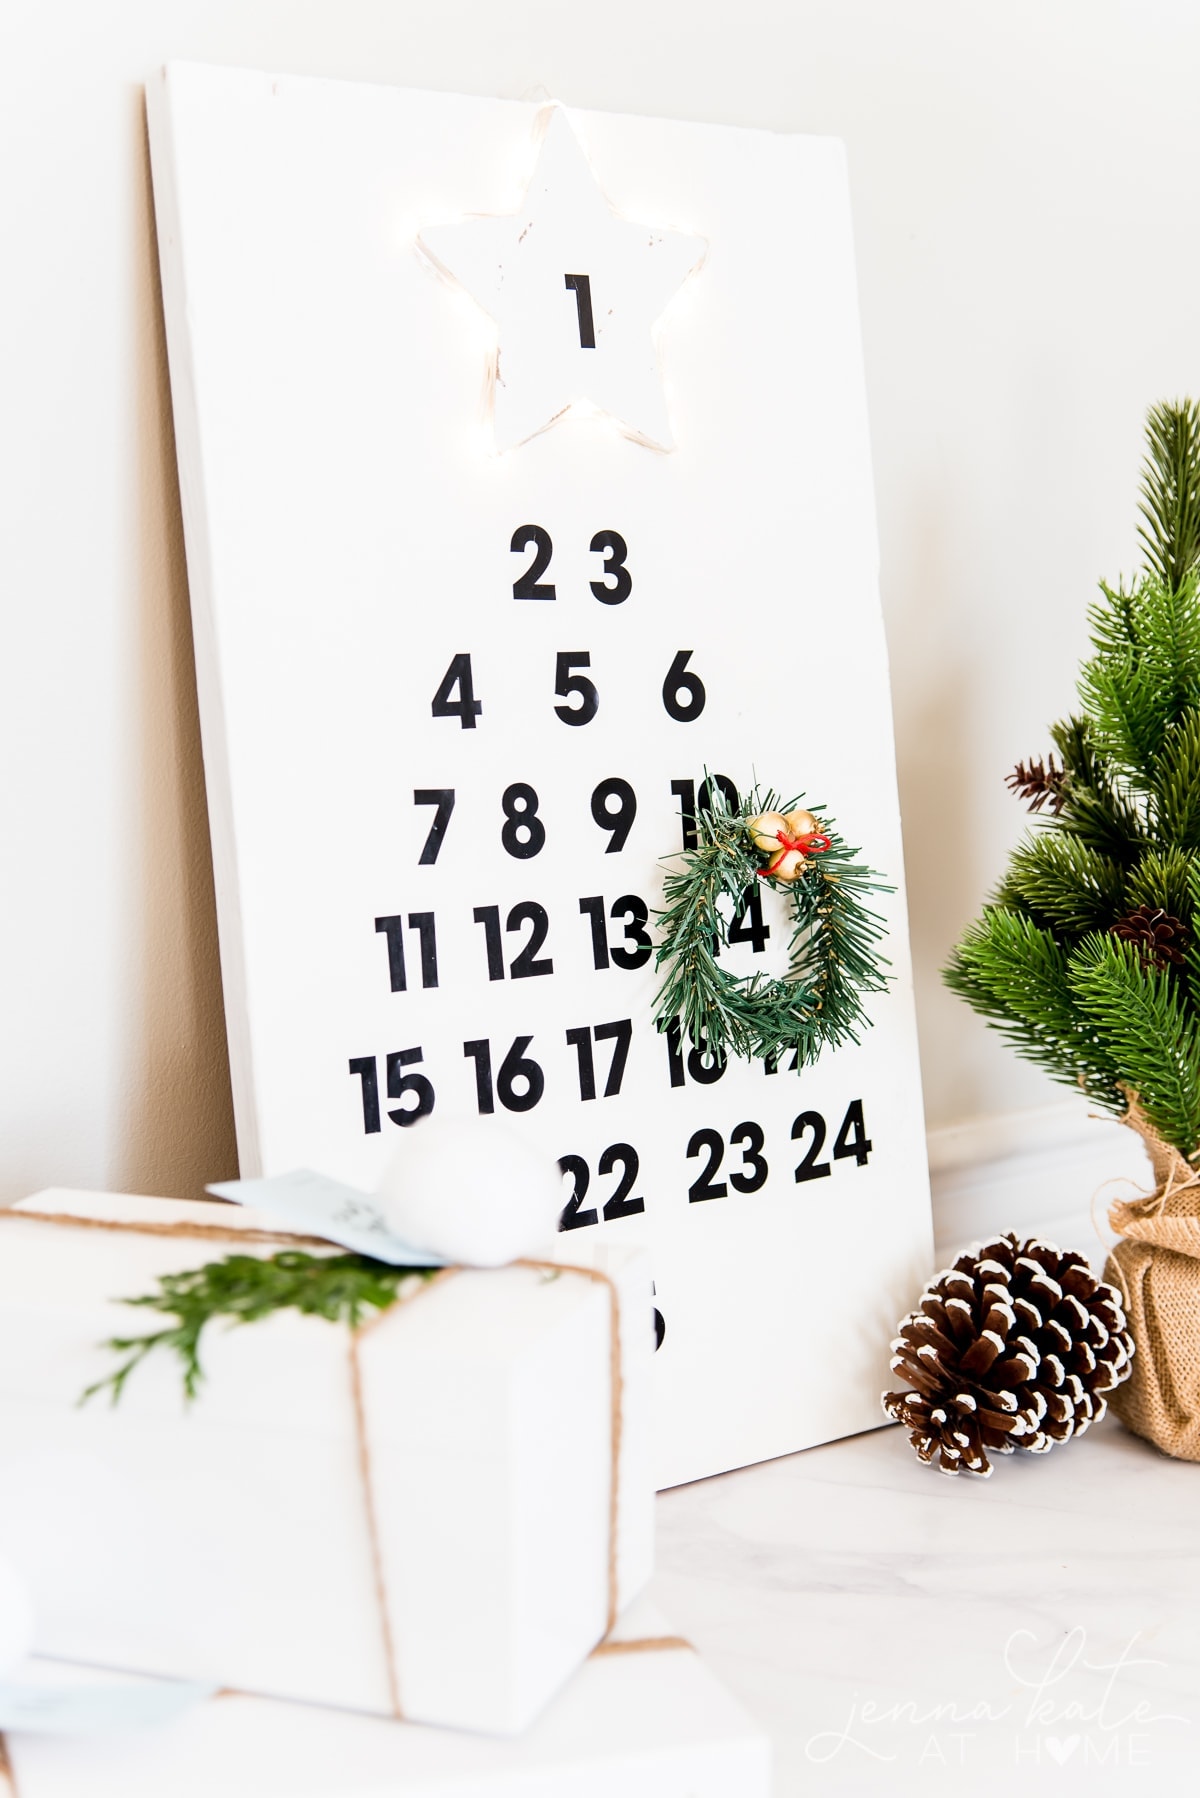
Step 2 – Add the Shining Star on Top
Hot glue the star to the top of the wood, right in the center. You may also use wood glue if it feels strong enough to hold. Stick on a number 1 sticker. This method of attachment avoids nail holes and makes it kid-friendly!
Again, you can customize this by hand painting the numbers, using textured stickers, using different colors, etc. I think the stickers work great however, and are super easy to apply.

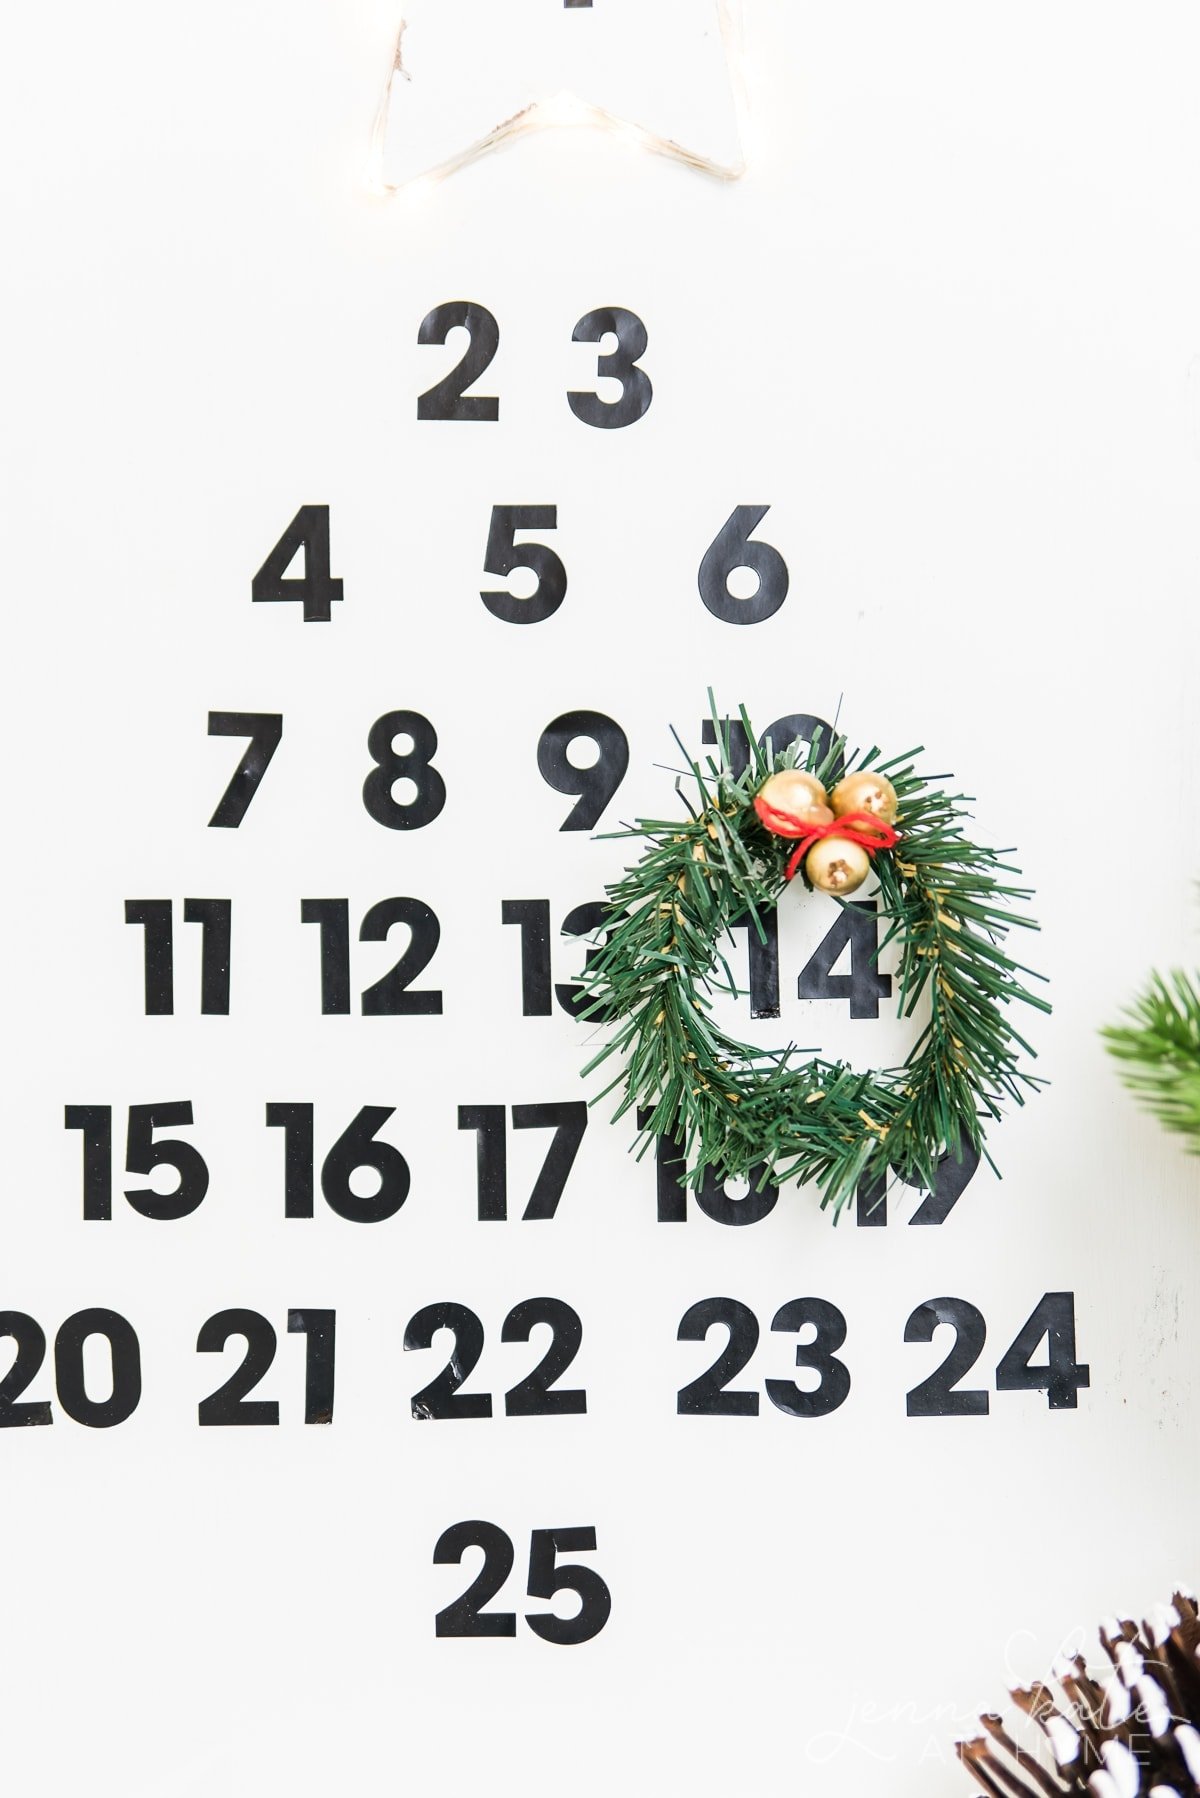
Step 3 – Place the Advent Calendar Numbers
Place numbers 2 – 25 onto the board just like classic advent calendars display. The aim with the rest of the numbers is to create the shape of a Christmas tree. I recommend placing the outside numbers first to get the shape and then putting the middle numbers in. The number 25 creates the base of the tree right at the bottom. This is where the kids might need a bit of help, so be sure and stay close by for this part!
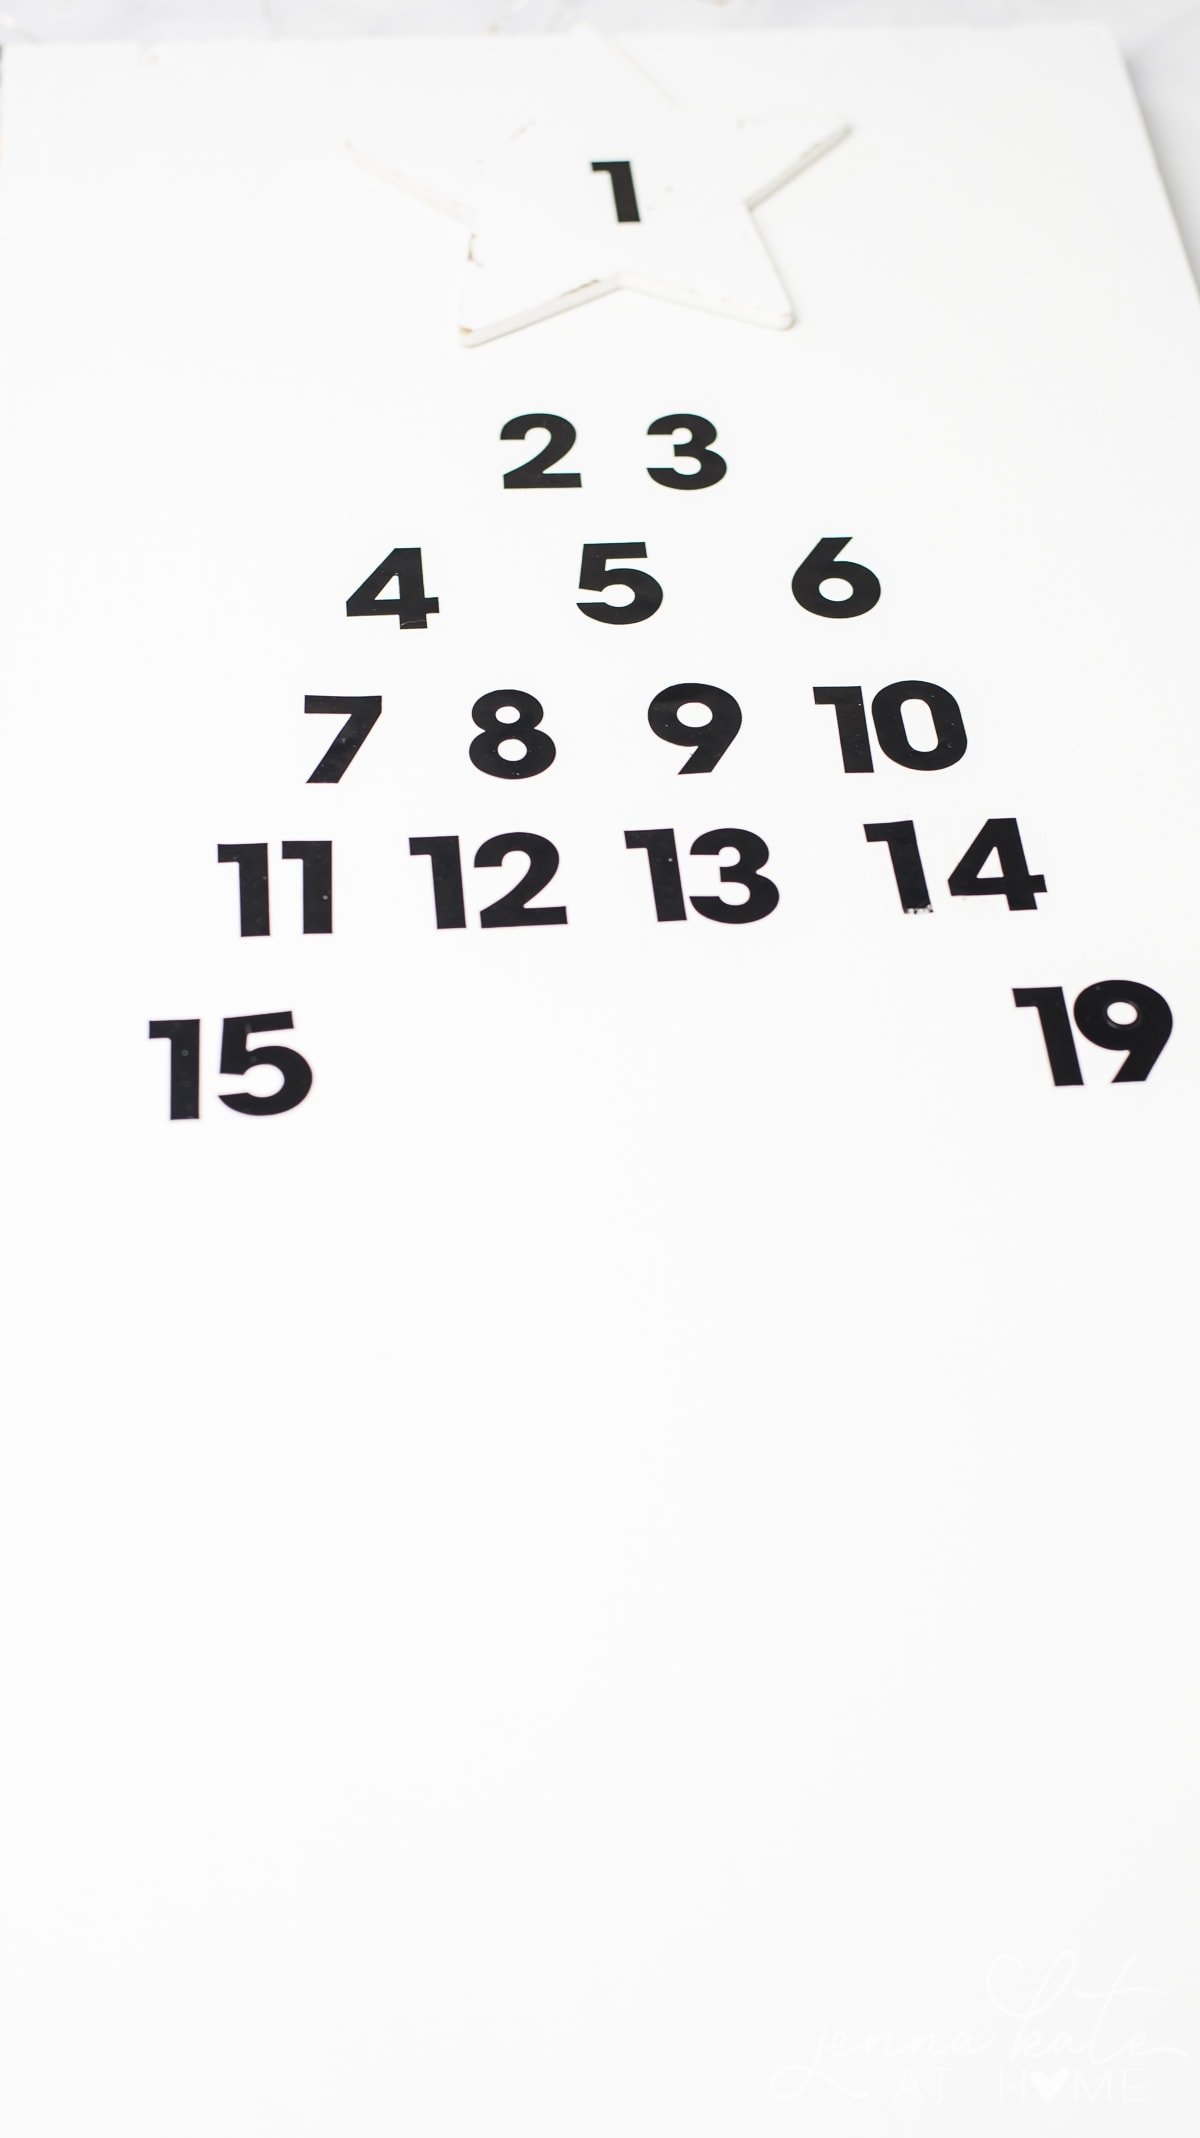
If you want to outline little boxes before you actually stick the numbers down to formulate the tree shape, you can. It doesn’t have to be perfectly precise though. My toddler son helped me stick down the numbers so they are a little bit crooked in places. It adds to the homemade charm in my opinion!
You can also opt to include the family name somewhere on your board and pass it down as a family heirloom. It will be a special treat to pull out each holiday season for years to come.
Step 4 – Light Up the Tree
Wrap the twinkle lights around the star, hot gluing in the corners to secure it. Hang the battery pack behind the wood and hot glue it in place, ensuring you can still access the batteries and the on/off switch.
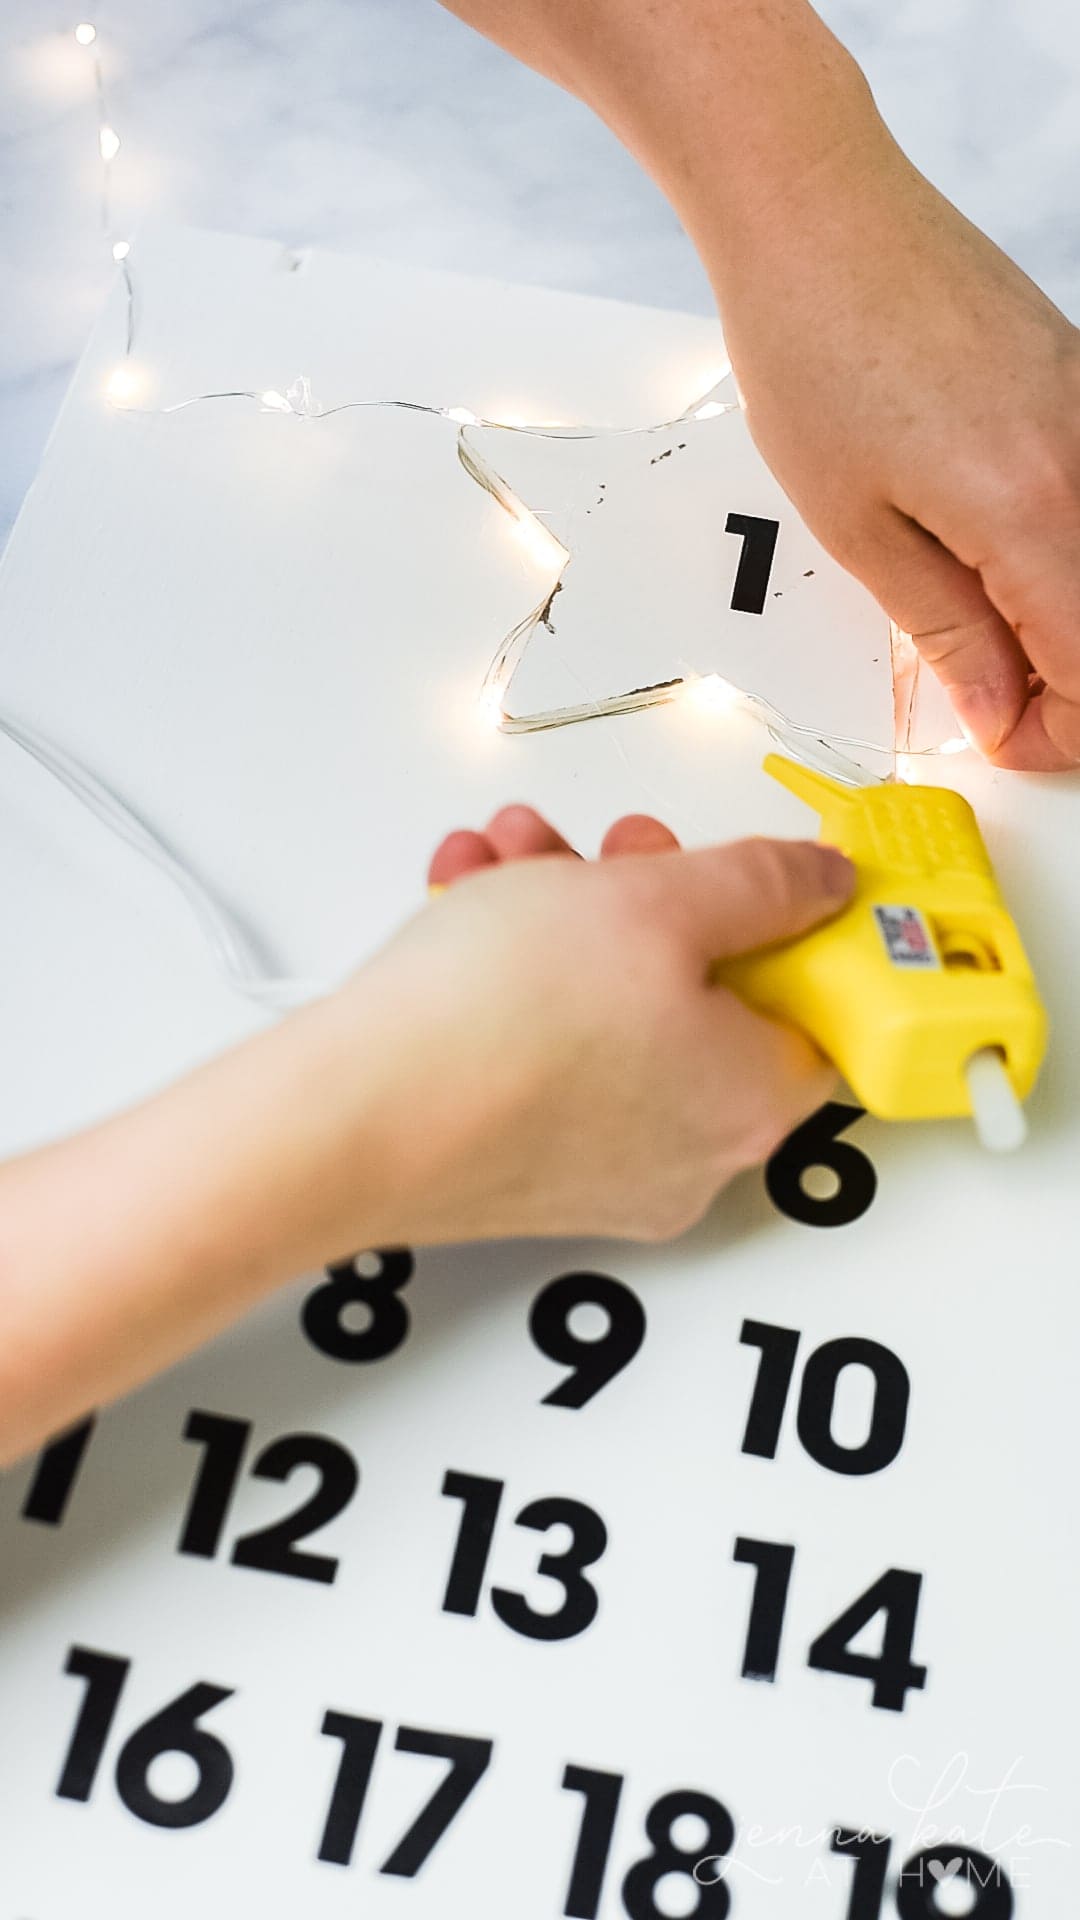
This is the one step a lot of homemade calendars miss – and adds that extra sparkle and shine! The good news is you can easily replace the twinkle lights in a few years if they no longer work, or just swap out the batteries if needed!

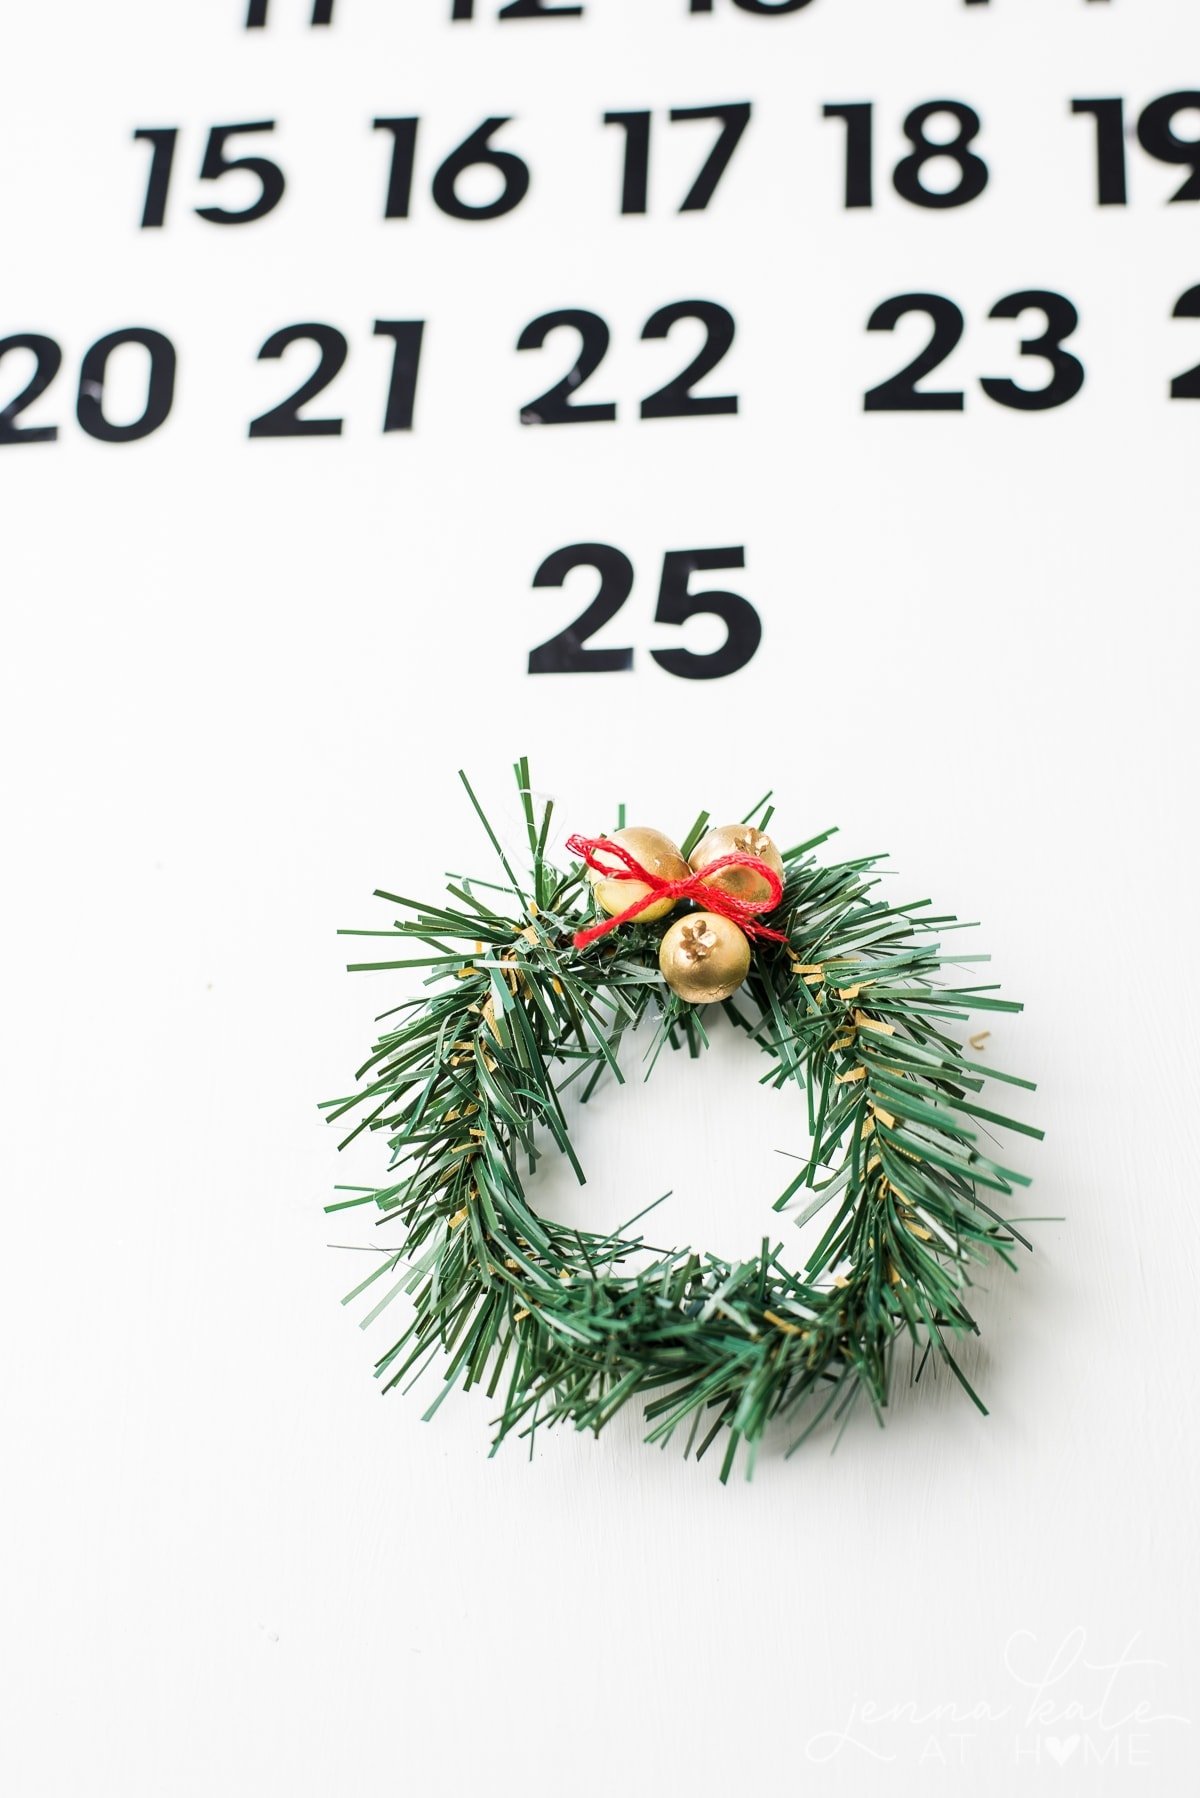
Step 5 – Create the Mini Wreath
Finally, create a mini wreath with a piece of faux garland. Just twist the ends together to create a circle and hot glue some decorations on it. I used red embroidery floss and some berries from a dollar store run.
I’ve also seen pre-made mini wreaths available, so if you find one you love, go for it! This is another tip to cut down on even more time when making your DIY calendar. If you’ve got kids ready to go run and play after a few moments of crafting, the less time you spend the better!
Step 6 – Finishing Touch
Place some glue dots on the back of the wreath so that it sticks to the calendar but is still easily moveable. The closer it moves to Christmas Day, the more excited your house will become! I love displaying ours in the living room so there is plenty of time to view it.
Be sure and let all family members take turns moving the wreath on your fun advent calendar with each passing day as the Christmas countdown continues. Last year we let the boys rotate days and they loved anticipating their next turn!

That’s it! One easy peasy DIY Wooden Advent Calendar that requires only about 30 minutes of hands-on time. Be sure and add it to the list of fun holiday activities! This project is quick and makes for both beautiful decor AND a great homemade gift.
I hope that this step-by-step has been helpful in providing you with ideas and inspiration for creating your own DIY advent calendar.
As you can see, creating your own wooden advent calendar can be a fun and rewarding project that can be enjoyed by the whole family. Whether you are looking to create a traditional design or something more modern and unique, there are plenty of options to choose from!


Wooden Advent Calendar
The count down to Christmas morning begins with a bright wooden calendar, embellished with a tiny wreath for little fingers to grab.
Materials
- A large piece of wood or several pieces of wood glued/braced together
- White paint
- Number stickers
- Wooden star
- Small set of twinkle lights
- Small piece of faux garland (I cut a piece off a dollar store garland)
- Glue dots
Tools
- Hot glue gun
- Paint brush
Instructions
- Paint the entire board and allow to dry for several hours.
- Hot glue the star to the top of the wood, right in the center. Stick on a number 1.
- Place numbers 2 - 25 and try to create the shape of a Christmas tree. I recommend placing the outside numbers first to get the shape and then putting the middle numbers in. The number 25 creates the base of the tree right at the bottom.
- Wrap the twinkle lights around the star, hot gluing in the corners to secure it. Hang the battery pack behind the wood and hot glue it in place, ensuring you can still access the batteries and on/off switch.
- Finally, create a mini wreath with a piece of faux garland. Twist the ends together to create a circle and hot glue some decorations on it.
- Place some glue dots on the back of the wreath so that it sticks to the calendar but is still easily movable.


This is super cute! I love the idea of the sticky dots…smart! xoxo
This would make a great gift and reusable every year! What a great craft project to do with the kids too.
I LOVE this! This is so my style, and totally something that I would make! Love the design :)
Very cute Idea! I love the lights!
Cute! I love the lights on the star!
Such a cute idea! I love the lights you added too. I pinned it to my holiday board so we can make one!
xoxo