Content may contain affiliate links. When you shop the links, I receive a small commission at no cost to you. Thank you for supporting my small business.
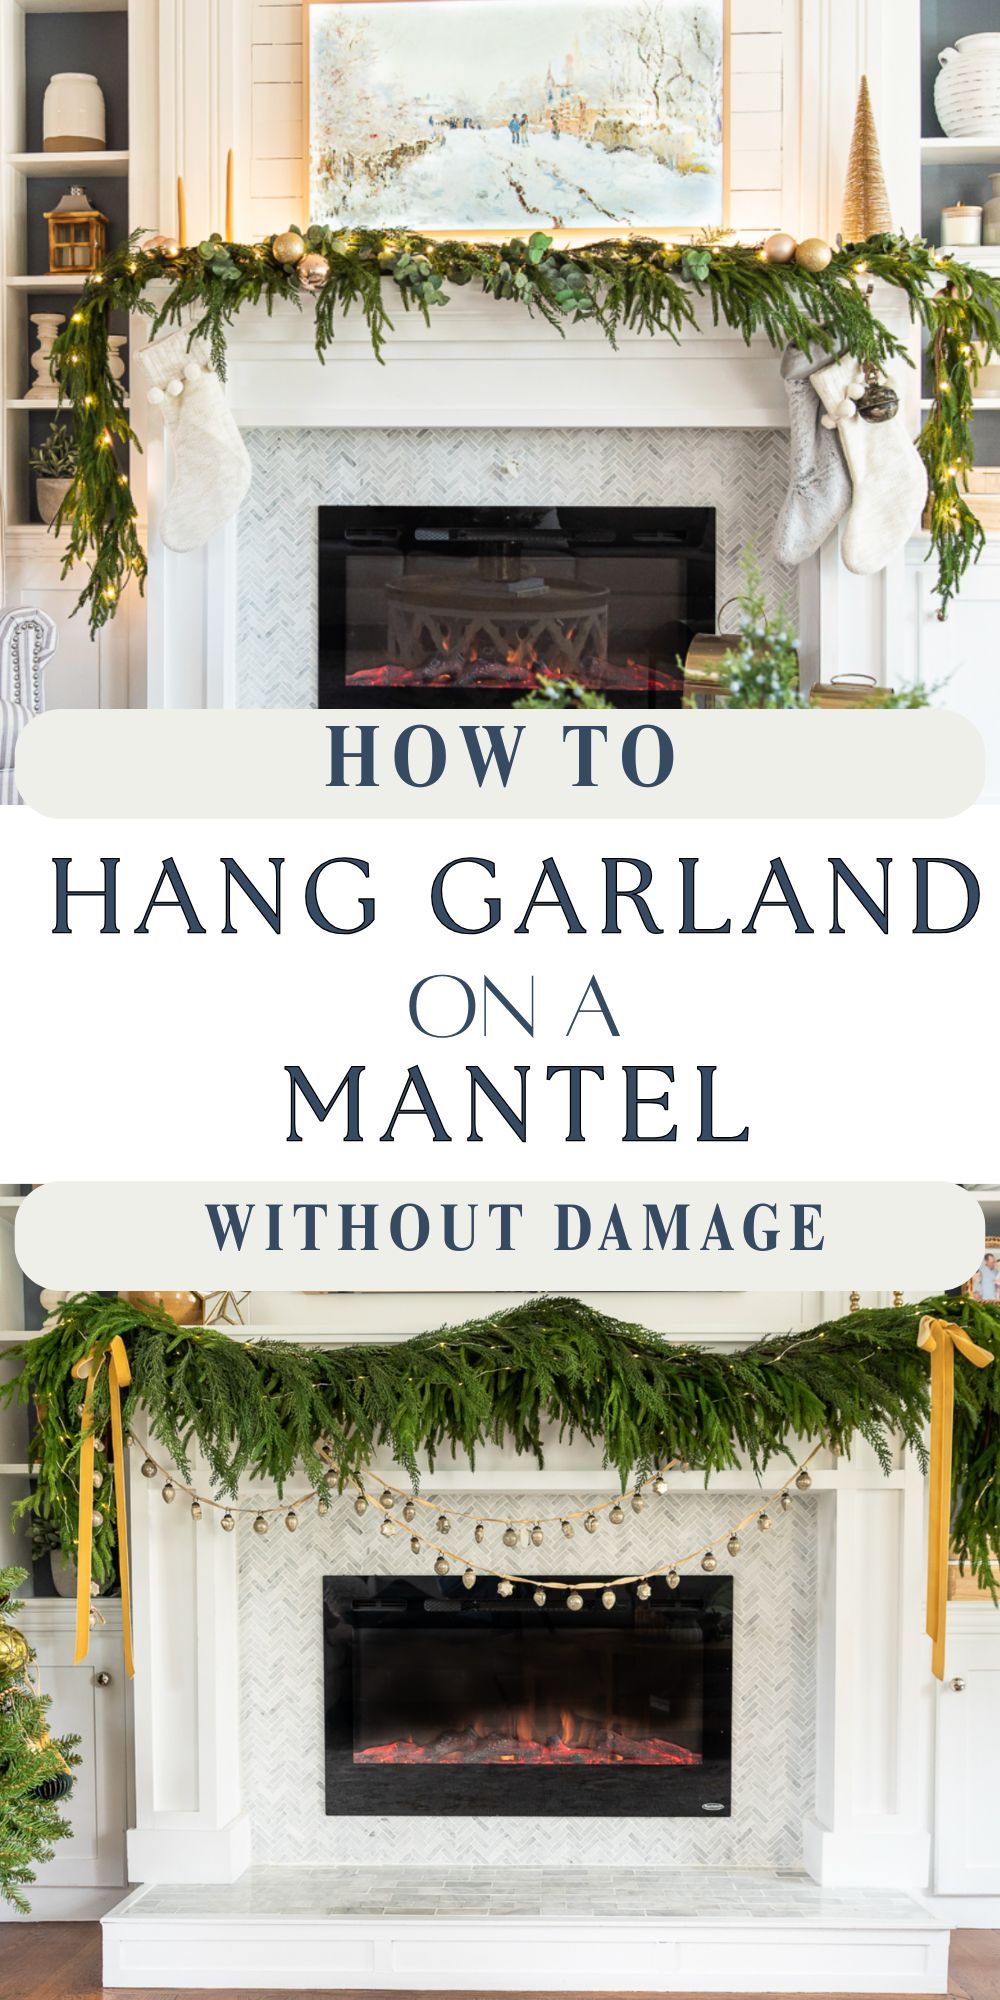
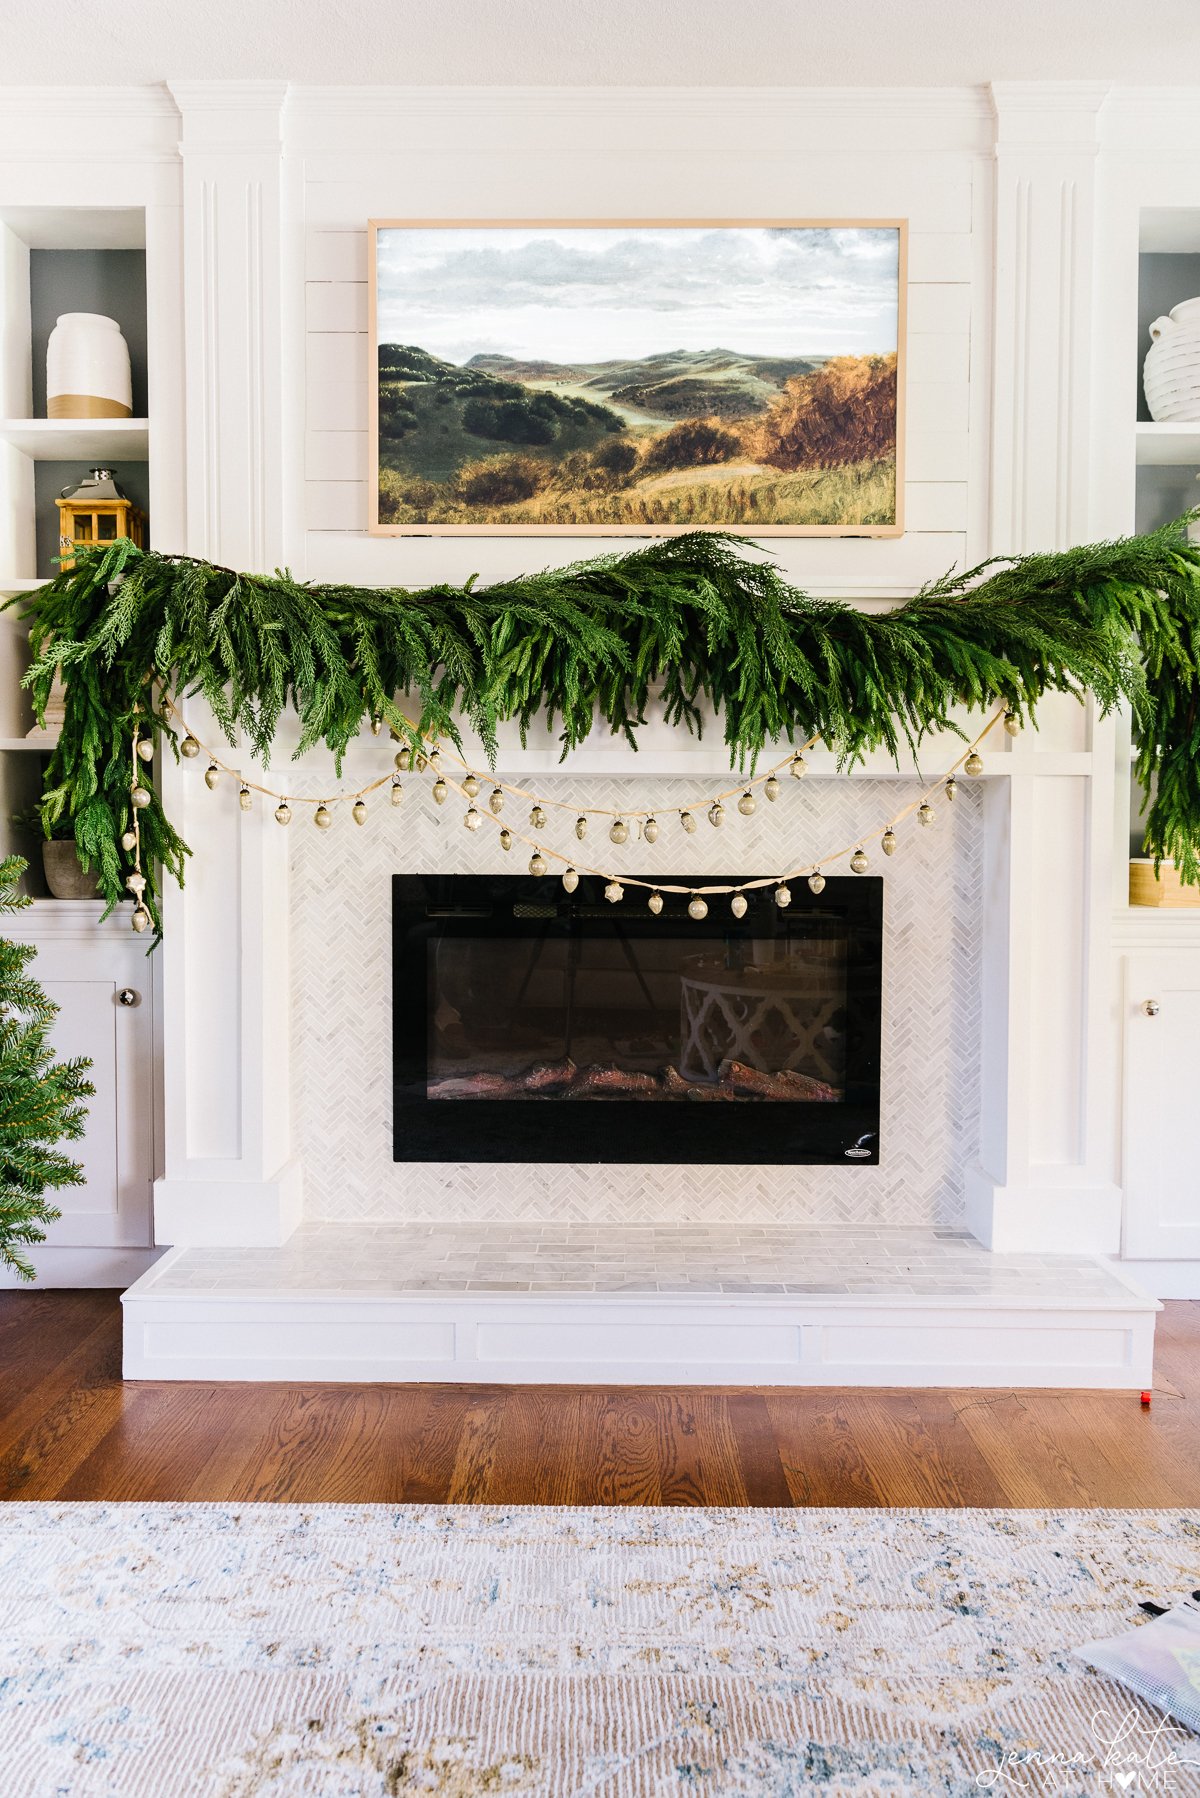
There’s something about a beautifully draped garland that instantly transforms your living room into a cozy holiday retreat. The glow of twinkle lights, a few soft ribbons, and that festive greenery above the fire – it’s pure Christmas magic.
But if you’ve ever tried to hang garland on your fireplace mantel before, you know it’s not quite as easy as it looks online. The tape doesn’t stick, the hooks pop off, and the garland droops the next day. Don’t worry, I’ve been there!
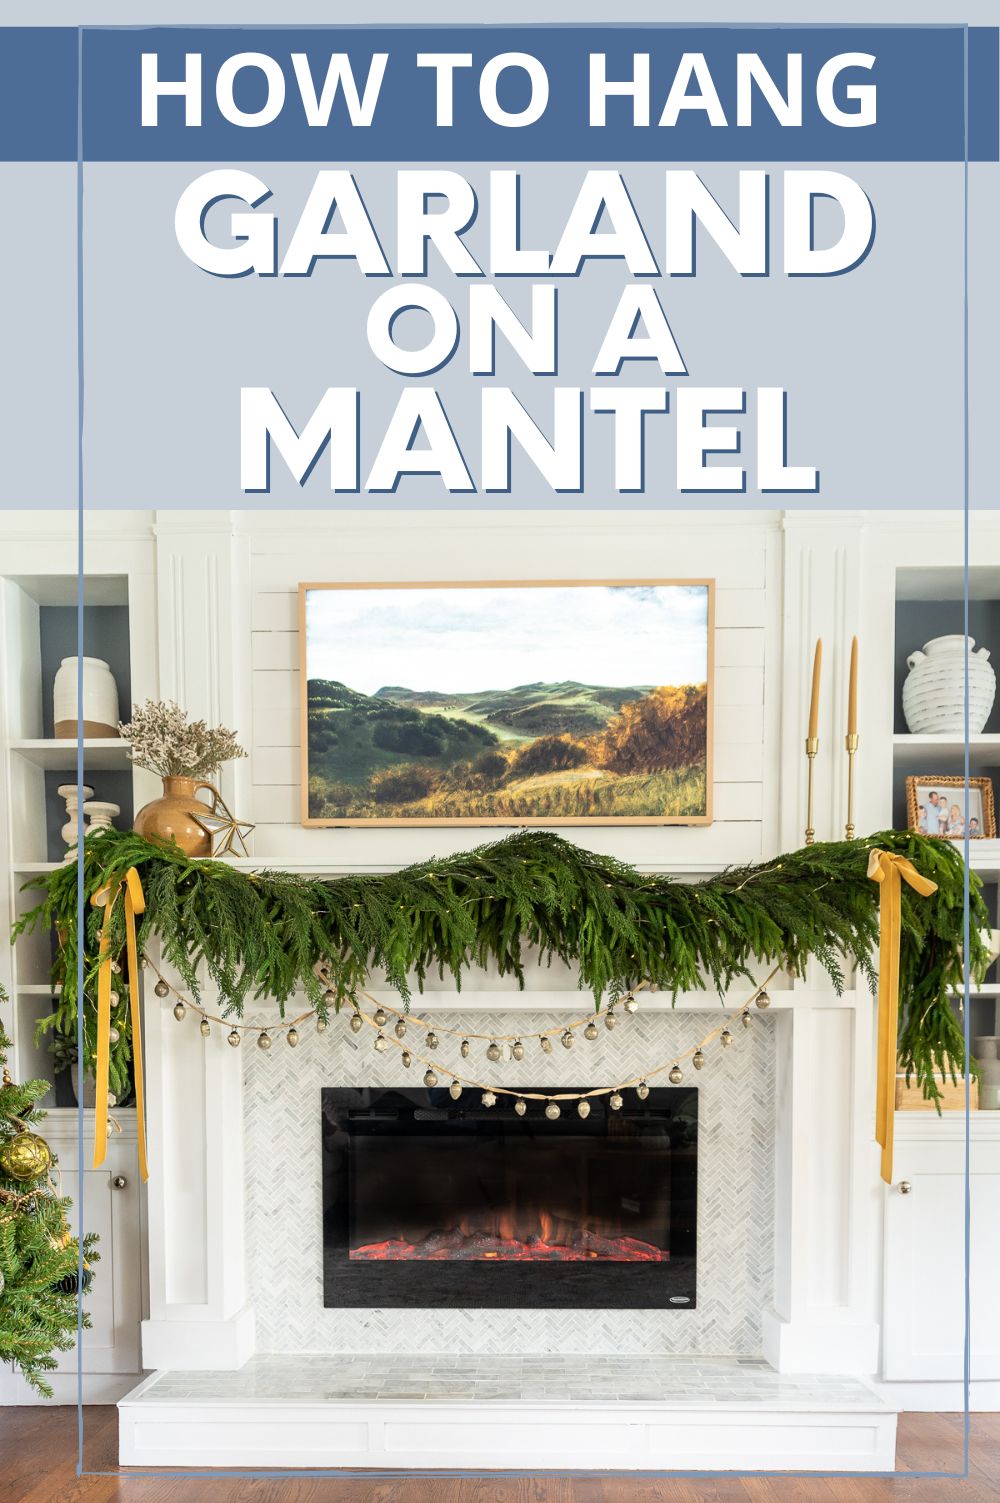
In this post, I’ll walk you through exactly how to hang garland on a fireplace mantel step by step – the foolproof method I use every year to create a designer-quality look that lasts all season long (no falling greenery or peeling paint involved!).
Why I Prefer Faux Garland on the Mantel
Real greenery undeniably smells amazing, it’s messy and short-lived. Pine needles drop everywhere, and by week two, it’s crispy and dull.
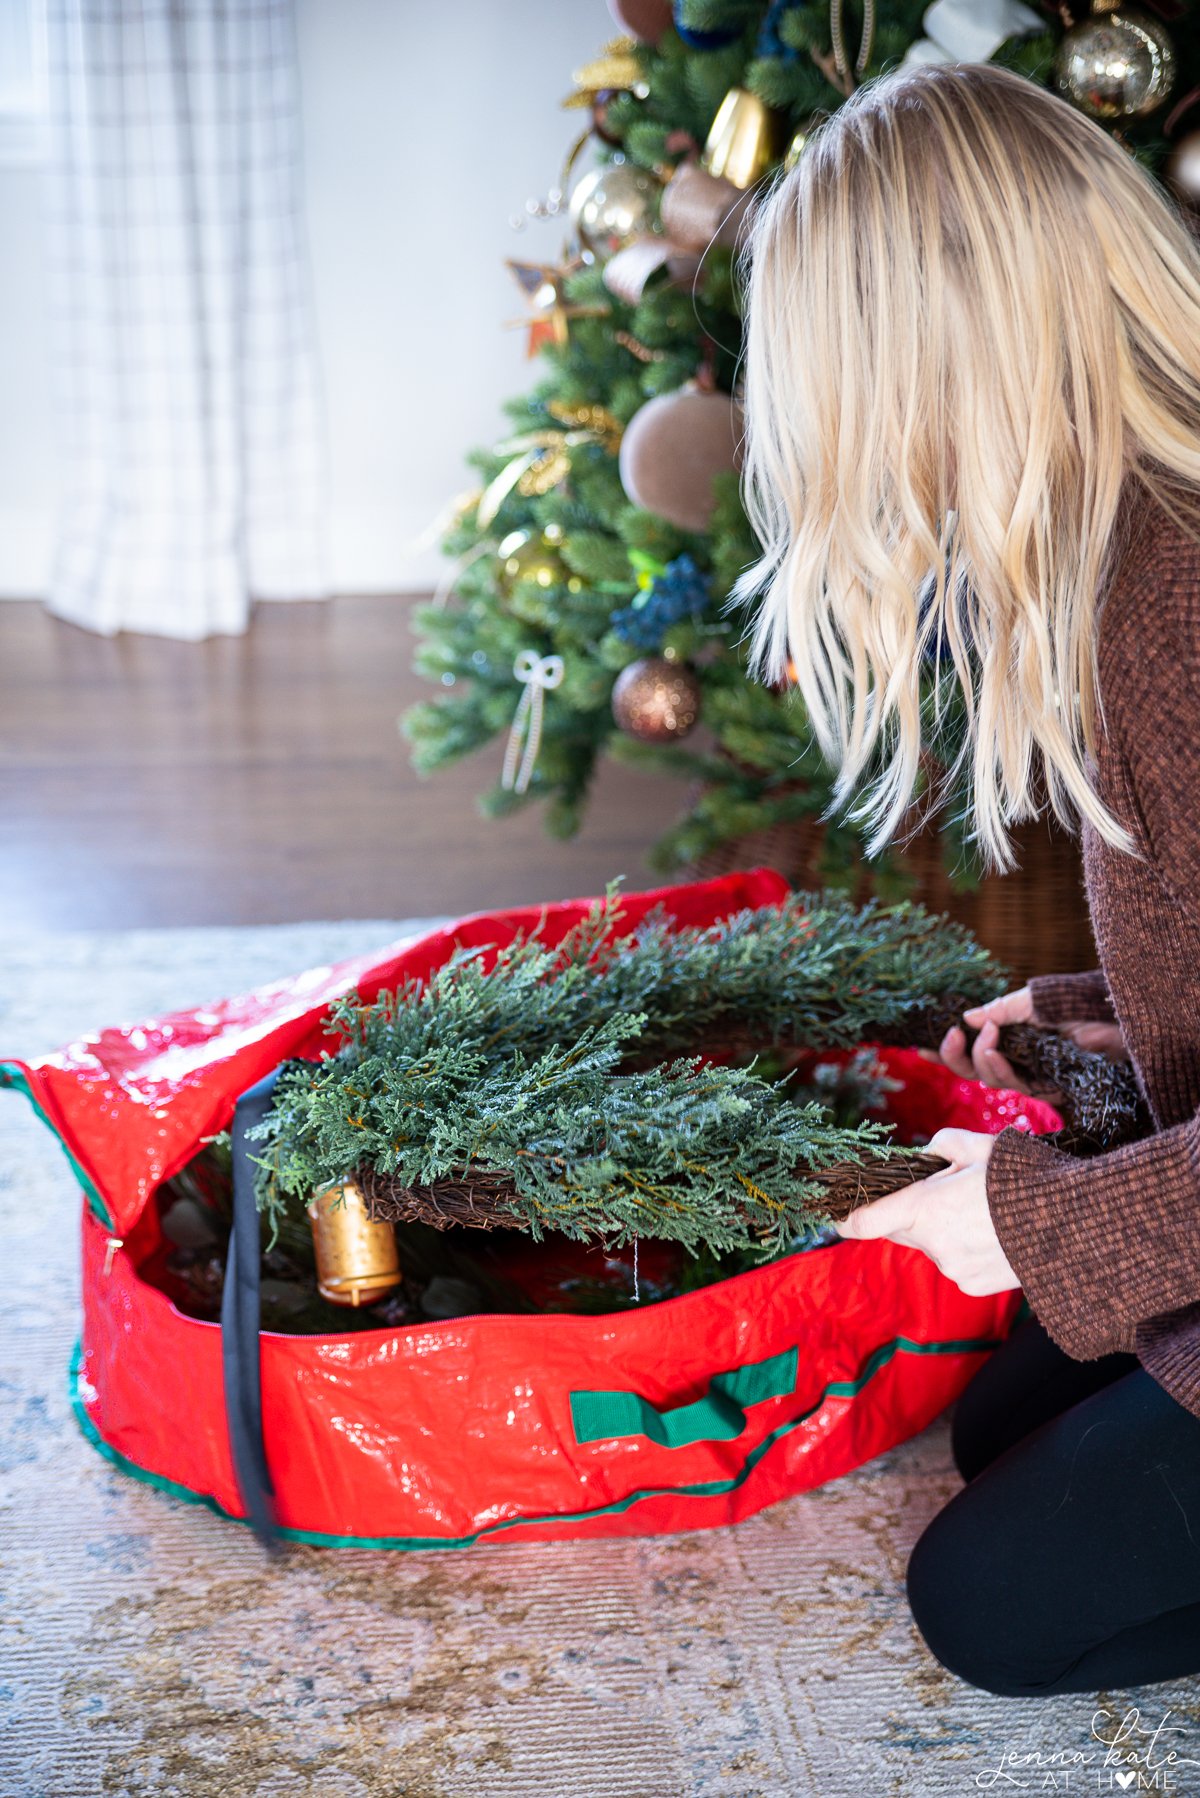
That’s why I always recommend high-quality artificial garlands. Once you invest in a few good ones, they’ll last for years – and look just as realistic.
(If you’re still shopping, check out my post on The Best Realistic Faux Garlands for Christmas 2025 – it lists my tried-and-true favorites!)
What You’ll Need
To achieve the same look as my mantel this holiday season, you’ll need:
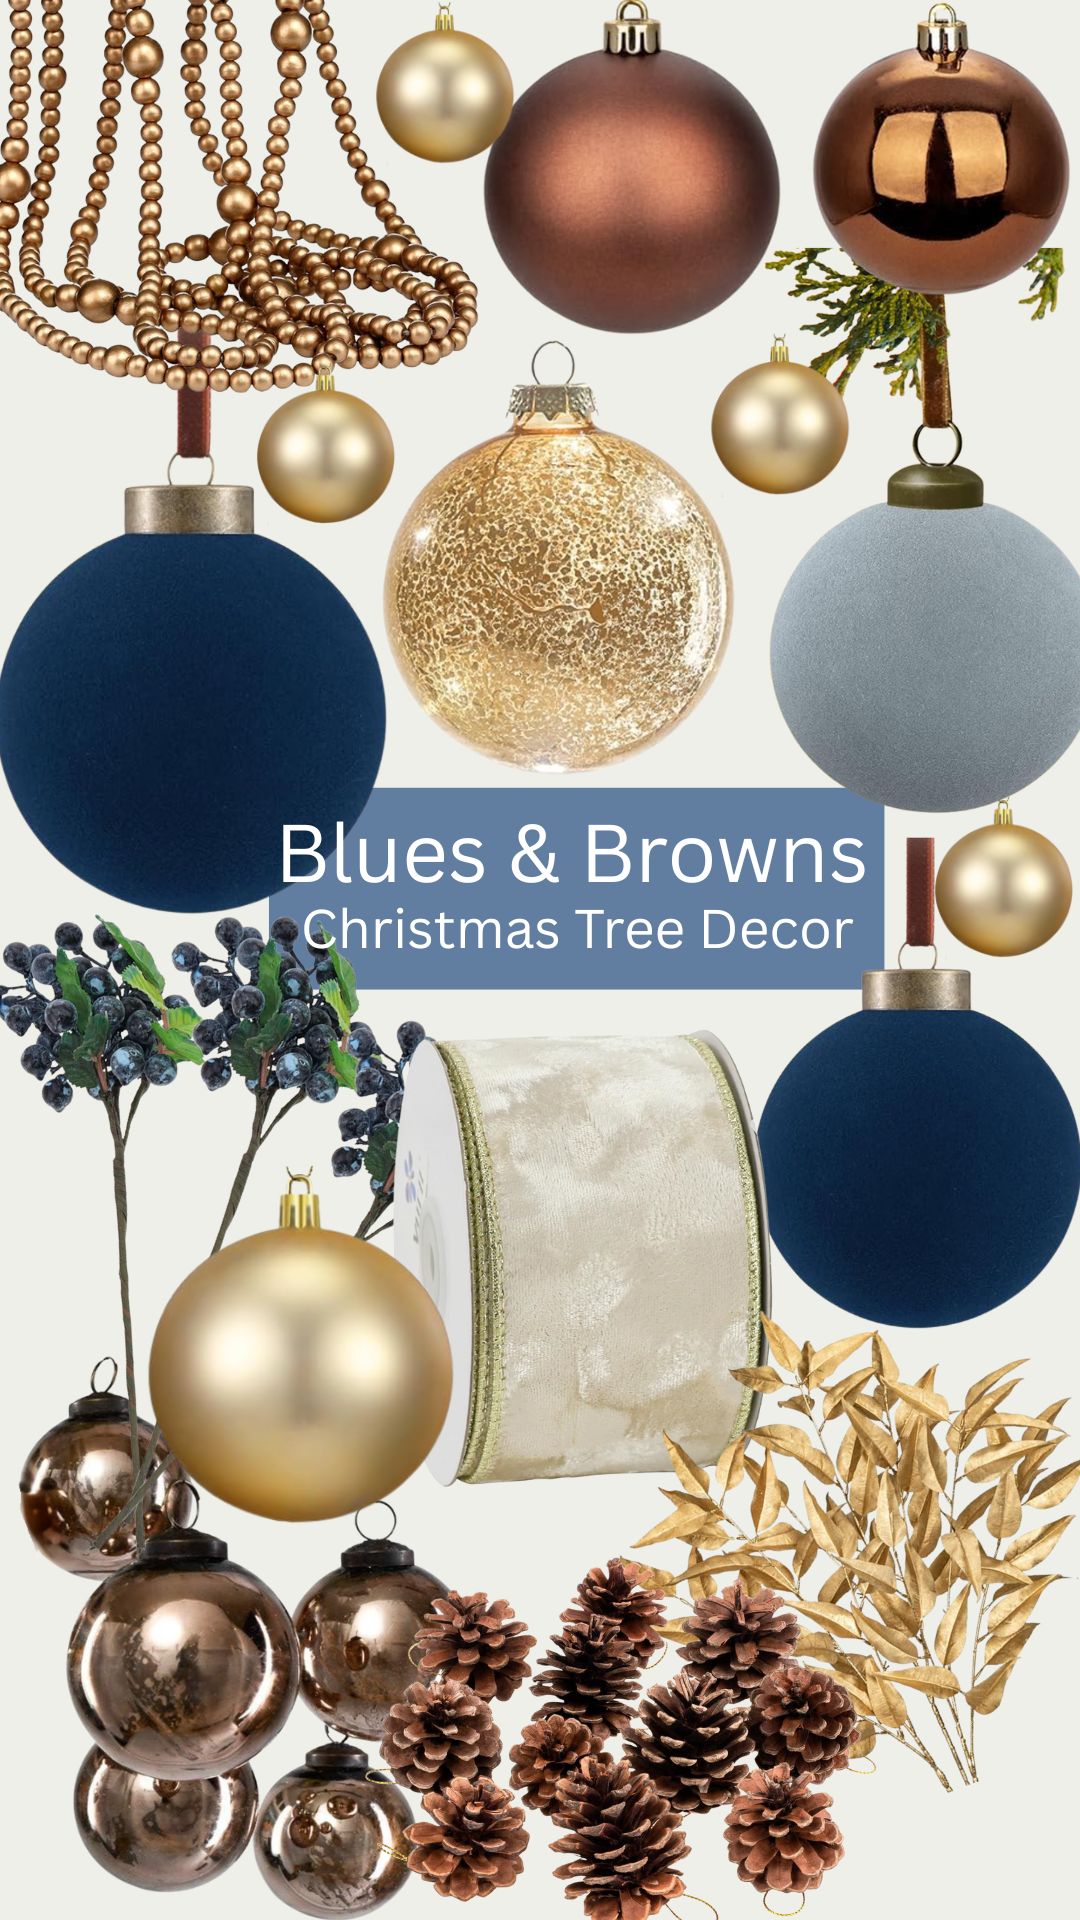
- 4 Norfolk Pine garlands (but any type of garland works)
- 1 Cedar garland
- 3M Wire Toggle Hooks or Medium Sized Command Hooks
- Green Floral Wire or zip ties
- Wire cutters
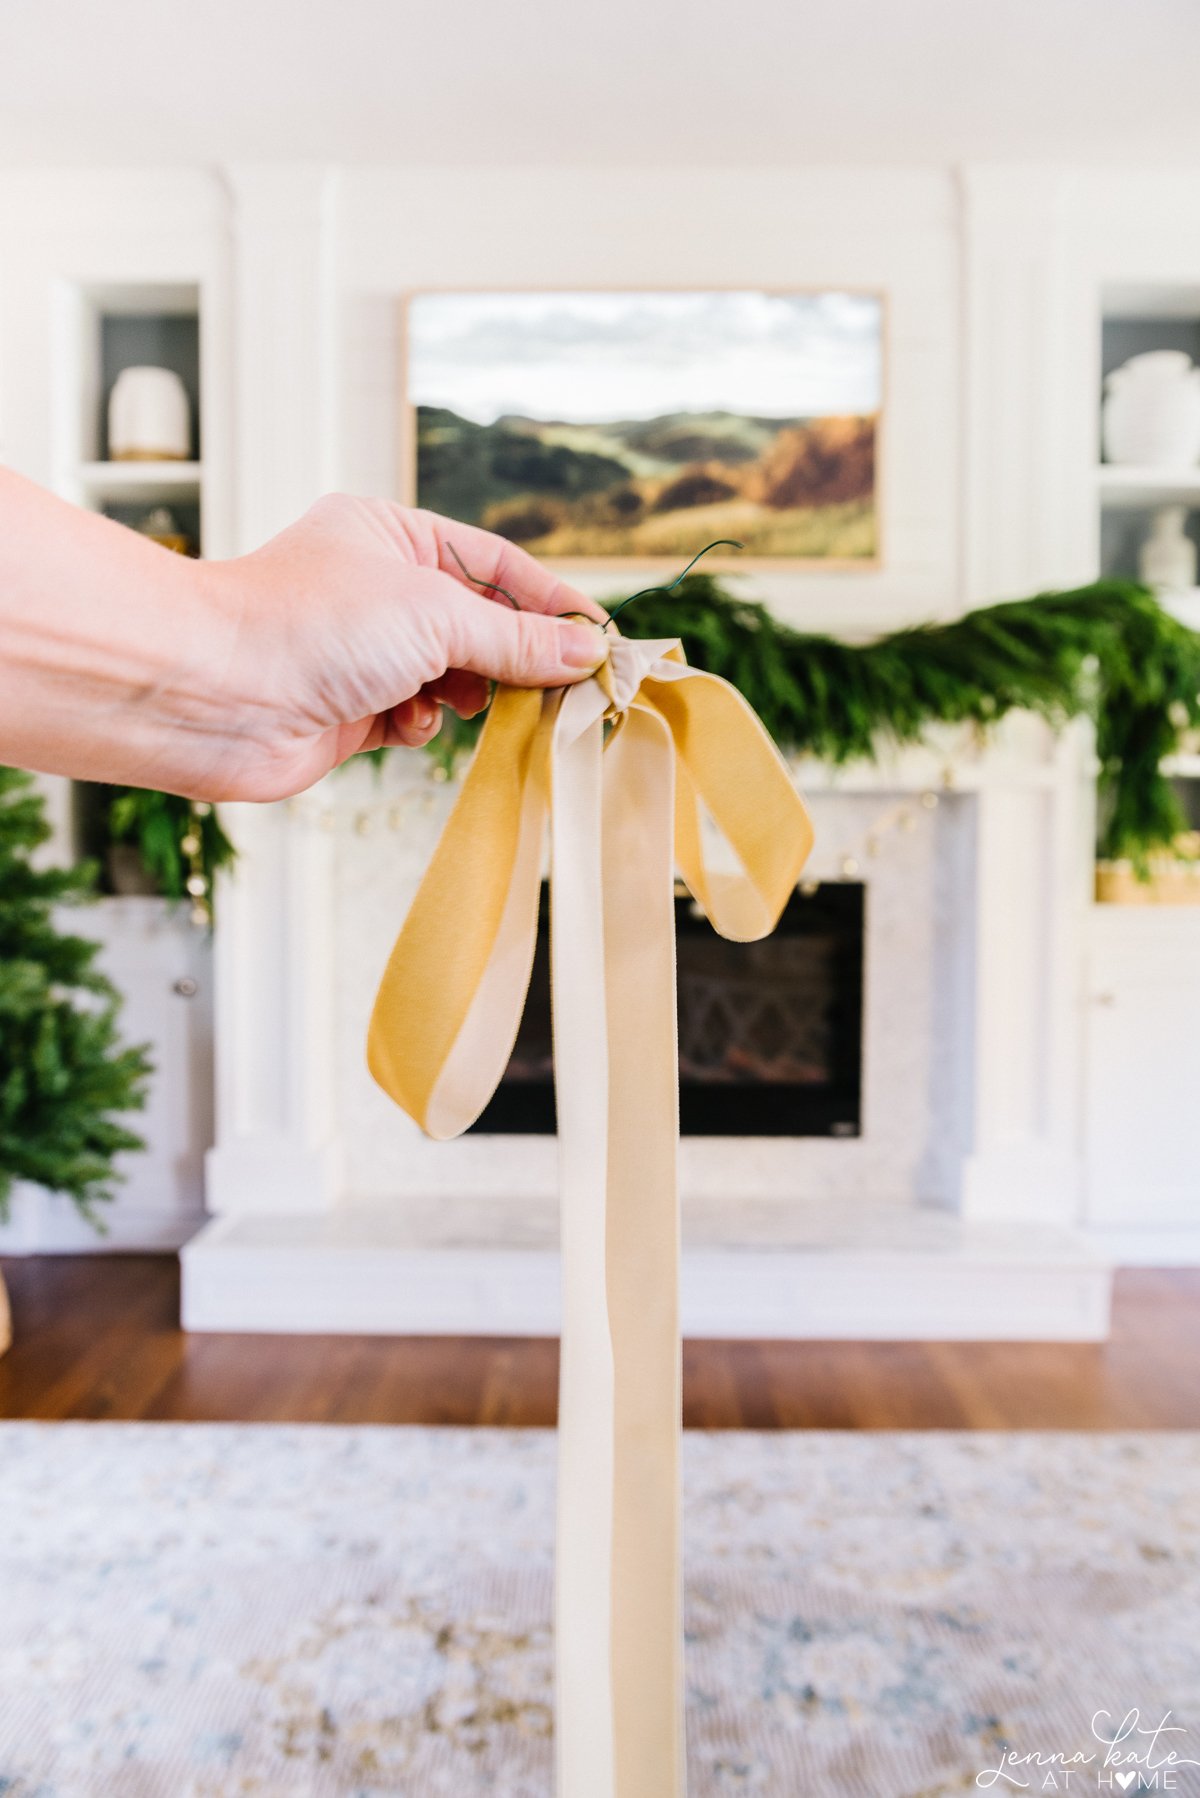
- Ribbon of your choice (I used this gold velvet ribbon in the 1 inch size)
- Battery operated string lights
Optional:
- Bell garlands or ornament garlands for the front of the mantel
- Faux berries, pinecones, or other decorative picks
Before You Start: Know Your Garland Length
Make sure you’re buying enough garland for the look you want.
- Minimal drape: 2 regular 5-foot garlands will cover most standard mantels.
- Full, layered look: 4–5 garlands will give you that lush, cascading style.
- Mantel width: Aim for 2–3 feet longer than your mantel width if you want the garland to hang down the sides.
Pro Tip: The best garlands (especially realistic ones like Afloral’s Norfolk Pine) sell out fast each year. Grab them early – you’ll thank yourself later!
Step-by-Step: How to Hang Garland on a Fireplace Mantel
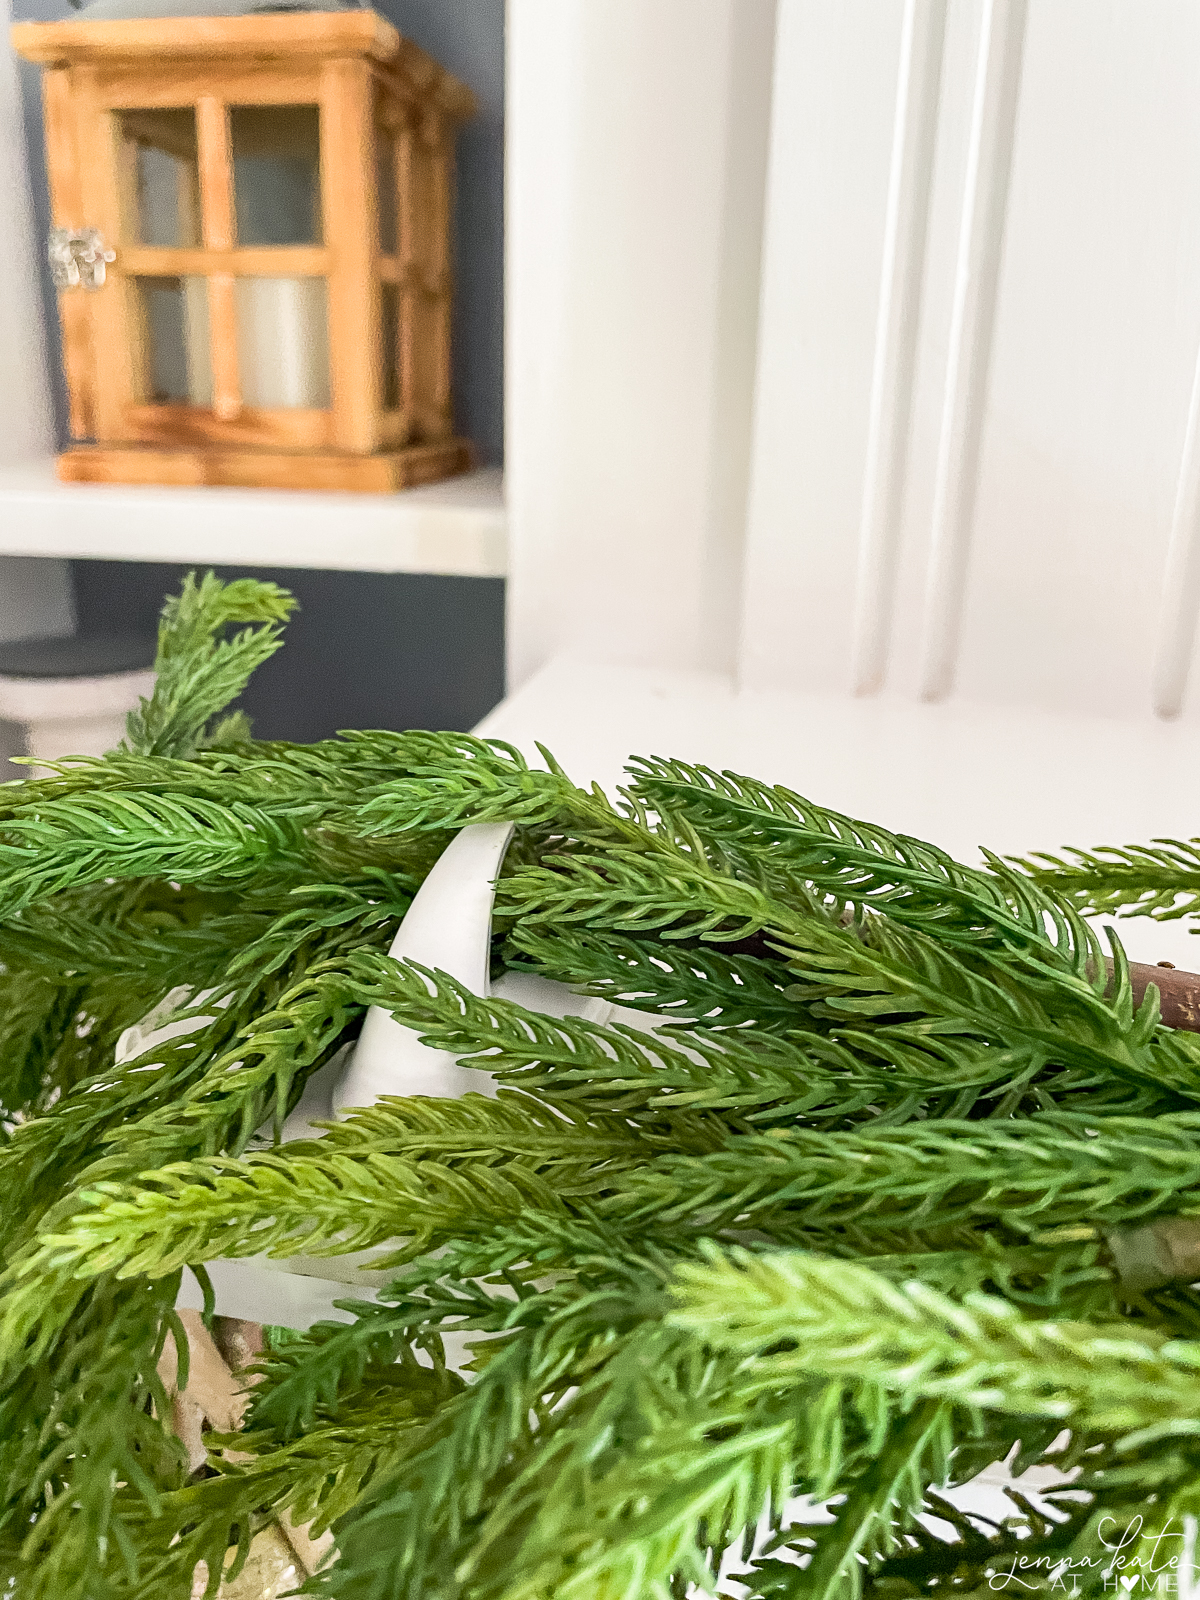
Step 1: Prep Your Hooks
Use Command Hooks or 3M Wire Toggle Hooks to attach your garland.
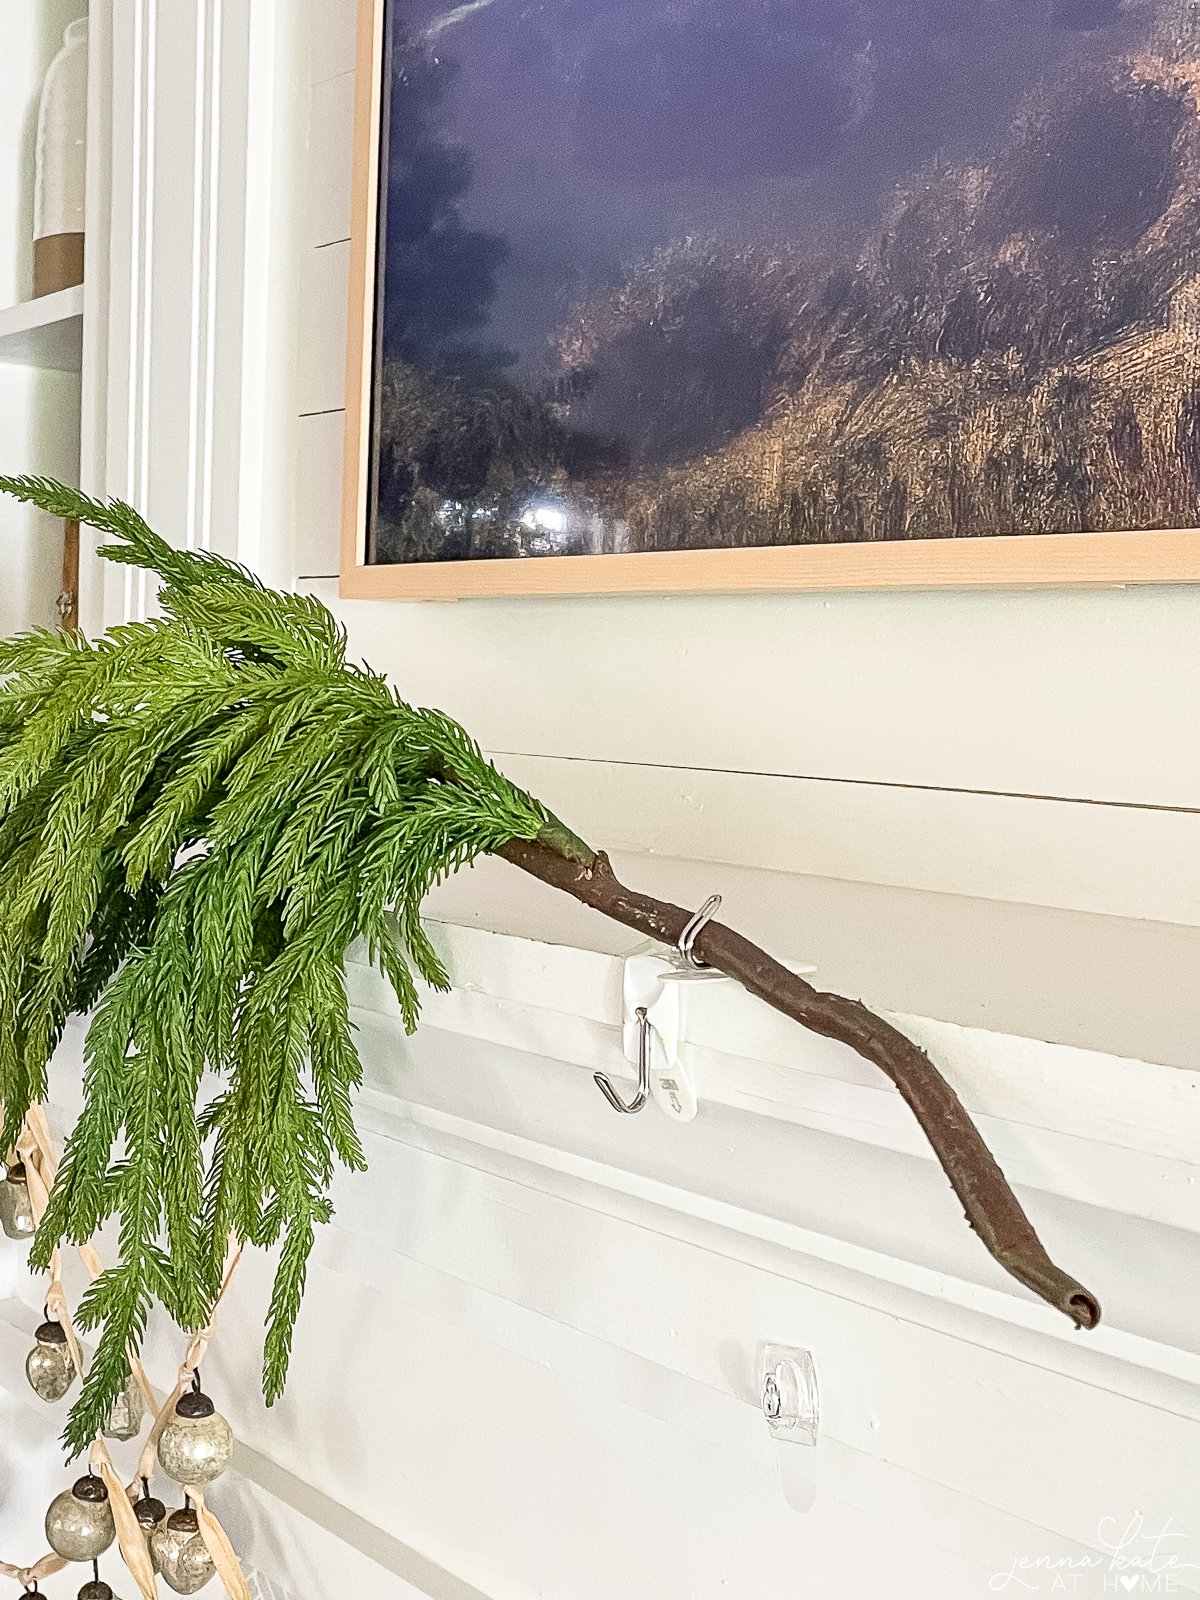
Place a command hook on the top center and front center of the mantel. Let the adhesive sit for at least one hour before adding any weight – this is key for keeping them secure.
Also add one large command hook on either end of the mantel, again allowing a full hour before attaching garland. Heavy garlands may need additional support.
Step 2: Start with the Base Layer
Attach the end of the first piece of faux garland to the top center hook, then secure the end of the garland around the large command hook on the end of the mantel. Attach the second piece of garland to the command hook on the front of the mantel.
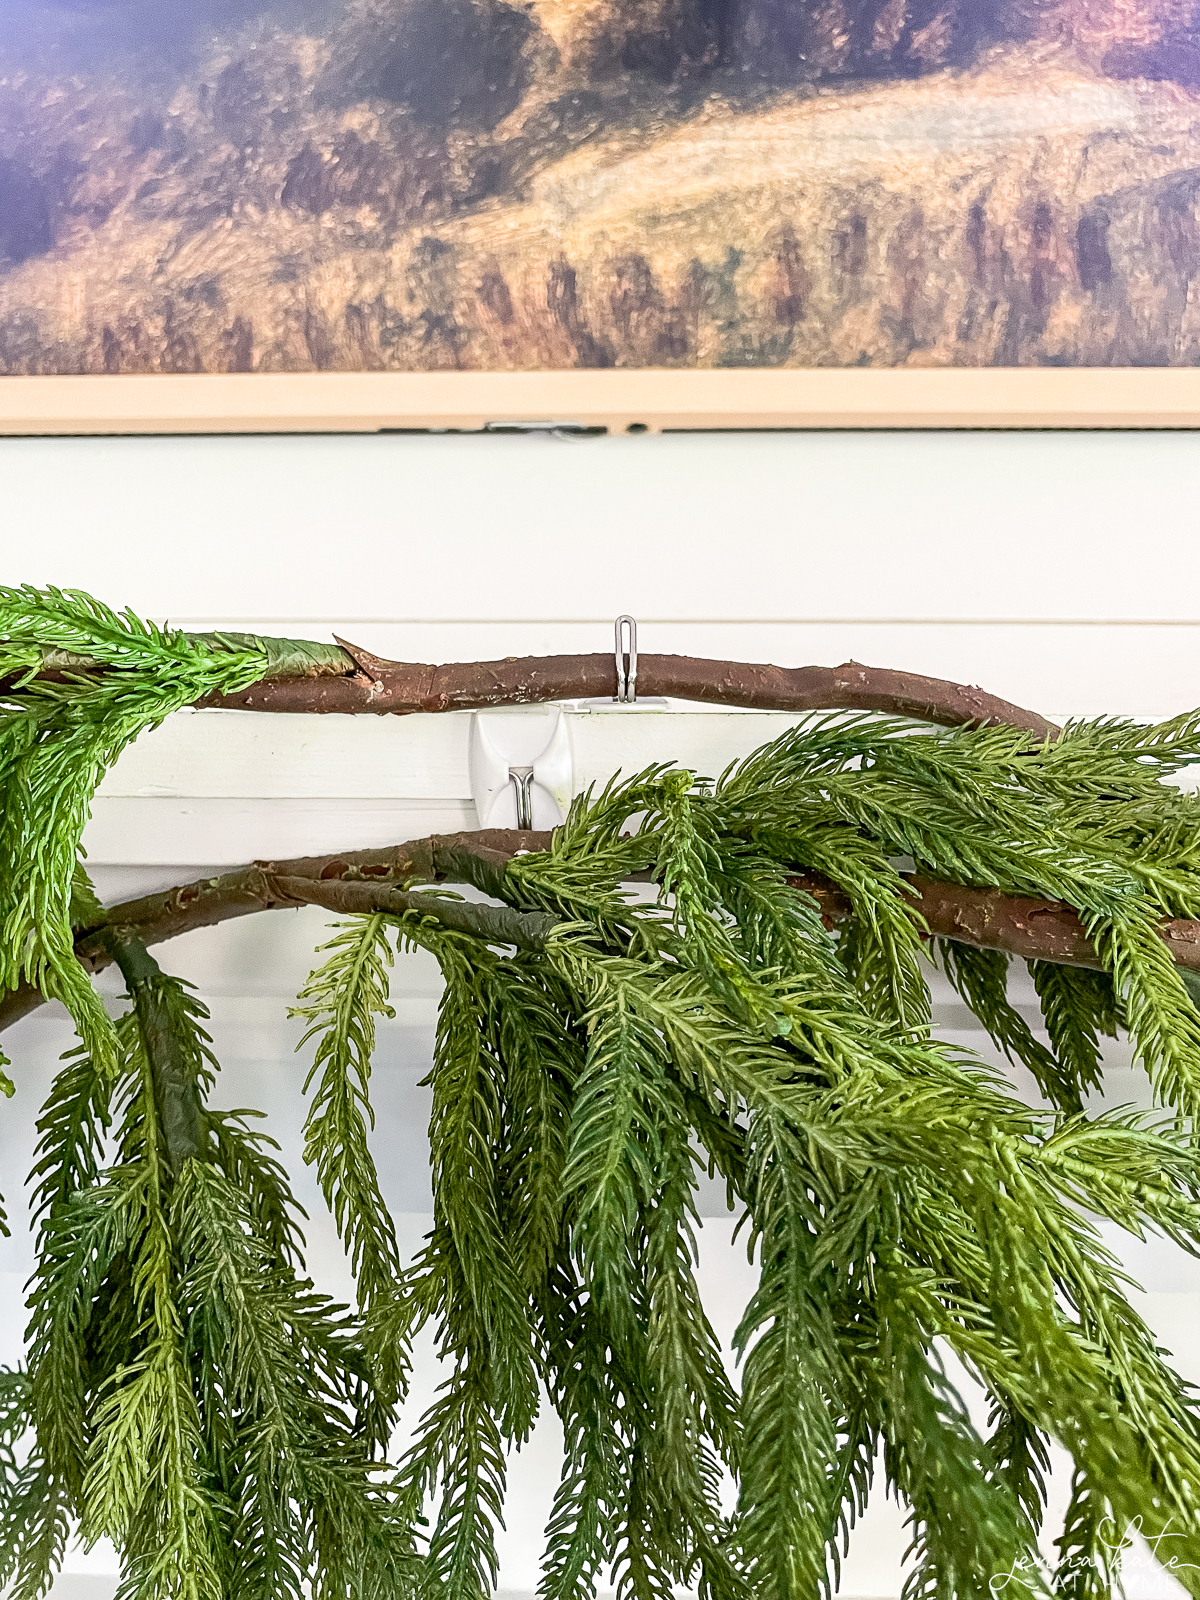
This first garland creates your base shape and defines the drape. For a classic swag look, let the middle dip slightly and the ends hang naturally over the sides.
If you’re using lightweight garland, you can skip the hooks and simply lay it across the top – but heavy, realistic garlands will need support.
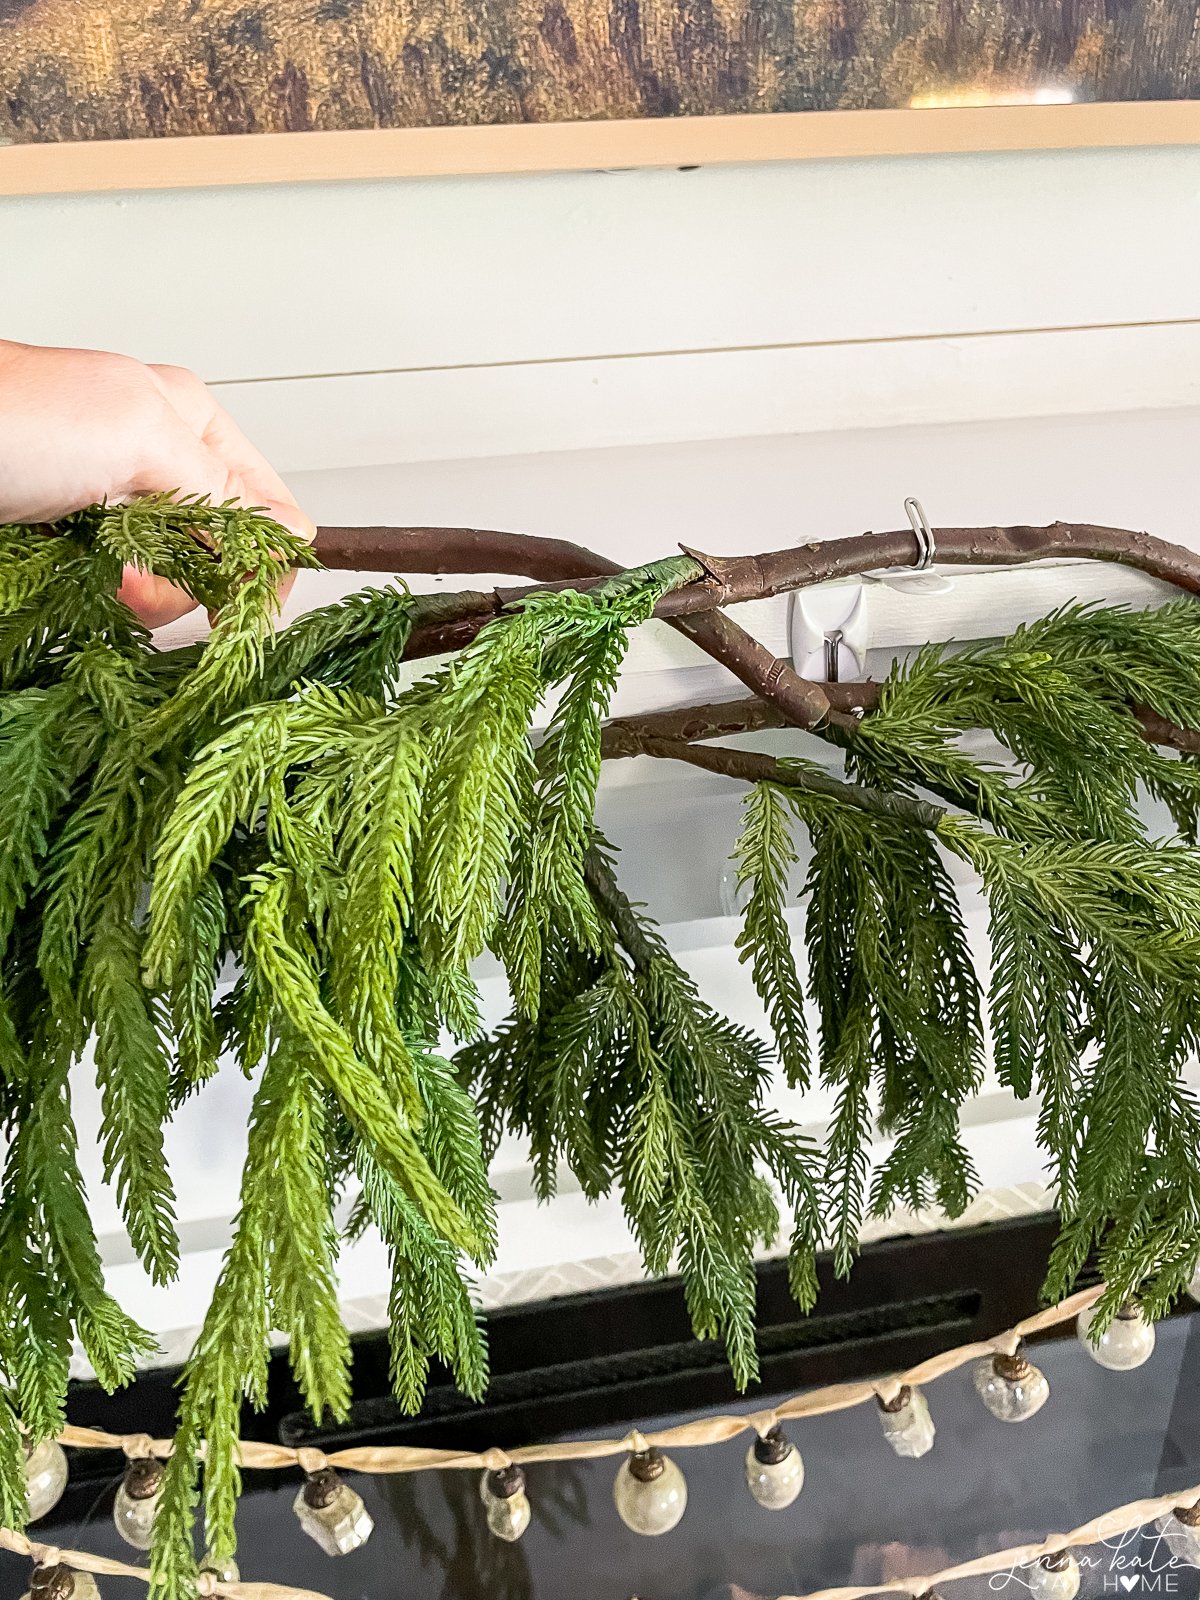
Step 3: Layer for Fullness
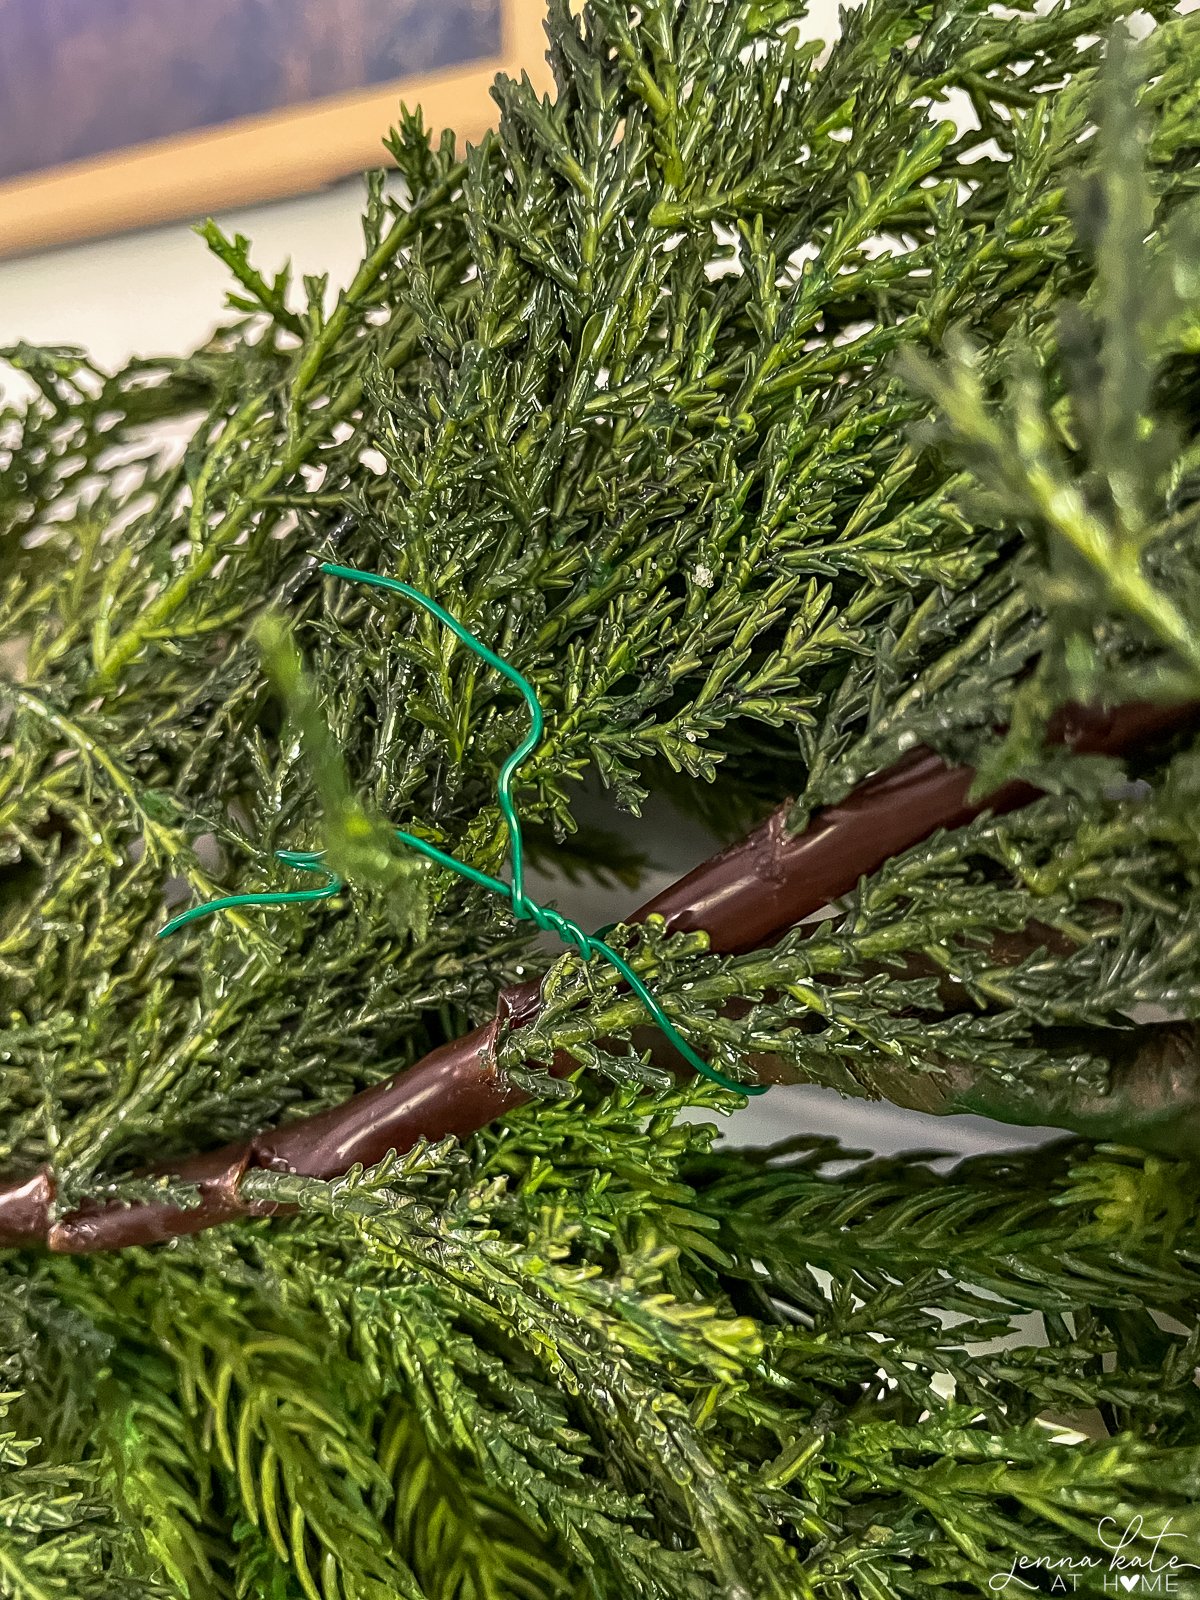
Add your second and third garlands on top of the first, securing them with green floral wire or zip ties.
- For a balanced look, add one extra piece on each side.
- For a dramatic, asymmetrical look, layer more garland on one side so it cascades lower.
Be sure to weave and tuck the ends into each other to hide gaps and connections.
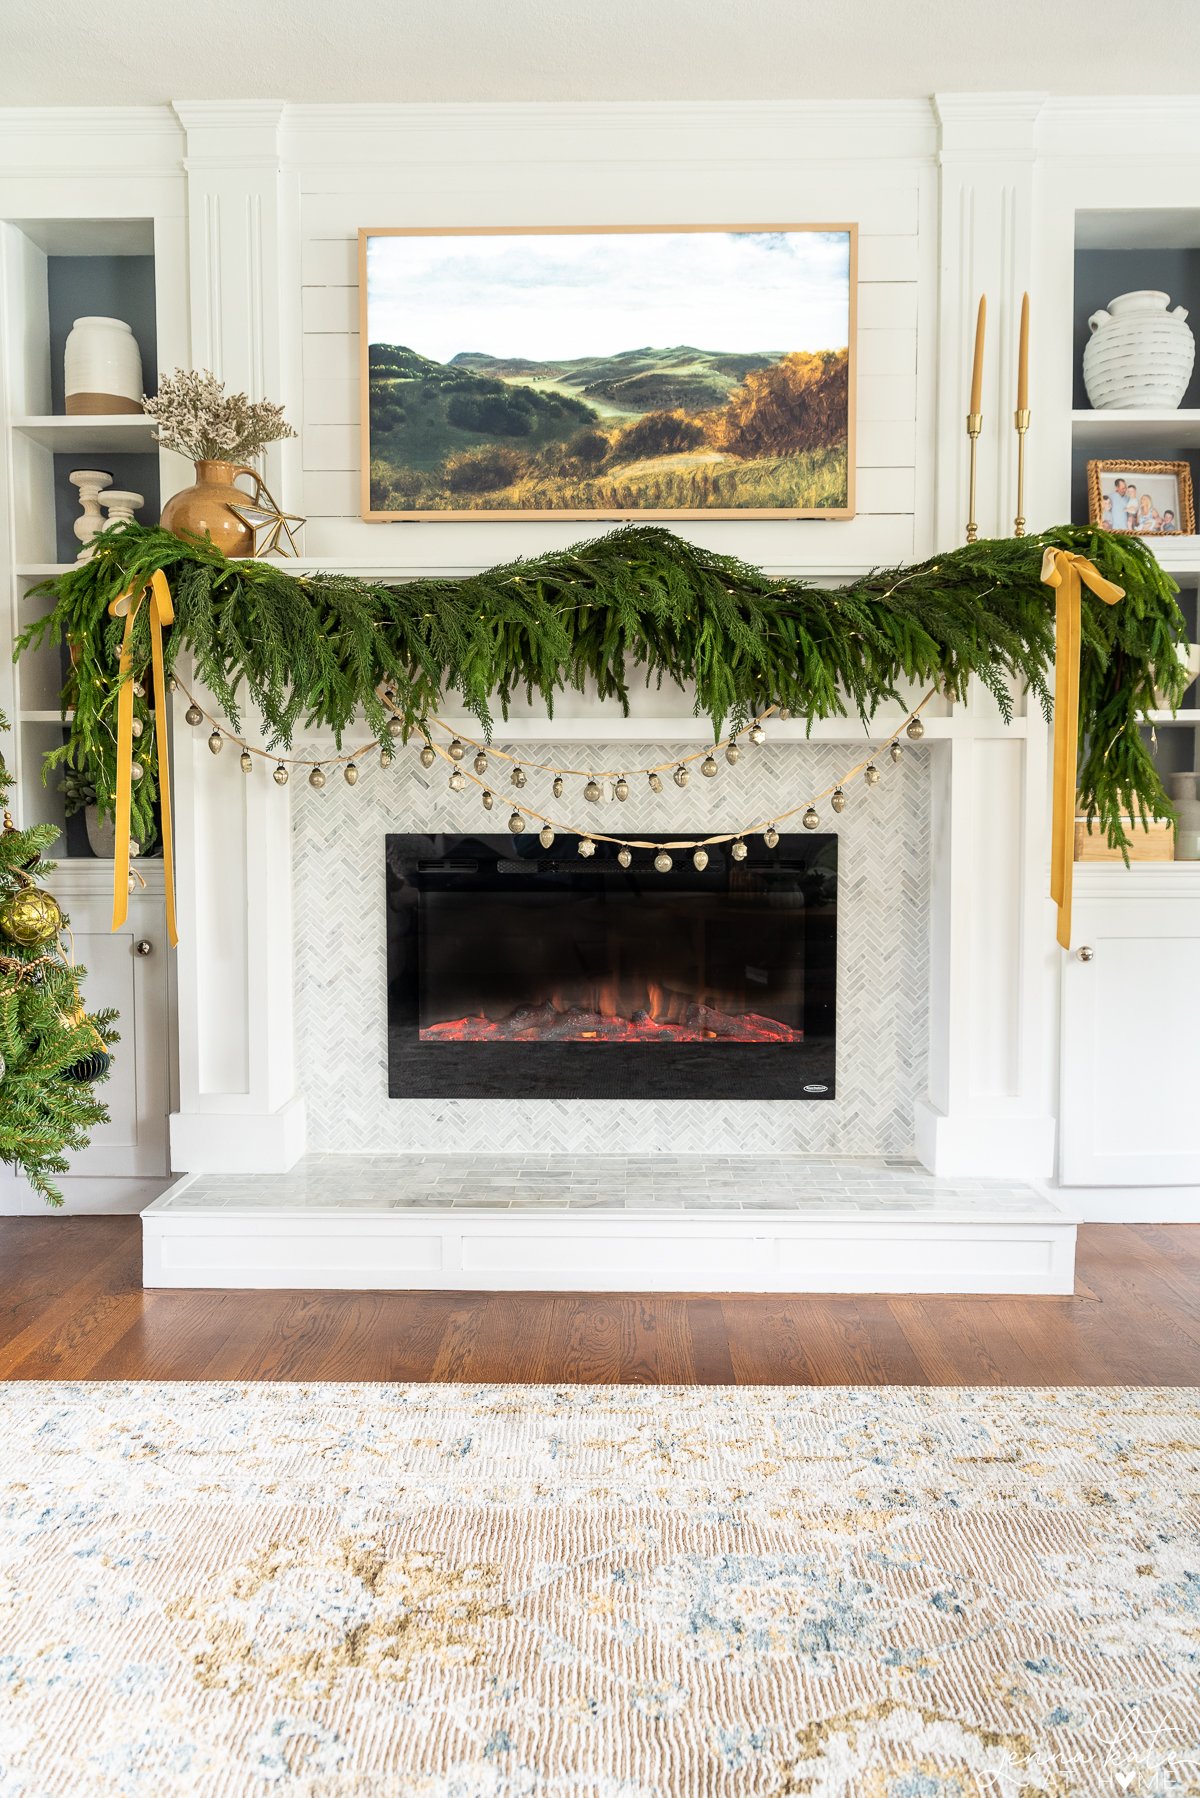
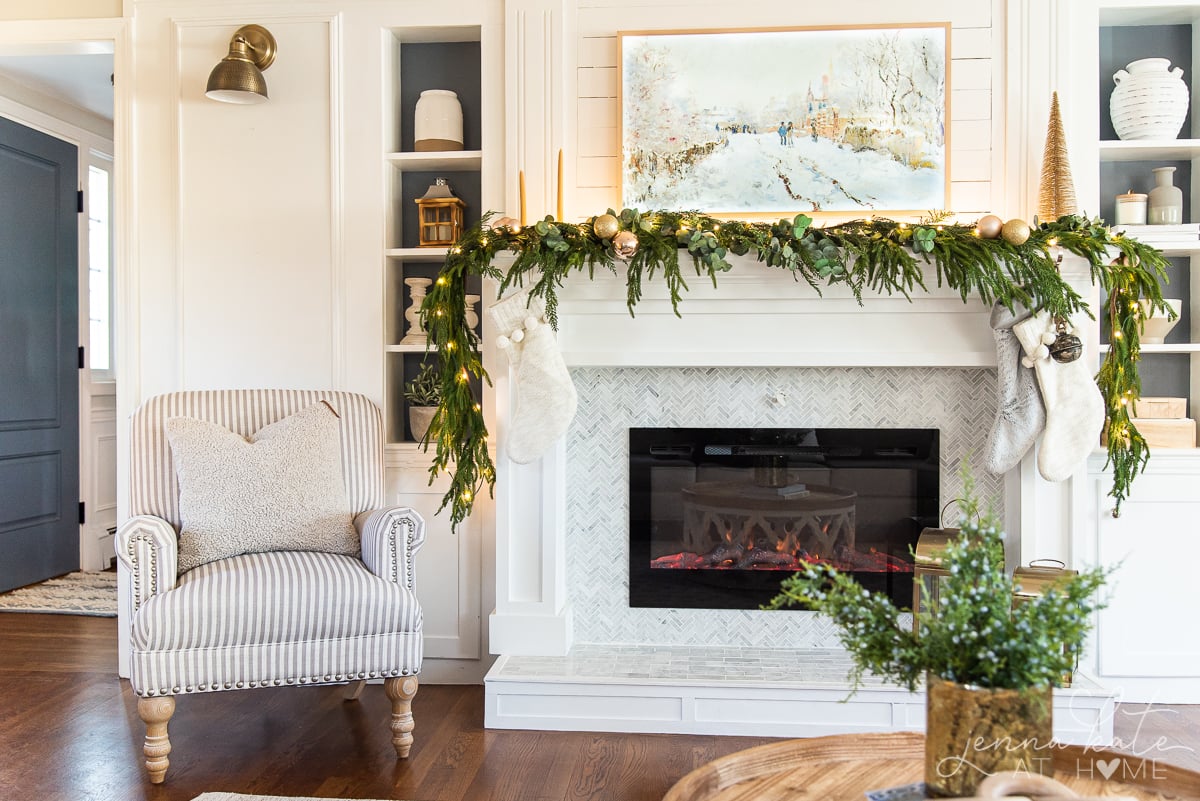
Step 4: Add a Top Layer for Texture
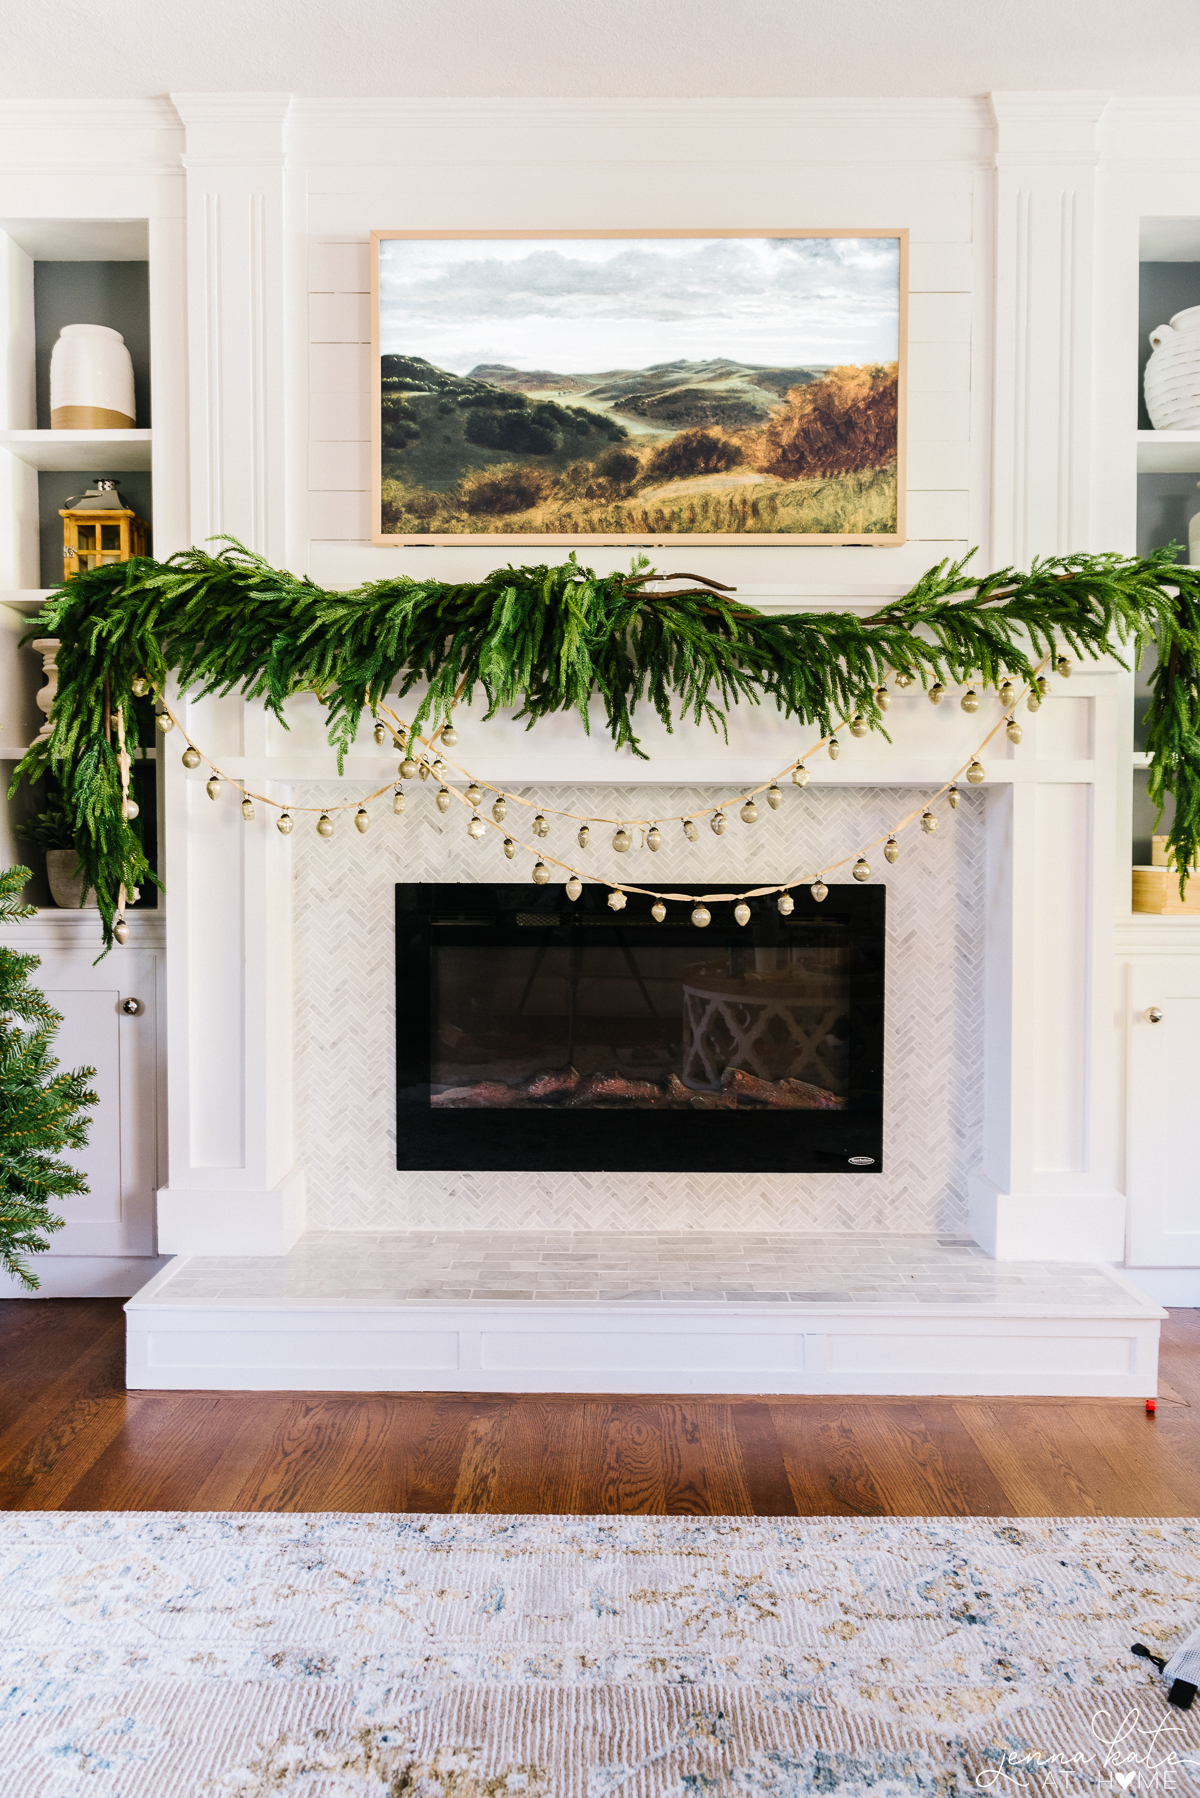
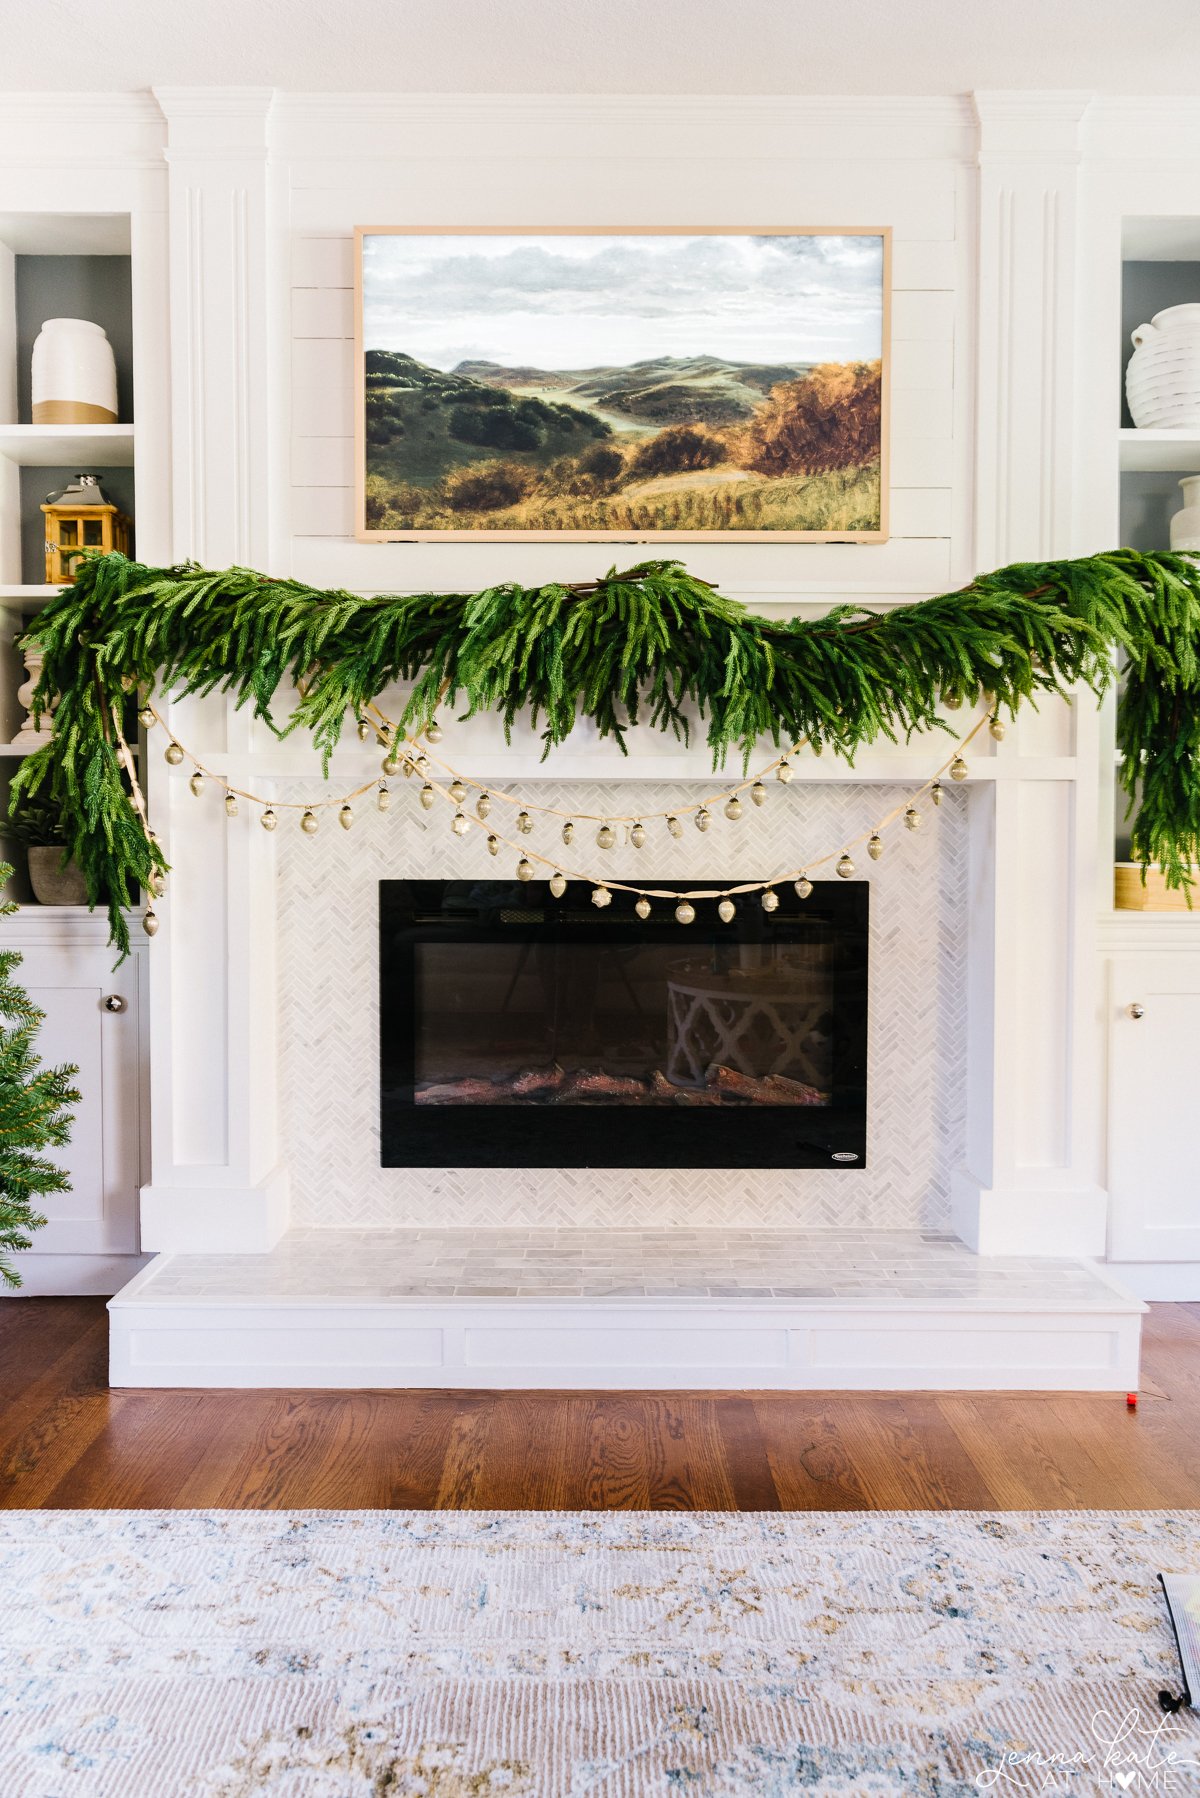
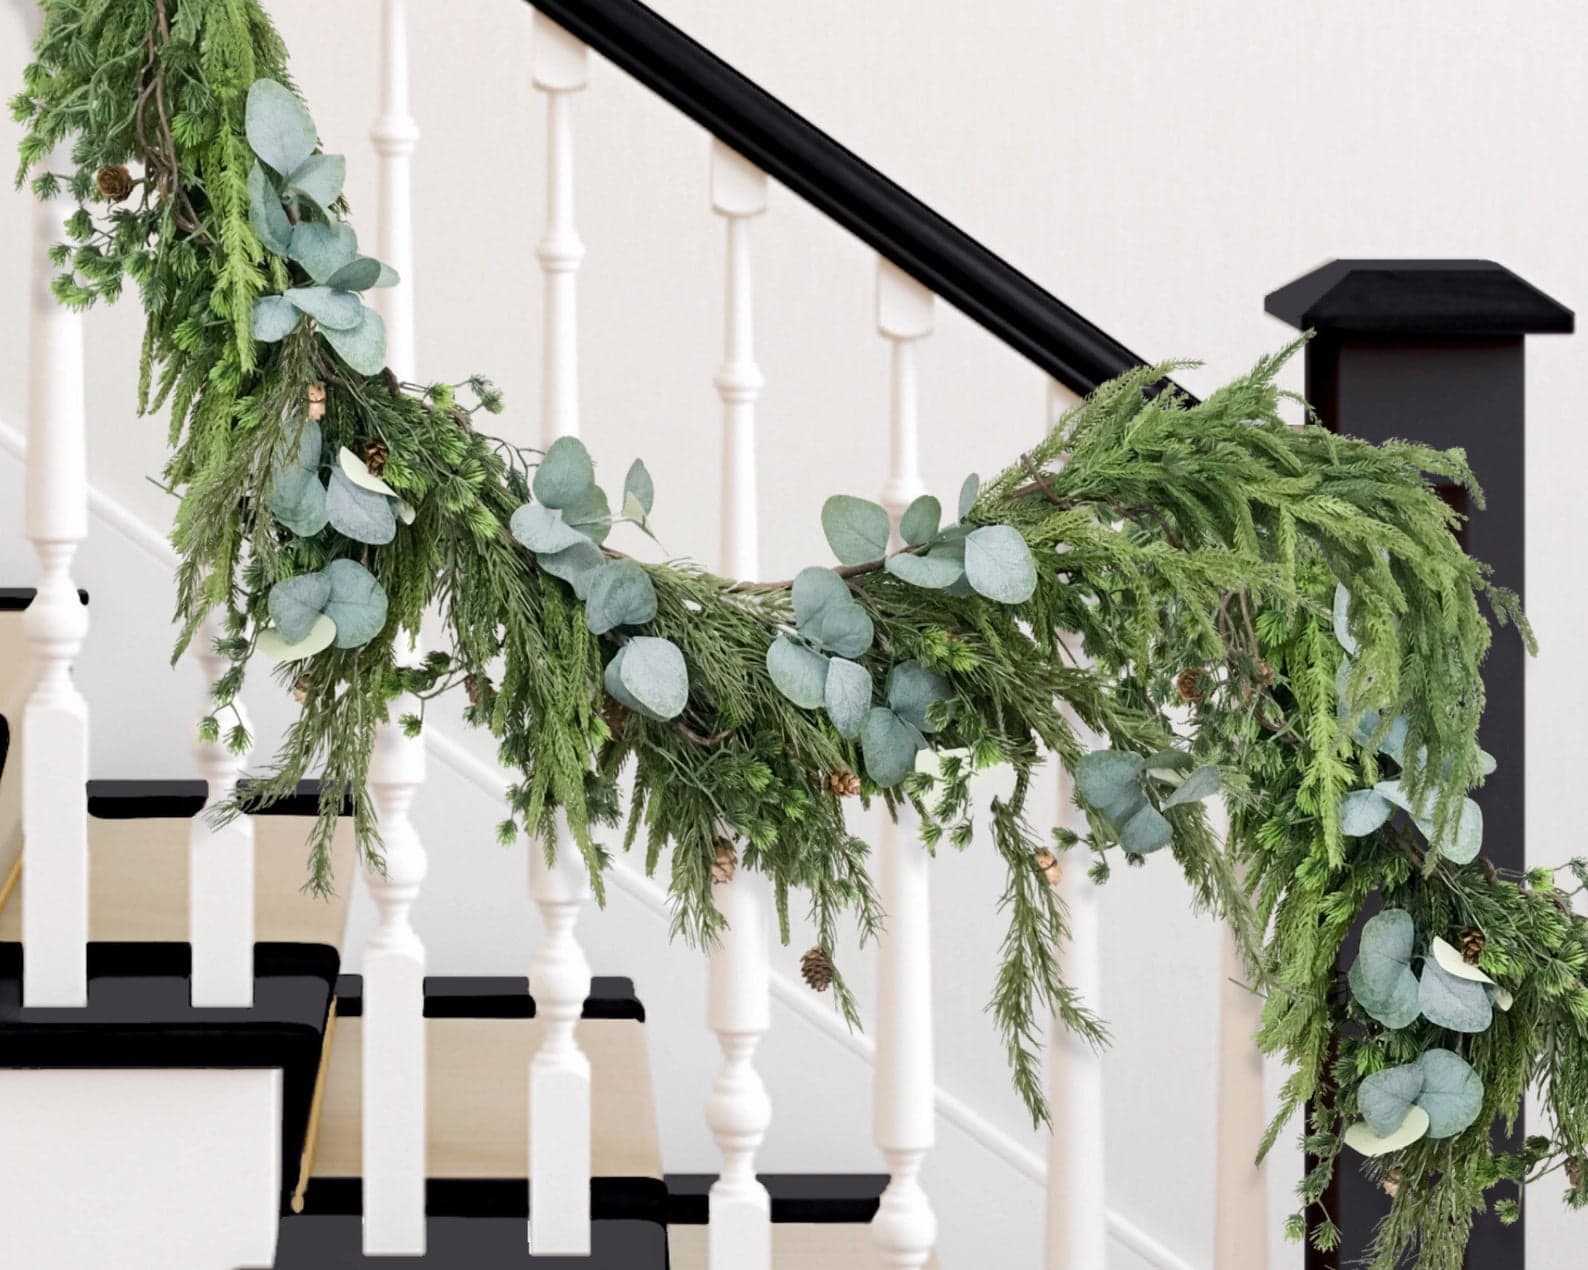
Once your base is in place, add one different type of garland (like cedar) on top. This gives contrast and makes the greenery look real and dimensional.
It also helps cover any visible hooks or zip ties for that seamless “professional” finish.
Step 5: Secure and Fluff
Once you’re happy with the shape, go back and reinforce with floral wire wherever needed. A few hidden ties will keep everything snug and prevent sagging.
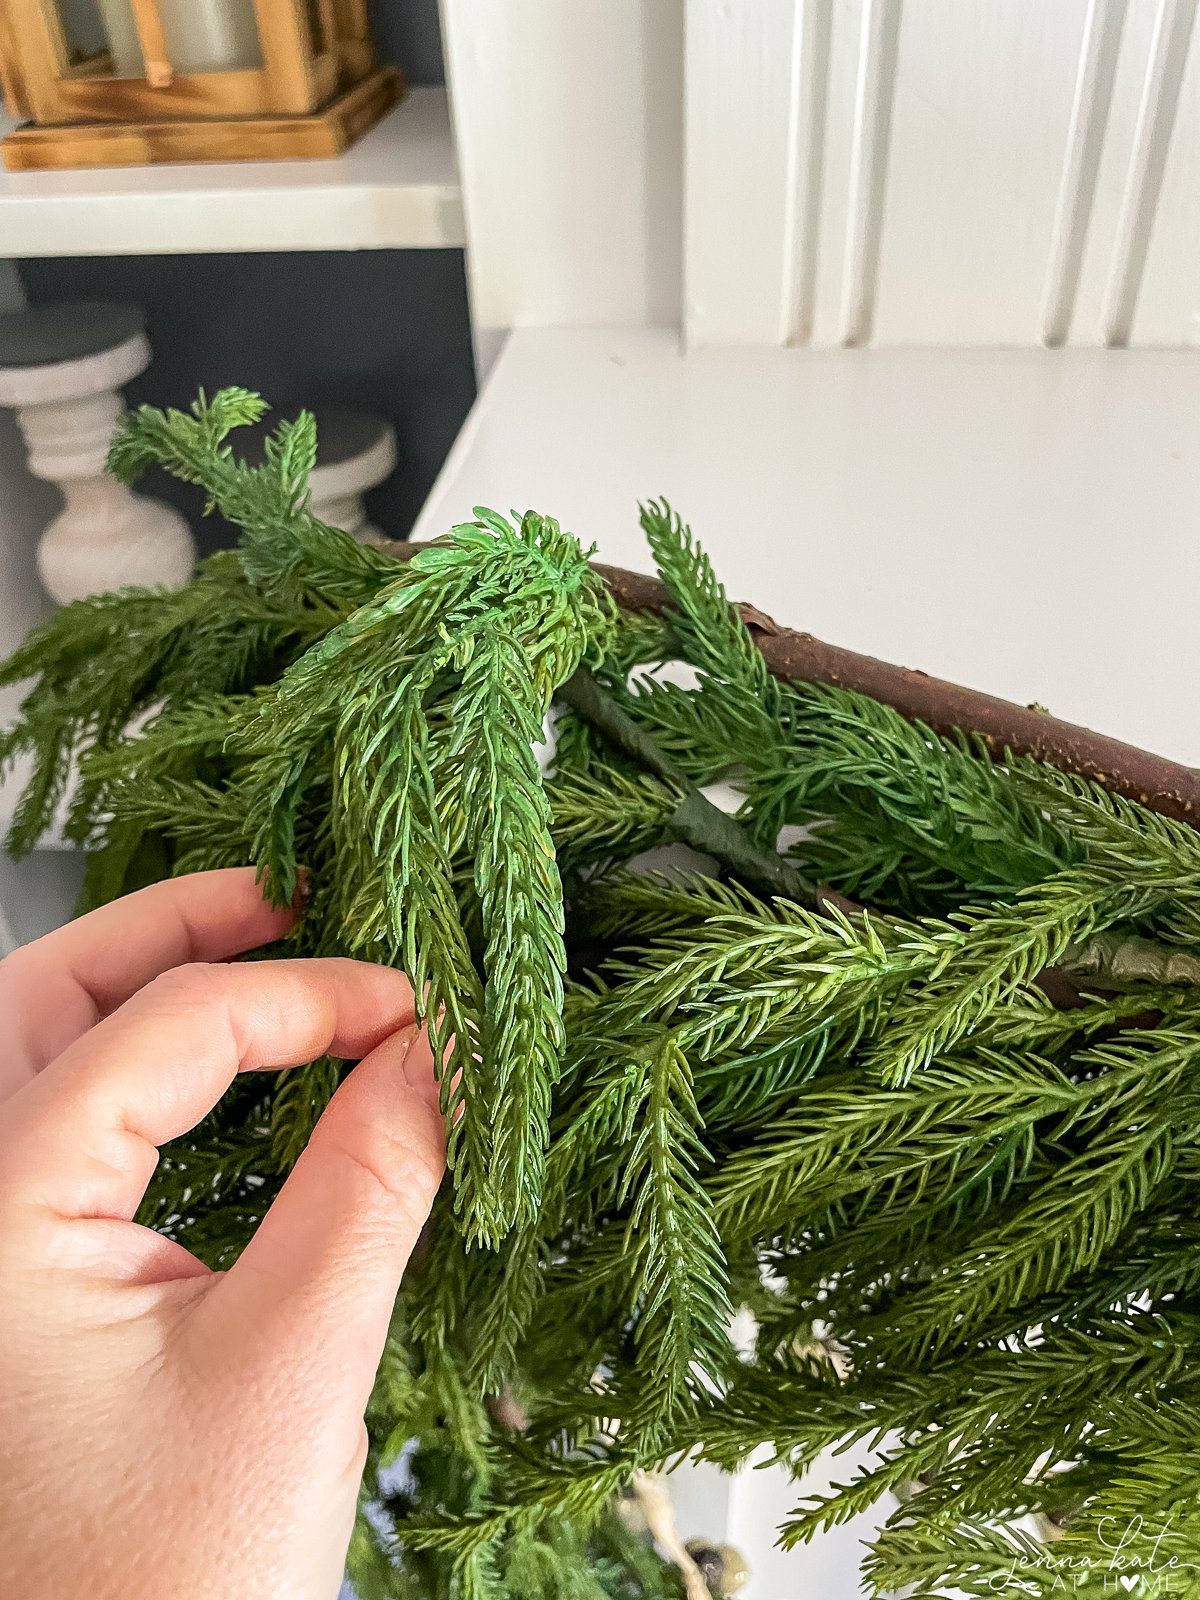
Then, fluff and shape each branch until it looks naturally draped. Take a step back occasionally to make sure it’s even and full.
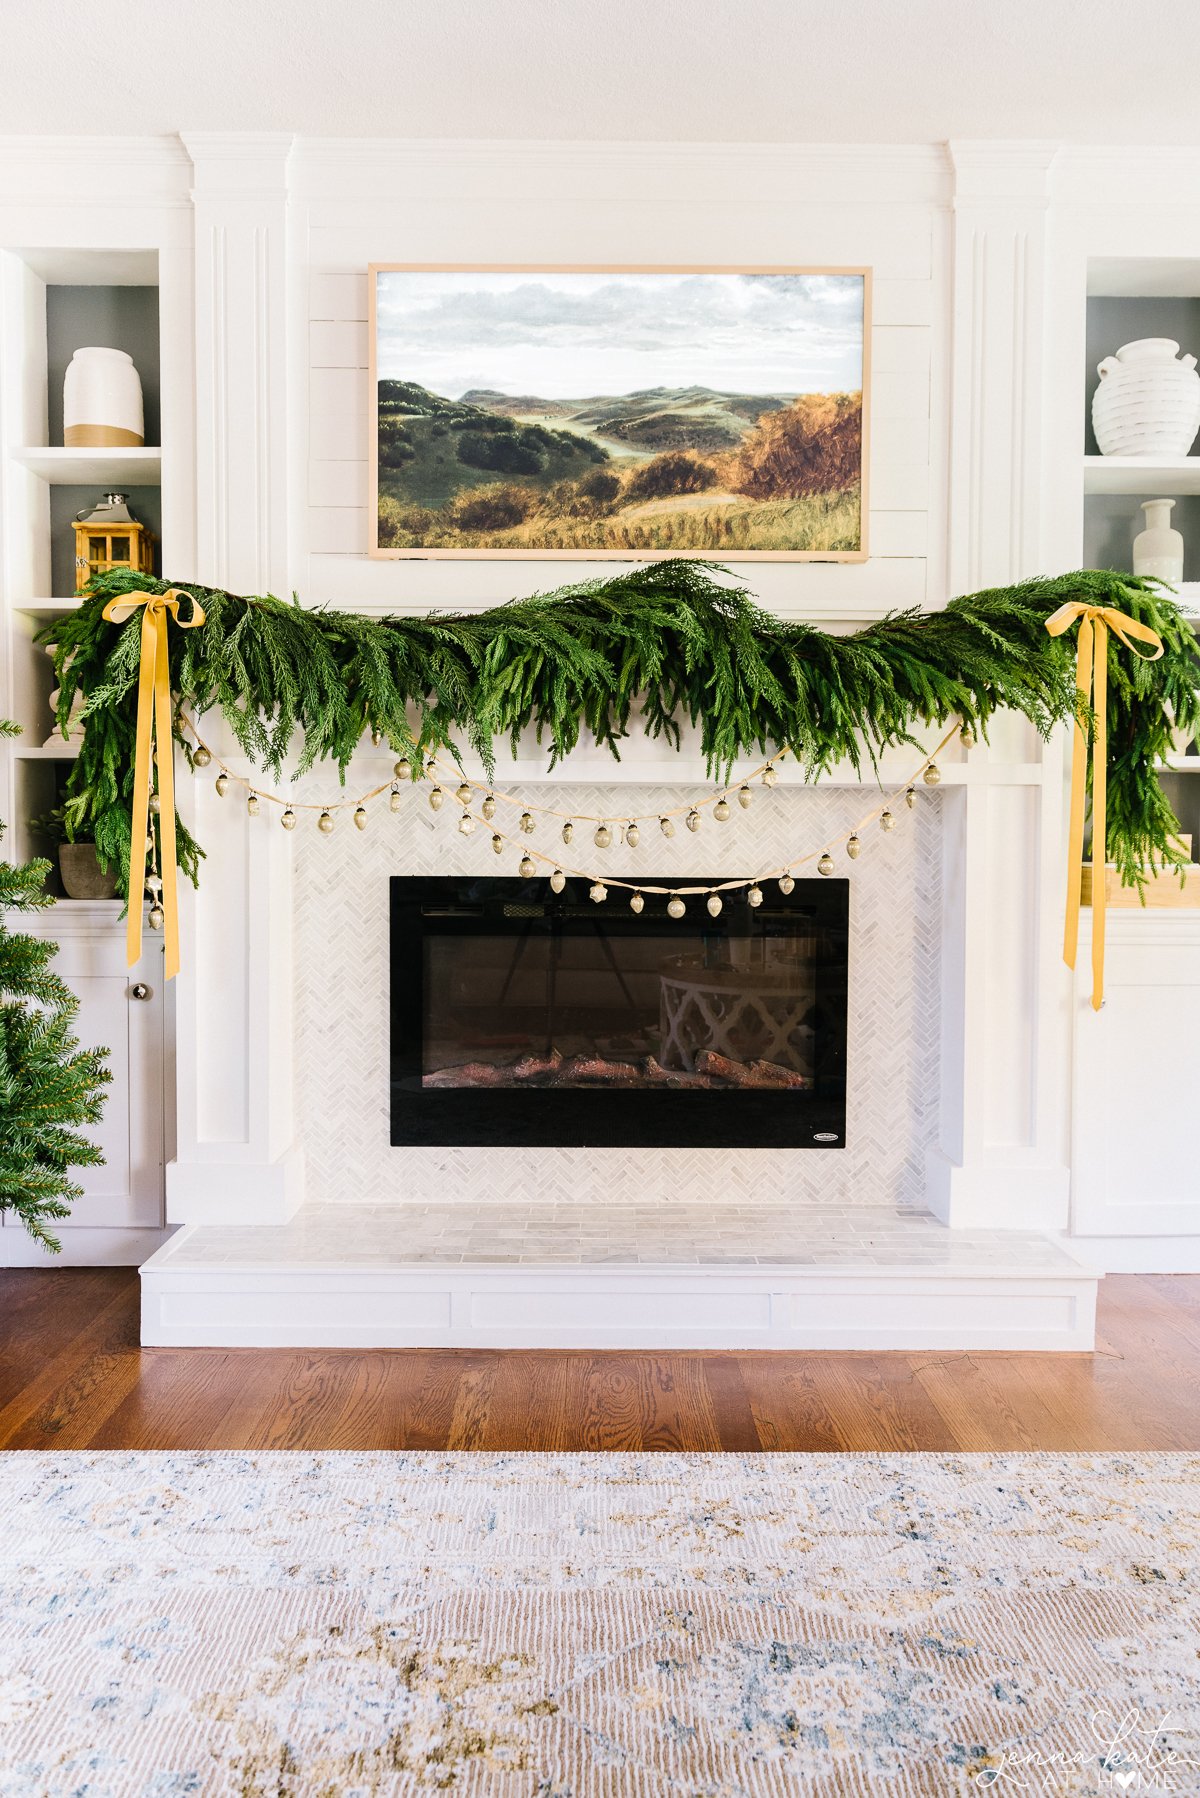
Step 6: Add Finishing Touches
Now for the fun part — decorating!
Ribbon: Make two simple bows with your favorite ribbon (I love velvet or silk) and attach with floral wire.
Lights: Weave a strand of battery-operated lights throughout your garland for that warm glow at night.
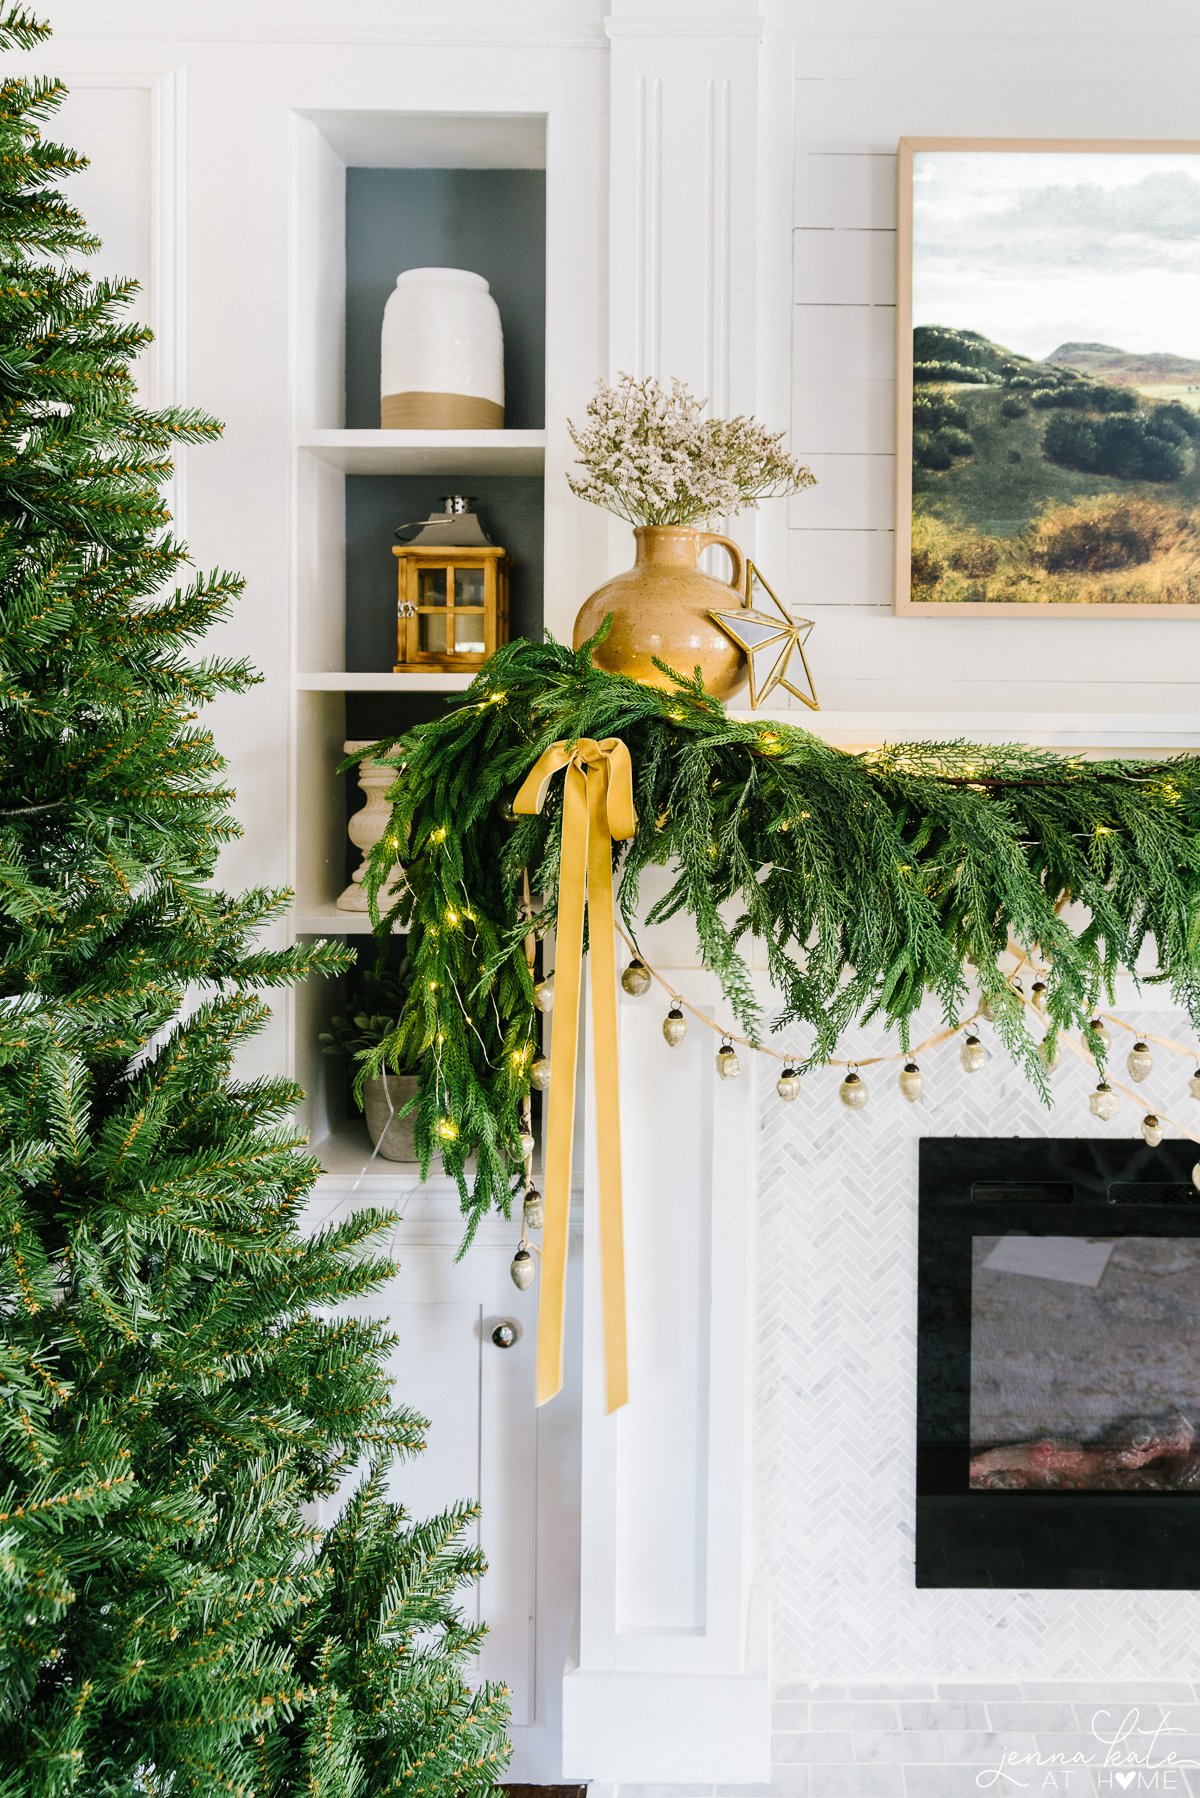
Extras: Tuck in pinecones, ornaments, or faux berries for texture.
✨ Pro Tip: Attach bell garlands or ornament strands to the front of your mantel first (using Command hooks on the face), then layer your greenery on top for a perfectly styled look.
Common Mistakes to Avoid
- Forgetting to fluff: Even the best faux garland looks flat until you open up the branches!
- Not waiting long enough: Always let Command Hooks cure for an hour before hanging heavy garland.
- Using too few garlands: One strand will always look sparse – layering is key.
- Skipping the wire: Without tying garlands together, they’ll shift or droop after a few days.
How to Attach Garland to Different Mantel Types
If your mantel isn’t wood, here’s how to adapt:
- Brick or Stone: Use brick clips or masonry hooks that grip the edge of each brick.
- Painted wood: Stick with Command Hooks or screw-in cup hooks (fill the holes later with wood filler).
- No mantel lip? Try stocking holders or place garland behind décor pieces like weighted candle holders for hidden support.
Final Look & Styling Tips
Here’s my formula for a designer-looking holiday mantel every time:
- Use two garland types for contrast (pine + cedar is my favorite).
- Let the ends drape unevenly – asymmetry feels natural and modern.
- Add varying light sizes – small fairy lights plus larger bulb strands create depth.
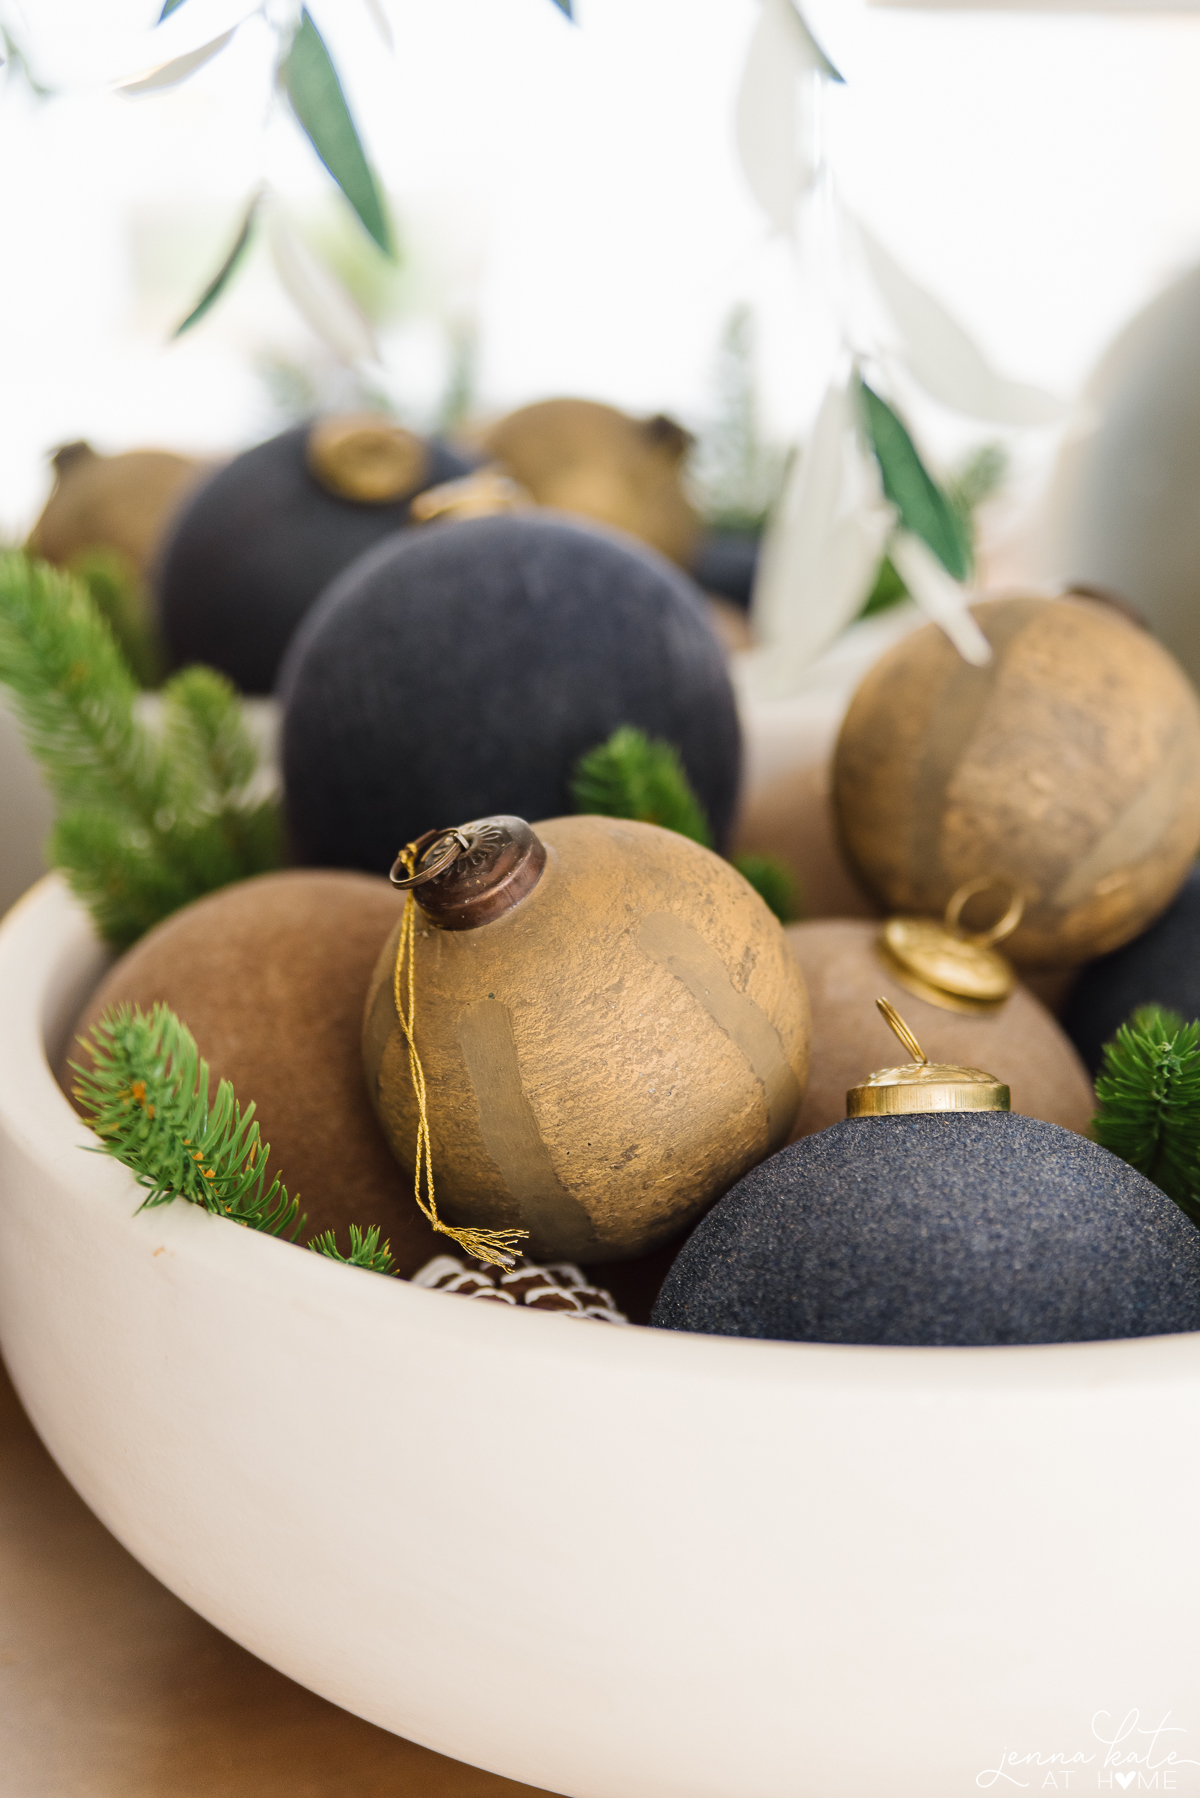
- Mix matte and shiny ornaments for texture.
Once you’ve done it once, you’ll be amazed how easy it becomes to recreate each year!
Final Thoughts
Adding a garland to your fireplace mantel is one of the easiest ways to make your home feel festive, cozy, and elegant — and with the right method, it doesn’t have to damage your paint or test your patience.
Whether you prefer a minimalist swag or a full cascading statement, now you know how to hang garland on a fireplace mantel like a pro — securely, beautifully, and stress-free.
So grab your greenery, a few hooks, and a mug of cocoa — it’s time to deck that mantel!
(And if you want to see my exact process, I shared a full video on Instagram — @jennakateathome — that walks through each step in real time!)
FAQ: How to Hang Garland on a Fireplace Mantel
If you’ve ever struggled with drooping greenery or peeling paint, you’re not alone! Every year, I get tons of questions about how to hang garland on a fireplace mantel – from what hooks to use to how to make it look full and professional. So before you grab your hot cocoa and admire your handiwork, here are a few quick answers to the most common questions I get about how to attach garland to a fireplace mantel (without the frustration!).
The easiest and most damage-free method is using Command Hooks or 3M Wire Toggle Hooks. Let the adhesive cure for at least one hour before hanging heavy garlands. If your garland is extra thick, use floral wire to connect strands for extra support.
If your mantel is made of brick or stone, use brick clips or masonry hooks that grip the brick edge. For painted wood, screw-in cup hooks work beautifully (just fill the holes later with white wood filler). Stocking holders are another non-permanent option for light garlands.
It depends on the look you’re going for:
Minimal drape: 1–2 garlands
Full look: 3–4 garlands
Dramatic, layered style: 5+ garlands (mixing different greenery types like cedar and pine)
Always measure your mantel first – add at least 2–3 extra feet so the garland can hang gracefully over the sides.
Secure your hooks well, tie the garlands together using green floral wire, and make sure each strand is supported by more than one hook. Avoid overloading a single Command Hook – instead, space several hooks evenly across your mantel for balanced weight distribution.
While real garland is gorgeous, it dries quickly and sheds pine needles. Artificial garland is the best long-term option – it’s low-maintenance, reusable, and looks incredibly realistic (especially real-touch options like Afloral’s Norfolk Pine).
Layer two or more types of garlands (like pine + cedar), shape and fluff every branch, and mix in real accents such as pinecones or fresh eucalyptus sprigs. Adding warm white lights also helps your garland feel fuller and more natural.

Beautiful‼️‼️‼️‼️‼️