Content may contain affiliate links. When you shop the links, I receive a small commission at no cost to you. Thank you for supporting my small business.
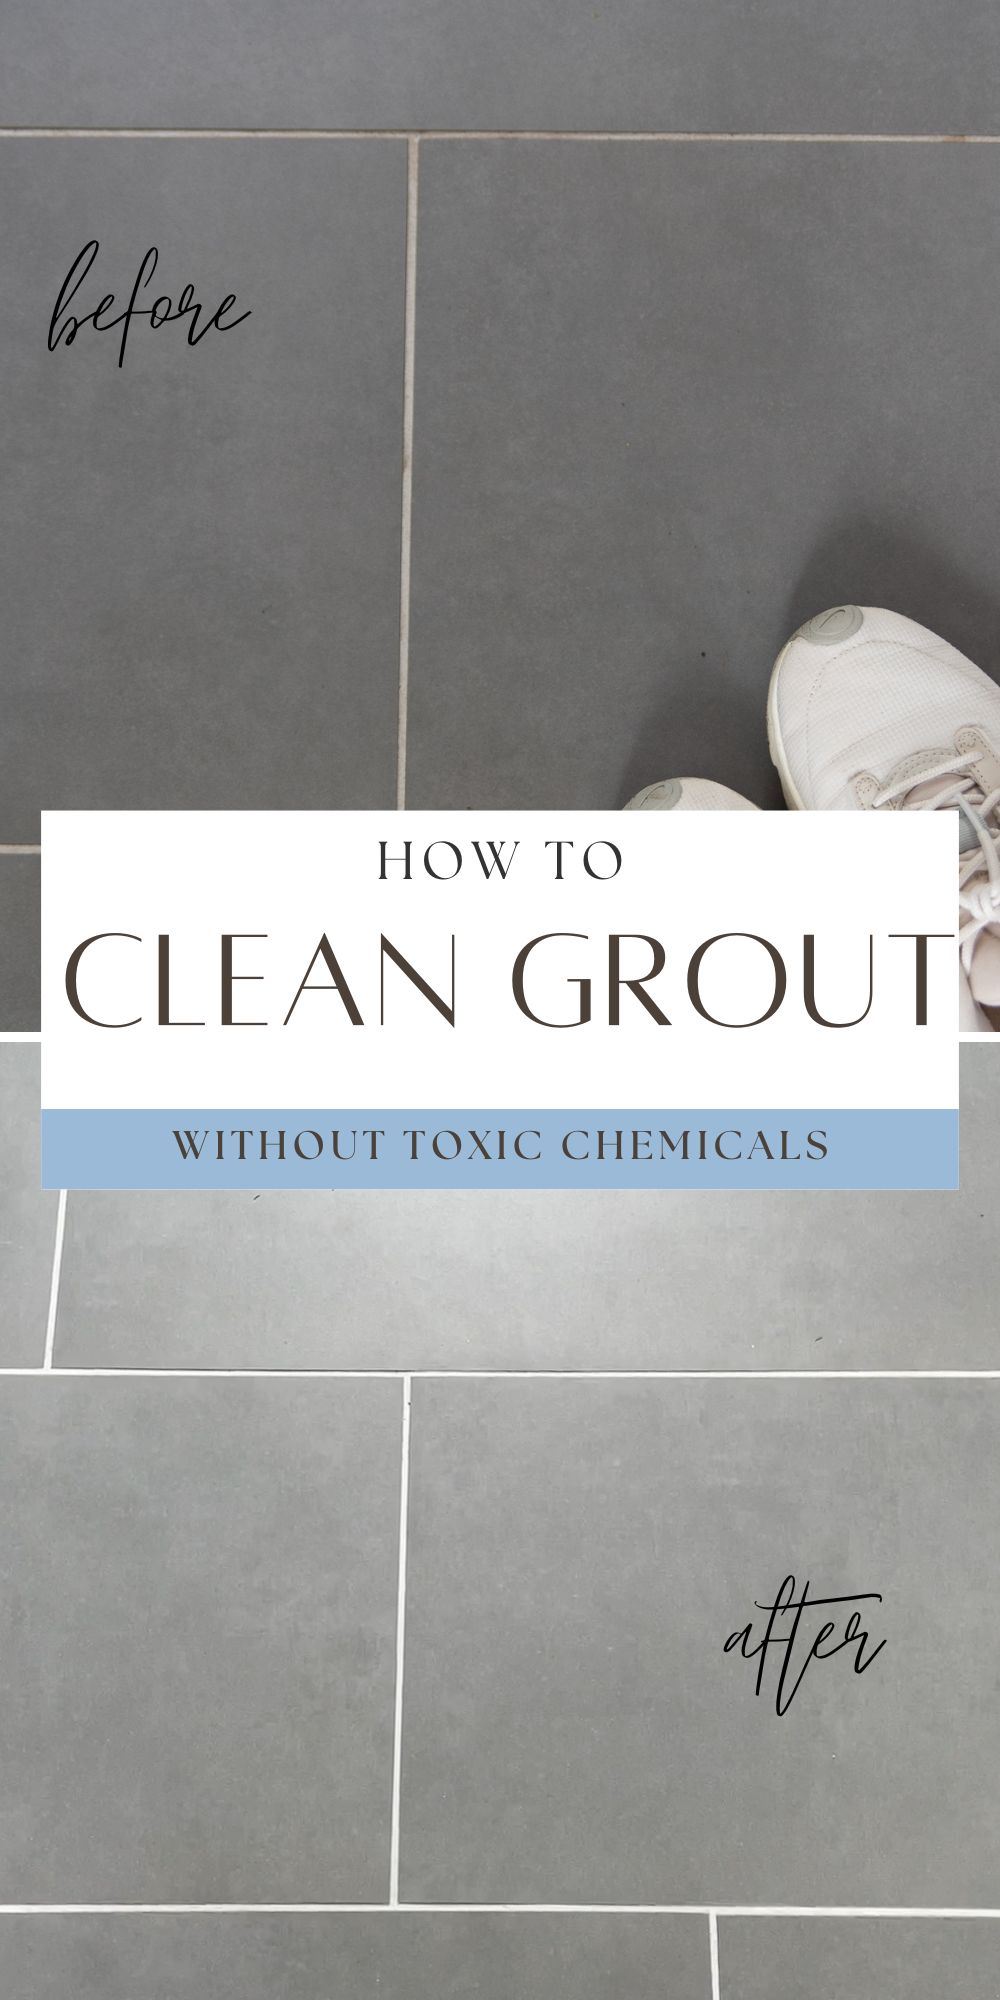
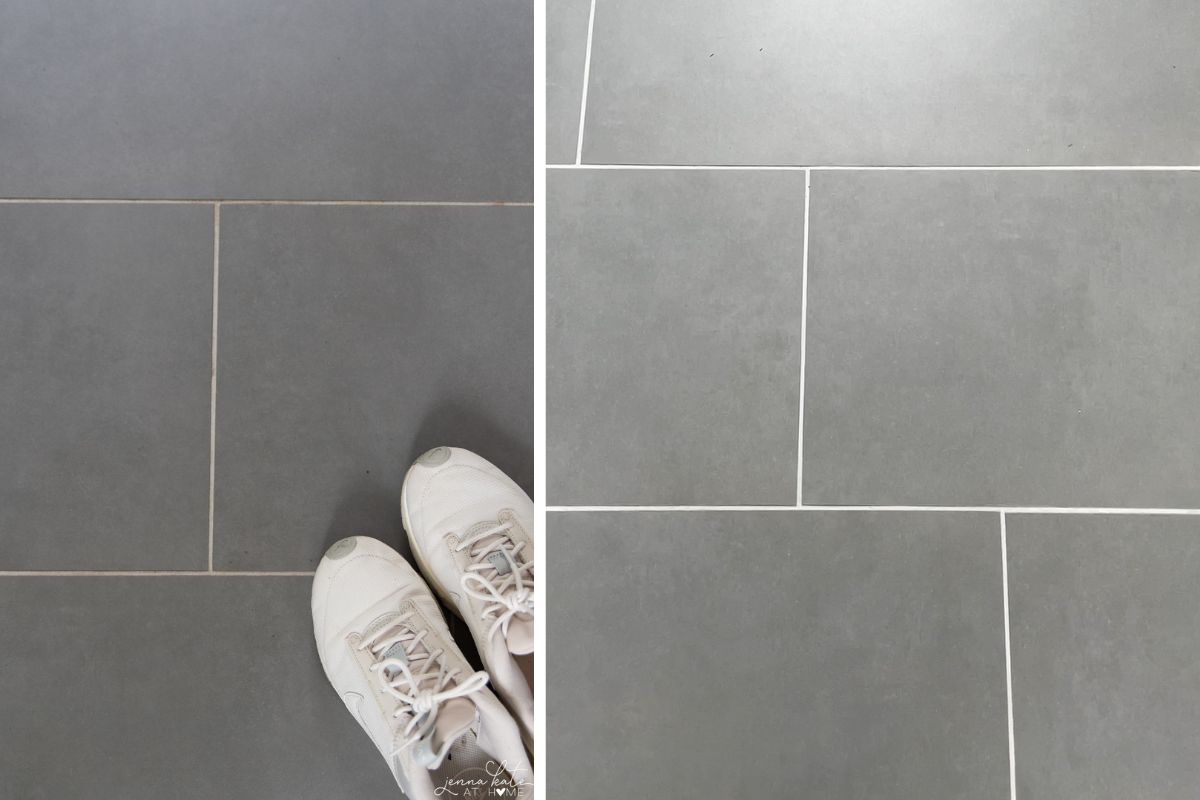
Grout is the one thing that can make even the cleanest home look dingy. Your tile might sparkle, but if the grout lines are dark, stained, or grimy, the whole floor feels dirty. The good news? You don’t need to live with it – or rip out your floors.
There are a lot of grout cleaning hacks floating around online (hello, Reddit and TikTok). Some work, some don’t, and some can even damage your tile. I’ve tested the most popular methods – natural pastes, commercial cleaners, and steam cleaning grout – and today I’m breaking down what really works, what to avoid, and how to keep your grout clean longer.
Unlike most posts, this isn’t just a list of random tips. I’ll show you the best method for different situations – from everyday dirt to stubborn stains to badly discolored grout – so you know exactly what will work for your home.
Quick Answer (for the skimmers)
If you just want the fast take:
- Everyday cleaning: Steam cleaning tile grout – quick, chemical-free, and safe for pets and kids.
- Deep cleaning stubborn stains: Baking soda + hydrogen peroxide paste (with a little dish soap for grease).
- Severely discolored grout: A commercial grout cleaner like Zep, or call in professional steam cleaning.
- Prevention: Seal grout every 6–12 months to keep it cleaner, longer.
Quick Reference: Best Methods by Situation
| Problem | Method | Why it Works |
|---|---|---|
| Everyday dirt | Steam clean grout | Fast, safe, no chemicals |
| Stubborn stains | Baking soda + peroxide paste | Non toxic + scrubbing power |
| Severe discoloration | Zep grout cleaner OR pro steam cleaning | Strongest stain removal |
| Greasy kitchen grout | Baking soda paste + dish soap | Cuts through grease |
| Marble/natural stone | Granite Gold cleaner | Safe for delicate surfaces |
Tools & Prep: What You’ll Need
You don’t need all of these – just the basics for the method you choose.
For every method:
- Vacuum or broom (to remove loose dirt)
- Old towels or microfiber cloths (to wipe up dirty water)
- Protective gloves (especially with commercial cleaners)
If you’re steam cleaning grout:
- Handheld steamer with a grout brush nozzle
If you’re using a natural paste:
- Baking soda, hydrogen peroxide, and dish soap
- Grout brush or an old toothbrush
If you’re using a commercial cleaner:
- Zep Grout Cleaner & Brightener (for tough stains) OR
- Granite Gold Grout Cleaner (safe for natural stone)
- Grout brush
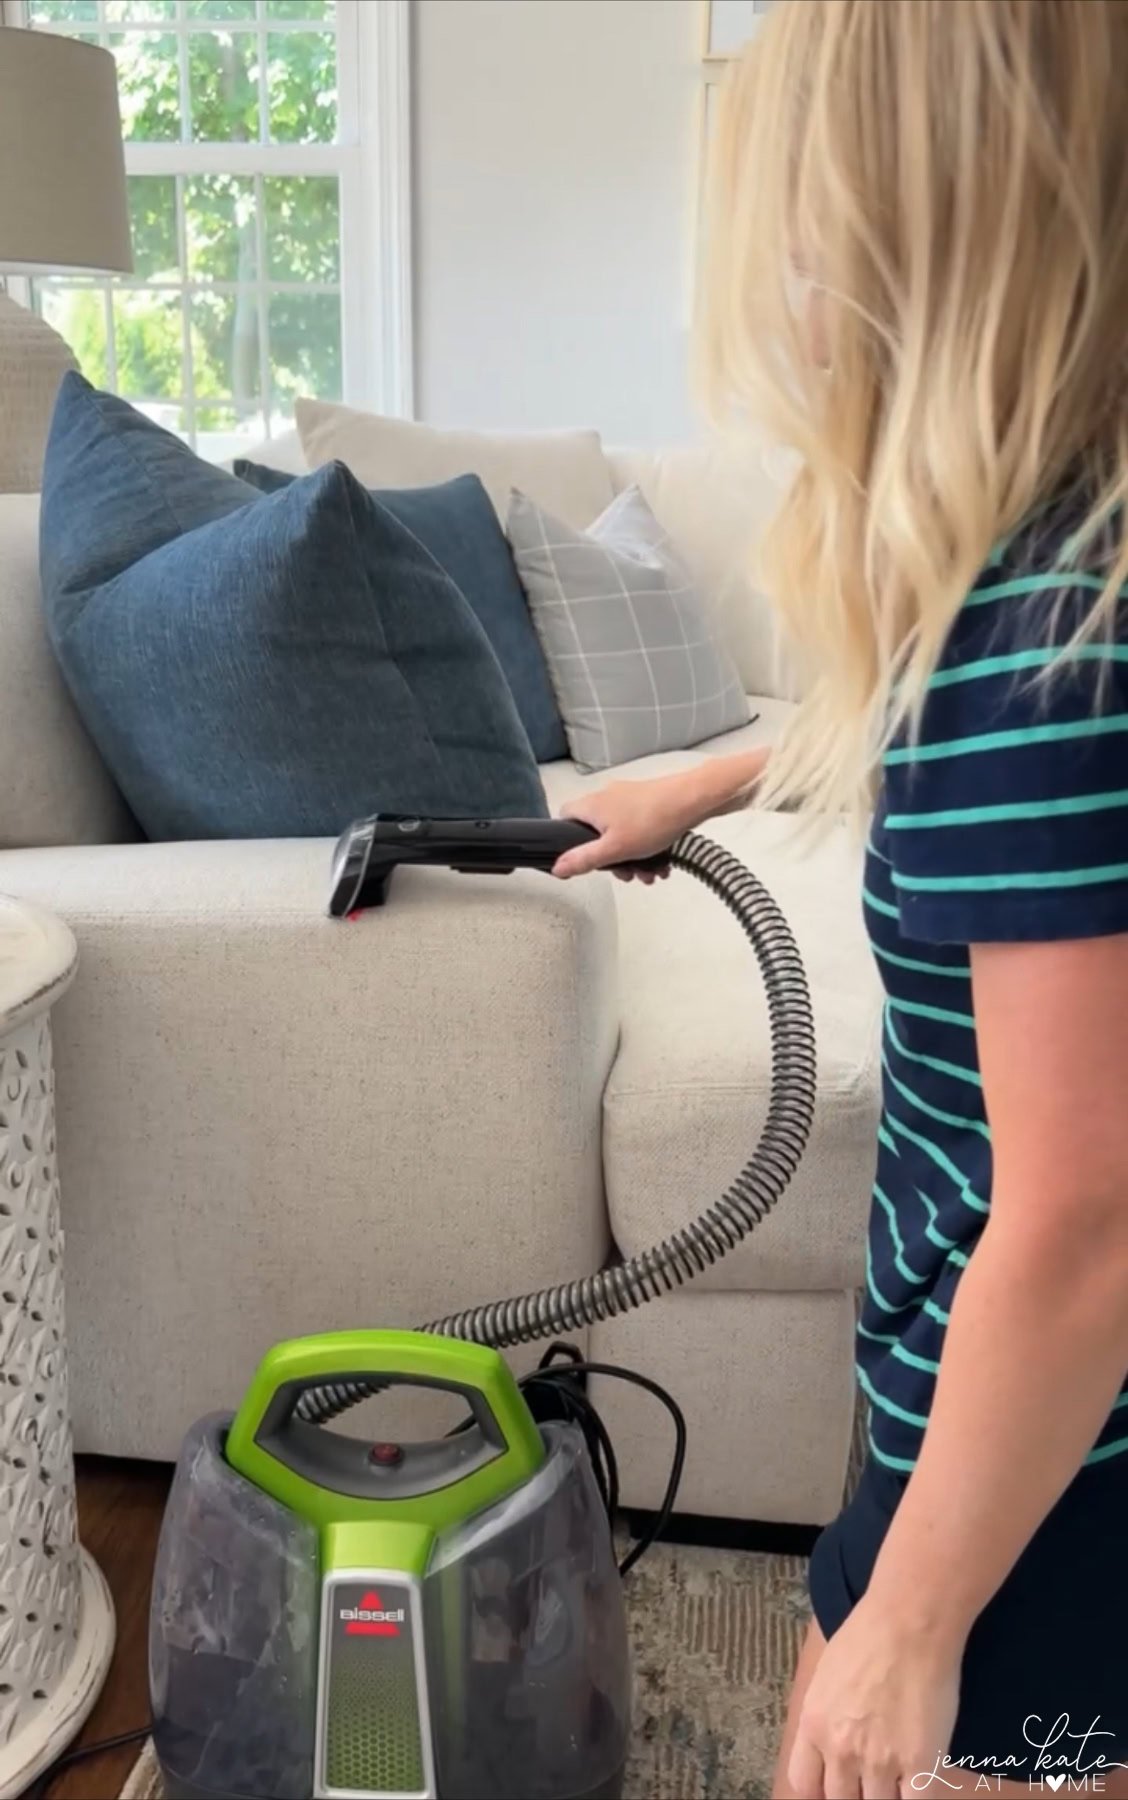
Method 1: Steam Clean Grout (Best for Regular Cleaning)
Steam cleaning tile grout is my favorite method for routine maintenance. It uses nothing but water, so it’s safe for homes with kids and pets, and it sanitizes as it cleans.
Steps to steam clean grout:
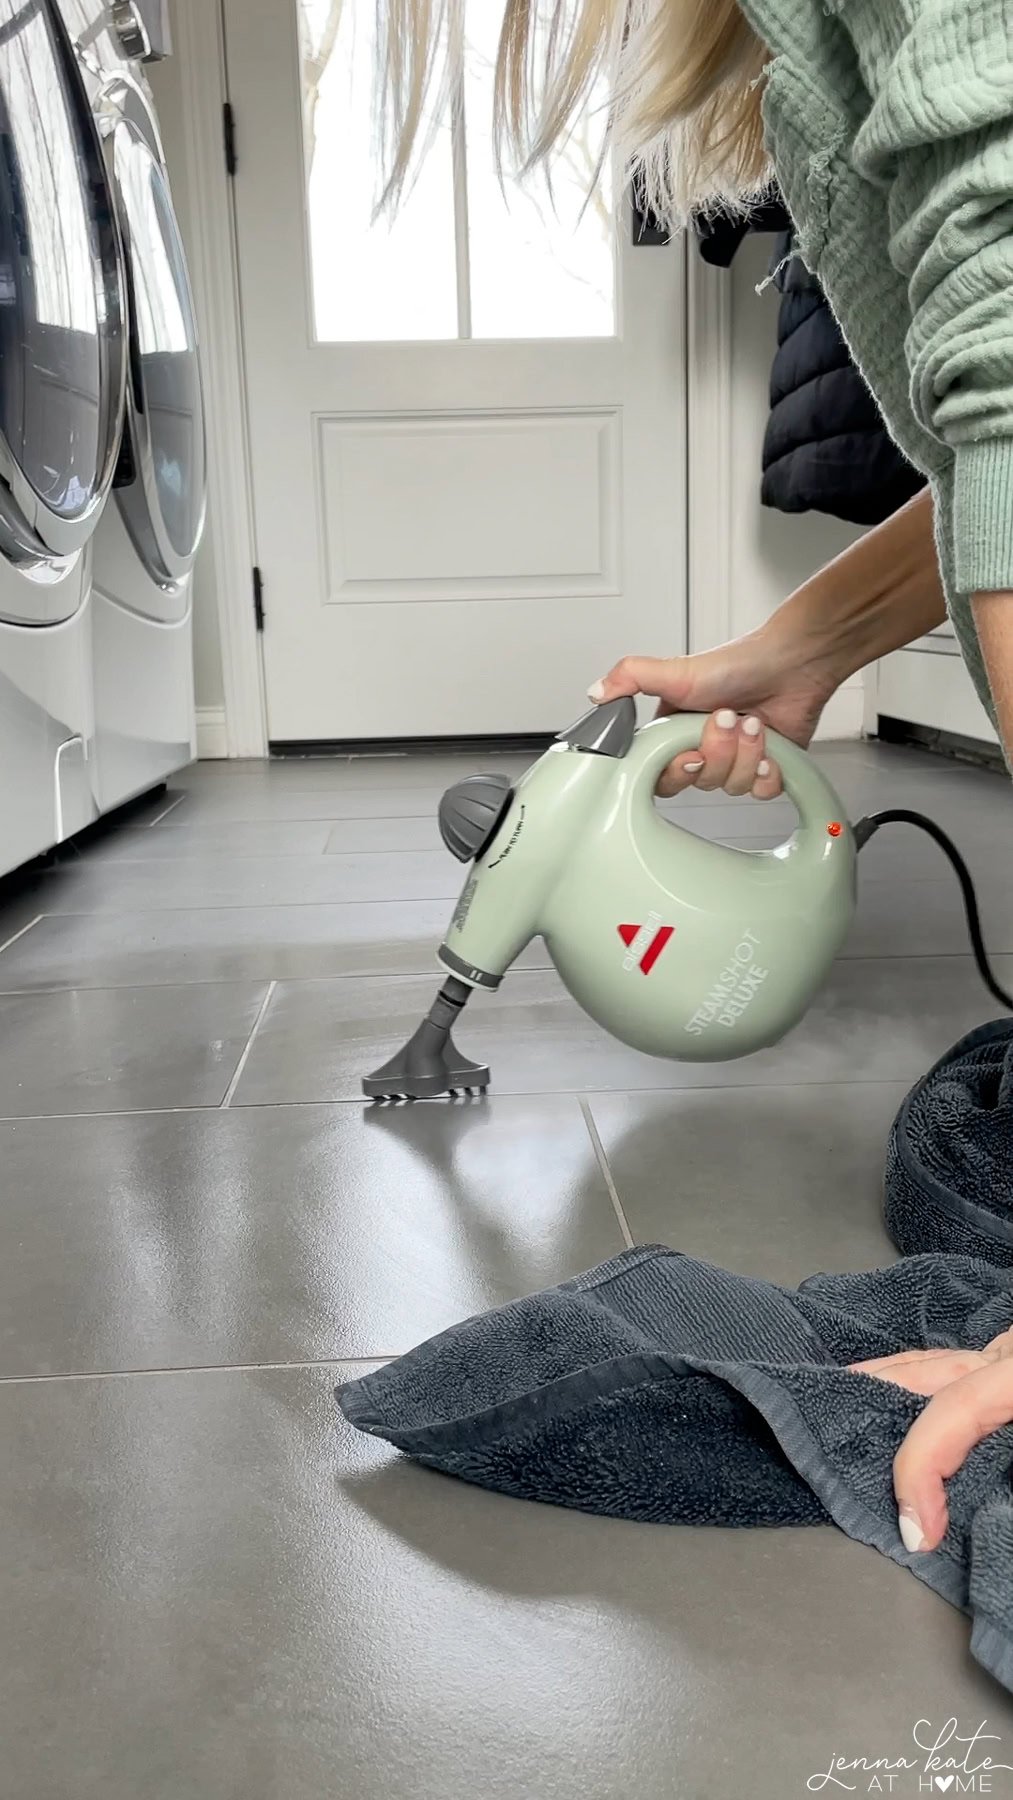
- Prep the floor: Sweep or vacuum first.
- Heat the steamer: Fill with water and let it heat fully.
- Steam the grout lines: Run the nozzle slowly along grout, using a brush attachment if you have one.
- Wipe as you go: Use a towel to blot up dirty water before it resettles.
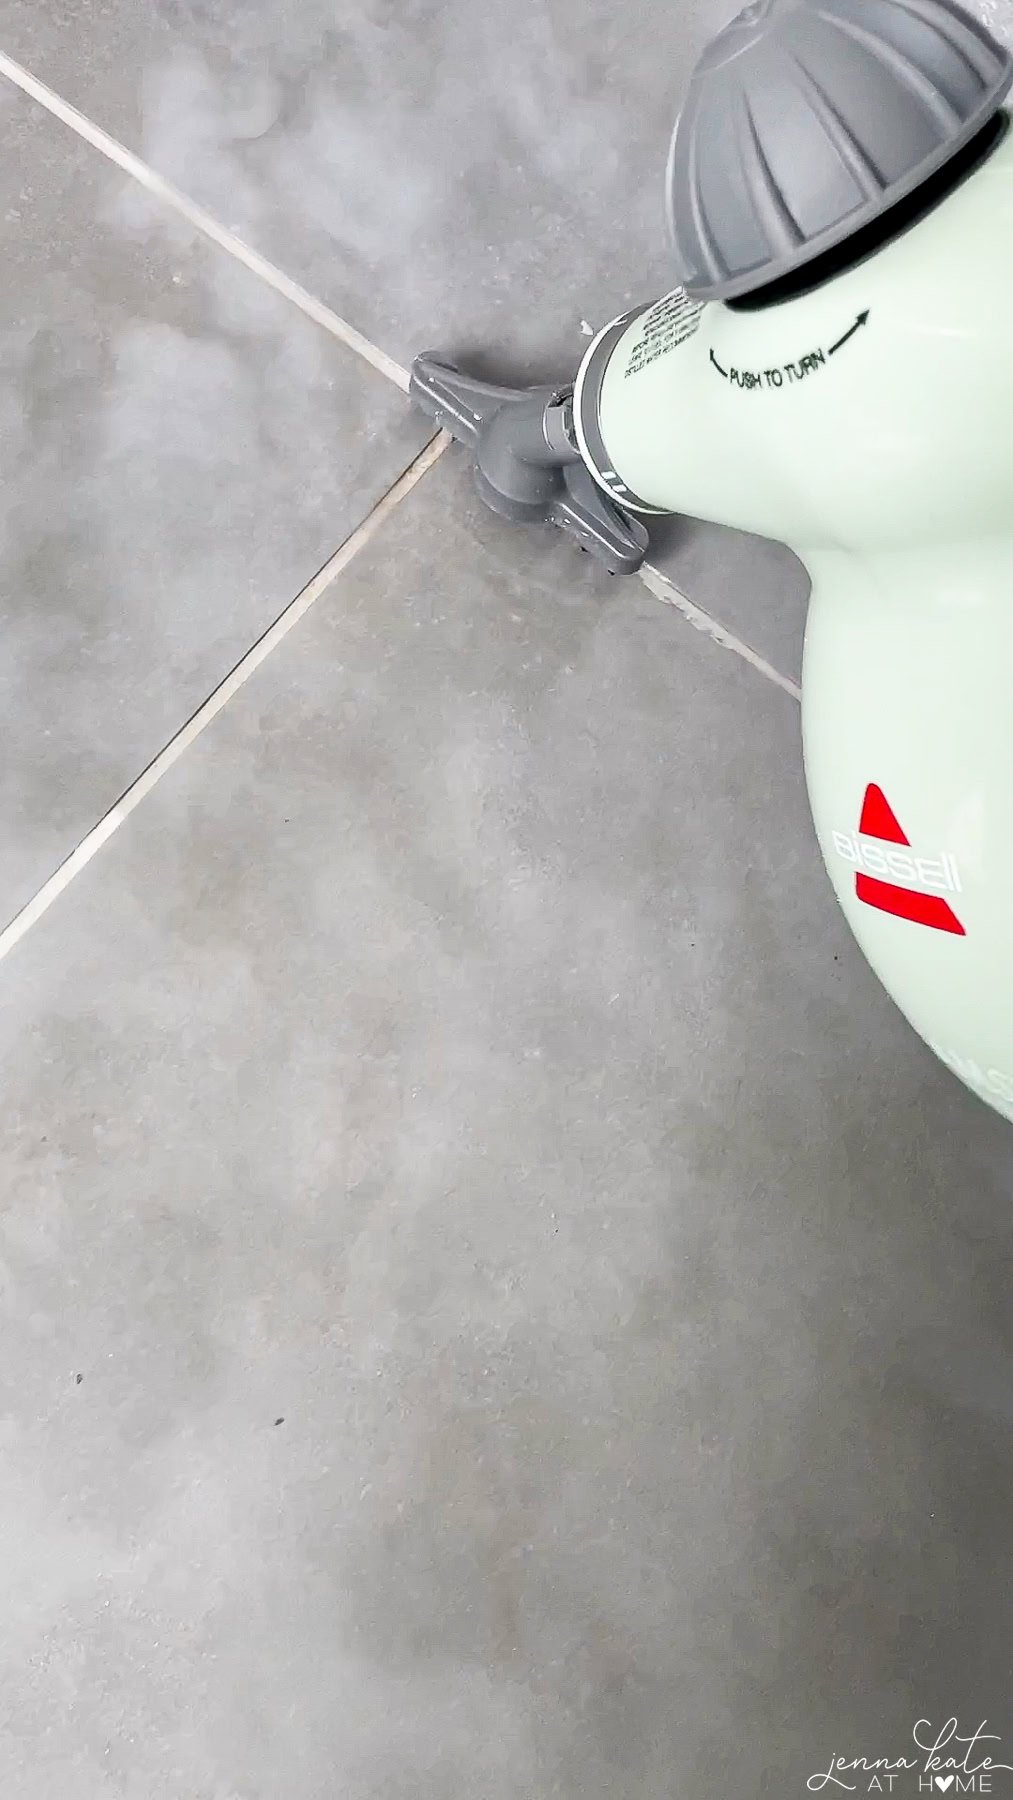
VIDEO: See this steam cleaner cleaning mudroom grout and watch the stains disappear!
Pros:
- Fast and chemical-free
- Lifts dirt with little scrubbing
- Sanitizes surfaces
Cons:
- Can leave dirty water puddles (wipe quickly)
- May not fully remove deep, set-in stains
Best for: Regular cleaning, maintenance, or when you want a safe and eco-friendly option.
Method 2: Baking Soda + Peroxide Paste (Best Non-Toxic Deep Clean)
When grout looks truly grimy, this natural mixture is surprisingly powerful. Baking soda is a mild abrasive, hydrogen peroxide brightens, and dish soap cuts grease.
How to make it:
- 2 parts baking soda
- 1 part hydrogen peroxide
- A small squirt of dish soap
Mix into a thick paste (like toothpaste).
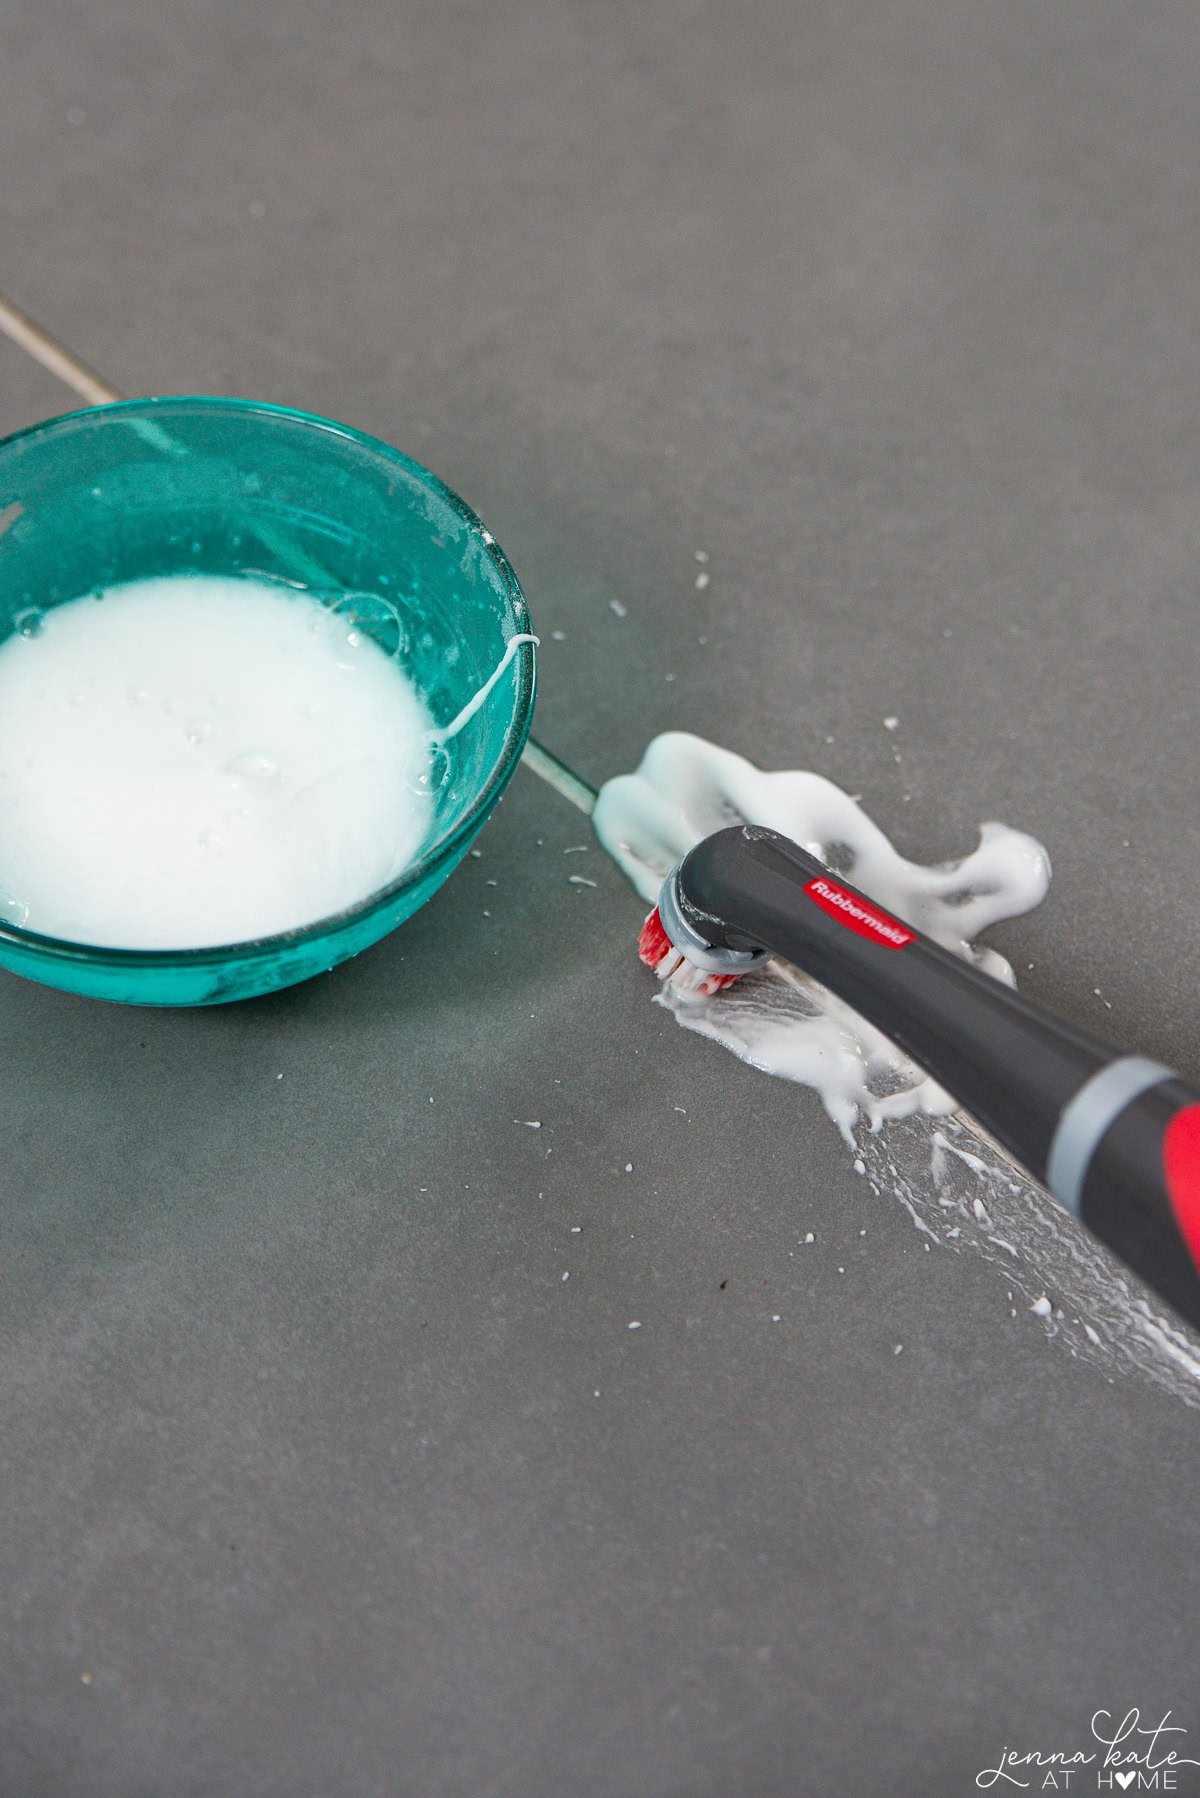
Steps to use it:
- Spread paste onto grout lines with a brush.
- Let it sit for 5–10 minutes.
- Scrub gently with a grout brush, electric scrubbing brush or toothbrush.
- Rinse with warm water and wipe clean.
Pros:
- Non-toxic and budget-friendly
- Works nearly as well as commercial cleaners
- Great for kitchens with grease stains
Cons:
- Requires scrubbing
- Can be messy
Best for: Stubborn stains, eco-conscious cleaning, and homes avoiding harsh chemicals.
Method 3: Commercial Grout Cleaners (Best for Severe Stains)
Sometimes natural methods aren’t enough. For grout that’s badly discolored, commercial cleaners can save the day.
- Zep Grout Cleaner & Brightener: Apply directly to grout lines, wait 2–3 minutes, scrub, and rinse thoroughly. Very effective, but acidic – avoid repeated use and never use on natural stone.
- Granite Gold Grout Cleaner: A pH-balanced option safe for marble, granite, and other delicate surfaces.
- Soft Scrub with Bleach: Effective for mold/mildew in showers, but not for routine use.
Best for: Very stained grout or “once in a while” deep cleans.
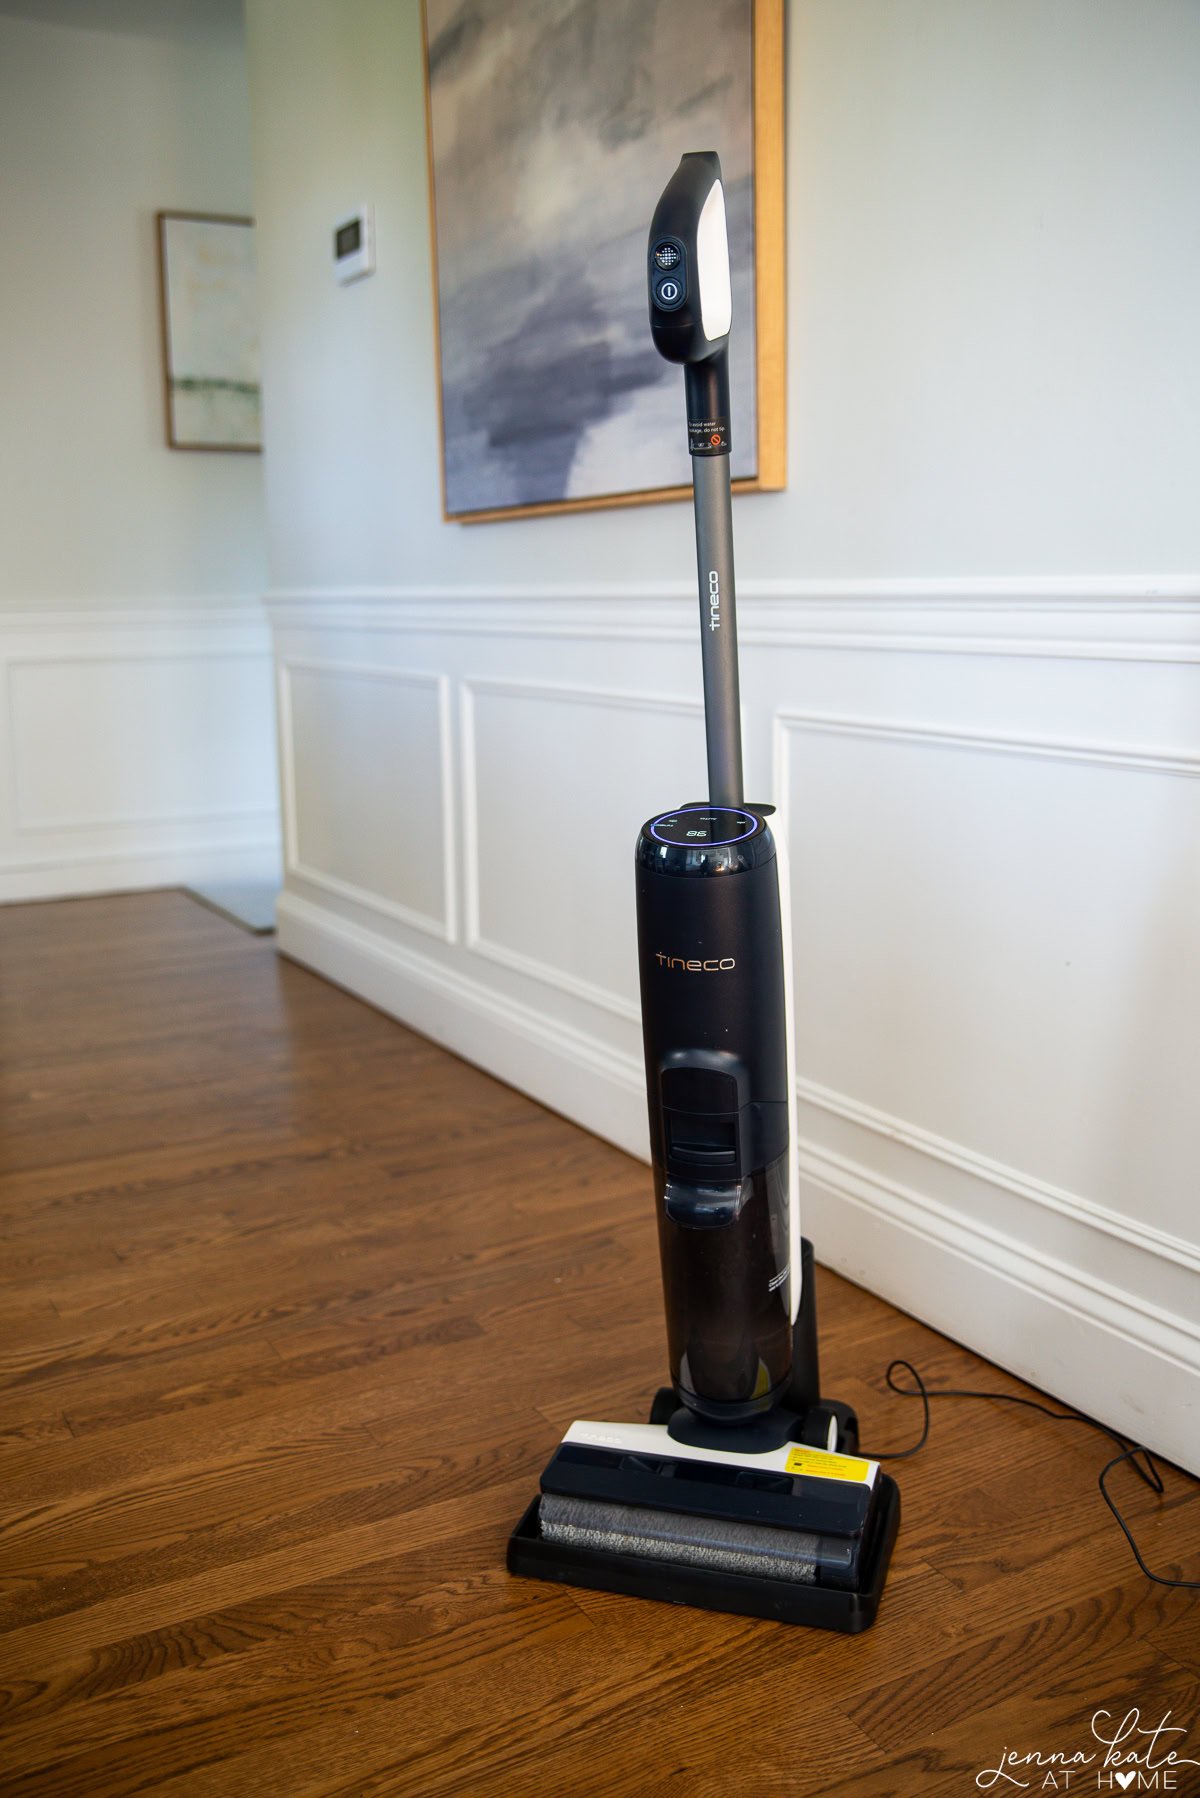
Method 4: Professional Steam Cleaning
If your grout is decades old, black with stains, or covers a huge area, hiring a pro (like Stanley Steemer) can be worth it. Professional steamers are far more powerful than handheld versions and can restore grout that looks beyond saving.
Best for: Whole-house tile floors, move-in cleaning, or when DIY hasn’t worked.
What NOT to Use on Grout
Some cleaning hacks can actually cause damage:
- Vinegar or lemon juice: Too acidic for grout, and dangerous for marble or natural stone.
- Toilet bowl cleaner (TikTok hack): Harsh and corrosive – bad long-term.
- Chlorine bleach: Weakens grout with repeated use.
- Abrasive scrubbers: Scratch tiles and wear down grout.
Troubleshooting: If Your Grout Still Looks Dirty
- Try a grout refresh pen or grout paint: Instantly brightens stained grout.
- Regrout small sections: If grout is crumbling or permanently stained.
- Seal regularly: Once grout is clean, seal it to prevent future stains.
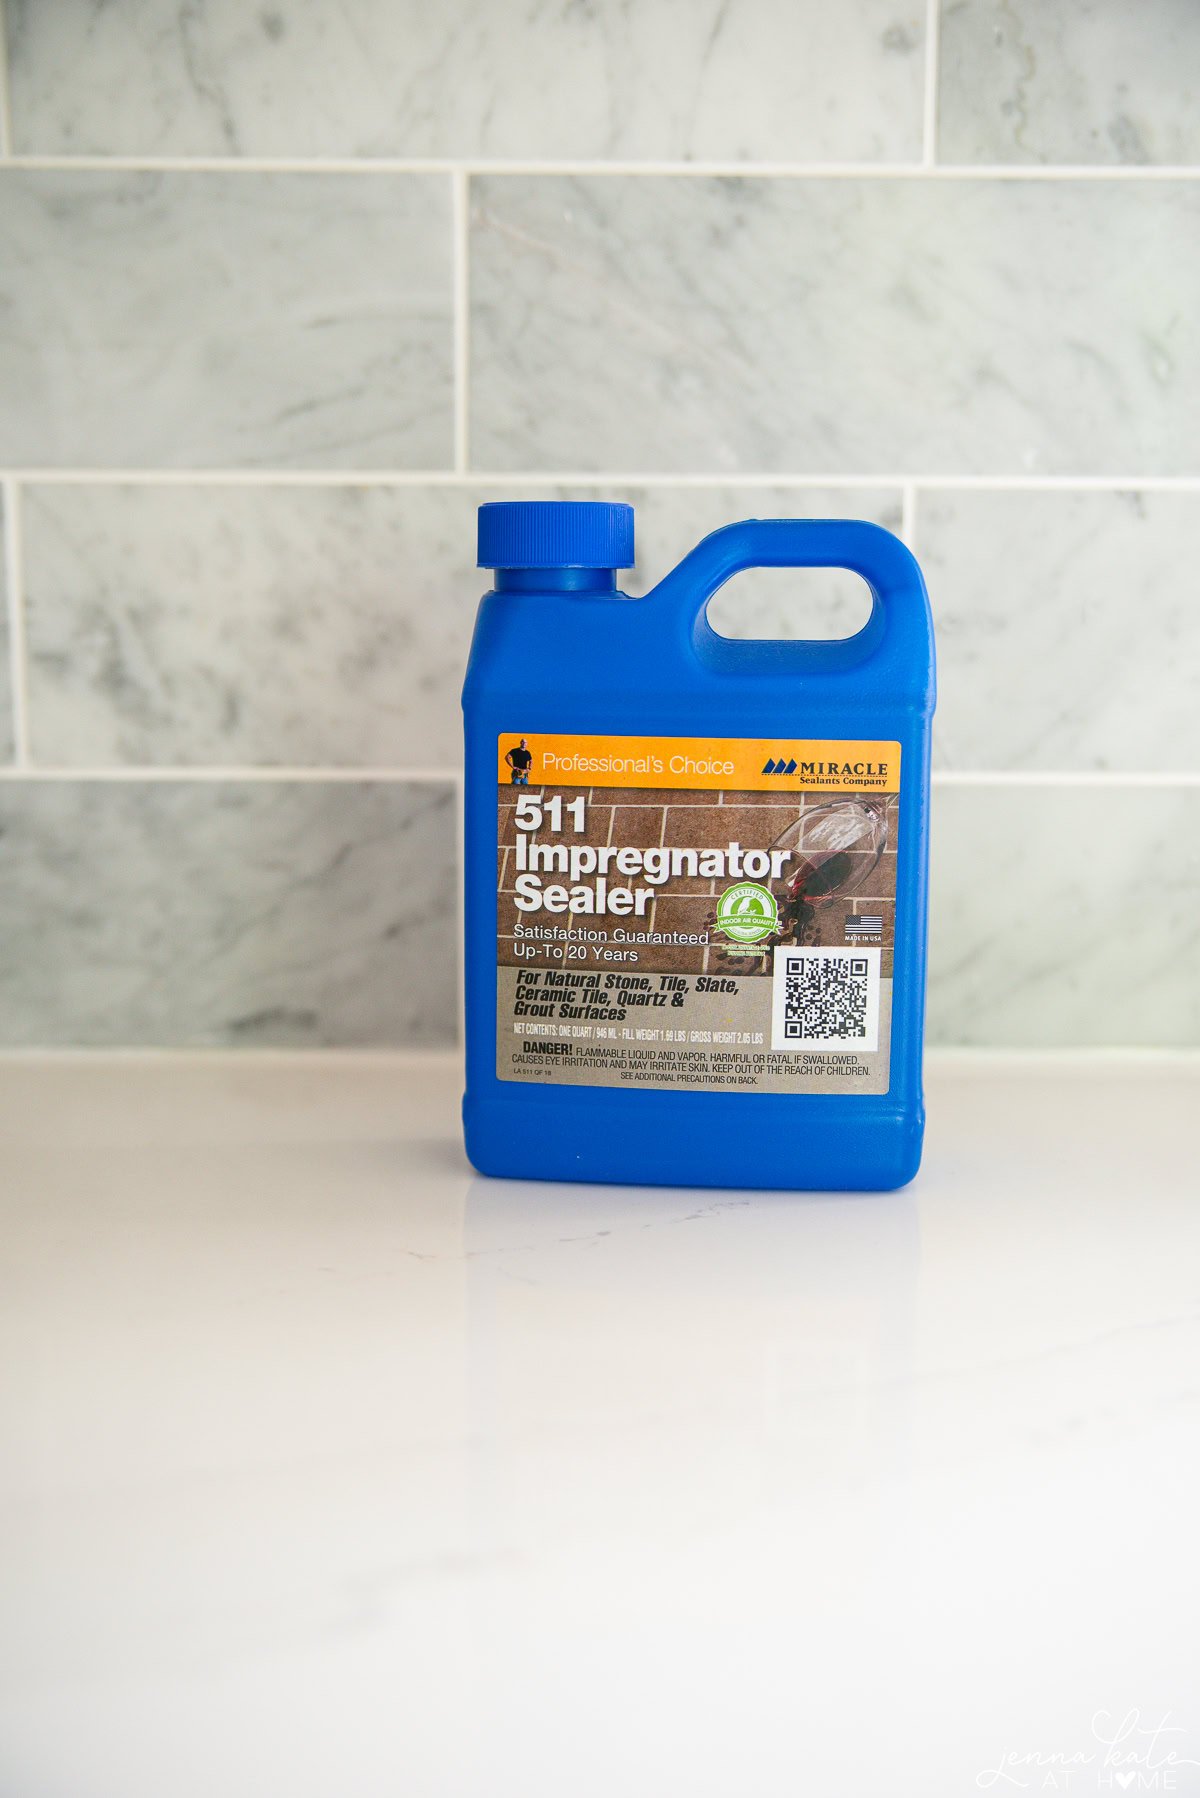
Aftercare: Seal Grout to Keep It Clean Longer
A grout sealer creates an invisible barrier that repels dirt and spills. Choose an impregnator sealer that will penetrate the porous surface and protect it.
Steps to seal grout:
- Make sure grout is completely clean and dry.
- Apply sealer evenly along grout lines.
- Let it sit for 3–5 minutes.
- Wipe excess off tile.
- Allow to cure (per product instructions).
Pro tip: High-traffic areas should be resealed every 6 months; low-traffic areas can go 1–2 years.
Final Thoughts
Dirty grout can make a whole room feel dingy, but the right cleaning method can bring it back to life. For everyday care, steam cleaning tile grout is fast, easy, and chemical-free. For tough stains, a baking soda paste or the occasional commercial cleaner works wonders. And once your grout is clean, sealing it will keep it that way longer.
Bottom line: You don’t need harsh chemicals – or new floors. Just the right method for your space and a little consistency.
For most homes, steam cleaning is the easiest, fastest method. It requires no chemicals and little scrubbing.
Yes! Steam cleaning tile grout is safe for most ceramic and porcelain tile floors. Avoid using on unsealed or damaged grout without testing first.
Vinegar is not recommended as it is acidic and can erode grout over time. It should never be used near marble or natural stone.
Light cleaning can be weekly; deep cleaning depends on foot traffic. Seal grout every 6–12 months to protect against stains.


Thank you! Great post with perfect instructions, exactly what I needed. I just bought a 30-year old house with plenty of dirty grout. I’m going to get a steam cleaner and grout sealer right away. Thanks for all your great advice, I’m one of your biggest fans! Happy Spring!
Thanks so much, Pamela! Happy spring to you, too!
You need to try a product called
CLEEN – EEZ to clean grout on floors. I have tried the various things that you recommended, but nothing works as well as CLEEN-EEZ! Truly a remarkable product.