Content may contain affiliate links. When you shop the links, I receive a small commission at no cost to you. Thank you for supporting my small business.
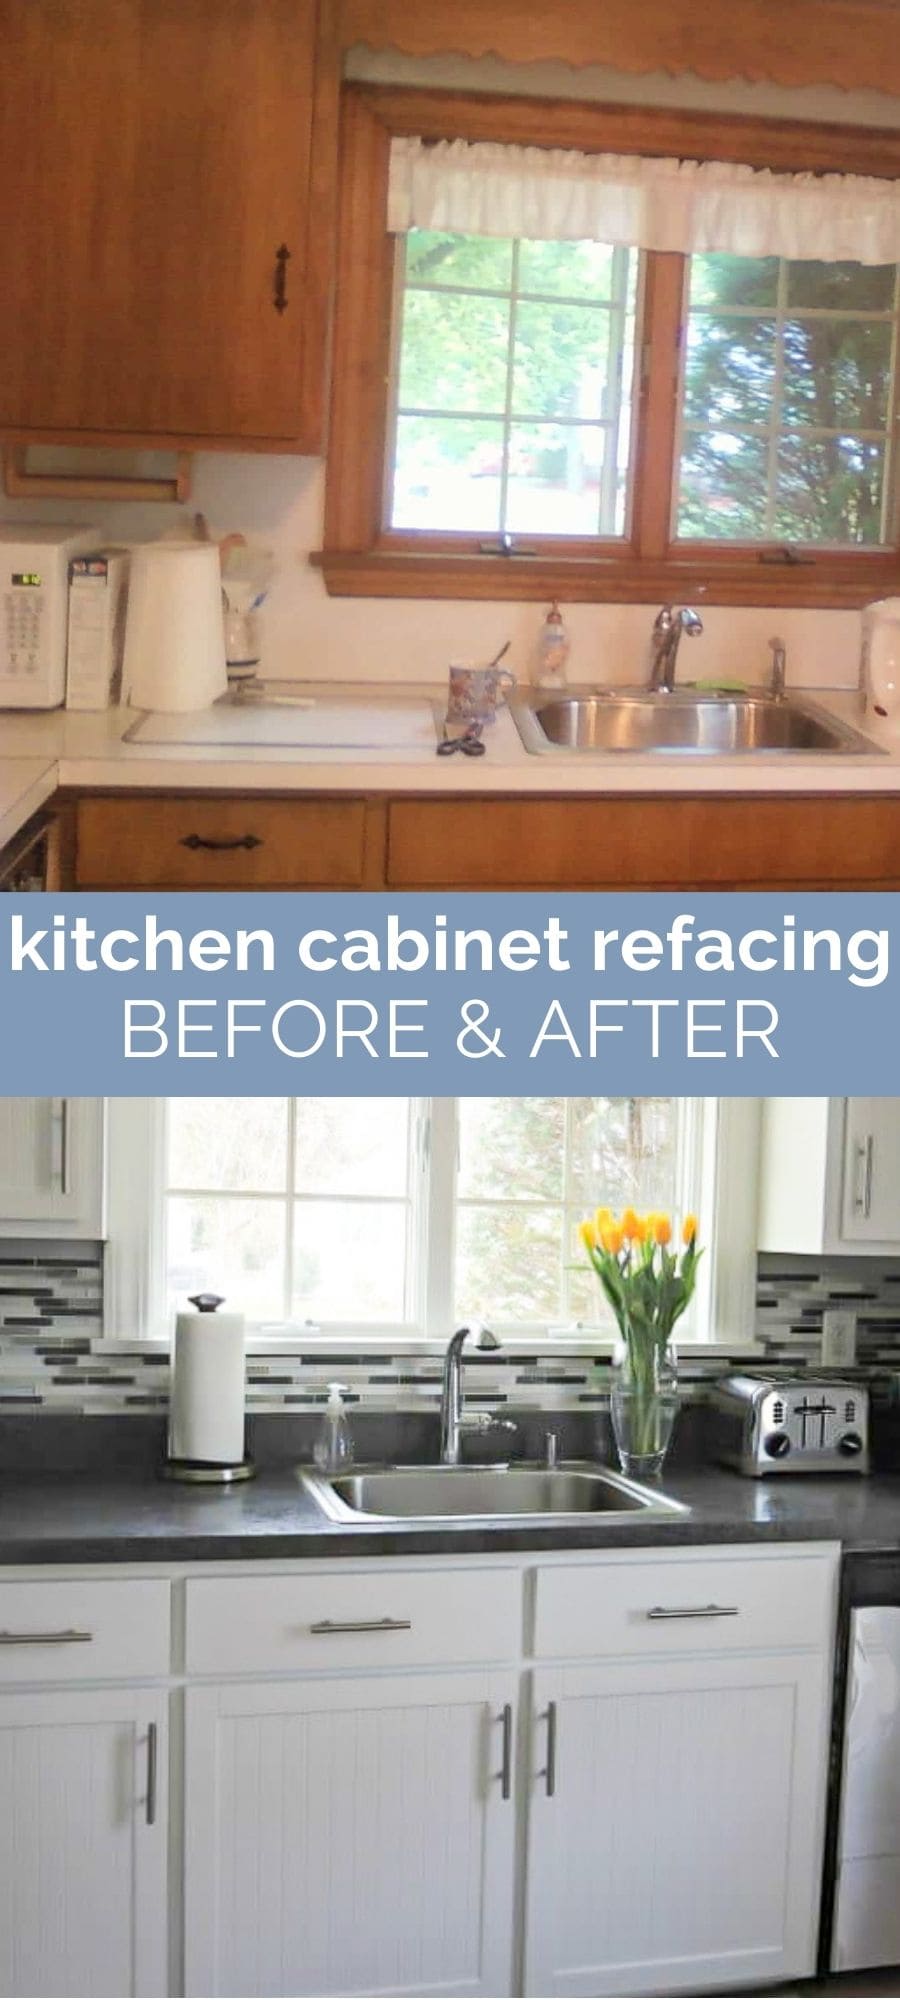
Back in 2013, in our very first home, our kitchen was dark, dated, and not very functional. On a tight budget, we couldn’t justify a full remodel, so we started small by painting the cabinets ourselves. That brightened things up, but it didn’t fix the poor storage, awkward layout, or old countertops.

Six months later, we discovered cabinet refacing—a cost-friendly middle ground between painting and replacing—and it completely transformed our kitchen. In just four days, we had the look of a brand-new space without the price tag or demolition.

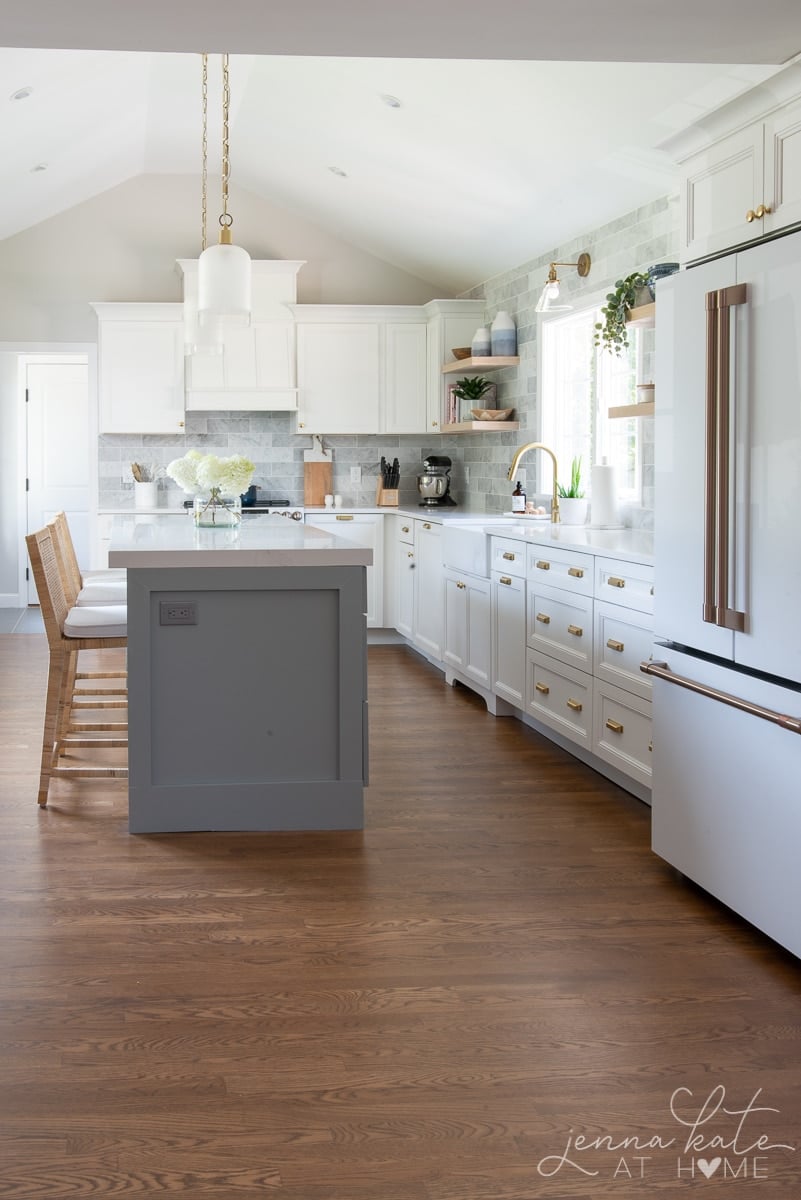
Today, in our current home, we’ve since done a full kitchen remodel with brand-new cabinets, which gave us total design freedom. But looking back, refacing was the perfect solution for where we were at the time.
What is Cabinet Refacing?
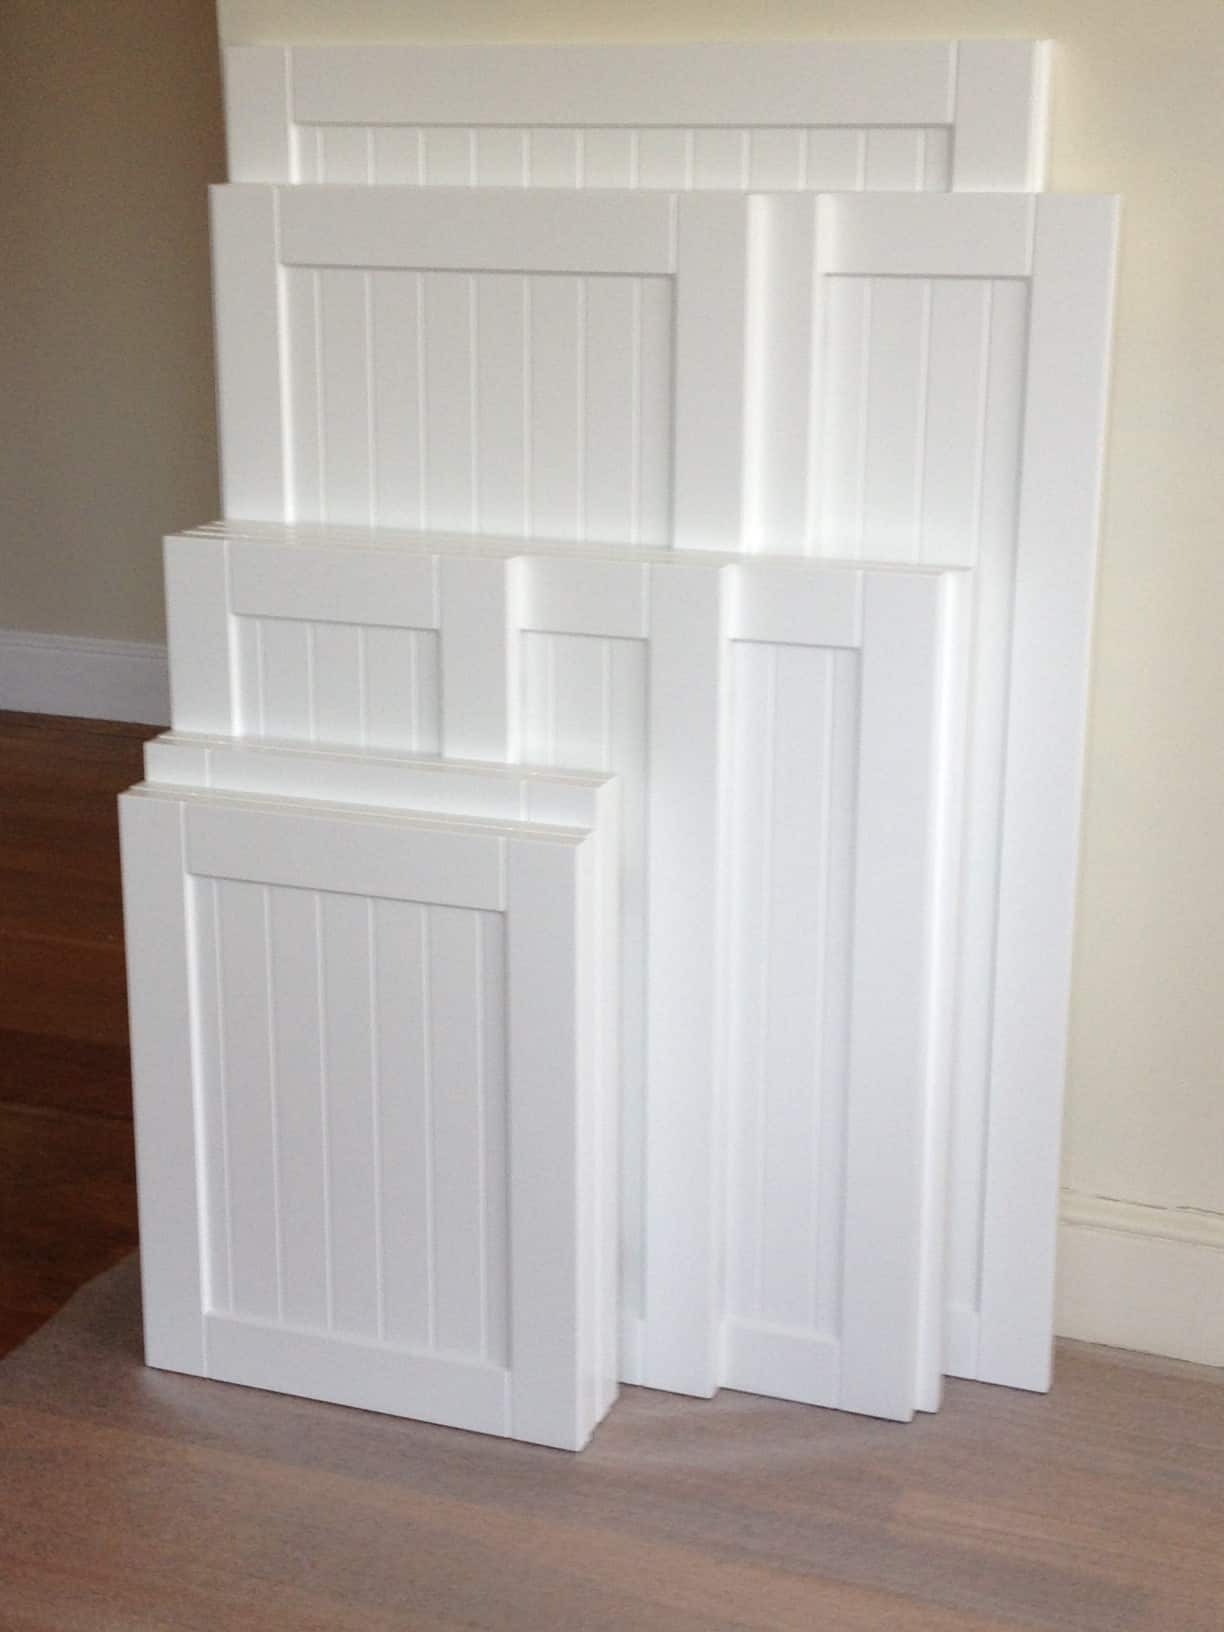
Cabinet refacing means the cabinet boxes stay in place, but everything else gets a facelift:
- New doors and drawer fronts
- Veneer applied to the cabinet boxes
- Updated hardware, molding, and trim
The result is a kitchen that looks brand new without the cost or mess of replacing everything.
Painted Cabinets vs. Refaced Cabinets
Because we first painted and then later refaced, we can compare both:
| Option | Pros | Cons | Best For |
|---|---|---|---|
| Painting | Inexpensive, DIY-friendly, quick update | Doesn’t fix layout/storage, chips over time | When budget is very tight and cabinets are solid |
| Refacing | Looks like new, customizable, fast timeline | Costs more than painting, layout stays the same | Solid cabinets with decent layout |
| Replacing | Full freedom to redesign, add storage | Expensive, long renovation, messy | Major remodels or damaged cabinets |
For us, paint was a good short-term fix, but refacing was the game-changer.
Our Cabinet Refacing Process (2013)
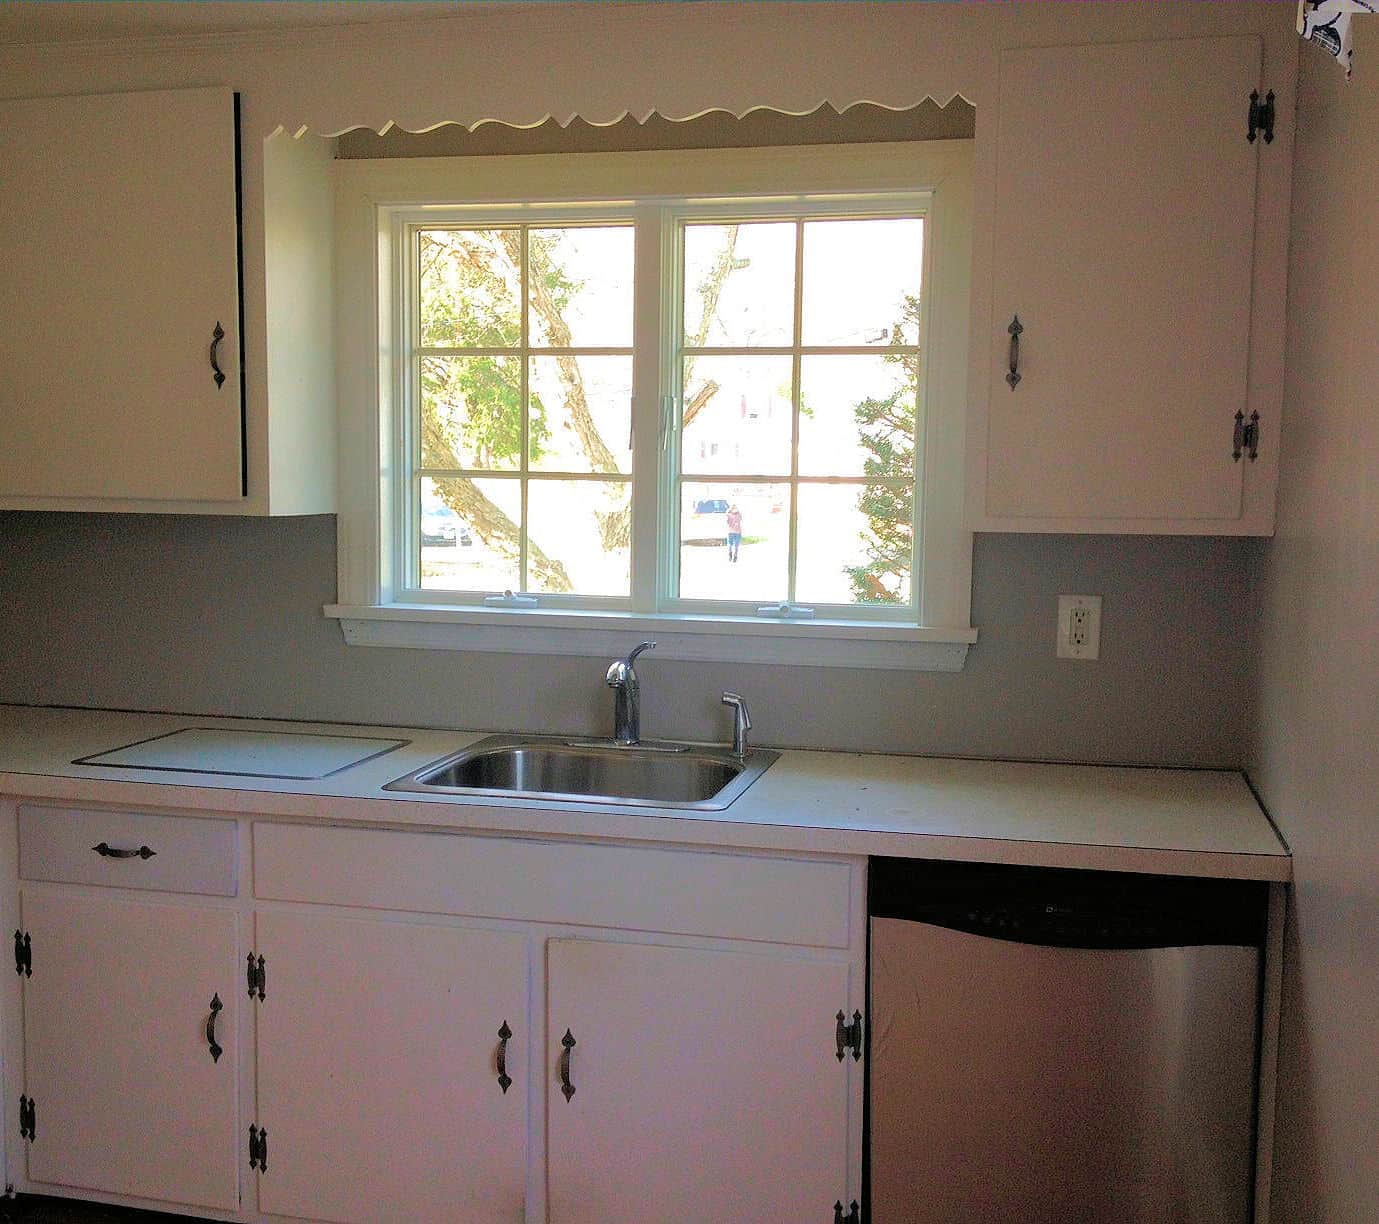
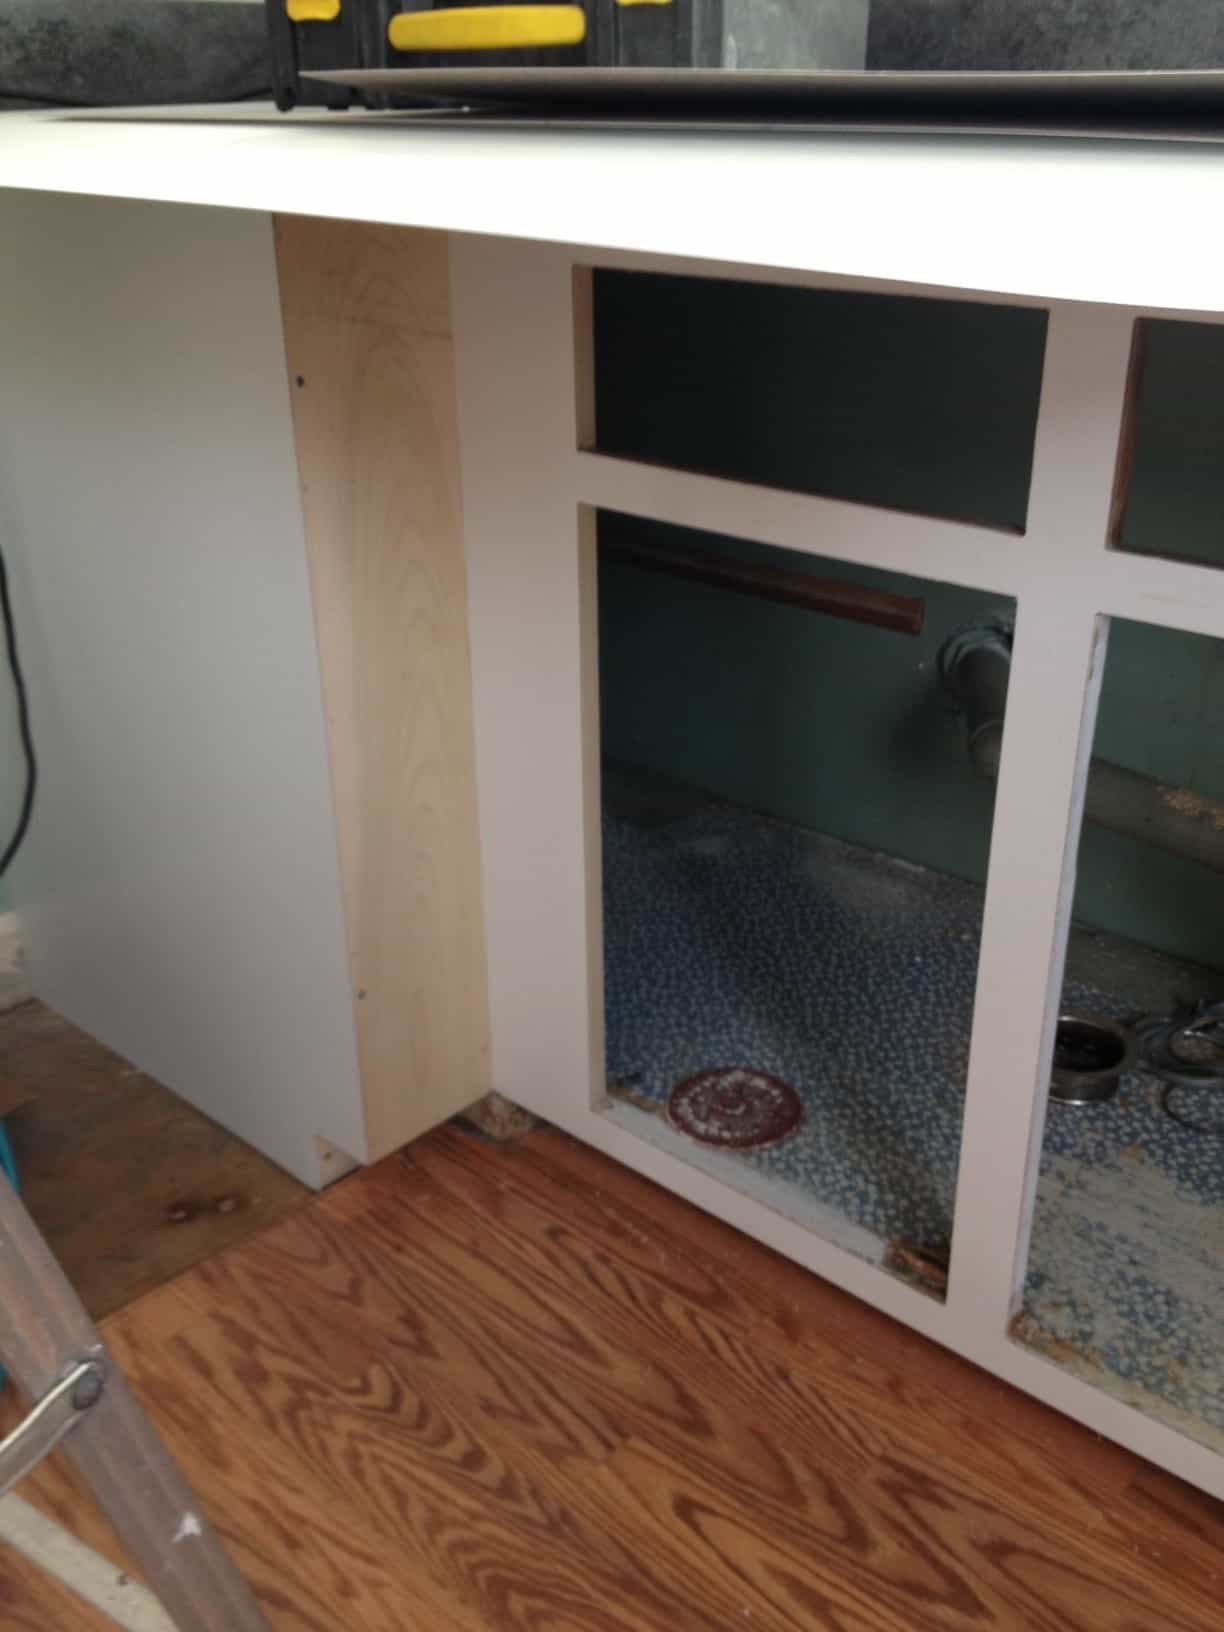
The process was much faster than I expected. On the first day, all of our appliances were removed and the demo began.
As part of the process, we added a whole new wall of cabinet boxes above the stove to improve function.

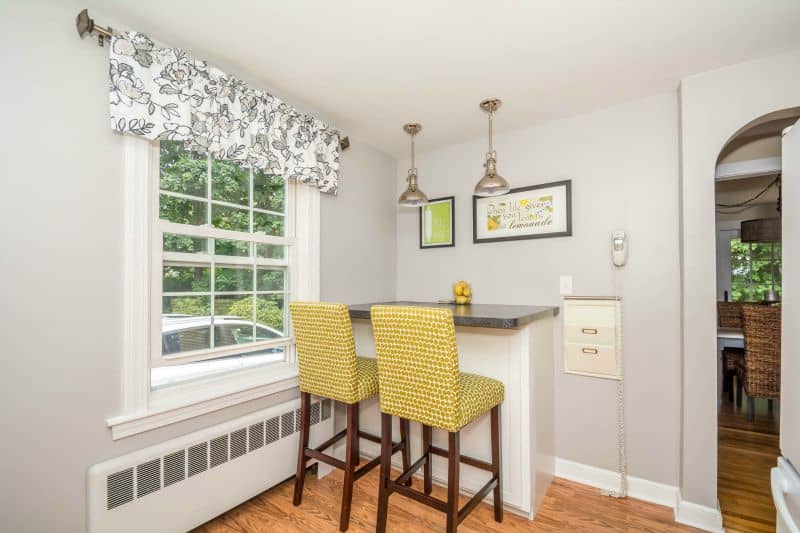
The new breakfast bar was also put in place.
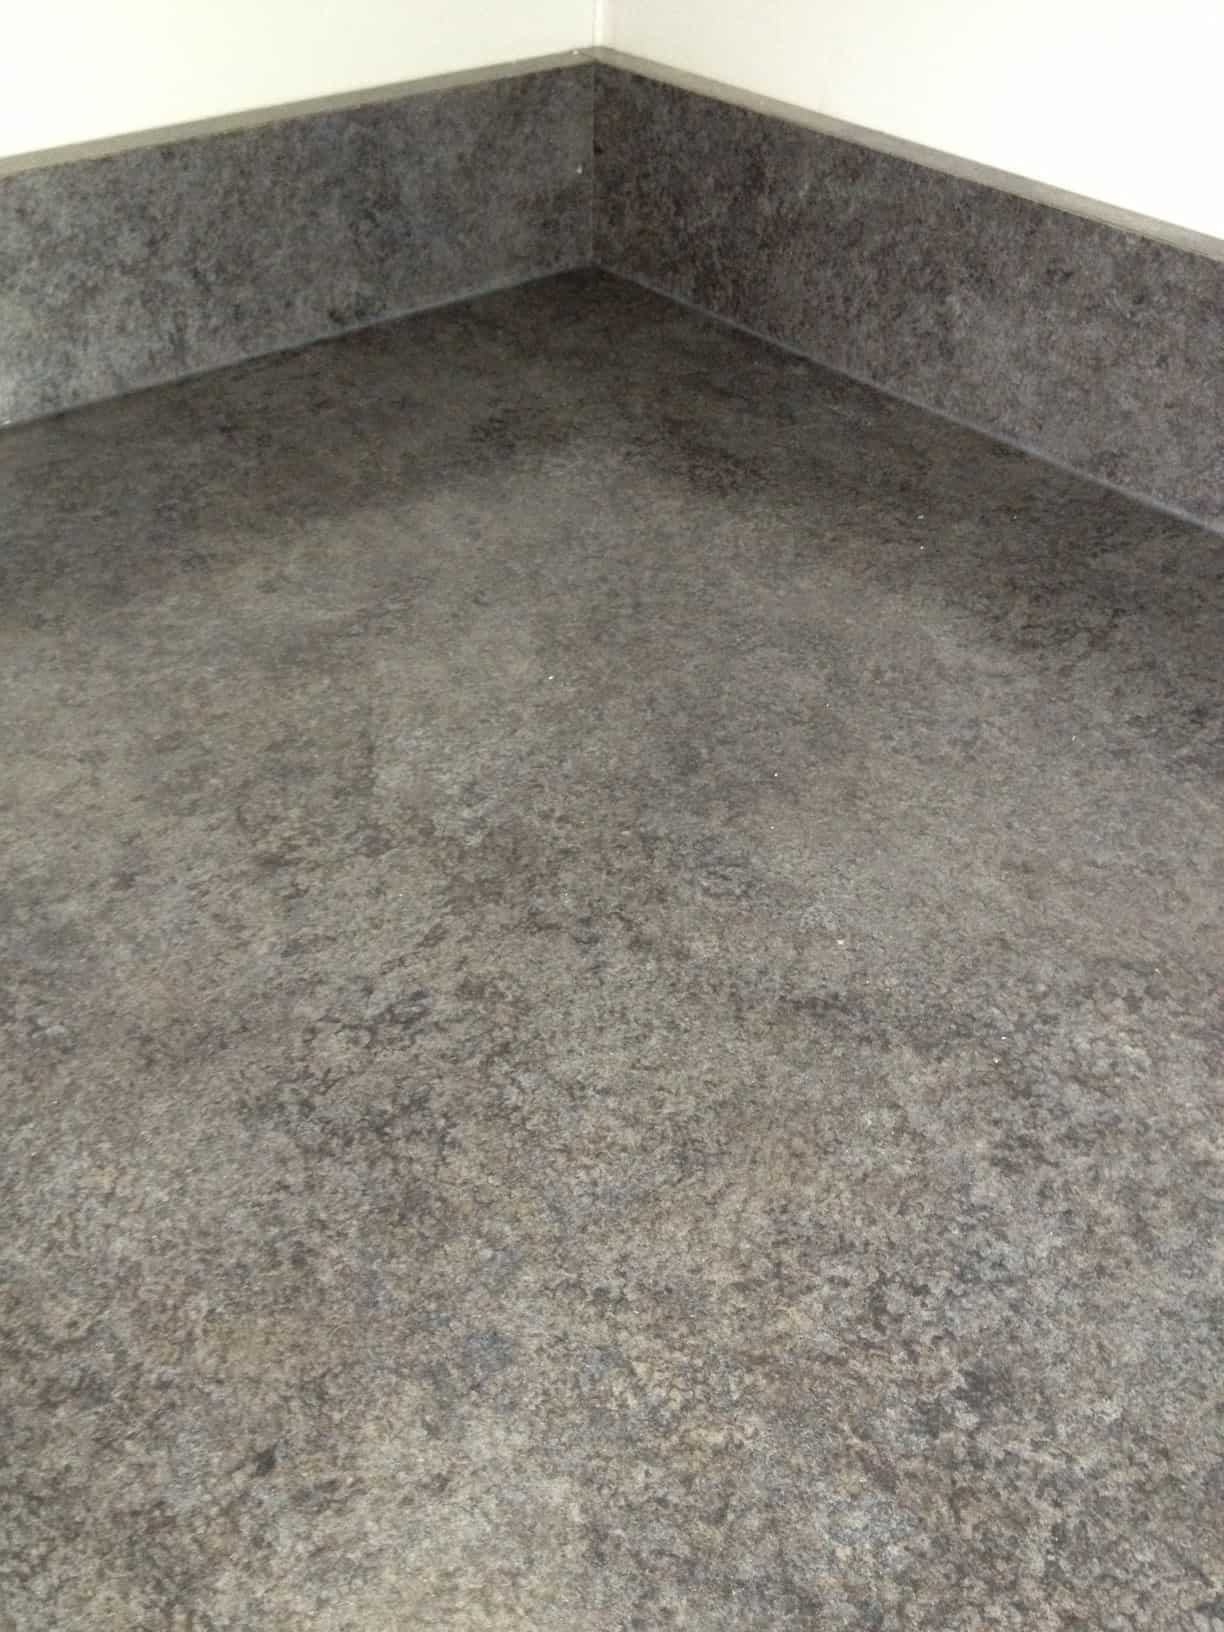
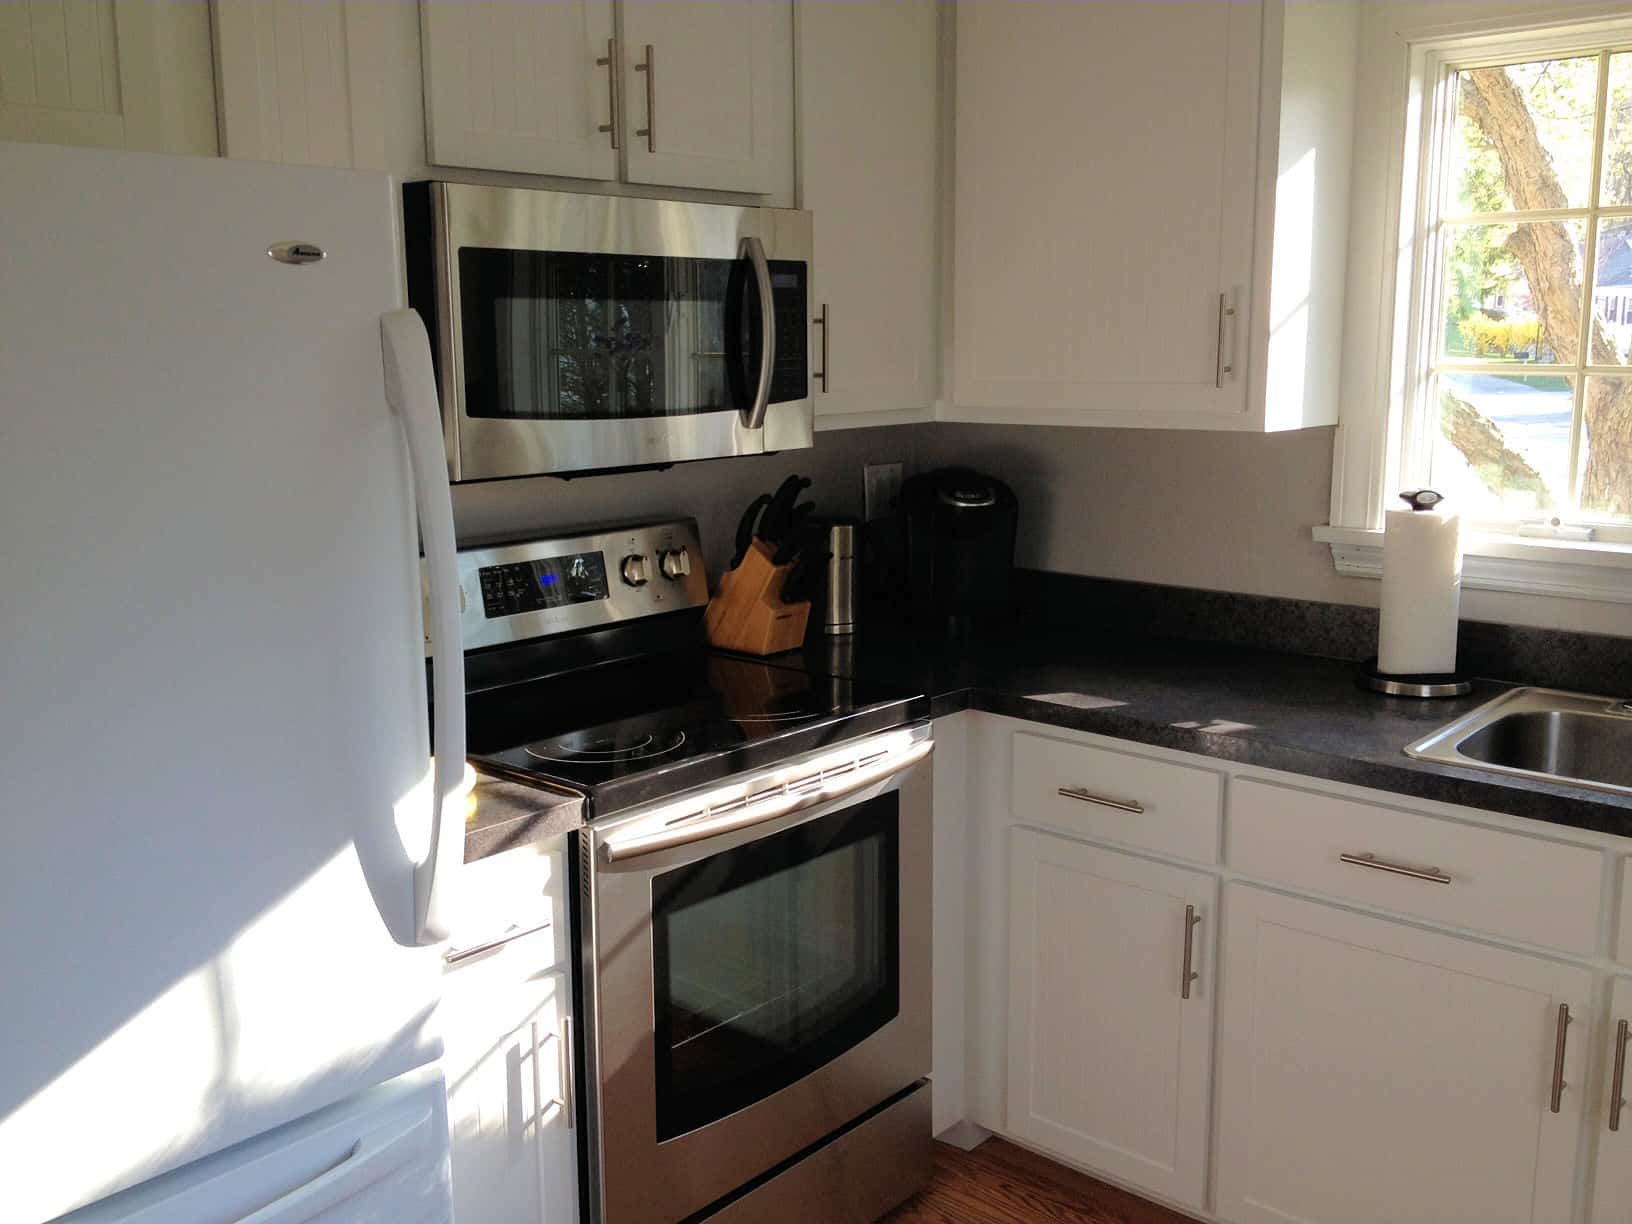
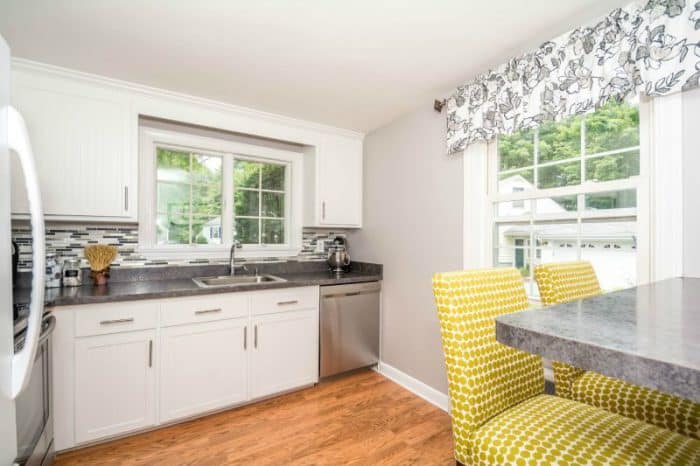
By the second day, the new countertops had arrived and were installed. We chose Wilsonart’s Deepstar Slate, a budget-friendly laminate with the look of natural stone. At the same time, veneer was carefully applied to the cabinet boxes.
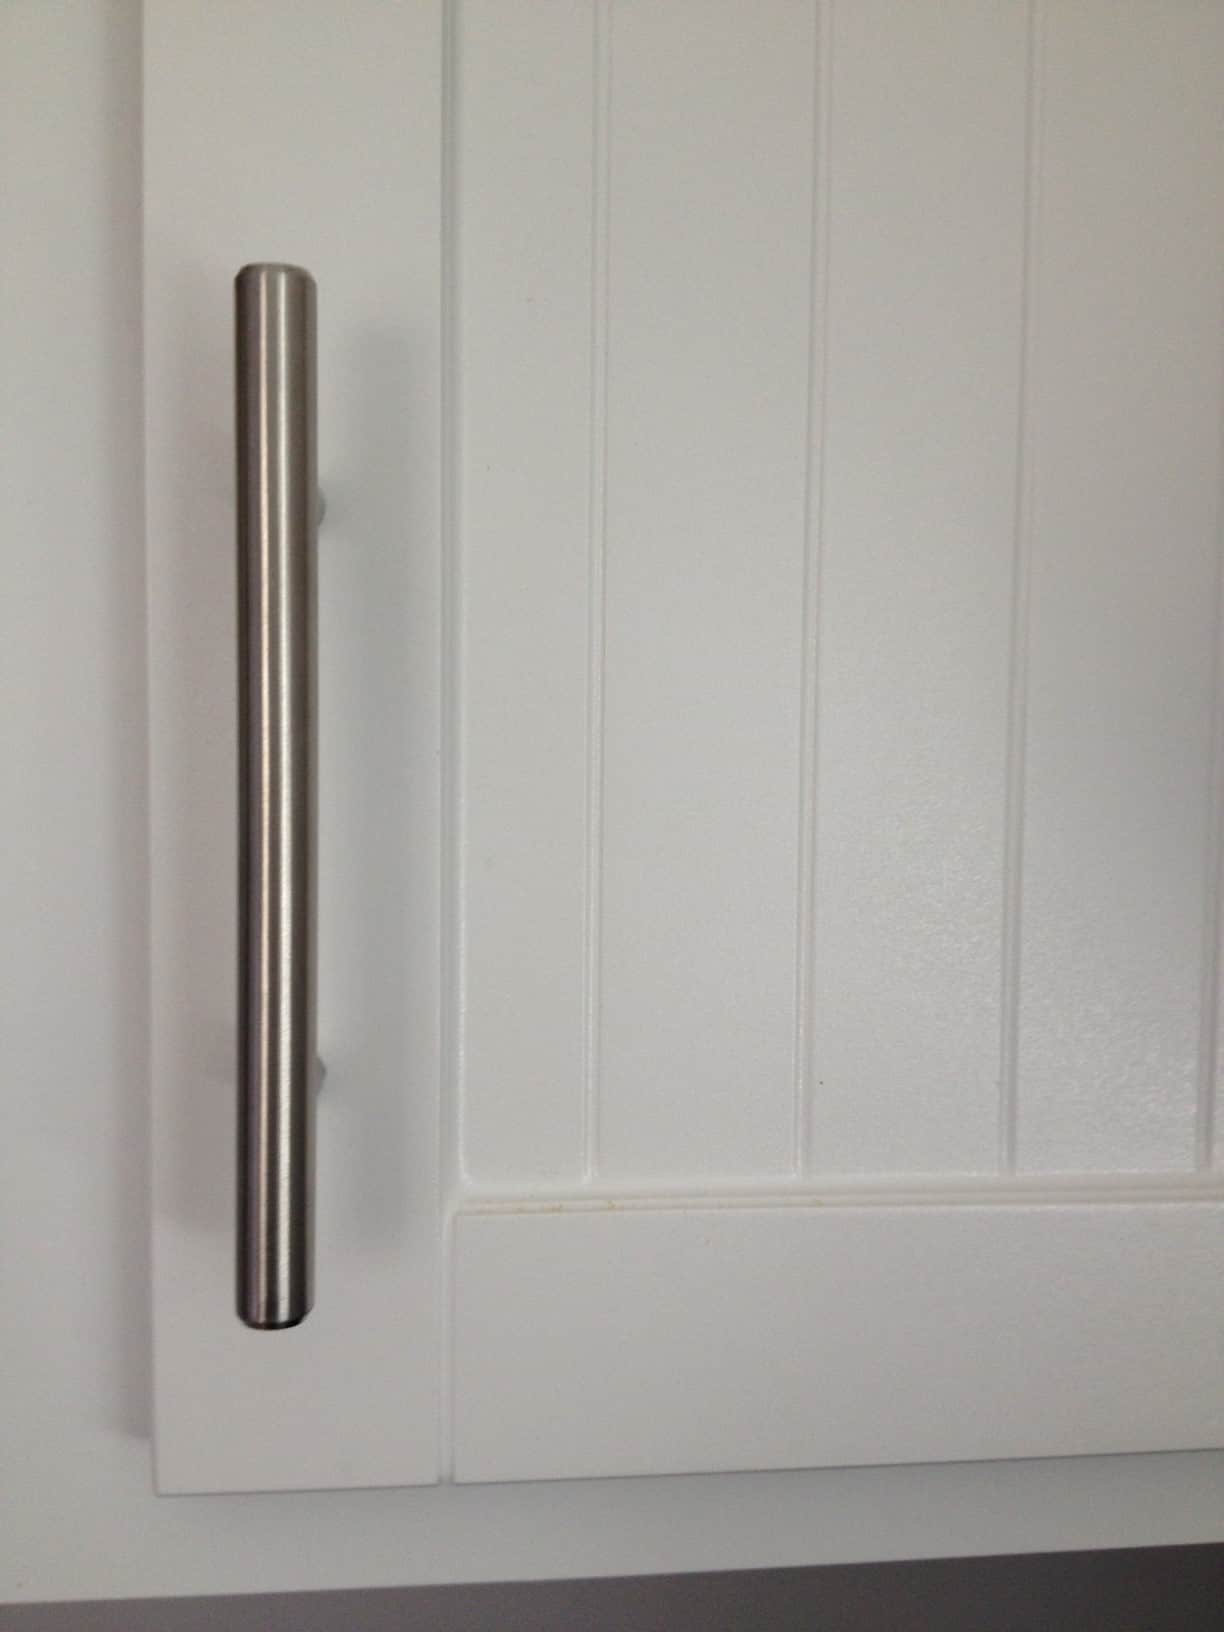
On the third day, the new cabinet doors and drawer fronts were installed. We chose white shaker-style doors with a beadboard accent, which instantly brightened the space. Hardware, trim, caulk, and silicone were added to polish everything off.
Finally, on day four, our electrician installed the new stove and over-the-range microwave, and we rolled the refrigerator back into place. Just like that, in less than a week, we had a completely transformed kitchen.
Before and After Cabinet Refacing Photos
These photos are from our first home in 2013
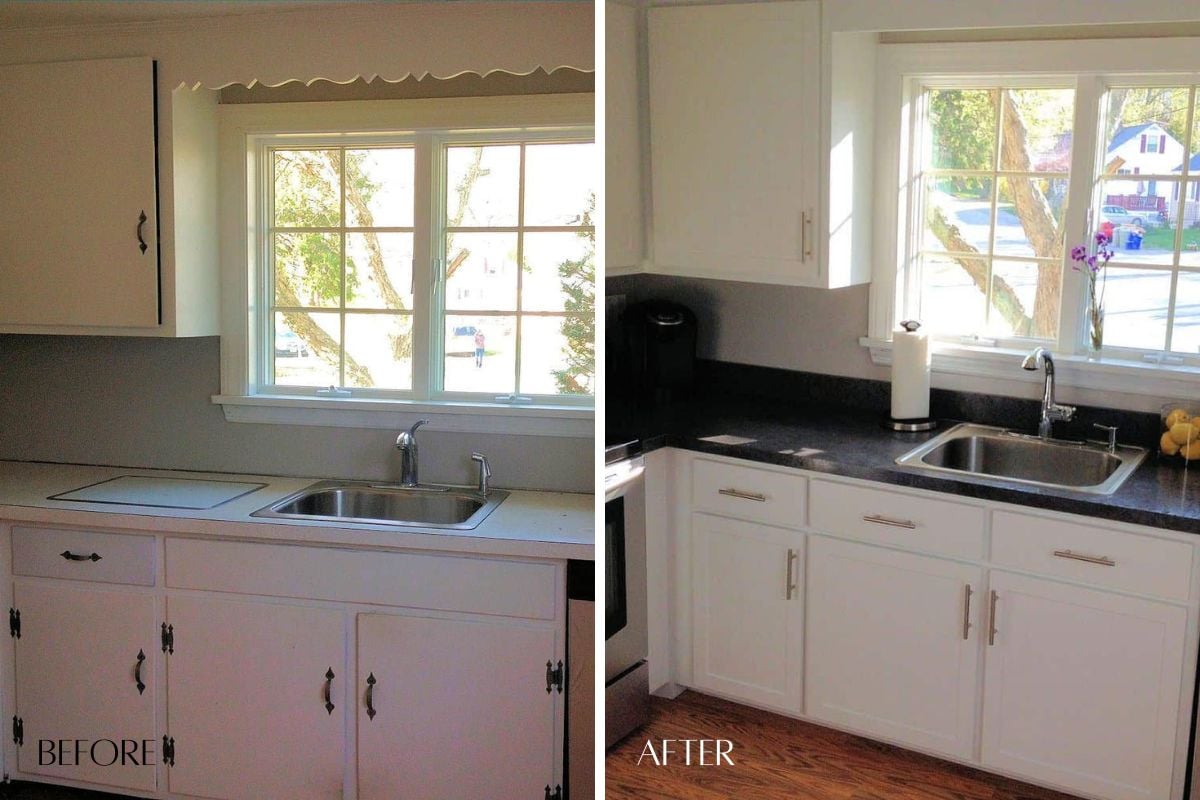
I also added a peel-and-stick backsplash and a few other touches to add some color.
The difference was incredible—bright, functional, and so much more welcoming.
Cost of Cabinet Refacing vs. Replacement
One of the biggest surprises was cost. The entire refacing project cost less than our bathroom renovation, and with 0% financing, it felt manageable.
Here’s a quick comparison:
| Remodel Option | Average Cost (10×10 Kitchen) | Timeline | Our Experience |
|---|---|---|---|
| Painting | $200 – $800 (DIY) | 2–5 days | We tried this first |
| Refacing | $6,000 – $15,000 | 3–7 days | Ours took 4 days, under bathroom reno budget |
| Replacement | $15,000 – $50,000+ | 4–8 weeks | Double or more the cost of refacing |
Upgrades That Made a Big Difference
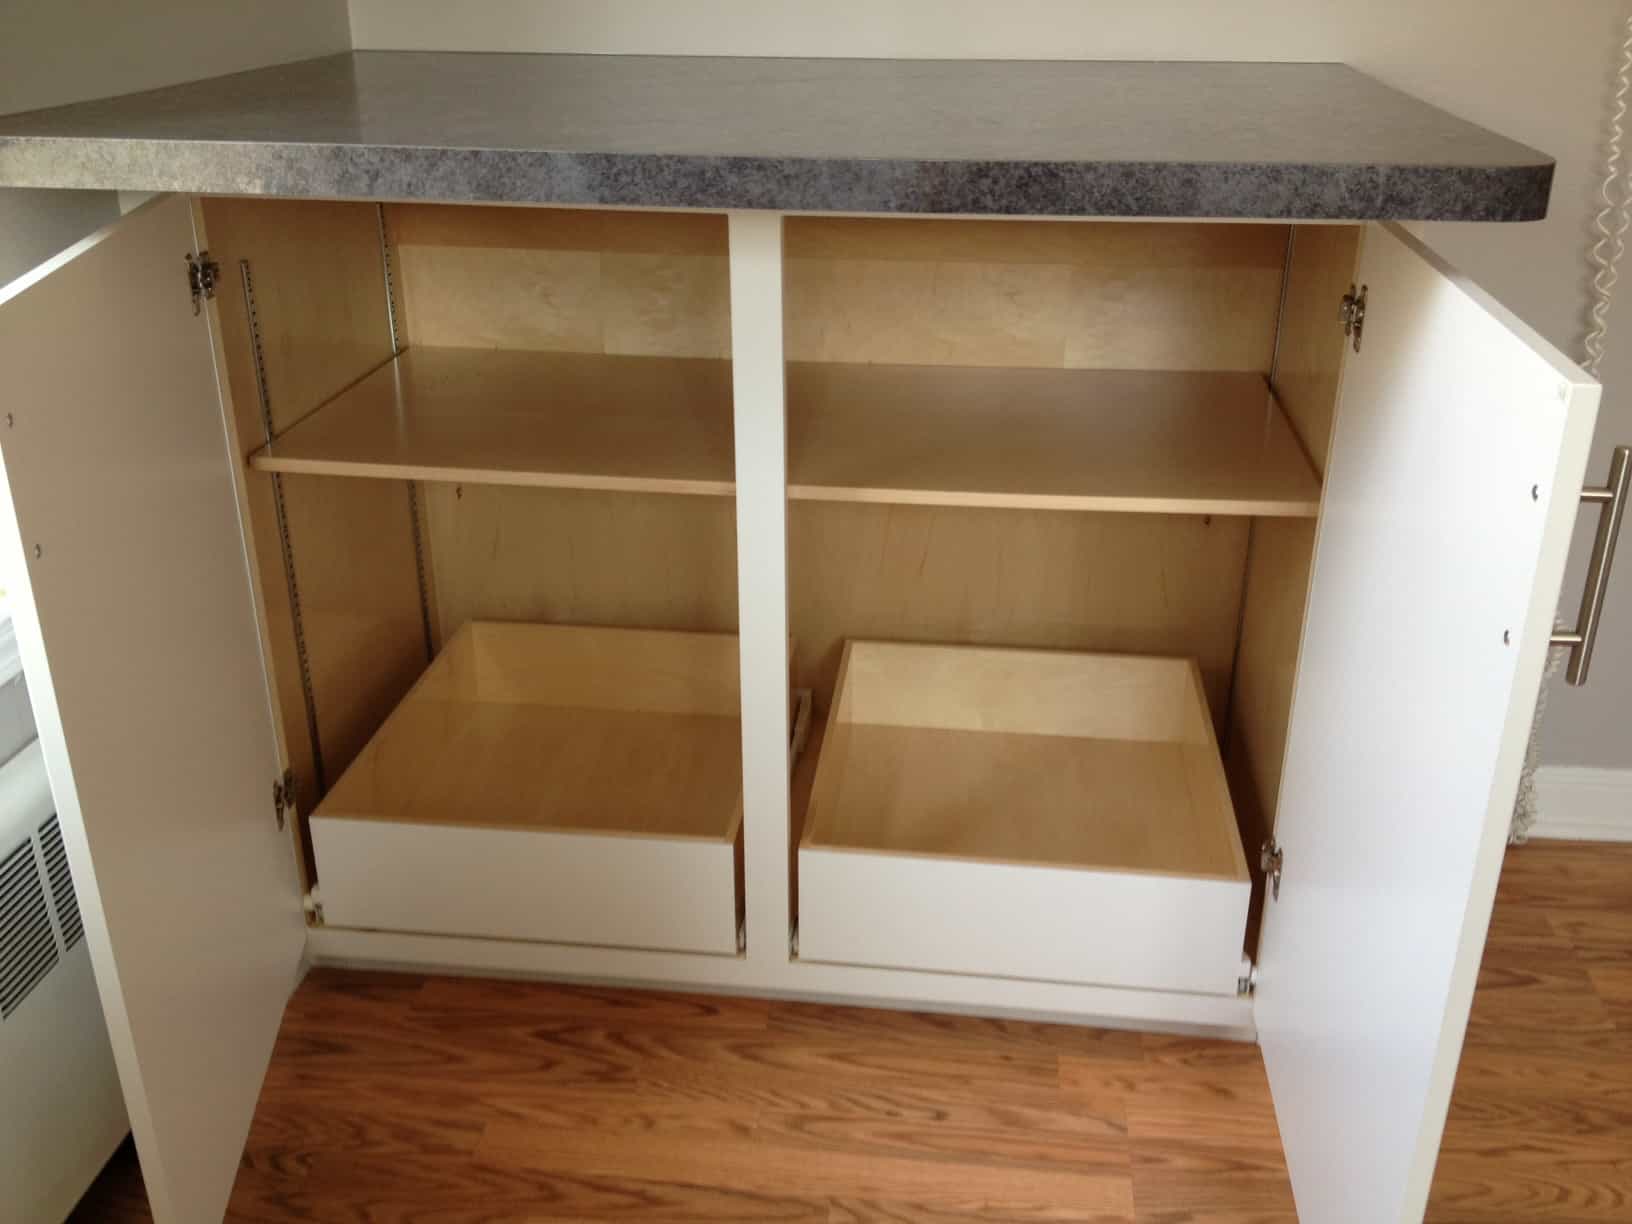
We extended the cabinets above the stove so they lined up with the others. We also added a breakfast bar where our small IKEA table once sat, creating a more functional gathering spot. The shaker-style doors gave us a fresh new look while adding smarter storage options. We also updated appliances, including the stove and microwave, which completed the transformation.
Design Choices
- Cabinet Doors: White shaker with beadboard detail
- Countertops: Wilsonart Deepstar Slate
- Hardware: Brushed nickel pulls and knobs
- Lighting: Added pendant lights for warmth
- Backsplash: Peel-and-stick tile for a quick, budget-friendly finish
FAQs About Cabinet Refacing
Most kitchens are completed in 3–5 days. Ours took four.
Typically $6,000–$15,000 depending on size and finishes.
Yes – quality refacing can last 20+ years.
Definitely. Buyers love a move-in-ready kitchen.
If your cabinet boxes are damaged or poorly built, replacement is better. Also, if you need to significantly change the layout, you’ll need new cabinets.
Looking Back (2013 vs. Today)
For our first home, cabinet refacing was the perfect solution for a tight budget. In our current home, a full remodel gave us complete design freedom. Both were right for their time, which shows there’s no one-size-fits-all answer.
Want to see how our style has evolved? Check out our full kitchen remodel in our current home for a complete before-and-after with new cabinetry.


I have a very small kitchen, went to Home Depot for a quote to reface the cabinets, $15000.00 WAY above my budget. So we will paint and add hardware instead
This is a really amazing tips, thank you for sharing. Really appreciated.
Great job keep up the good work.
This is amazing! I can’t believe how easy it was to reface your cabinets! We have been trying to figure out the most cost effective way to redo our kitchen, so we will definitely be looking at this option. Thanks for sharing!