Content may contain affiliate links. When you shop the links, I receive a small commission at no cost to you. Thank you for supporting my small business.

One of the last decisions I had to make before finally finishing up our new patio was what to do with the exposed foundation on our house—should we stain it? Should we paint it? I didn’t know how to paint a house foundation, but I figured it was worth figuring out!
The bare concrete foundation never really bothered me until the patio was in the final stages of completion. I realized that the plain foundation in its unpainted state really detracted from all the hard work we had put into the patio. I didn’t want to try to hide the foundation with plants or ignore it. I knew that the house foundation would need an update.
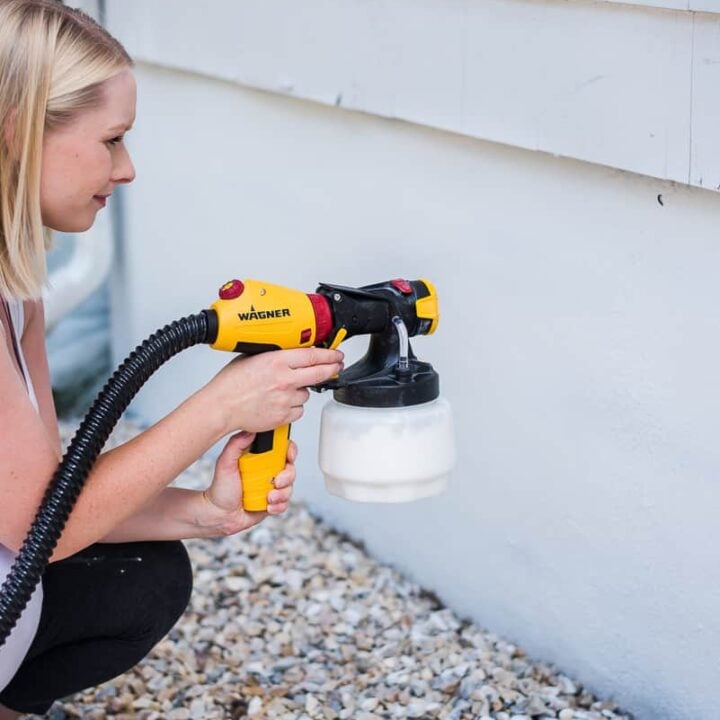
Thankfully, my friends at Wagner Spraytech stepped in to help! With the aid of their Flexio 5000 paint sprayer, I knocked out the paint job of the entire house foundation in only a few hours. It was so easy to paint our house foundation that I highly recommend it if you’re thinking about tackling this home improvement project! If you’re on the fence, I say go for it—painting a foundation is simple and makes a HUGE impact on your curb appeal.
I love a DIY home improvement project that’s accessible to anyone. I completely knocked this foundation paint job out all by myself! If I can tackle this paint project, anyone can do it.
How to Use the Spraytech Flexio 5000 to Paint Your House Foundation
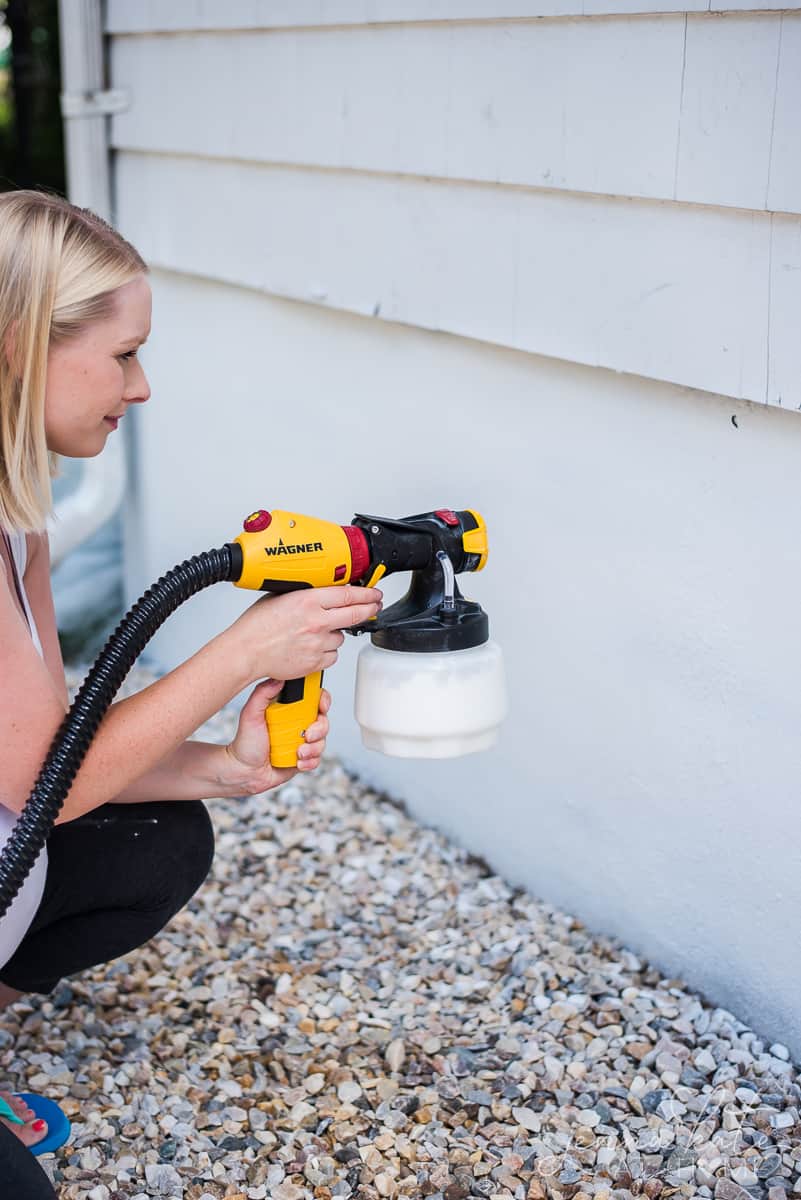
If you’re wondering how to paint a house foundation, let me tell you—a spray painter is your new best friend! Using the sprayer made this home improvement project so much easier. Most home foundations are made of concrete, and if you try to paint it with a brush, it will absorb quickly (and take forever). A sprayer makes the foundation paint job much faster.
The Wagner Spraytech Flexio 5000 is perfect for a myriad of paint jobs, both exterior and interior. It comes with 2 different nozzles—one that’s for spraying larger areas and one that’s for smaller, more precise applications. For the price, the sprayer is a great deal and a handy tool to have in your collection.
Another great aspect of the Wagner Spraytech Flexio 5000 is that you can use it for many different home projects. You can paint your house exterior, interior walls, trim, baseboards, and even use the Flexio 5000 on furniture painting projects. Spray paint gives an even coat and is so much easier than using a paintbrush to paint nooks and crannies. The Flexio 5000 is the perfect paint sprayer for all your DIY projects
Plus—did I mention that the paint sprayer is lightweight?! Because the motor is housed in the case, you aren’t stuck holding a really heavy paint gun. Clearly, in the final stages of pregnancy, holding a heavy tool wouldn’t have been possible for me. I’m so thrilled that I was able to use this paint sprayer myself to quickly paint my house foundation.
The Flexio 5000 works with a variety of paints too—latex (unthinned!!), oil based, and even stain. I stuck with latex paint this time around, but I’m excited to try the Flexio 5000 out with deck stain in the near future.
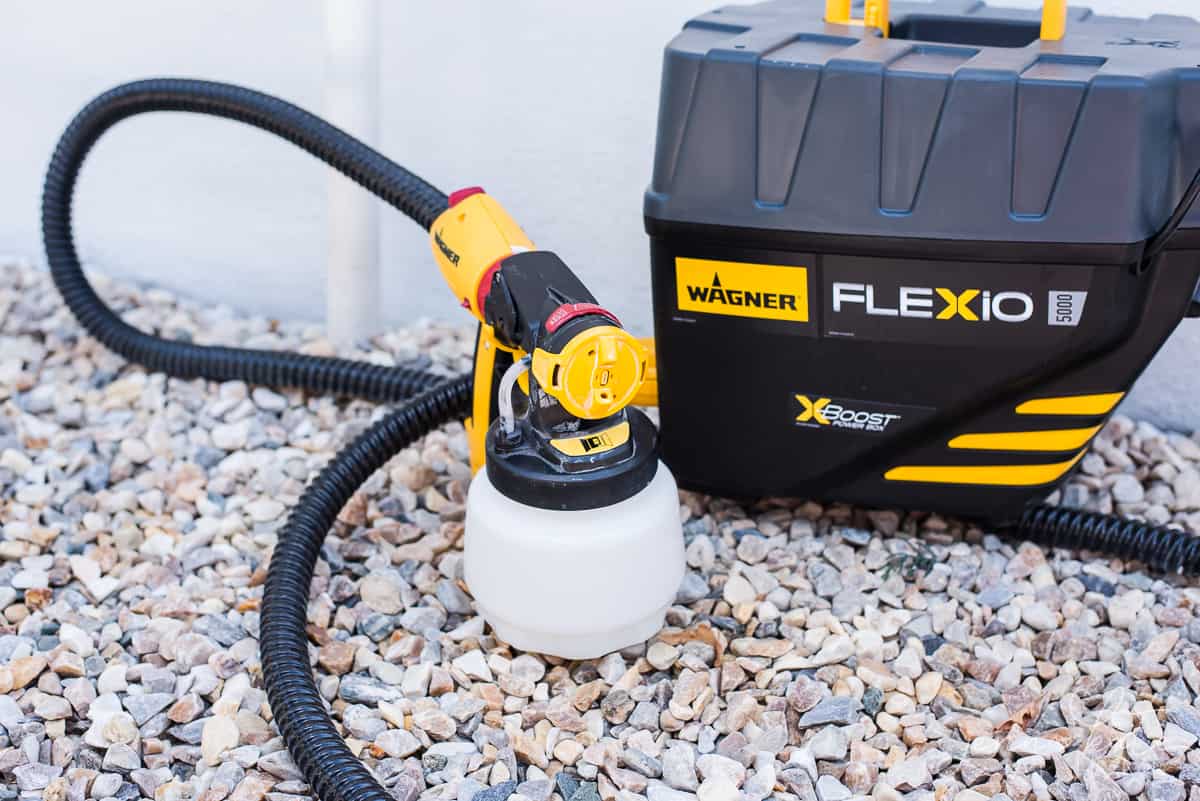
I should also mention that assembly of the paint sprayer is a breeze. You pick the correct nozzle, fill the canister with paint, and attach the air hose. Turn it on and you’re good to begin your painting project!
Once you get the hang of what sprayer settings work best, you’ll be amazed at how little overspray there is. I did exactly what the Wagner Spraytech instruction manual said and I had zero issues! For painting my foundation, I used a wide spray pattern for most of the project, then dialed it down as I was painting closer to the ground.
Painting My House Foundation: to Cover or not to Cover?
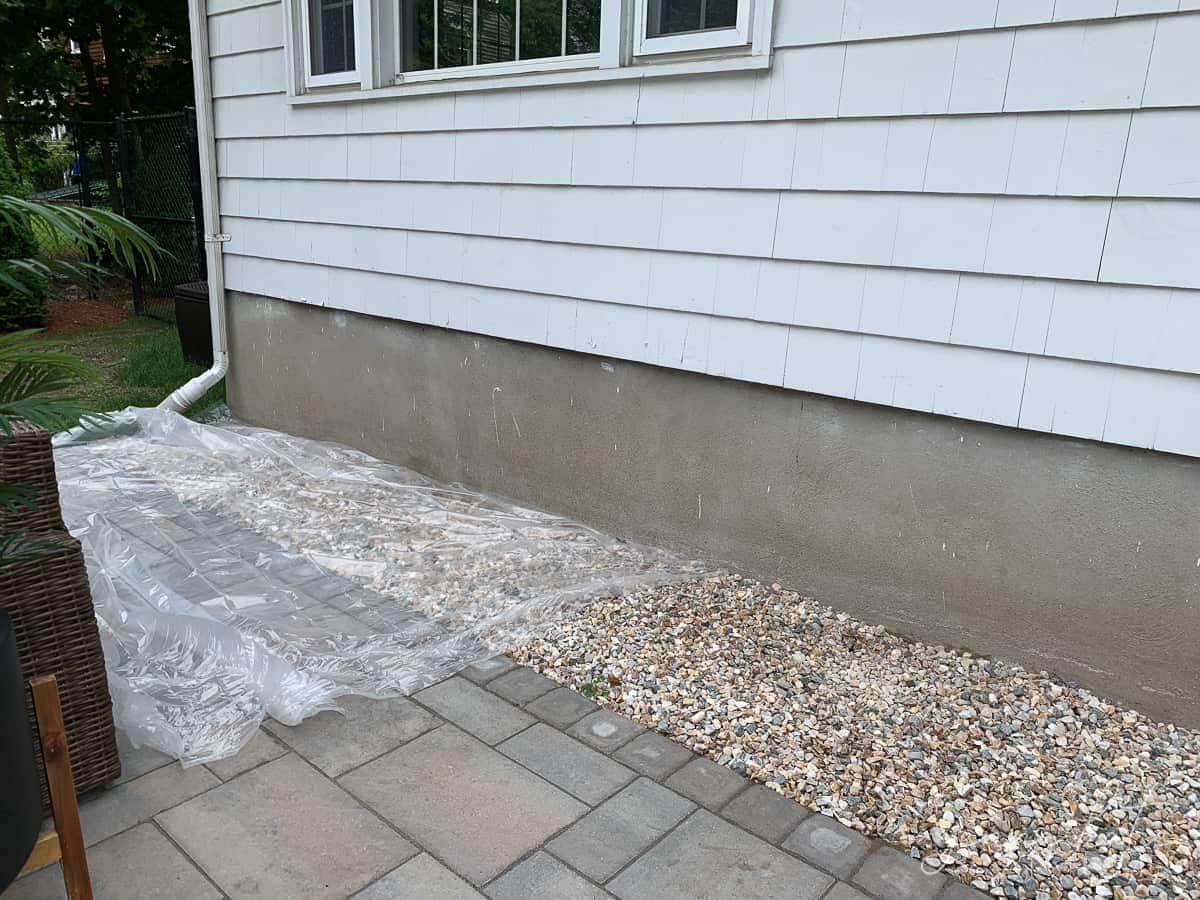
Should you cover the ground with plastic when you’re painting your house foundation? Well, I was surprised! Originally, I was planning to drag my plastic sheeting along as I painted. But after seeing how clean the spray paint went on (the sprayer was very accurate), I realized I didn’t really need to cover the ground. I was happy to have one less thing to do!
To keep the paint from getting too messy, I simply pulled the stones back from the foundation. Then I sprayed on the paint evenly, and the paint stayed exactly where I wanted it to (on the foundation). When I was finished laying on the coat of foundation paint, I raked the rocks back in place!
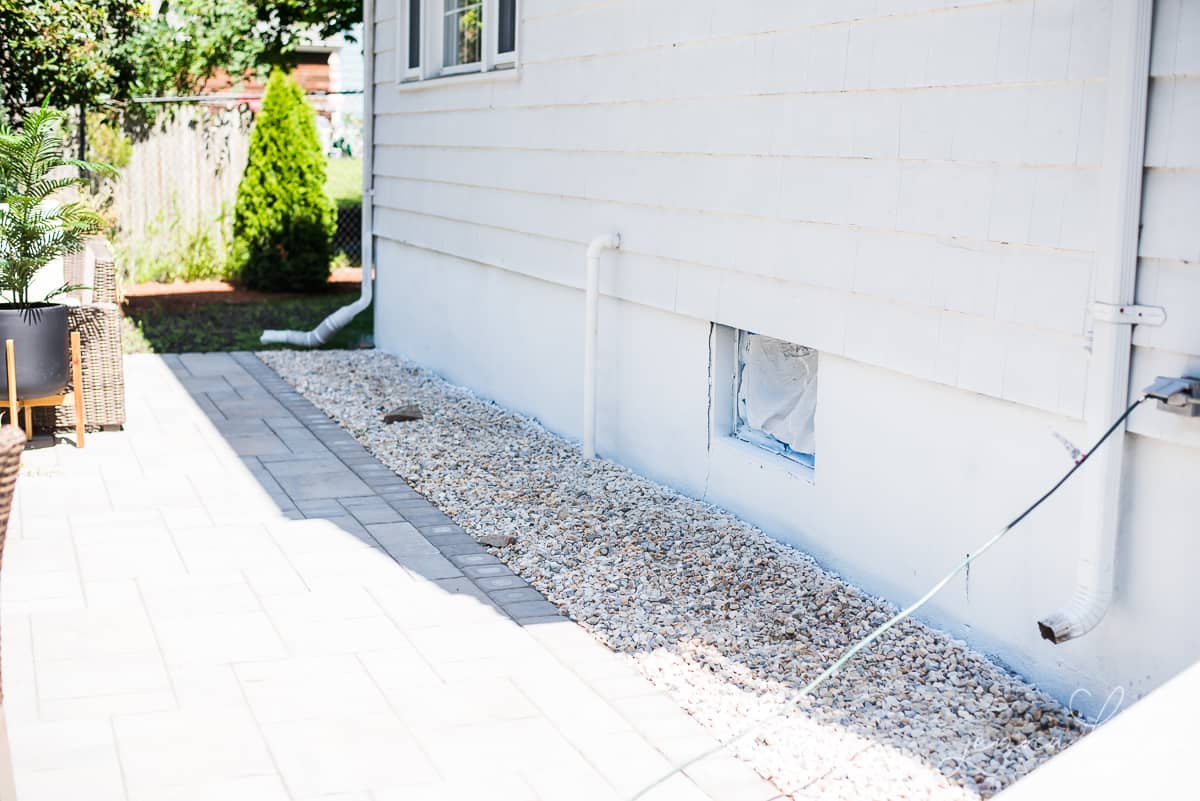
Of course, if you’re working on a paint project in an area where you don’t want any overspray at all, I recommend taping it off with painters’ tape. For example, painting interiors or right next to siding or window would require taping. You can see in the photo above that I completely covered our basement window, even though this was an exterior concrete project.
When you’re painting outdoors, remember breeze could be an issue. So even if there is zero overspray, the breeze could create one. Make sure windows are completely covered and taped on the edges!
Selecting Exterior Paint for Your Concrete Foundation
Since this was an exterior paint project, I knew I needed to use paint that would really stay put. My foundation was pretty smooth and blemish-free, so I didn’t need to use a wire brush before painting the concrete. However, if you have an older foundation or loose masonry, you might need to clean it up before you paint.
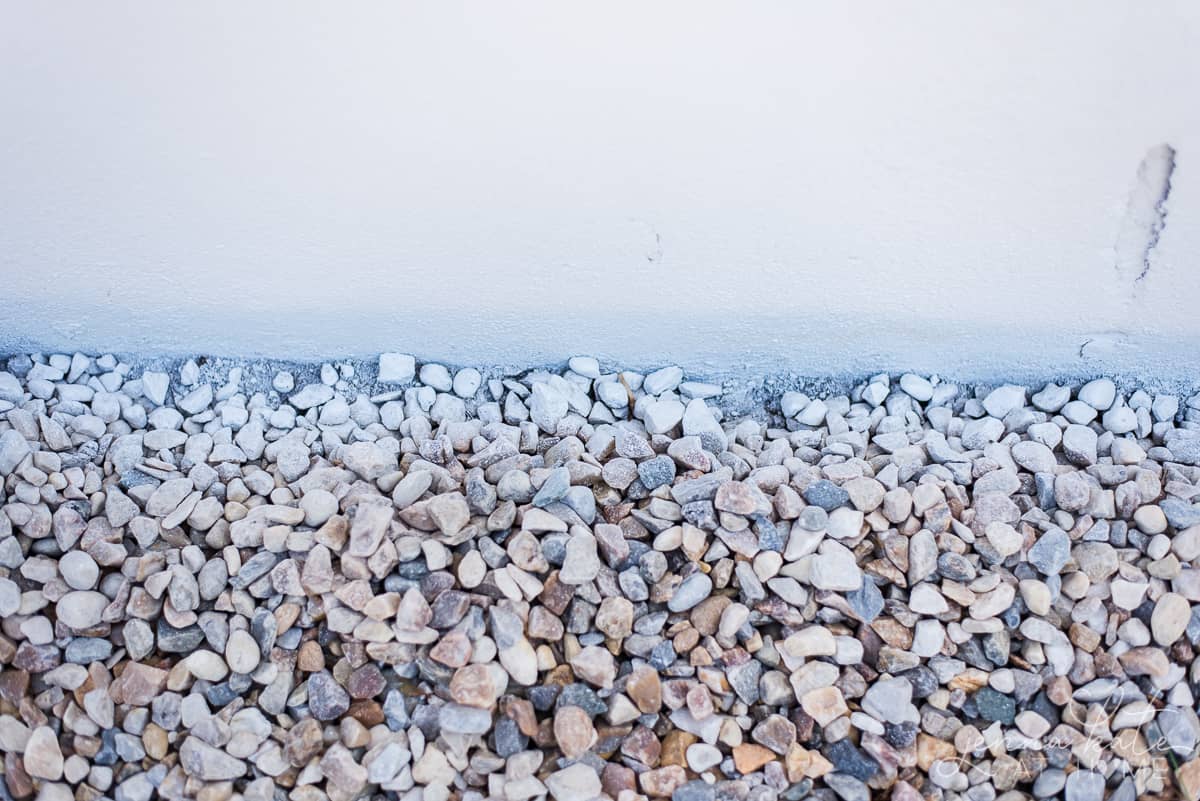
For painting the foundation, I decided to use a primer first. I wanted an even surface that would last. Since I was painting exterior concrete, I knew I needed exterior house paint to make stay put. To start, I used two coats of Sherwin-Williams Loxon Masonry & Concrete Primer in White (untinted) on the foundation first. You can find the paint online or at most Lowe’s. I’ve used the masonry primer before on exterior concrete and it’s a really great product. The primer seals the concrete and allows the top layer of paint to adhere perfectly.
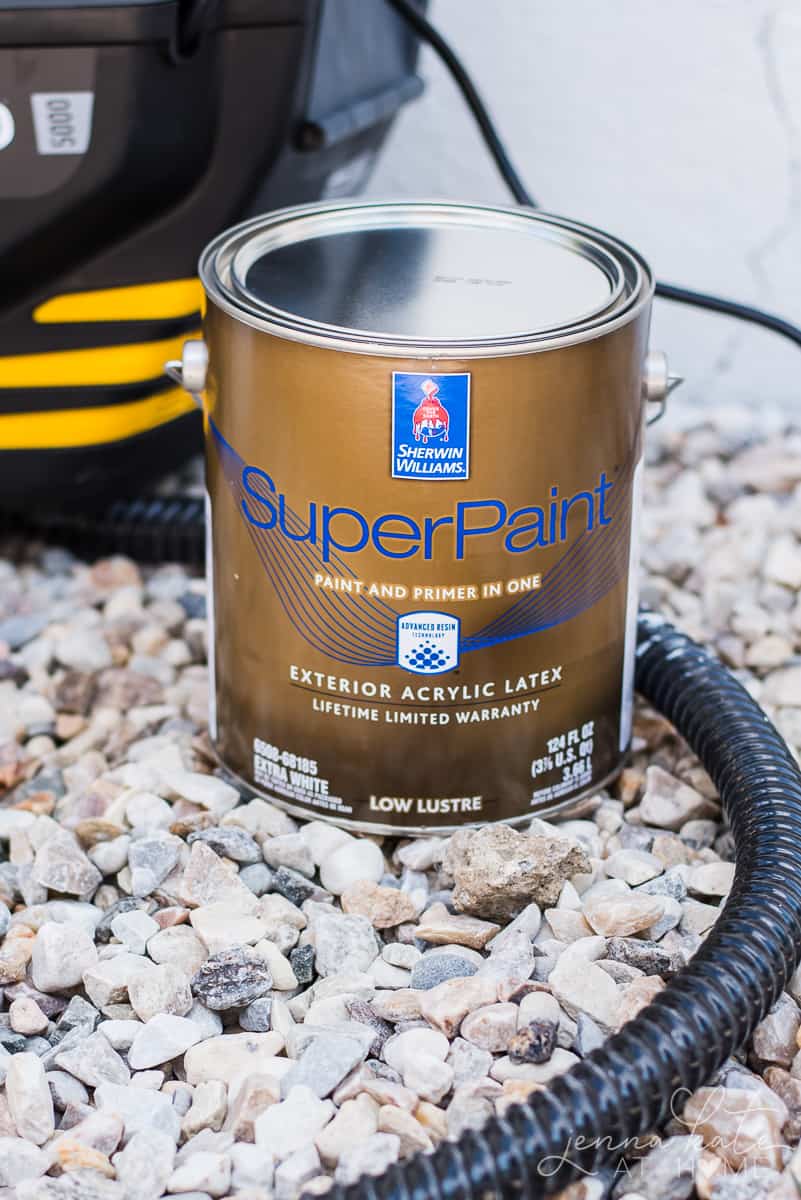
Once I put down the primer, I followed it with one coat of Sherwin-Williams SuperPaint Exterior Acrylic Latex in Extra White (also untinted). For this project, the single coat was enough. I had great coverage on the foundation and didn’t run into any of the common issues of painting exterior masonry.
Between painting on coats of the masonry primer and the acrylic latex SuperPaint, I had to clean the Flexio paint sprayer. The paint cleanup and change process was a breeze. All I needed to do was remove the nozzle from the front of the sprayer and wash it with warm water. When I cleaned the sprayer at the end of the project, I allowed it to air dry and it was perfect for the next time I used it!

As you can see from the image above, the foundation turned out great! I think it really lightens up the look of my house, and it looks so much nicer. The painted concrete looks really finished and polished.
How to Easily Paint Bulkheads Too
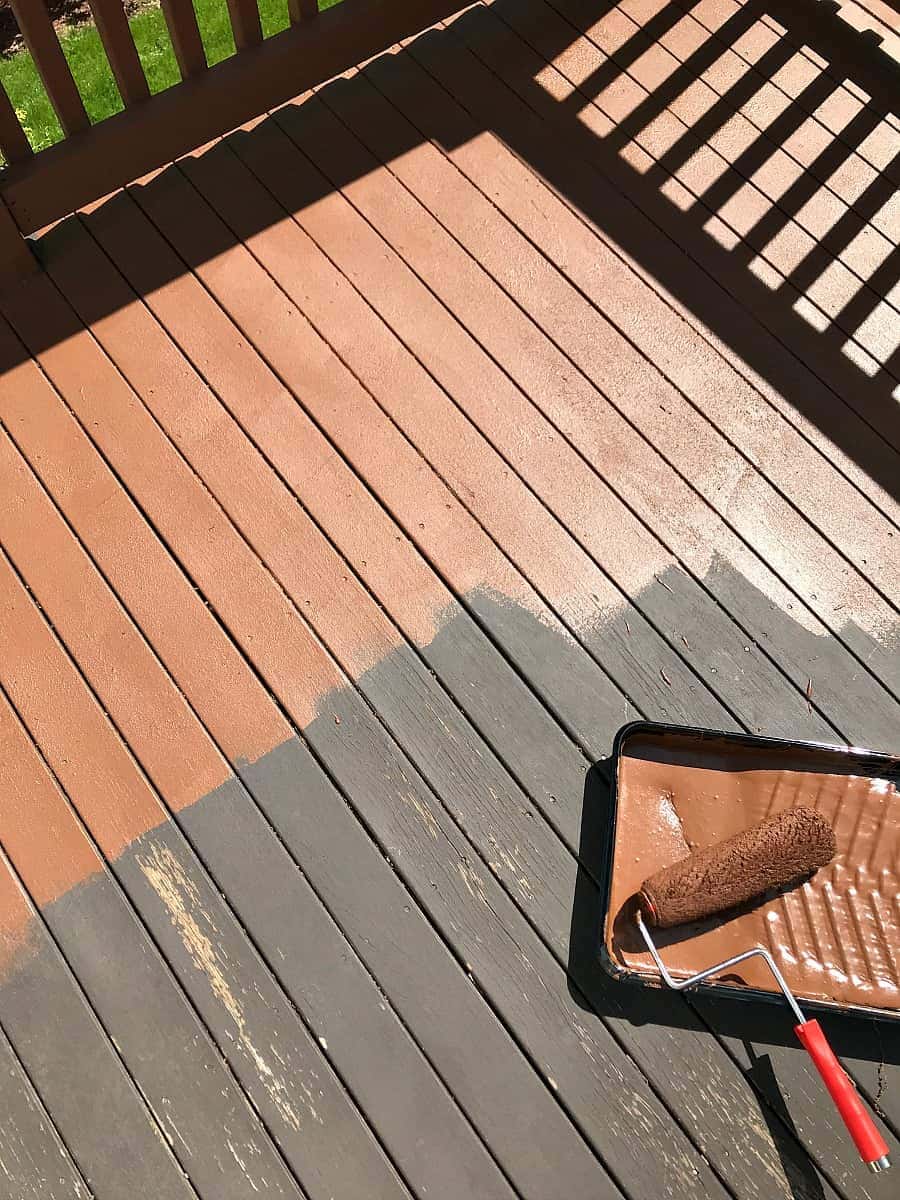
Since I was already outside with my paint sprayer and painting the foundation, I took a look at the bulkhead on the side of my house. The black messy paint was an eyesore, so I decided to give it a coat of light greige exterior paint too.
Taking the bulkhead from black to a lighter paint brightened the surrounding area so much. What a game changer! I decided to use a grey-beige (or greige) paint to compliment the rest of the exterior. The whole project didn’t take long at all and was worth the effort.
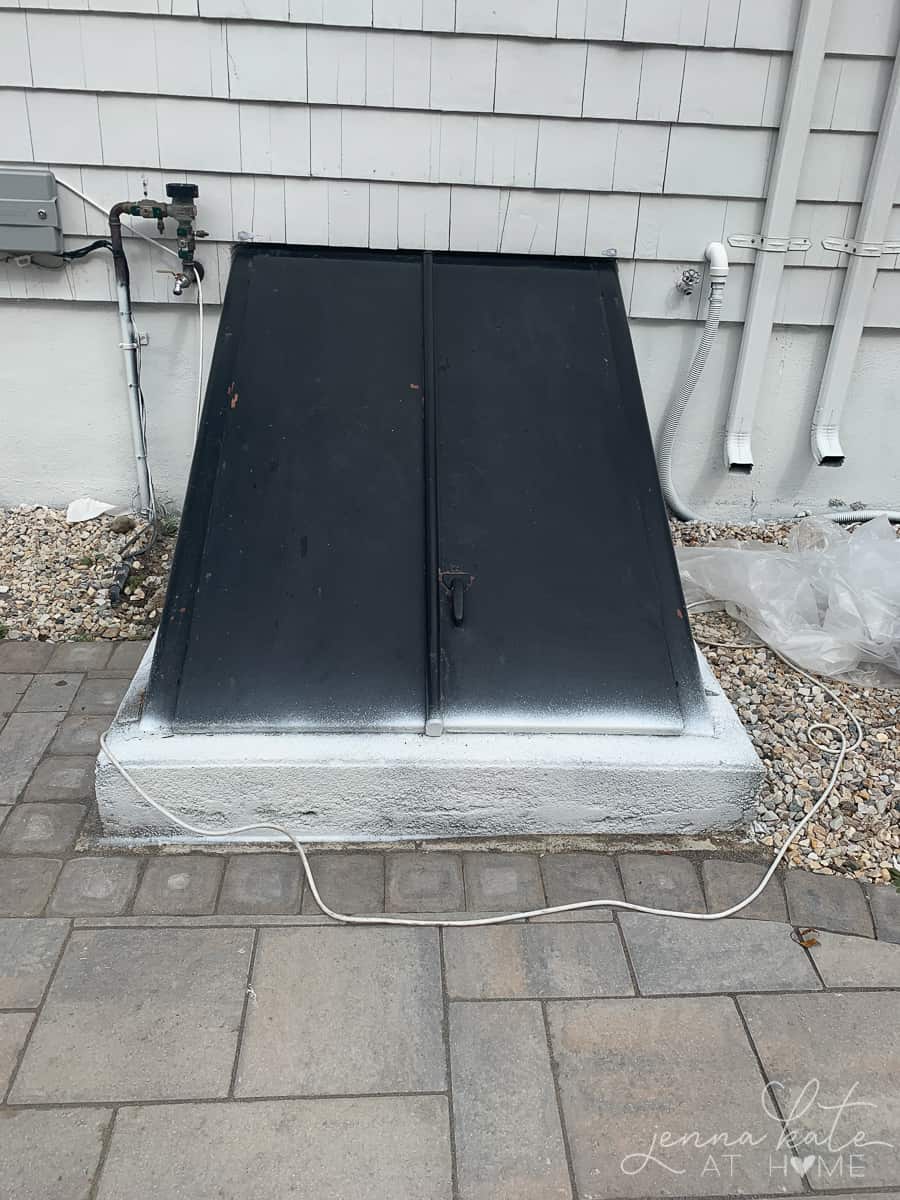

Photo is after the first coat – it had 2 coats of Sherwin Williams Oil Based enamel in the color Colonade Gray.)
To paint the bulkhead, I used two coats of Sherwin-Williams oil-based enamel in Colonnade Gray. The photo above is after the first coat. After letting the paint dry, I thought it needed a little more coverage.
So, if you’re considering painting your house foundation, I highly recommend you use a sprayer and go for it! You may find a few other areas on the exterior of your home that could use some touchups too. I love this project because it offered a lot of visual payoff for a small amount of effort.
Speaking of outdoor home projects, are you excited to see the full patio makeover reveal? This is the patio that inspired me to figure out how to paint my house’s foundation, and I’m very glad I did!
Paint a House Foundation
Give your foundation a clean, fresh look with your latest favorite tool, a Wagner paint sprayer.
Materials
- Latex paint of your choice
- Masonry and concrete primer
Tools
- Paint sprayer
- Drop cloths or plastic, if needed
- Painter's tape, if needed
Instructions
- Cover any areas that need to be protected from paint spray, especially nearby windows.
- Clean the foundation surface with a wire brush to remove dust and loose masonry, if needed.
- Attach the correct nozzle that you need, fill the canister with primer, and attach the air hose.
- When painting the foundation, use a wide spray pattern for most of the project; then, dial it down you paint closer to the ground.
- Now, remove the nozzle from the front of the sprayer and wash it with warm water.
- Fill with the regular latex paint and spray a coat on foundation surface.
- Once painting is complete, wash sprayer again with warm water and let air dry for future use.


Did you have to clean out the paint reservoir in between using the primer and the exterior paint? I’m guessing no since both products were white. If not you’d have to right? Thx.
Yes just a quick rinse! If they’re both white it’s not that big of a deal, though