Content may contain affiliate links. When you shop the links, I receive a small commission at no cost to you. Thank you for supporting my small business.

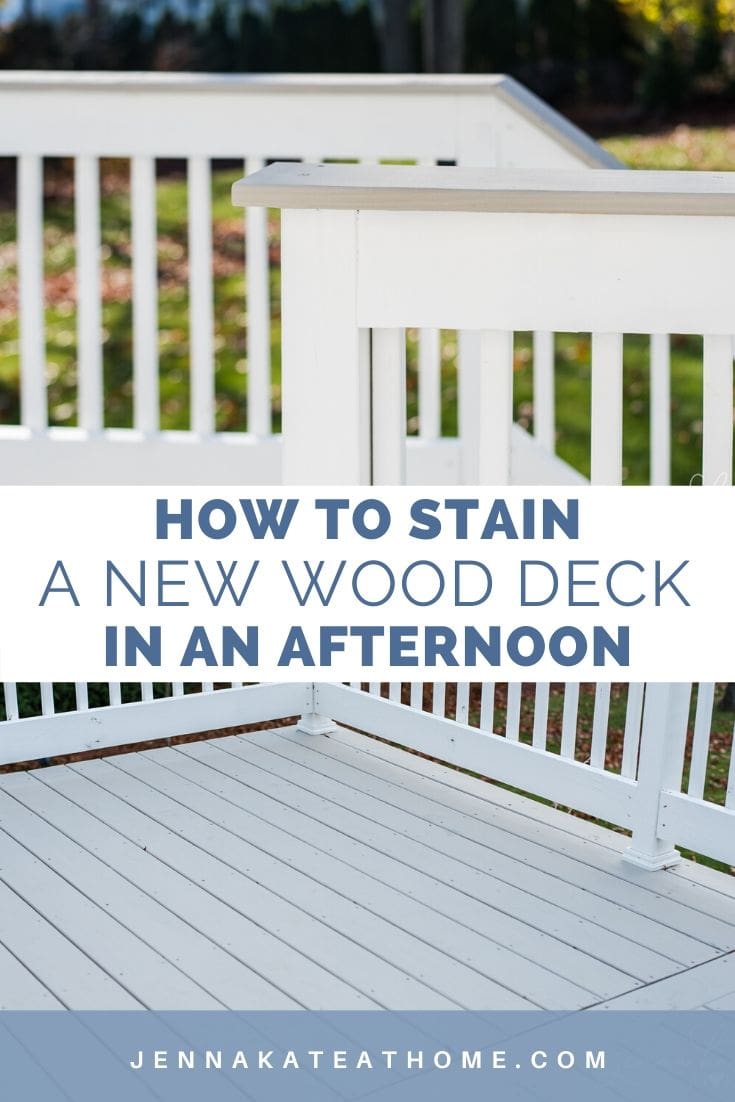
The easiest way to paint a new wood deck in one afternoon. From prep to painting and the best products to use, it’s all covered here!
Several months ago, I had our contractor come over to take a look at our deck, since the spindles and hand rails were starting to wobble and come loose. With little kids up and down the deck every day, we wanted to ensure that it was still in good shape.
Unfortunately, his inspection of the day not only concluded with the fact that all the spindles and rails needed to be replaced but that we had carpenter ants eating away at some of the joists and floor boards.
Strangely, our deck was built with a lot of cedar and the ants were having a grand ol’ time chomping away at it.
Luckily, the foundation posts and most of the joists were still in good shape, so we were left with a couple of things to consider. Either replace the existing deck with pressure treated wood, or spring for a whole new deck with composite decking (Azek or Trex).
Well, once we got the quote on the composite materials, our decision was made for us. At one-third of the price, the pressure treated wood won hands down.

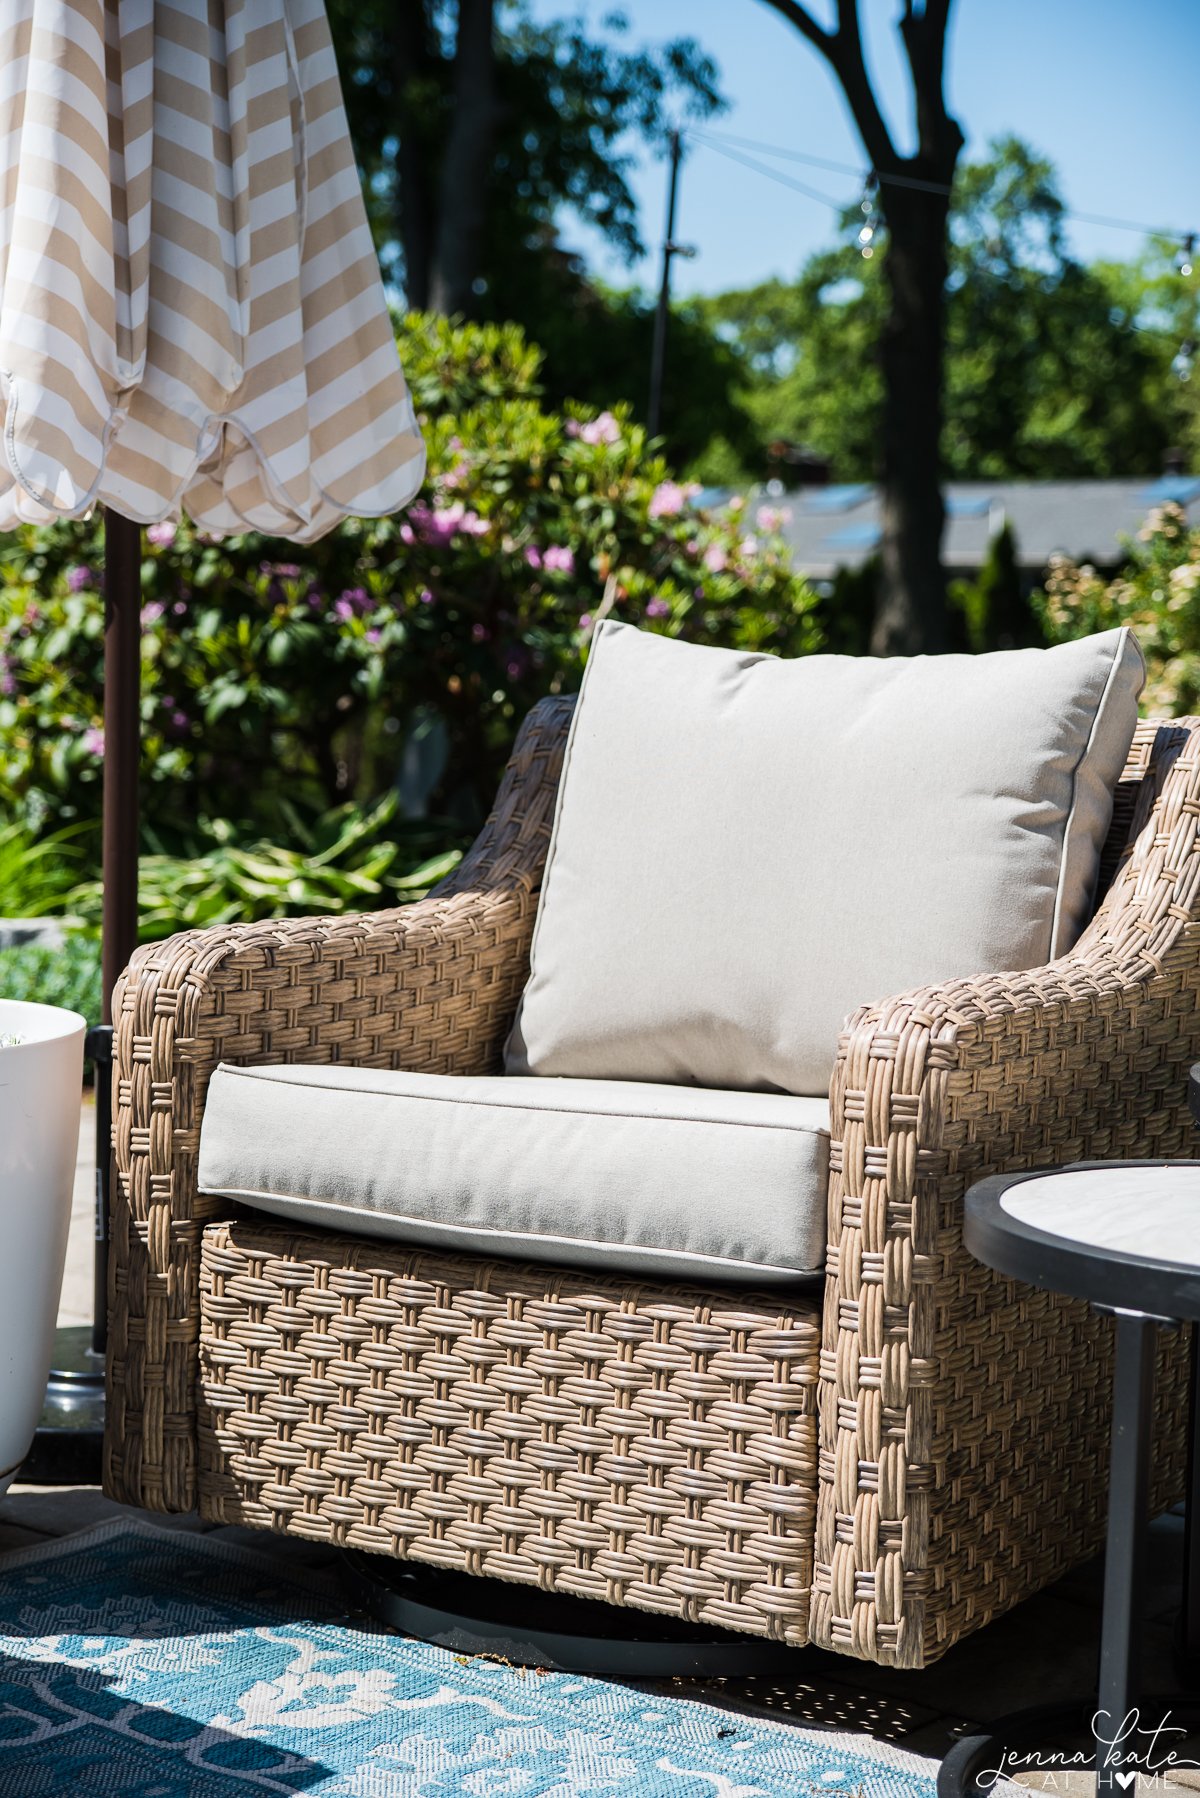
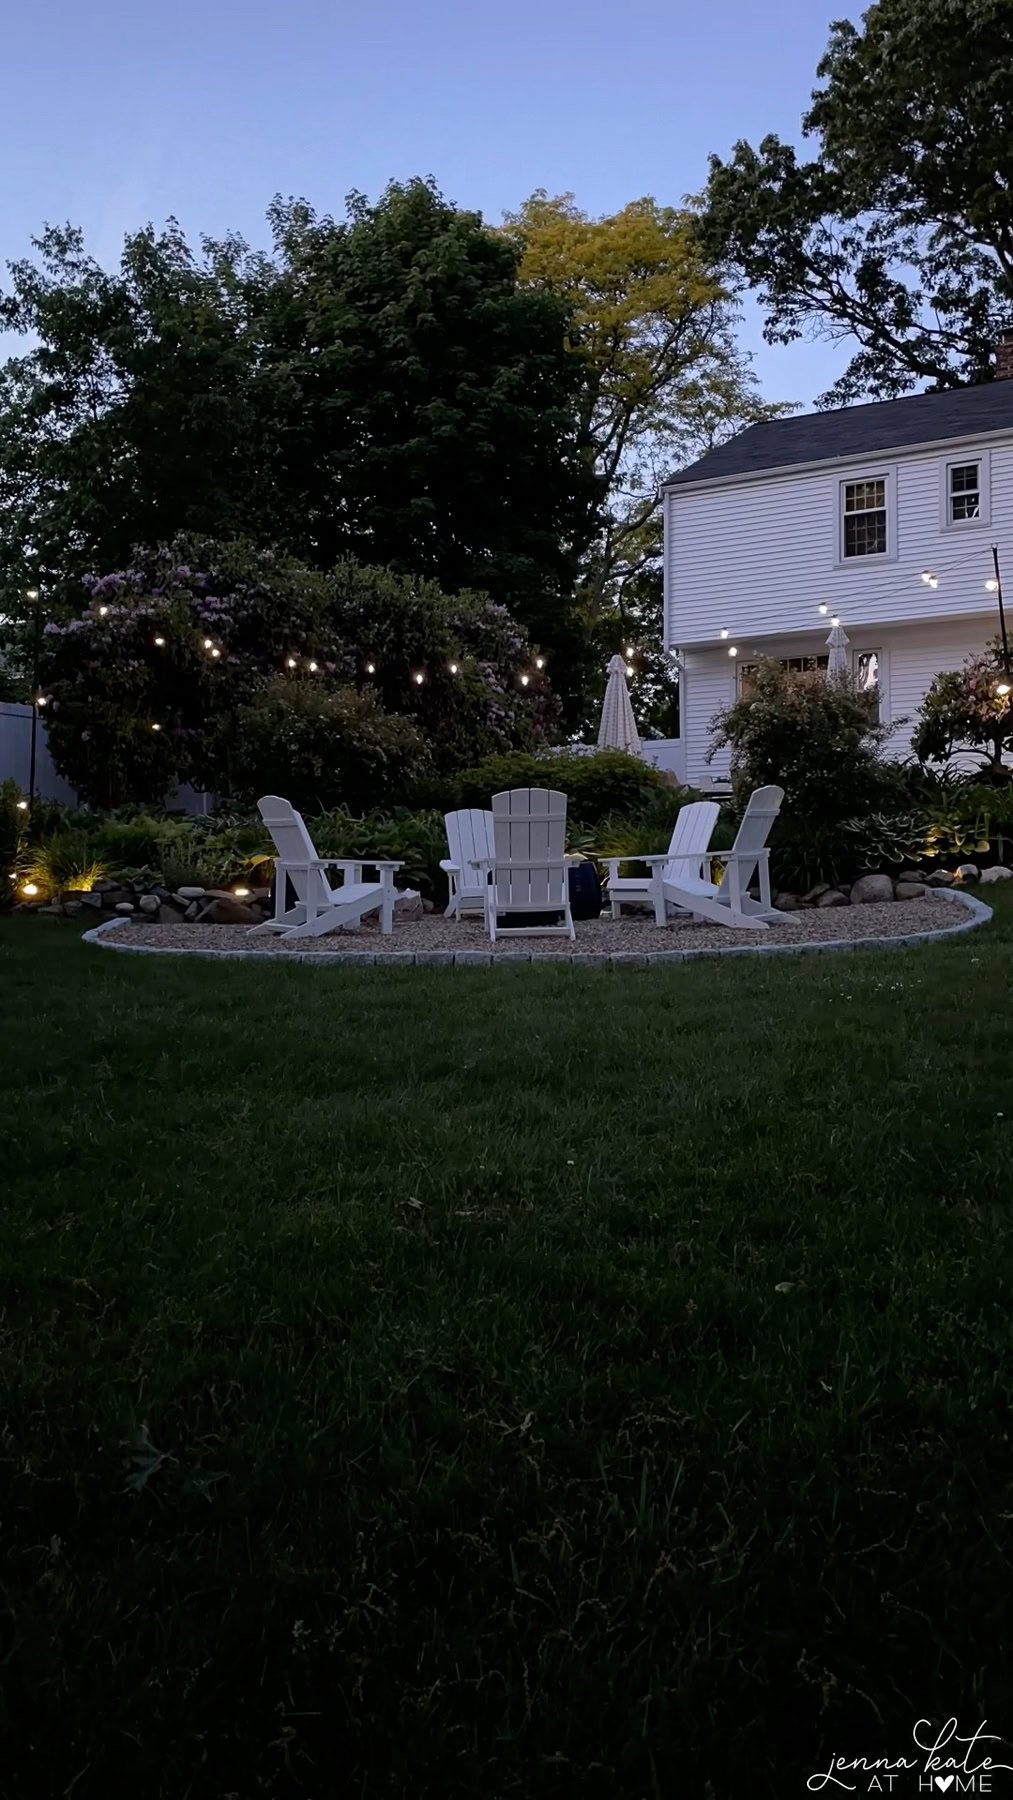
It was a no-brainer, really. Since installing the patio last year, the only use we have for the deck is a way to get in and out of the house. So spending a crazy amount of money on fancy composite decking just wasn’t worth it for us.
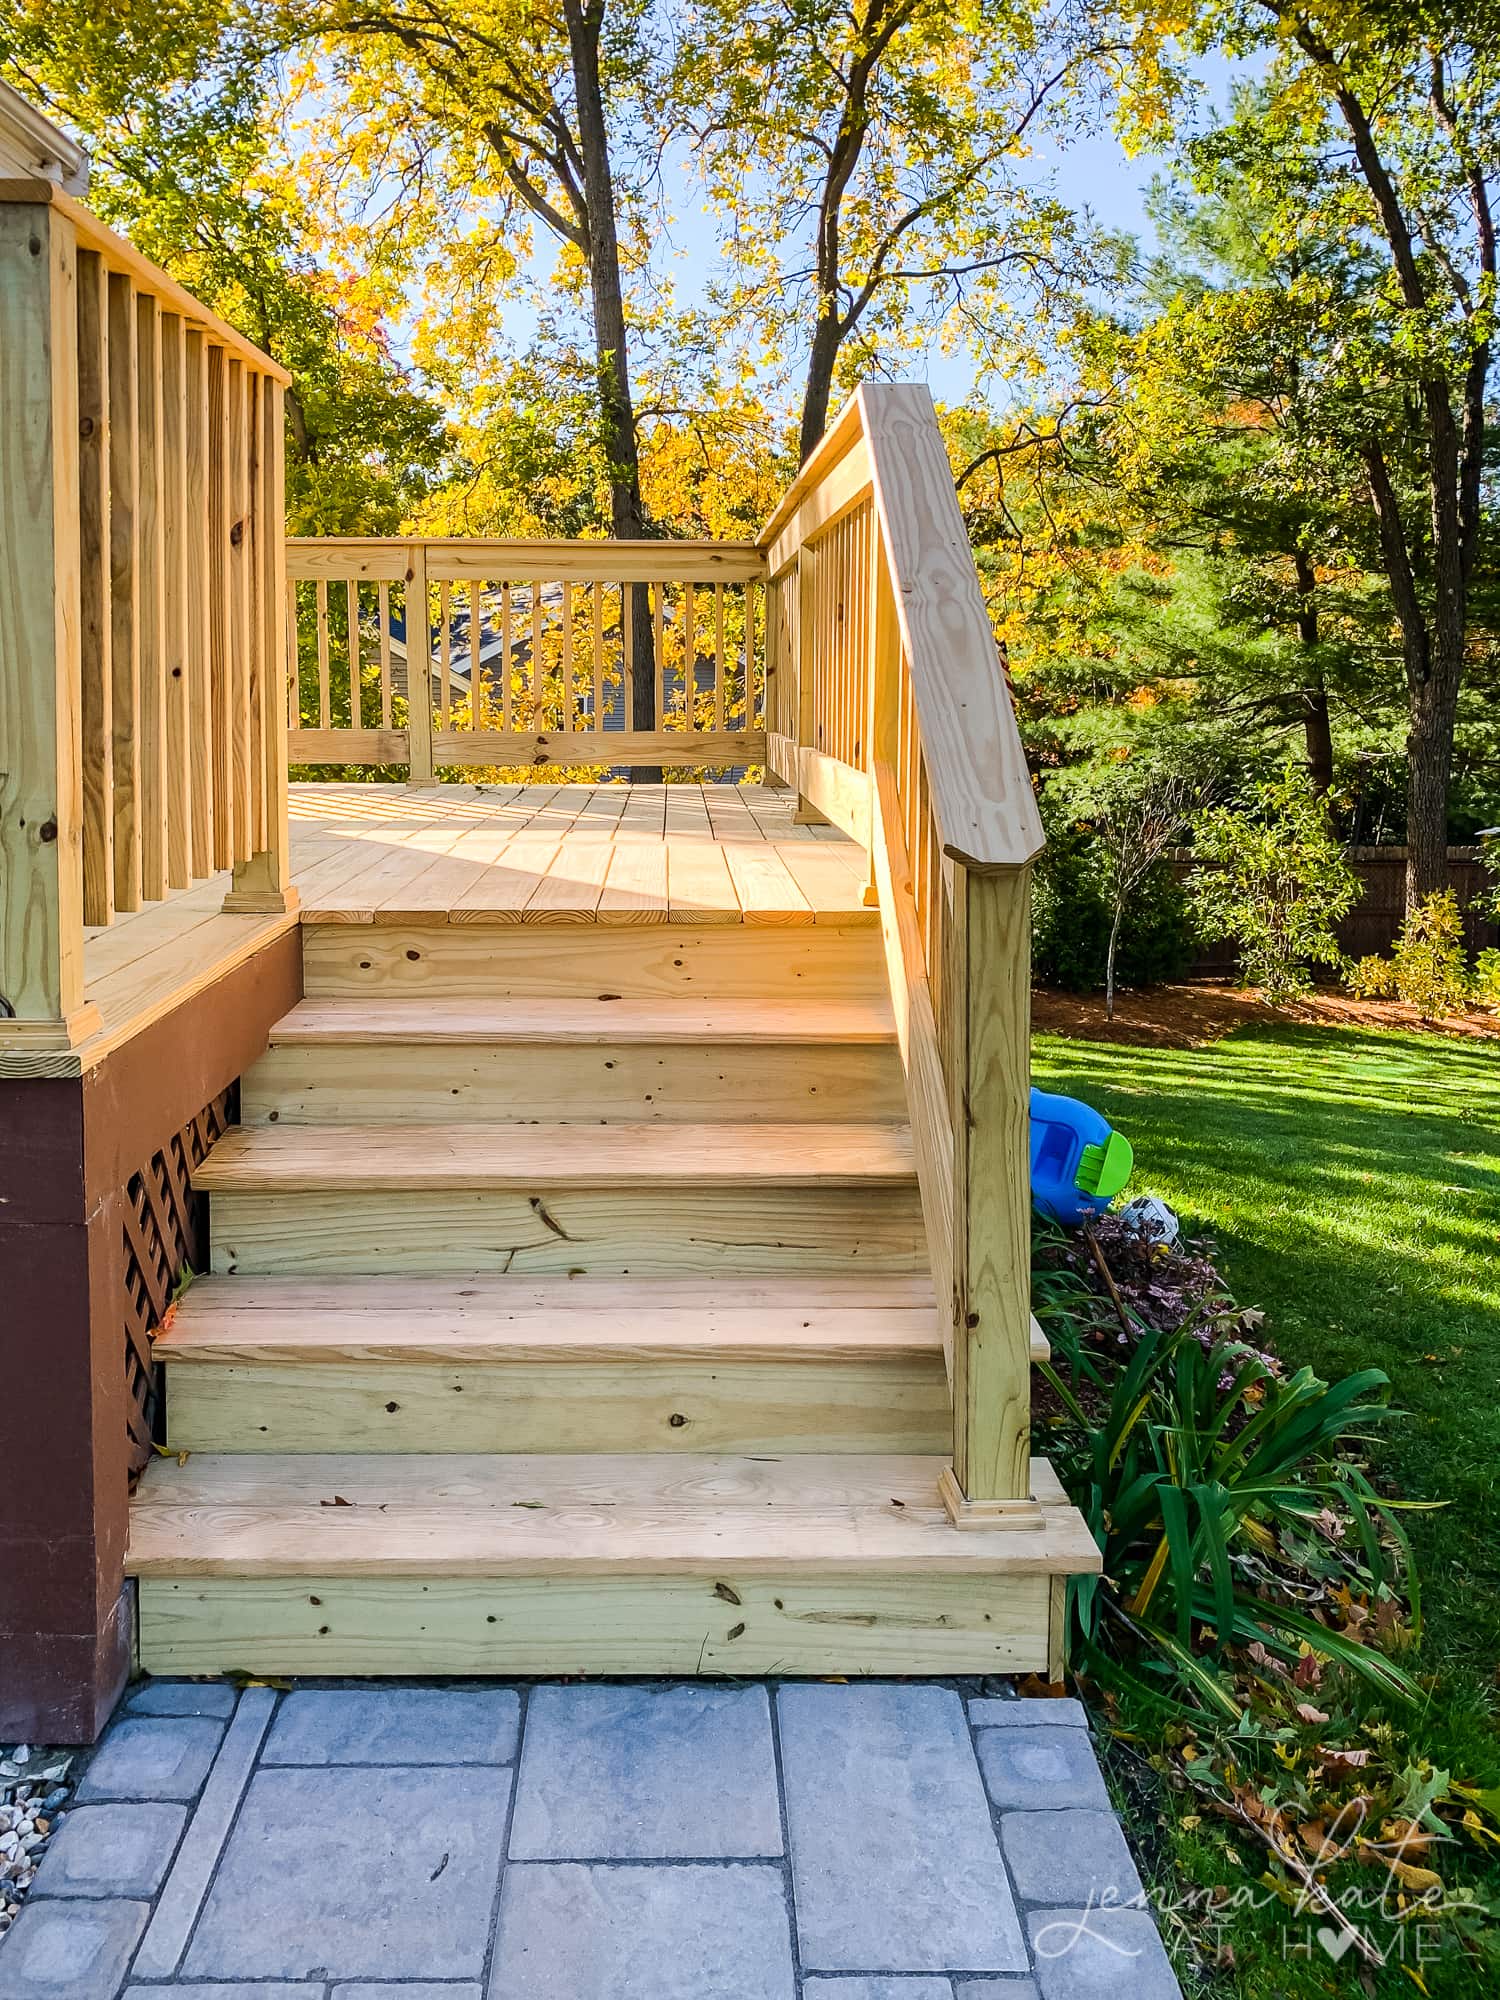
It worked out well. We got an almost brand new deck for a decent price. In fact, much cheaper than it would have been to completely scrap the deck and just add some stairs up to the house.
How to Paint a Wood Deck
Anywhere that is still brown is where the existing deck was. I used some special deck resurfacing paint on it a few years ago and I just color matched the existing color.
By the way, that held up really well despite being told by several people that it wouldn’t last a single winter.
Anyway, this time I had a brand new surface to work with so I didn’t need to worry about paint to “restore” the deck, and instead was able to choose whatever colors I wanted from the Sherwin Williams line of deck paint.
Decide Whether You Want a Transparent, Semi-Transparent or Solid Deck Stain
Before painting your deck, decide what type of deck paint or stain you want to use.
Transparent stain is just a tinted coat that protects the wood and allows all the grain and knots to show through.
Semi-transparent, is like it says, semi-transparent, so it has more color and clouds over the grain a bit more.
If you really want to change the color of your wood deck, however, I suggest picking a solid deck stain, which is what I chose.
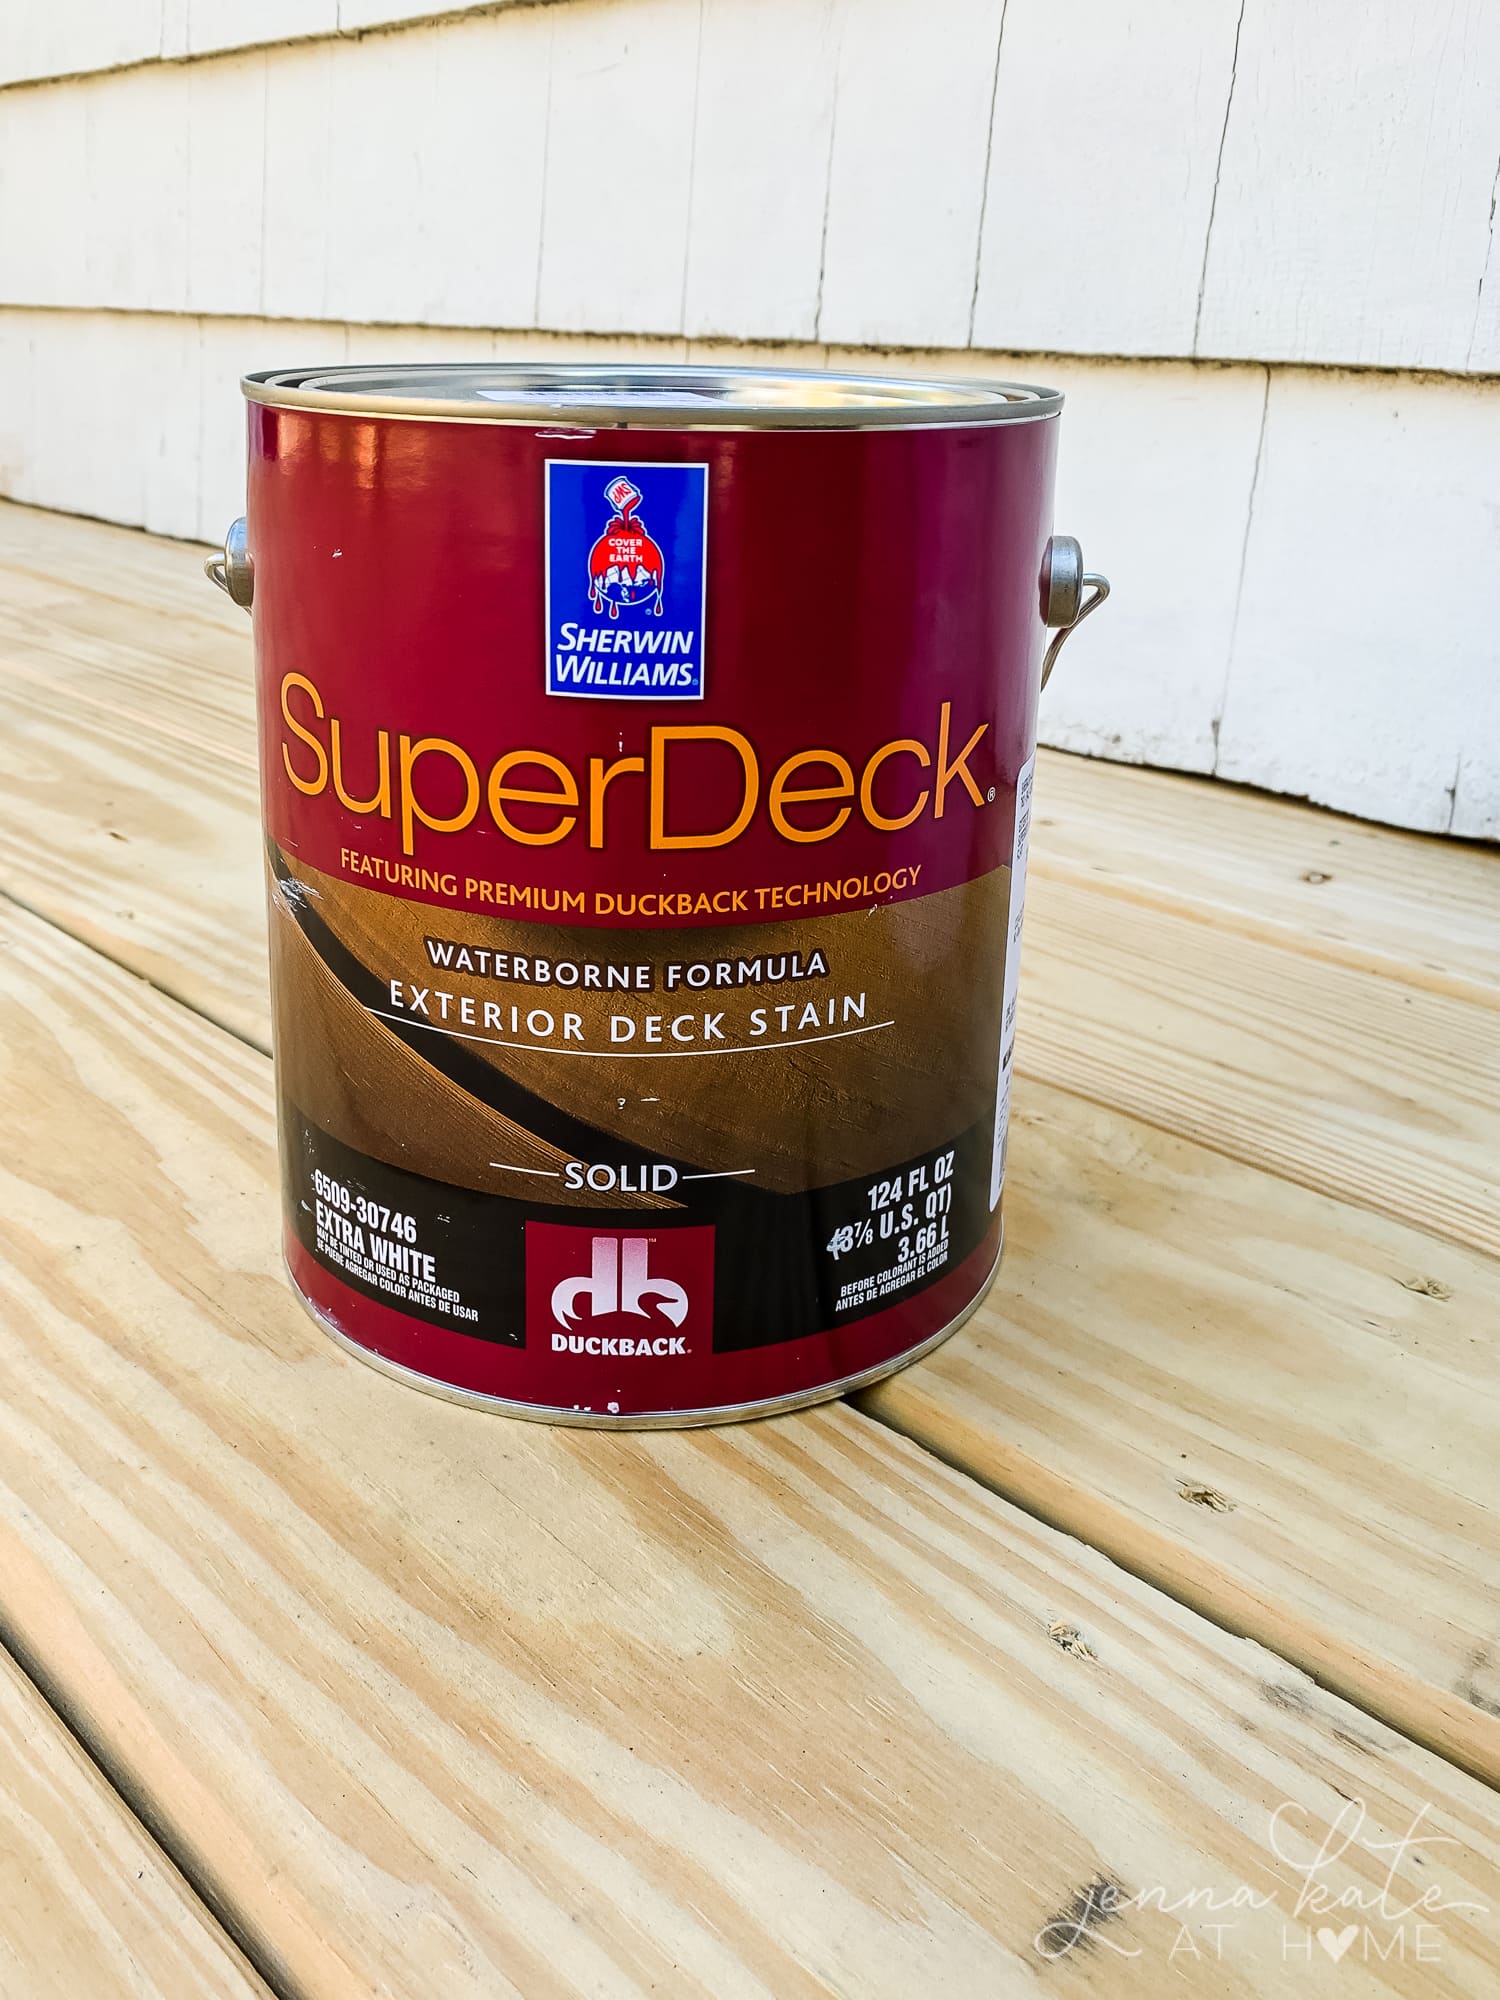
Sherwin Williams Solid Deck Stain
I contemplated using a semi transparent stain but decided an opaque color was more in line with what I wanted.
After some research and talking to the guy at the Sherwin Williams store, I decided to try their SuperDeck Waterborne Formula Exterior Deck Stain in solid.
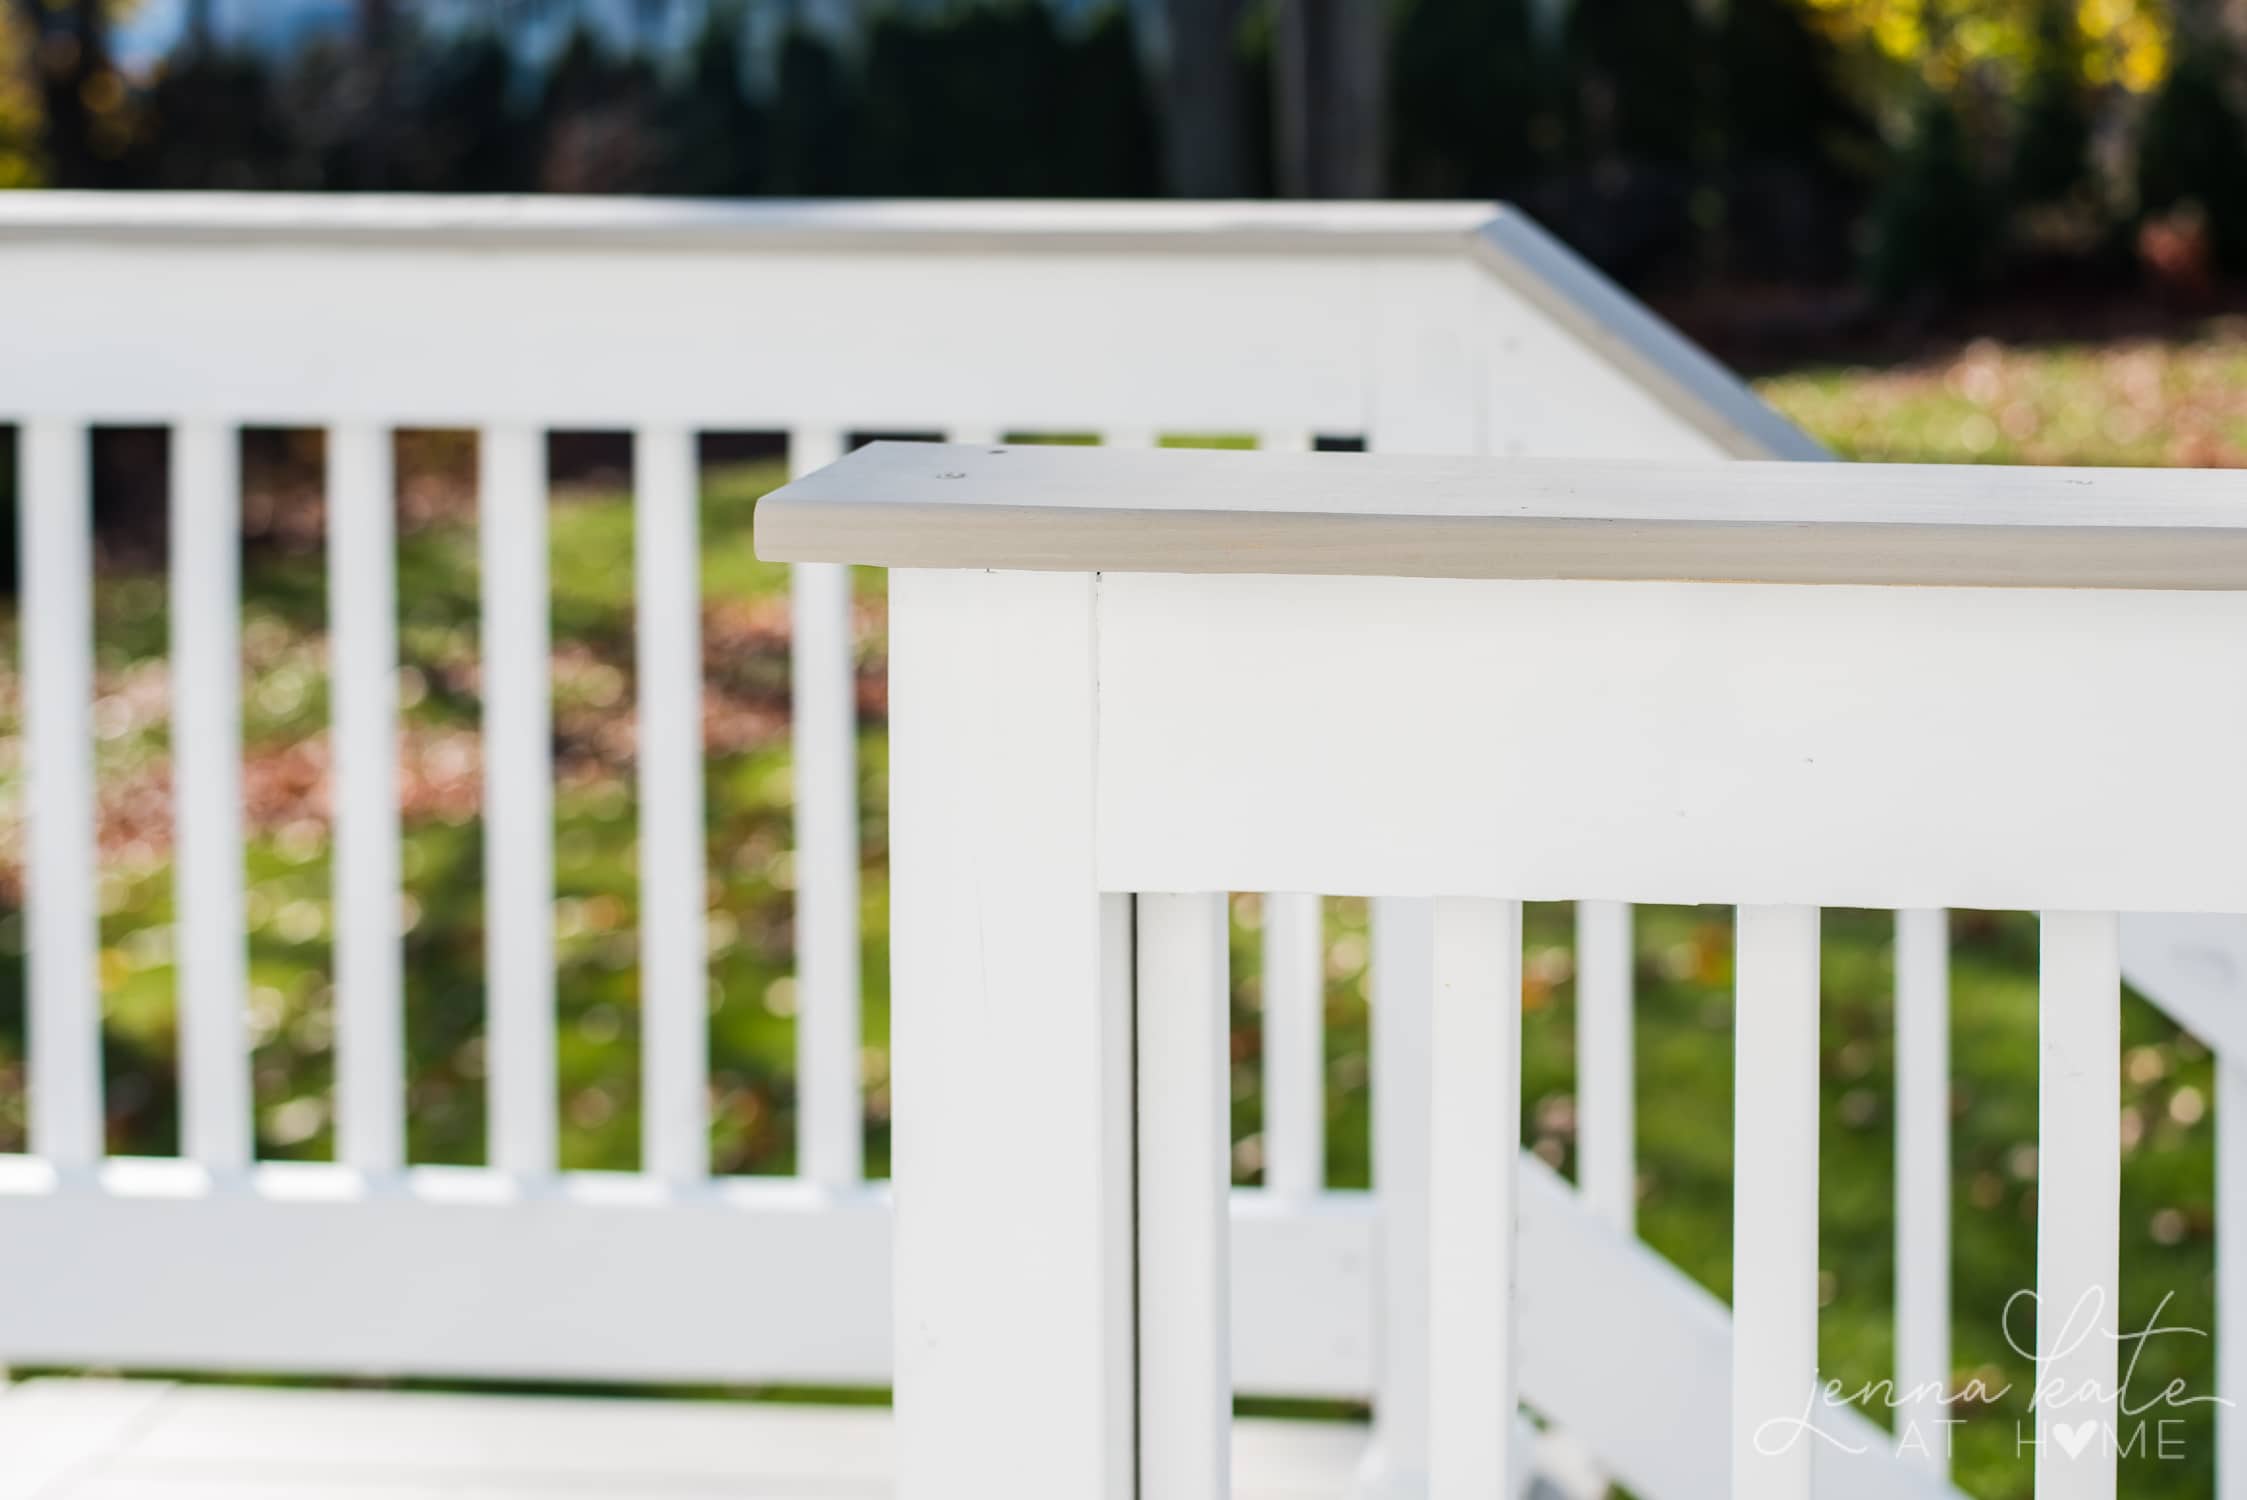
It’s tintable to any color which made my life easier because I knew the exact look I was going for – a neutral two-tone effect. I chose Extra White (5 gallons) and Intellectual Gray (2 gallons)
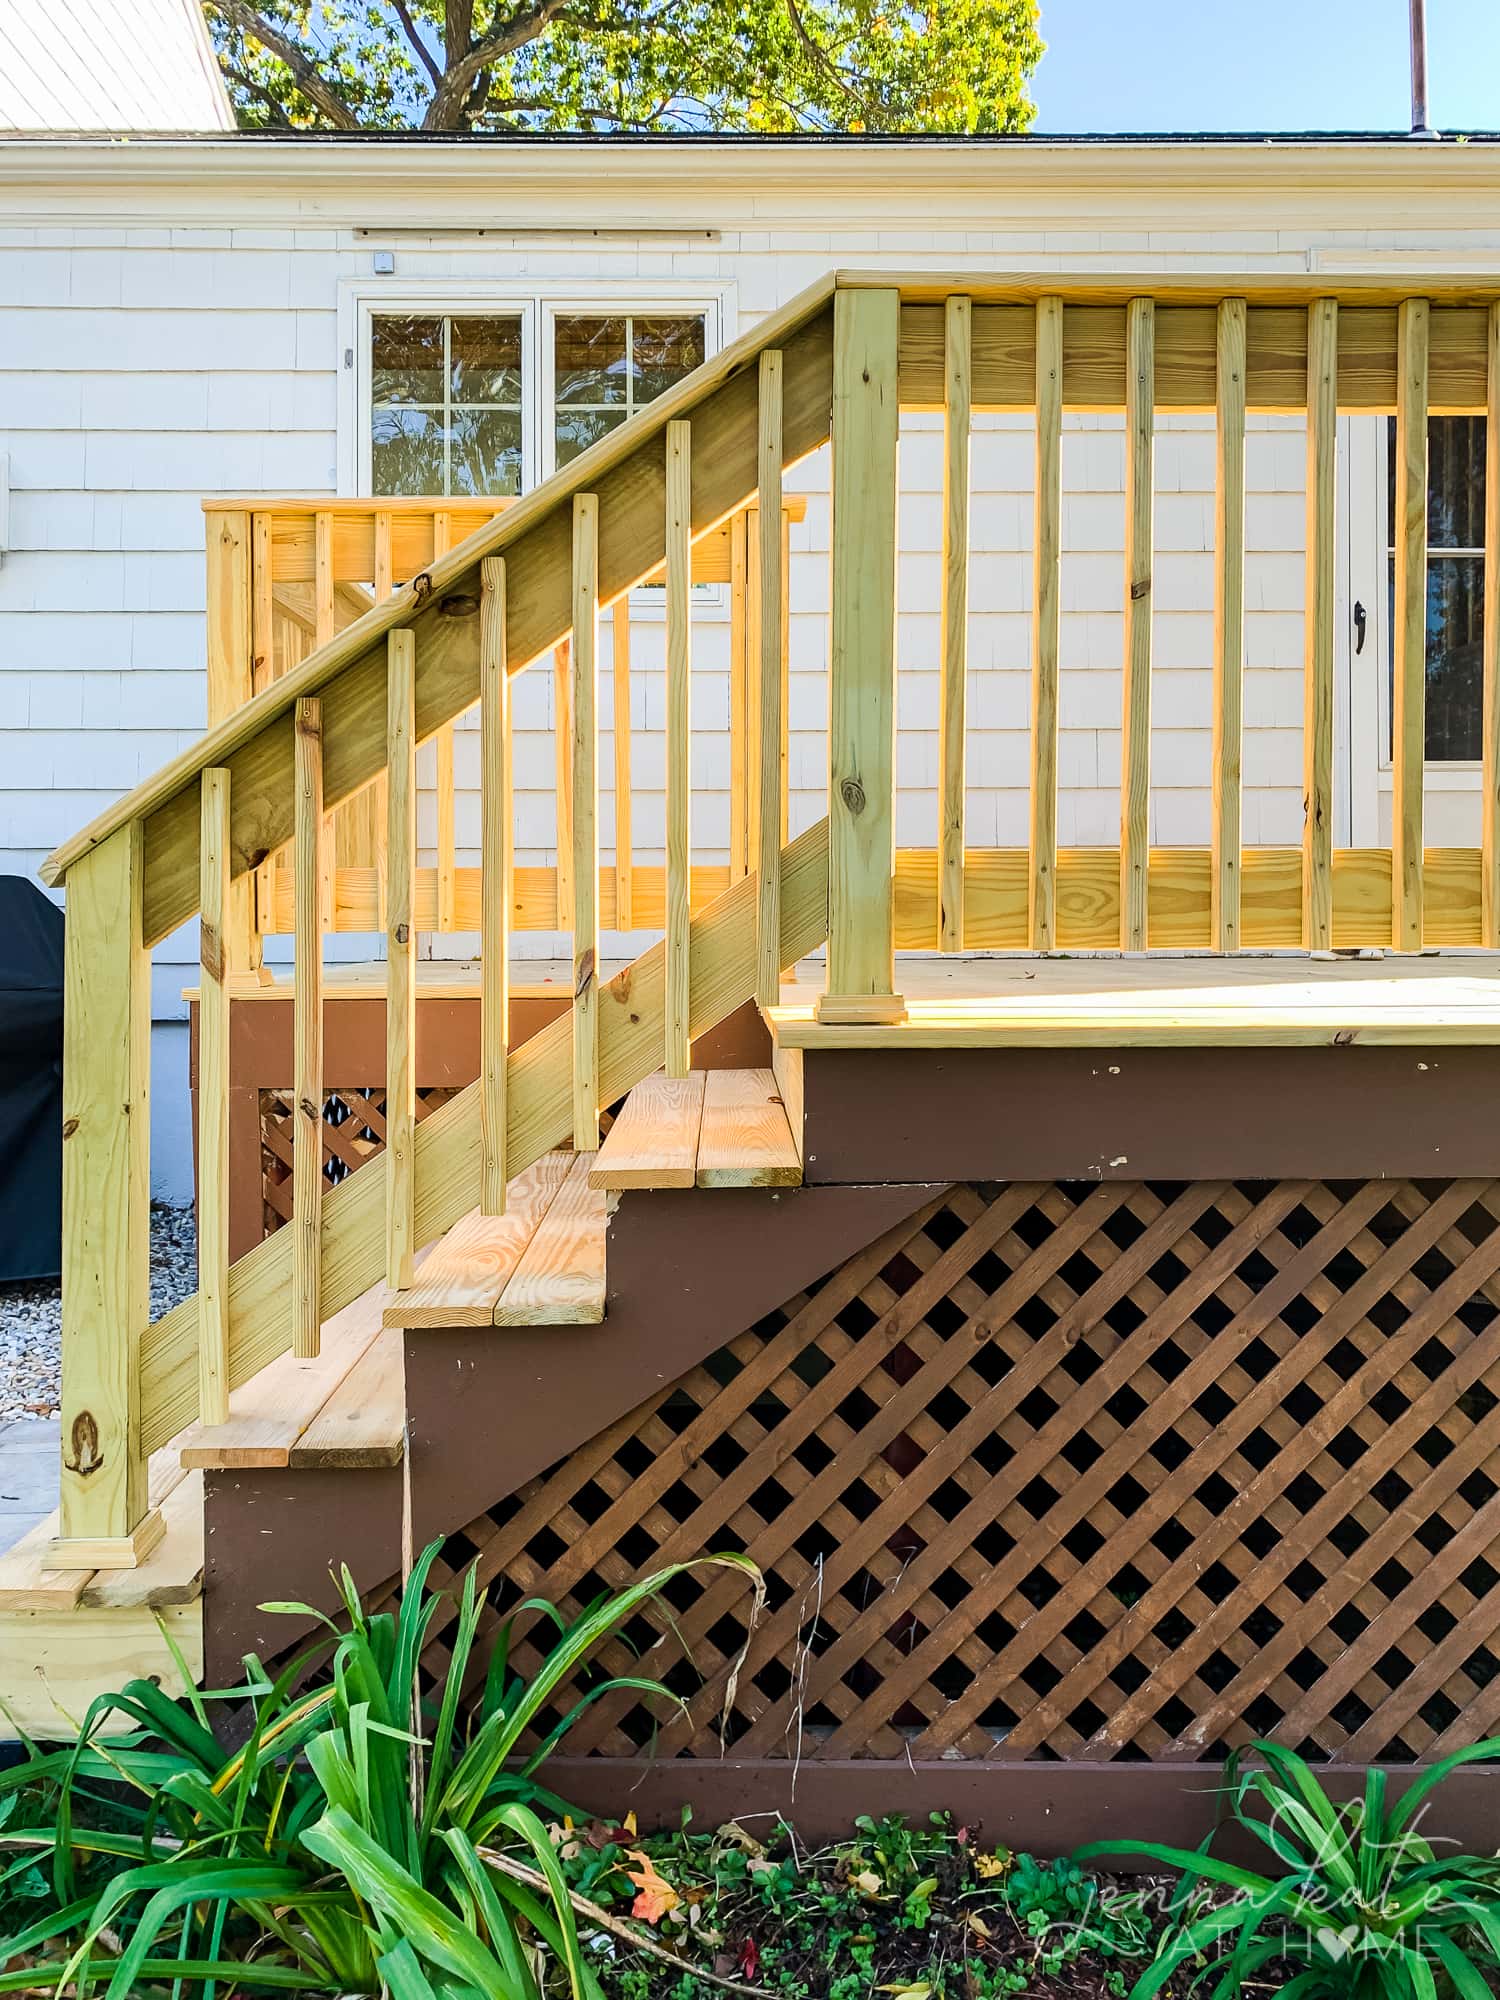
Prep the Deck For Paint
Before we could start painting the new wood deck, it’s was important to prep it. That meant sanding any rough spots and filling any nail holes or cracks in the wood.
Note: We didn’t do much of the latter due to the fact that we had a newborn baby and just wanted to get the thing painted. But in hindsight, we probably should have.
Thoroughly clean the deck and allow to dry for 48 hours. I used Sherwin Williams Superdeck Deck Wash because it was easy to grab while I was at the store, but there’s many other products you could use (TSP works great if you already have some).
If your deck isn’t brand new, consider power washing or really giving it a good scrub with a stiff bristle brush.
When you are planning on painting, try to pick a day when you know it’s not going to rain for at least 24 hours. We were lucky and got a full week of dry weather which allowed our deck to cure quickly.
Painting a deck is much more forgiving than painting interior walls or trim. That being said, even on a small deck like ours, it can be quite the undertaking thanks to what seems like a bajillion spindles.
Painting The Deck
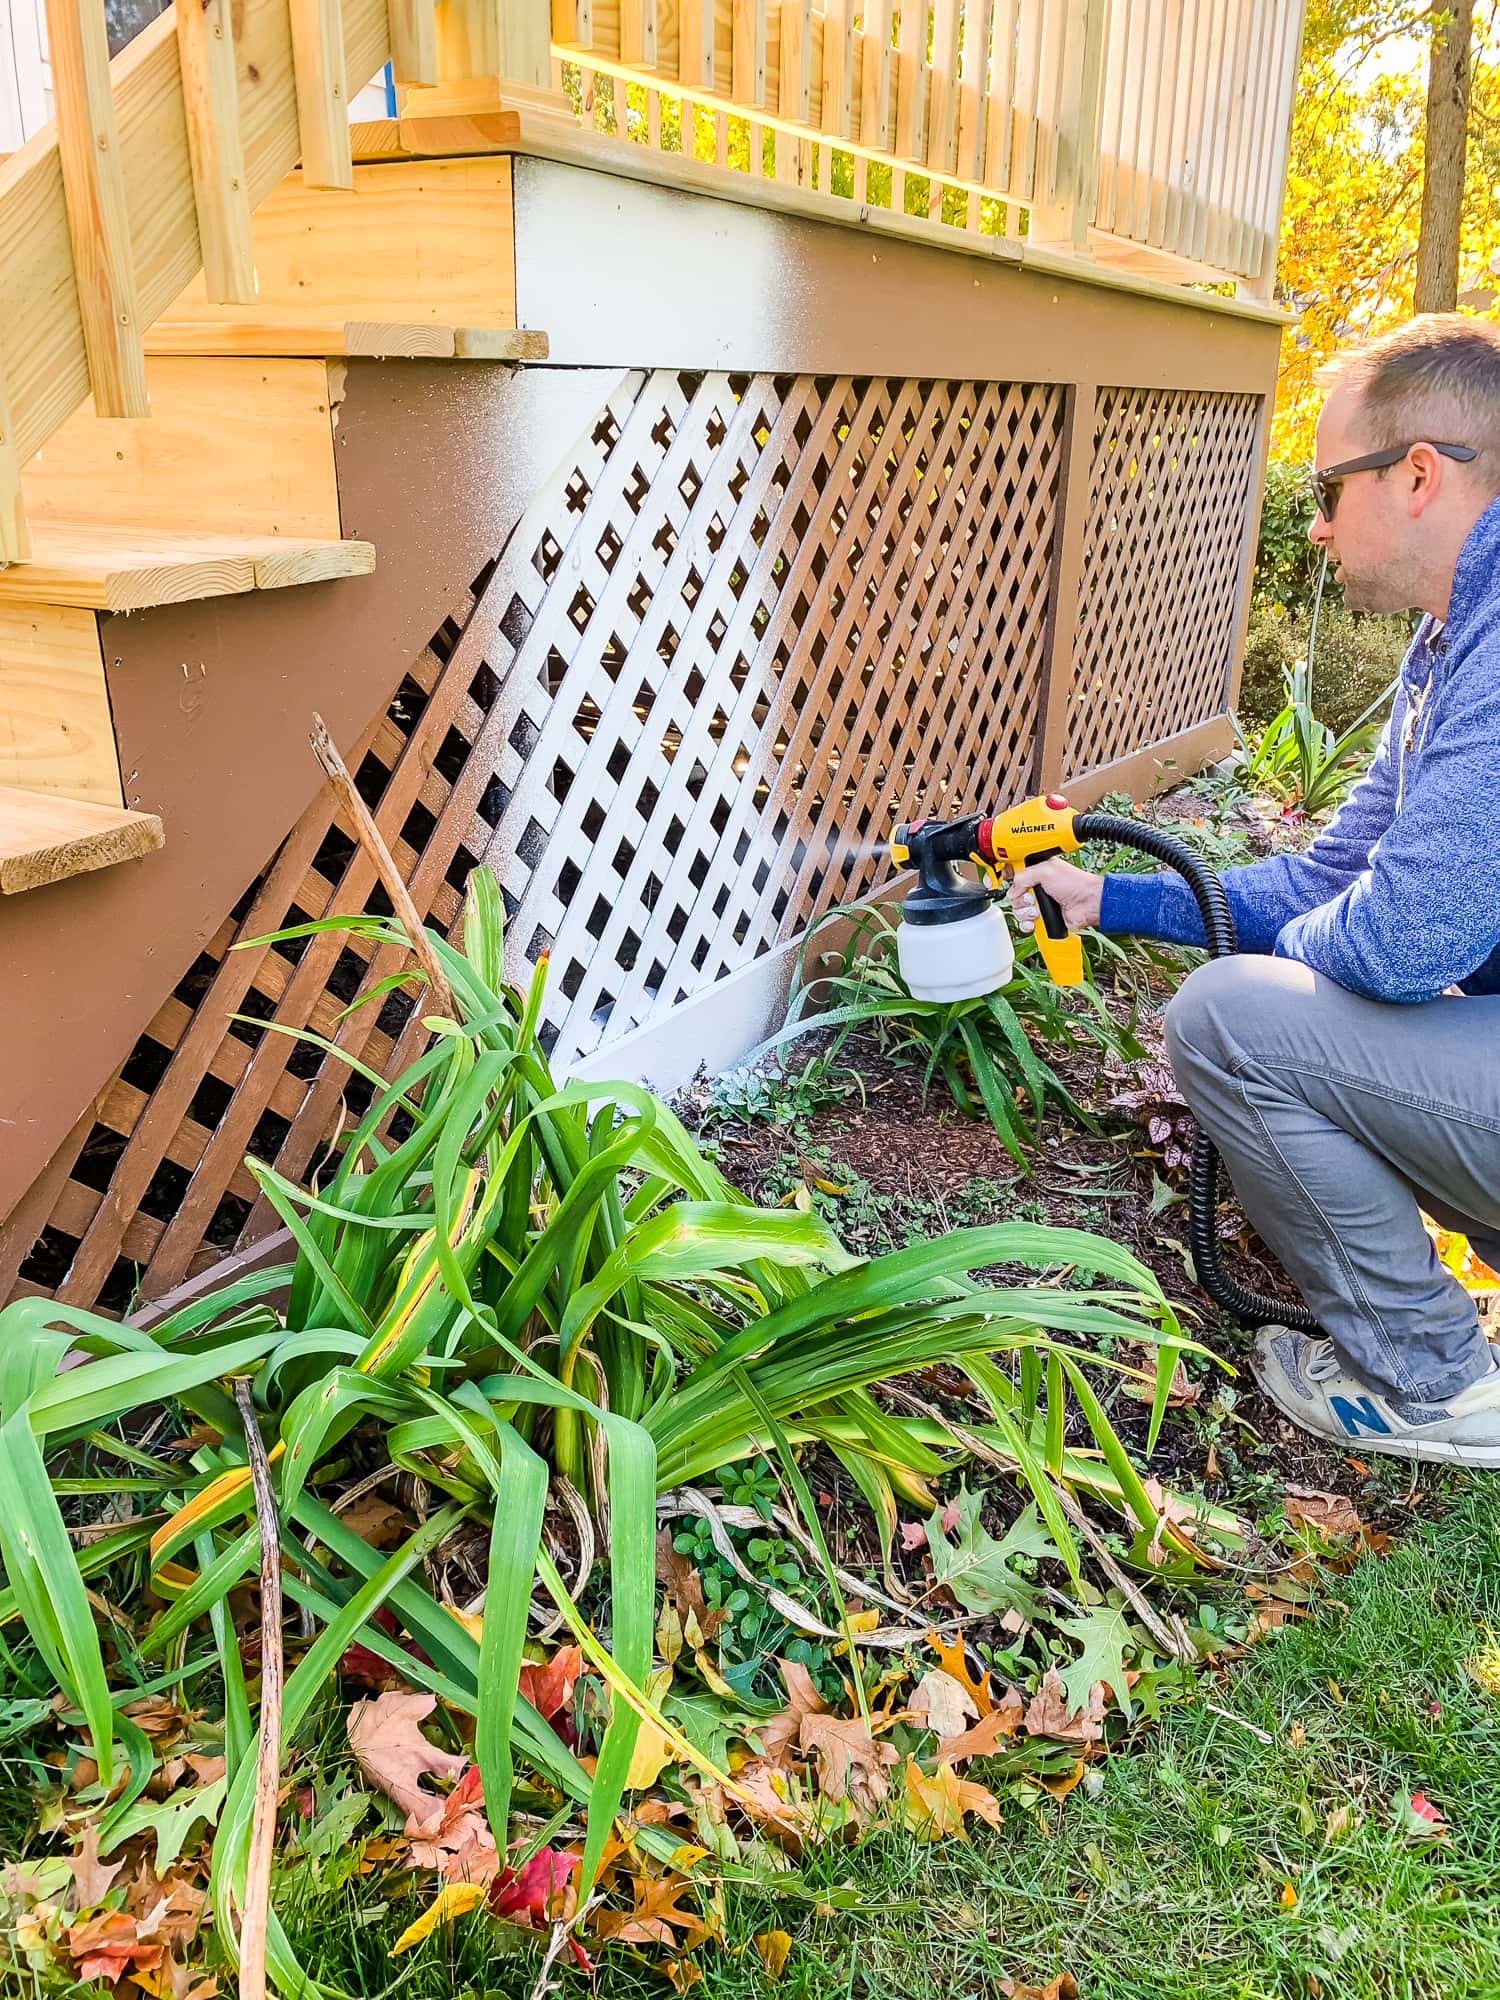
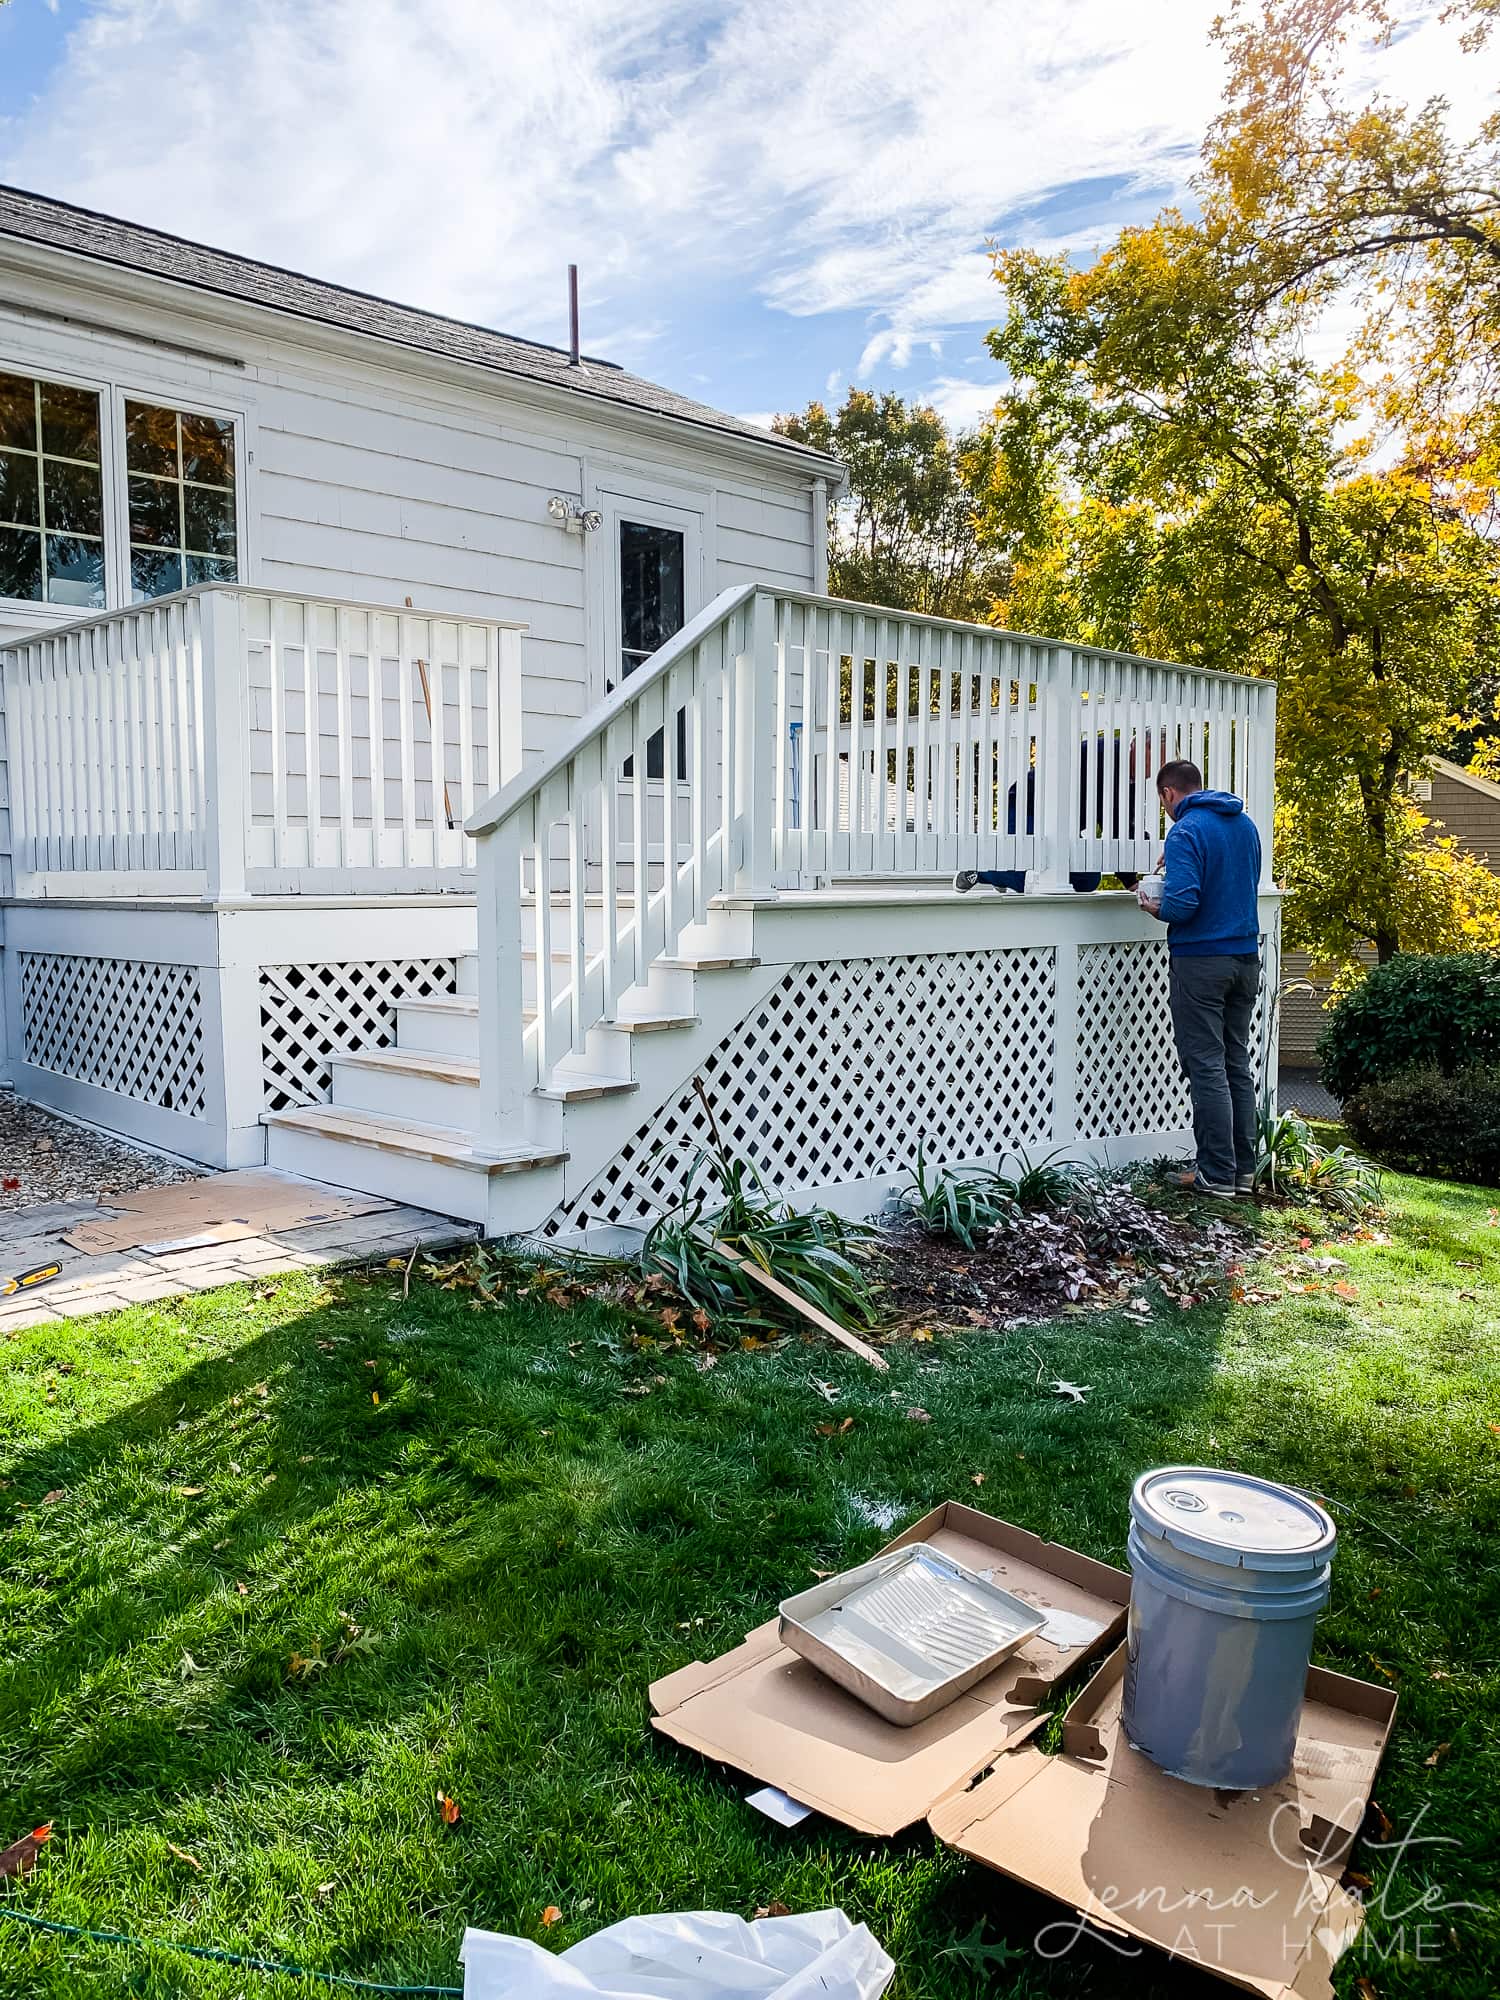
In order to cut down on hand painting everything, we used our Wagner Spray Tech paint sprayer and sprayed on all the Extra White paint first. That meant all the spindles, the risers on the stairs and the lattice on the sides were knocked out in under an hour.
Any white overspray wasn’t an issue since there was a darker color going over it.
For the remainder of the deck, I wanted to use the contrasting color that I had chosen – Intellectual Gray.

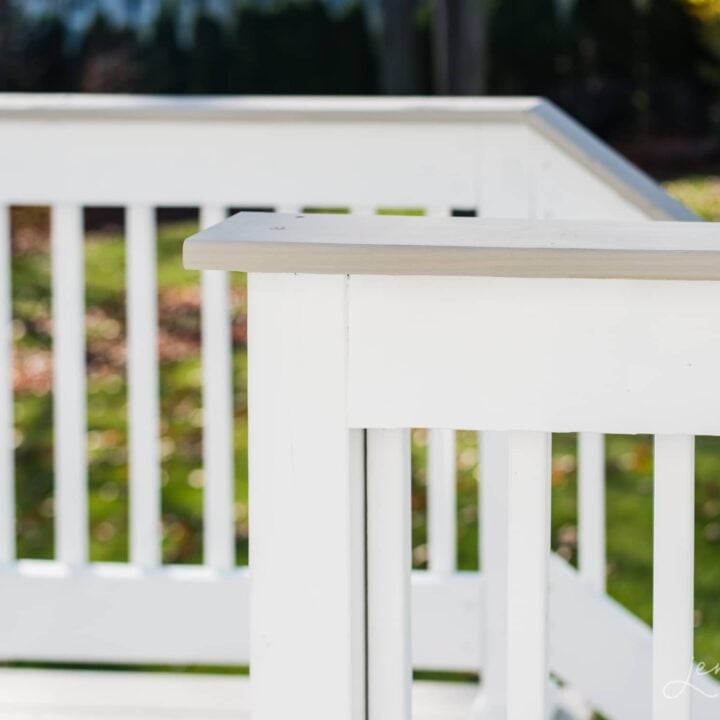
While my dad cut in along the edges that butt up against the house, my husband started painting the top rail.
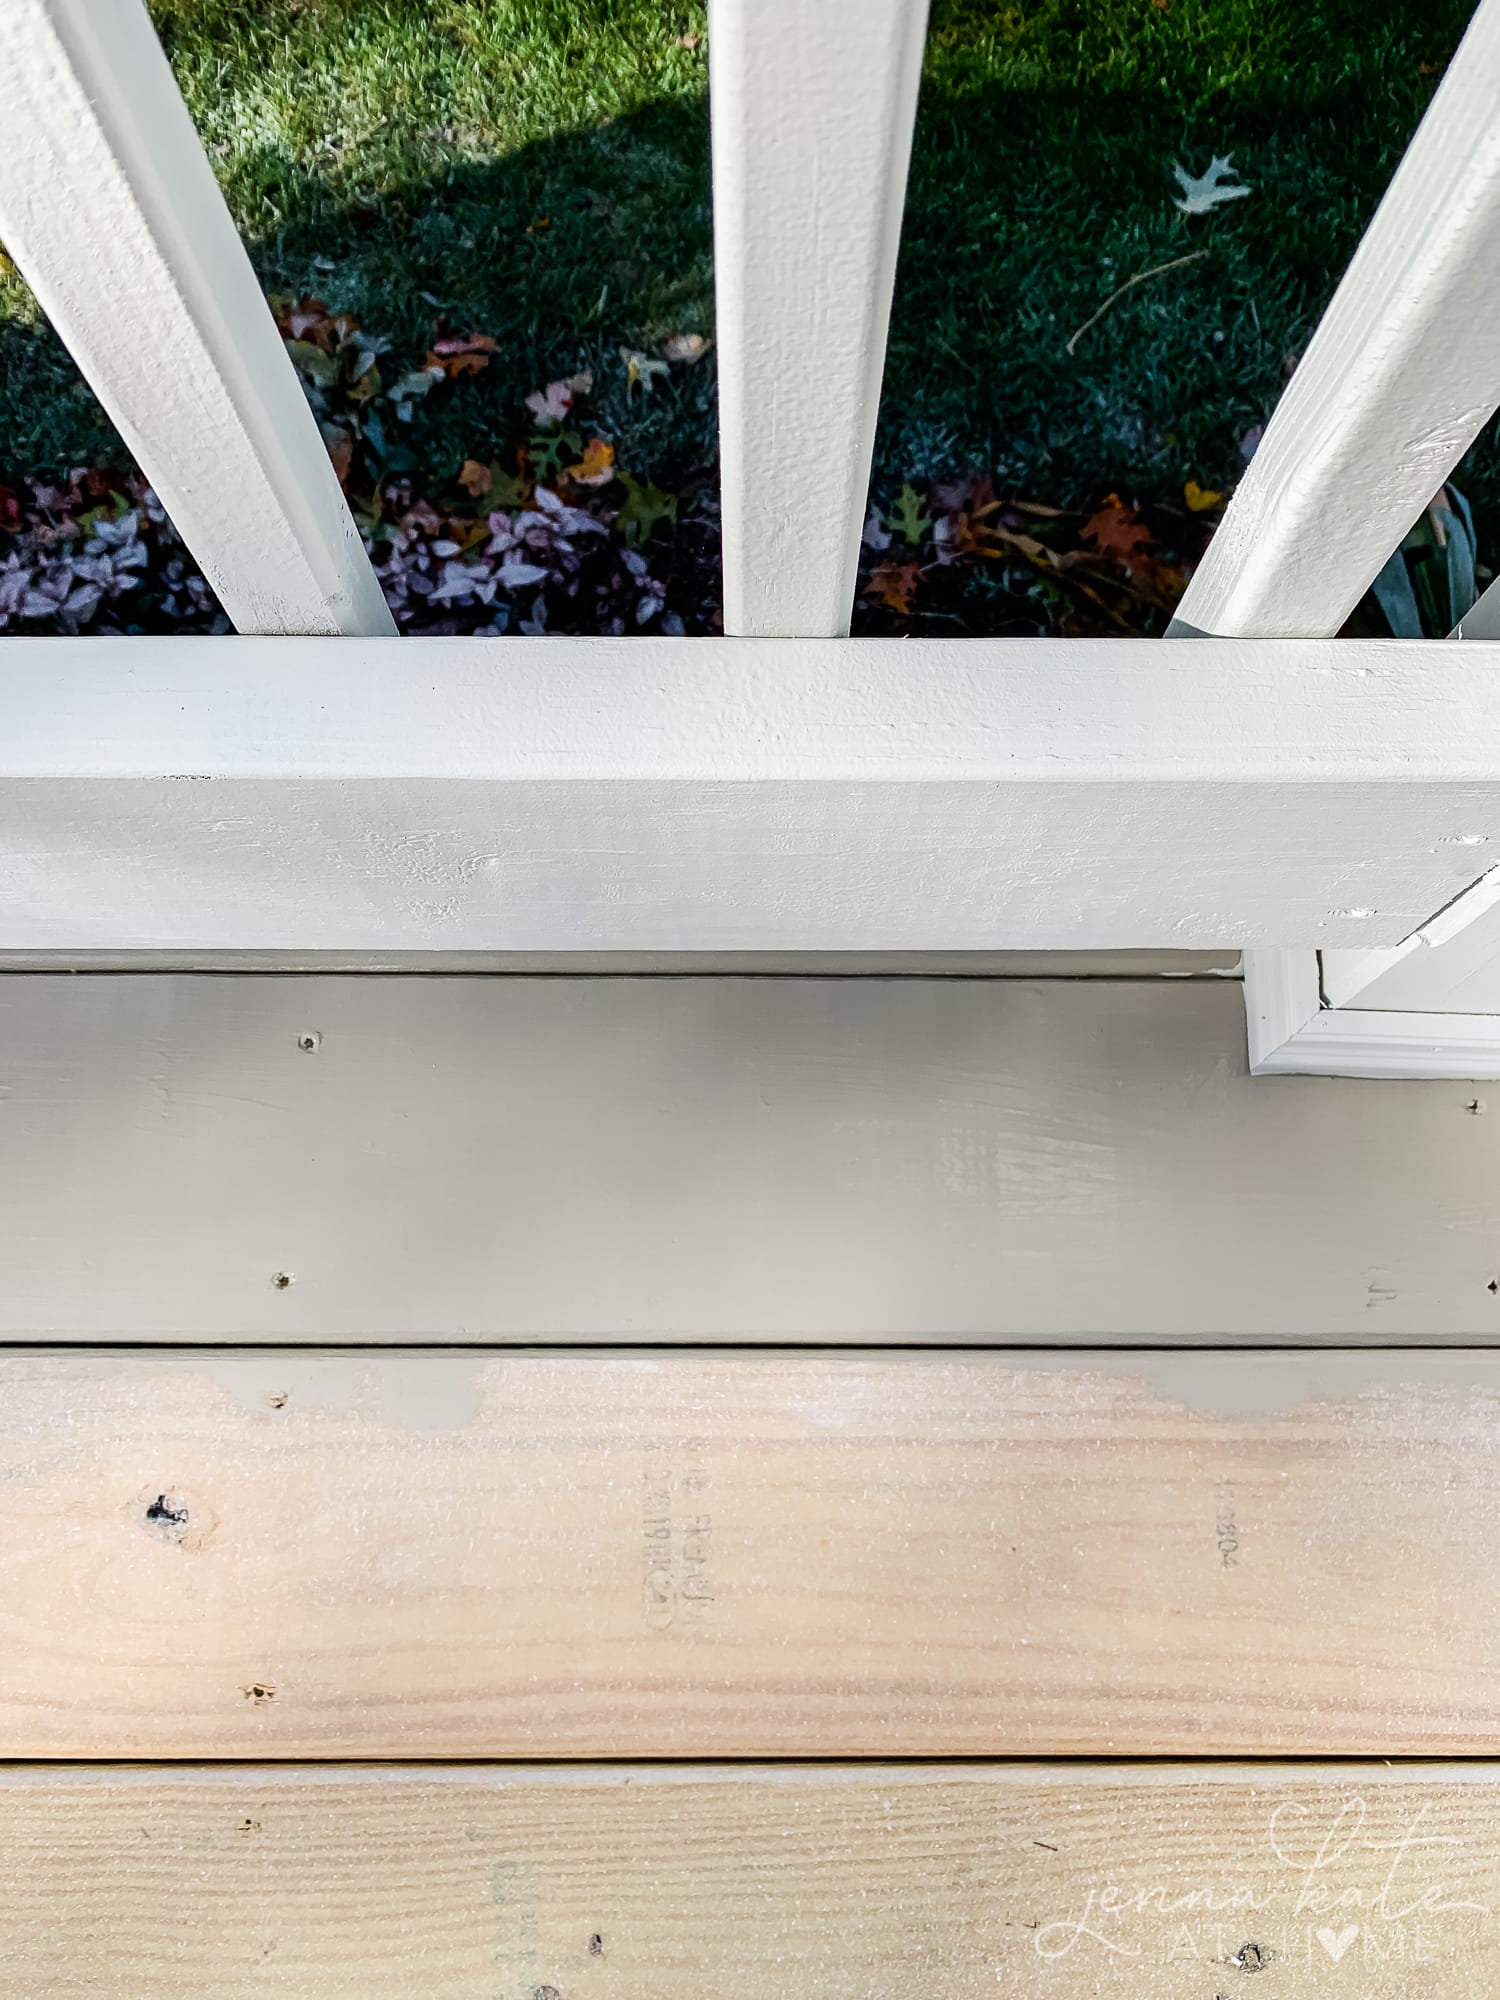
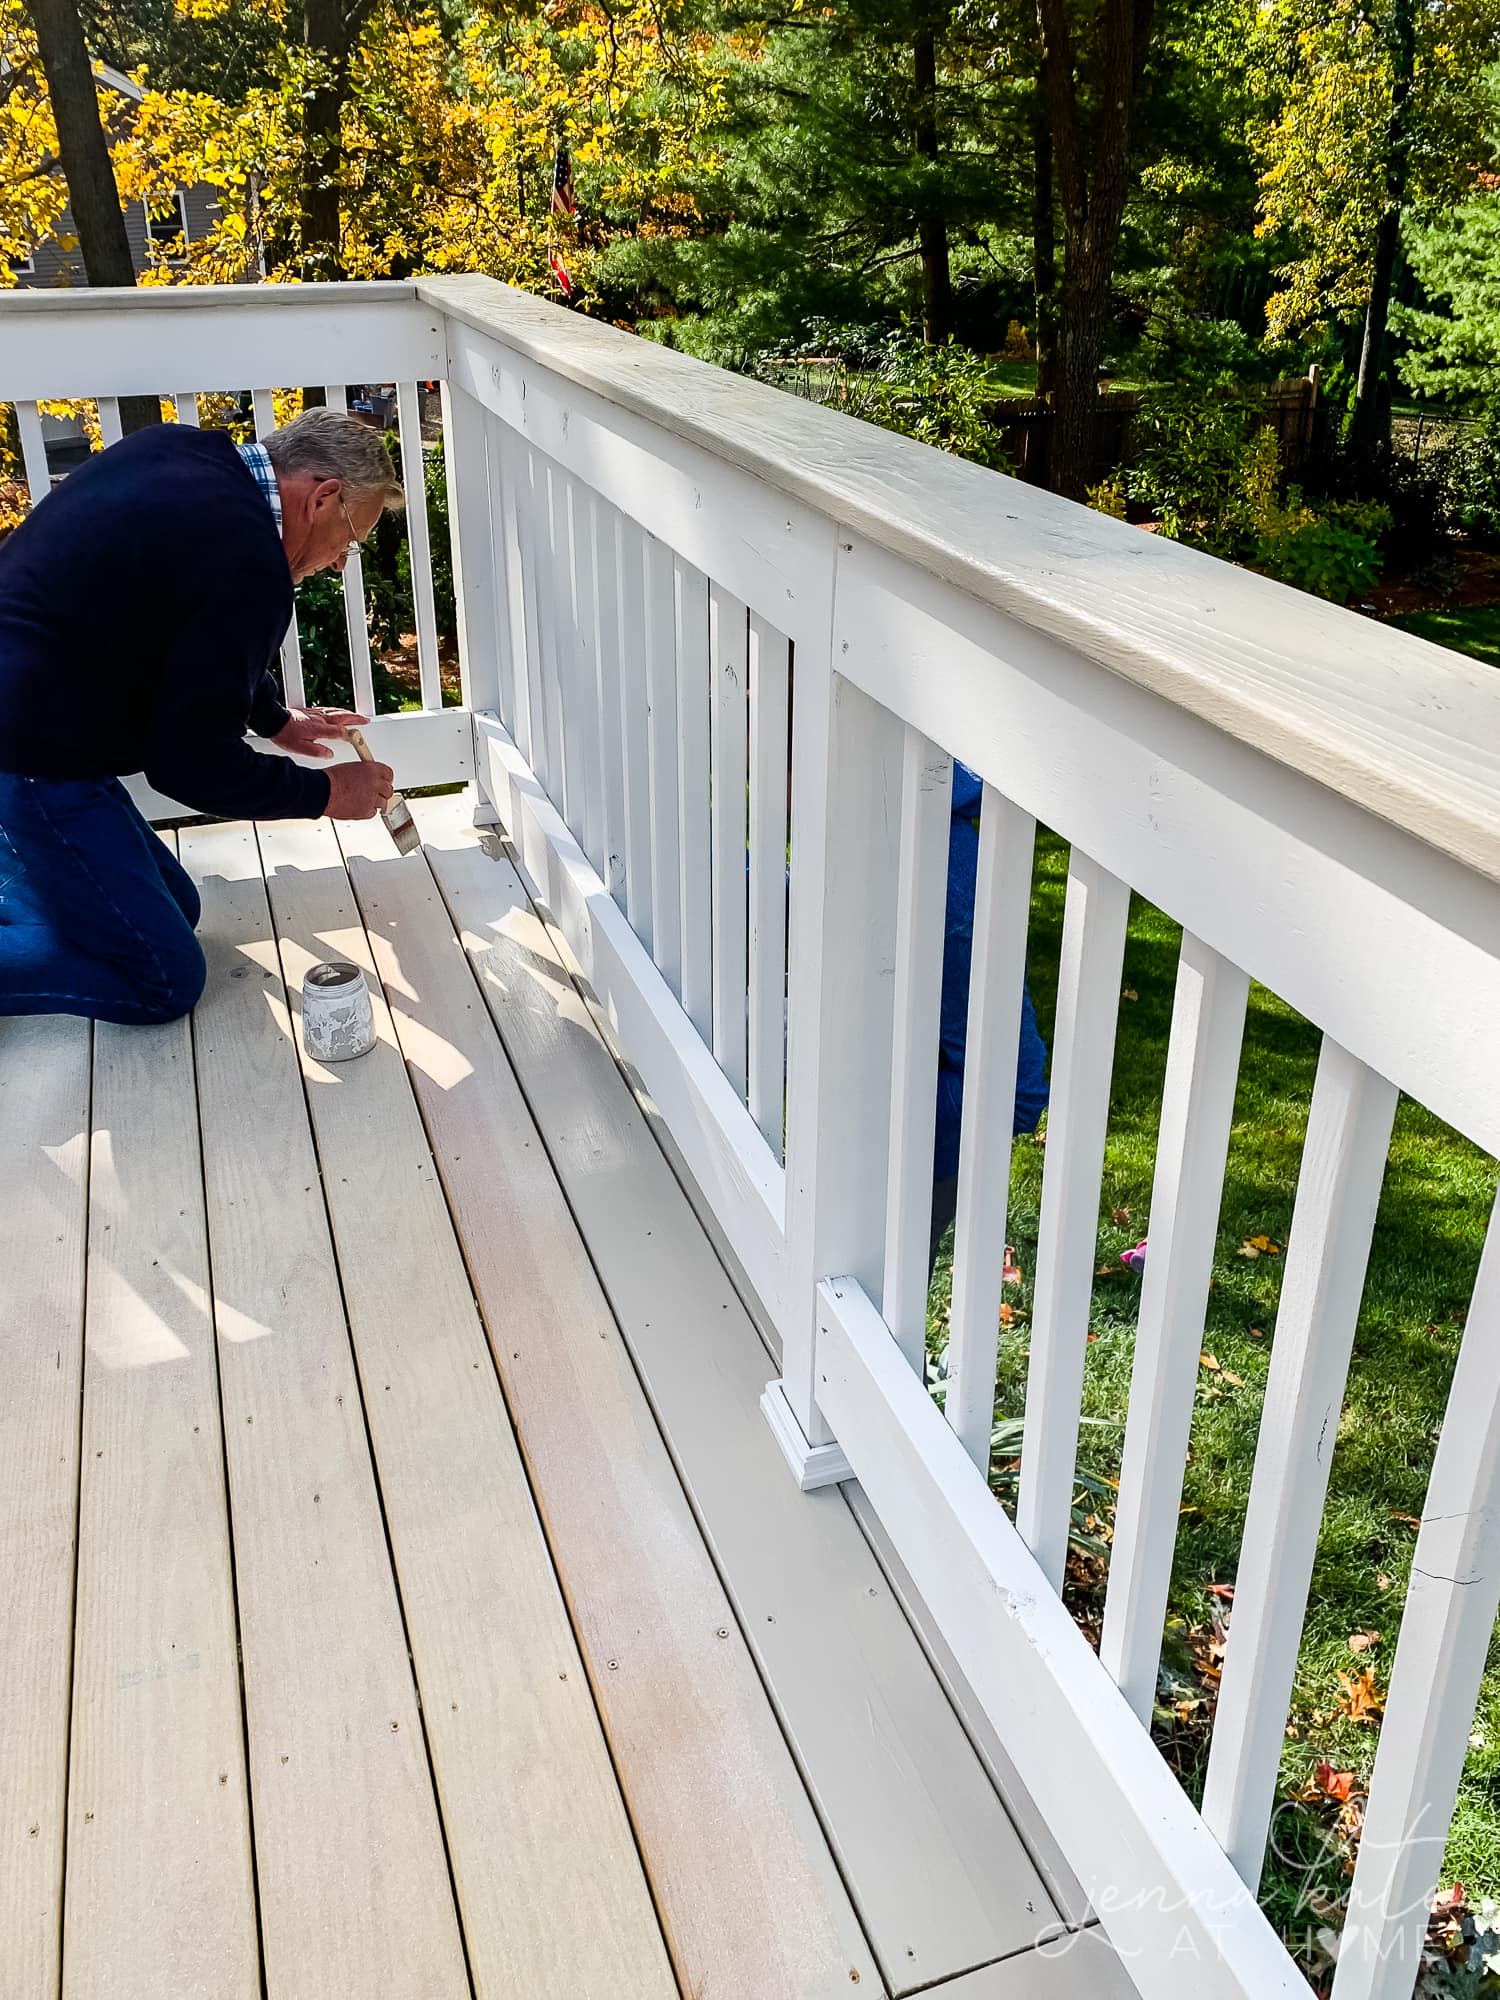
Once that was done, they used a roller on a long handle to paint the floor boards, followed by using a paintbrush on the stair treads.
Finally, anything that the roller couldn’t reach was painted using the paint brush, too.
The Finished Deck
My dad was skeptical about my color choice at first, thinking it was all a bit too light. He was more of a fan of the brown, I think. But he came around once it was all finished!
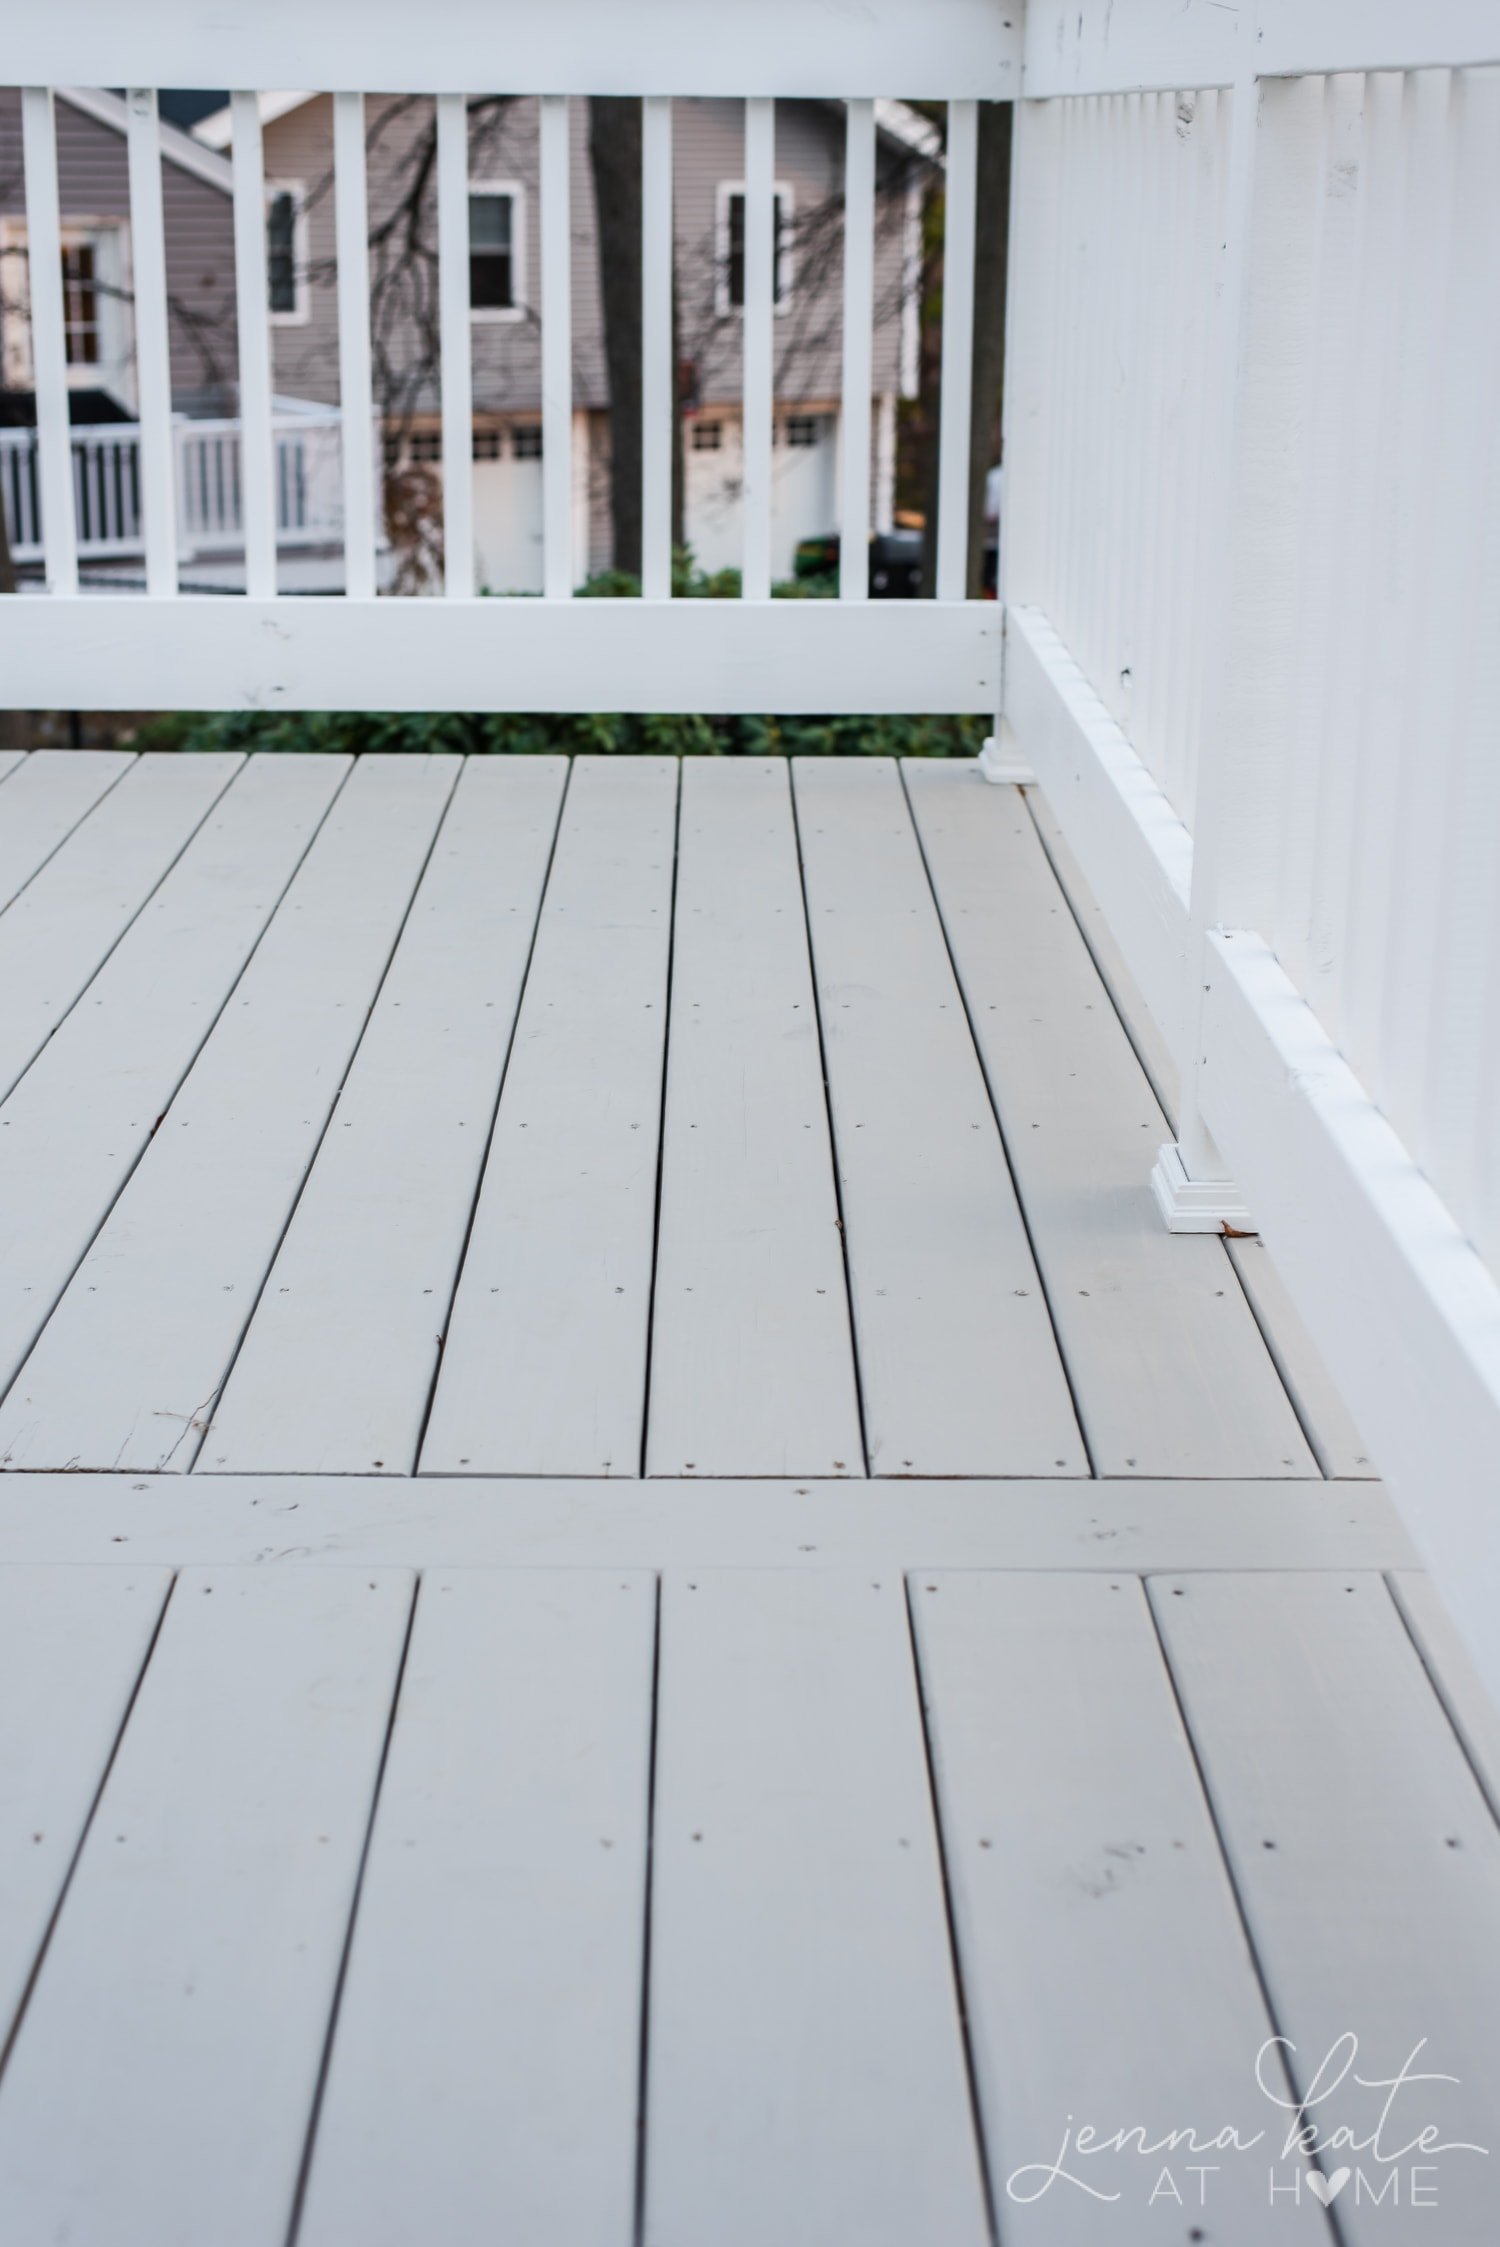
Amazingly, we only used one coat of paint and the wood covered perfectly!
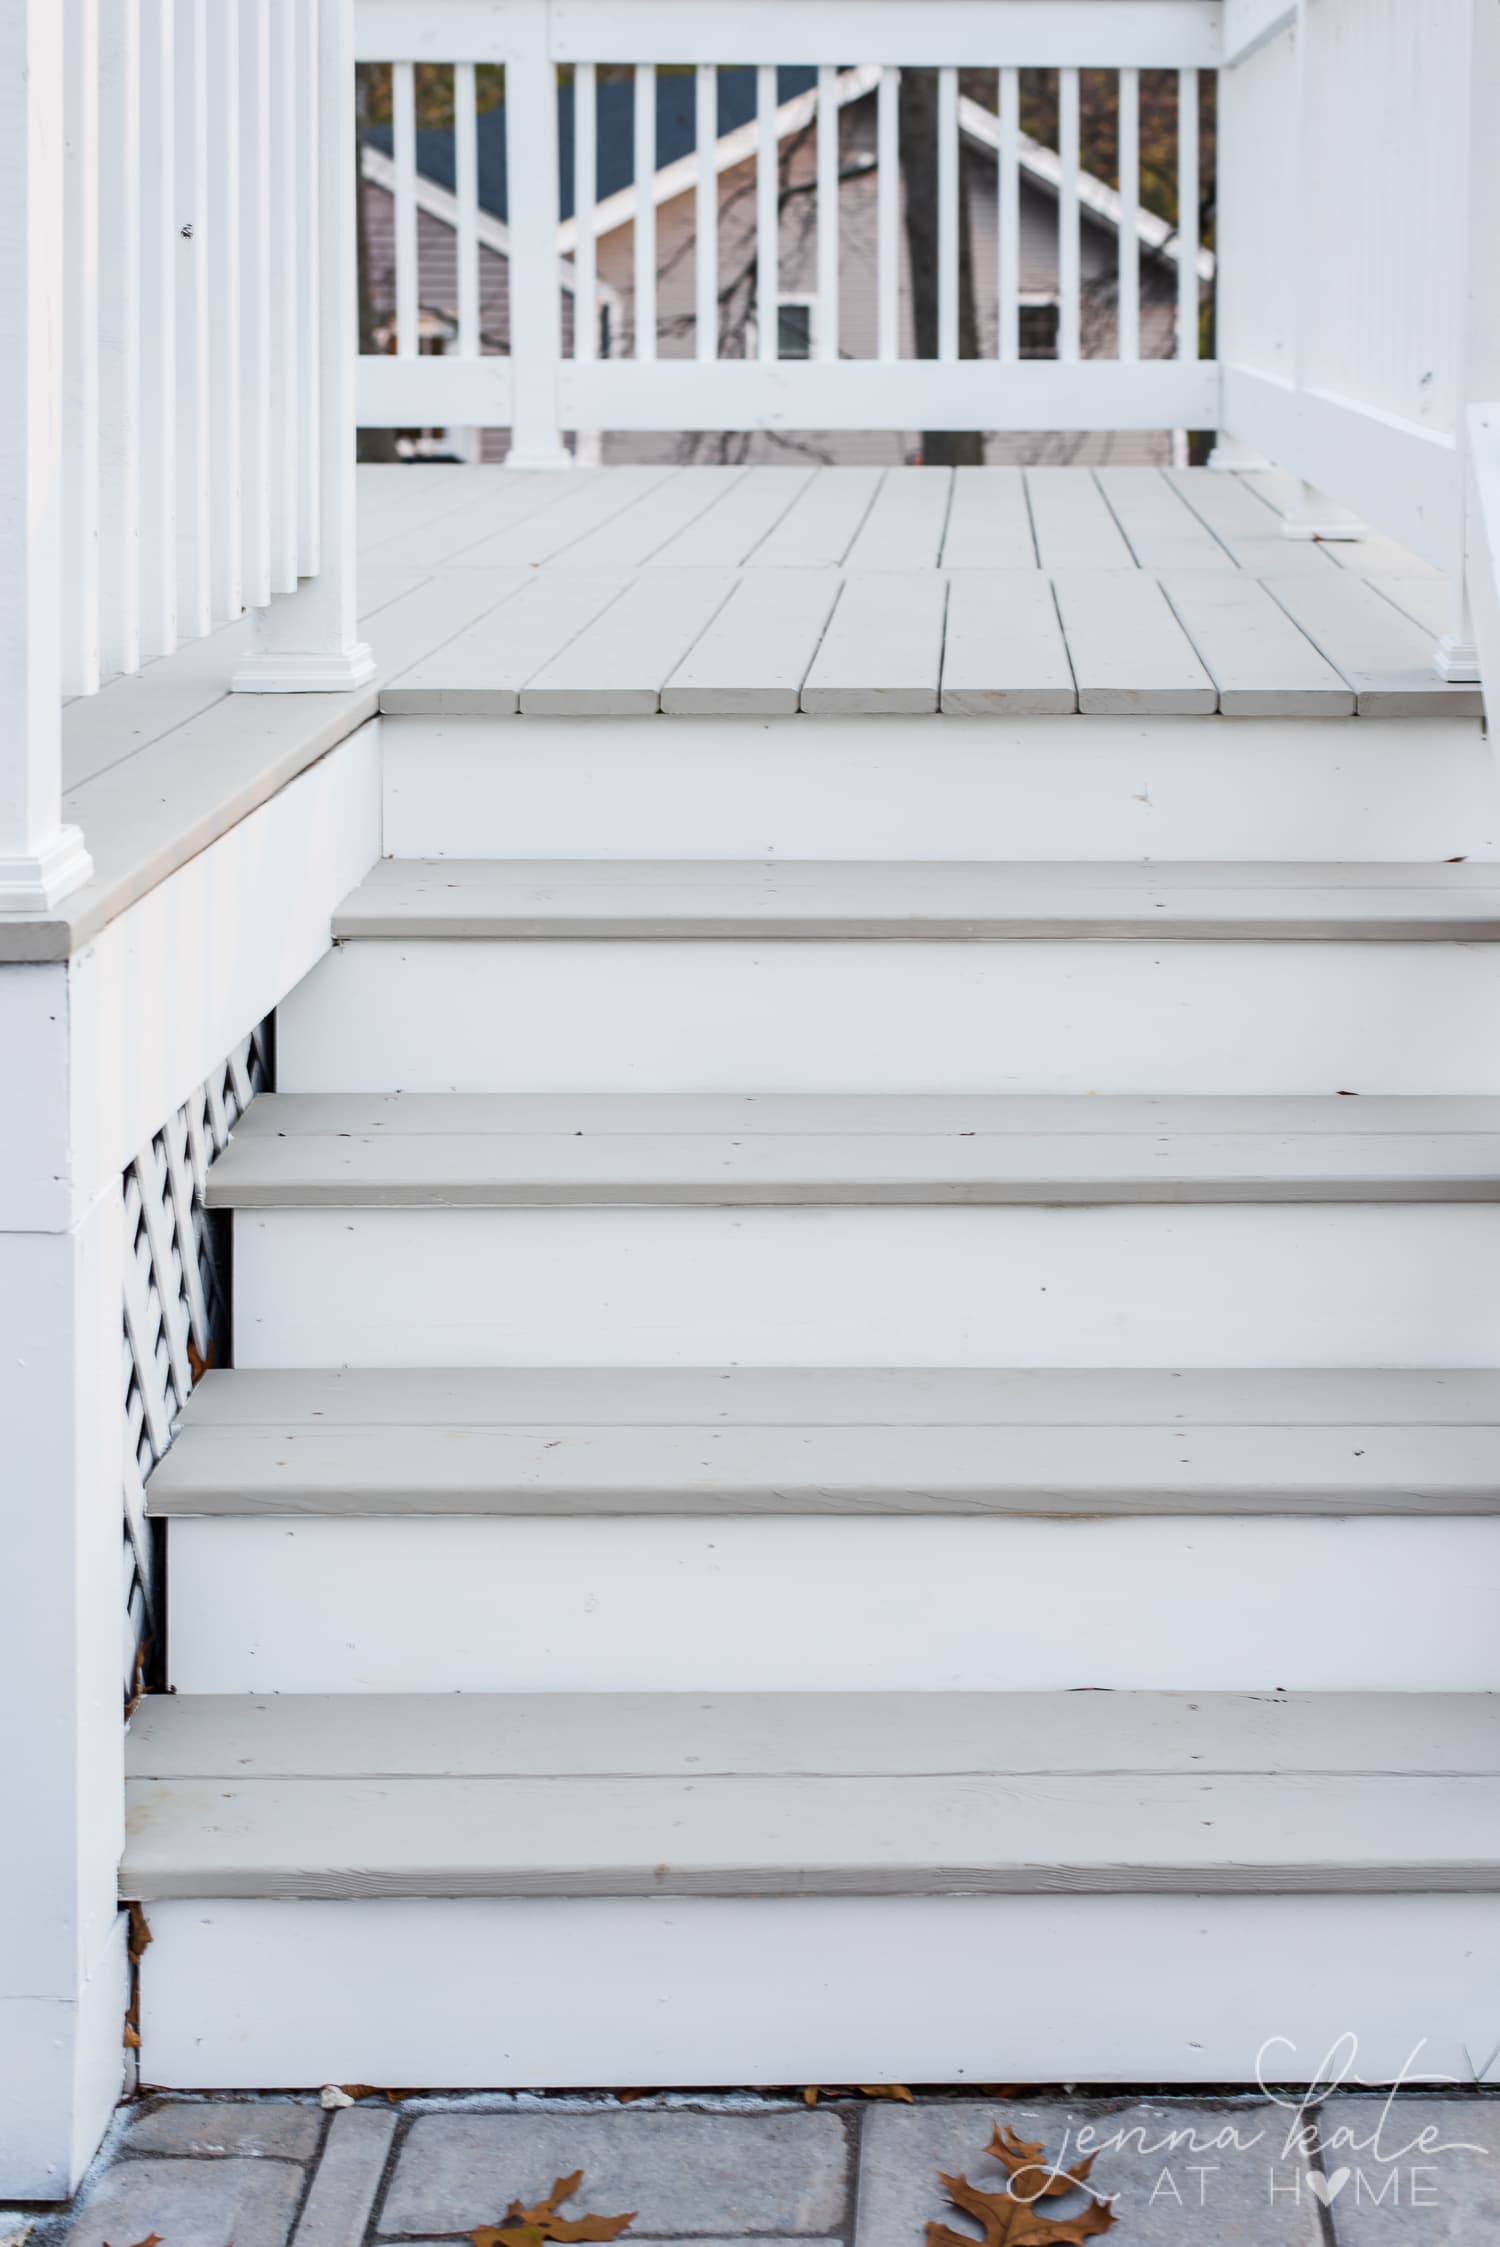
I couldn’t be happier with how it turned out. I got the look of the composite decking that I had been lusting over, without the insane price tag.
The deck looks SO much bigger with these lighter colors and ties in wonderfully with our white siding and new patio, too. The only downside is that the bright white paint really highlights just how badly our house needs to be painted!!
Update September 2021: This deck was originally painted in early October 2019. I’m happy to report that after a few crazy New England seasons, the deck still looks brand new.
The deck paint adhered well and there’s no chipping or peeling. The deck stain repels water and the never gets slippery. It was a wonderful product to use and we will happily use it again! Woohoo!
Stain a Deck
Spend a sunny afternoon uplifting your unpainted deck into an outdoor haven with the right stain and step-by-step painting techniques.
Materials
- Deck stain of your choice
Tools
- Sanding block
- Wood putty
- Putty knife
- Paint sprayer
- Paint brush
- Paint roller and tray
Instructions
- Decide whether you want a transparent, semi-transparent or solid deck stain. Transparent allows for the knots and grain to show while a solid deck stain completely covers it up. If choosing solid deck stain, look for one that can be tinted.
- Prep the wood by sanding any rough spots and filling any nail holes or cracks in the wood.
- Thoroughly clean the deck and allow to dry for 48 hours.
- When you are ready to paint, pick a day when it's not going to rain for at least 24 hours.
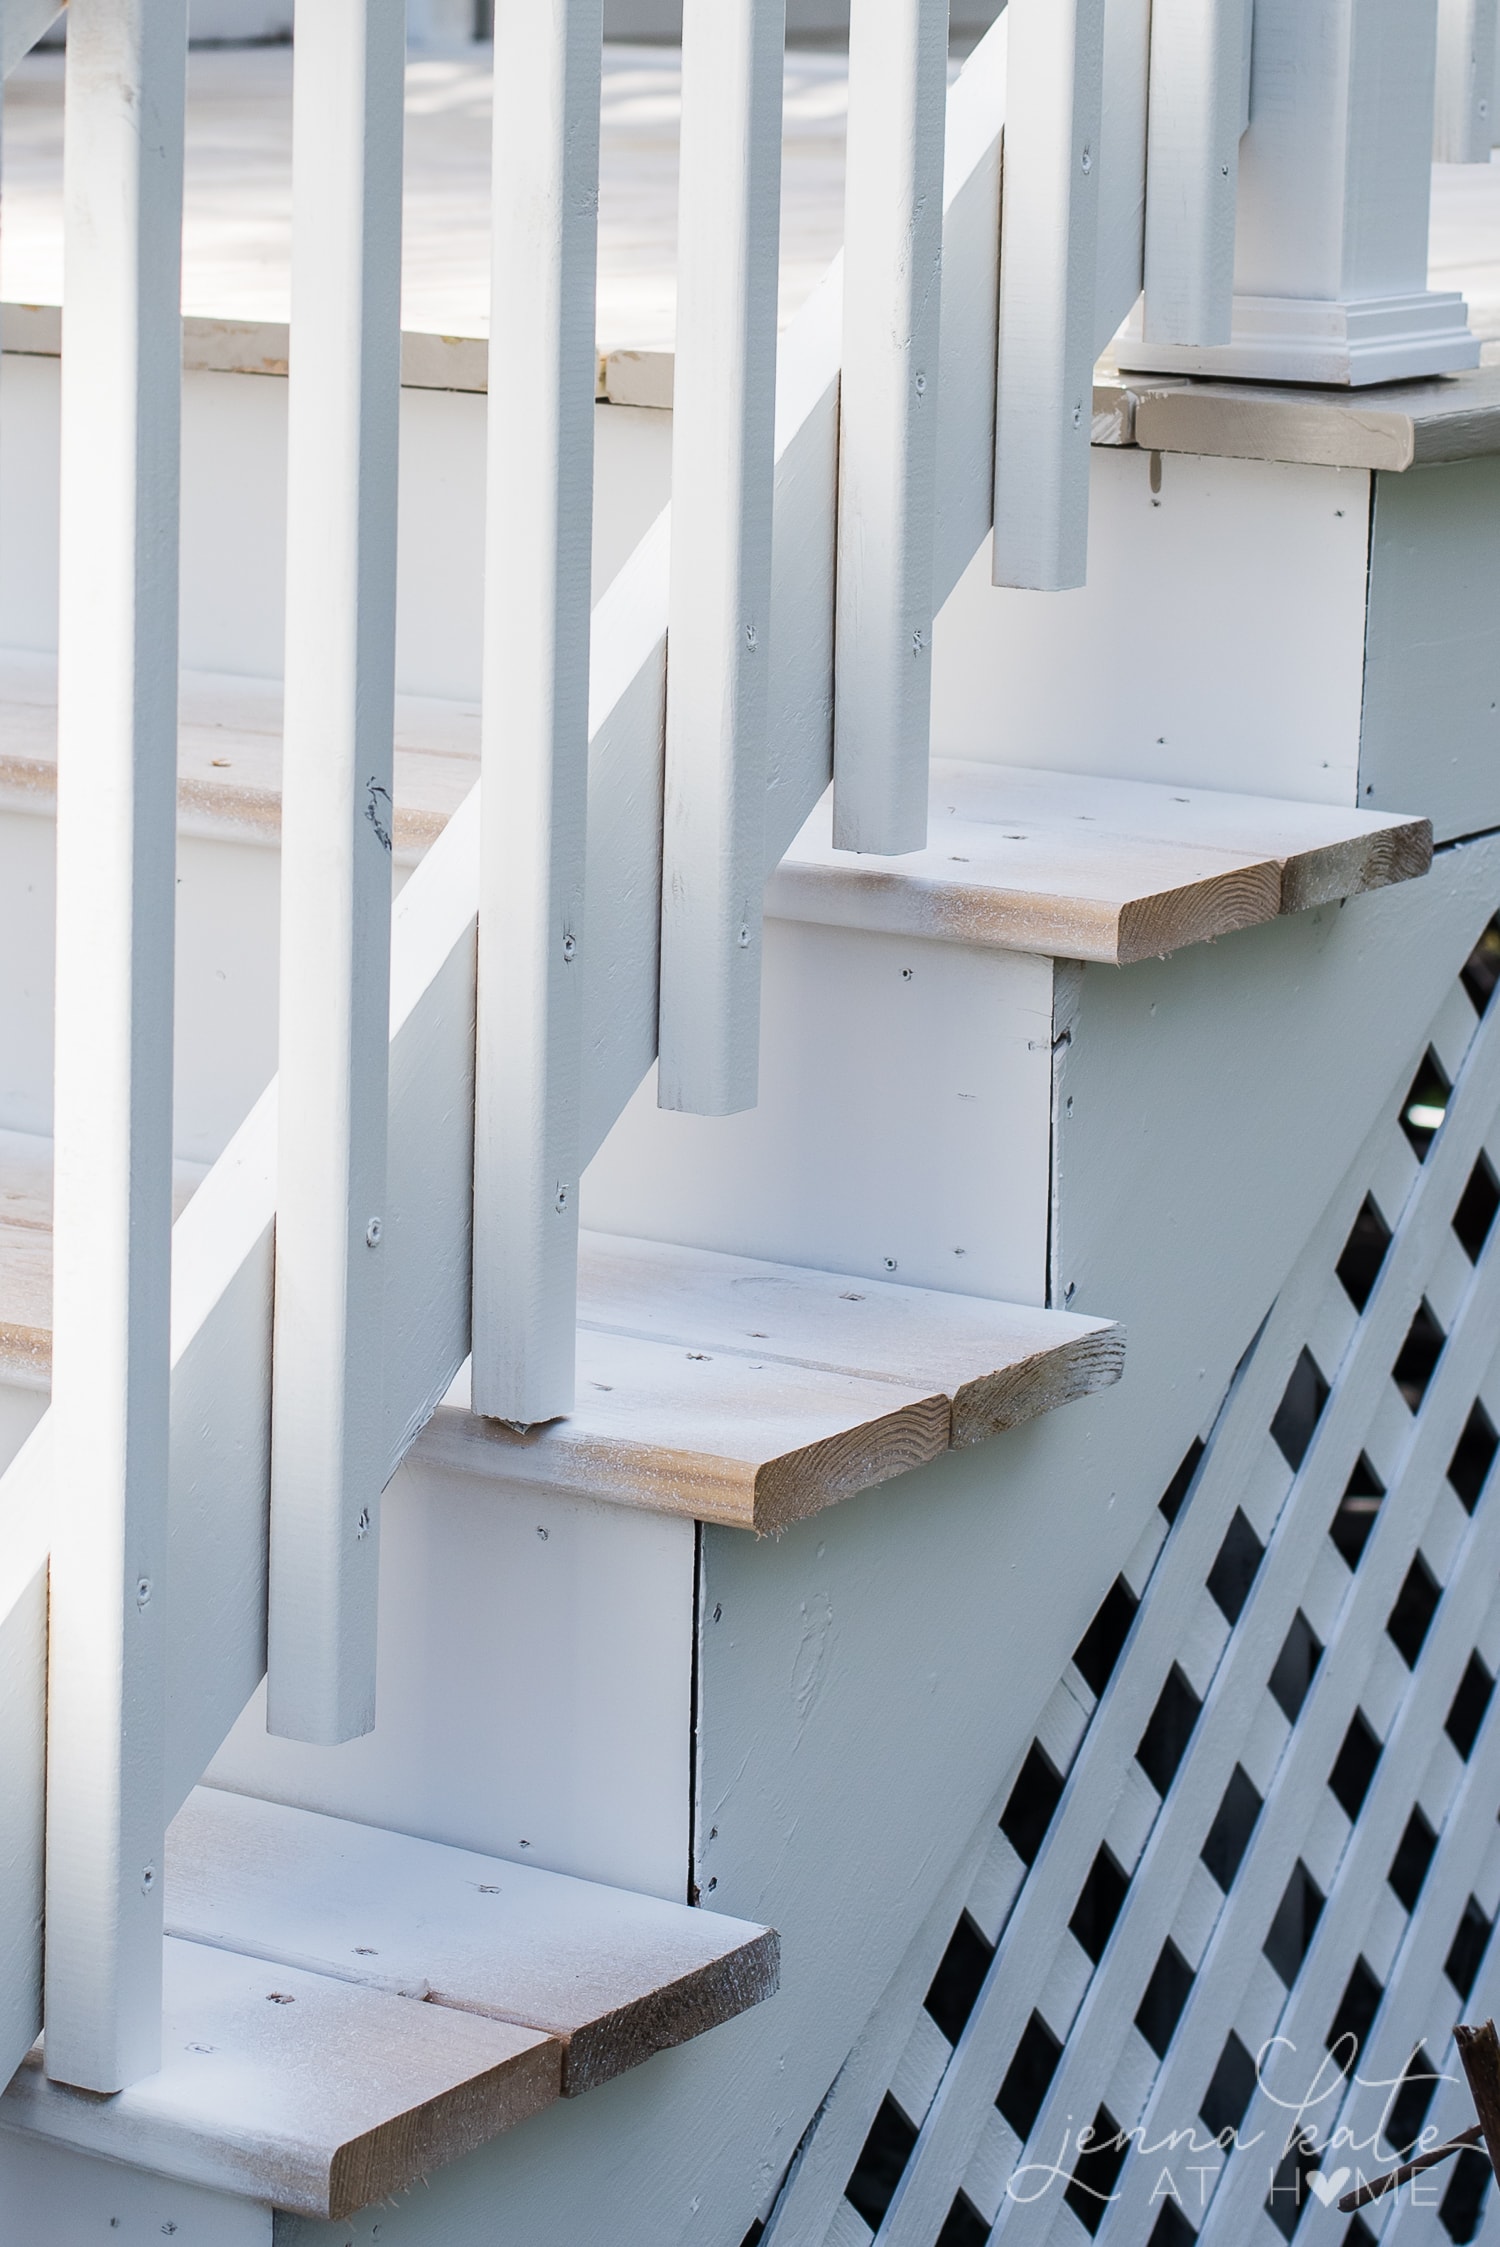
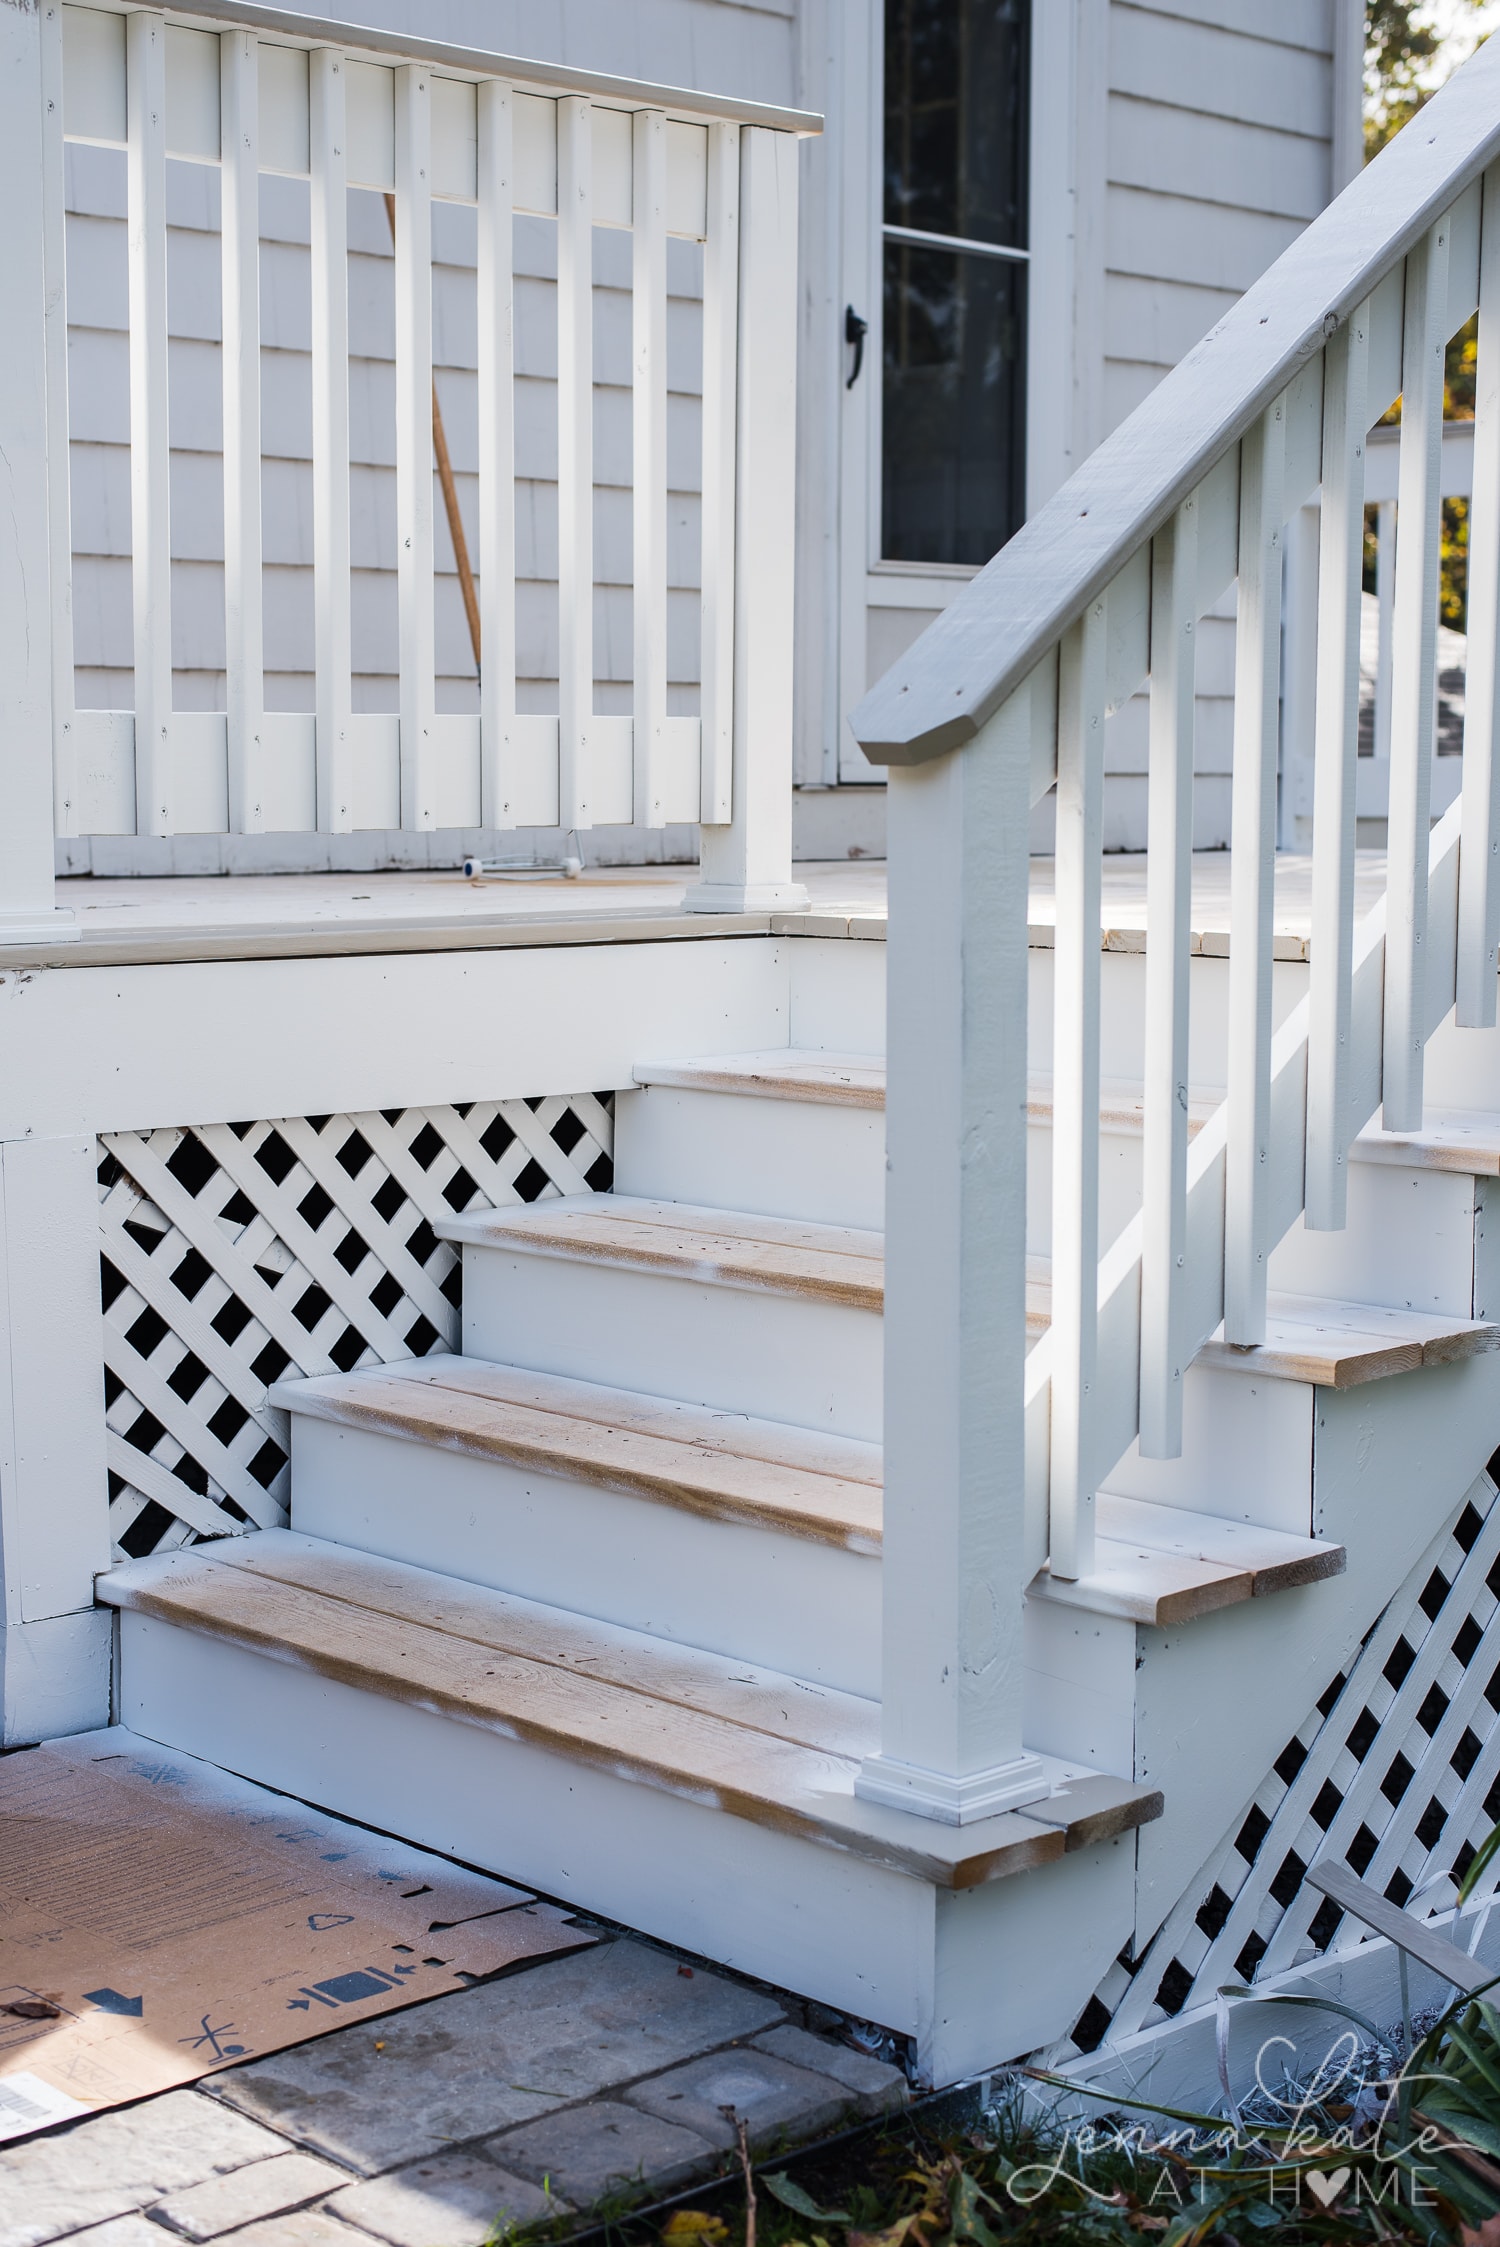
- Using the paint sprayer, apply paint to all the spindles, the risers on the stairs and the lattice on the sides of the deck foundation, if applicable.
- Using a paint brush, apply paint to the top rail and cut around the edges of the deck boards.
- Using a paint roller on a long handle, apply paint to the floor boards, followed by a paintbrush on the stair treads.
- Apply finishing touches with a paint brush to any areas not reachable by the roller.


Thank you for this post! I have to work on a deck where I will be moving and this is very timely. I was told I didn’t need to do any sanding, but felt that was not correct. Thanks for letting me know my “gut” was right!