Content may contain affiliate links. When you shop the links, I receive a small commission at no cost to you. Thank you for supporting my small business.

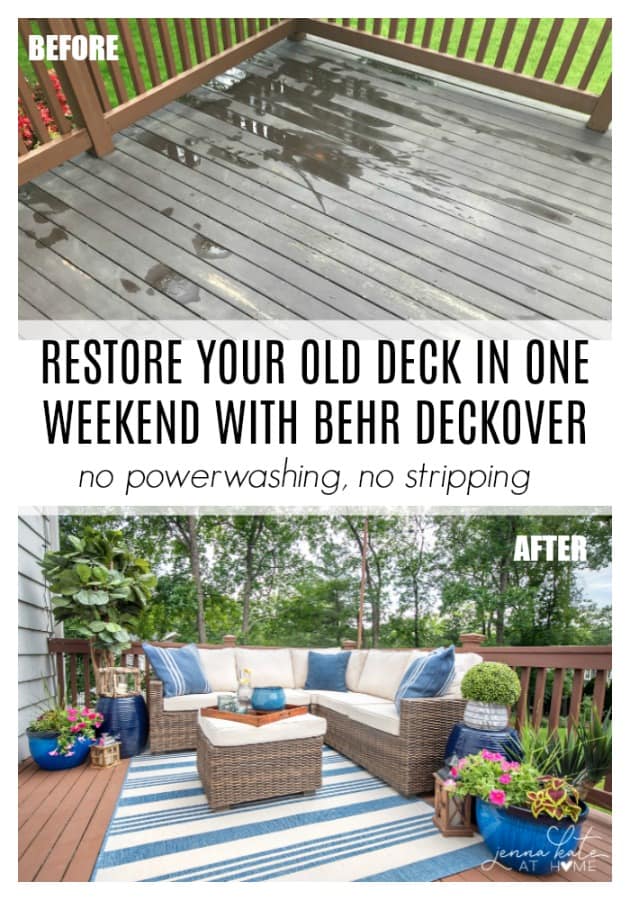
Restore your old wooden deck with the Deck Over product from Behr, available exclusively at the Home Depot. This tutorial will show you how to prep your deck, how to apply the product and what I really think of it!

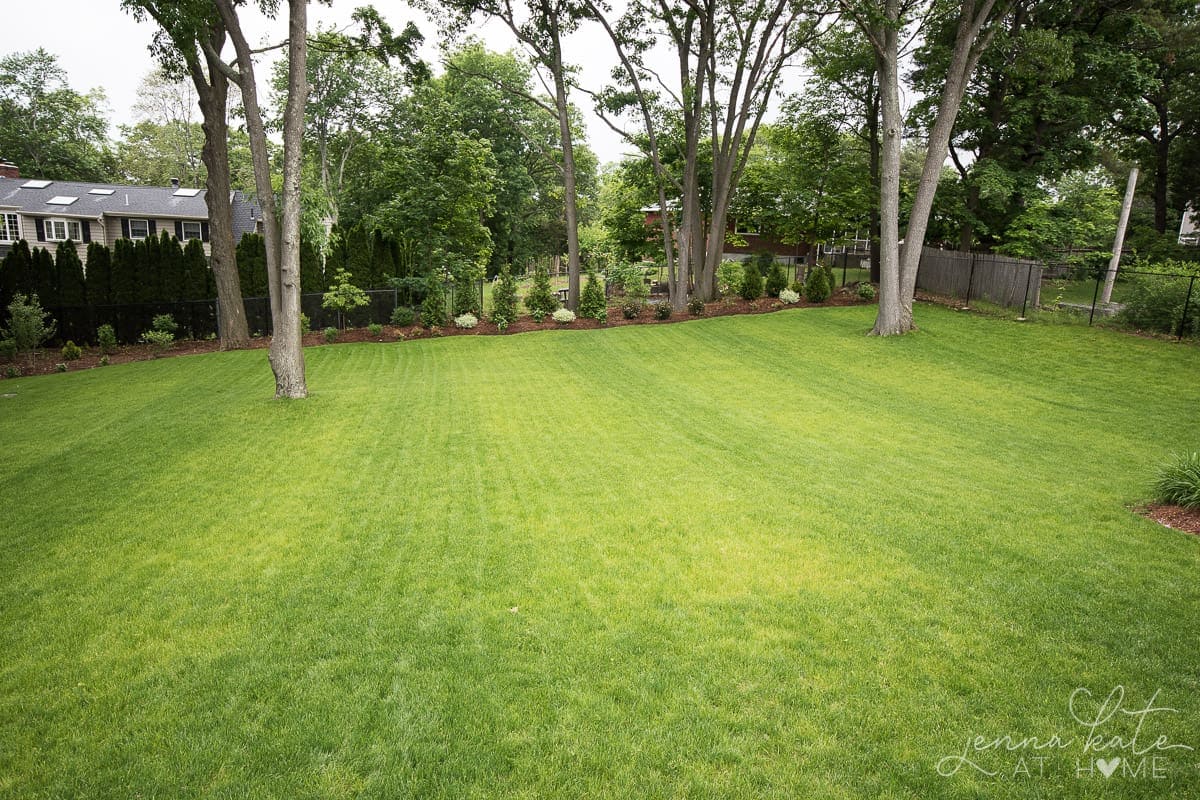
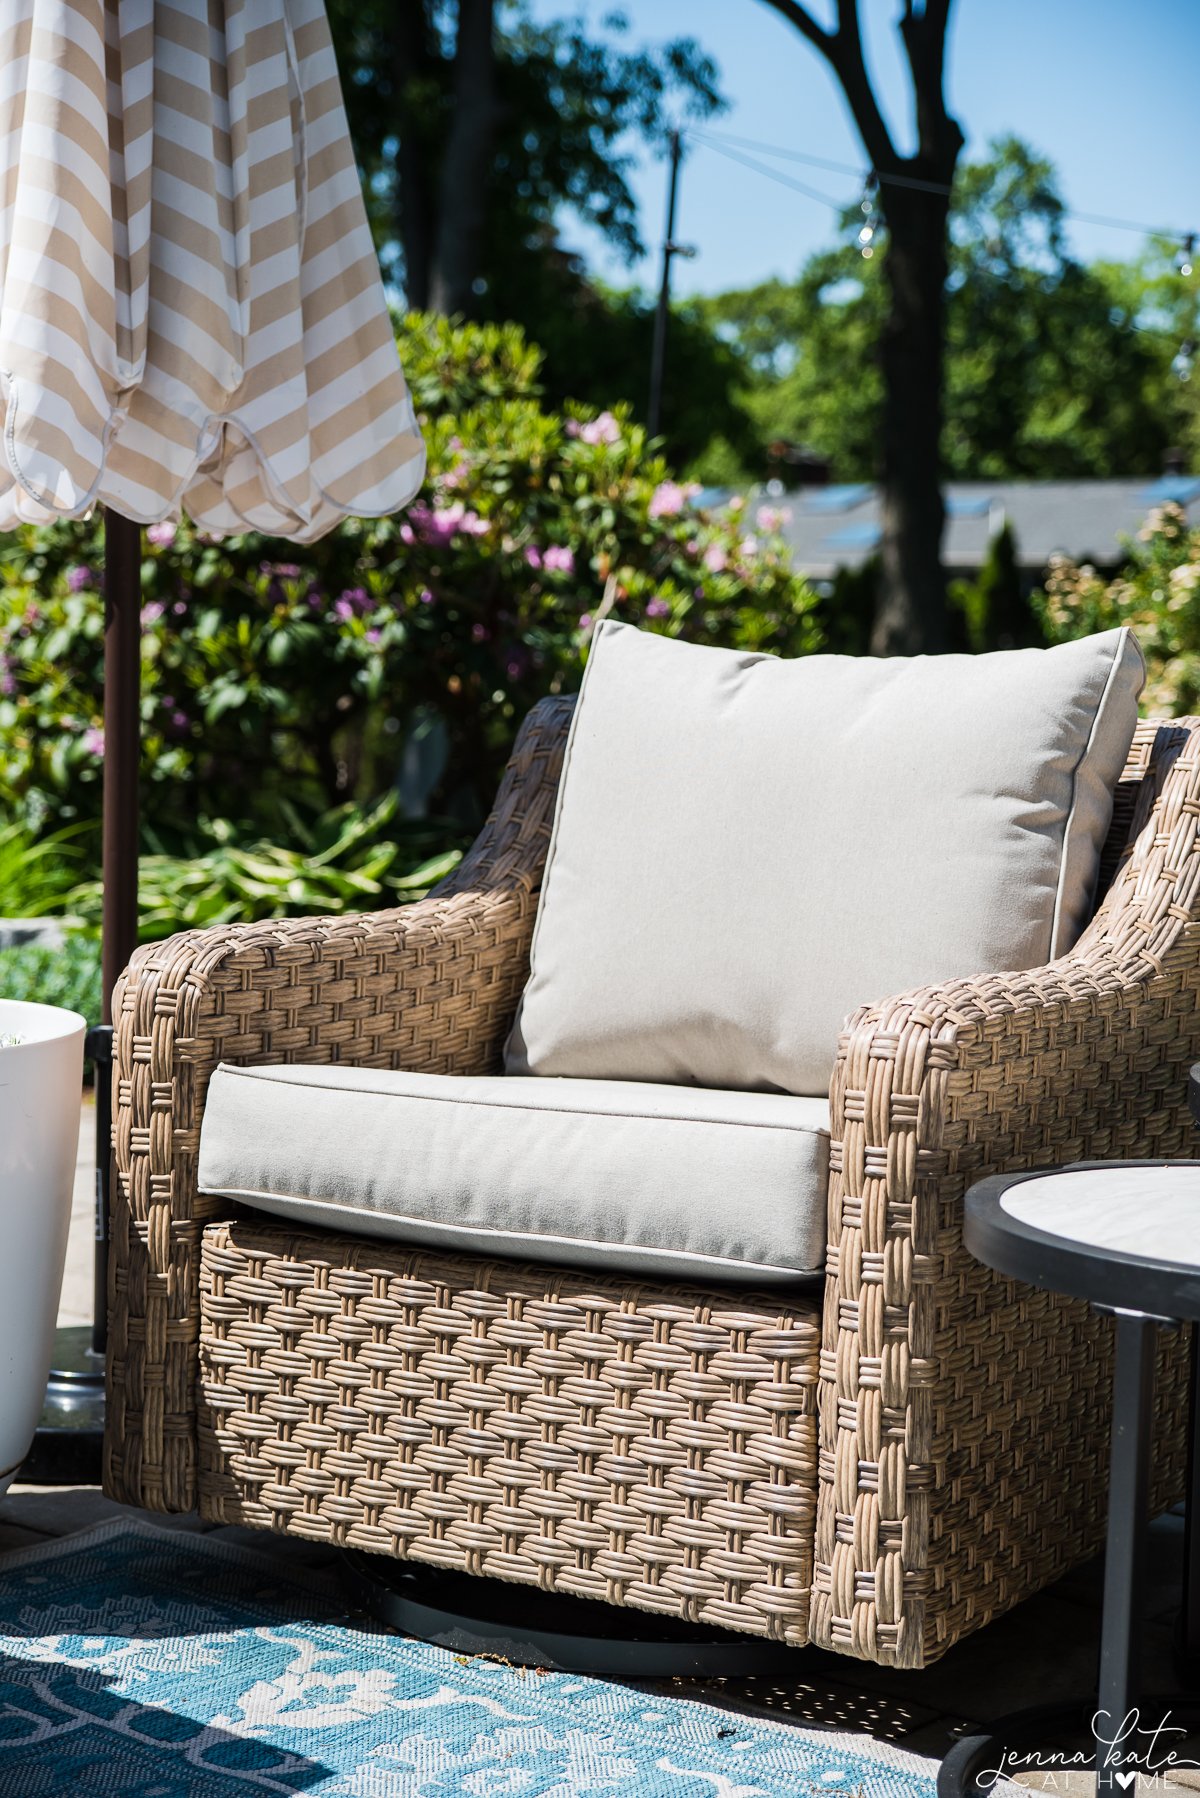
Tired of being cooped up in the house all winter, I was eager to get my outdoor space ready for the warmer weather.
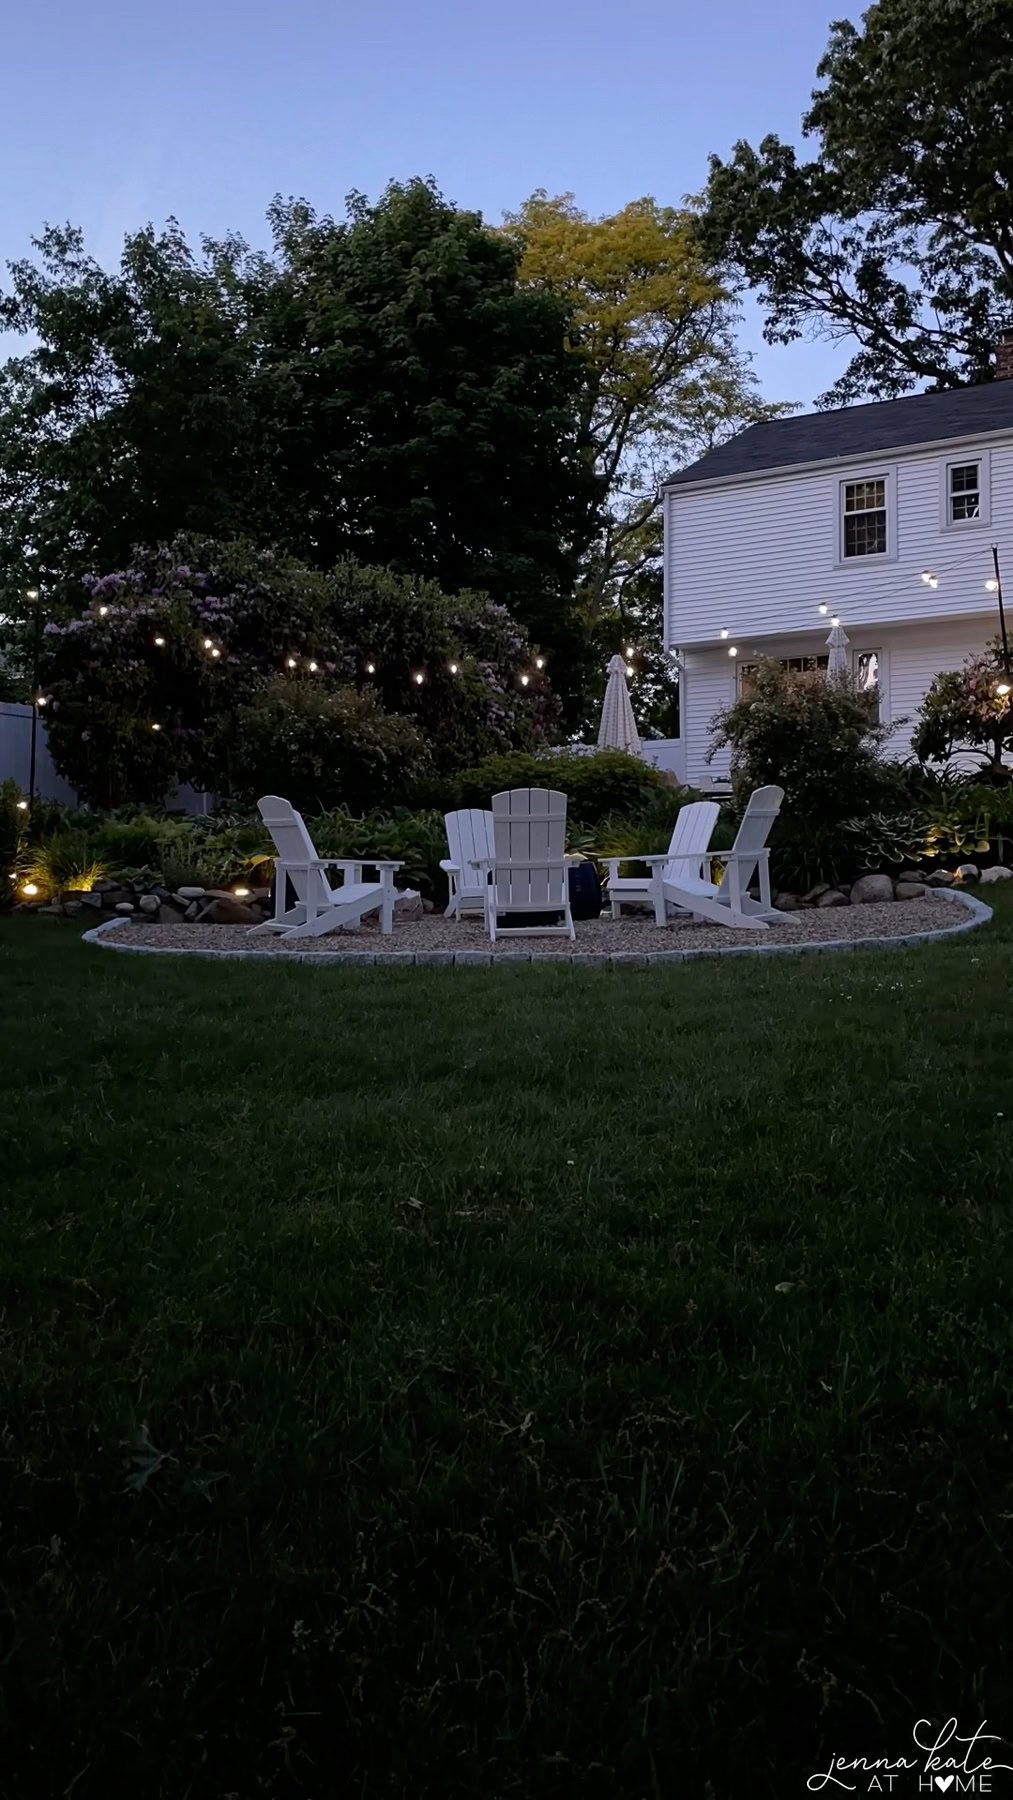
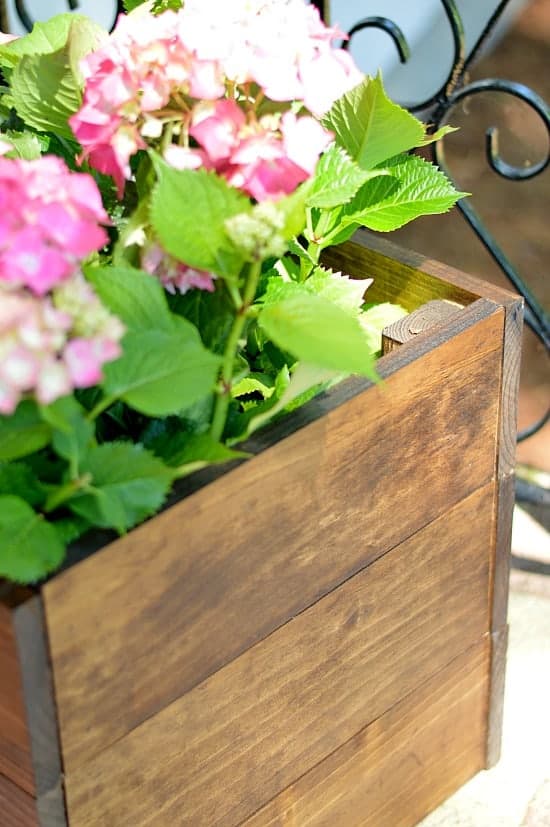
I recently did a stunning backyard makeover with a few small deck decorating ideas. One of the most dramatic parts of the transformation was the deck boards themselves. Our deck is old and although it’s still structurally sound, the wooden boards had begun to splinter and the paint was peeling off.

After doing a lot of research on deck restoration products, I decided to try Behr’s DeckOver product, sold exclusively at The Home Depot.
(FYI – This post is not sponsored in any way!)
Here’s why I chose this product:
- No power washing needed.
- I don’t have to strip off the old paint; the product can be applied over old paint as long as you sand it down.
- It seals any crack or splinters, essentially resurfacing the deck with one product
- It comes in a large variety of colors (we chose the color Valise)
- I would only need about 3 gallons for my entire deck, making it a cheap deck makeover
How to Refinish a Painted Deck

Clean and Prep the Deck
Before applying any sort of deck coating or treatment (whether it’s the Behr Deck Over product that I’m reviewing or another), you will need to thoroughly clean the deck and fix any major issues that will prevent the product from performing the way it should.
- Sand down rough spots, especially where there are large amounts of peeling paint.
- Fill in any huge gaps where your wood has cracked with wood putty. Minor repairs like this will help give you the best end result. I did not have any cracks big enough to warrant this step.
- Scrub the deck with a heavy duty cleaner (TSP in this case) and rinse it off completely.
- Allow the deck to dry for 24 hours before proceeding to the next step.
Apply the Behr Deck Over Product
- Sweep the deck and use a leaf blower to remove every last speck of debris. You want a perfectly clean surface before you begin.
- Mix the can thoroughly. The product is very thick, almost mud-like, and mixing it helps to loosen it up a bit.
- If you opted for the textured version, mixing it of the upmost importance as the sand-like texture will sink to the bottom of the can. It needs to be uniformly dispersed. If the can has been sitting in your garage for some time, it may be a good idea to bring it to the store so that they can shake it up in their paint mixer for you.
- Start by applying the product to any perimeter spindles and railings, as once the floor boards are painted, you will not be able to walk on them for 48-72 hours.
- The spindles and railings can be easily painted with a paintbrush. You can apply the product pretty thick and it won’t drip. Apply in one direction so as to avoid lap marks.

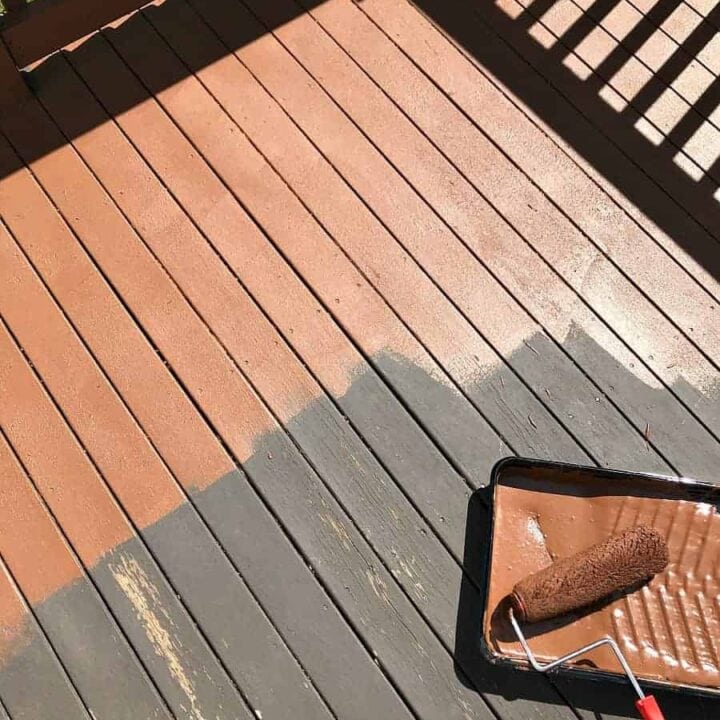
- For the deck floor boards, pour the paint into a paint tray. Using a ¾ inch nap roller, begin rolling the product onto the deck boards. You can roll backwards and forwards but I noticed it dried better when my final roll was in one direction, thus avoiding streaks or lap marks.
- Don’t be afraid to apply the product thickly and push it into any splinters or cracks to seal them up.
- This product requires two coats. I waited 24 hours before apply the second coat so that the first was dry enough to walk on. I painted on an 80 degree summer day and the floor boards were touch dry within 90 minutes.
My Review of Behr Deck Over
So far, I’ve loved this product. It was easy to apply and the results were exactly what I hoped for. As long as you put the effort into preparing the deck, I believe you will have good results like I did.
There are many color choices so you’ll surely be able to find a color to suit your taste. I chose the color Valise, which is a lovely medium brown – it almost looks like melted milk chocolate!

I’ve heard many mixed reviews on the longevity of this product so I’m waiting to see how it holds up over the next year. I will definitely add a follow up to this post and let you know! (Update: We replaced our deck 3 years after using this product due to carpenter ants, but the stain had help up perfectly well and had not pealed or faded).
Overall, I think this product is an affordable and easy way to restore or resurface an old painted deck without having to strip it completely. At $35 a gallon, it’s no more expensive than paint. I purchased when there was a rebate going on so I saved $10 a gallon, making it only $75 in total.
My deck looks renewed, all the splinters and cracks are sealed and I feel comfortable letting my kids walk on it without shoes.
Have you used Behr’s DeckOver product? I’d love to hear about your experiences with it! Tell me all in the comments below.
Planning on using this product soon? Pin this post so you don’t lose it!
Other Posts You’ll Like
- Easy Small Deck Decorating Ideas
- How to Clean Outdoor Cushions
- How to Stain a New Deck
- Cheap and Easy Garage Door Makeover
How to Restore a Deck with Behr Deck Over
One product is all you need to refinish your old deck and give it a new lease on life!
Materials
- Behr Deck Over (I used less than 3 gallons for my small deck)
Tools
- Sanding tools
- Heavy duty cleaner such as TSP
- Paint brush
- Paint roller and tray
- Leaf blower/broom
Instructions
- Clean and prep the deck by sanding down rough spots, especially where there are large amounts of peeling paint.
- Fill in any huge gaps where your wood has cracked with wood putty.
- Scrub the deck with a heavy duty cleaner (TSP in this case) and rinse it off completely.
- Allow the deck to dry for 24 hours before proceeding to the next step.
- Sweep the deck and use a leaf blower to remove every last speck of debris.
- Mix the can thoroughly. If the can has been sitting in your garage for some time, it may be a good idea to bring it to the store so that they can shake it up in their paint mixer for you.
- Start by applying the product to any perimeter spindles and railings, as once the floor boards are painted, you will not be able to walk on them for 48-72 hours. The spindles and railings can be easily painted with a paintbrush. You can apply the product pretty thick and it won't drip. Apply in one direction so as to avoid lap marks.
- For the deck floor boards, pour the paint into a paint tray. Using a ¾ inch nap roller, begin rolling the product onto the deck boards. You can roll backwards and forwards but I noticed it dried better when my final roll was in one direction, thus avoiding streaks or lap marks.
- Apply the product thickly and push it into any splinters or cracks to seal them up.
- This product requires two coats. Wait 24 hours before applying the second coat.


Deckover is insidious.
Not only does it RUIN deck boards. It CONCEALS the damage until you remove it. My scraper goes ALL THE WAY THROUGH the ruined boards.
Used Behr Deckover and it’s the worst decision we ever made. We are now in the horrible process of trying to get the product off the deck as it has been cracking and flaking and peeling within the first year! The textured version is a nightmare to remove and nothing can go over it to fix the problem.. and yes we prepped and prepared the surface according to instructions. The internet is full of reviews just like mine and worse.
I’ve heard this from several people and I’m sorry to hear that. I had a great experience with it. I’m not sure what I did different or if it has something to do with the deck material, climate, etc. But it held up really well for us.
Hi, what color did you use?? I am looking for a color just like this.
Hi, it’s mentioned in the post somewhere but I think it was called Valise
just checking in on the status of your deck now
Hi Donna! We recently had to rebuild our deck due to carpenter ants but right before that it was still in perfect shape! I’ve heard a lot of negative reviews about this product but I’ve only had a positive experience with it. I think prepping the deck correctly beforehand is vital…which is probably what a lot of people failed to do.
I rather read about the product after a whole year or two most any deck paint looks great untill a year or 2. Just because the company that makes the paint makes promises, I dont believe it. I have a huge deck and I’m not happy with any of Behr paints/stains. I prep the deck I sand I power wash I wait for it to dry a few hot days . Start in AM when sun isnt so hot. 1 year latter ,shows wear and not what they promised
We’ve had it a full year now. With harsh New England winters (the snow is only gone a couple of weeks), I’m actually amazed that it looks exactly the same as it did the day I applied it! I’ll update you a year or two from now and let you know how it has held up!