• Skip to primary navigation
  • Skip to main content
  • Skip to primary sidebar
  • Skip to footer
  • Home Decor
  • Paint Colors
  • DIY Projects
  • Recipes
  • About Me
    • Facebook
    • Instagram
    • Pinterest
    • Twitter
    • YouTube
Jenna Kate at Home
menu icon
go to homepage
subscribe
search icon
Homepage link
  • Home Decor
  • Paint Colors
  • DIY Projects
  • Recipes
  • Contact Me
    • Email
    • Facebook
    • Instagram
    • Pinterest
    • Twitter
    • YouTube
  • ×

    Homepage » DIY Projects

    How to Prep Walls For Painting (For Best Results!)

    Posted: Sep 23, 2020 · Updated: Mar 17, 2022 ·This post may contain affiliate links · 3 Comments

    728 shares
    • Share It
    • Tweet It
    • Email It
    how to prep walls for paint

    Planning on painting? Before you pick up the paintbrush, you need to put some effort into the preparation of your walls. These tips and tricks will ensure perfect results when painting any room in your home!
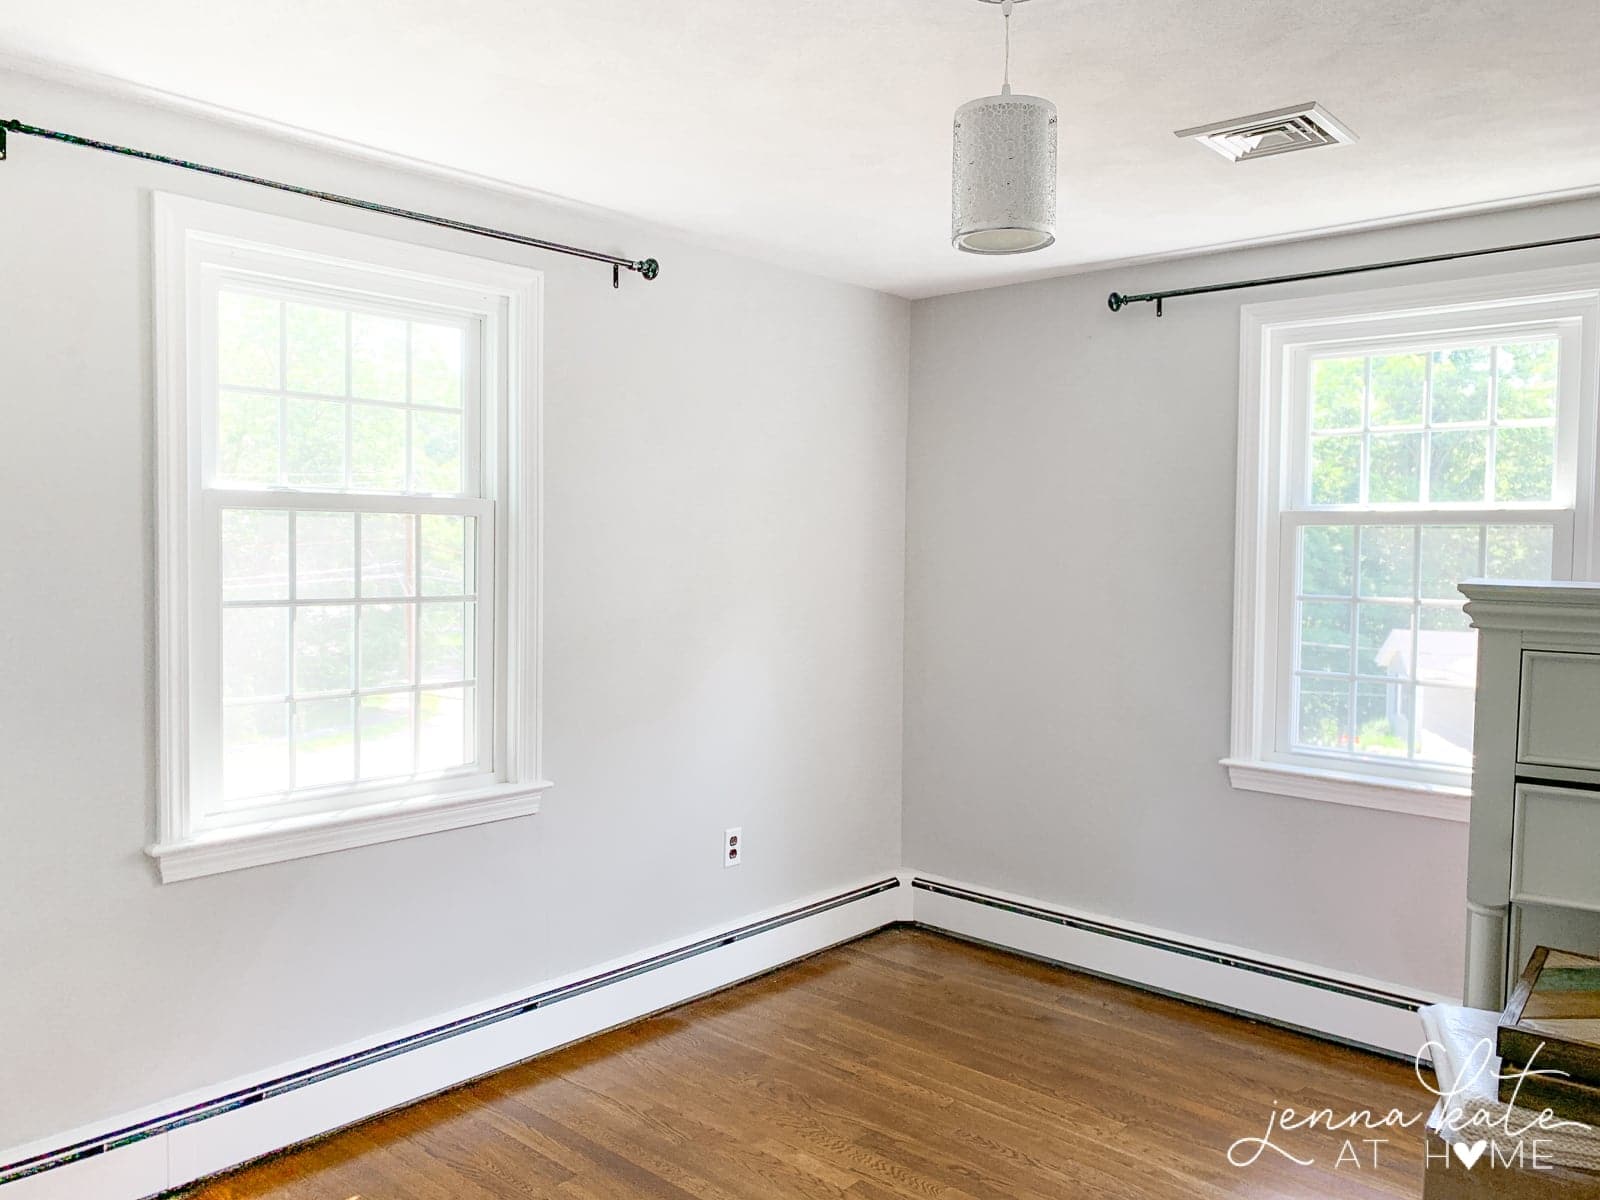
    A large empty room and text that reads how to prep walls for paint

    If you're anything like me, walls in your home get painted and repainted constantly. When we moved in, we painted our entire house Repose Gray with a few rooms in Stonington Gray because I the rooms had to be painted (they were so dirty and gross!) but I wanted to pick colors that I knew would work.

    Doing the painting yourself? My favorite tools and supplies will make the job quicker and easier.

    Fast forward five years, Stonington Gray is gone from all but one room and I've repainted much of the downstairs in Repose at 50% strength. With all that painting experience under my belt, I've learned a few tips and tricks that will ensure your paint job goes smoothly every time!

    Time Needed: 1 day.


    1. Repair Holes in the Dry Wall

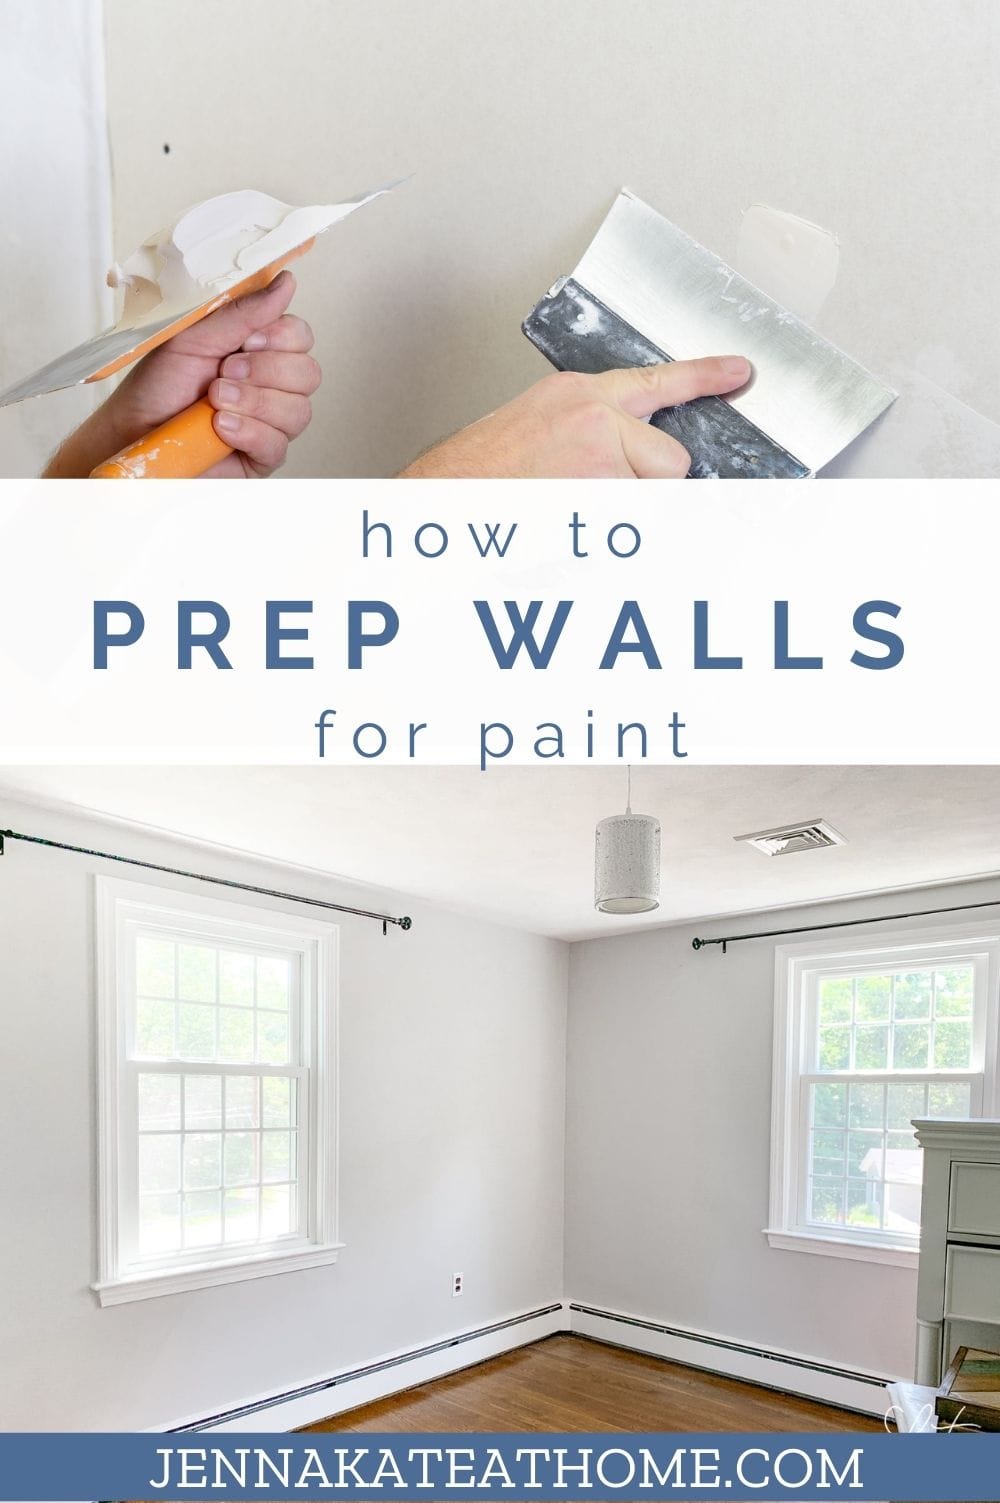
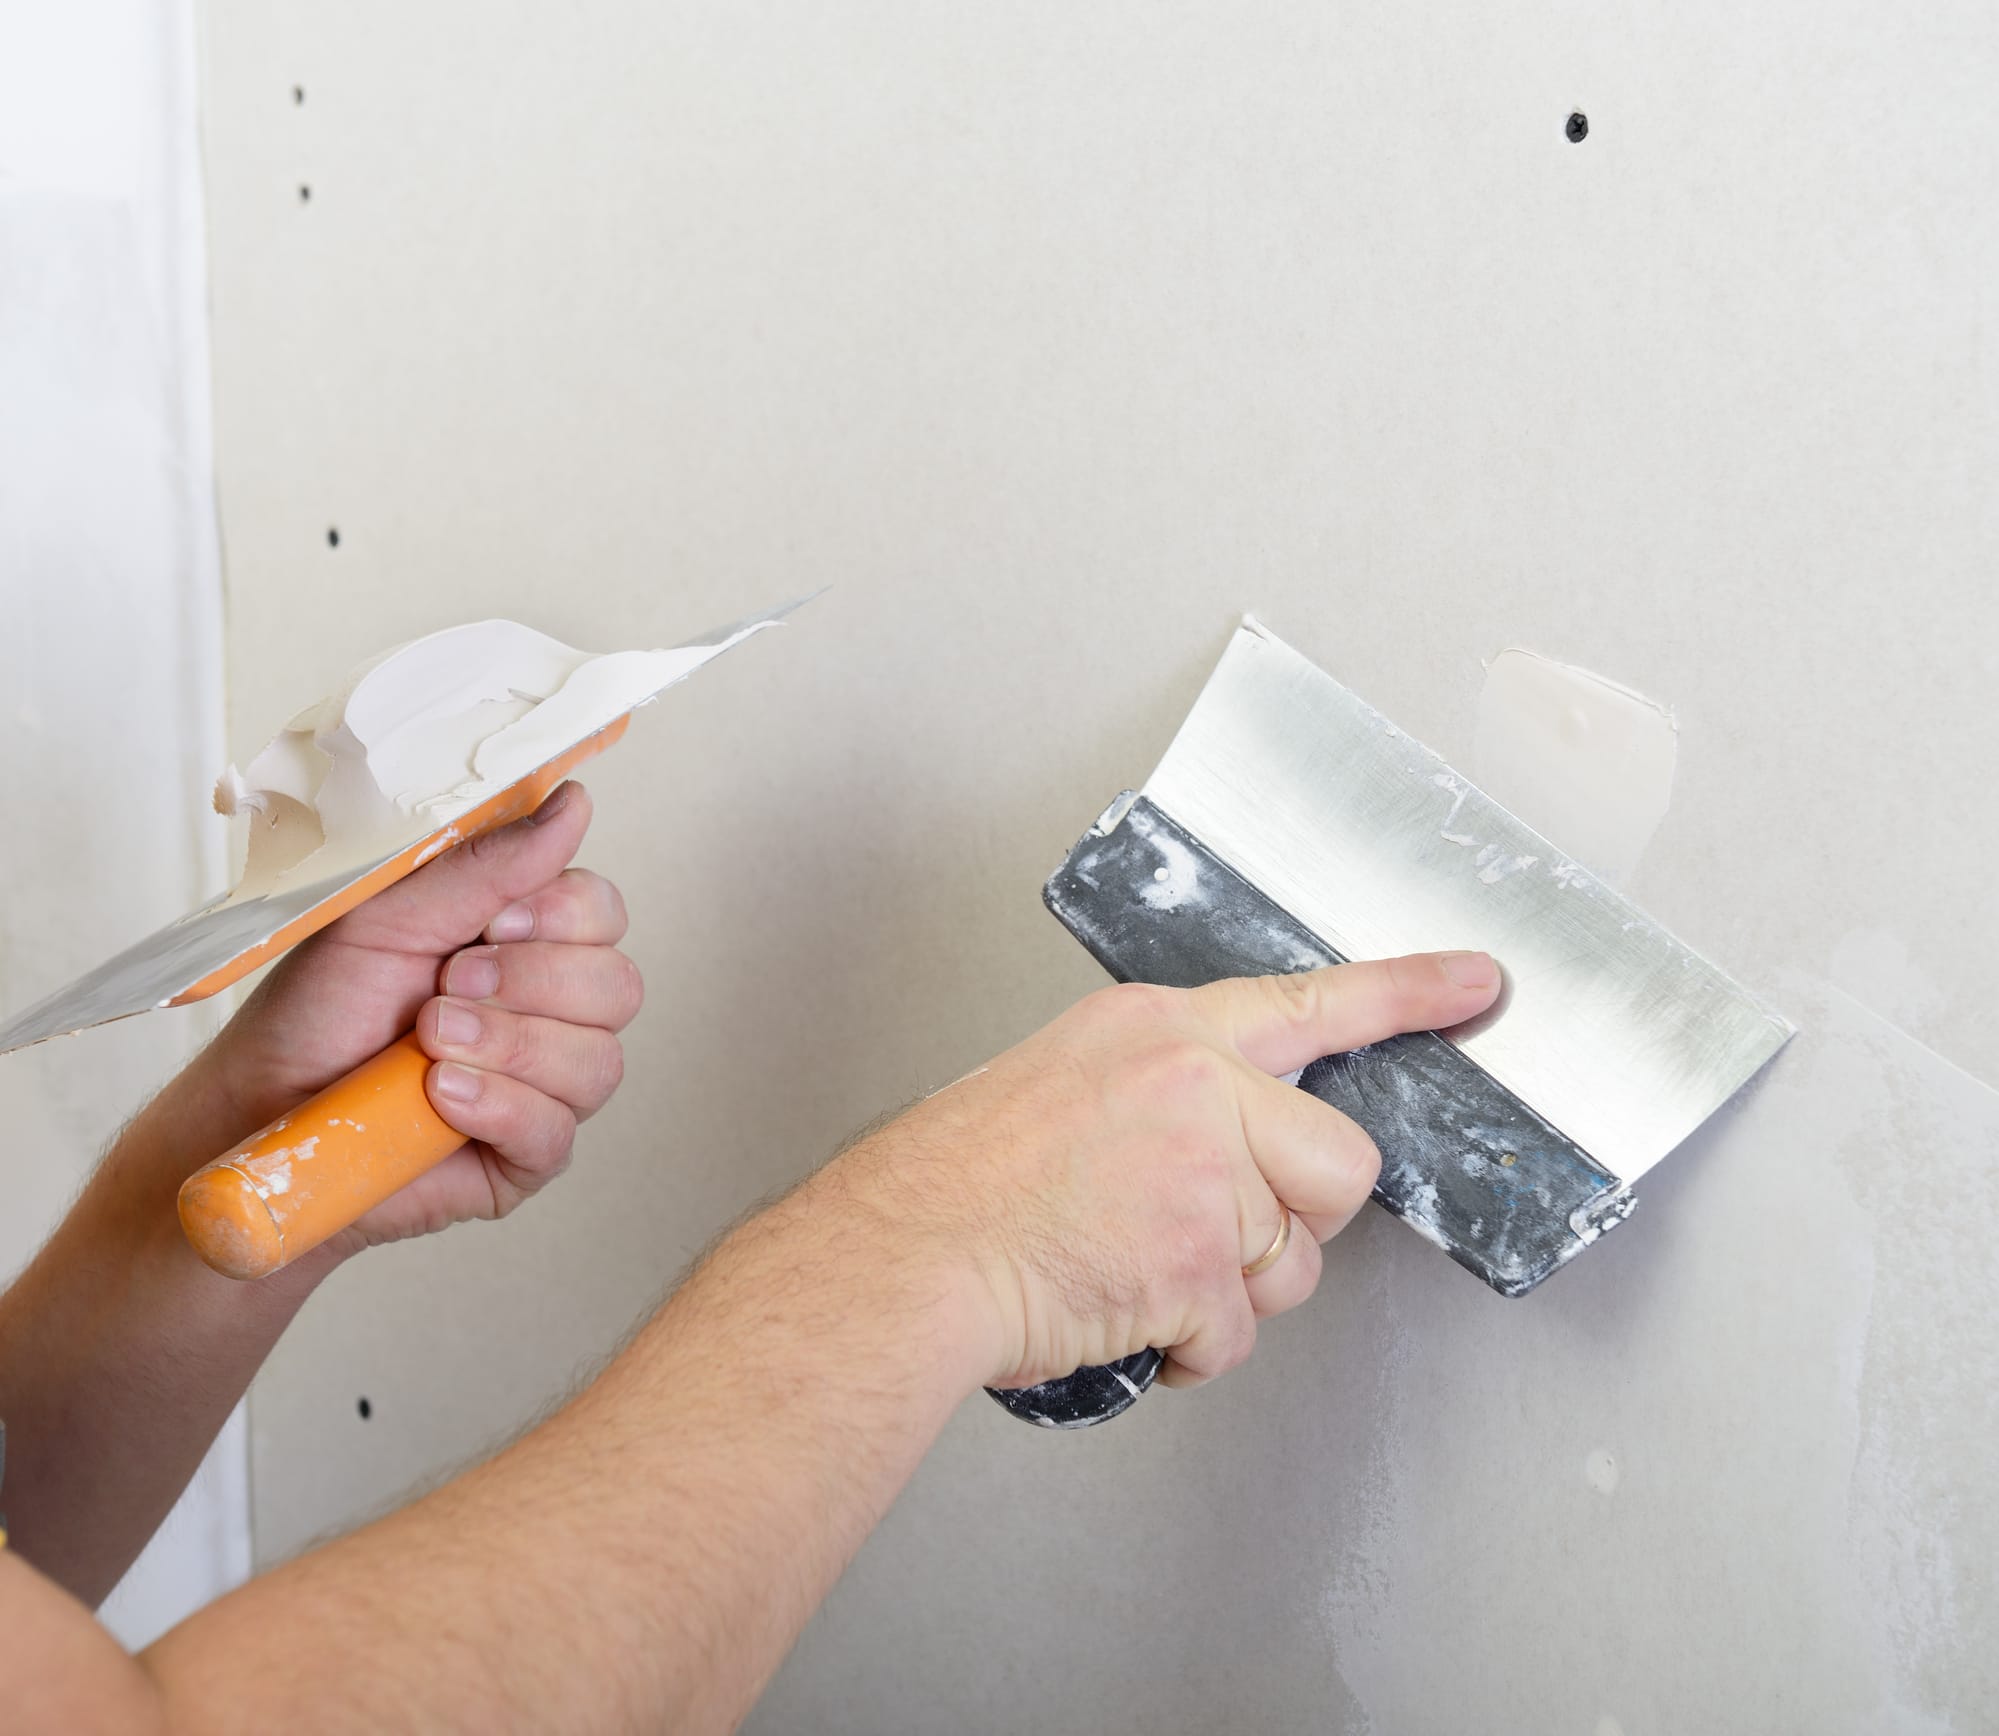
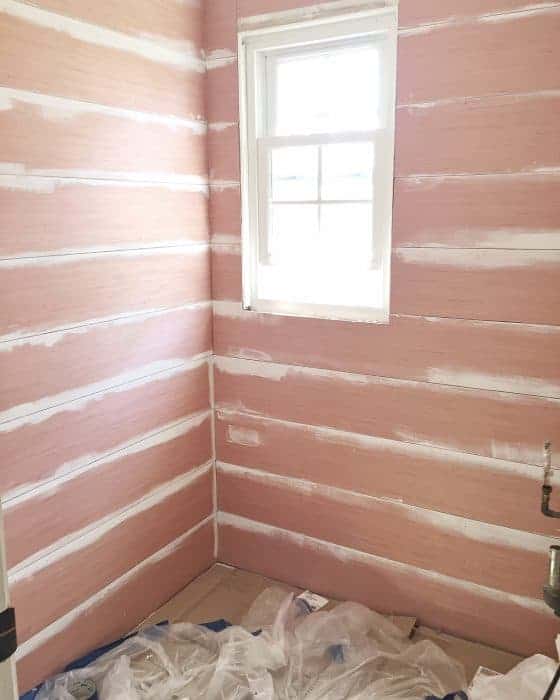
      The first thing to when prepping your walls before paint is to patch and fill any holes or divots with spackle. If you have a large hole, you may need to use a drywall patch and joint compound.

      I've used patches in the past and they worked great. For nail holes and such, I just use the spackle that goes on pink and dries clear - that way I know when it's ready for paint or primer.repair holes in the drywall

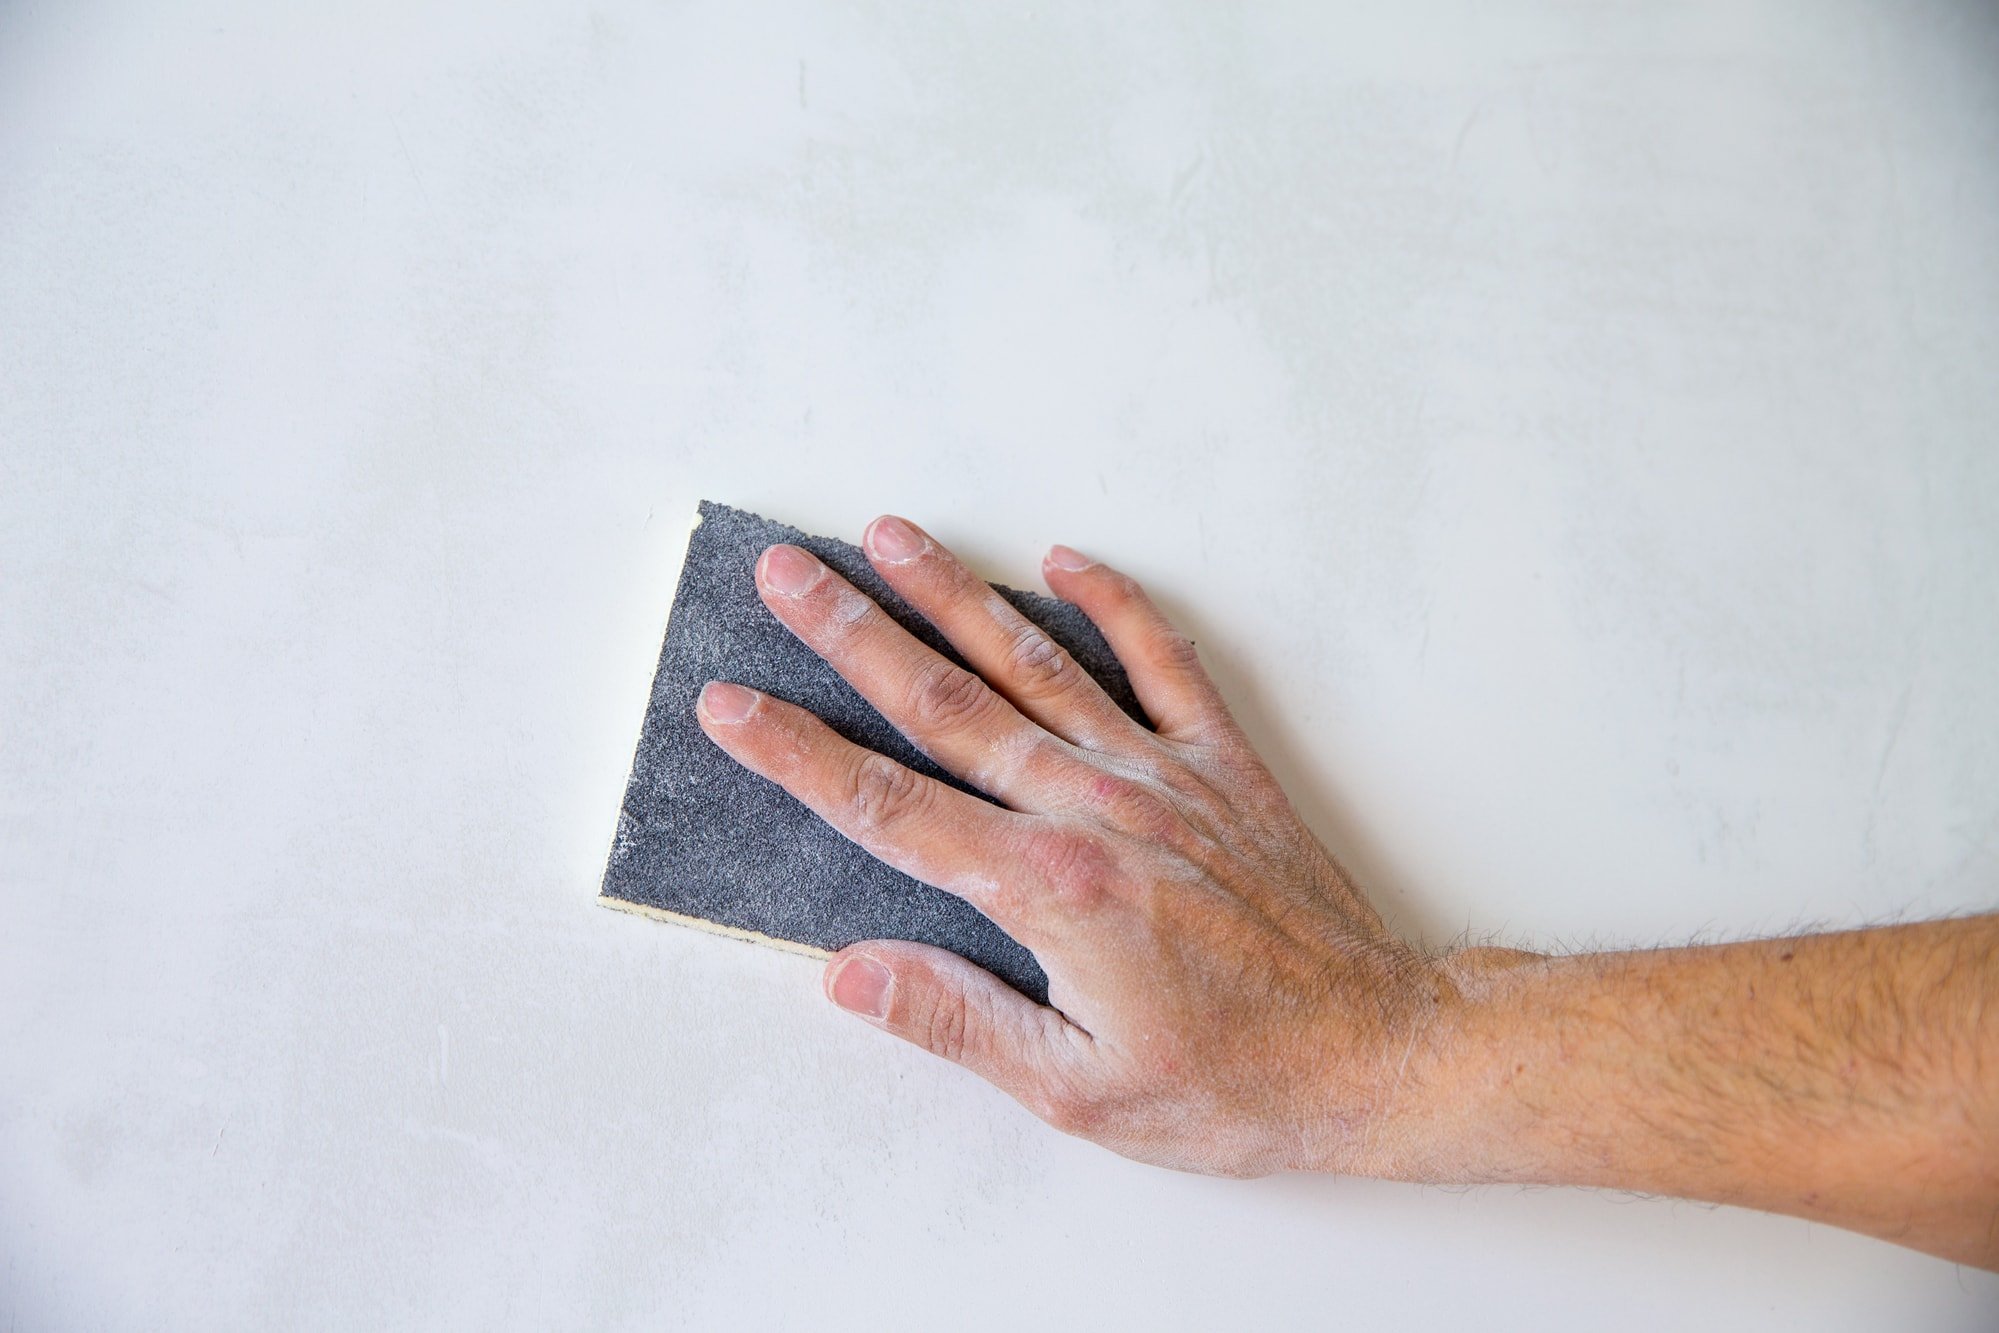
    2. Sand Until The Wall is Smooth

      Once dry, sand the spackle or compound. If you're just doing a small patch, a sanding sponge or sanding block works fine, although you'll need the sponge if you need to get into any corners. If you have a larger area to sand, then attach the sanding block to a pole.

      Using your hand, feel to ensure that the patch is completely smooth and level with the surrounding wall. Joint compound can "flash" under paint, so paint over it with primer first.sand the walls to ensure they are smooth for paint

    3. Dull the Surface For Paint

      Light scuff the rest of the wall with a fine grit sandpaper. This will dull the previous paint and ensure adhesion of the new paint.

    4. Ensure Walls are Clean and Dust Free

      Vacuum any dust, then use a tack cloth to ensure the wall is dust-free.

      Wipe down the wall with a damp cloth or paper towel to ensure it is completely clean (just don't soak the the spackle!).clean the walls before painting for proper paint adhesion

    5. Remove Outlet and Switch Plates

      Remove outlet and switch plates by unscrewing them. Put a strip of painter's tape right over the outlet so prevent accidentally rolling paint on it.
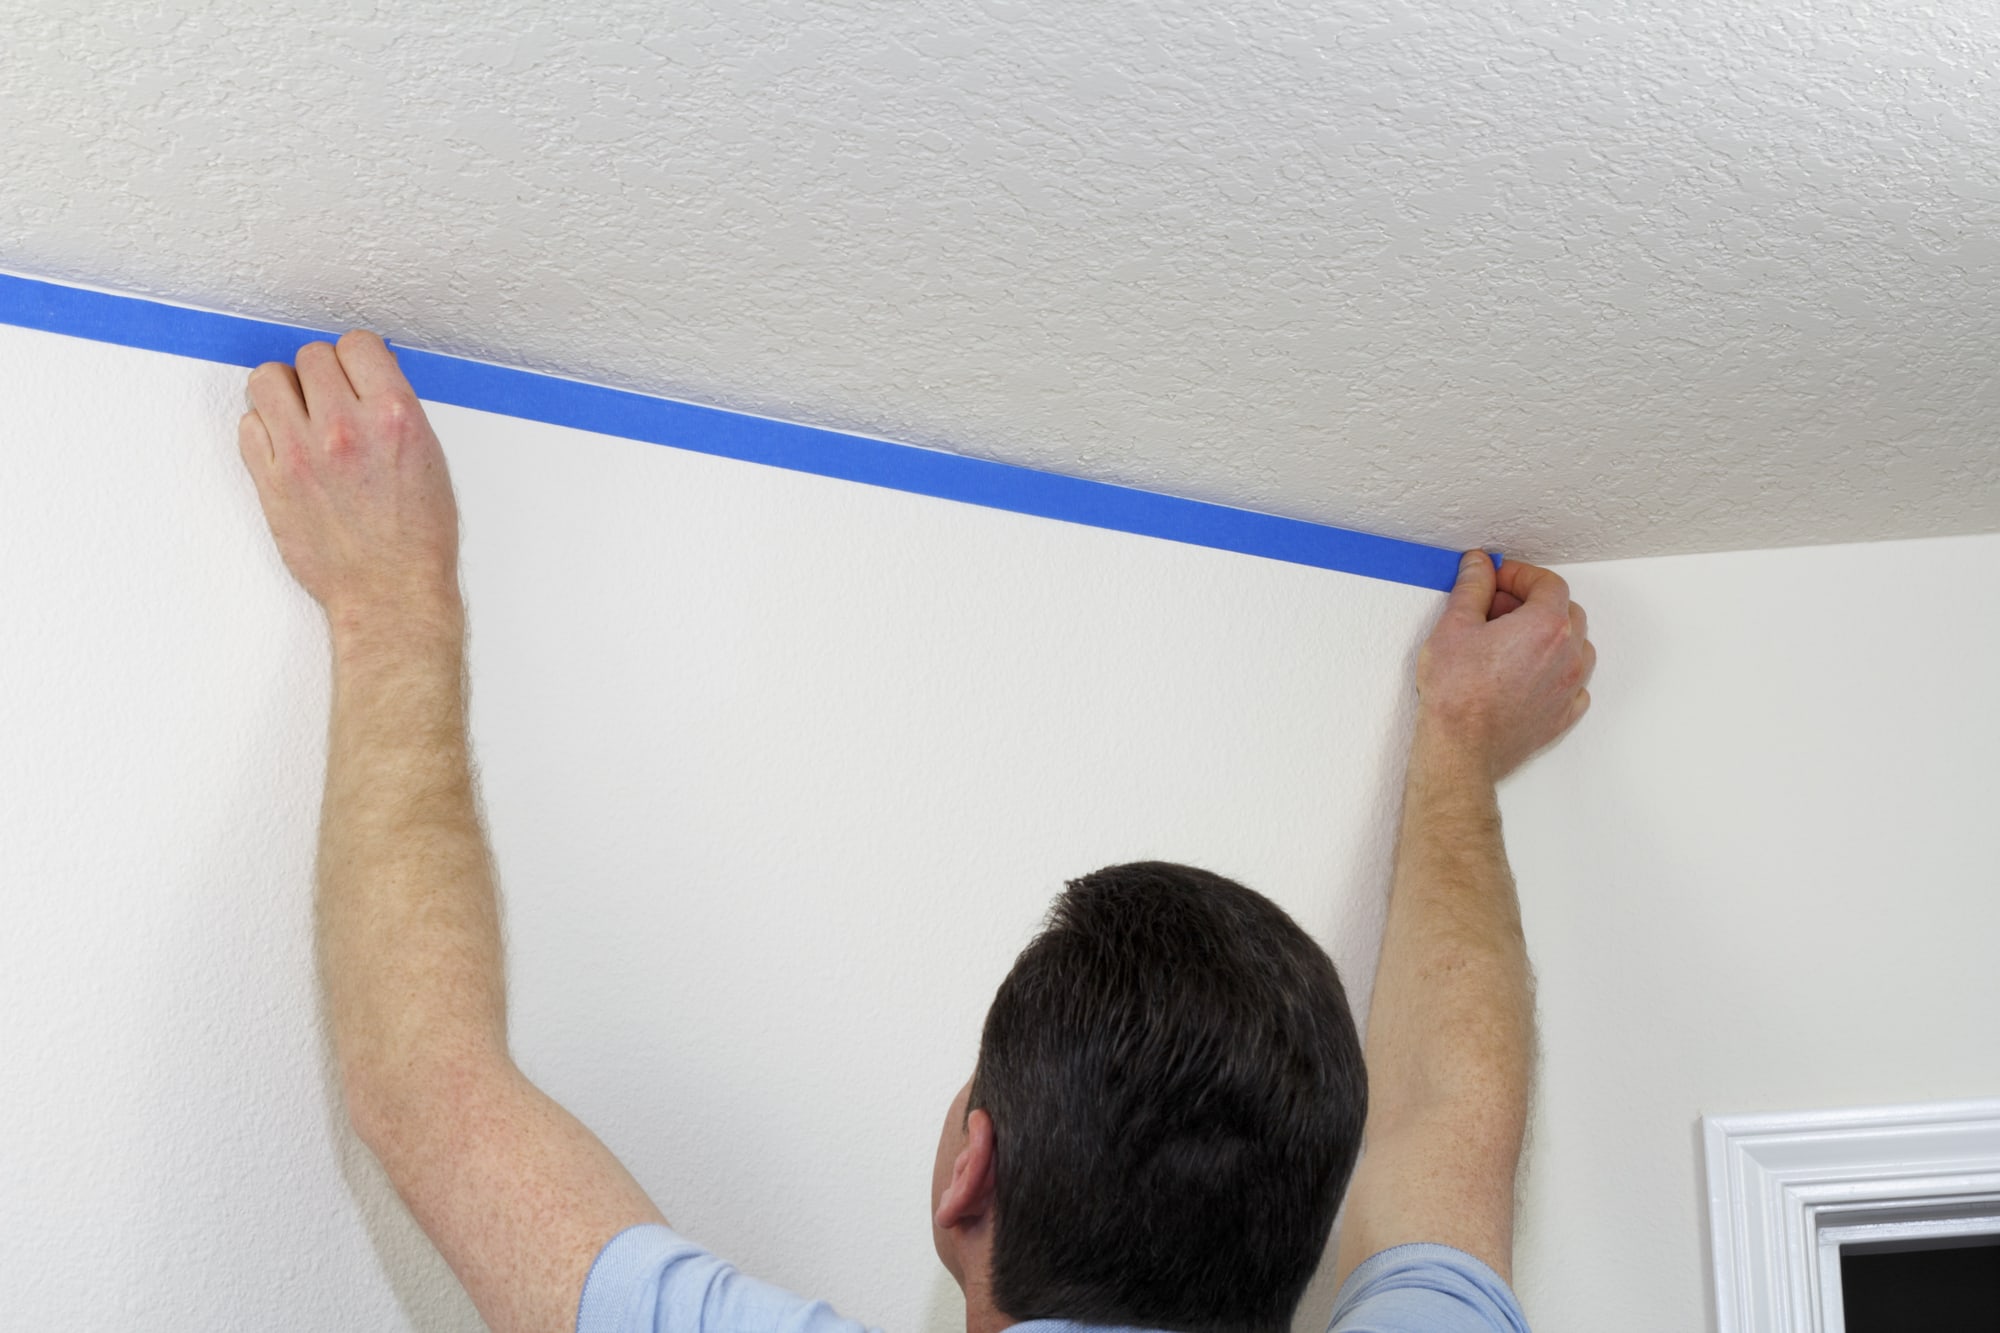
    6. Apply Painter's Tape

      If you have a shaky hand, or you're nervous about your painting abilities, tape off all trim as well as where the wall meets the ceiling. I've used FrogTape brand for years, and I swear by it. The regular green version works great but if you've painted the ceiling or trim recently, go for the delicate yellow version.
      appy painter's tape to the ceiling and baseboards before painting

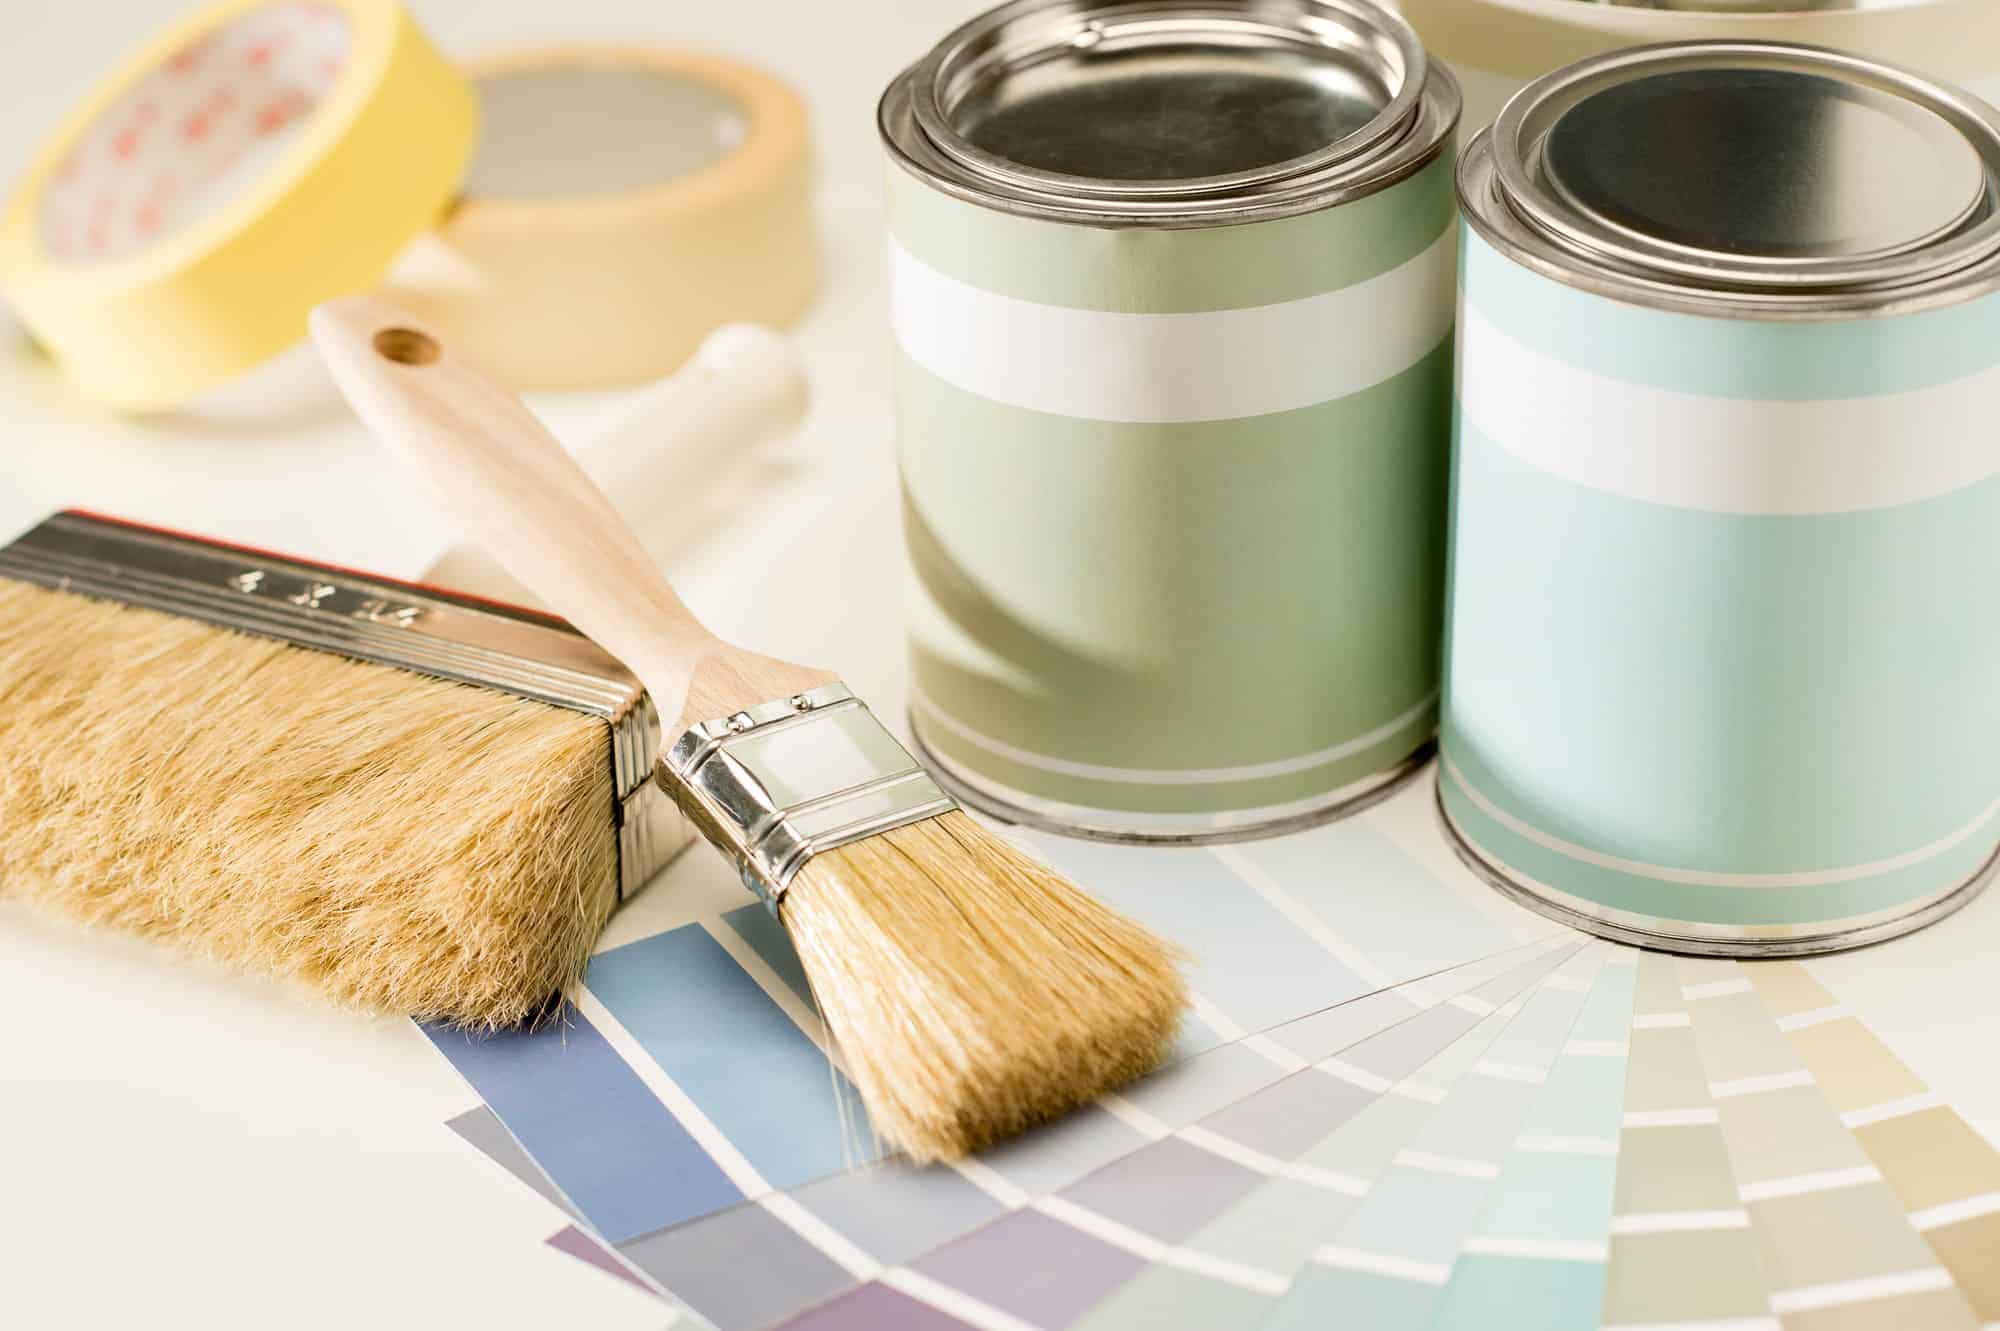
    7. Use The Best Painting Supplies

      Once all the prep work is done, it's important to use the best supplies. Cheap roller covers leave marks on walls. Cheap paintbrushes leave brushstrokes and hairs in paint. I highly recommend using a brand like Purdy.

      If you have to take a break, place your brush and roller in a zip lock bag. This will stop them from drying out for up to 24 hours. And don't forget to clean your brushes when you are done. All you need is some dish soap and warm water. If you take care of them, they will last for many paint jobs.

    Looking for more? Follow me on social media for lots more home decor, DIY & recipe content!

    Pinterest | Instagram | Facebook | 

    [jkah-related title="other posts you may like" posts="26639,24374,15897,18126"]

    « Sherwin Williams Extra White (SW-7006)
    Minimalistic Fall Home Tour »
    728 shares
    • Share It
    • Tweet It
    • Email It

    Reader Interactions

    Unfortunately, I no longer have the time to answer personalized paint color questions. If you leave a comment asking for personalized advice, it will not be answered. Sorry!

    Comments

    1. Paulette

      November 03, 2021 at 9:40 am

      Hi, Jenna. We moved into our newest house in July. Most of it is painted Repose Gray, but a few rooms aren't, so I'll be painting them soon. And all the trim throughout the house needs to be repainted-- the house is only four years old, but the paint the builder used must have been pretty cheap because it looks awful. What surprised me about your tips was when you wrote, "Light scuff the rest of the wall with a fine grit sandpaper." I've never done that before. It seems like it would take forever to sand all the walls. Is that really necessary?
      Thanks for your blog. I get lots of good ideas from it. I know it's a ton of work, and I really appreciate all the articles you write for us!

      Reply
      • Jenna Shaughnessy

        November 03, 2021 at 11:16 am

        If you clean the walls well, you’ll be fine without the scuffing. It helps more when you’re using a cheaper brand of paint…the best brands adhere perfectly without the added step.

        Reply
    2. Bond Corp.

      October 01, 2020 at 2:08 am

      Such an informative blog! One thing I would like to say that before starting painting we should keep our project dust-free by using a tack cloth, it will make your work easier. Thank you for sharing! I will share it to all my friends and relatives. Keep Posting! Keep Sharing!

      Reply

    Leave a Reply Cancel reply

    Your email address will not be published. Required fields are marked *

    Recipe Rating


    Primary Sidebar

    the author sitting in front of a door

    Hi, I'm Jenna, a busy mom of 3 boys, and the author & photographer here at JennaKateatHome.com. My goal is for you and your family to LOVE the home you live in. I’ll show you how to create a home that looks good, feels good, and functions well!

    More about me →

    Spring Recipes

    • Fresh Fruit Cake
    • How to Make Homemade Lemon Curd
    • Green Goddess Rice Pilaf
    • Salty Dog Grapefruit Cocktail

    Decorating Tips

    • How to Decorate a Large Wall
    • Where To Start When Decorating A New Home From Scratch
    • How to Incorporate Color Trends In Your Home
    • How to Make a Builder Grade Home Look Custom

    Popular

    • My Kitchen Remodel Reveal!
    • Sherwin Williams Repose Gray
    • 10 Stunning Ideas For Built Ins Around a Fireplace
    • 10 Of The Best Kitchen Island Colors

    Get Your Copy Today!

    Footer

    About Jenna Shaughnessy

    • Email
    • Facebook
    • Instagram
    • Pinterest
    • Twitter
    • YouTube

    Hi, I'm Jenna, a busy mom of 3 boys, and the author & photographer here at JennaKateatHome.com. My goal is for you and your family to LOVE the home you live in. I’ll show you how to create a home that looks good, feels good, and functions well!

    Footer

    ↑ back to top

    as seen in the new york times, house beautiful. real simple, reader's digest, the pioneer woman and more

    About

    • About
    • Contact
    • Privacy
    • Subscribe

    Other Links

    • Sign up for The Beginner's Guide to Decorating
    • Buy my decorating e-book
    • Watch The Web Stories

    Services

    • Work With Me/ Brand Partnerships

    Jenna Kate at Home LLC is an Amazon Associate and earns from qualifying purchases.

    Copyright © 2022 Jenna Kate at Home LLC