Content may contain affiliate links. When you shop the links, I receive a small commission at no cost to you. Thank you for supporting my small business.

When painting an entire room, there are many things to consider, from what colors to use, how much paint to purchase and the best techniques to get the job done the right way.
Read on to see how you can paint your room’s walls and trim like a pro every time.
What Should I Do Before Starting?
Gather all your materials! You’ll need:
- Sponge or cloth
- Drop cloths
- Painter’s tape
- 1.5 or 2 inch angled paintbrush
- Paint roller
- Paint trays
- Tack cloth
- Paint: primer, wall paint, and trim paint.
Prepare Your Walls and Trim For Paint
Doing the prep work is essential to a good paint job.
First, you want your surface completely clean and dry so that the new coat of paint will adhere properly without peeling over time or absorbing any moisture from daily life activities (think cooking dinner).
Spend some extra time making sure your surfaces are really clean by removing any dirt and grease with rubbing alcohol or soap & water, then let everything air out while you get ready for step two below – priming.
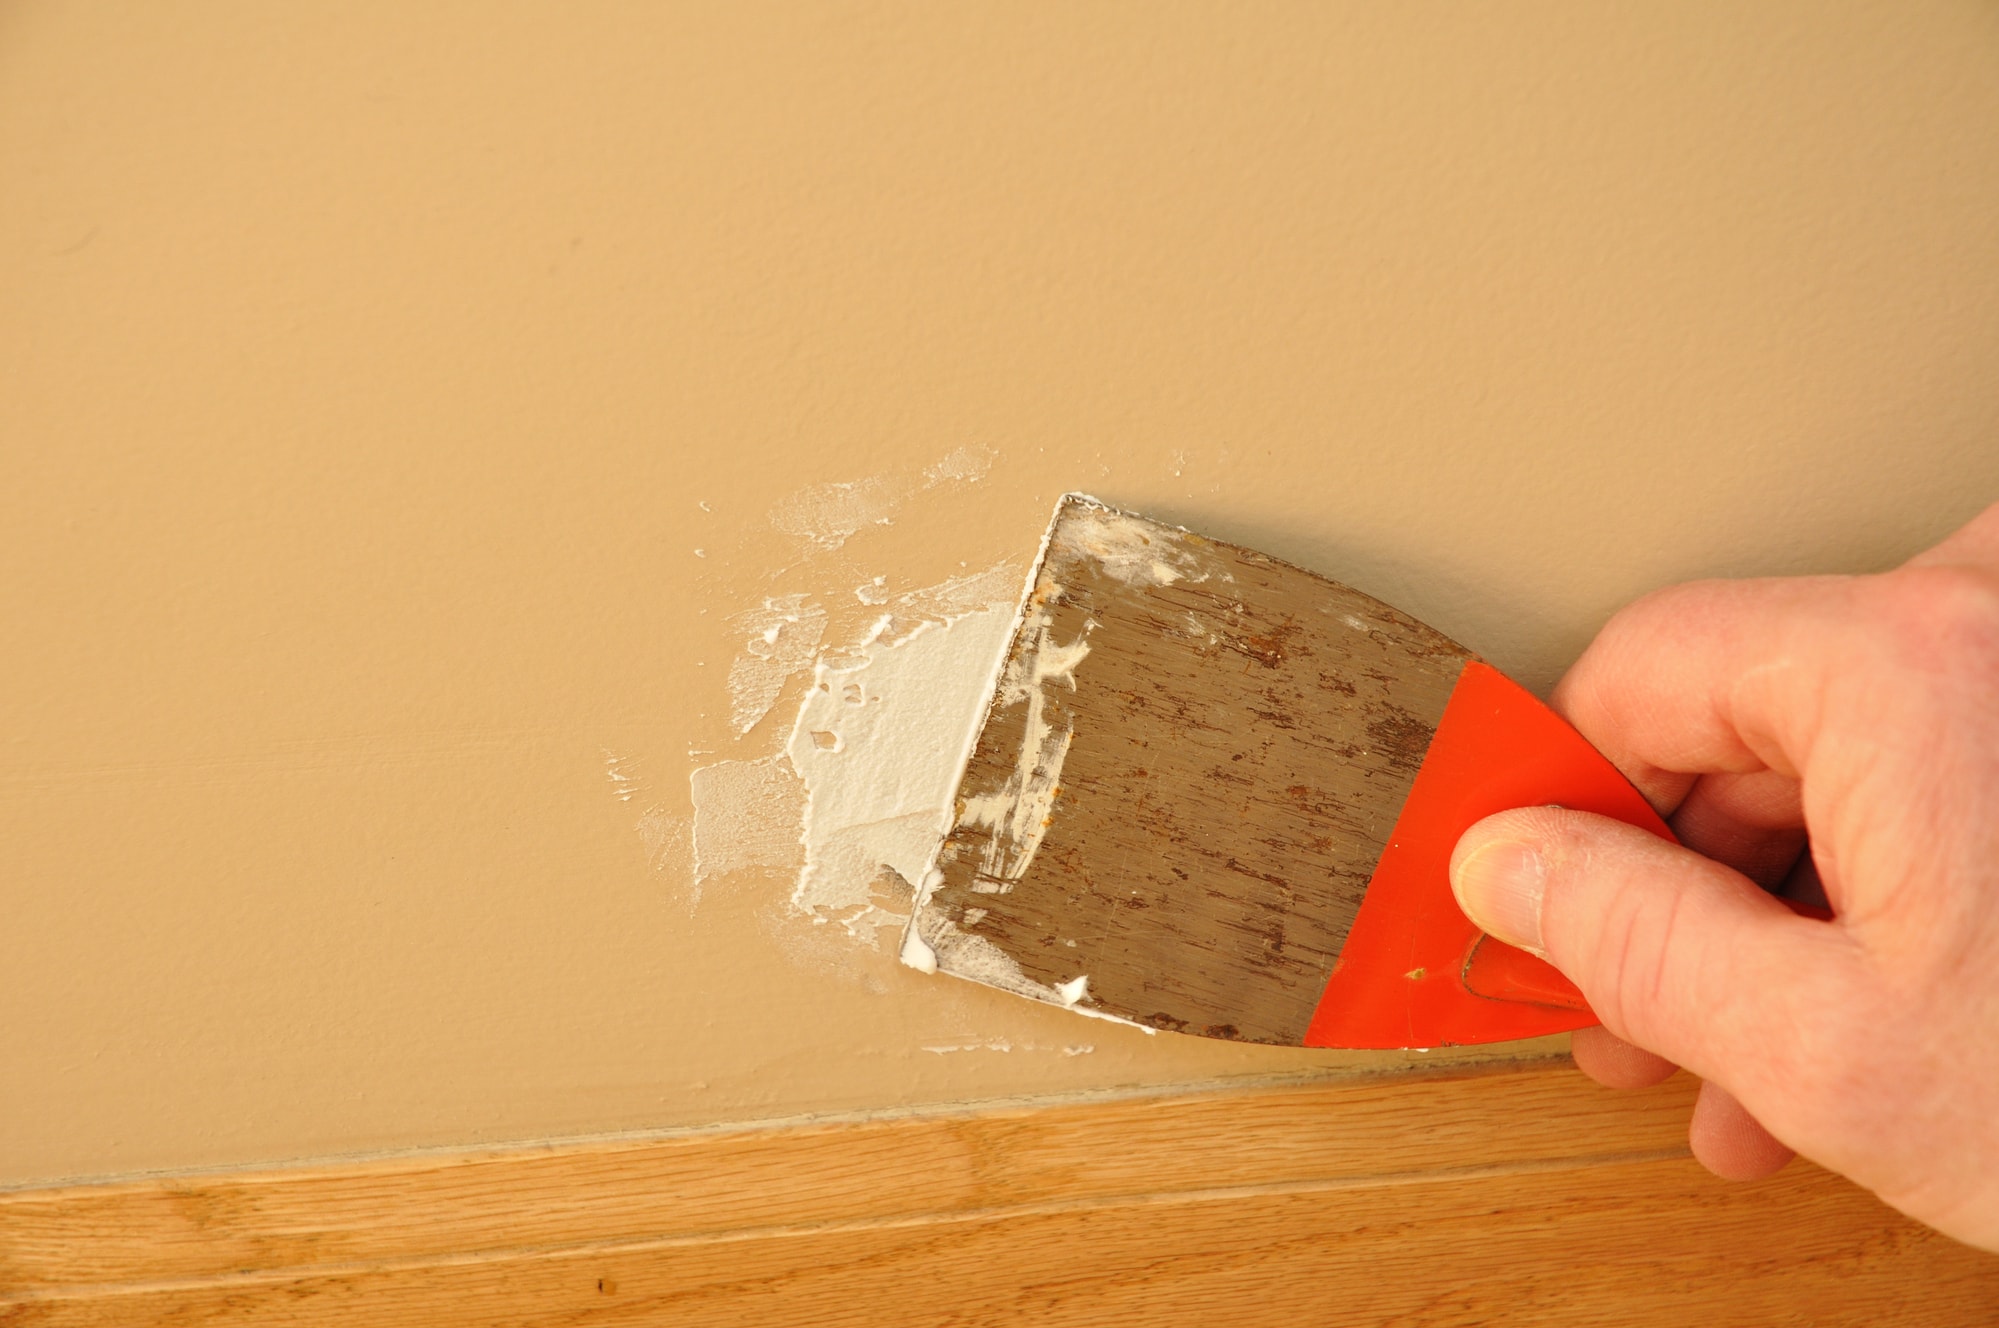
If holes need to be repaired, it’s important to do this first. Use spackle for small holes and scratches and joint compound for anything bigger.
This will need anywhere from 4 – 24 hours to dry. Using the color changing spackle will help you know when it’s ready.
Once dry, sand so that it’s smooth. I like to close my eyes and feel the wall – if you can feel a bump or any raised edges, you know it’s not smooth enough.
Trim: window casings, baseboards and door frames should be lightly sanded with 120-grit sandpaper prior to painting.
This roughs up the surface just enough to help the new paint adhere. Be sure to wipe the dust off with a tack cloth before painting.
Use a tack cloth to wipe down any dust and ensure the surface of the wall and baseboar below is clean before continuing.
To Prime or Not To Prime
If your walls are in perfect condition, don’t need any patch repairs and the new wall color is similar to what’s already there, you can skip the primer (or opt for paint and primer in one).
However, if any of the above apply, a separate coat of primer is a good idea.
Apply an appropriate primer for the type of material you’re painting before putting on fresh coats of paint.
If you’re starting with new drywall, Benjamin Moore’s Fresh Start Primer is a great choice. If you’re sealing patches, fresh plaster, or need a base coat to cover a darker color, the Killz brand is really great.
Primer helps seal in old layers of paint while filling in any cracks or small nicks that might create spots where moisture can get trapped. It also gives your final color coat something stable to adhere to even if it becomes weathered over time.
You’ll want about one quart per 400 square feet – two gallons should cover most houses!
How Do I Choose the Right Colors?
Choosing the perfect paint color is part personal preference, and part what the lighting in your home dictates. When deciding what colors you want, be sure to take into account how light changes the color.
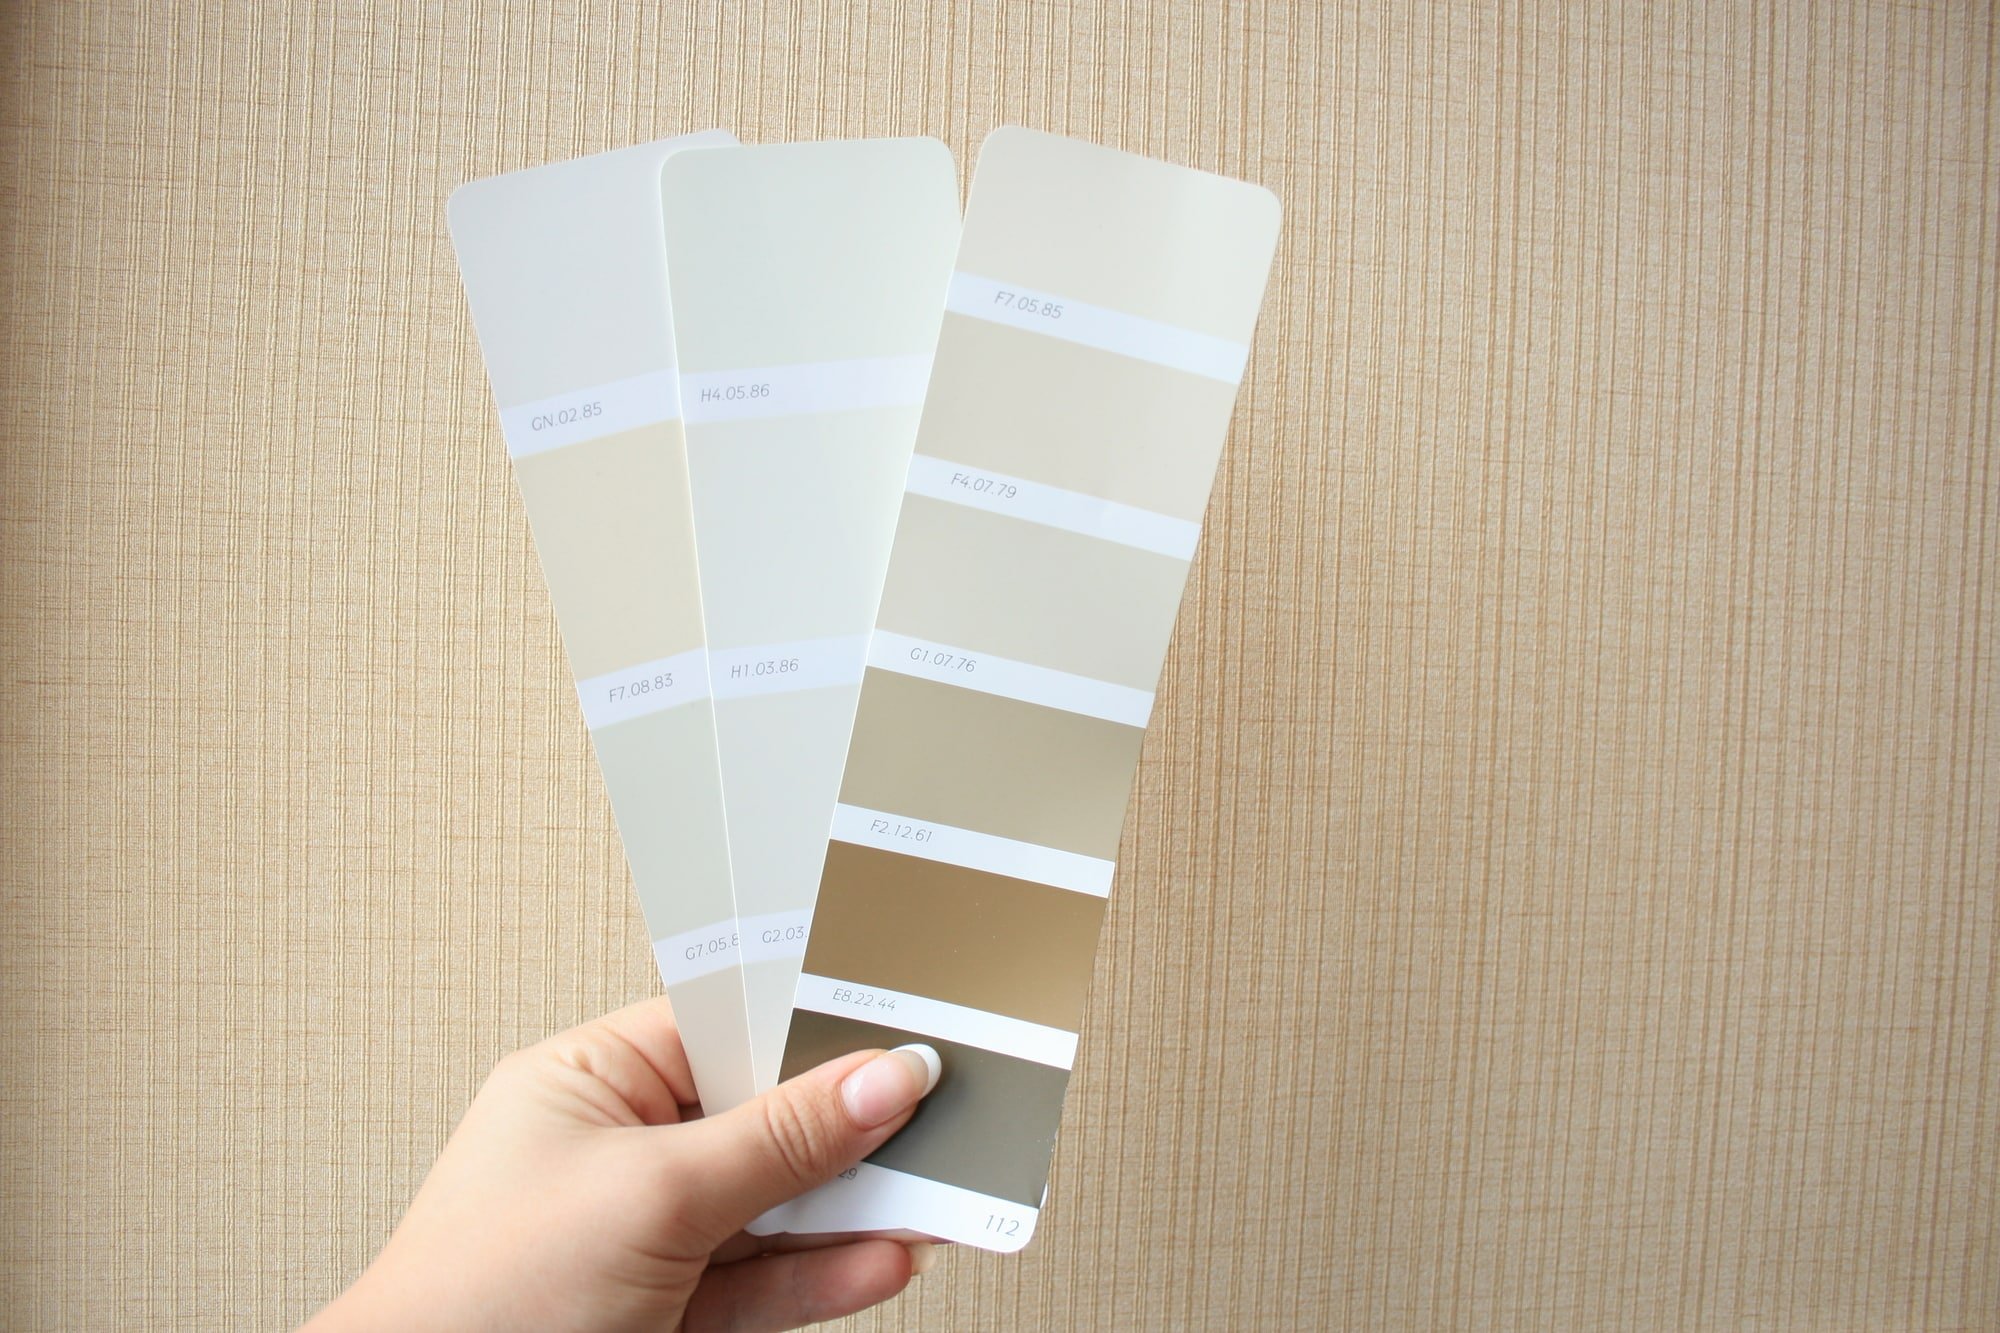
For example, light blue paint will look much lighter in a well-lit room than it does outside on a cloudy day.
If you’re working on a whole house color scheme, you’ll want to work with a color that looks good in all lighting conditions and exposures.
Otherwise, some of the more popular colors include gray, greige, warm gray and blue-gray paint colors.
Picking the right shade of white for trim depends on whether you have an overall cool or warm color scheme, but it’s preferably to use the same white throughout your house,
Does it Matter What Sheen of Paint I Use?
No, it doesn’t really matter what sheen of paint you use. It’s mostly personal preference.
Latex paints are generally low gloss (primarily to be more forgiving with spills and smudges) while oil-based paints are high gloss for a shinier finish.
If you want zero sheen on your walls, washable matte finishes are a popular choice. But most people stick with eggshell for walls and satin or semi-gloss for trim and doors.
The sheens can vary depending on the paint brand (Sherwin William’s satin is closer to eggshell for instance) so keep that in mind.
The higher the sheen, the more washable it generally is but on the flip side, that sheen also highlights imperfections and makes touch-ups difficult.
For trim, using an enamel-based paint in a satin or semi-gloss finish will provide the most durability.
What Kind of Brushes do I Need?
For latex painting, a 1.5 – 2 inch angled brush is best. It will enable you to easily cut in between the wall and ceiling line, as well as run your brush vertically along the side of trim.
It will hold enough liquid so that the bristles don’t soak up too much and they’ll cover large areas quickly without running out as fast – but keep in mind these brushes can leave behind brush strokes.
For oil-based paints, a three inch/eight millimeter or larger paintbrush is best because they hold more liquid and don’t create the same type of “abrasive” look as latex brushes can (which makes them good for furniture).
A good quality brush won’t shed and will cover better, leaving less brush strokes, too. I swear by the Purdy brand of brushes. If you clean your brushes correctly after using them, these brushes will last a long time.
What About Rollers?
Rollers are generally considered to be faster than using brushes when you’re painting large areas like walls and ceilings. If you’re painting an interior wall with latex paint, a roller is the best way to go for a smooth finish.

Again, the quality of the roller is important. Cheap rollers don’t cover as well. The Purdy brand of rollers are my go-to for a beautifully smooth finish. Make sure you buy rollers designed for smooth surfaces.
What About Tools?
If you’re painting with a roller, then you’ll need something to hold the paint. Roller pans are perfect for this – they come in all different sizes and thicknesses, but you’ll want the one that’s thick enough to stand up on its own without being too heavy.
Before You Start
Cover the floor and any other surfaces with a drop cloth to avoid paint splatters. Even the most careful painters splatter paint on occasion!
Cut-in First, Then Use a Paint Roller on The Edges and the Walls
- Cut in first: “Cutting-in” is where we painted a straight line to define areas. Usually we cut-in at the top of a wall just below the ceiling, around window casing and door frames.
- Use a brush to cut in around any trim that needs attention. This might seem like the most tedious step, but it will give you neat crisp lines and avoid getting paint all over your trim.
- If you have time, it can be good to practice your steady hand technique before you have any paint on your brush.
- Roll the edges: Next use a paint roller to roll as close to where you cut-in as possible. Overlap the paint brush edges to soften out any brush strokes, but don’t get too close to the trim, baseboard or ceiling. Then, roll the larger surfaces.
- Don’t overthink your rolling technique. Rolling in a “w” motion, up and down or side to side works just fine. Just remember to always roll over the previous edge.
- If you get any drips or smears, use a small angled brush to smooth them out so that they aren’t noticeable. Not overloading your brush or roller will help you avoid this problem.
- If you get paint on your trim or somewhere else where it shouldn’t be, use a damp sponge to wipe it off.
- The first coat of paint will probably be dry within an hour (or by the time you’ve completed the first coat!), enabling you to go back and do the second coat soon after.
- Always do the second coat. The color pay-off will be more saturated and you will get better coverage.
How To Cut in Around Ceilings and Baseboards
- Use a paintbrush to cut in around any ceiling or baseboard trim. To get a straight, crisp line, tilt the brush so that it is angled against the wall and use medium, smooth strokes with just enough pressure to get into all of those tight corners.
- You’ll want to cover only one surface before moving onto another, but be careful not to over work an area because this will cause you more work later on!
- When cutting in along doors and windows make sure your brushstrokes are parallel with the door/window frame – don’t worry about where exactly it’s touching as long as they’re going down towards the floor at some point.
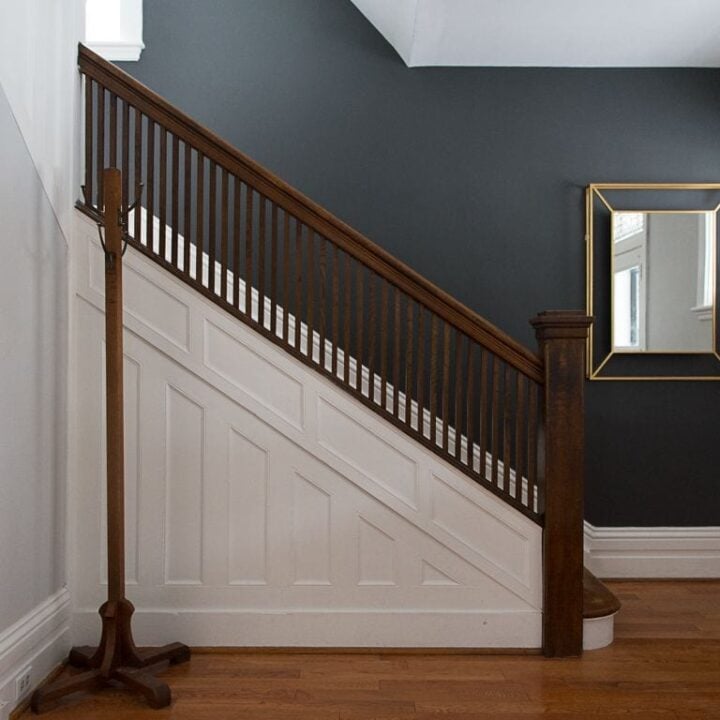
Painting Window Trim and Door Frames
Clean Up
Don’t forget to clean your brushes and rollers at the end of every day so that they can be re-used.
If you are taking a short break (or even a few hours), you can safely store both your paintbrush and rollers in a zip loc bag – or wrap in plastic wrap – to stop them drying out.
Putting them in the fridge also helps, especially if you’re planning on the leaving them overnight.
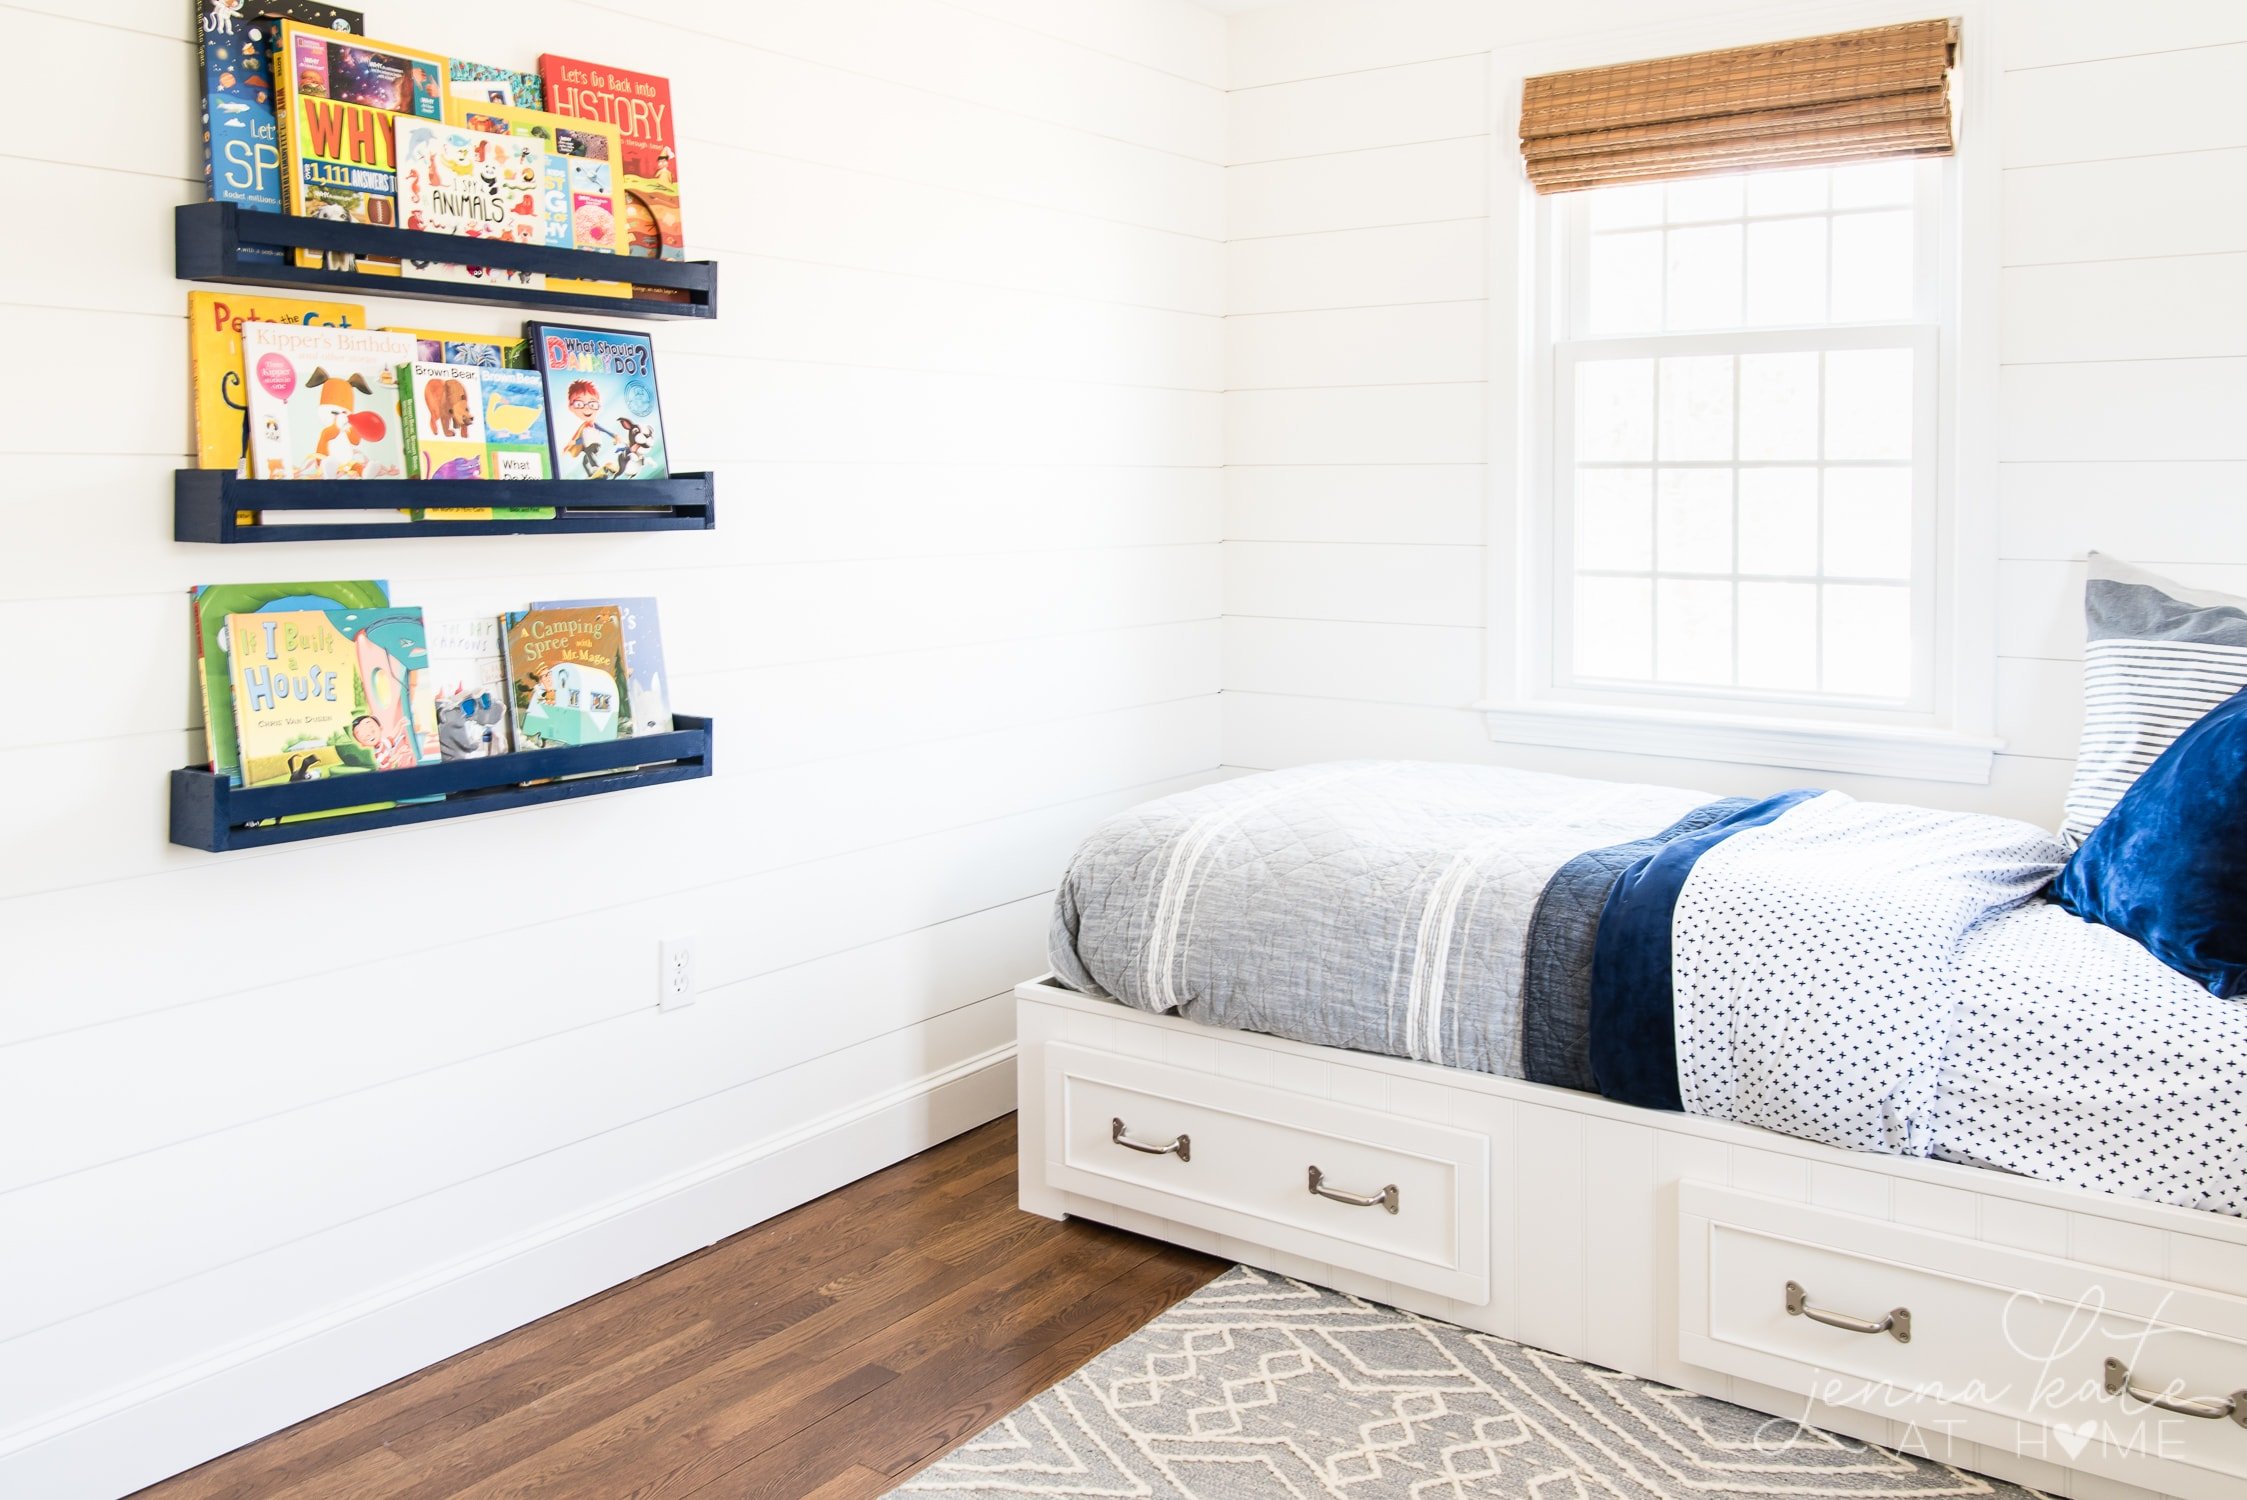
Final Thoughts
Now that you know how to paint a room from start to finish, what are you waiting for? Grab your supplies, pick a pretty color and transform your space with a fresh coat of paint!
Don’t Forget To Always Use Real Paint Samples!
Don’t forget – no matter what you’ve read or photos you’ve seen online, it’s really important to sample paint colors in your home before committing!
Samplize provides peel and stick paint samples made with real paint, that are easy to move around your home, and cheaper than buying a gazillion paint pots! It’s the only way I buy paint samples.
How to Paint a Room Like a Pro
Paint your room like the pros do, effortlessly, quickly and with spectacular results every time. Find out how with these smart tips!
Materials
- Latex or oil paint of your choice (one quart per 400 square feet)
- Primer
- Spackle or joint compound
- Rubbing alcohol or soap & water
- Paint brush
- Paint roller
- Roller pan
- Putty knife
- Sand paper
- Tack cloth
Tools
Instructions
- Choose your paint colors based on the lighting of the specific room you're painting or go with a neutral paint color like greige. You could also use one color that's part of a whole house color scheme.
- Decide on your paint sheen, eggshell, satin, semi-gloss etc. Latex-based paints are matte and hides blemishes. Oil-based paints are more washable but they tend to highlight imperfections.
- Choose the right tools for the paint you are using. Use a 1.5 - 2 inch angled brush for latex paint and a three inch/eight-millimeter or larger brush or oil-based paints. For walls and ceilings, you will need a roller brush and roller pan.
- Clean the surface thoroughly with rubbing alcohol or soap and water. Let dry completely.
- Lightly sand baseboards and trim with 120-grit sandpaper. Wipe dust with a tack cloth.
- Repair holes or scratches with spackle or joint compound. Once dry, sand until smooth. Wipe away dust with a tack cloth.
- Cover the floor and any other surfaces with a drop cloth. Use painter's tape to tape off the floor and ceiling if you do not have a steady hand.
- Apply primer base to entire surface. Let dry according to the product's directions.
- Cut in first, with the paint brush, around baseboards and ceilings, using the paint color you chose for the room.
- Next, use a paint roller on the edges and the walls. Do not overload the roller or paint brush with paint. Smears and drips can be cleaned with a small angled brush.
- Clean brushes, rollers and roller pans at the end of the day. If taking a short break, you can store clean items in a zip-lock bag or plastic wrap so they don't dry out.
Notes
Don't skip the prep work. Preparation is key to a good paint job!
If your walls are in perfect condition, don't need any patch repairs and the color you're painting the walls is similar to what's already there, you can skip the primer (or opt for paint and primer in one).