Content may contain affiliate links. When you shop the links, I receive a small commission at no cost to you. Thank you for supporting my small business.
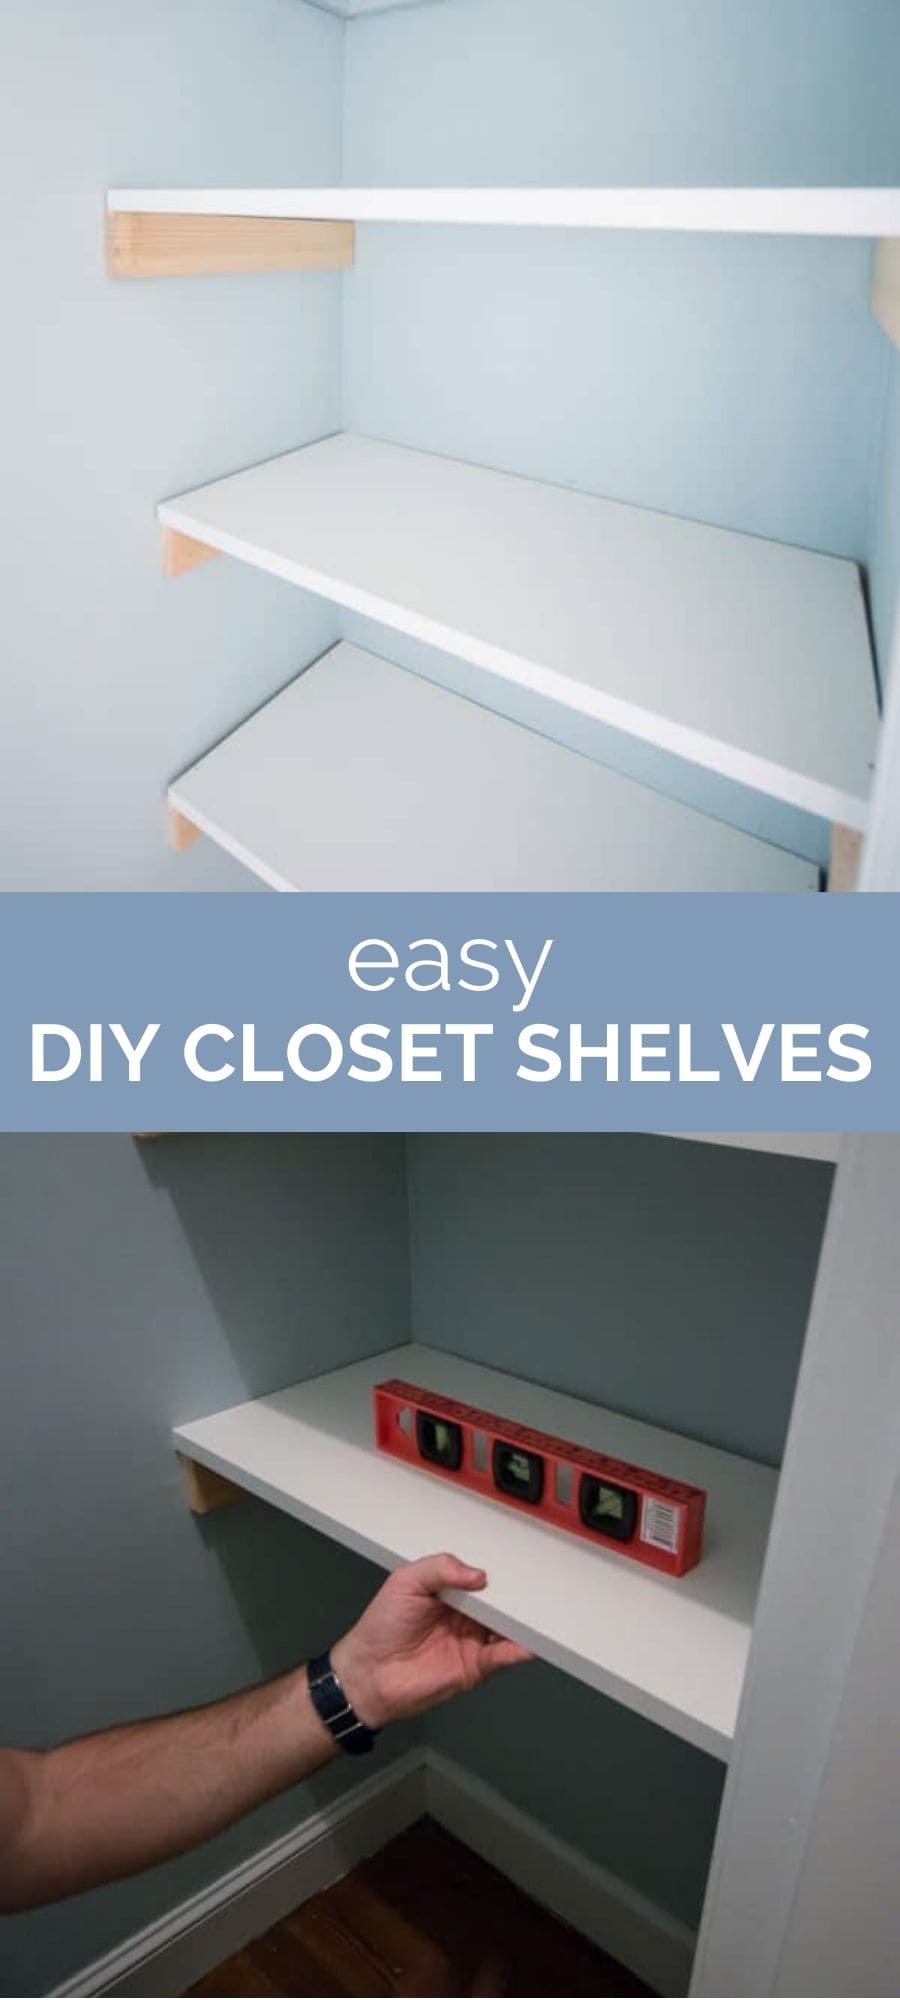
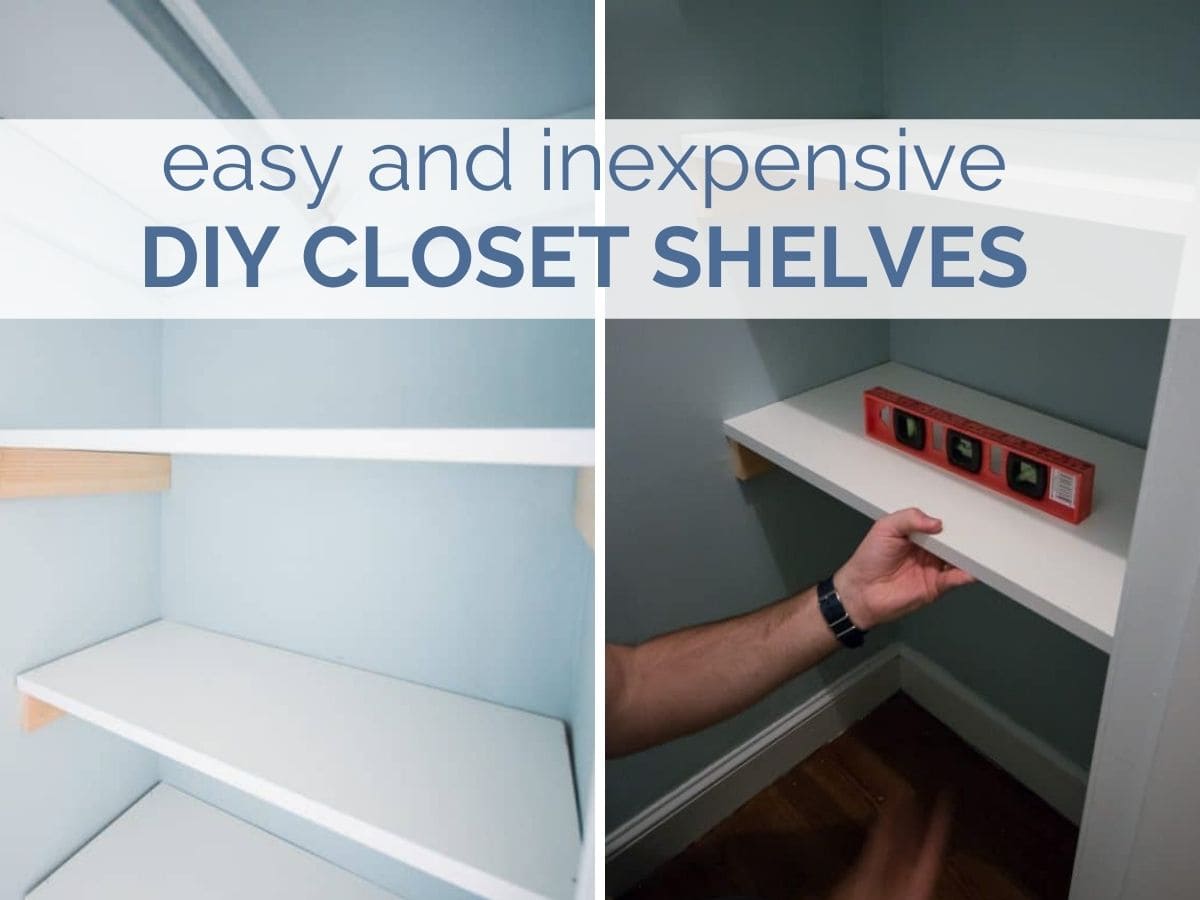
This DIY tutorial for easy closet shelves will transform that empty corner of your own closet into the most organized space in your home! Double your closet shelving space with this simple project that you can do in just a few hours.
Last weekend we added some simple melamine shelves to the baby’s nursery closet to make it more functional and put the area to good use. It’s the best way to make use of as much available space as possible. There’s only so much baby stuff you can hang, so shelves are a must-have.
Whether it’s a spare room or a dedicated space, this is one of my favorite organization solutions, no matter the size closet!

All of the closets in our house are very basic – they have one door and the closet spans behind the bedroom wall. There’s 1 rail that spans the width of the closet and one shelf above that. Definitely not enough shelving for all baby’s stuff! If you don’t have the budget (or simply just don’t want to) to do a complete closet makeover, this simple DIY project will do the trick.

I’ve added these simple DIY closet shelves to several of the closets in our home, and they are both a quick and budget-friendly way to get some additional closet space.
What You’ll Need:
- Melamine or MDF cut to the depth and width of the recessed portion of the closet.
- 1×2’s or 1×3’s to act as supports (braces or cleats)
- Nail gun (or a good old fashioned hammer and nails)
- Level (to make sure everything is as straight as possible)
- Measuring Tape
- Miter Saw (or have everything cut at the store for you)

If you are looking to invest in new tools this year and you already own the basics, I can’t recommend a nail gun enough. We use ours all the time and love it.
FAQ’s
Here are a few commonly asked questions before dipping your toes in this tutorial.
Should you Remove Closet Doors Before Starting?
You can do this first thing if you think it will help. This is totally up to you and how difficult it is to remove your doors. If it’s an easy process of unscrewing and lifting the door off it’s hinges, it might be worth it to not have the door in your way while you work.
Otherwise, it isn’t too much of a hassle to just work around it so I personally wouldn’t worry about it.
What Type of Wood Should You Use?
While I like to use melamine because of the veneer and its ability to be wiped down, MDF works perfectly too, and is usually more readily available. I’ve used both throughout our home with great success.
How Long Will This Project Take?
These DIY Closet Shelves are probably the easiest DIY you will ever do – they only take about 20 minutes to complete once you have everything cut – and add so much functionality to a basic closet.
How to Make The Closet Shelves
These step-by-step instructions will help you achieve the closet shelves of your dreams in your own home, even if you’re working with a small space. I’ve found great inspiration from other variations of this DIY, so I hope you find this helpful!
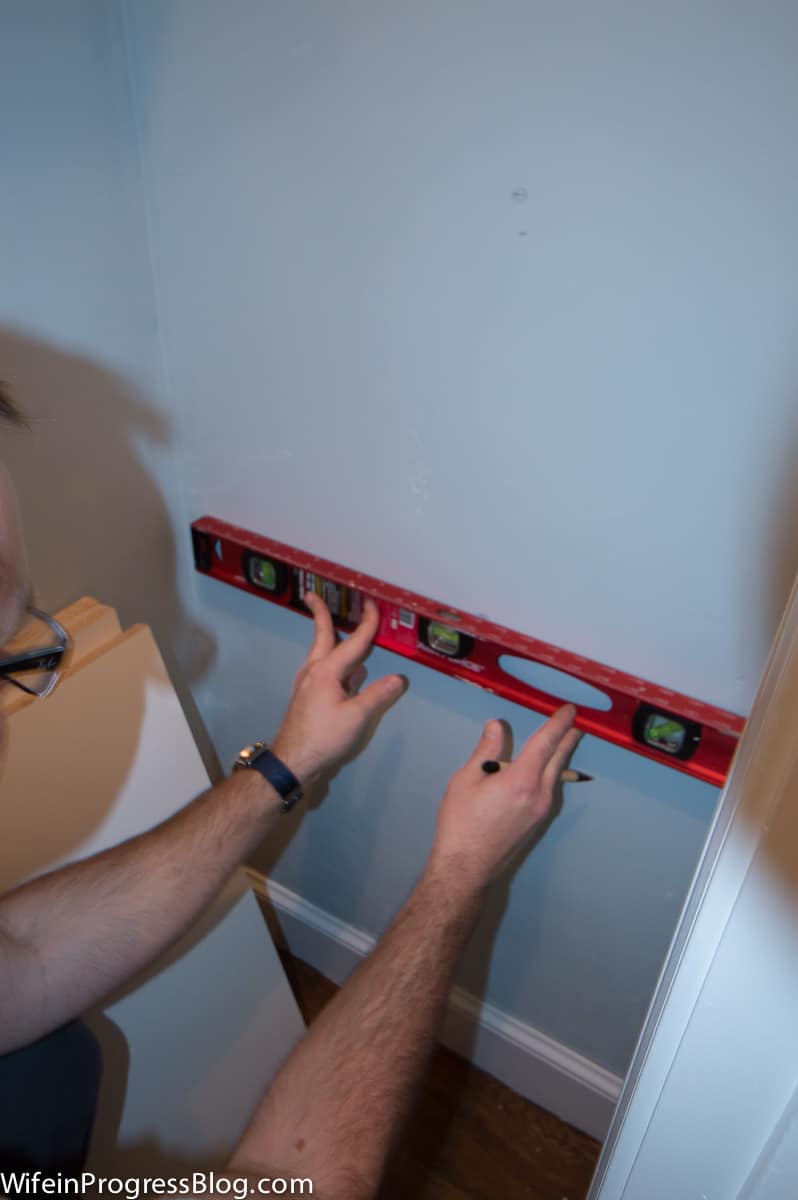
1. Locate Where Each Shelf will be Placed
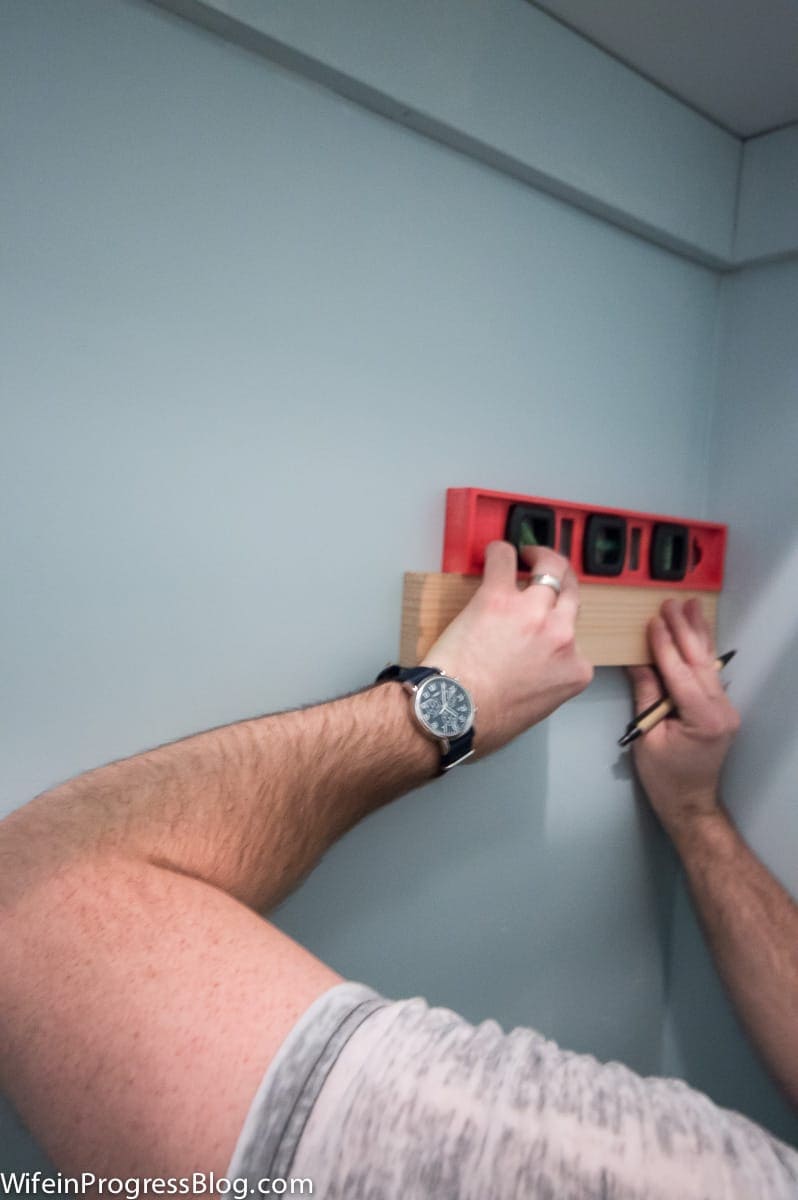
The first step is to start figuring out exactly where you want your shelves. Using your level, draw a straight line with a pencil so you know where to nail your first support. We chose to just attach the supports to the side walls since the shelves aren’t too large. If you have a bigger space you may want to run a support along the back, too.
2. Cut the Melamine Boards
The next step is to cut your shelf boards. We had our melamine cut to size at Lowe’s so that was one less step to have to do at home. If they offer it as a free service you may as well use it, right?! This ensures accurate measurements, too!

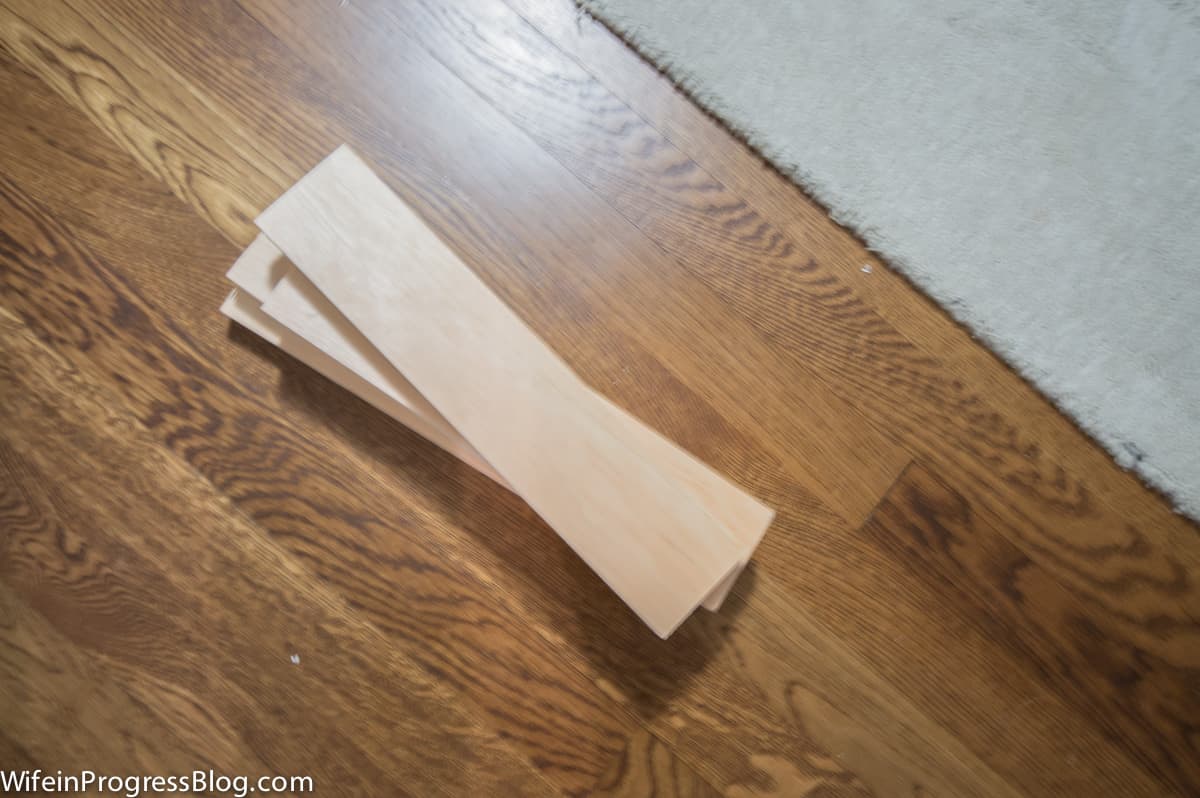
3. Cut the Braces/Cleats
Using 1×2 or 1×3 pieces of wood, cut them to the depth of the shelf. For a cleaner look, cut the end piece at a 45 degree angle. Sand the edges for a smooth edge.
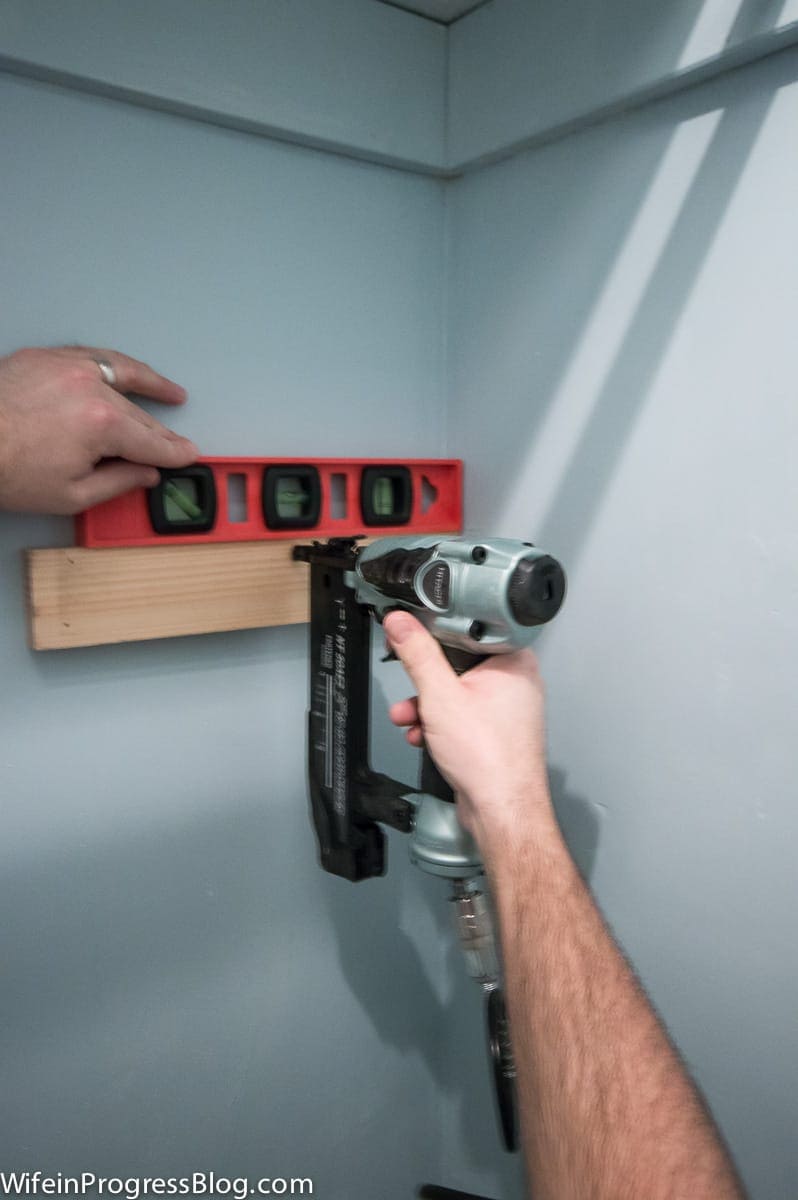
4. Nail Braces to the Wall
Ensuring the pieces of wood are level, nail them into the wall (if you want to create a pilot hole first you can). Alternatively, screw them into the studs (a stud finder might be helpful here) if you know your shelves will need to hold heavier items. We’ve never had an issue with a few nail holes, though.
Check for level a last time before nailing in place.
5. Attach Melamine Shelves
The last step is attaching the shelves. Once the shelf supports are in place, pop your melamine boards on top. You can let them simply rest on the supports or nail them in place. We nailed them down so that the kiddos don’t accidentally pull them out one day as our final step.
Below you’ll see us using the level on the bottom shelf, this is helpful to make sure you’ve got relatively even shelves along the closet wall.

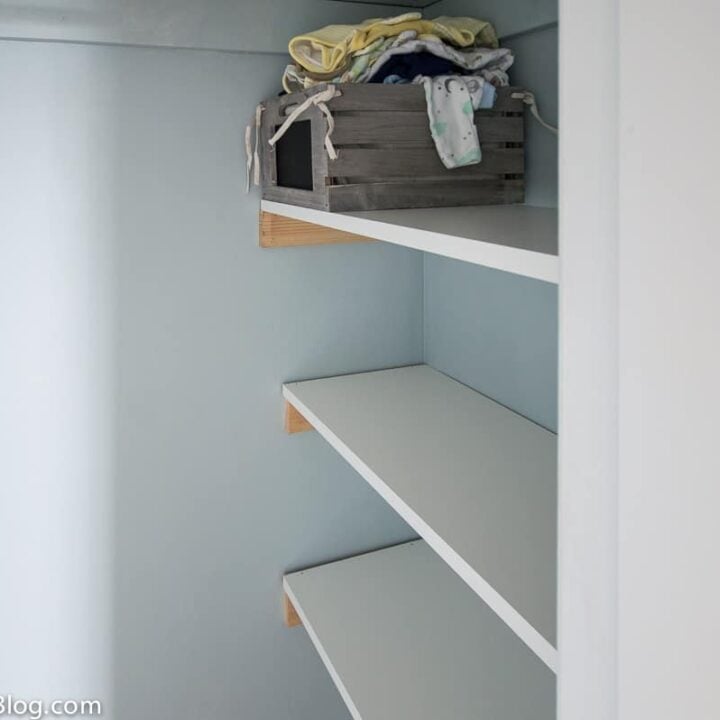
That’s it! So easy, right? Only a little bit of effort for a lot of gain. Now we can use the entire closet for storing bins and miscellaneous items. You can apply a fresh coat of paint to the supports before or after they are installed, of course. That’s still on my to-do list!

The extra shelves make the whole closet so much more functional! Unfortunately, our back wall is not even remotely level so there’s minute gaps. But as long as the shelves are well supported it won’t be an issue.

I’ve just started going through all Cian’s baby clothes and washing them. I can’t believe he was ever that small…but it’s so nice to have all these clothes on the top shelf ready to go for the next!

Most of the furniture for this room will be delivered by the end of this week so I’m super excited to really get everything organized and finished in here.

Final Thoughts
Whether you need more storage space in a nursery like me or want to simply add shelves to a small closet, linen closet, bedroom closets, or laundry room this method will work great for simple, functional shelves!


Easy Closet Shelves
Tired of hunting for small items in your closet? Build easy shelves to hold baskets, folded clothing and anything else you're always looking for!
Materials
- Melamine or MDF (cut to the depth and width of the recessed portion of the closet)
- 1x2's or 1x3's to act as supports (braces or cleats)
Tools
- Nail gun (or a good old fashioned hammer and nails)
- Level
- Measuring Tape
- Miter Saw (or have everything cut at the store for you)
Instructions
- Measure the closet space and cut the melamine boards to the width and depth of the recessed portion of the closet.
- Locate and draw a line with a pencil where each shelf and brace will be installed. Use a level.
- Using 1x2 or 1x3 pieces of wood, cut them to the depth of the shelf. For a cleaner look, cut the end piece at a 45 degree angle. Sand the edges for a smooth edge.
- Ensuring the pieces of wood are level, nail them into the wall. Alternatively, screw them into the studs if you know your shelves will need to hold heavier items. We've never had an issue with a few nails, though. Check for level a last time before nailing in place.
- Rest the melamine on top of the braces and secure with brad nails on each side.
Notes
We chose to just attach the supports to the side walls since the shelves aren't too large. If you have a bigger space you may want to run a support along the back, too.

Love your work and enjoy watching. Thank you.
Thank you, Kathy!
Do the cleats need to be attached to studs?
As many as possible, yes! It will
always make for a sturdier shelf
Why is it that walls are never really straight? I don’t think we have a single plumb wall in our house. Your shelves look great, though, and they will definitely come in handy. Also, I knew that Lowe’s would cut raw wood, but never thought to ask them to cut melamine shelves. Great tip!
Great use of that weird space in closets. We all need storage. Thanks, I’m a new subscriber. Love your tips!