Content may contain affiliate links. When you shop the links, I receive a small commission at no cost to you. Thank you for supporting my small business.
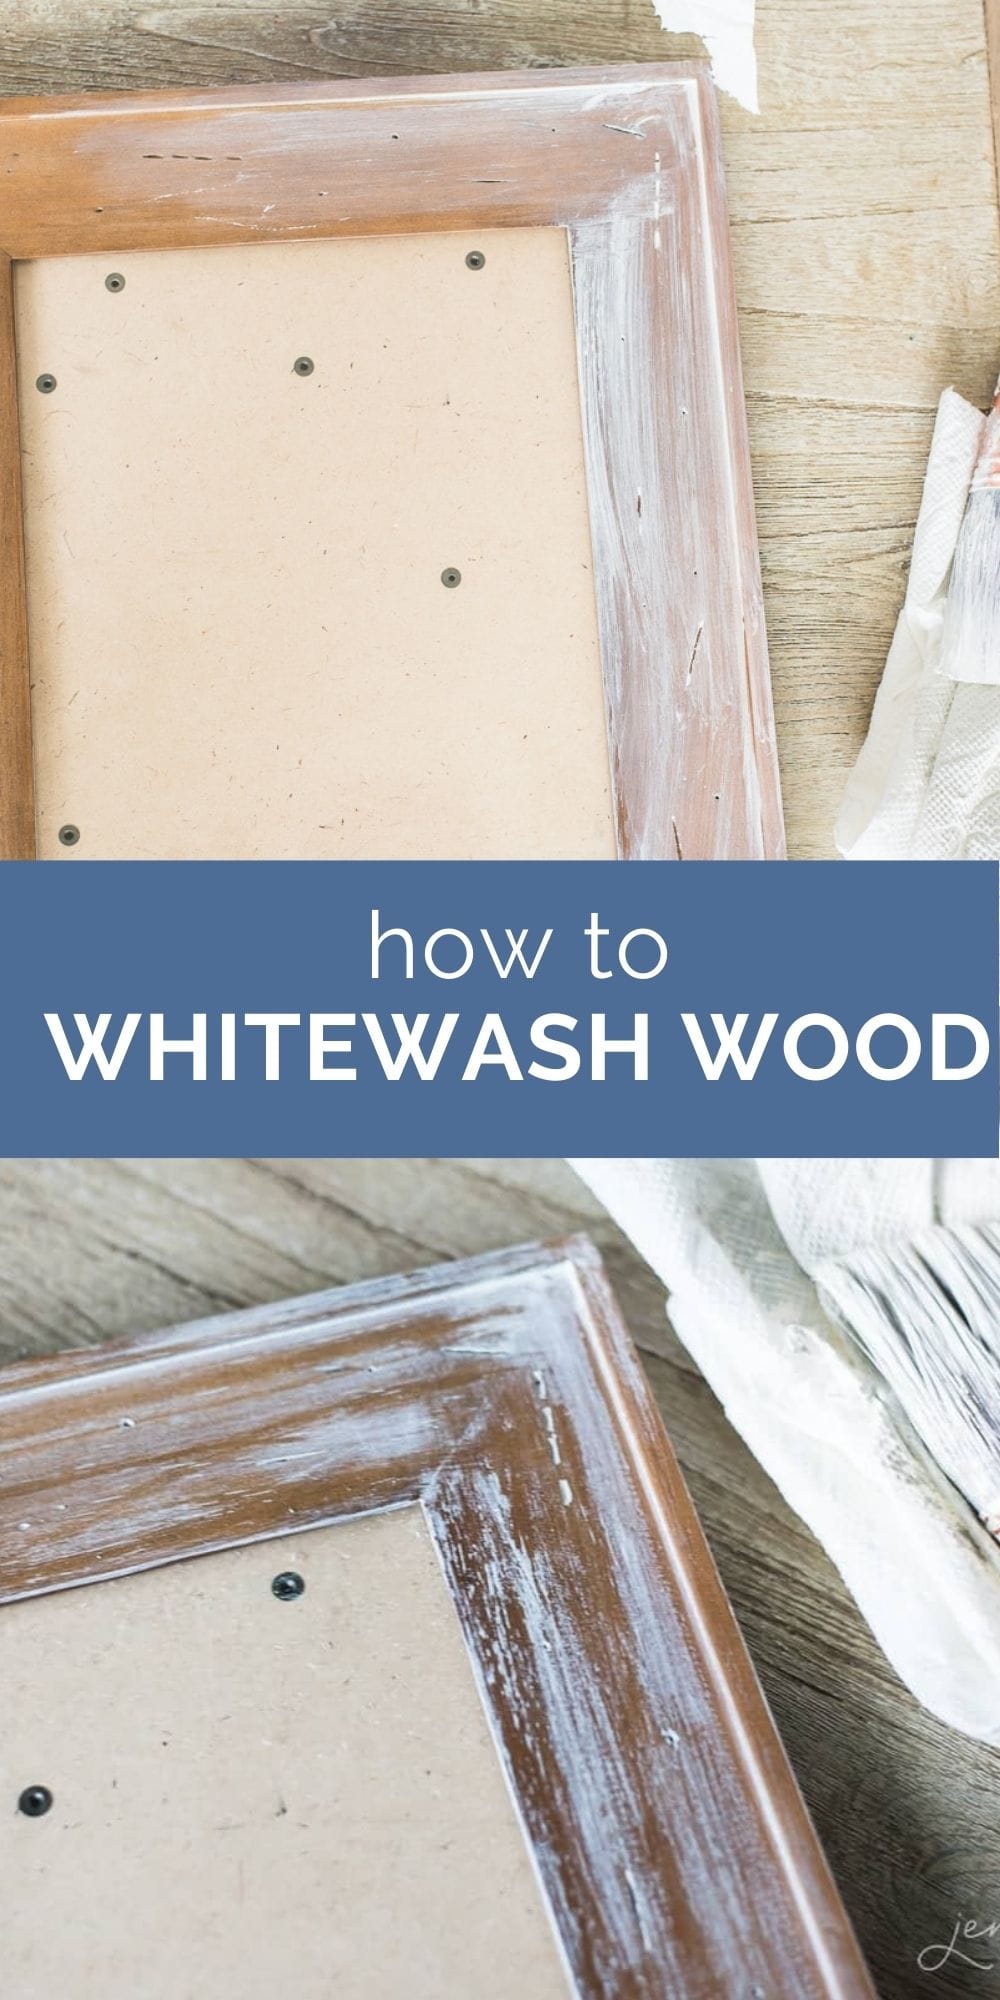
Do you love the whitewash look and want to get the same effect in your home? Any piece of wood in your home can get the whitewashed look with a simple mixture of water based paint and water. It’s super easy!
[adthrive-in-post-video-player video-id=”jHJTV9dA” upload-date=”Tue Aug 13 2019 00:00:00 GMT+0000 (Coordinated Universal Time)” name=”How to Whitewash Wood” description=”Do you love the whitewash look and want to get the same effect in your home? Whether it’s a piece of furniture, accent wall, door or even a picture frame, this look is easy to achieve with just some paint and water.”]
How to Make Whitewash Paint
The easiest way to make whitewash paint is to simply dilute regular latex paint with some water. I like to keep the ratio at 1 part water to 2 parts flat white paint, but I’ve used eggshell and satin paint sheens with good success, too.
How to Whitewash – The Whitewashing Technique
- These whitewashing techniques can be applied to stained or natural wood. Whether it’s oak, pine or another variety doesn’t matter. The end result may look slightly different due to the differences in the wood species but you’ll achieve a similar effect.
- If you’re planning on staining before whitewashing, ensure the surface is smooth by giving it a light sanding with a medium grit sandpaper.
- If your wood has previously been stained or sealed, you’re good to go. Otherwise, start by staining the wood a medium brown or grayish color. Allow the stain to dry for at least 24 hours before proceeding.
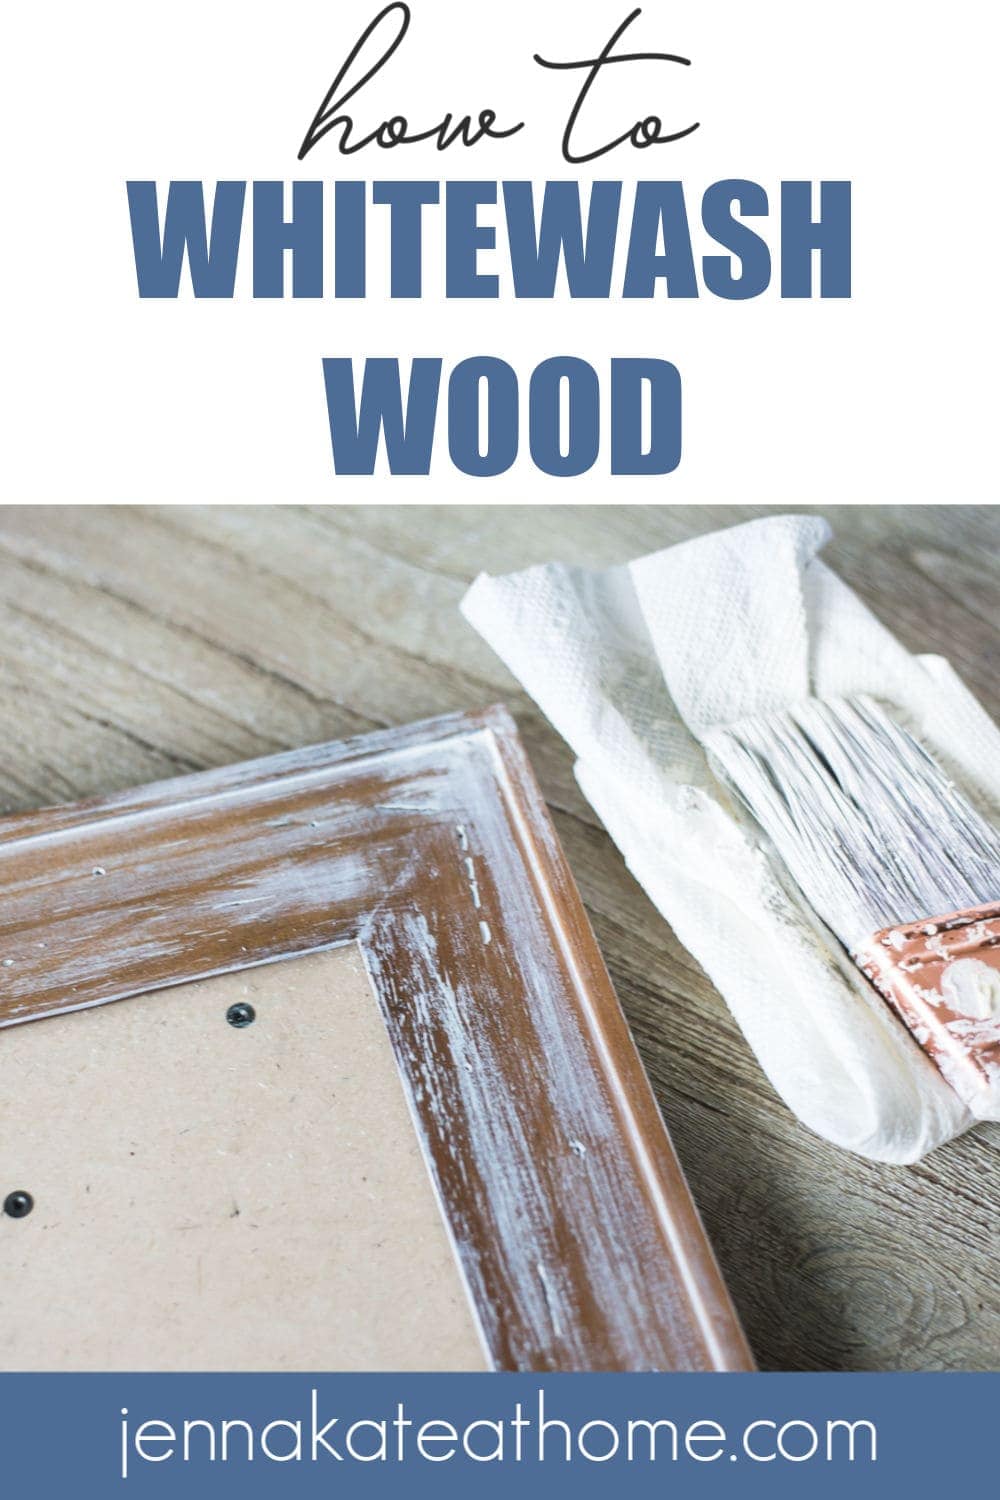
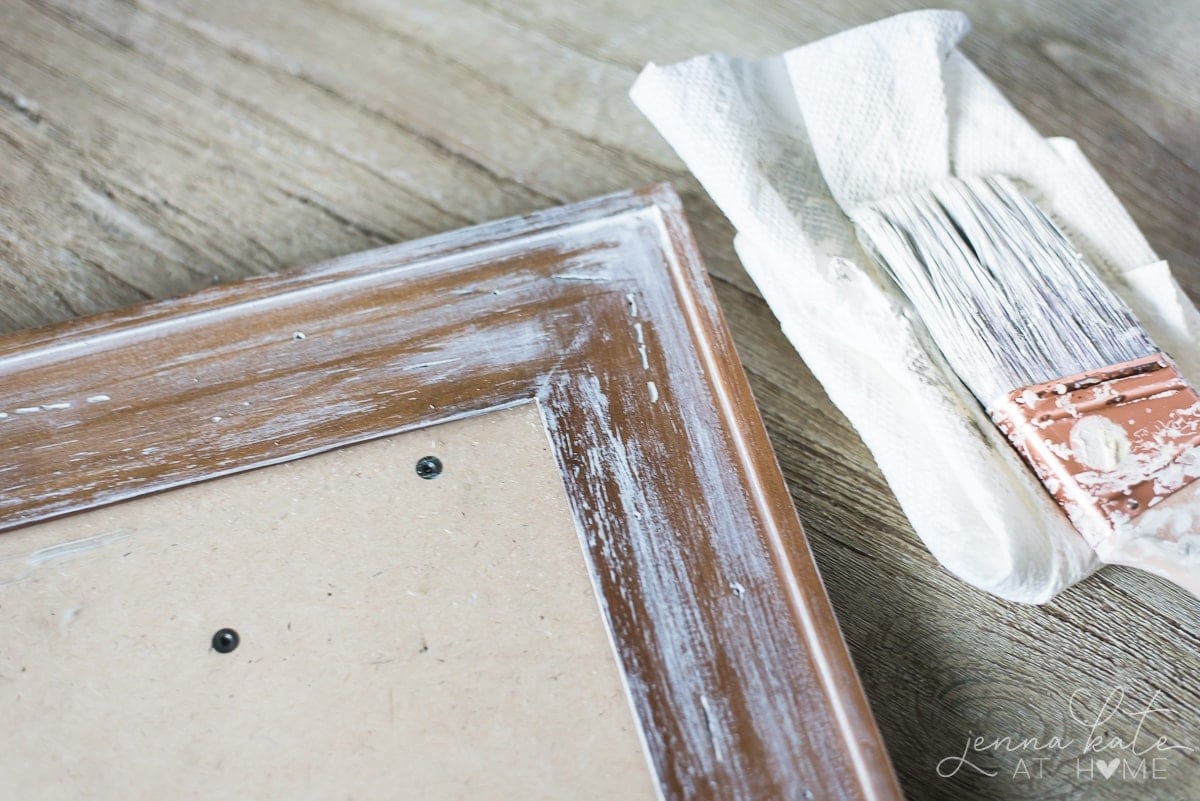
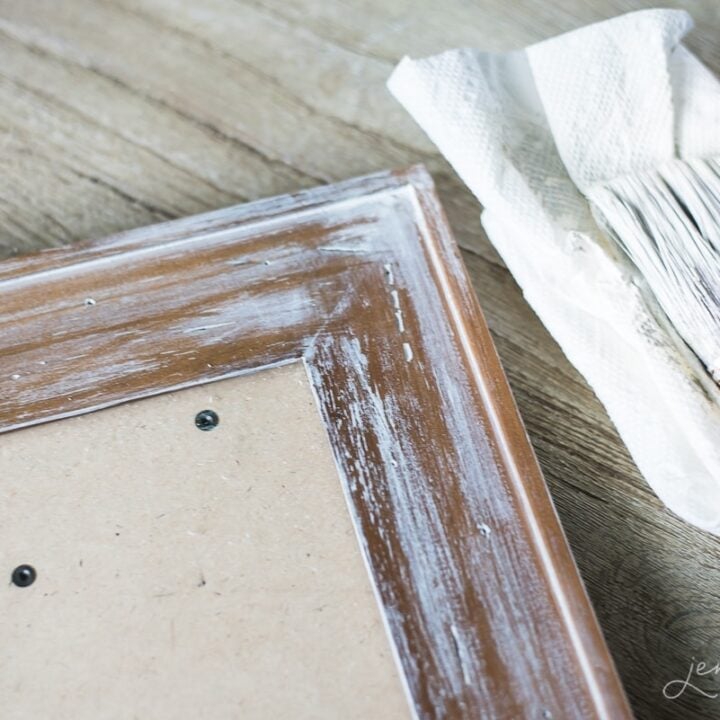
- Starting with a very small amount of the whitewash mixture on a paintbrush (no rollers allowed!), brush in the direction of the wood grain. Use long brushstrokes and only apply to a small section at a time.
- Wipe the excess off the paintbrush each time so that you’re using more of a “dry brushing” technique.
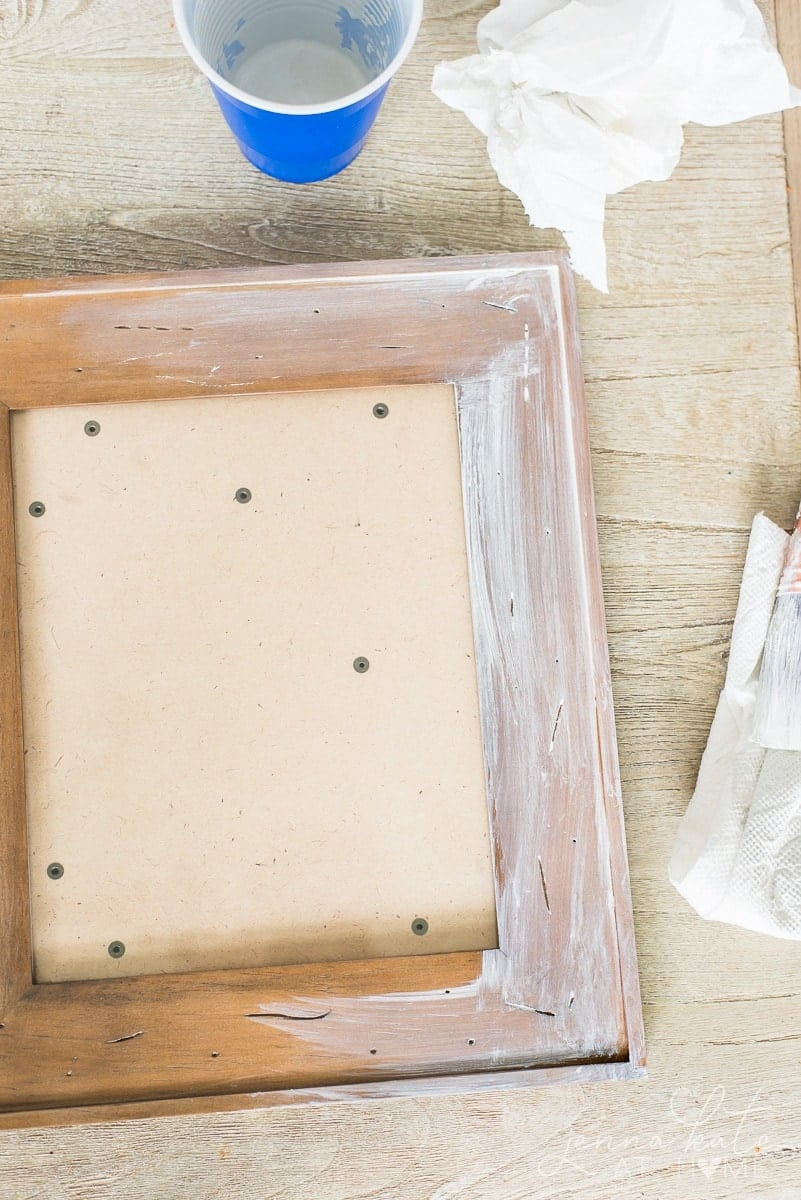
- Using a lint free rag or paper towel, gently wipe off the paint – again in the direction of the wood grain. You don’t want to completely wipe it off or you’ll need a lot of coats. Just take off the excess.
- If you want a more opaque (solid) look, allow the first coat to dry and then repeat steps the two previous steps until you get the look you want.
Can You Whitewash With Any Color?
As the name suggests, “whitewash” is usually white. However, the same technique can be applied to any paint color. I’ve seen cream, gray and blue used very successful to achieve a similar look over wood.
What Types of Wood Can be Whitewashed?
Tip: If you are whitewashing a piece of furniture, finish off the project with a coat of matte polycrylic to protect it. Polycrylic doesn’t yellow over time and will protect the finish. Alternatively, a clear furniture wax will also help protect it.
I didn’t want to cover up the grain and texture with a solid white paint, so I decided that whitewashing would be a good idea.
What’s the Difference Between Limewashing and Whitewashing?
Sometimes you will hear these terms used interchangeable but there is a definite difference. Limewash is a limestone-based product made specifically for brick. Whitewash is simply watered-down paint. Both may be used to achieve a similar look on brick but usually only whitewash is used on wood.
Frequently Asked Questions
No, the wood does not need to be sanded before whitewashing.
Once the whitewash has been applied, you can immediately wipe it off.
This depends on the look you want. If you want the grain of the wood and knots to show through then you should not prime. You may also choose to stain the wood first and then add the whitewash over it.
How to Whitewash Wood
Try a new way to showcase wood details in your decor with this simple whitewash tutorial.
Materials
- Latex paint of your choice (usually white but cream, grey or blue can work too!)
- Water
- Stain of your choice (unless wood is already stained)
Tools
- Paint brush
- Sand paper
- Rag or paper towel
Instructions
- If your wood has previously been stained or sealed, you're good to go. Otherwise, lightly sand the surface and stain the wood a medium brown or grayish color. Allow the stain to dry for at least 24 hours before continuing.
- To make the whitewash paint, dilute regular latex paint with some water (1 part water to 2 parts flat white paint).
- Starting with a very small amount of the whitewash mixture on a paintbrush, brush in the direction of the wood grain. Use long brushstrokes and only apply to a small section at a time.
- Wipe the excess off the paintbrush each time so that you're using more of a "dry brushing" technique.
- Using a rag or paper towel, gently wipe off the paint from the wood surface - again in the direction of the wood grain. You don't want to completely wipe it off or you'll need a lot of coats. Just take off the excess.
- If you want a more opaque (solid) look, allow the first coat to dry and then repeat steps the two previous steps until you get the look you want.
Notes
If you are whitewashing a piece of furniture, prevent it from yellowing with a coat of matte polycrylic or clear furniture wax.
You May Also Like These DIY Projects
- How to repair scratches in IKEA furniture
- DIY reclaimed wood accent wall
- DIY branch wall hanging
- How to make your own chalk style paint
- How I make and maintain my chalkboards


I just white washed my table using this technique. I love how the color turned out so I’m worried about putting a top coat or sealer on it because it might darken the color. Is a top coat even needed if I used latex paint? Because I know latex paint is typically waterproof when dry.
I have a pair of unfinished pine French doors for my pantry. I would like to get the aged European distressed whitewash look. I’m not sure it’s a light stain underneath that gives the doors some color. The “whitewash” seems to be thicker and more concentrated in the corners. What do suggest I use to get this result?
“…flat white paint, but I’ve used eggshell and satin paint sheens with good success, too.”
Can you elaborate on “good success?” Did the end result look different at all? Was it any easier to clean?
I need to buy paint and am wondering if there’s any benefit to spending a few extra dollars on eggshell or if I should stick with flat.
Thanks
It just gives you a different look. The higher sheen is definitely a bit easier to clean but since it’s so watered down it doesn’t really matter. I would just use whatever you have on hand.
What if my whitewashed turned out too white? How do I get a little off after it has dried? A little paint thinner in a rag are my thoughts.
You could try that or sanding it down a bit! Or even adding some antiquing wax to break it up
After whitewashing is there a polyurethane or some needed to be put on to prevent yellowing or protect new whitewash finish?
Polyurethane will yellow the finish. You could do a clear coat of polycrylic if you choose…but I’ve never had an issue with yellowing without the protective coat.