Content may contain affiliate links. When you shop the links, I receive a small commission at no cost to you. Thank you for supporting my small business.
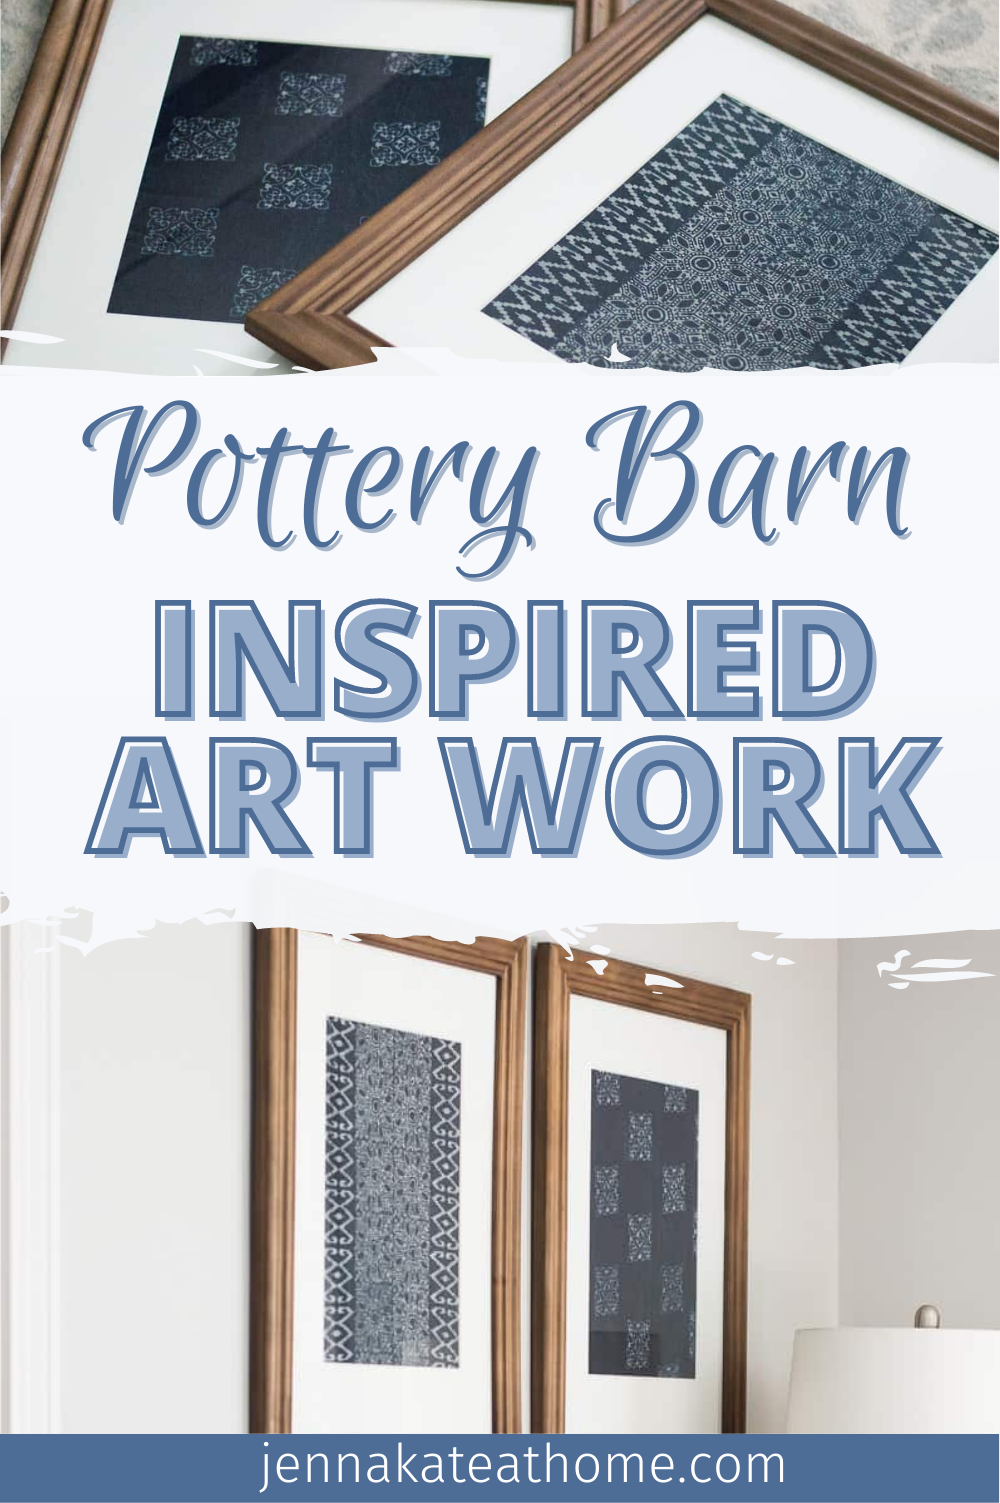
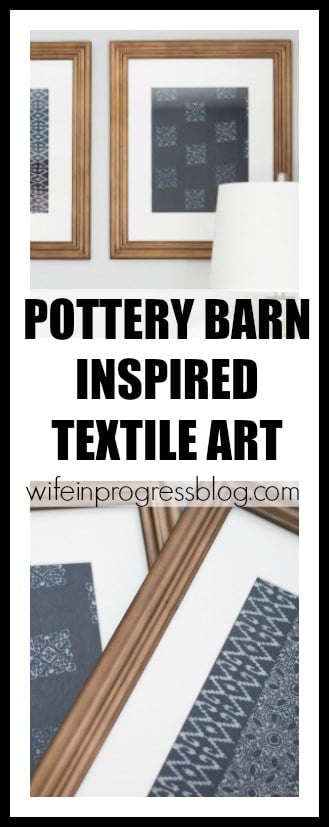
Learn how to make exquisite shibori textile art for your home with this easy to follow tutorial that only requires some pretty indigo-dyed fabric and a picture frame.
My latest art obsession has been these stunning textile prints from Pottery Barn.
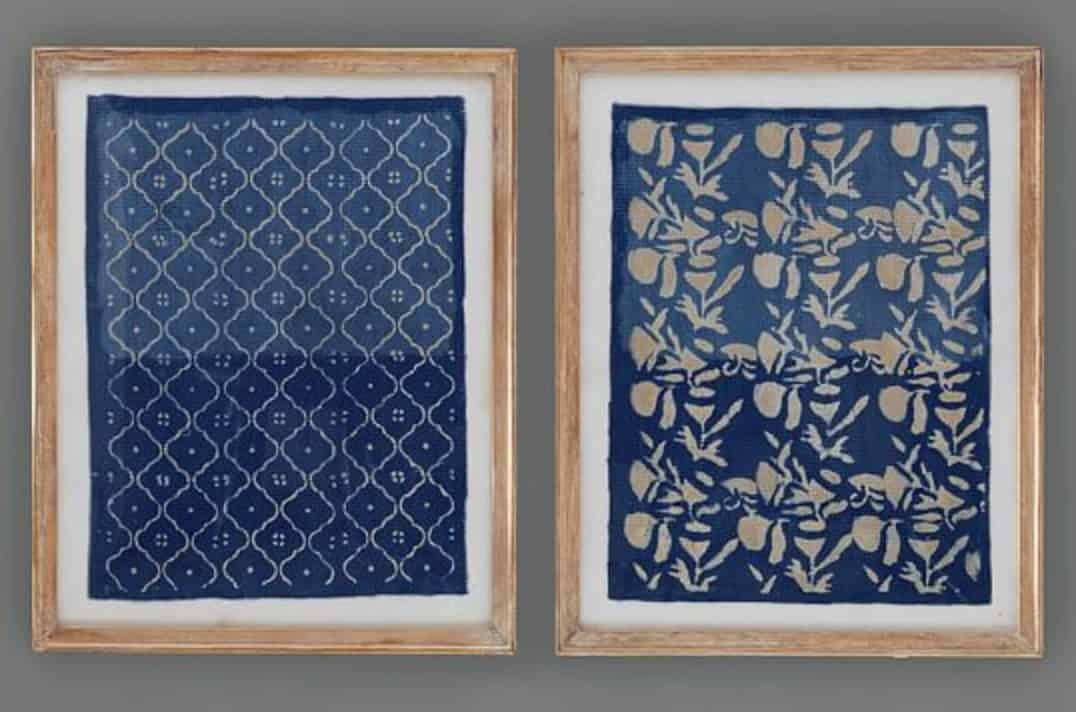
Stunning, right? But worth that huge price tag?
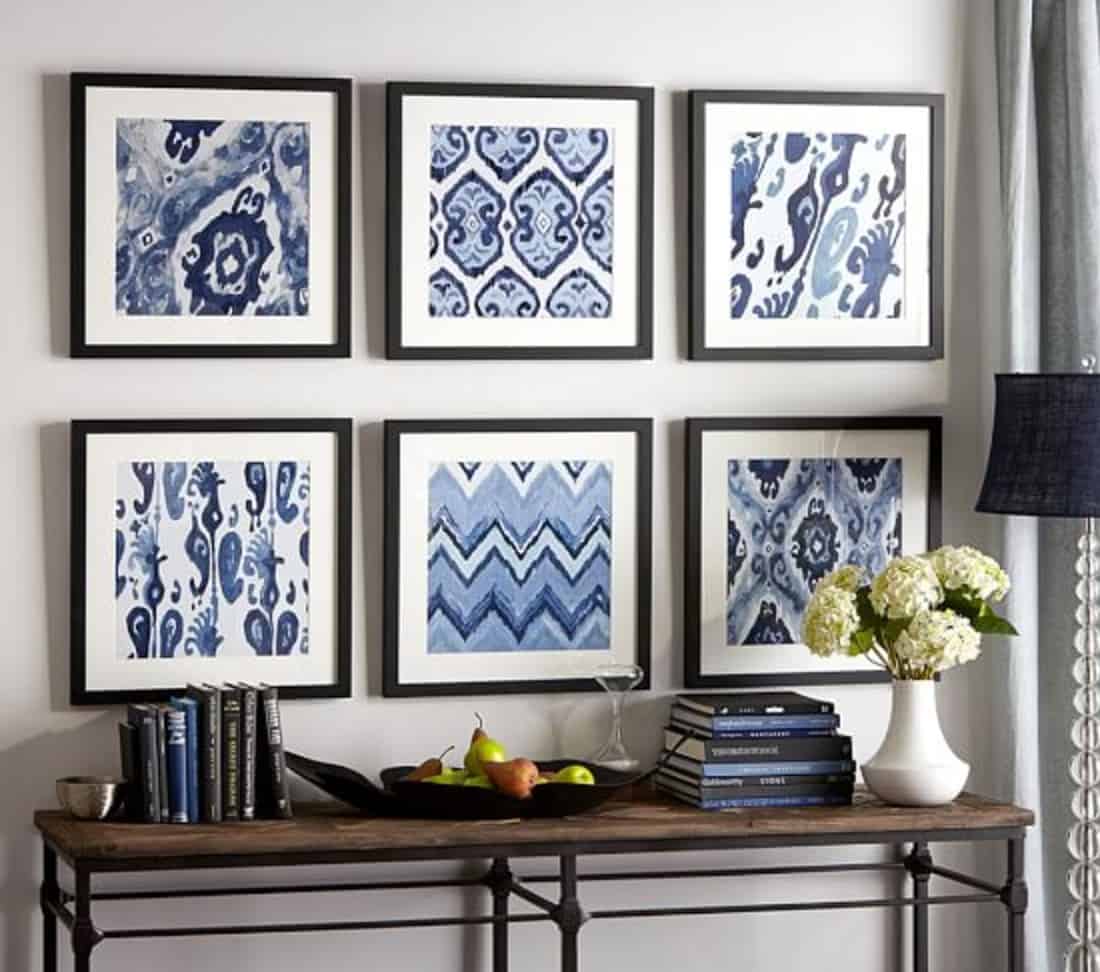
I’m also in love with these Ikat framed prints, also from PB. But again, over $1000 for the set. Yikes!
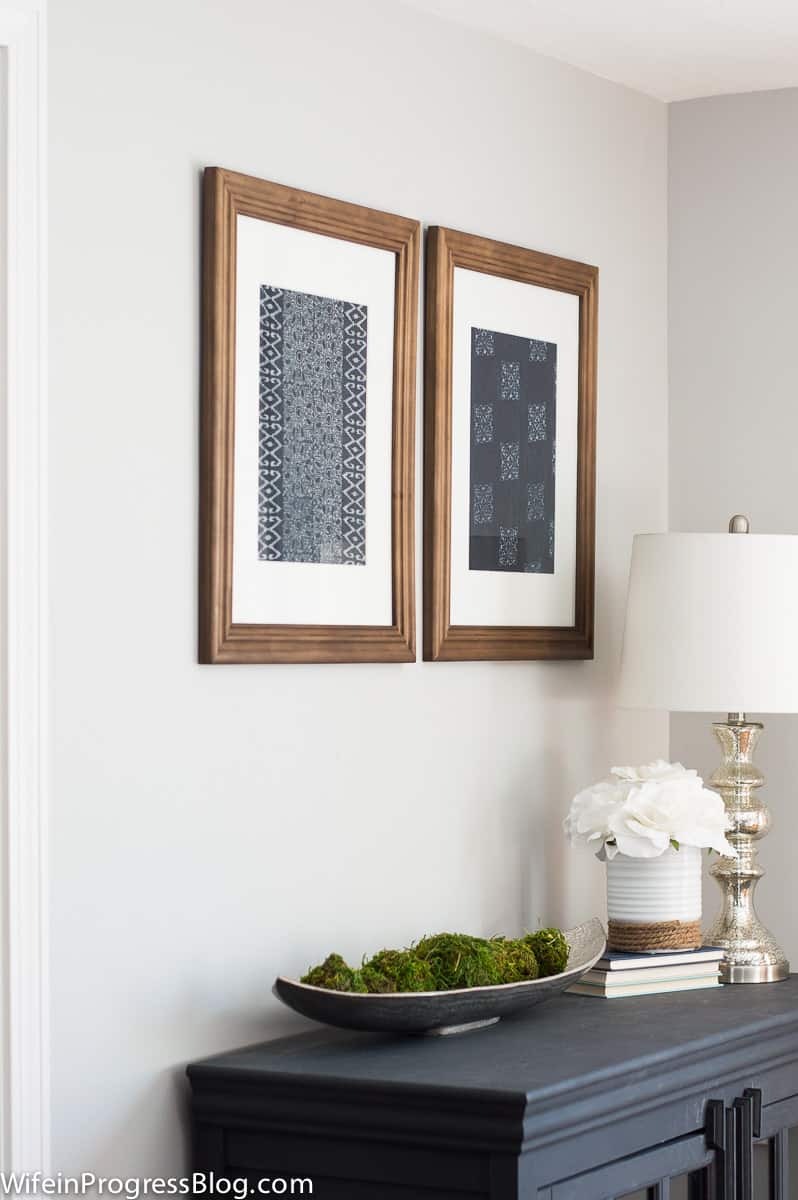
At the end of the day, it’s just framed fabric. So I made my own. And I may even prefer them to the PB version!

Make Your Own Textile Art
They literally take no effort to make and only cost whatever you spend on fabric and frames. You could easily do a shibori technique on some cotton fabric (think grade school tie-dying but with indigo dye) to create your own custom designs.
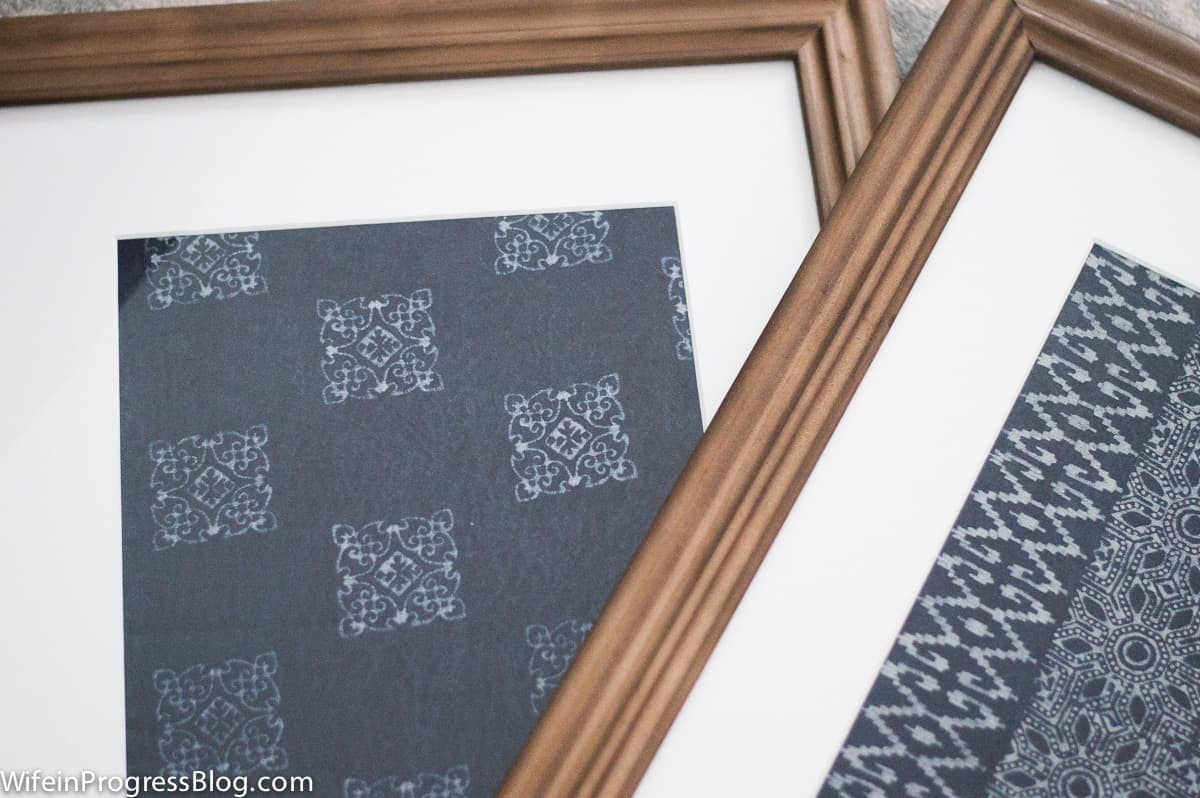
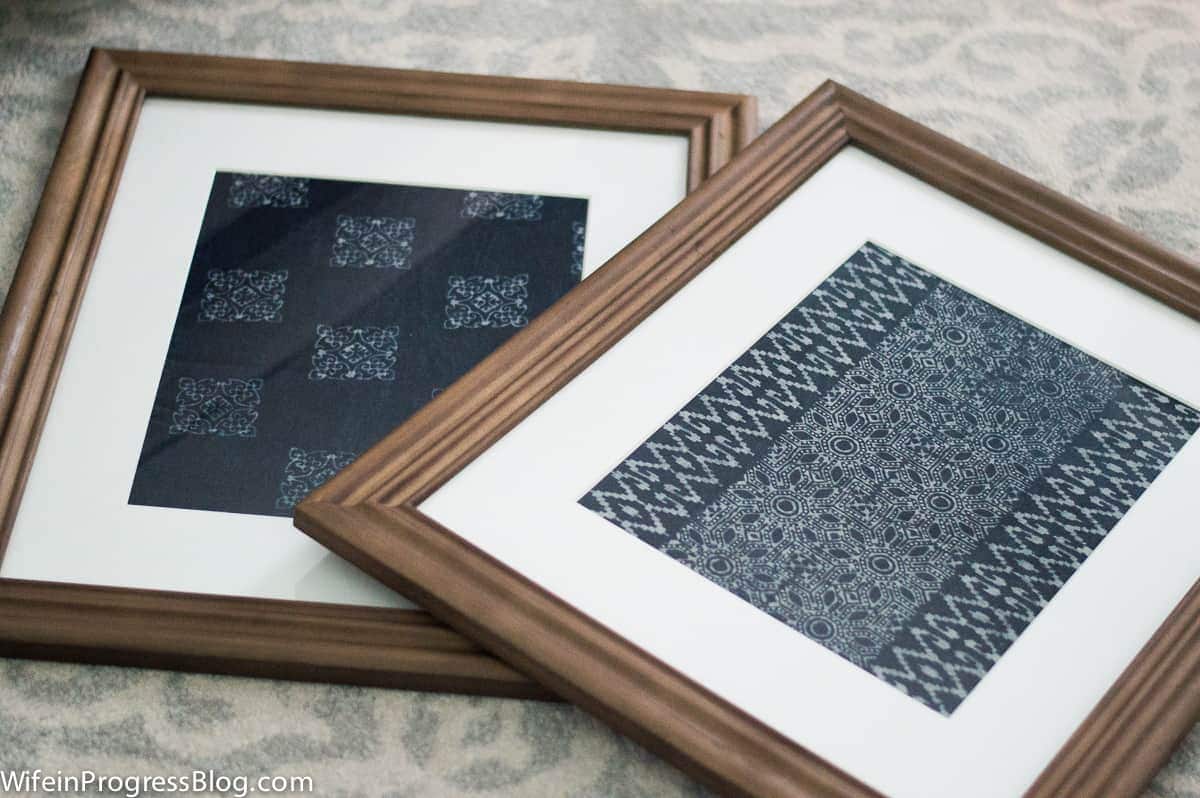
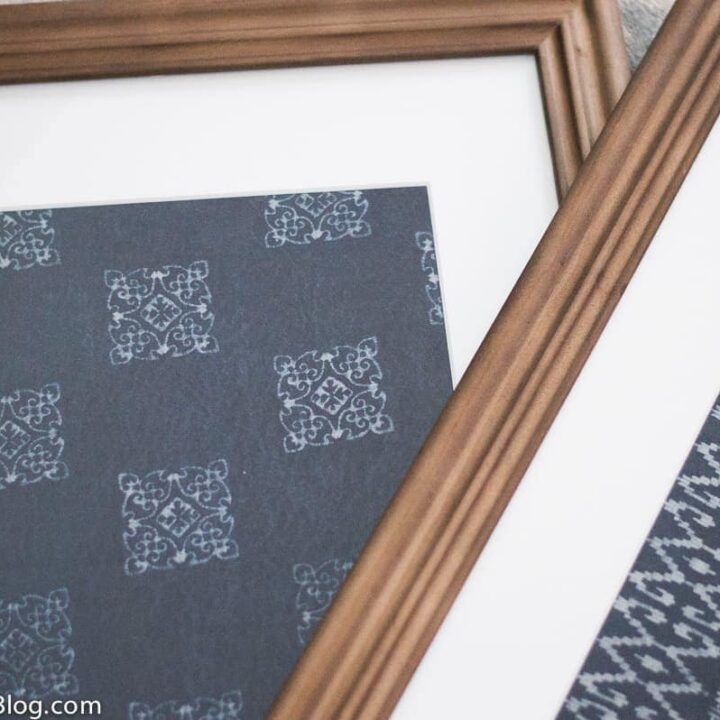
I chose to purchase these pretty pre-dyed fabrics from Etsy (they came all the way from Thailand!). Then, I cut them to size and framed them.

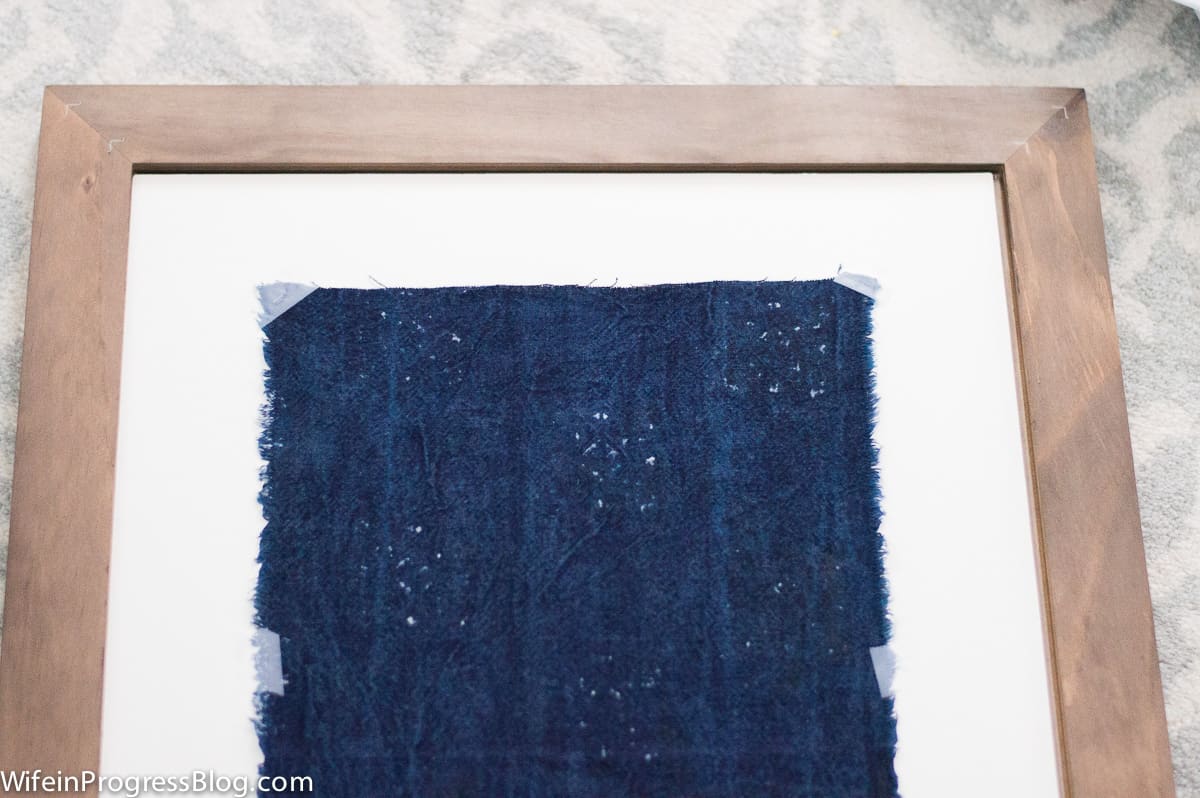
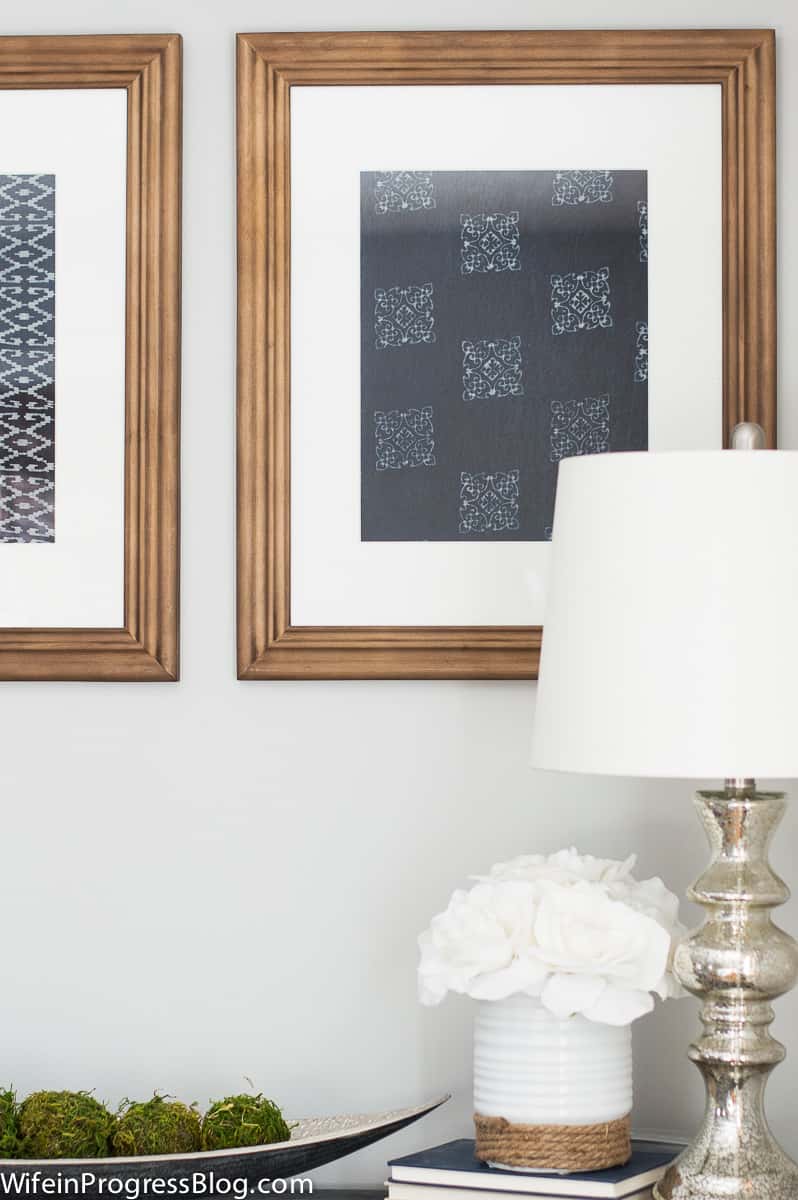
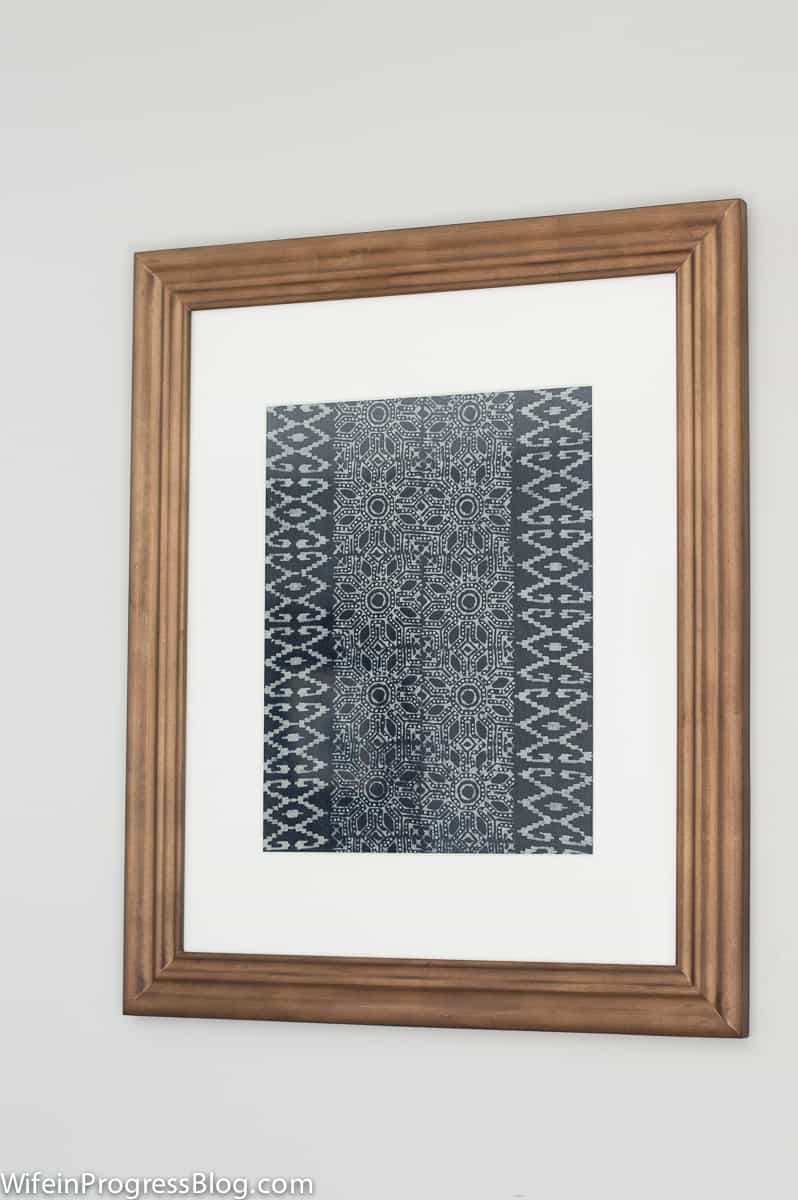
As you can see, all I did was cut the fabric to the size I needed, then taped it to the matte.
Could there be an easier DIY?
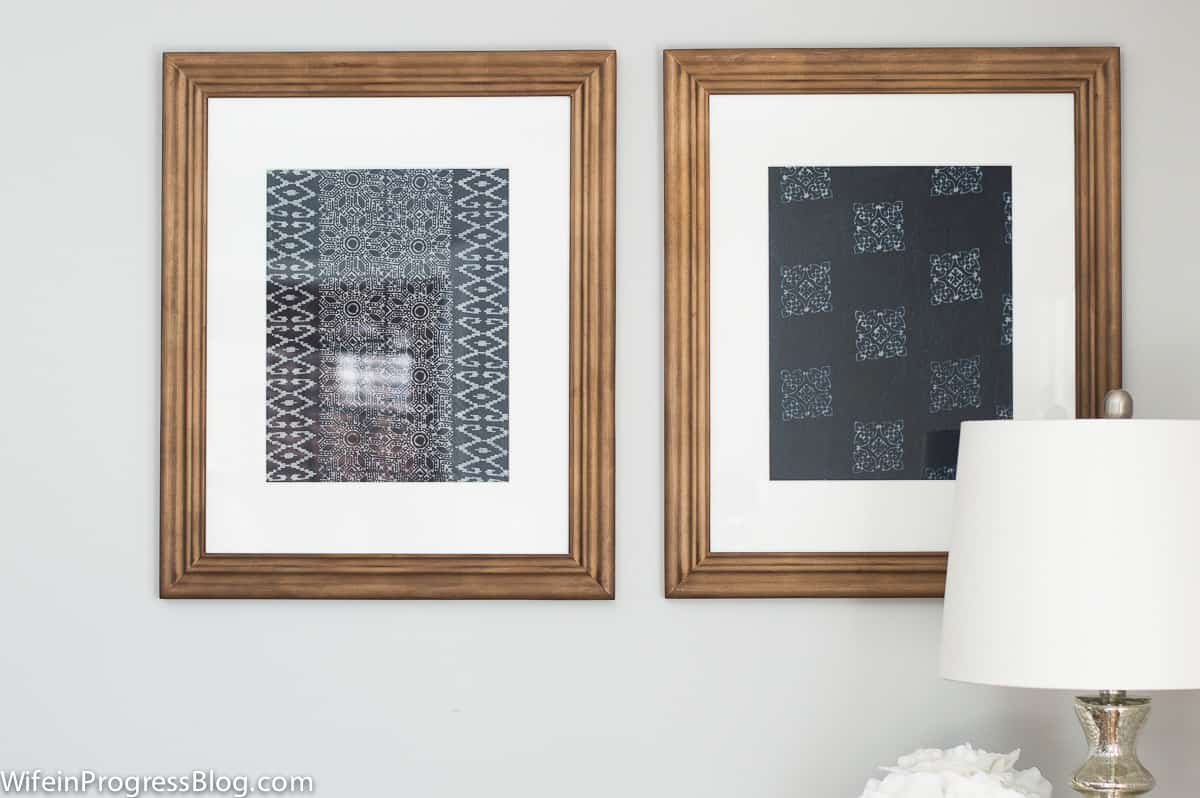
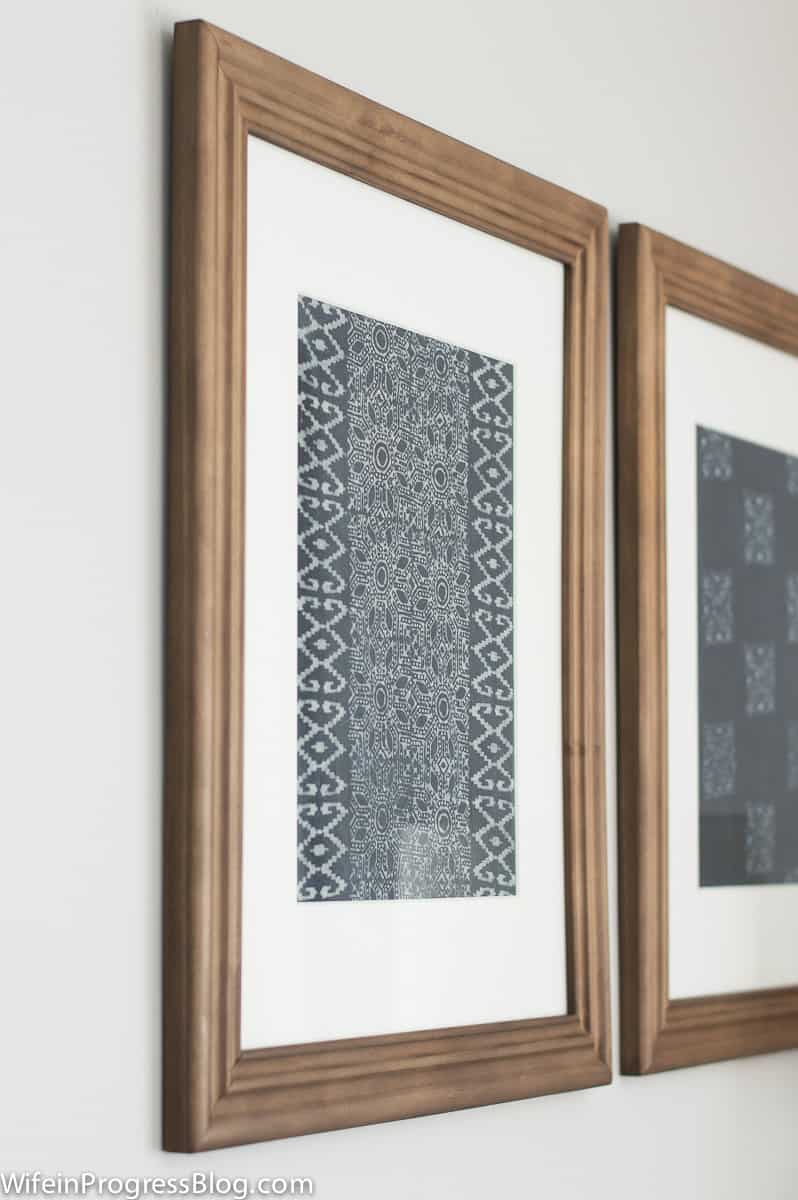
By the way, aren’t those frames fab? They have the perfect medium toned color and a matte finish. Love ’em!
Each piece of art worked out at about $20 – $25 for the frame and $4.50 for the fabric.
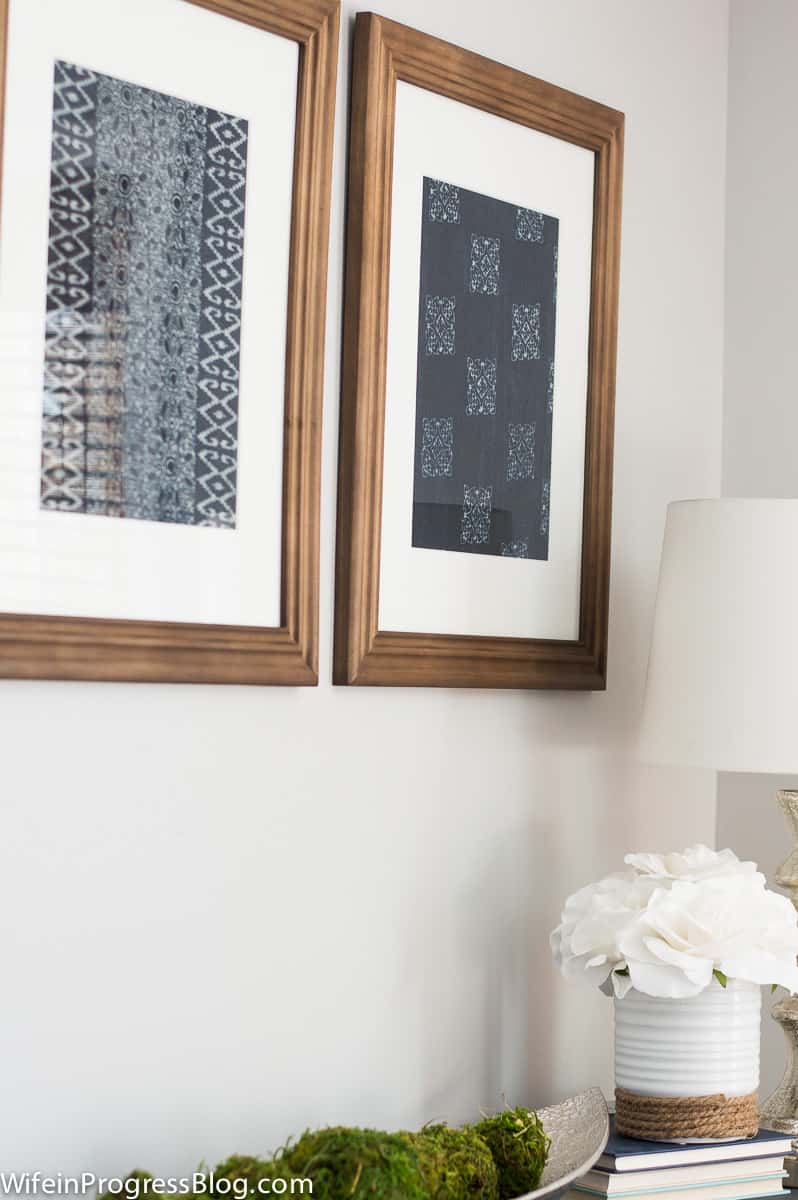
I’m so happy with how they turned out and I think they are the perfect touch to this corner of my living room.
What do you think? Is this a project you’ll try? It is endless possibilities – pick a any fabric that complements your existing decor or that adds a pop of color and you’re good to go!
Pottery Barn Inspired Textile Art
Don't spend a fortune on beautiful art when you can easily create it yourself - get some pretty fabric and a photo frame and you're done!
Materials
- 2 pieces of pre-dyed patterned fabric of your color choice
- 2 large matted photo frames
Tools
- Fabric scissors
- Measuring tape or mat
- Fabric tape
Instructions
- Measure the area of the mat of the photo frame, leaving an inch to overlap onto the mat.
- Cut the fabric to fit these dimensions.
- Tape the fabric onto the mat.
- Insert into photo frame and secure properly.

*affiliate links included for your convenience*
Hi, is this floating frame? Also, what’s the thickness of cloth if you remember?
It’s just a regular frame. I don’t remember the thickness of the fabric, unfortunately.
Framed fabric is a brilliant idea for inexpensive art! Could also use thrifted frames and paint if desired. In addition to fabric, you could use pretty wrapping paper, wallpaper, scrapbook paper, etc. I also like the idea of filling the entire frame with the fabric/paper without the mat, and possibly layering other items on top of the fabric/decorative paper like photos, dried leaves, vintage postcards, love letters, recipe cards, cut put silhouettes, etc. The possibilities are many!
Absolutely! There’s so many great possibilities here!!
So pretty! It’s amazing how simple things like fabric, kids art, and patterned paper can all look incredible when put into the right frame.