Content may contain affiliate links. When you shop the links, I receive a small commission at no cost to you. Thank you for supporting my small business.
Do you hate all the prep that goes into painting furniture? Do you wish you could skip the sanding and priming and have a brushstroke-free final product? Well, I’m going to let you in on my secret to perfectly painted furniture. And the best part is, there’s no sanding and no priming needed!
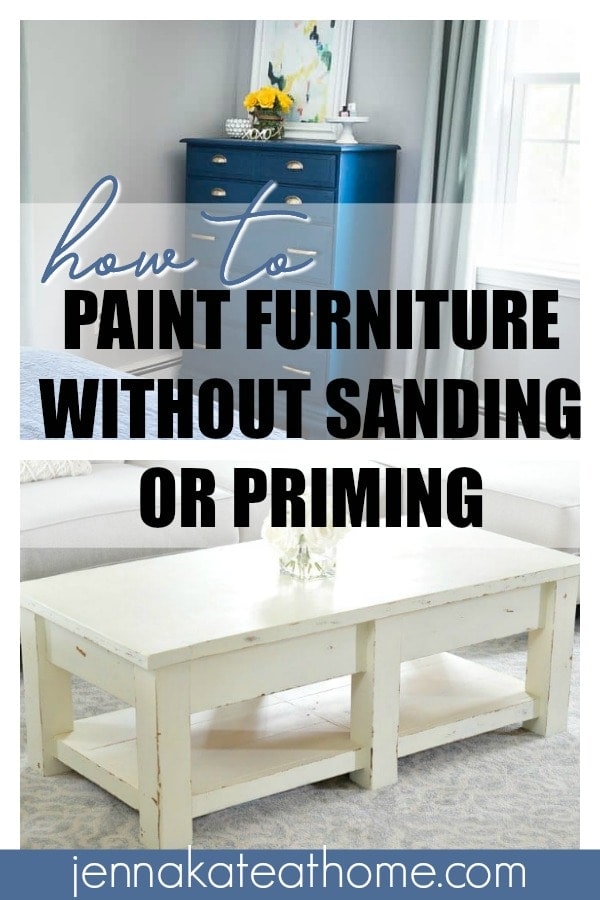
Do you have a table, chair, end table or even a desk that needs a new lease on life? Painting furniture is not only a great way to bring new life to an old furniture piece but it’s also a thrifty way to redecorate a room.
I love adding a new color to a old piece of furniture to bring a completely new look to a space. I’ve done it so many times and the effect is always amazing. You don’t have to be a professional painter to jump into this DIY! Whether it’s your first time painting furniture or you’re experienced, you’ll love this helpful hack.
Why Painting Furniture Can be Such a Hassle
I know what you’re thinking—painting furniture is such a process! Between sanding and the priming, painting furniture just seems like a ton of time to invest! Plus, it’s not always feasible if you’re working indoors or don’t have the necessary tools and space. Sure it can be a hassle, but it doesn’t have to be. The good news is, it all depends on what products you use! As long as the furniture is in good condition, you can easily make it look brand new again.
Liquid Deglosser Instead of Sanding
When you’re looking to revamp your wooden furniture but want to skip the laborious sanding process, a liquid deglosser is the first thing to do. This handy chemical solution works by dulling the existing finish, preparing your furniture for a fresh coat of paint.
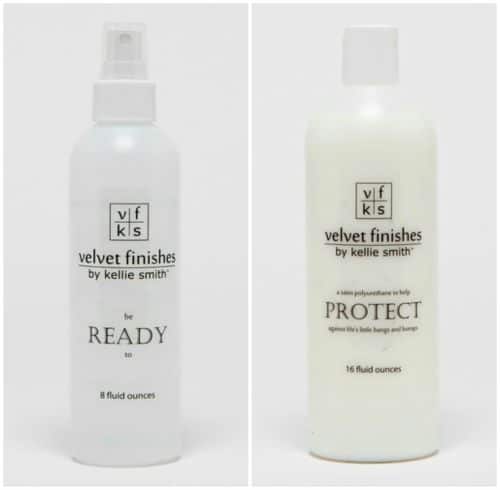
I especially recommend using the READY product by Kellie Smith–It’s the best liquid deglosser that I’ve found so far. It’s definitely a favorite product! And it even works great if you are going to paint furniture with a laminate surface or something that has some sheen or shiny surface to it (like these IKEA nightstands that I painted). This easy spray-on product removes dirt, grime and deglosses to prepare your surface to take the paint.
Is a Top Coat Important?
While a few coats of paint is all you need, if you know your piece will get used a lot, I also advise adding a top coat of PROTECT, a satin poly that goes on slightly white and dries to a glossy finish.
I used both READY and PROTECT on my Guest Room Nightstands and they have held up perfectly to regular use. My Handsome Dresser doesn’t have any additional product other than paint and is also still holding up perfectly!
Tips for Best Paint Adhesion
- Make sure to clean your surface well to remove any dust particles, dirt, or grease.
- As with any new paint process, I always start with a test patch in an inconspicuous area that isn’t noticeable in case it just doesn’t react well with your furniture.
- Apply it with even strokes to avoid any patchy areas that might not catch the paint as well.
By using a liquid deglosser, you sidestep the need for sanding and jump straight to painting, saving you time and energy while still ensuring your new paint adheres properly—a huge lifesaver if you ask me!
Kelli Smith Products for Painting Furniture Seamlessly
Here’s where I let you in on the secret to perfectly painted furniture…it’s the best way to skip the sanding process!
When I want a quick makeover that still has amazing, long-lasting results, there’s a line of furniture paint that I always turn to. It’s called Velvet Finishes and it’s my secret weapon for painting furniture. Their paint provides beautiful rich colors with a soft, velvety finish. The best part is that there’s no sanding or priming needed!
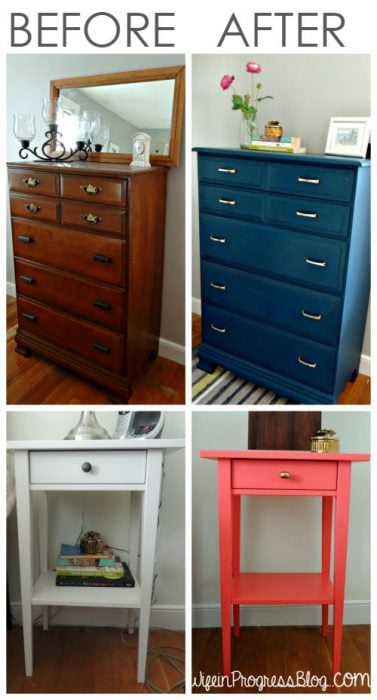
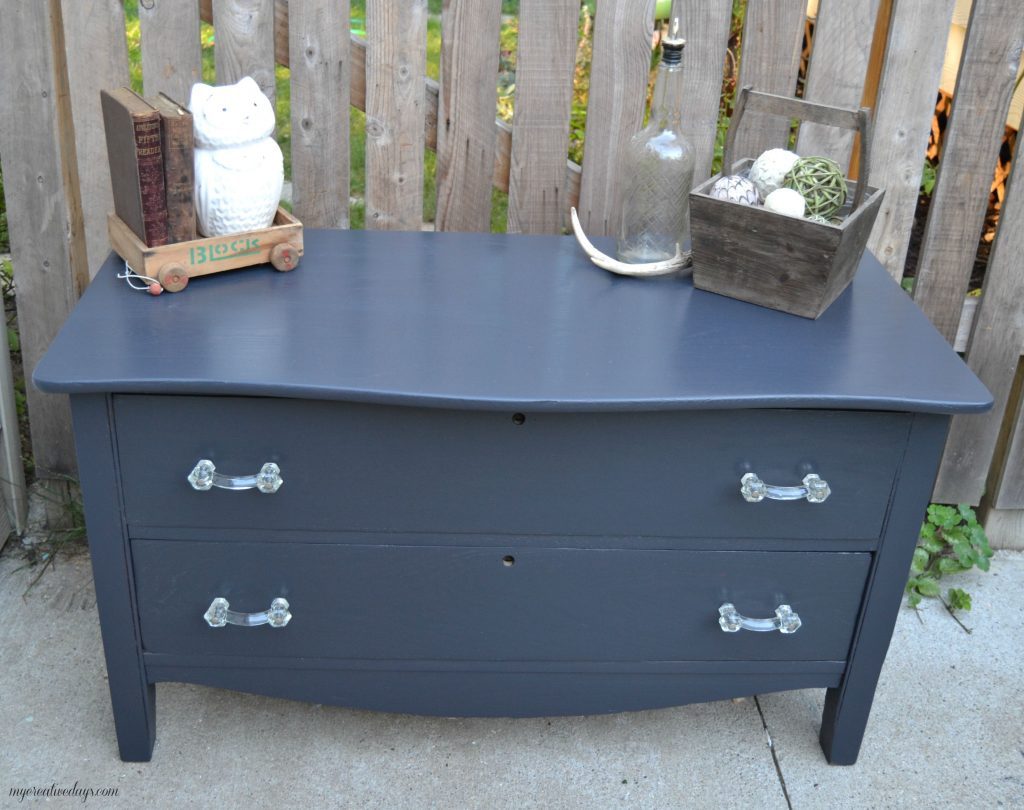
Look at these items that I have previously painted. The only thing that I did to the dresser before painting it was to wipe any dust off it. Then I applied the first coat of paint with a paintbrush, allowed it to dry and applied a second coat. That was it! A little bit goes a long way. 5 years later, the paint is still holding up amazingly despite 2 moves! This is for sure a product that will last a long time.
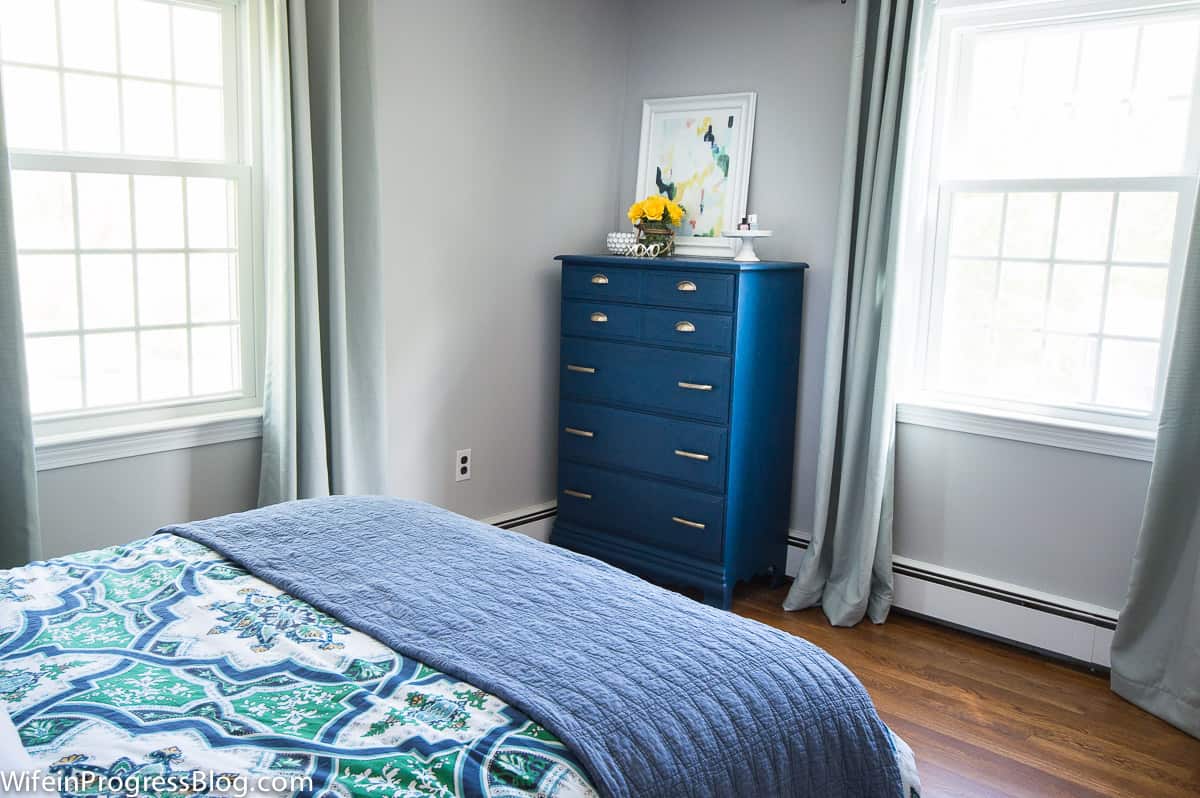
Whether you’re new to DIY or an old pro, you’re going to love this line of products developed by Kellie Smith. Every piece I’ve painted with this line has turned out simply stunning.
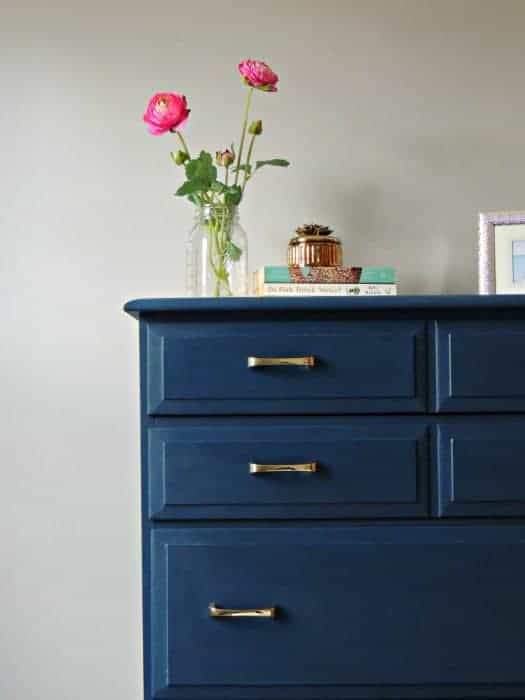
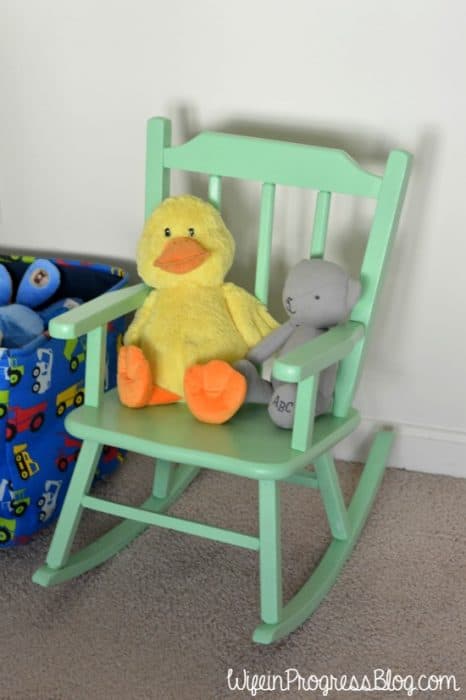
Love to color your world? Check out the amazing lineup of colors available in the range:
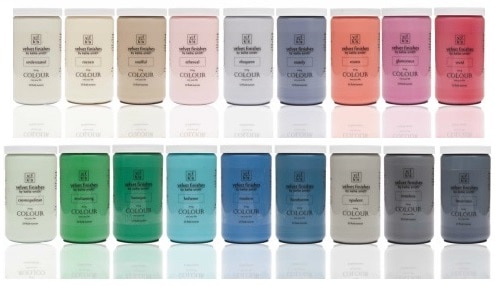
If there’s not enough choice for you there the Velvet Finishes website also has color recipes for you to mix up a whole other slew of beautiful, bold colors.
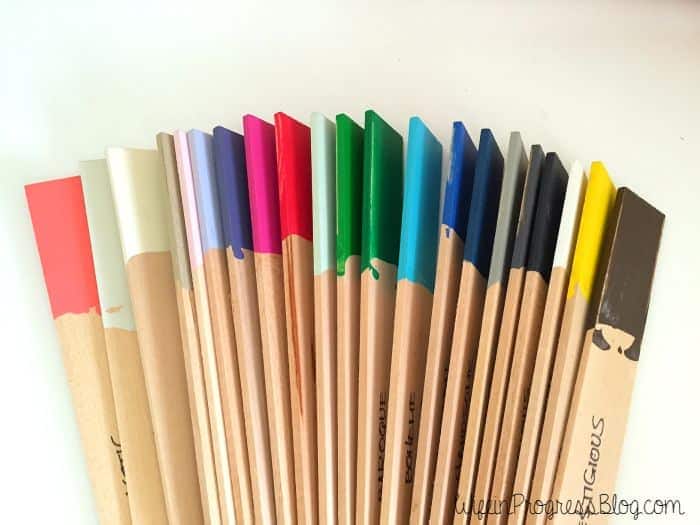
My personal favorite colors? Exotic, a beautiful shade of color and Handsome, a gorgeous navy-blue.
Interested in a more neutral color? Check out my painted coffee table make-over from my living room—Velvet Finishes Farmhouse style!
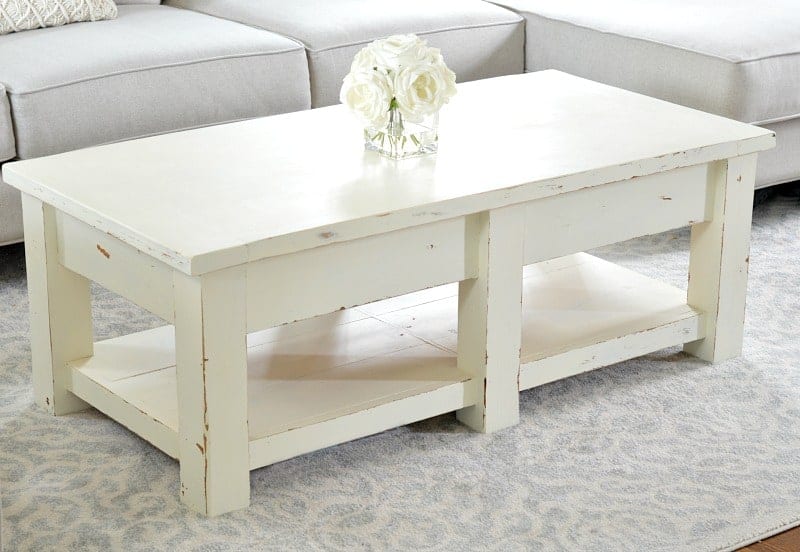
Now that you know the secret to perfectly painted furniture are you ready to paint that piece of furniture you’ve been wanting to make-over? Velvet Finishes by Kelli Smith allows you to paint furniture without all those extra steps, saves time and money and achieves beautiful results.
How to Paint Wood Furniture Without Sanding
1. Start with a Sturdy Piece of Furniture
Whether it’s an old wood dresser you have in your home, or an antique you find at the thrift store, be sure that it’s got good bones and sturdy.
2. Thoroughly Clean the Furniture
Before you start your painting project, make sure your furniture is clean. You don’t have to do a deep clean, but I like to make sure there’s no dust, dirt, or strange gunk on it—you never know when there are kids in the house!
3. Degloss Instead of Sanding
Spray the READY product on your furniture to clean and prepare the surface for painting. Let it sit for a minute, then wipe it away. If there is any sheen left to your piece, repeat the process. The paint needs a clean surface for maximum adhesion.
4. Use Kelli Smith Products for Painting Furniture Seamlessly
With even paint strokes, apply your paint onto your furniture. Repeat with a second coat of paint if needed.
How to Paint Furniture Without Brush Marks
My favorite part about using Velvet Finish paint products is that it’s formulated so that the brush strokes disappear, making for easier and quicker painting process.
However, I always like to follow these techniques with any of my painting jobs. Whether using a brush, roller, or paint sprayer, applying your paint correctly is vital for the best results.
Using a Brush: For detailed areas or smaller pieces, a brush can be your go-to. Opt for a high-quality synthetic brush to minimize brush marks and get a smoother finish. Apply paint with even, long strokes and consider multiple thin coats rather than one thick one to avoid drips and build up a durable finish.
Using a Roller: foam roller is preferable for flat surfaces and can cover larger areas faster. Use a small foam roller to apply a coat of paint in a thin, even layer. Roll in one direction to decrease the likelihood of air bubbles and improve the smooth finish.
Can I Paint Laminate or Veneer Without Sanding, too?
Yes! The READY deglosser that I use is perfect for veneer or laminate furniture pieces as I mentioned above. Just check over the laminate and make sure there aren’t any many cracks or chips, this could cause the paint to look a bit wonky.
Can I Paint Over Varnished Wood Without Sanding?
You sure can. As long as you use a deglosser like READY, you should be good to go.
Other Paint Options That Don’t Require Sanding
Depending on the overall look you want for your furniture, there are other non-sanding alternatives that might work for you, too.
- Chalk Paint: Usually used for that farmhouse style, this chalky finish paint sticks many surfaces without needing to sand or prep.
- Mineral Paint: This is one of the most durable no-sanding option, however, it is a bit pricier than the other options.
- Milk Paint: This is an eco-friendly, nontoxic and biodegradable paint option. When mixed with a bonding primer, there is no need for sanding. This option will give you a matte finish.
Final Thoughts
Painting furniture without sanding can be a straightforward way to give your pieces a new look with less mess. Just clean the furniture well, use Velvet Finishes by Kelli Smith and you’ll be good to go.
This method saves time and effort, making it easy for anyone to refresh their furniture quickly. Give it a try, and you’ll see just how simple and effective it can be!

Can I use the velvet paint to paint over black furniture?
Yes! It may need an extra coat to cover but I’ve used it over the dark Ikea laminate with no issues!
I’m tackling all of the outdated oak trim in our house and was wondering if this would work for that? Seems like it would take a lot less time!
Yes it would work! Regular latex paint and a good primer would work too with just a light sanding.
Beautiful work! Is this paint similar to Annie Sloan chalk paint, without the waxing afterwards?
Hi Julie,
No it’s very different to chalk paint. It looks like regular latex paint when dry, it does not have a chalky finish.