Content may contain affiliate links. When you shop the links, I receive a small commission at no cost to you. Thank you for supporting my small business.
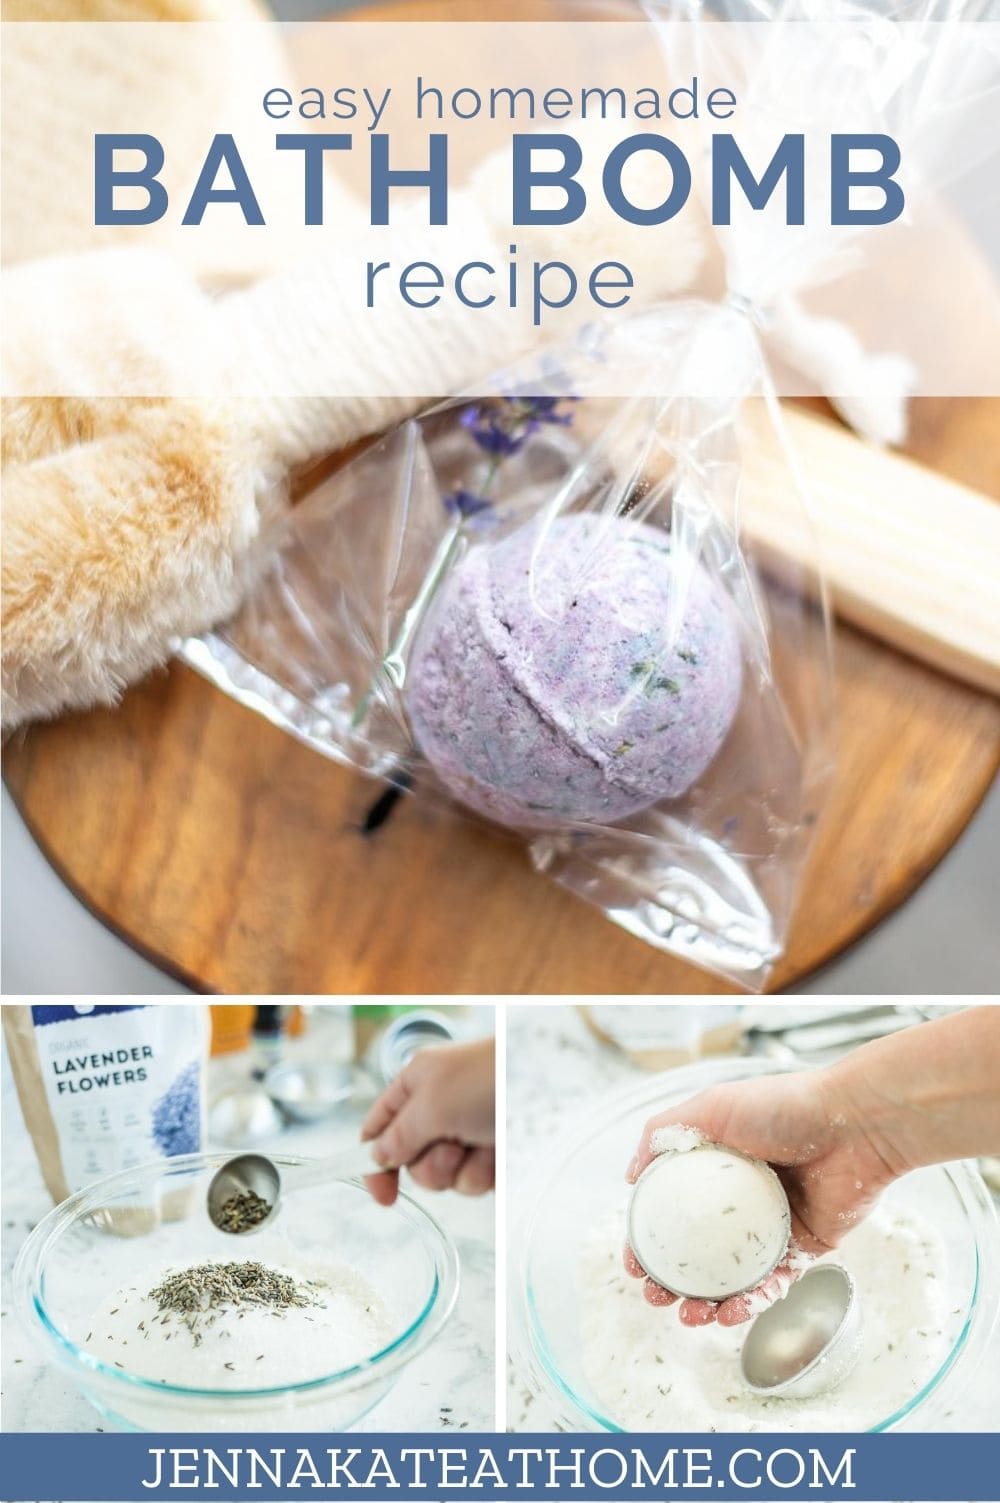

Make your own DIY homemade bath bombs with this easy recipe. With only a few simple ingredients and your favorite essential oils, you’ll have your own bath bombs that kids and adults alike will enjoy.
There’s nothing more relaxing than a warm bath at the end of a busy day. If you love dropping one of those fabulously scented (and colorful!) bath bombs into your hot bath and watching it fizz under the running water, then you’re going to love how easy it is to make this homemade bath bomb recipe!
This DIY bath bombs recipe also makes a great gift for every occasion. Whether it’s a new school year gift for your kid’s teacher, a birthday present or (dare I say it) a holiday gift, the recipient will be delighted to receive one!
Of course, you can purchase them in the store but at $7 – $10 each, they are pretty expensive. If you make these bath bombs in bulk, they work out at only around $2 a piece! Plus, homemade anything is so much more special, don’t you think? Just store them in an airtight container and enjoy them anytime you need a self-care moment.
DIY Homemade Bath Bombs with Essential Oils
Every professional bath bomb recipe needs essential oils added for fragrance. You don’t want to start messing with synthetic fragrances, especially when it comes to your skin. By using natural ingredients like essential oils, you will have natural bath bombs vs the ones you buy in the store.
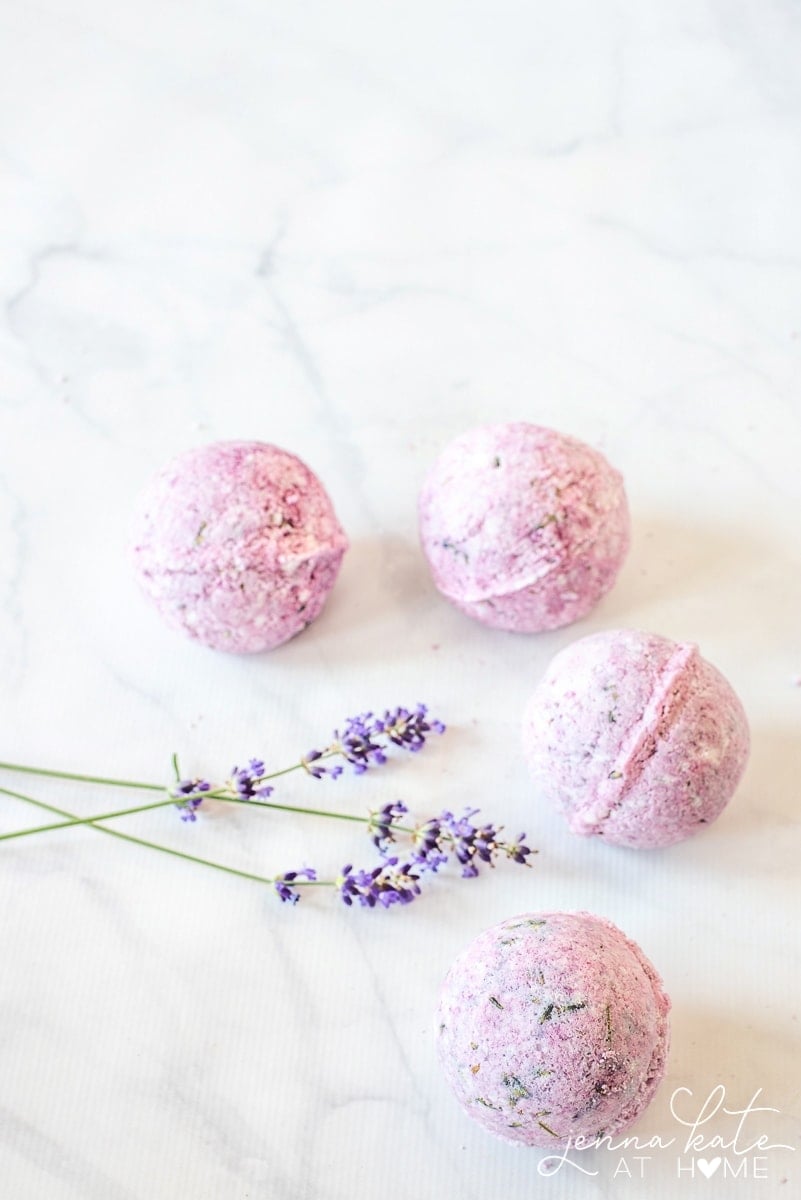
For this particular recipe, one of the main ingredients is lavender as I find lavender to be extremely relaxing. I added Lavender Essential Oil and Dried Lavender to the mixture, but you can add different scents or flower petals depending on your preference and the mood you set at bath time. Each bath bomb can create a unique beautiful vibe depending on what you choose.
I also used this plant-based food coloring, it’s a great way to avoid those nasty artificial colors in my body products. Regular food colouring works perfectly fine if it doesn’t bother you.
Bath Bomb Molds
The bath bomb molds are essential to compress the ingredients and create a lovely round shape. The molds can be purchased in different shapes and sizes, but I prefer to use the round metal or silicone versions, as I’ve found the round shape less likely to break.
What Can I Use Instead of Citric Acid in Bath Bombs?
I know many of you will ask if you can make these Bath Bombs without citric acid. Citric Acid is readily available on Amazon and is one of the essential bath bomb ingredients to get the fun fizzing effect, but Cream of Tartar will create a somewhat similar effect (not nearly as dramatic, though!). If you use Cream of Tartar, I think you’ll also possibly be able to make the recipe without cornstarch. I haven’t tried it, so I’m not sure what the ratio of ingredients would be. Make sure you’re using Epsom Salt and not regular salt, too. Epsom Salt is full of magnesium which has amazing relaxation properties, great for a detox bath. You can pick up a 5lb bag at any pharmacy for only a few dollars.

- Bath bomb molds or silicone molds
- Citric acid
- Baking soda
- Corn starch
- Coconut Oil
- Epsom salt
- Dried Lavender
- Lavender essential oil
- Food coloring (optional)
Easy DIY Homemade Bath Bombs Recipe
You’re going to want some sort of mold for these DIY Bath Bombs. I purchased these round metal bath bomb molds, but you could use one of those clear plastic Christmas tree ornaments, plastic easter eggs, or even a silicone mold depending on the shape you want.
Many recipes are floating around the internet for homemade bath bombs and I tested several out. Many of them did not work as well as promised. But finally, through trial and error, I’ve figured out the most professional recipe for your own personal bath bombs at home
Instructions For No-Fail Bath Bombs
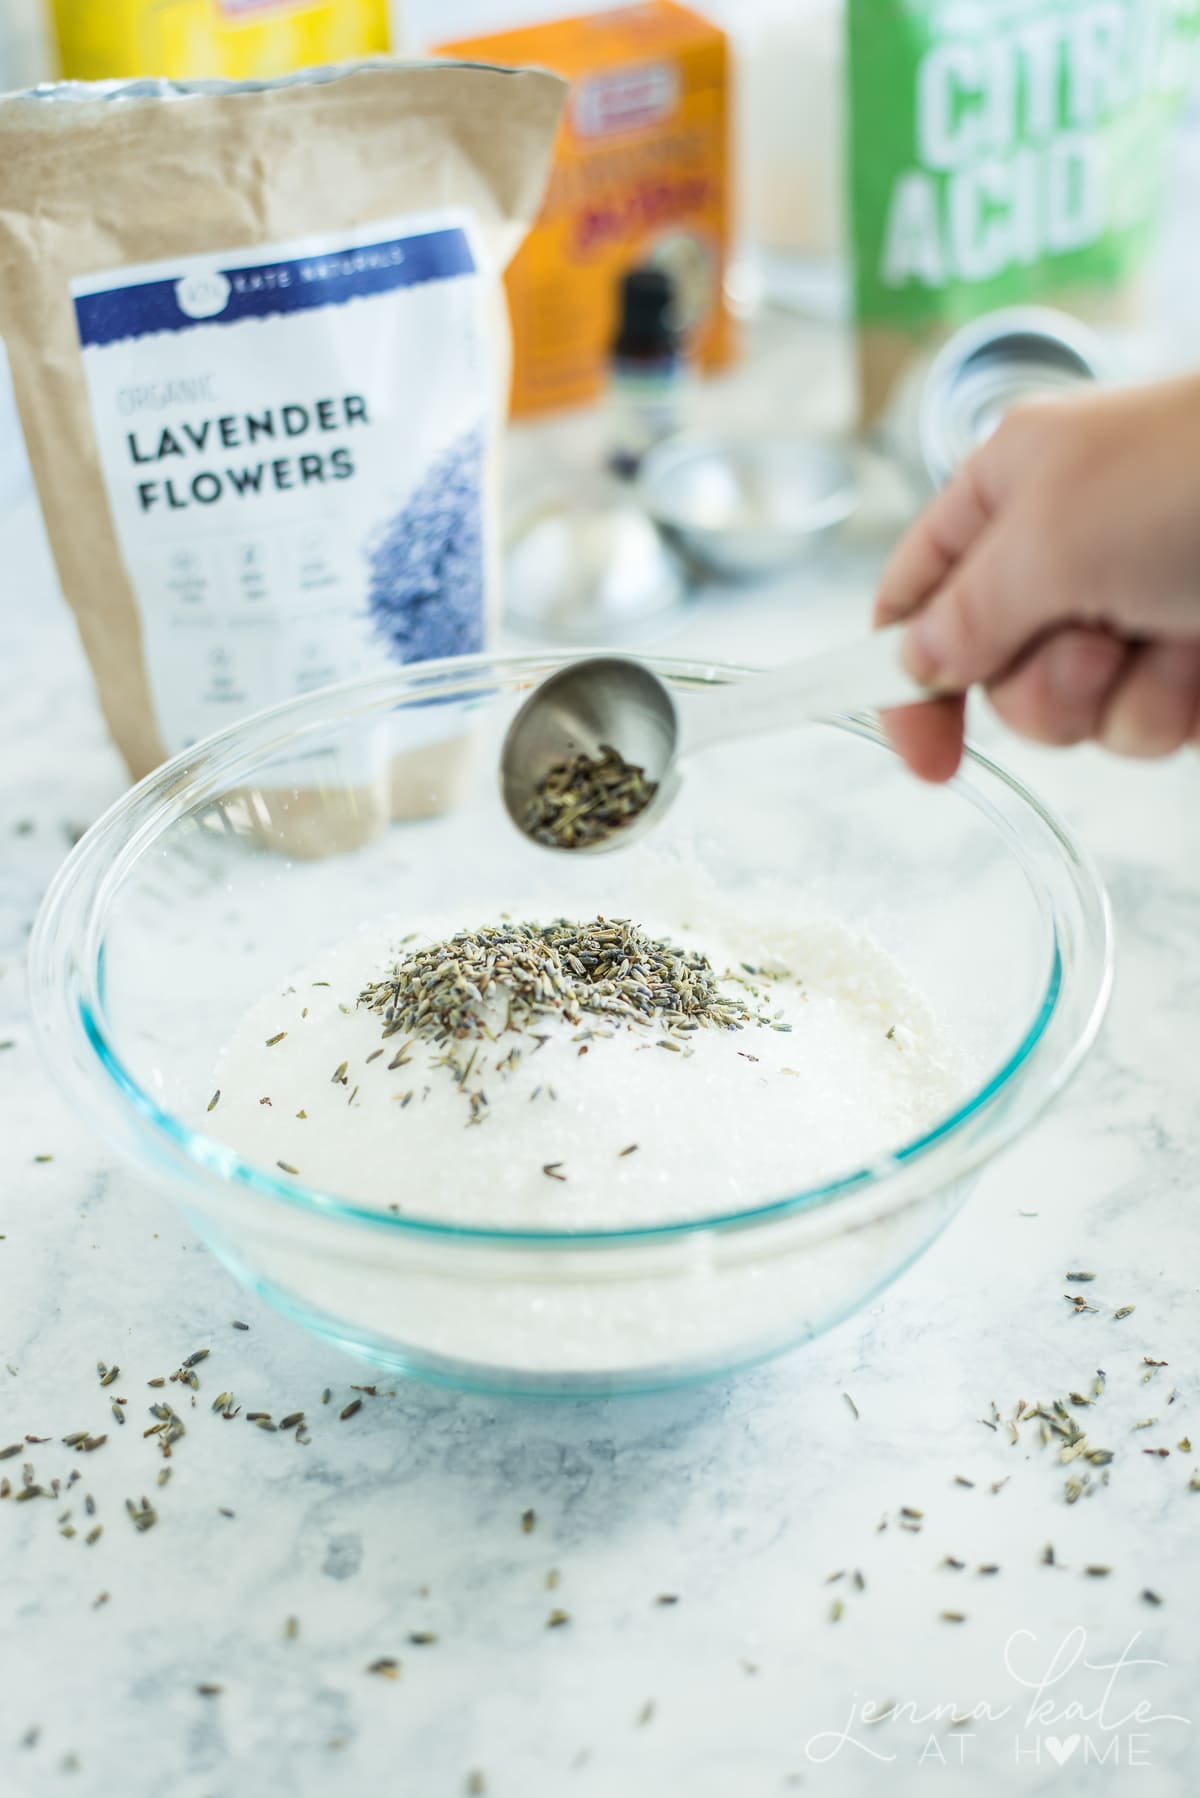
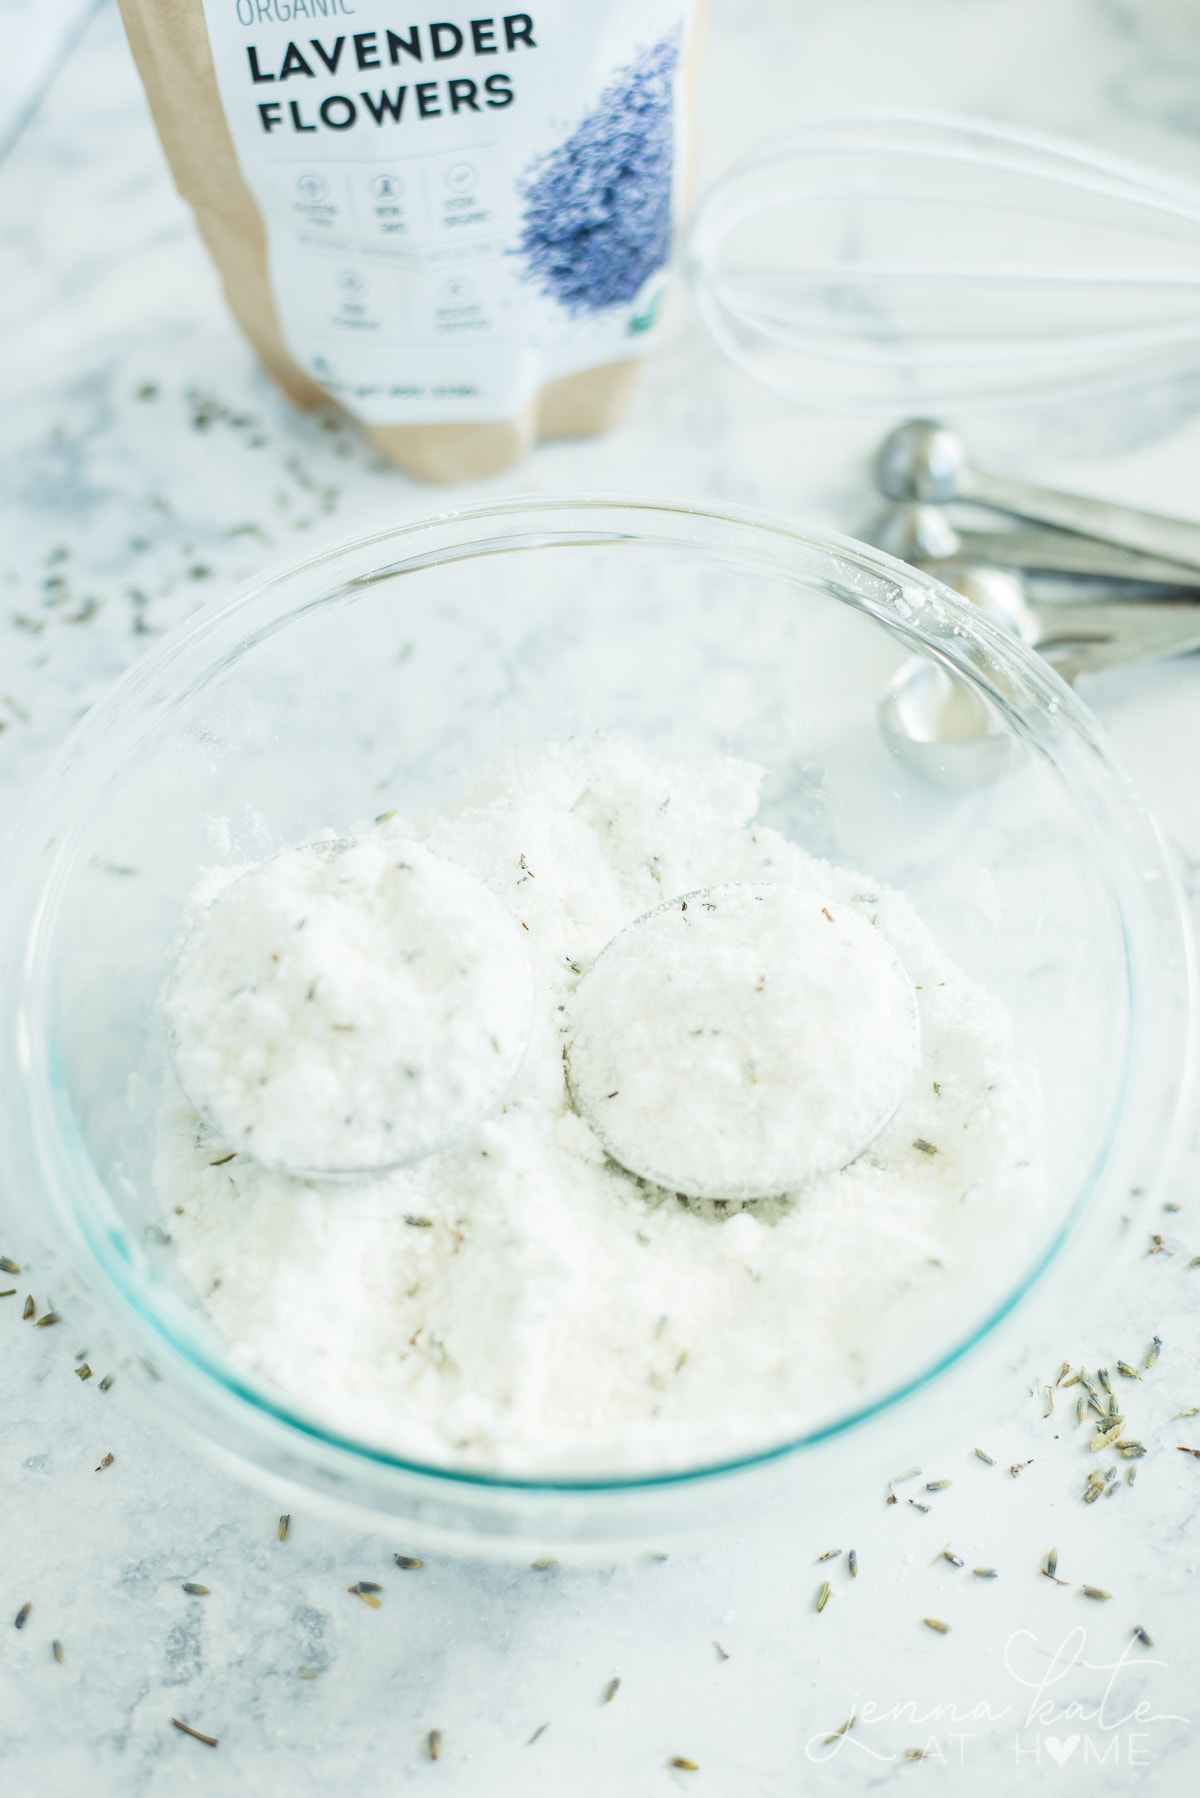
In a large bowl, mix together the baking soda, cornstarch, Epsom salt, and dried lavender (if you’re using it). If you are using powdered pigment instead of liquid, then you’ll want to add that in this step, too.
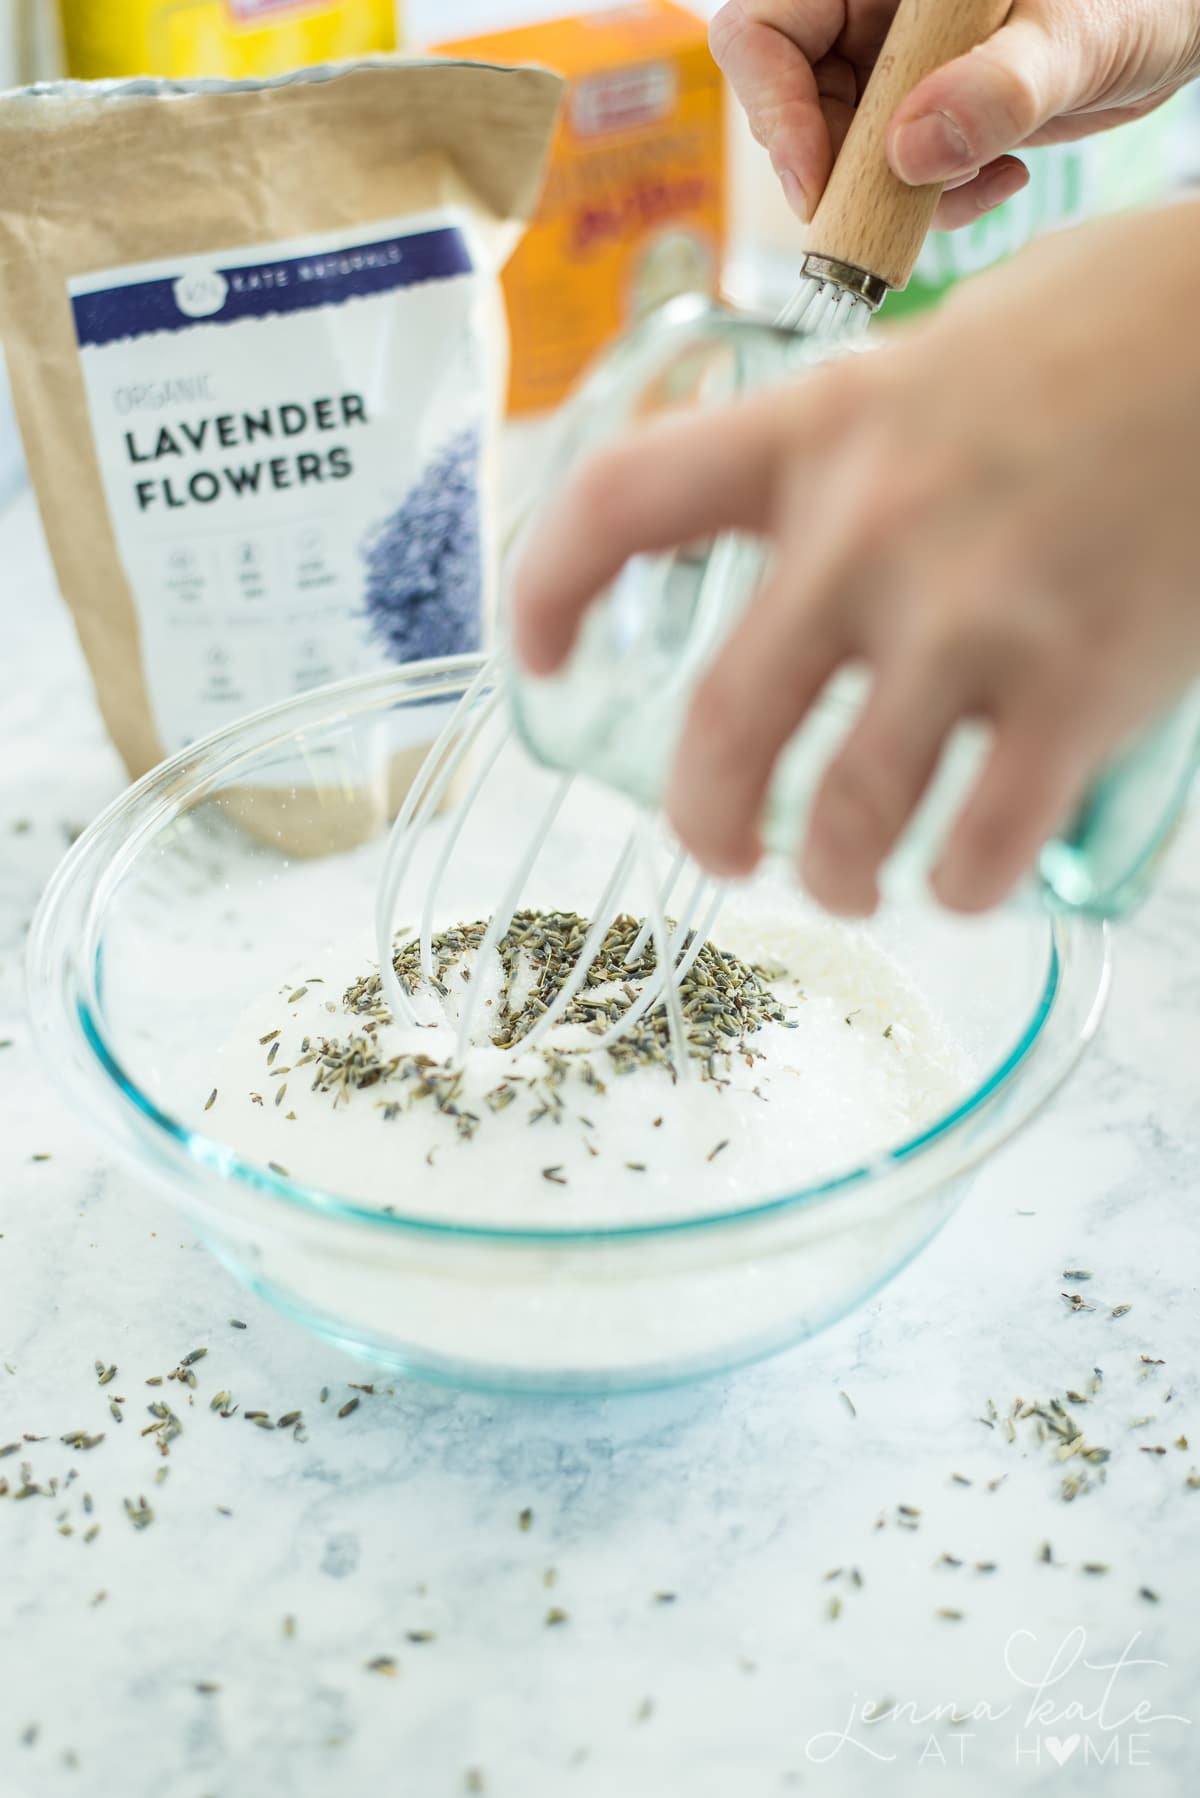
You want to mixture to resemble very fine sand, so it’s important to whisk it together and then use your fingers to rub out any lumps that remain.
In a small bowl, combine the water and coconut oil. If you’re using liquid food coloring, add it here. A couple of drops should do the trick. This is also where you’ll add your essential oil – whatever scent you’ve chosen.
Slowly pour the wet mixture into the dry mixture, continuously whisking. If the mixture starts to fizz or foam, you’re adding the liquid too quickly.
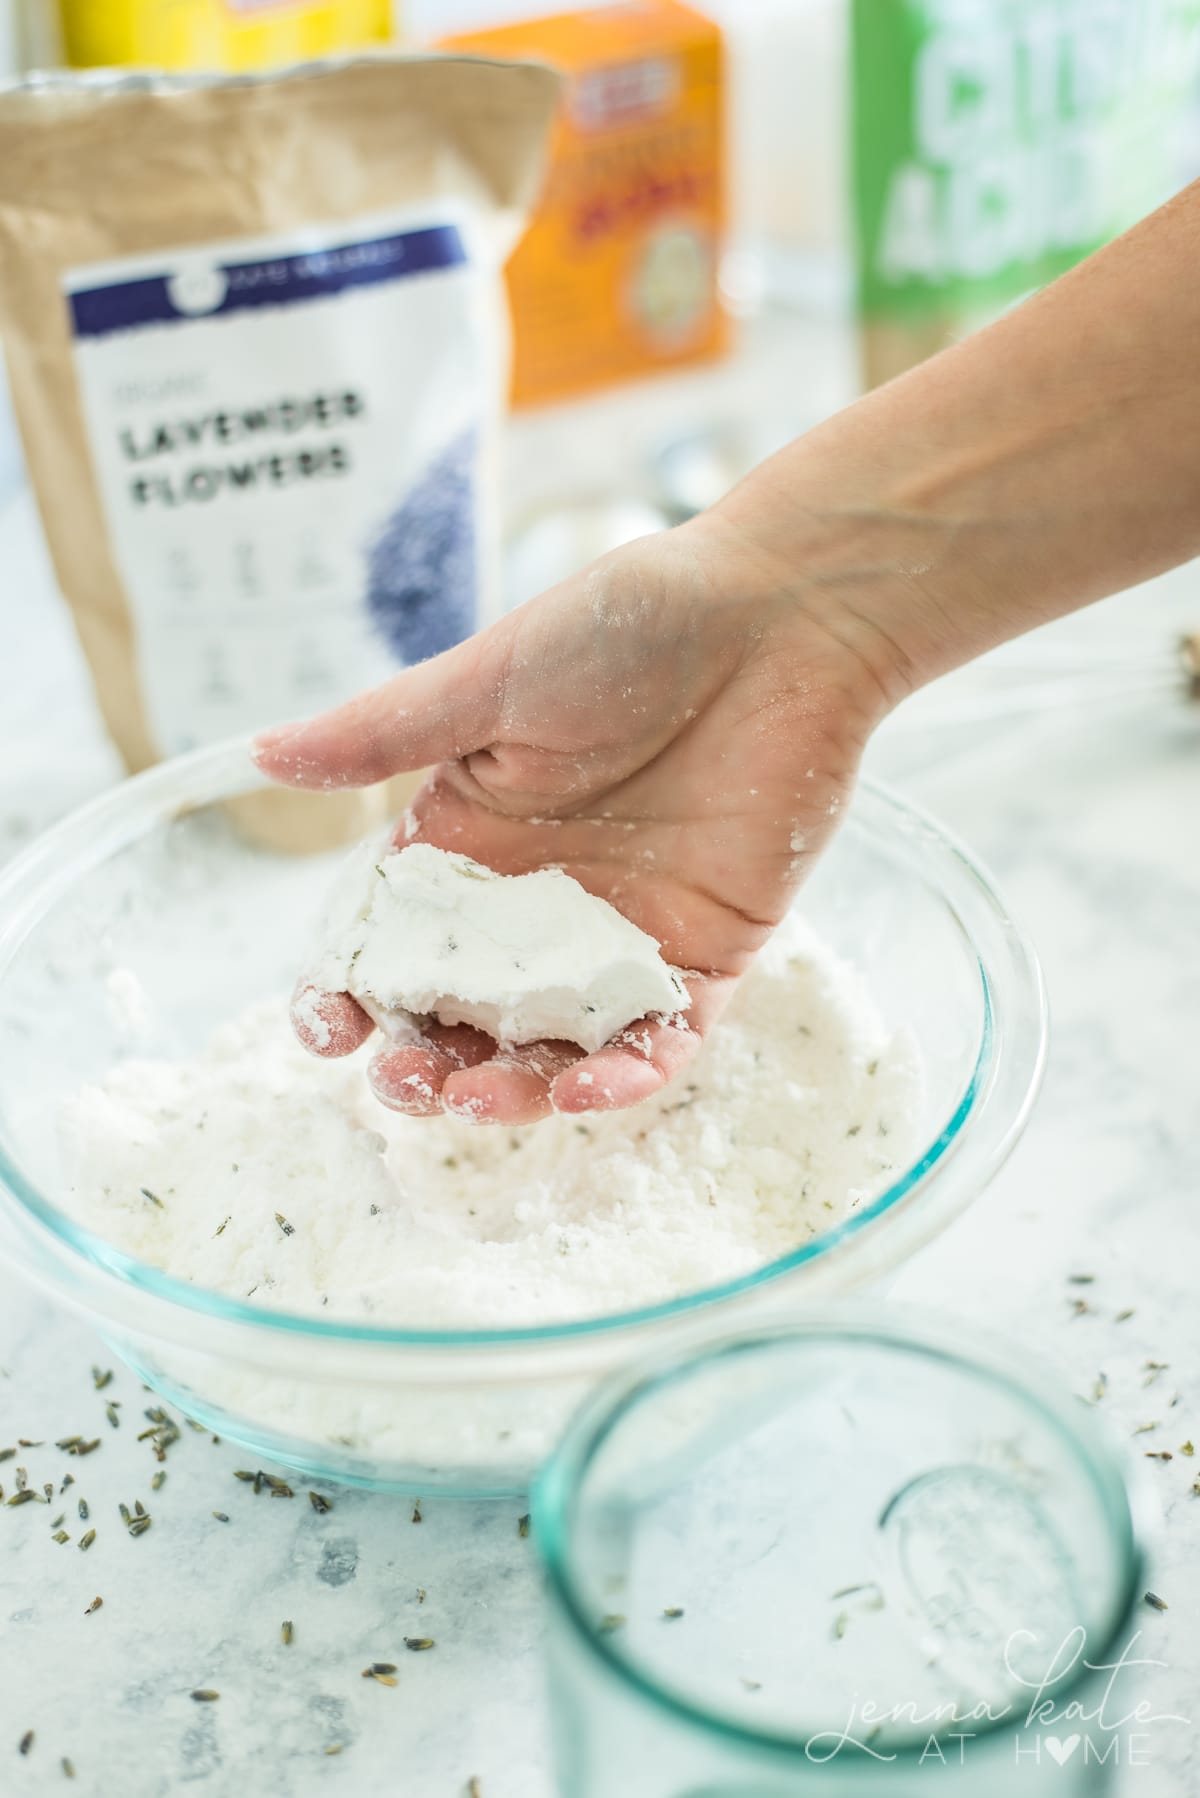
Once all the wet mixture has been added to the dry, take some in your hands and squeeze it together. If it compacts like damp sand, you’re good to go. If it’s crumbly and won’t hold together, add another drop of water.

**Do not be tempted to keep adding water. The mixture needs to remain very fine and sandy, not damp and clumpy. It might seem fine going into the molds, but it WILL collapse when you let it dry**
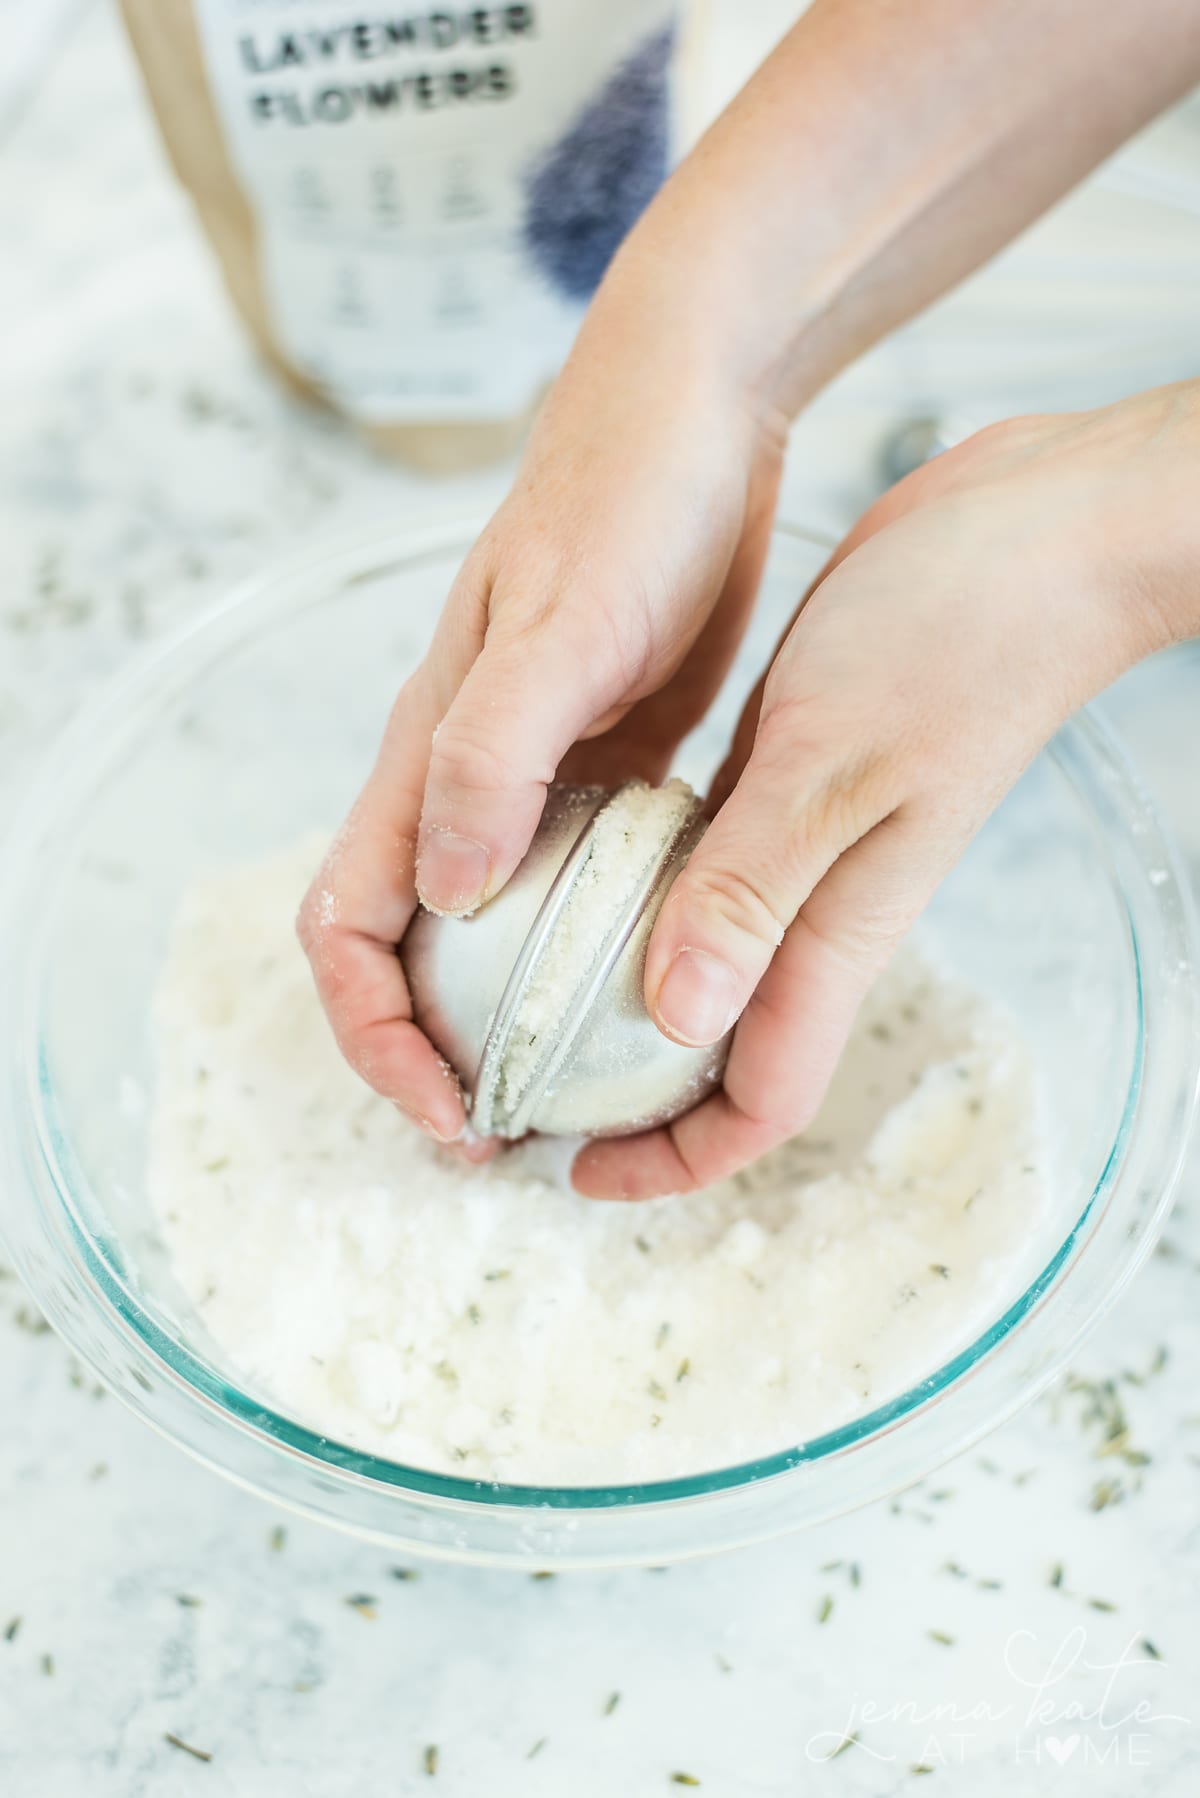
Fill each half of a bath bomb mold with the mixture so that’s it slightly overfull. Press the two halves together.
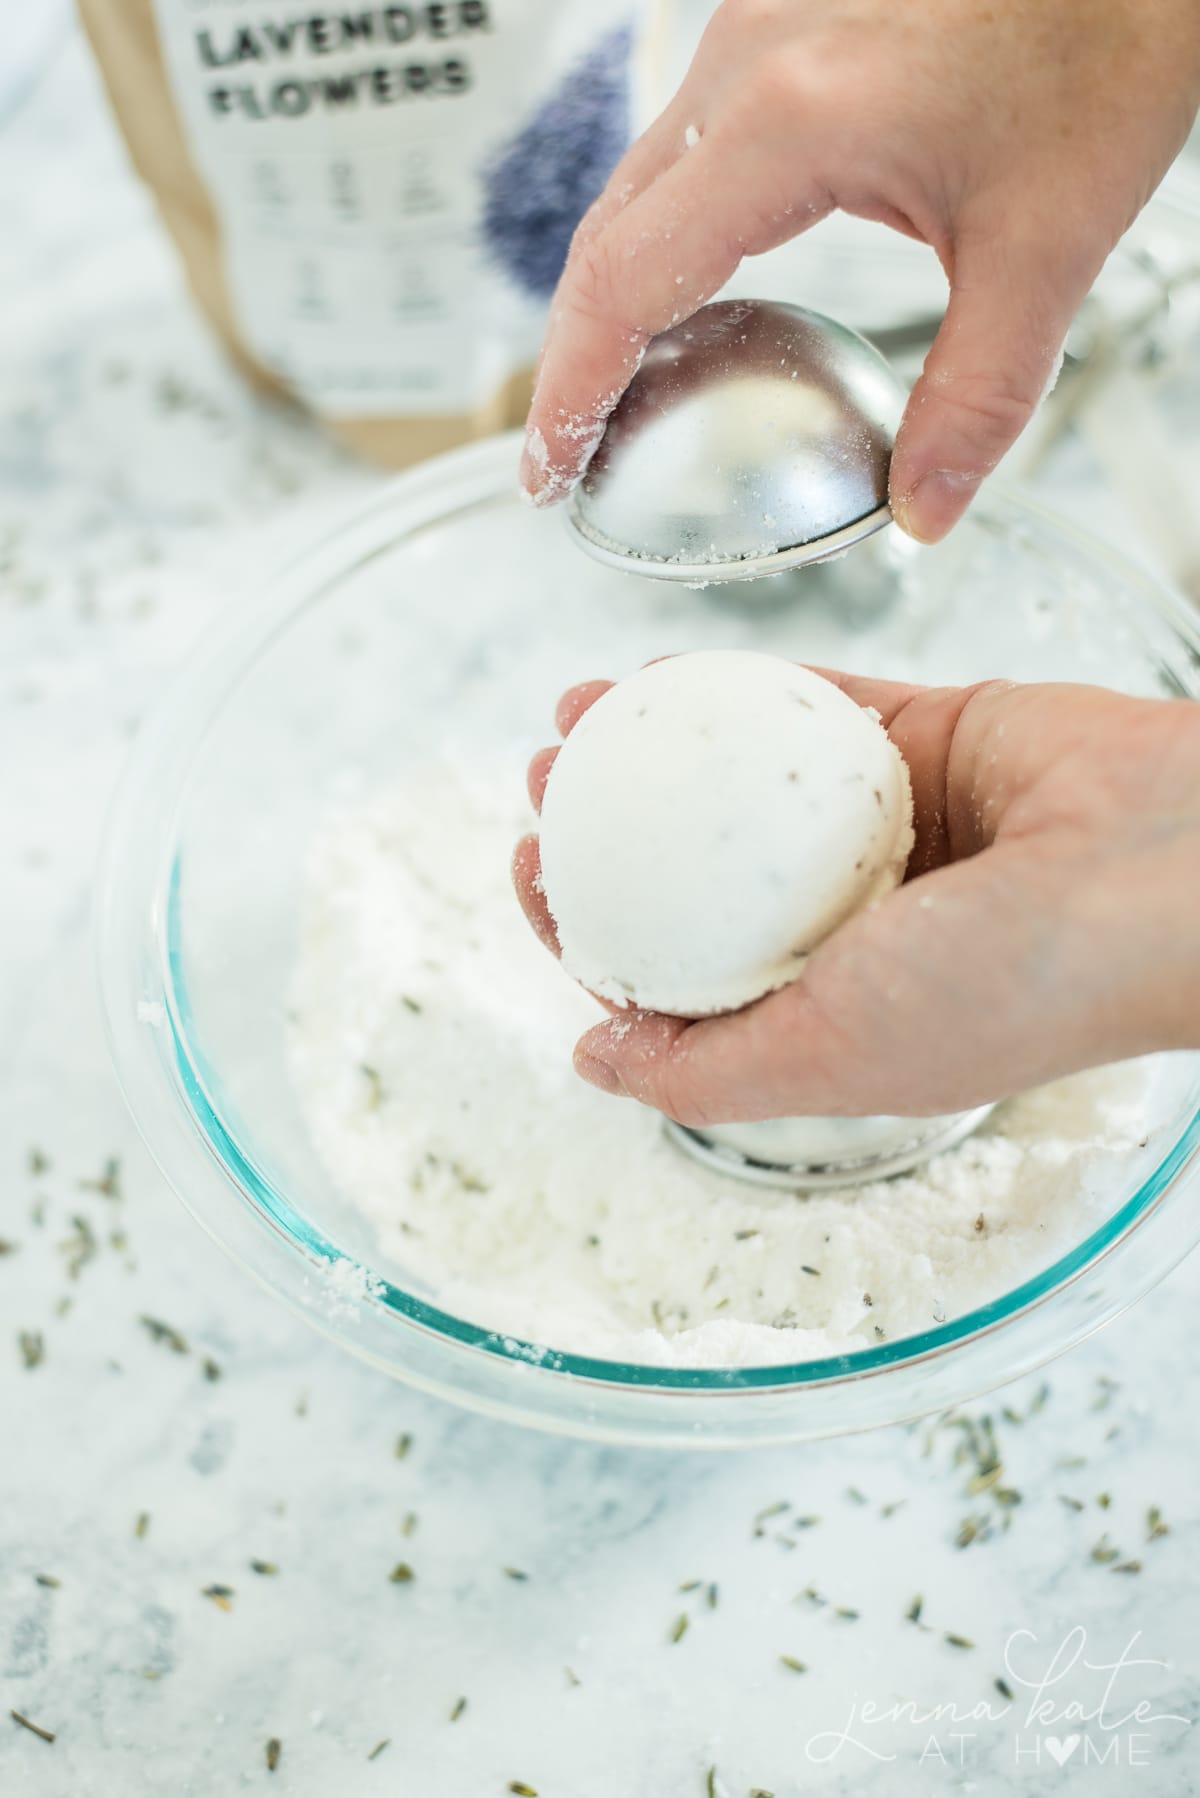
Allow the bath bombs to dry for an hour in the mold, then remove them. They need to fully dry outside of the mold so that they don’t crack.
Once removed from the molds, allow your homemade bath bombs to dry overnight on a tray.
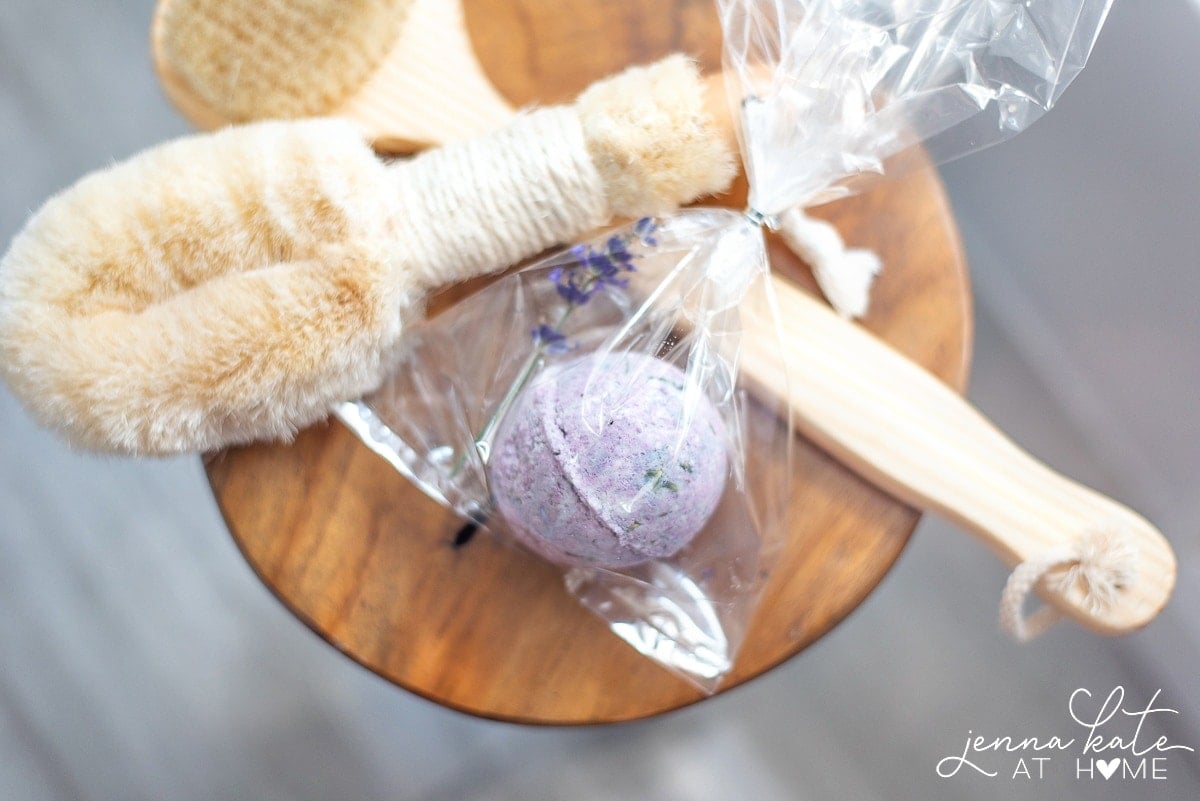
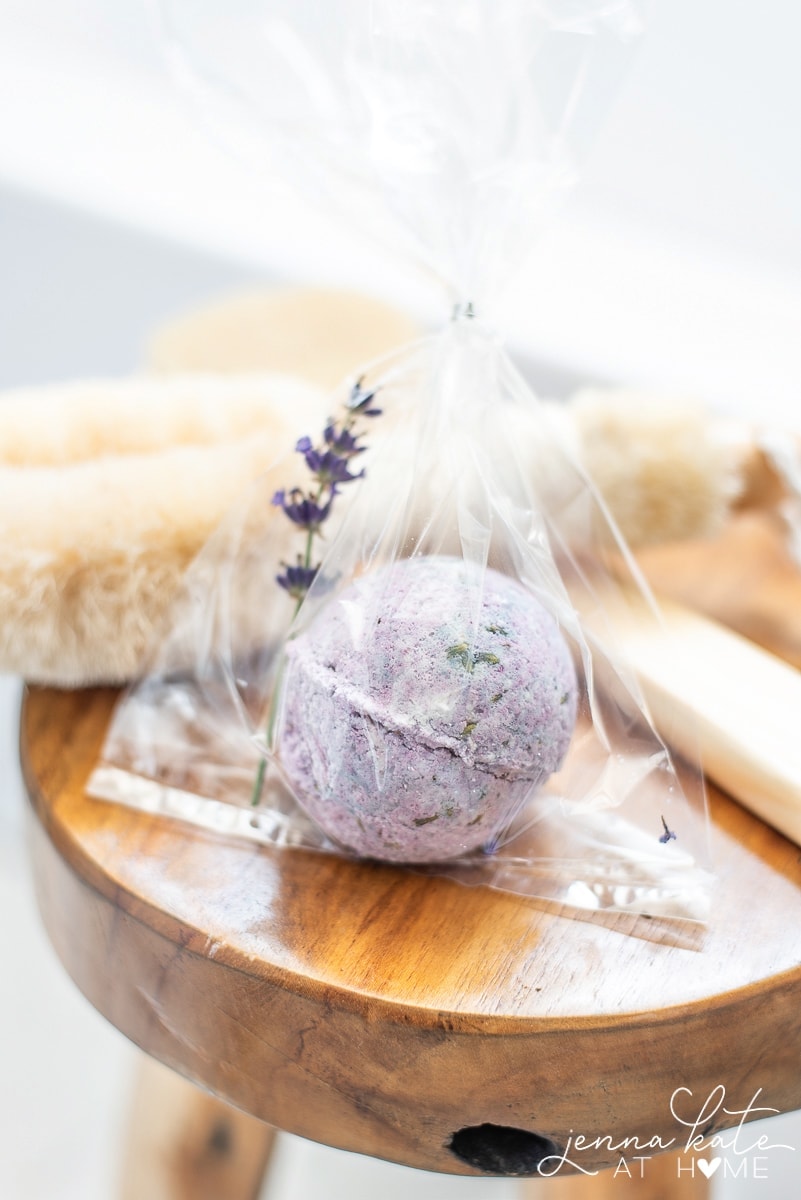
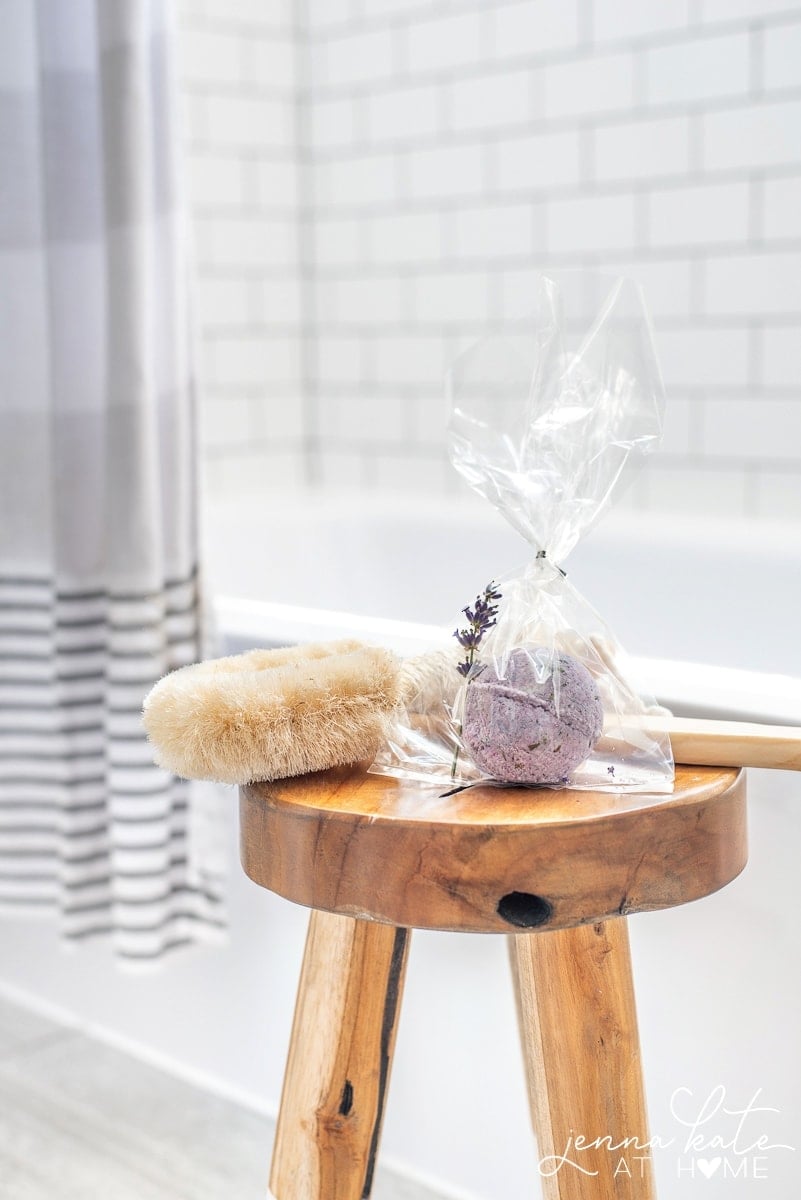
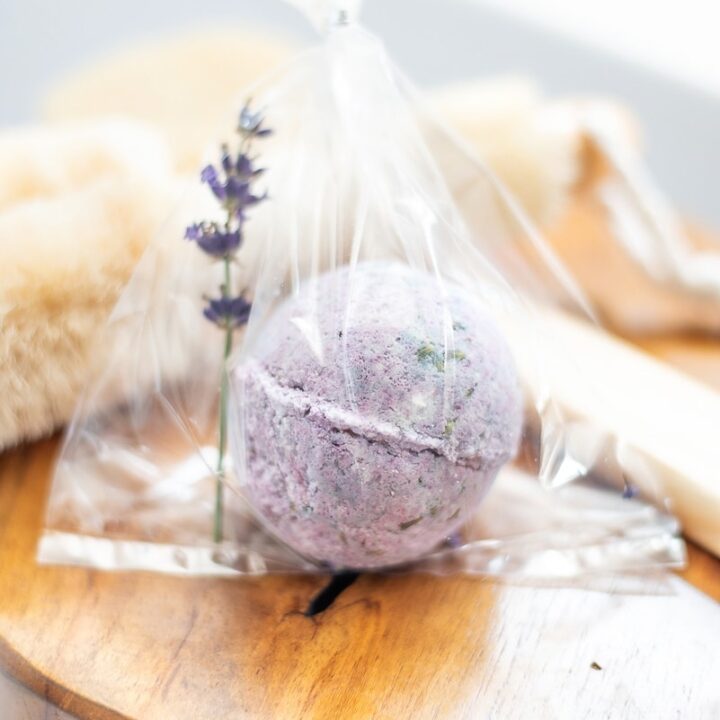
Later, you can gently place them in individual cellophane bags to add to a thoughtful gift. Another warm and cozy project is a hot chocolate gift mix that’s delicious and easy to make!
How to Make Bath Bombs
Make your own DIY bath bombs with this easy recipe. With only a few simple ingredients, you’ll have your own fizzy bath bombs that kids and adults alike will enjoy.
Materials
- 8 oz Baking Soda
- 4 oz Corn Starch
- 4 oz Citric Acid
- 2 oz Epsom Salt
- 1 tbsp dried lavender
- 2 ¼ tsp water
- 1 1/4 tsp coconut oil (liquid) (or another oil like olive oil)
- 20 – 30 drops of lavender essential oil (or scent of your choice)
- 1 – 2 drops of food coloring (optional)
- Bath Bomb Molds
Instructions
- In a bowl combine the dry ingredients (baking soda, cornstarch, Epsom salt, and dried lavender).
- Whisk to remove any clumps. You want the mixture to be very fine, so rub any lumps together with your fingers to remove them if necessary.
- In a small bowl, mix together the water and coconut oil. If you’re using liquid food coloring, add a couple of drops here. I used powdered, plant-based food coloring so I added it at the very end.
- Slowly pour the liquid mixture in with the dry mixture, whisking as you go. If you see the mixture begin to fizz or foam, you’re adding it too quickly.
- Add about 20 – 30 drops of essential oil, depending on how scented you want your bath bombs.
- Once all the wet ingredients are combined with the dry, take a small amount in your hand and squeeze it together. It should stick together, almost like damp sand. If the mixture is still a bit powdery, add another drop of water.
- If you’re using powdered food coloring, now is the time to add it. Sprinkle some and whisk it together with the rest of the ingredients.
- Fill each mold with the mixture until they are slightly overfull. Then press the molds together.
- Allow the bath bombs to dry for an hour before trying to remove them from the mold. You want them to dry outside of the molds because they will stick and crack otherwise.
- If after an hour, they break when taking them out of the mold, just stick them back together and allow them to dry for another short while. You can also pop them in the fridge for a few minutes.
- Once the bath bombs have been removed from the molds, allow them to dry on a tray overnight.
- Once dry, store them in an air-tight Ziploc baggie or pop them in some cellophane for a pretty gift!
Notes
Gently place bath bombs in individual cellophane bags to add to create a thoughtful gift. Add a sprig of lavender as an added touch.