Content may contain affiliate links. When you shop the links, I receive a small commission at no cost to you. Thank you for supporting my small business.
Looking for an easy and fun way to decorate your home for Halloween? This DIY ghost halloween garland might be just the thing! With just a few simple materials, you can create a spooky and festive decoration that will delight both kids and adults alike.
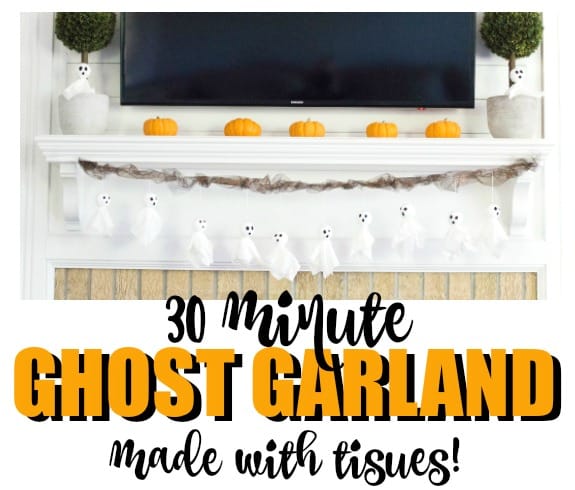
This is a fun Halloween craft that I used to make with my 5th graders every year. It’s super inexpensive (all you need to buy is the foam balls from the dollar tree) and each ghost takes only about 3 minutes to make. That means you can make the entire ghost garland in under 30 minutes! It’s a great idea for halloween decorating on a budget.
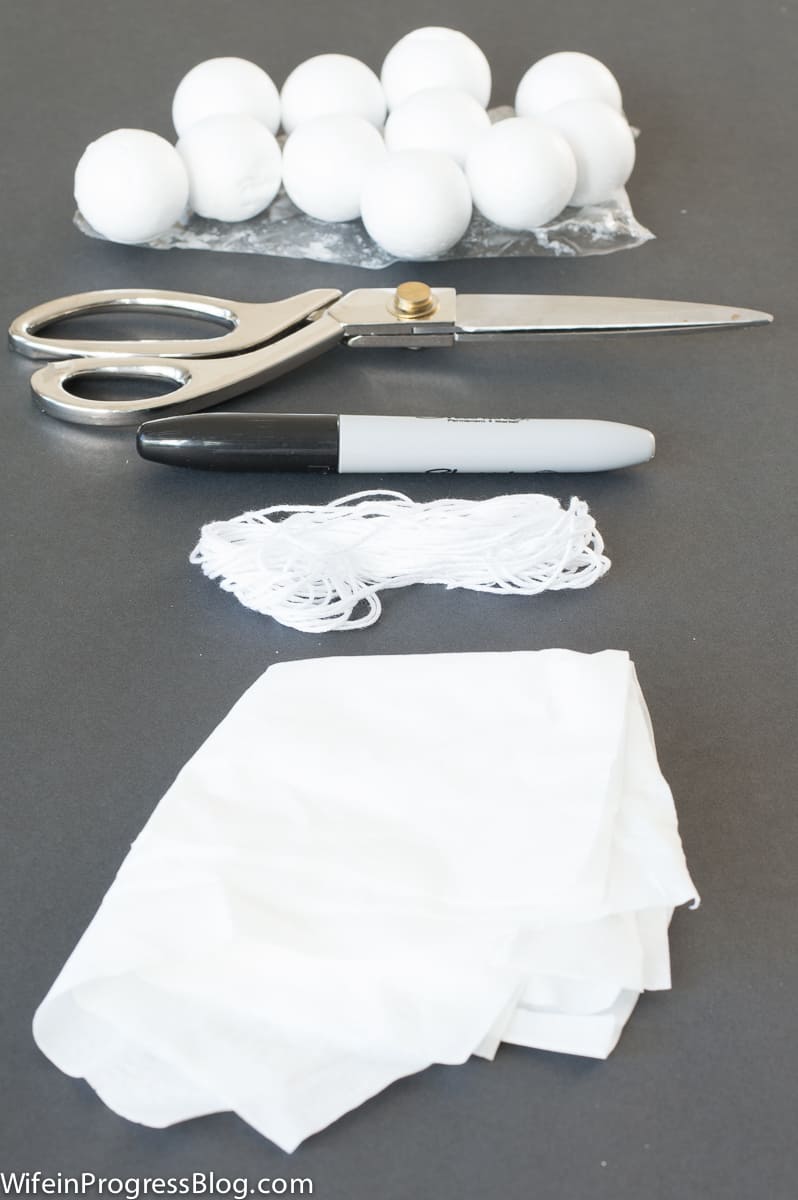
Because this craft is so simple, it’s a great activity to do with kids. You can also make in bulk to use as decor for any upcoming parties you may have.
Now, I’ll cover what you will need to make your own ghost garland.
Materials:
- Foam craft balls (huge pom poms or even balled up newspaper work well too – I just like the perfect round ball from the foam craft ball)
- Tissues
- Black Sharpie
- White thread
- Hot glue gun
- Pair of Scissors
You’ve more than likely got most of these items in your craft stash at home. You may just need to get creative with the ghost head if you want to avoid going to the store completely. Balled up newspaper, a golf ball, or big pom pom balls work fine as alternatives!
Directions:
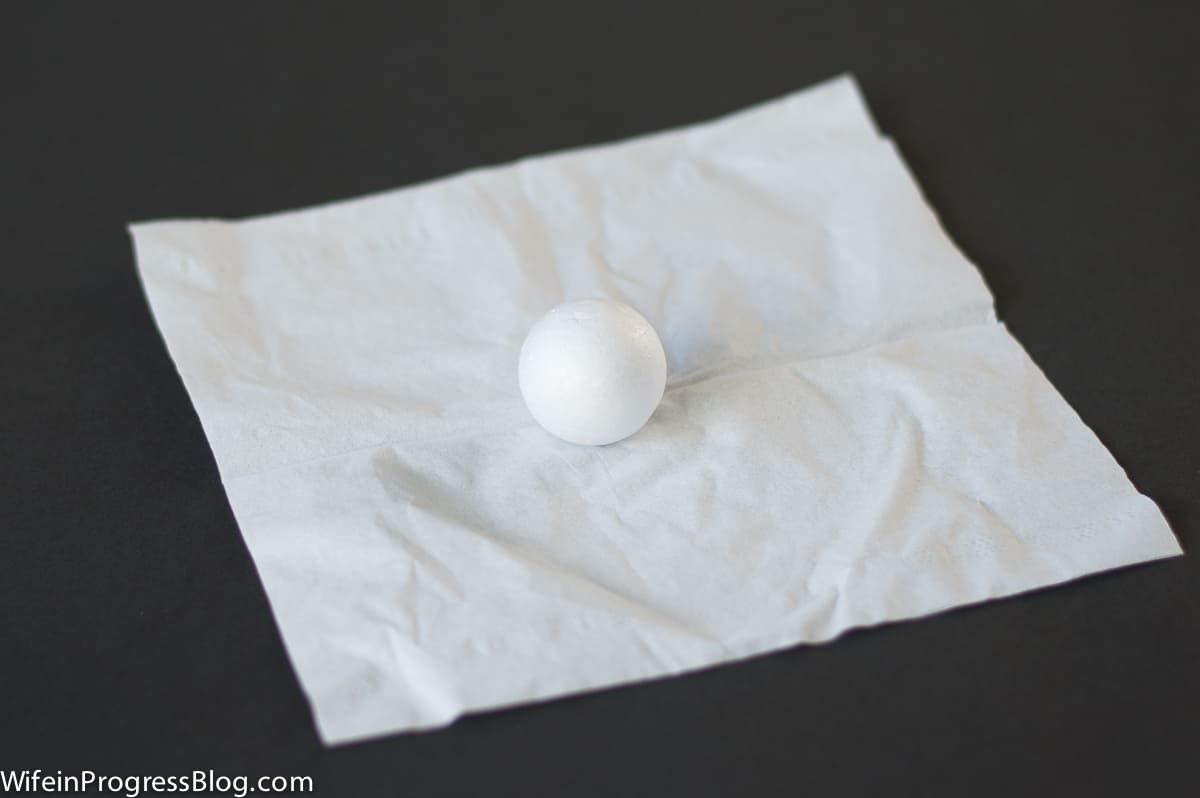
- First thing, place the foam ball in the center of the tissue. You can purchase various size foam balls if you want to switch up the size of the ghost. Or, find household objects that fit. Light weight golf balls work for little ghosts.
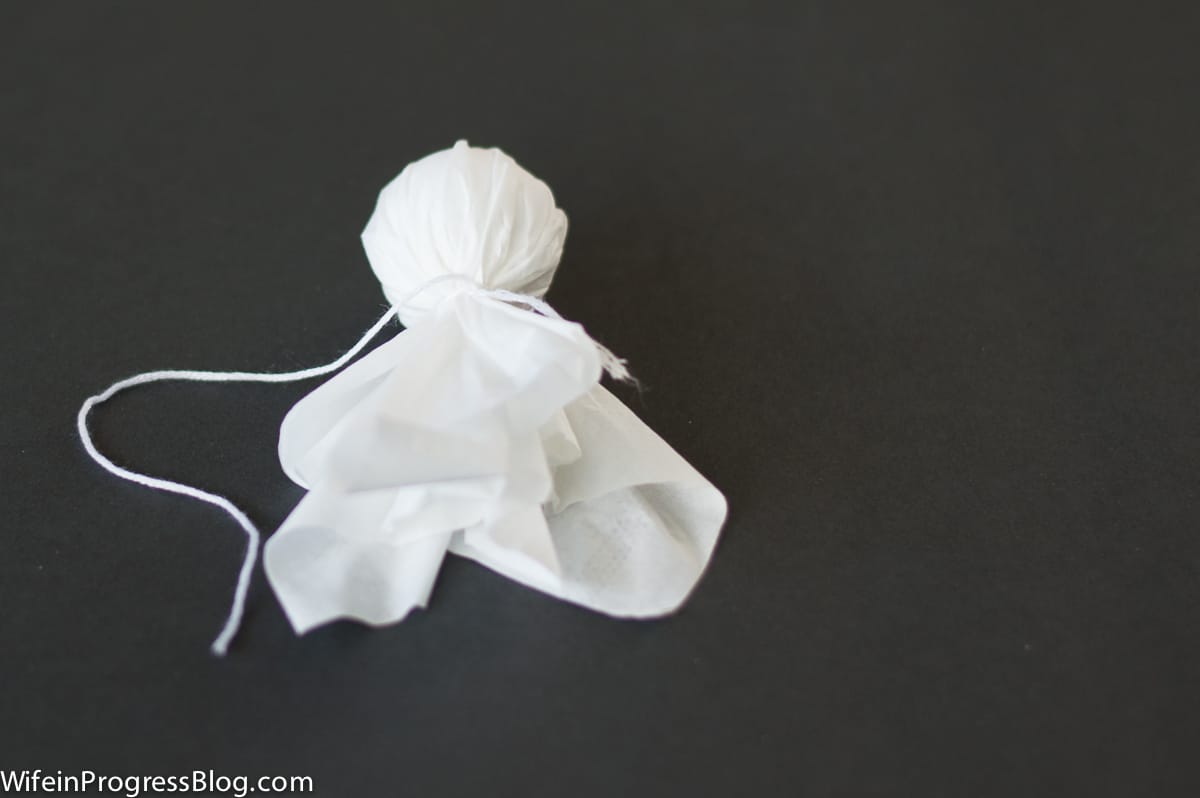
2. Fold the tissue over the ball, creating the ghost like shape. Using a piece of white yarn, wrap and tie the thread around the neck to secure with a double knot. Leave a long piece at the end of the yarn so that you can later attach to the garland.
3. Using the permanent marker, draw the ghost’s face over the ghost head. Create little faces that express personality and character.
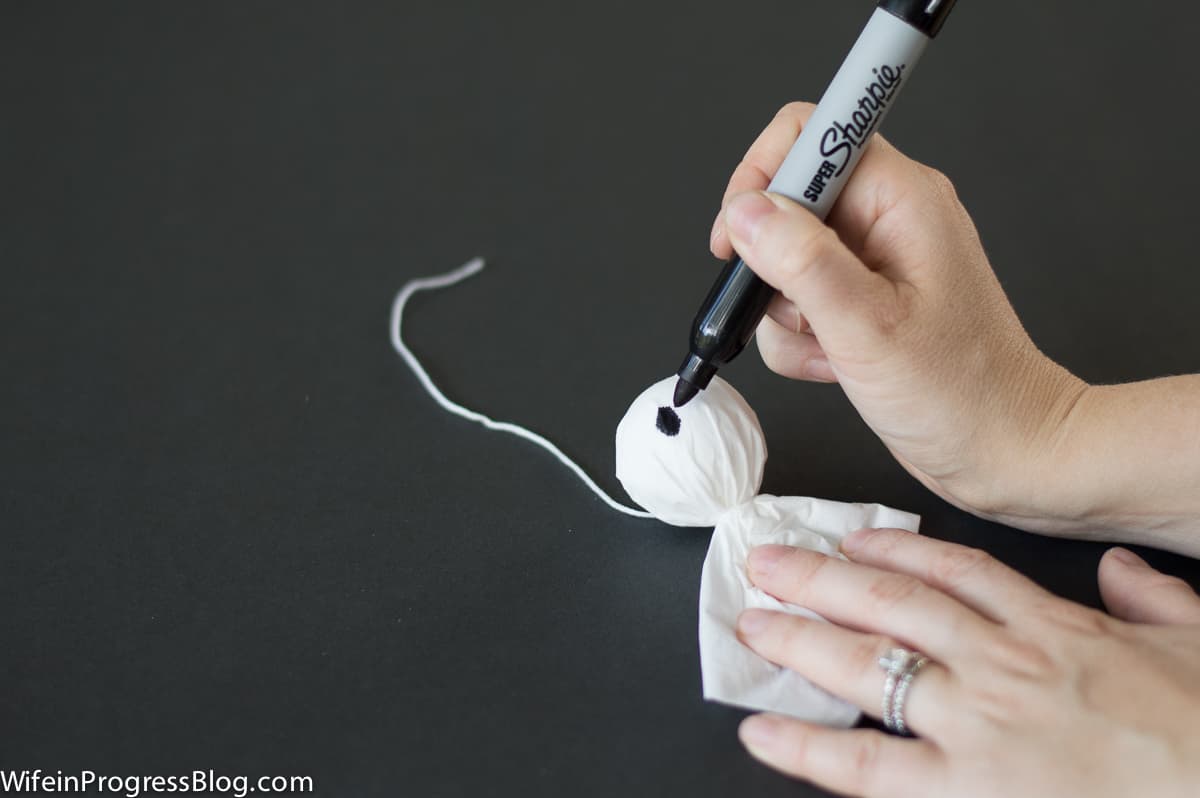
4. You might also consider adding googly eyes instead of drawing on the eyes if you’re looking to take it up a notch.
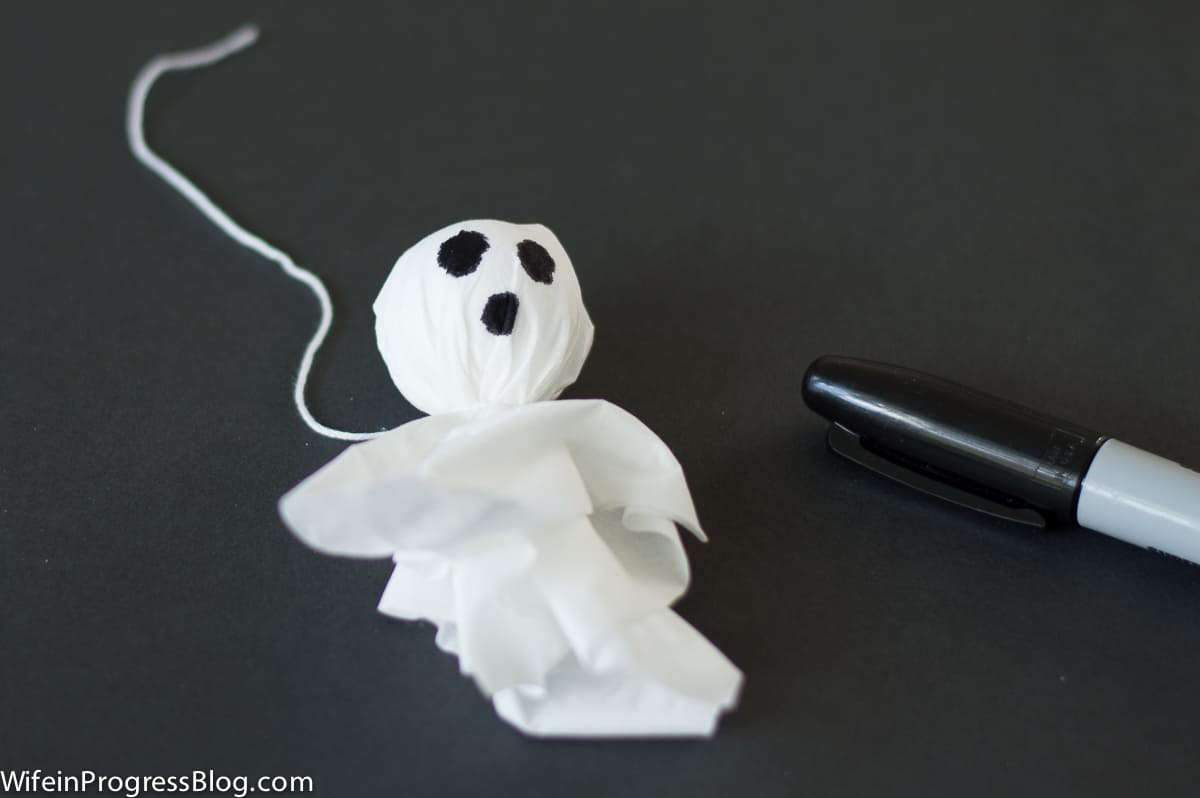
5. Repeat this process for how ever many little ghosties you want on your garland!
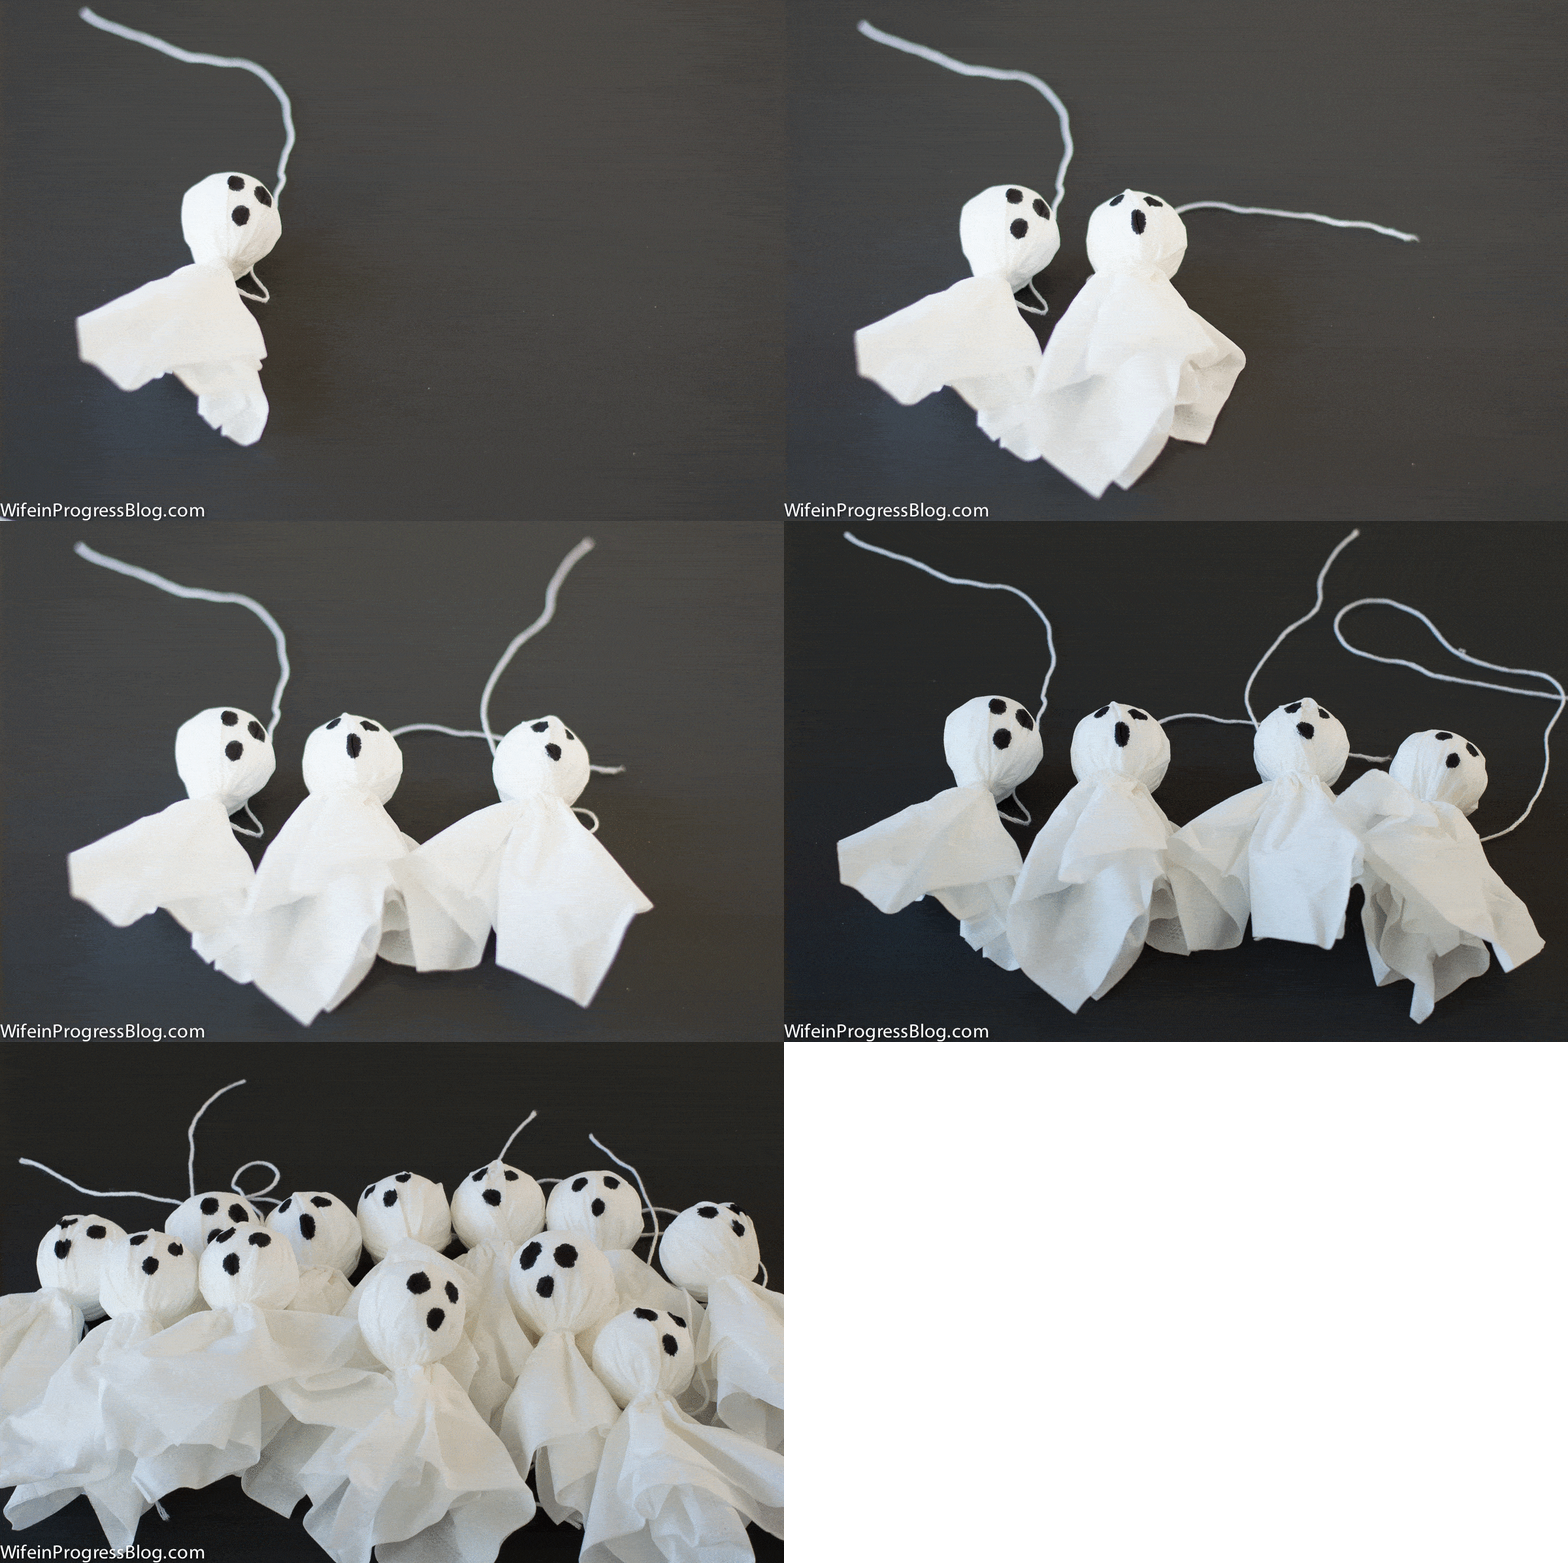
6. Hot glue the leftover yarn up the back and to the top of the ghost. This ensures that when each ghost is hung from the garland it hangs correctly. Otherwise, it will hang sideways and lopsided!
7. Now, it’s time to assemble this fun garland!
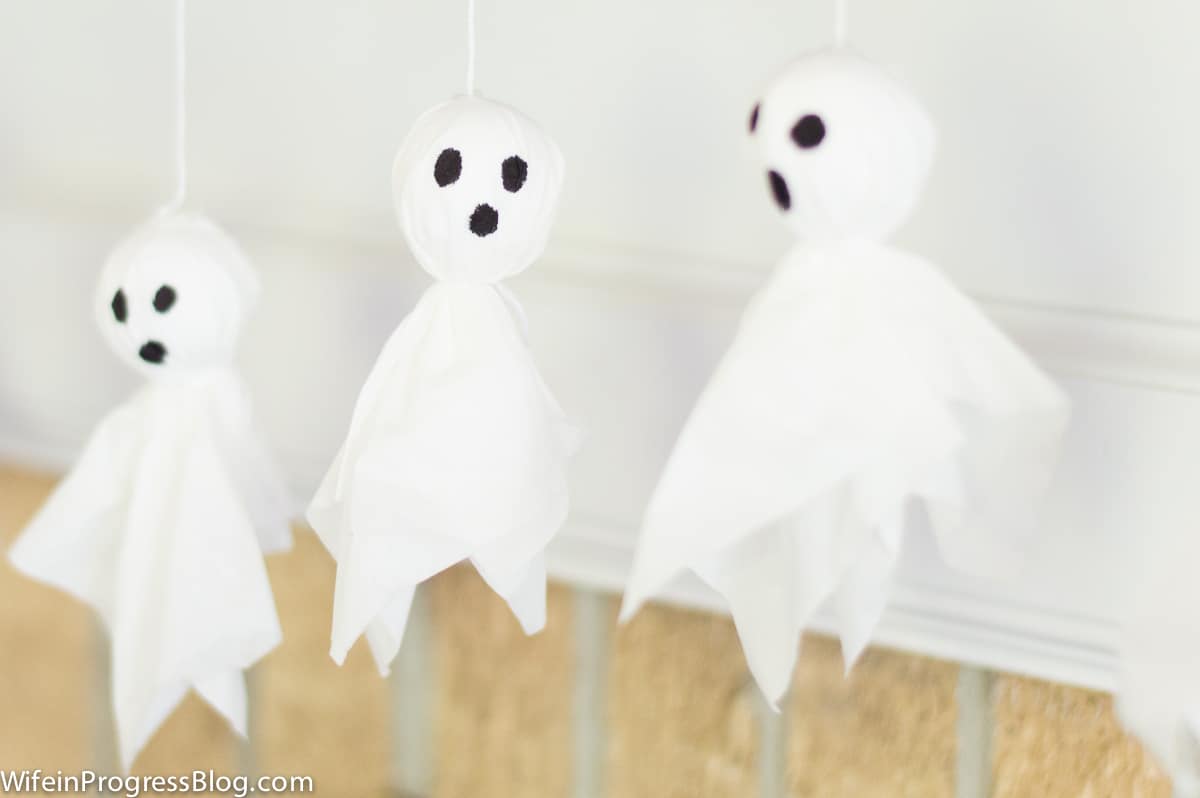
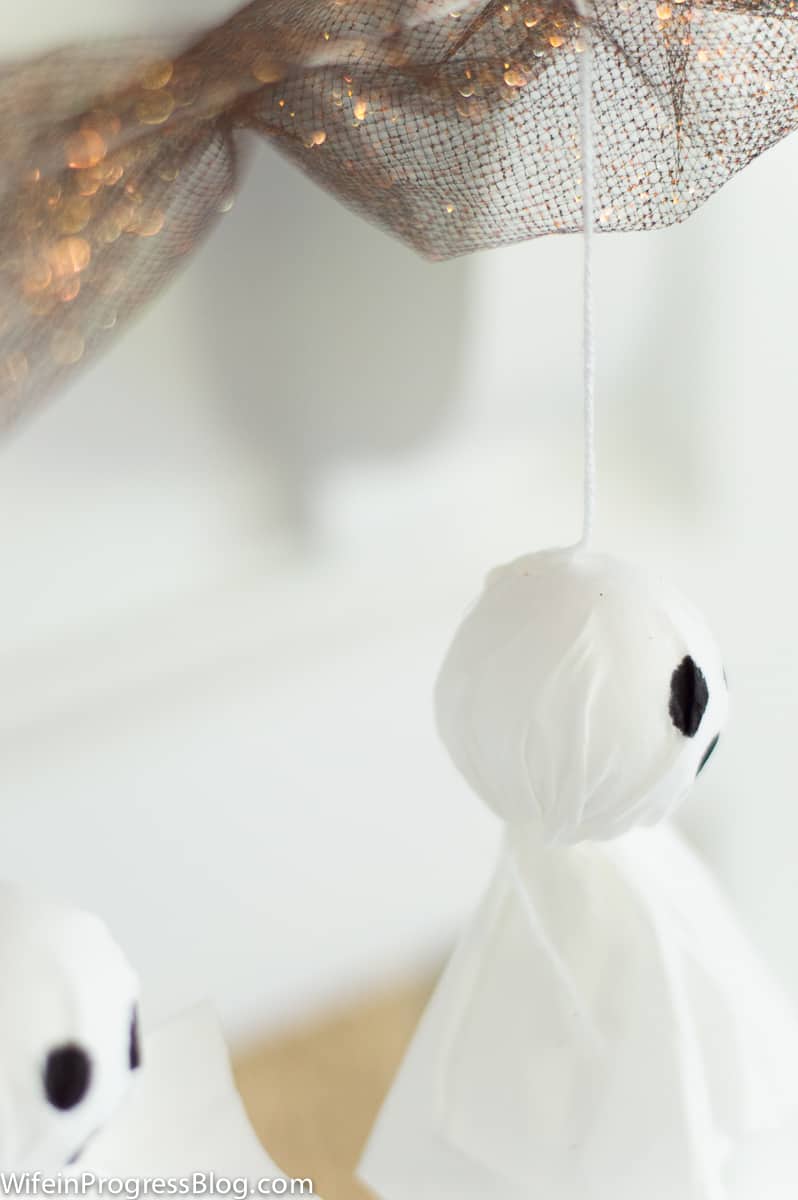
To make the garland, I tied each ghost on to another long piece of string that I hung across my mantel. When I was done, I wrapped the garland in some Halloween themed tulle.
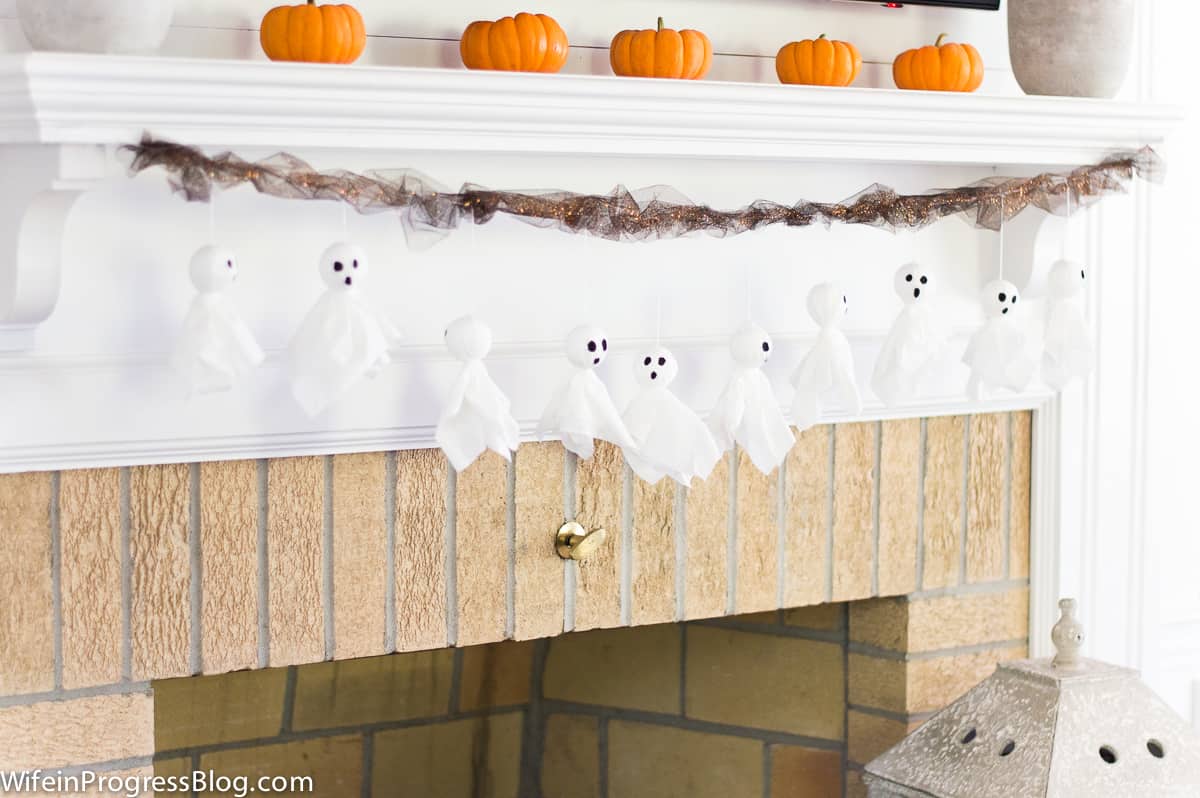
This DIY project is an easy way to bring festivity to the home and let the kids have some fun, too.
You can even get creative and use googly eyes, orange yarn (or any other color you want!), pipe cleaners, black felt, or wooden beads! You can truly make it your own and add as much or as little as your heart desires.
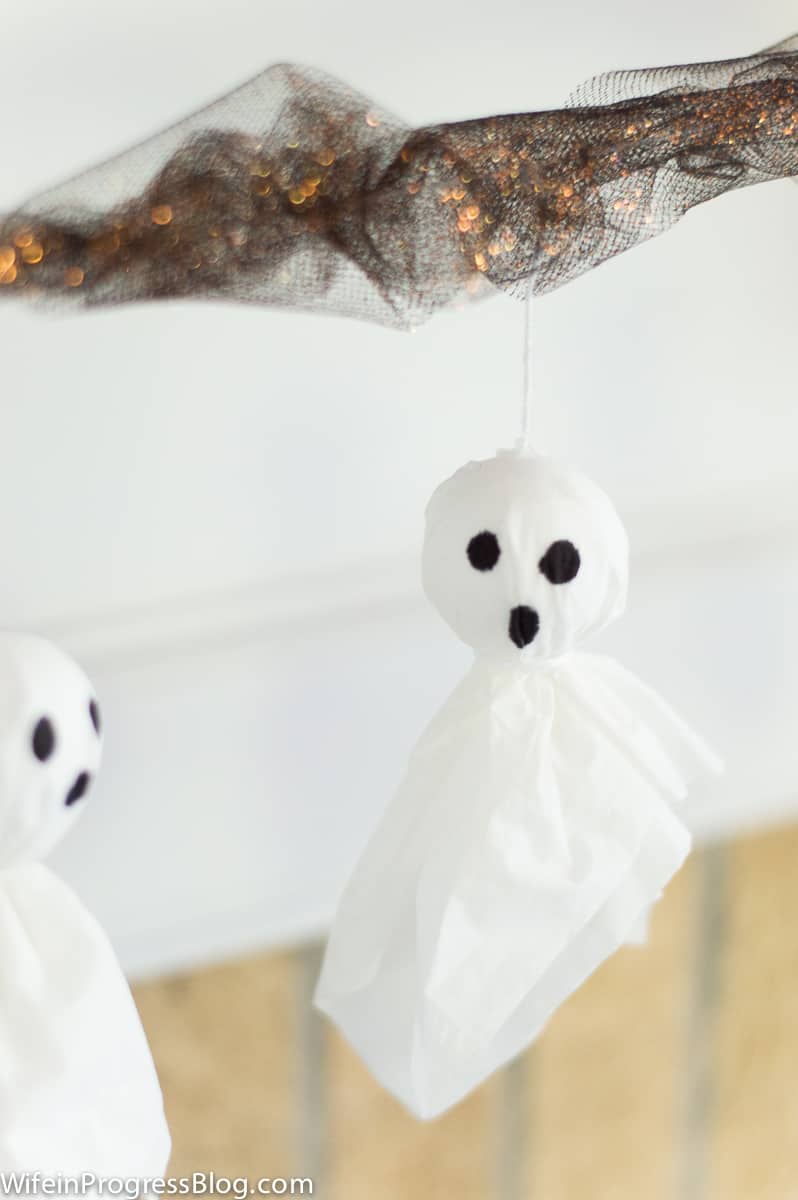
Personally, I love the simplicity of the hand drawn eyes and white string.
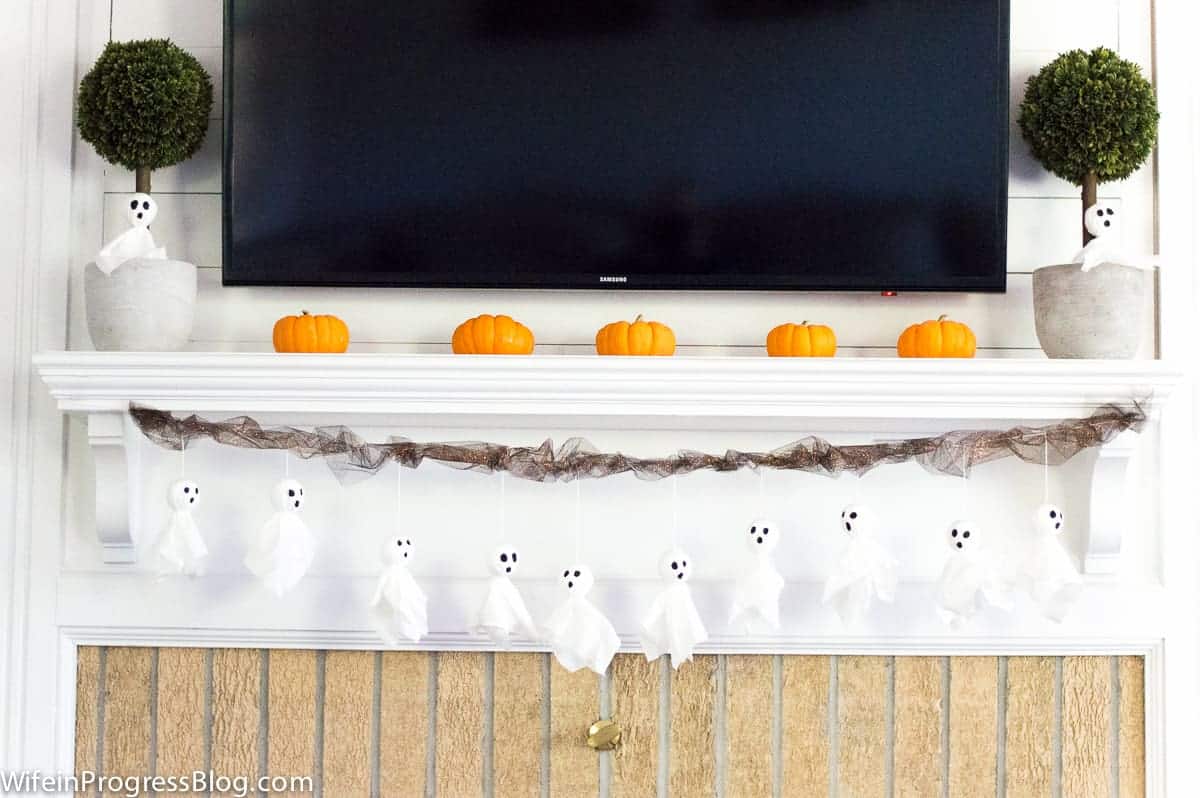
My toddler thinks these ghosts are the best thing ever! They are pretty cute and make for such easy decor! Last year my son was still a little too young to help make them, but my students used to adore it – so I’m sure your kids will, too!
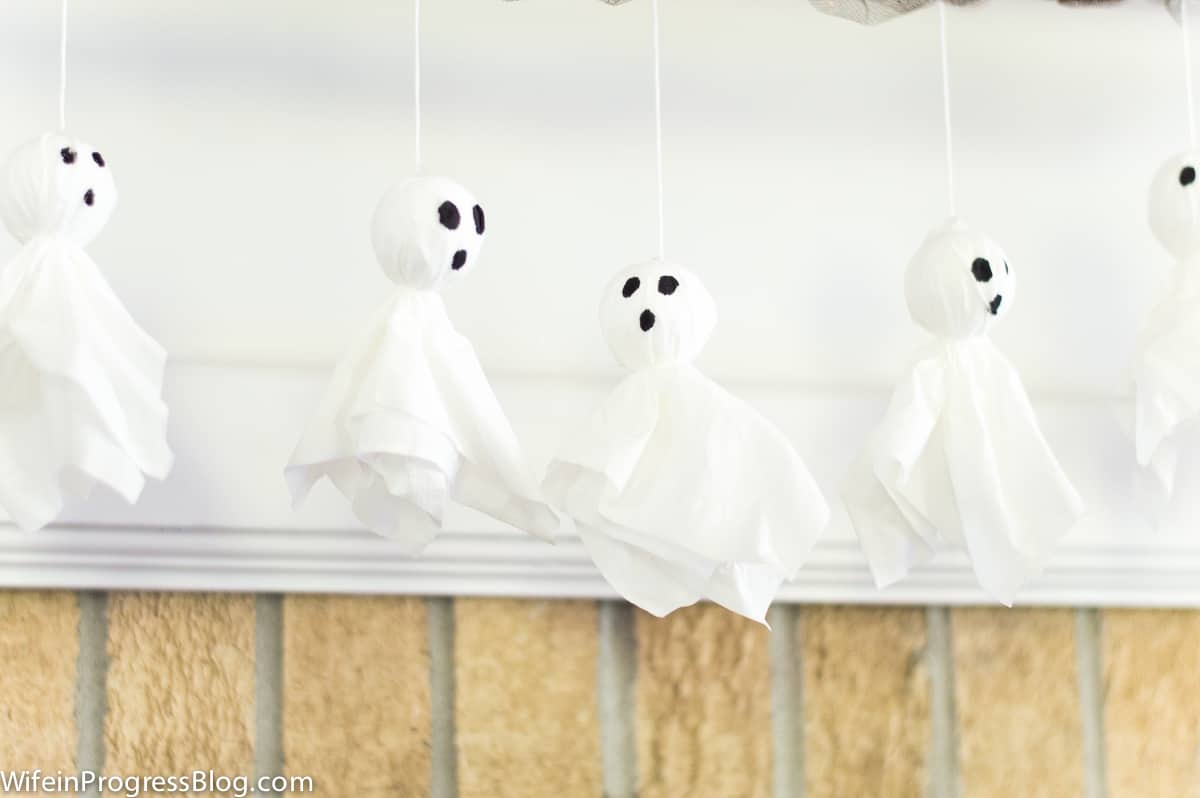
When someone walks by, the ghosts sway in the breeze!
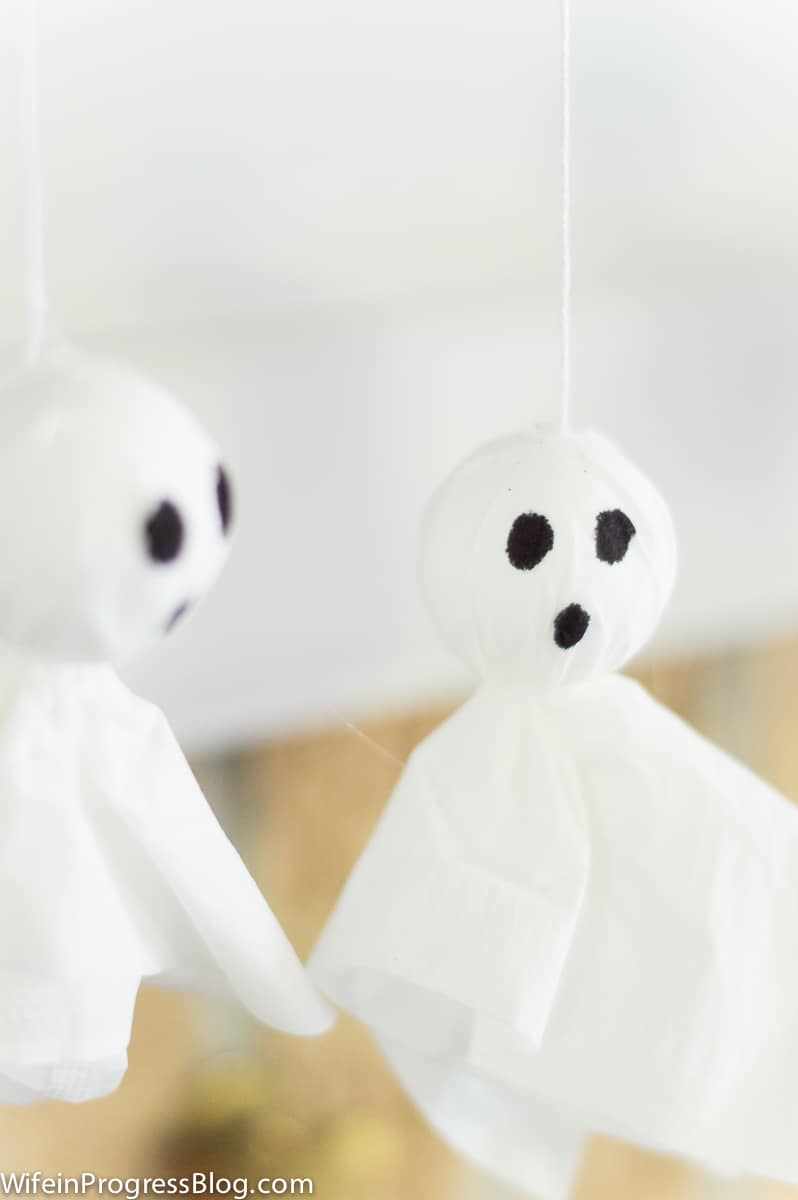
Overall, this easy halloween ghost garland DIY craft is a fun and easy way to add some Halloween spirit to your home. It’s a budget-friendly option that will make a big impact on your decor. So get crafting and have a fabulous Halloween!
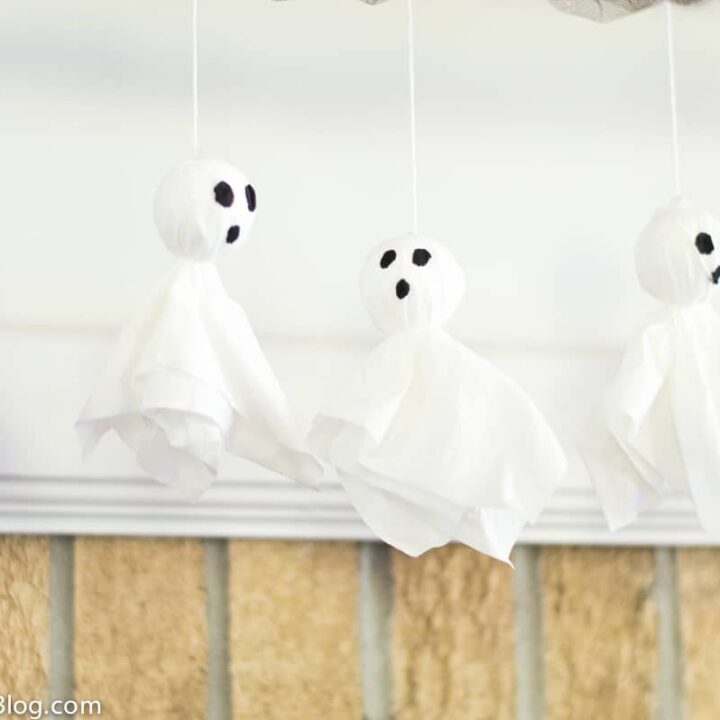
Halloween Ghost Garlands
Involve your kids in this cute Halloween craft that you have to see to believe!
Materials
- Foam craft balls
- Facial tissue
- White thread or twine
Tools
- Hot glue gun
- Black permanent marker
- Scissors
Instructions
- Place the foam ball in the center of the tissue.
- Fold the tissue over the ball, creating the ghost like shape.
- Wrap and tie white thread around the neck to secure. Leave a long piece of thread so that you can later attach to the garland.
- Draw the ghost's face with three simple circles, using the permanent marker.
- Repeat this process for how ever many little ghosts you want on your garland.
- Hot glue the string to the back and the top of the ghost's head. This ensures that when each ghost is hung from the garland that they hang correctly.
- To make the garland, tie each ghost onto another long piece of string, which you will hang above your fireplace mantel or other desired location.

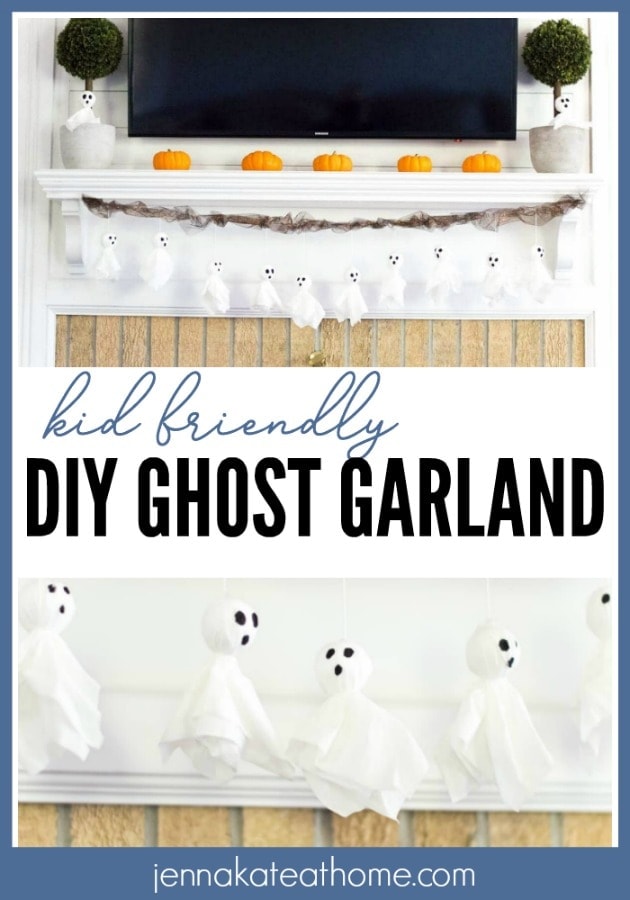







What a cute ideal