Content may contain affiliate links. When you shop the links, I receive a small commission at no cost to you. Thank you for supporting my small business.
Update an old bathroom vanity quickly and easily with this simple tutorial.
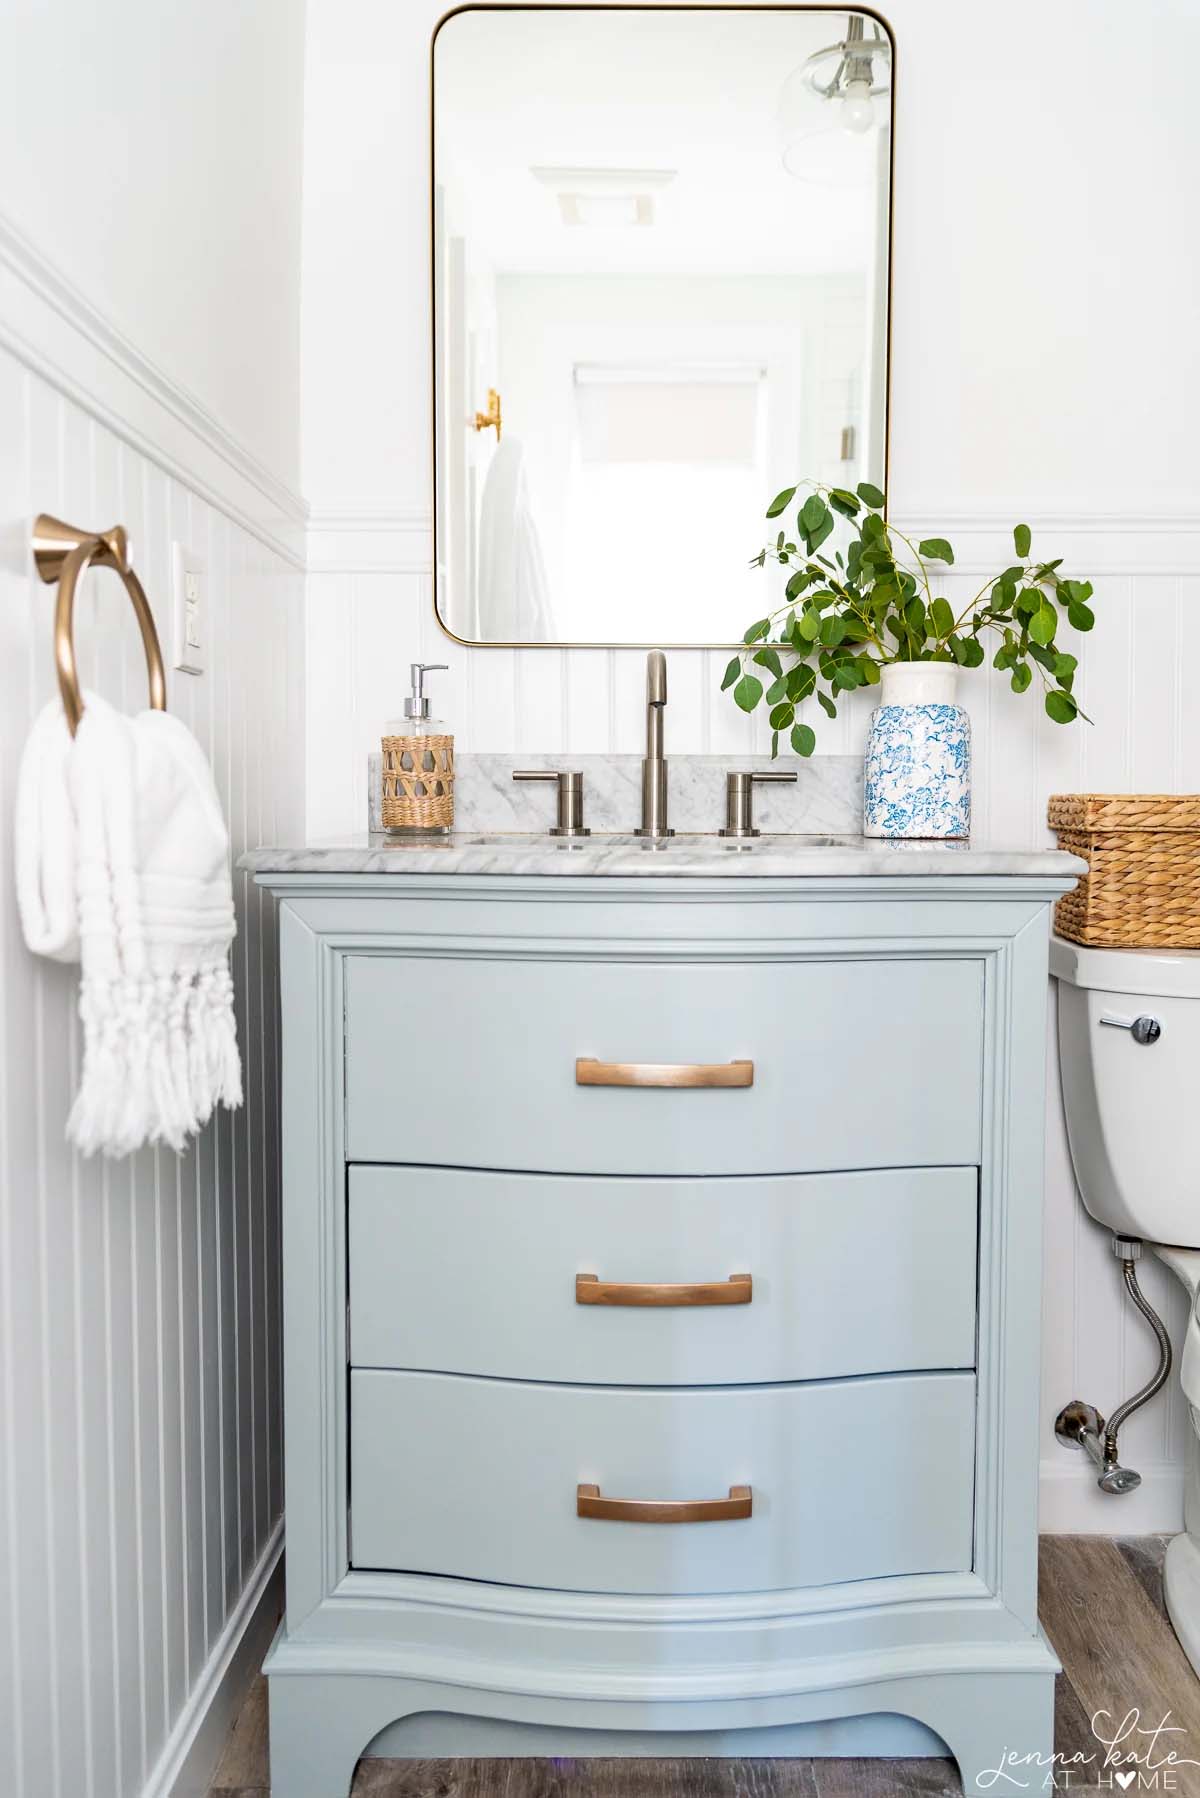
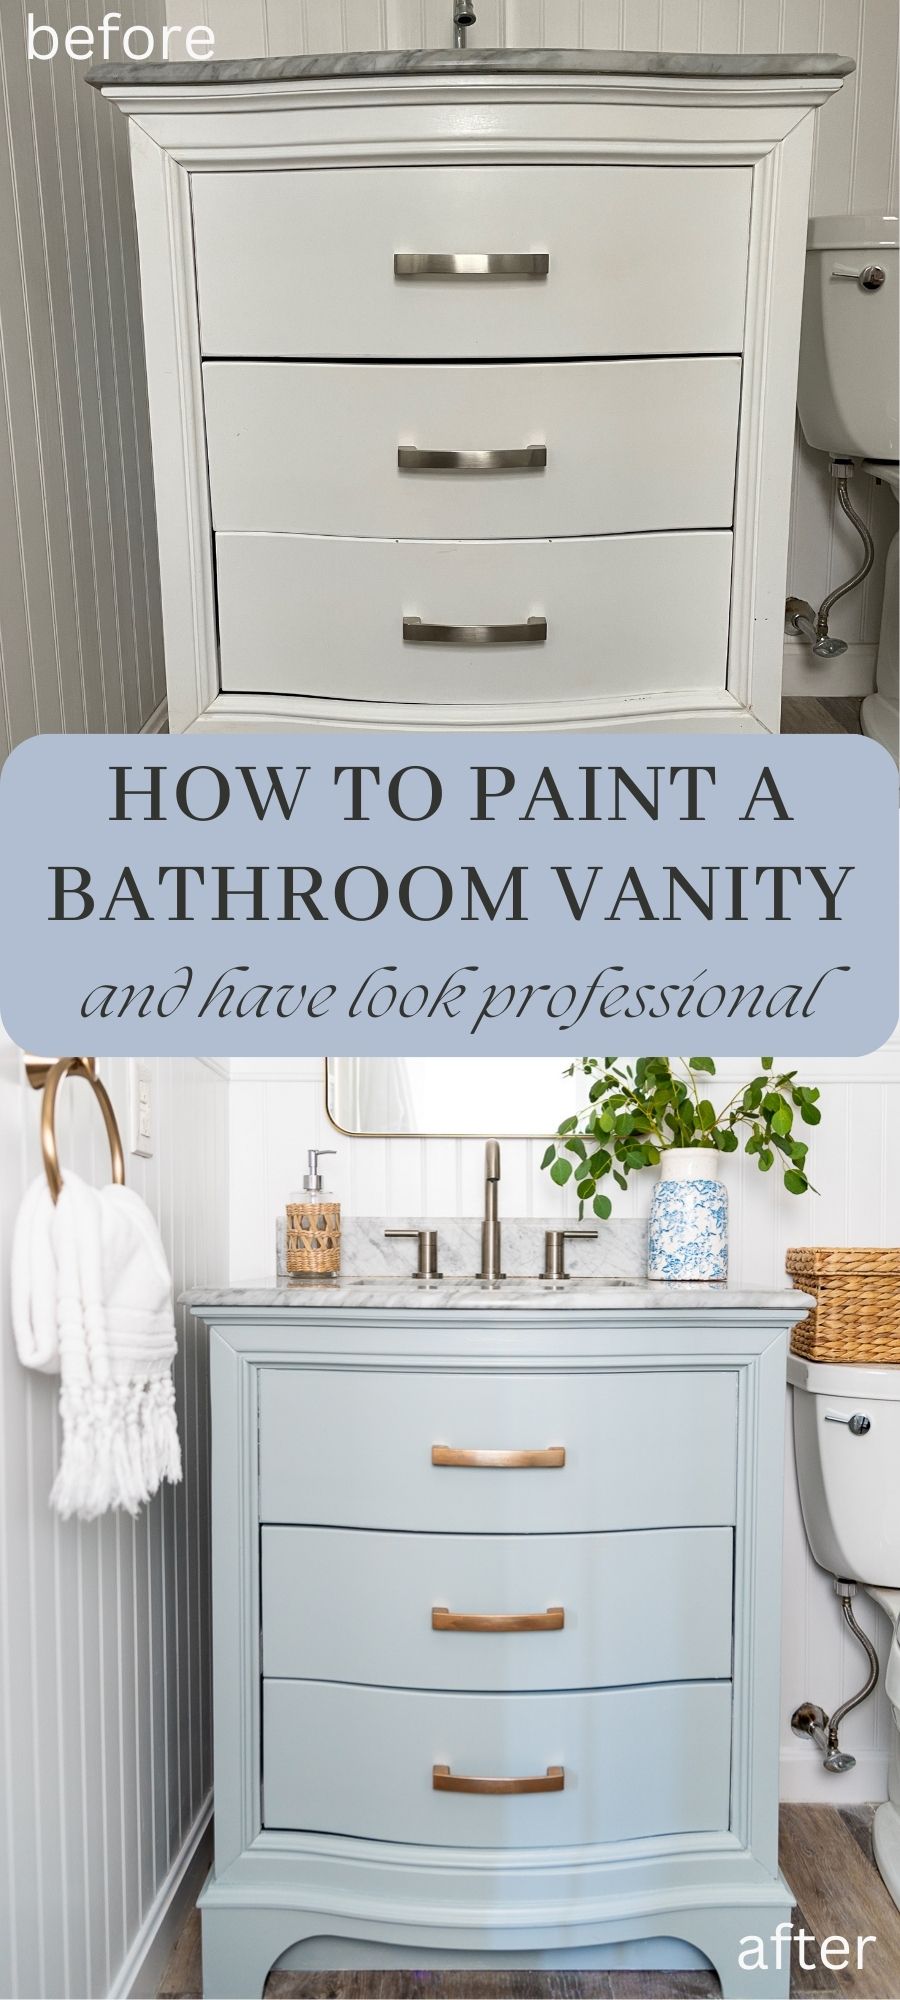
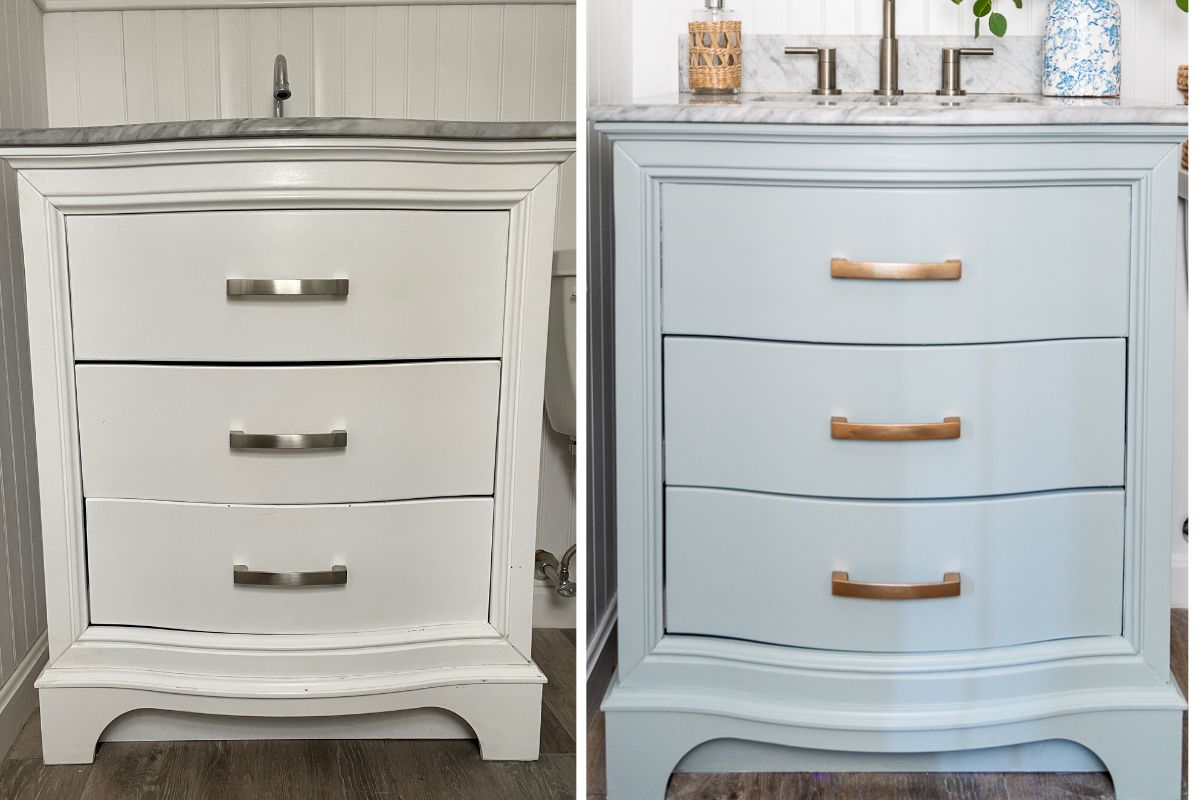
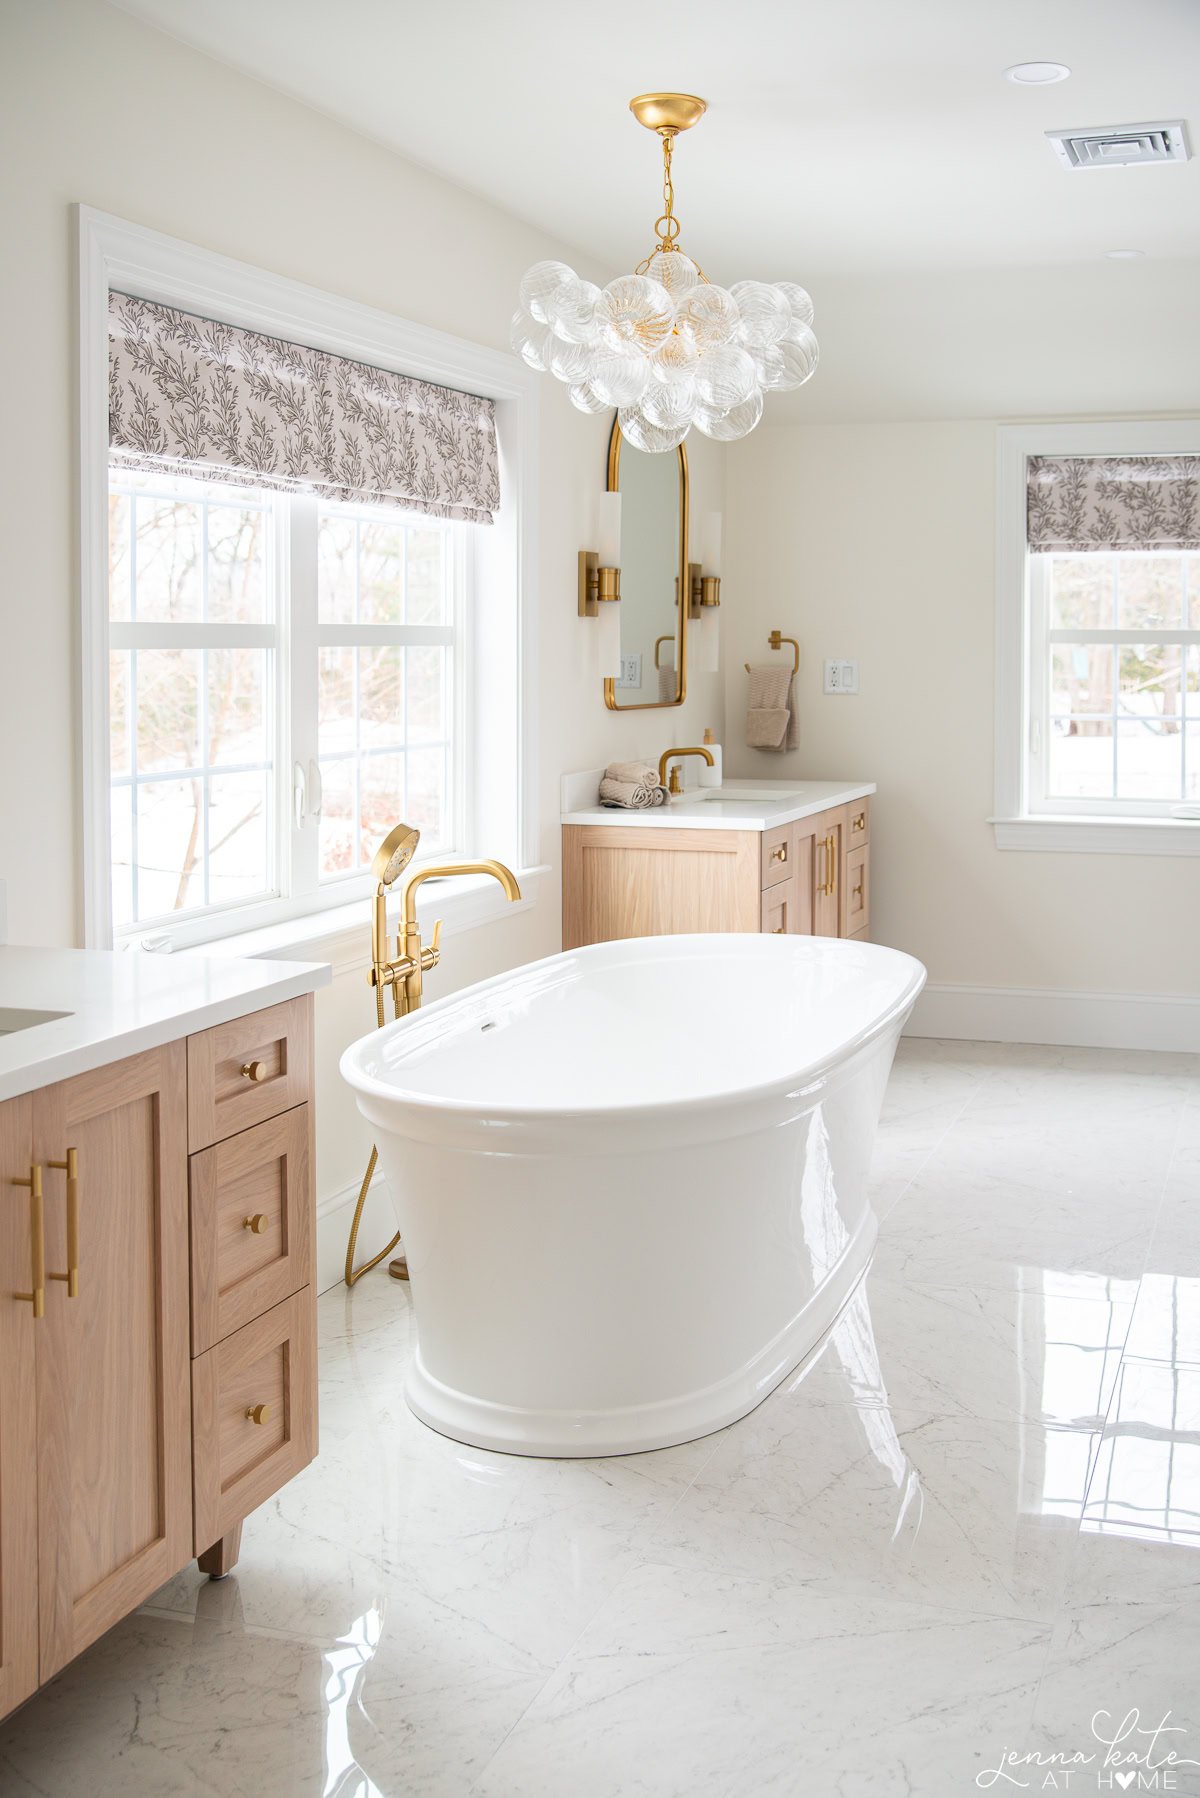
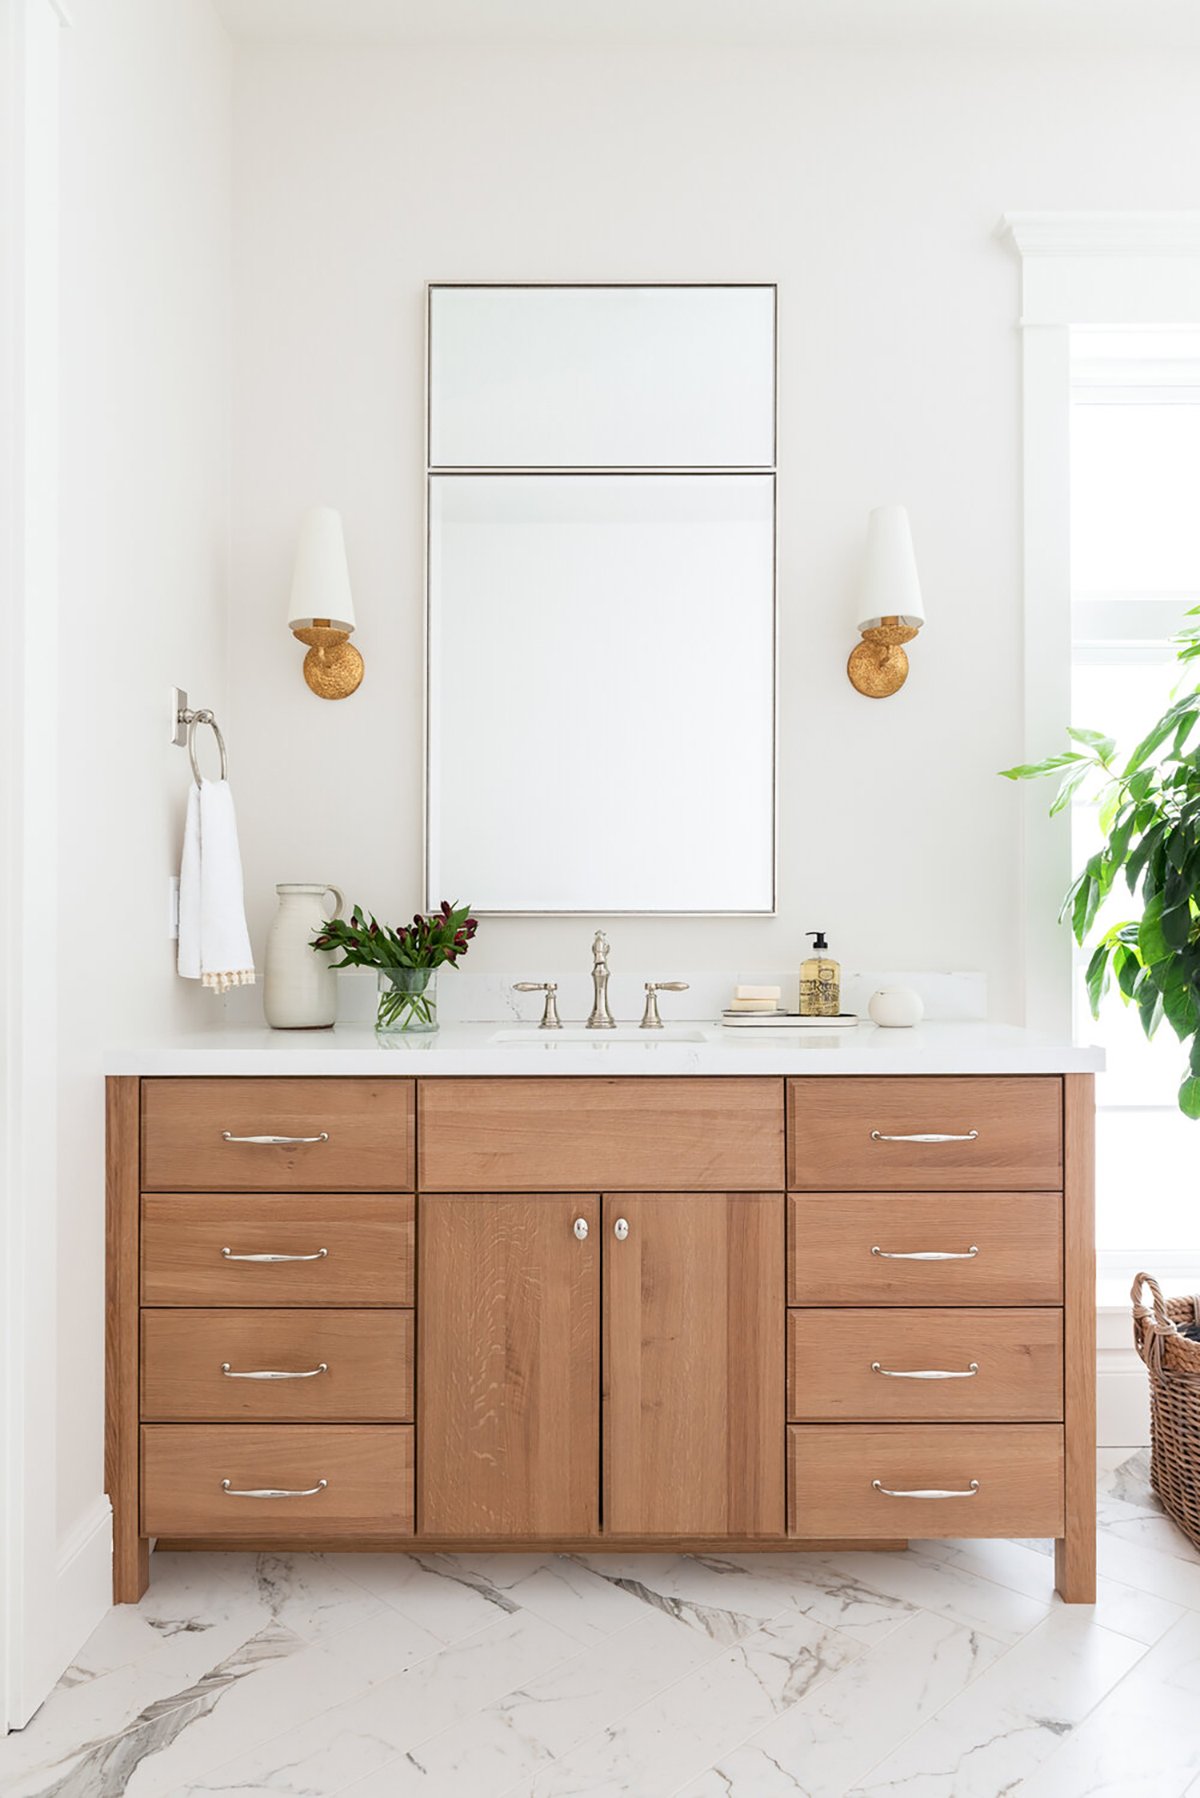
For my recent budget-friendly bathroom makeover and mini remodel, I had a budget that I had to stick to. As much as I wanted a beautiful new vanity (like one of these vanities!), it would have completely blown my tight budget. Plus, my vanity is only a few years old and in good condition, so it didn’t make sense.
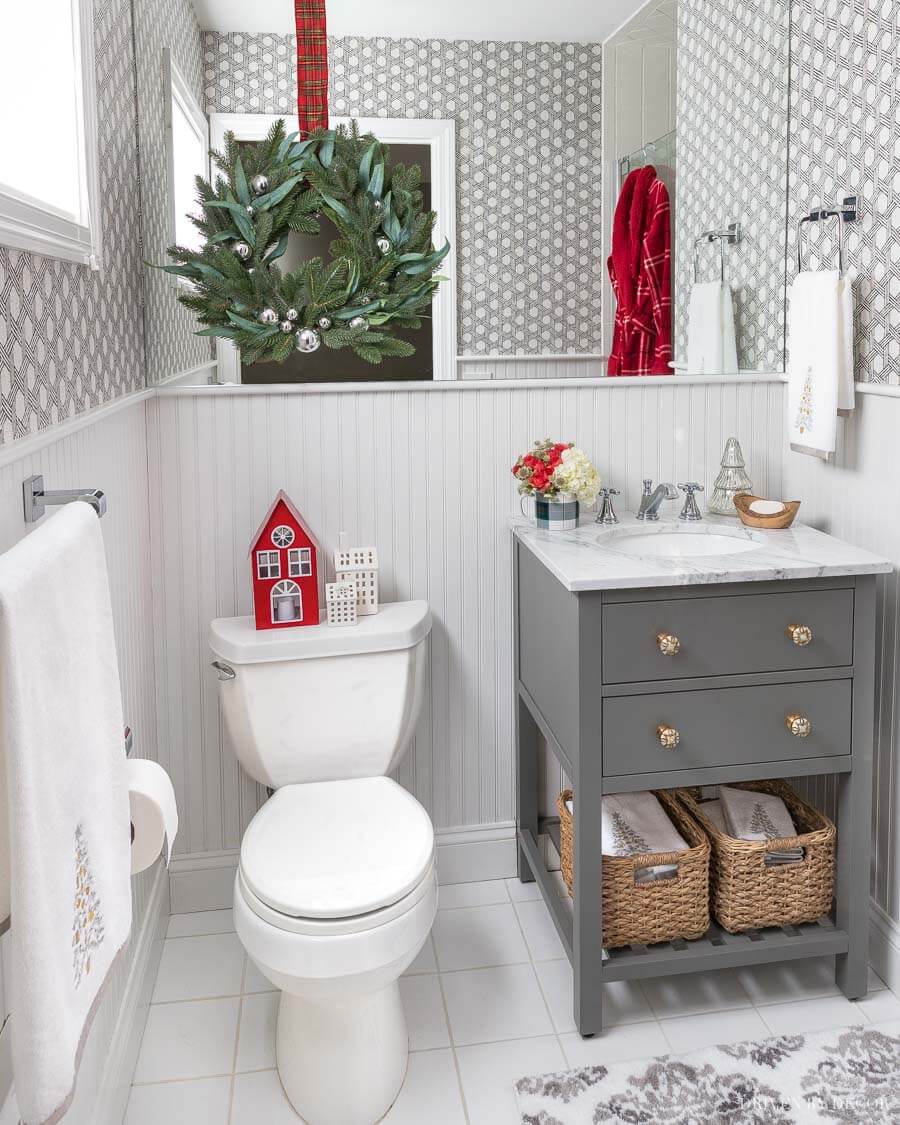
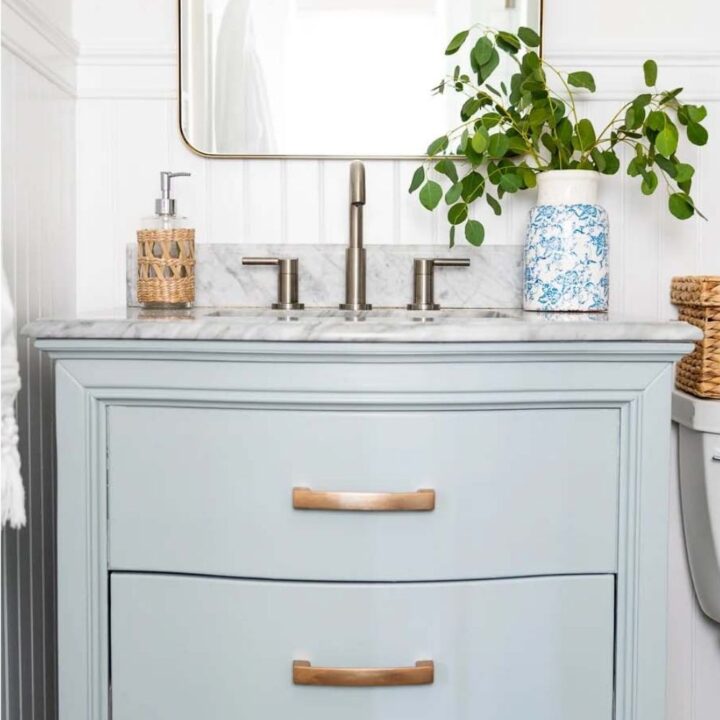
Instead, I opted to give my existing vanity a new look with a fresh coat of paint, update the hardware with spray paint and add a new faucet.
This is such an easy project to do. I promise you, if you follow these steps you’ll get a beautifully painted vanity, too.
Paint For Bathroom Cabinets
I’ve spoken about the best paint for kitchen cabinets in the past, so no surprise that I’m using my number one recommended paint for my bathroom vanity, too. Benjamin Moore Advance paint is an alkyd paint. It really is the best type of paint for cabinets. It’s also a great option if you’re looking for furniture paint.
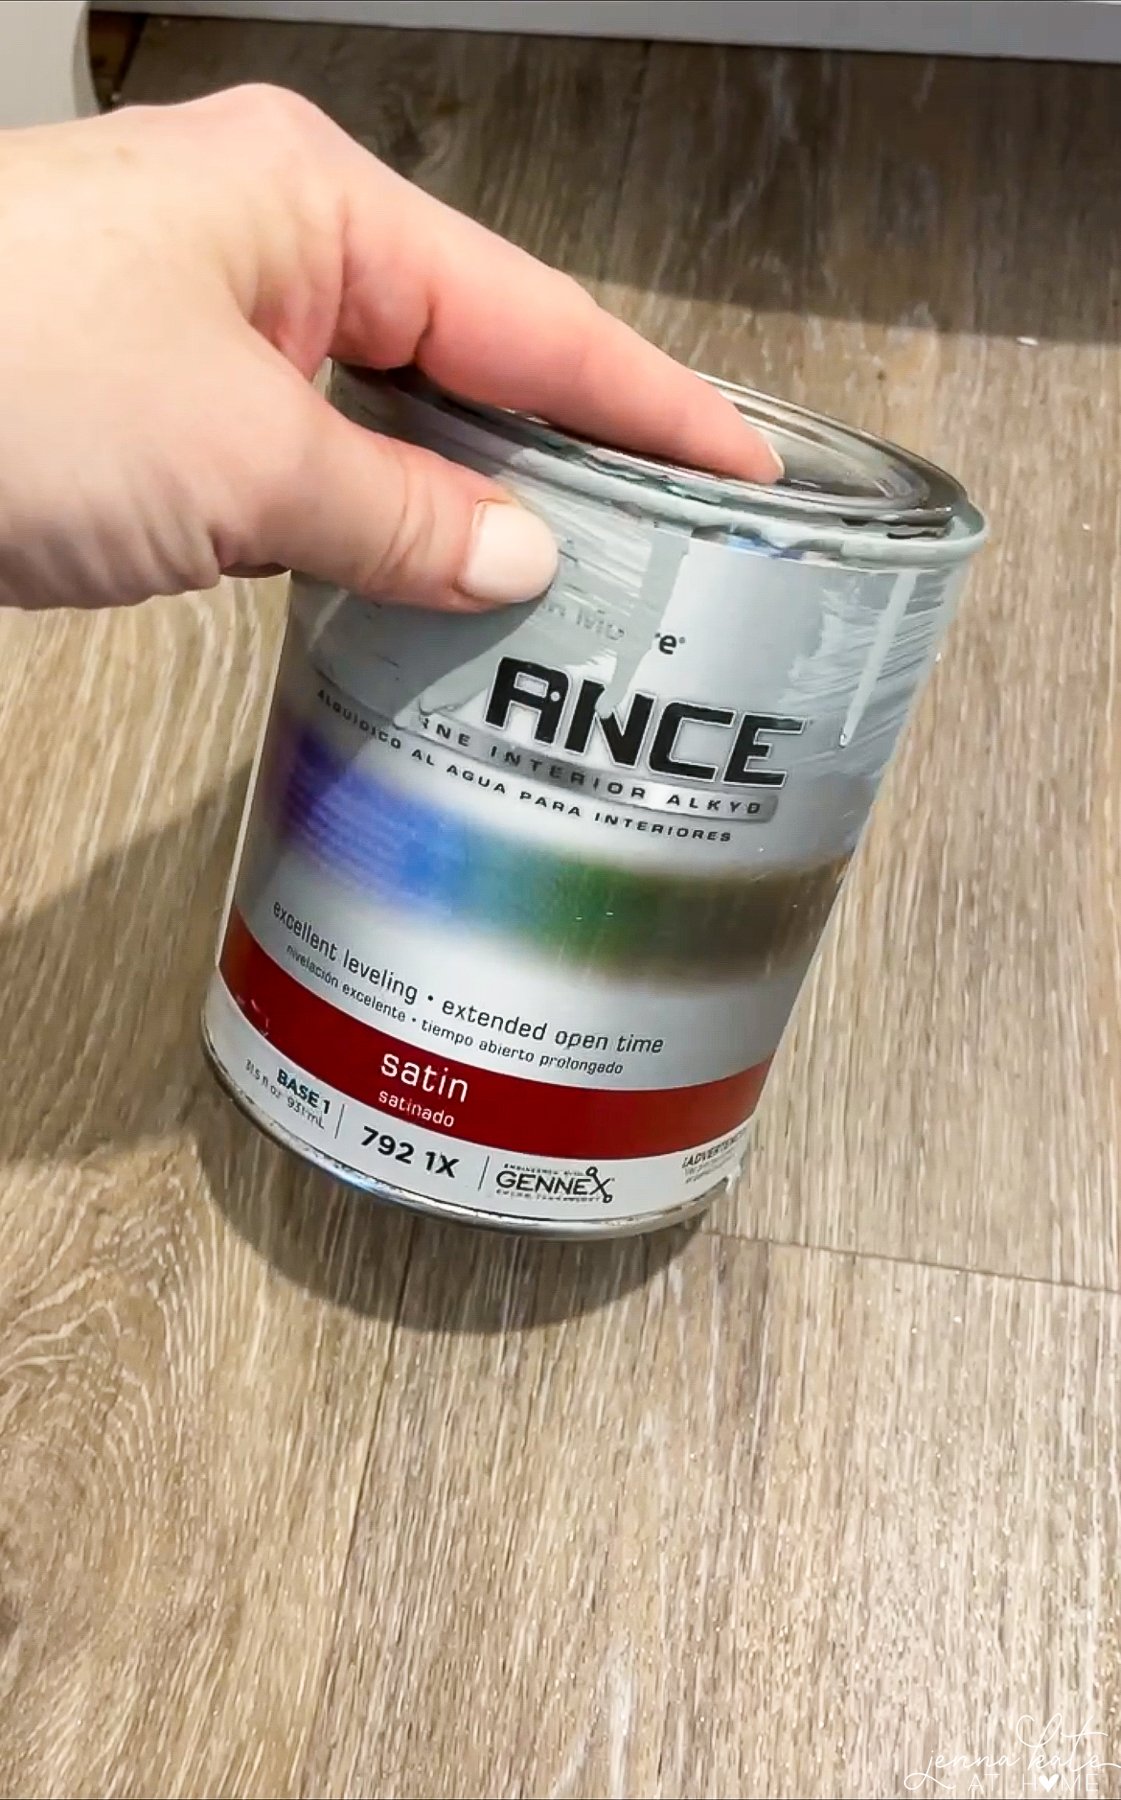
It basically acts like an oil-based paint without being a oil-based paint (so no stink!). Once you follow the proper steps and allow it to cure completely, it will dry to a rock-hard finish that resists chipping.
This paint also levels really well, meaning it won’t leave any brush strokes or roller strokes.
By the way, If you were painting cabinets or a vanity that wasn’t already installed, a paint sprayer would be a great choice to knock this project out quickly. But since my vanity is in my bathroom, I’m going the route of paint brush and roller.
For the vanity, I chose the same paint color that we used on our kitchen island and pantry cabinets, Benjamin Moore Boothbay Gray.
Our kitchen has a factory finish, but I did have this paint left over from painting the shelves in our pantry. Despite some seriously heavy use, there’s not a single chip on those shelves after 18 months…so this is good paint!
What You’ll Need
- A quart of Benjamin Moore Advance paint.
- 220 – 400 grit sandpaper (I used extra fine 400 grit)
- A tack cloth
- Paint tray
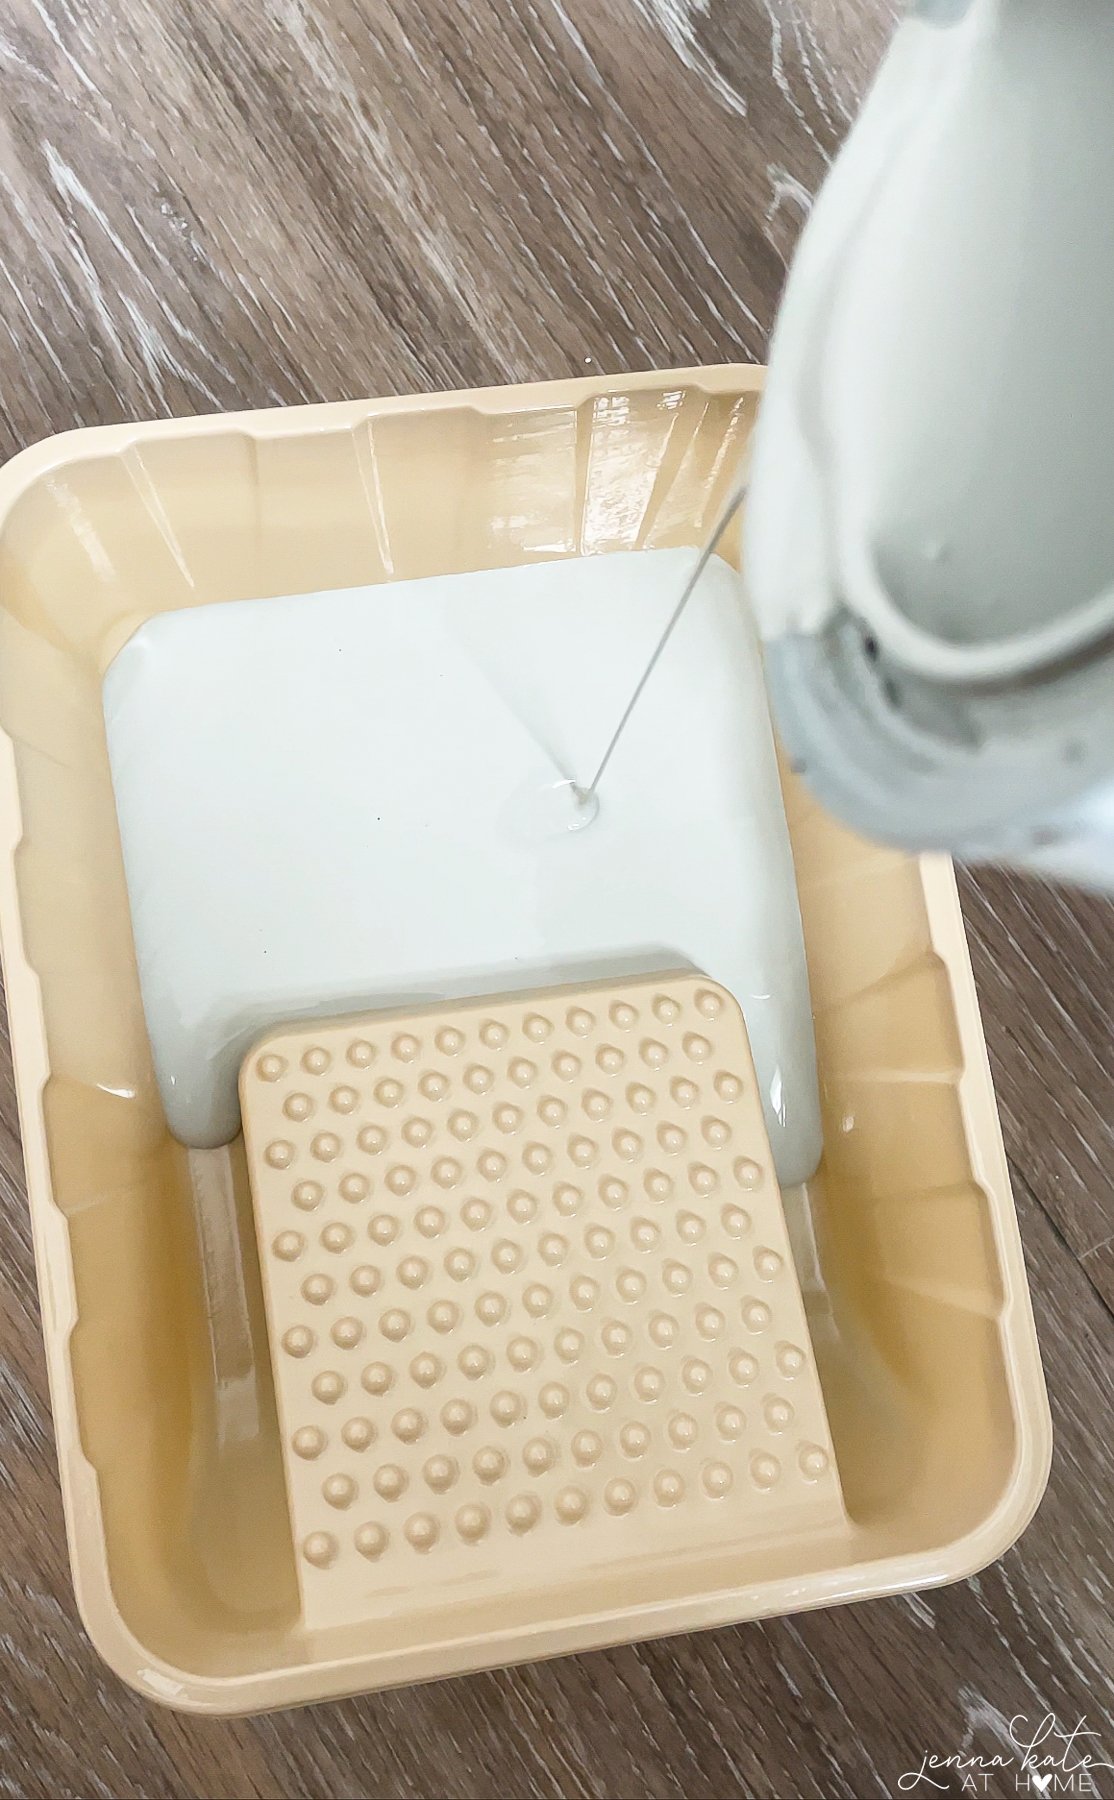
- Paintbrush (again, these Purdy brand ones are the best)
- Roller made for very smooth surfaces (I like these ones from the Purdy brand the best). A foam roller is usually recommended, but I’ve had the best results with the Purdy ones linked above.
- A cleaner that will remove grease and dirt (Krud Kutter is a good option or Trisodium Phosphate/TSP)
How to Paint A Bathroom Vanity Cabinet
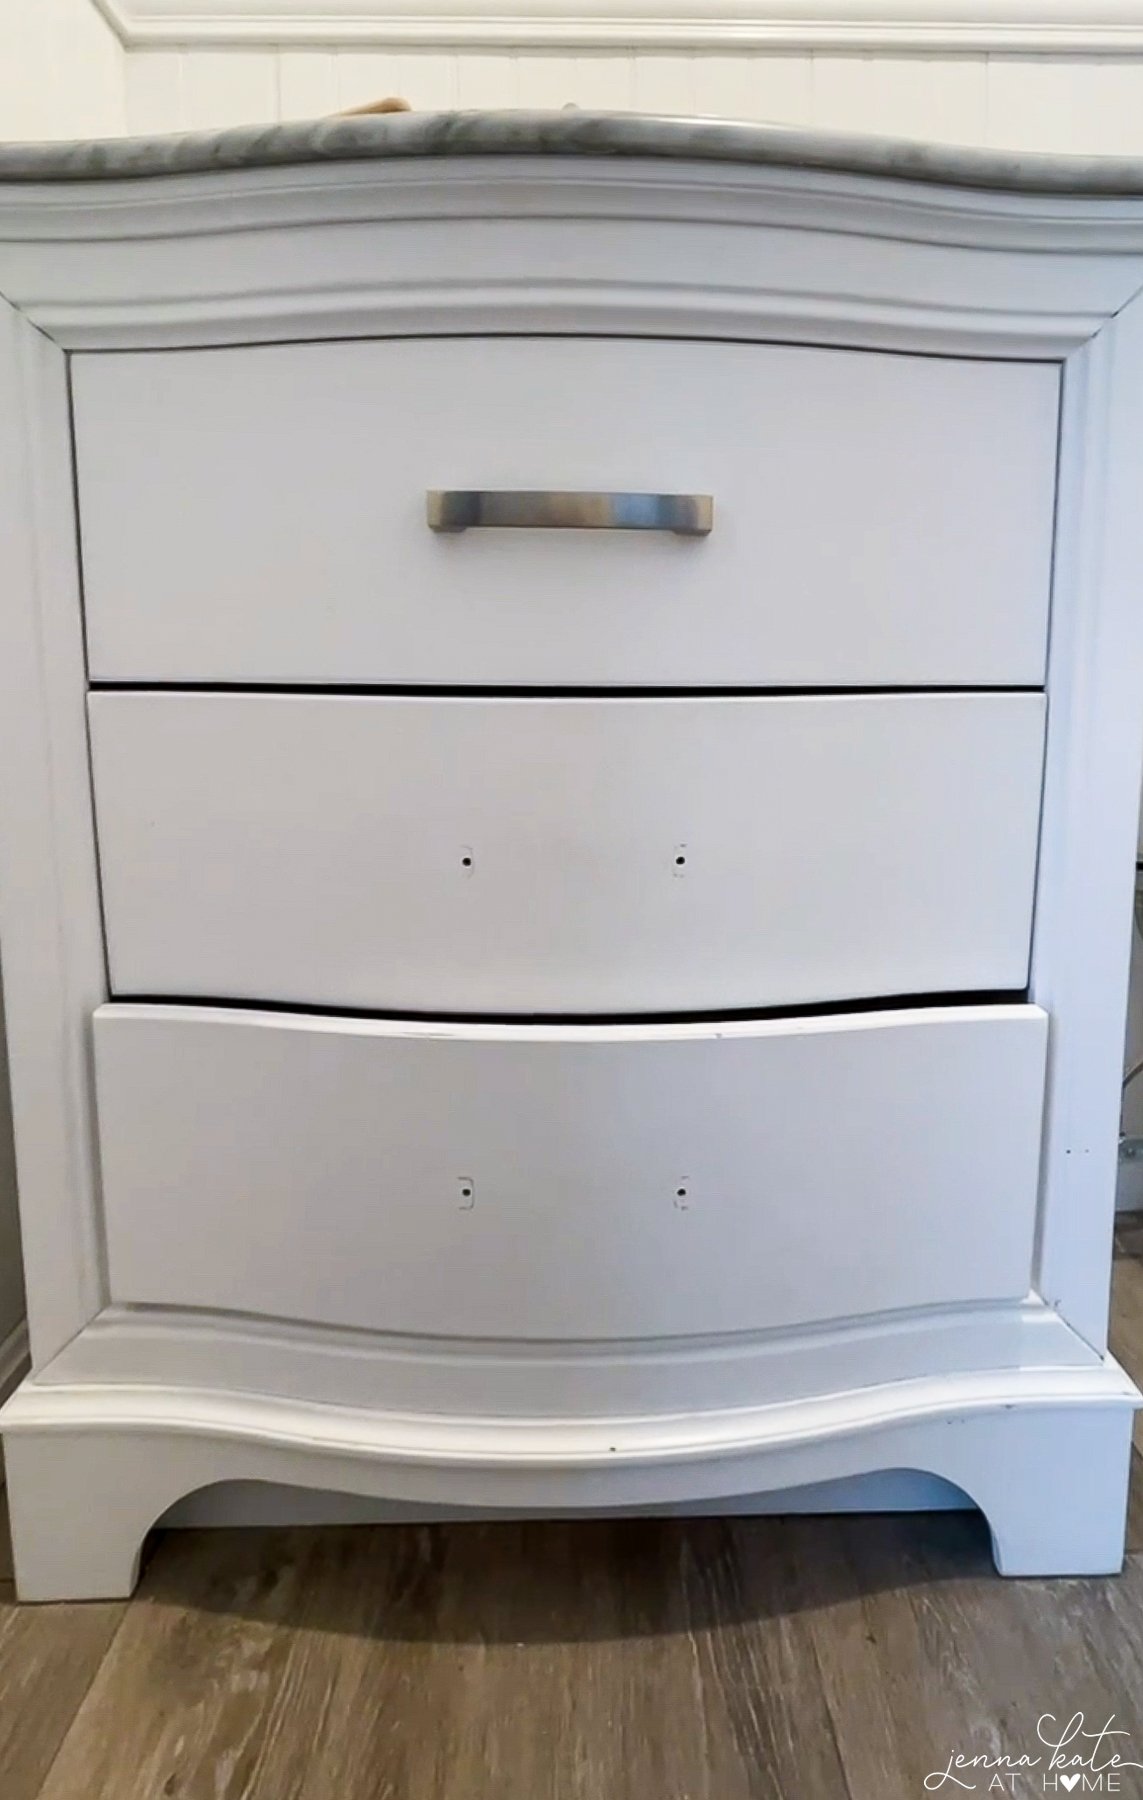
- Remove the drawers and hardware. If you’re painting cabinet doors, you can leave them on but it might be easier to just remove them.
- Clean the entire vanity to remove any grease or dirt.
- Lightly sand the entire surface to scuff up the finish and enable the paint to properly adhere.
- Clean the sanding dust with a vacuum and then a tack cloth.
- Use painter’s tape around the vanity top so you don’t get paint on it. Put a drop cloth on the floor around the cabinet.
- Use a roller to roll as much of the cabinet box /drawer fronts as possible. Any corners and crevices will require a paintbrush. You want to apply light coats. Several light coats are better than one or two thick coats.
- Allow to dry for 16 hours before applying the second coat of paint. I only needed 2 coats of paint, but depending on the color you may need 3.
- Lightly sand between coats and wipe with the tack cloth. This will give the best possible smooth finish.
- Do not sand the final coat.
- The paint will take about 3 weeks to fully cure but light use after about 3 days is usually fine as long as you are careful! If your drawers stick anywhere, it’s best to leave them off for a few weeks so that you don’t scratch off the paint. Hardware can go back on after a day or so.

Note: It’s up to you whether you paint the inside of the cabinet or drawers. I didn’t bother because no one sees inside it but me.
If you get paint anywhere that it shouldn’t be, just use a damp cloth to get it off before it dries.
How To Paint Bathroom Cabinets Without Sanding
I personally prefer to sand before tackling a paint job (and sand in between coats) but you can start the process using a liquid deglosser (also known as liquid sandpaper) instead of sanding.
I haven’t tried this method on a vanity or cabinet, but I have used it when painting interiors doors and it worked well.
Vanity Hardware & Faucet
The easiest way to update the cabinet hardware is to spray paint it. Matte black or any shade of gold work well. Of course, you can just as easily buy new hardware but I couldn’t find anything that I liked in a 5-inch pull that didn’t cost a small fortune.
If you want to change the size of old hardware, you’ll first need to fill the existing holes with wood filler. Just work it into the existing hole with a putty knife, allow it to dry, then sand it smooth. You’ll have to do this BEFORE you paint. Then drill new holes to match the size of the new hardware.
A faucet is another quick and easy item to switch out. Pay attention to what you currently have, though, as the replacement one will need to be the same (one hole, or 3 holes).
Frequently Asked Questions
If you are painting over natural (or stained) wood, then yes, a coat of primer will seal the wood and stop the tannins from bleeding through. Since this vanity was already painted white, no primer was necessary.
I don’t advise it. It won’t hold up in the long run. A good quality enamel paint will do better, but this Alkyd paint is the best and will save you headaches in the long run.
Not with this paint. You’ll need a special countertop paint for that.
How to Paint Bathroom Cabinets
Update an old bathroom vanity cabinet quickly and easily with this simple tutorial.
Materials
- A quart of Benjamin Moore Advance paint.
- 220 – 400 grit sandpaper (I used extra fine 400 grit)
- A tack cloth
- Paint tray
- Paintbrush (again, these Purdy brand ones are the best)
- Roller made for very smooth surfaces (I like these ones from the Purdy brand the best). A foam roller is usually recommended, but I’ve had the best results with the Purdy ones linked above.
- A cleaner that will remove grease and dirt (Krud Kutter is a good option or Trisodium Phosphate/TSP)
Instructions
- Remove the drawers and hardware. If you’re painting cabinet doors, you can leave them on but it might be easier to just remove them.
- Clean the entire vanity to remove any grease or dirt.
- Lightly sand the entire surface to scuff up the finish and enable the paint to properly adhere.
- Clean the sanding dust with a vacuum and then a tack cloth.
- Use painter’s tape around the vanity top so you don’t get paint on it. Put a drop cloth on the floor around the cabinet.
- Use a roller to roll as much of the cabinet box /drawer fronts as possible. Any corners and crevices will require a paintbrush. You want to apply light coats. Several light coats are better than one or two thick coats.
- Allow to dry for 16 hours before applying the second coat of paint. I only needed 2 coats of paint, but depending on the color you may need 3.
- Lightly sand between coats and wipe with the tack cloth. This will give the best possible smooth finish.
- Do not sand the final coat.
- The paint will take about 3 weeks to fully cure but light use after about 3 days is usually fine as long as you are careful! If your drawers stick anywhere, it’s best to leave them off for a few weeks so that you don’t scratch off the paint. Hardware can go back on after a day or so.
Notes
It may take up to 3 weeks to fully cure so use lightly after a minimum of 3 days.