Content may contain affiliate links. When you shop the links, I receive a small commission at no cost to you. Thank you for supporting my small business.
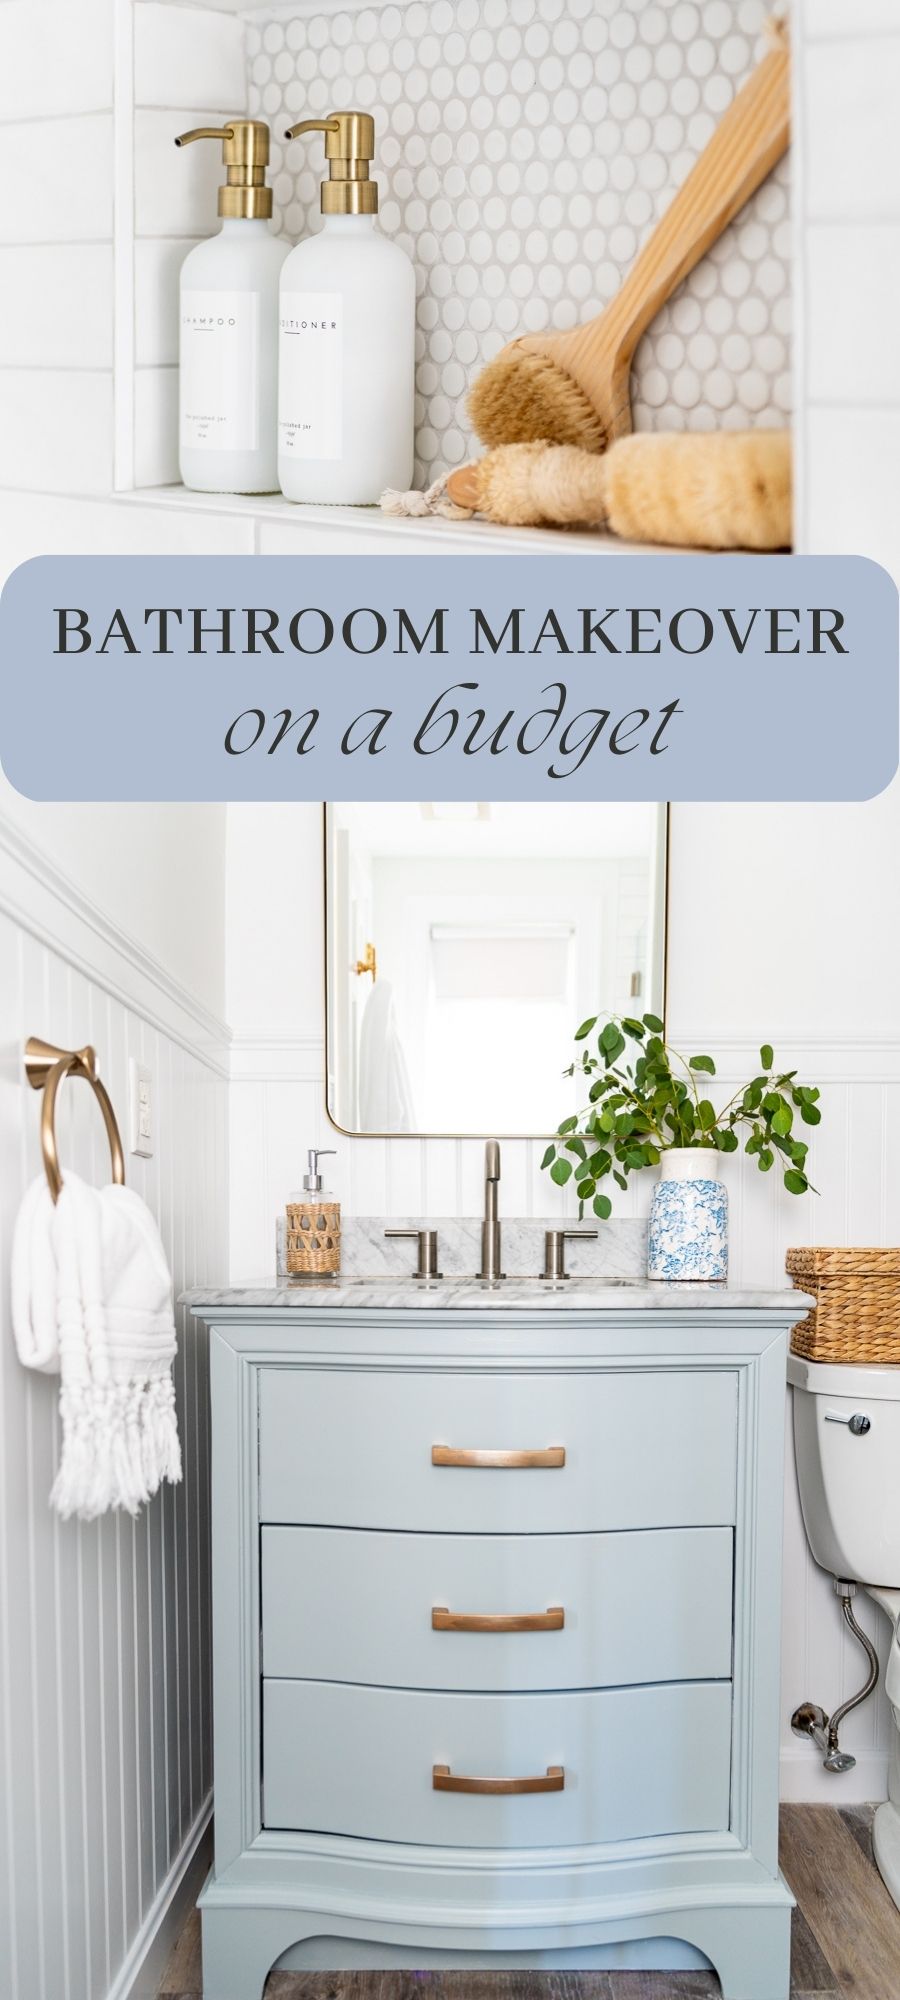
My impromptu master bathroom makeover is complete! This was a quick 2 week turn around since only the shower was truly being remodeled. We also had a tight budget to contend with, so I snuck in some DIYs and thrifty Amazon finds to get the best bang for my buck.
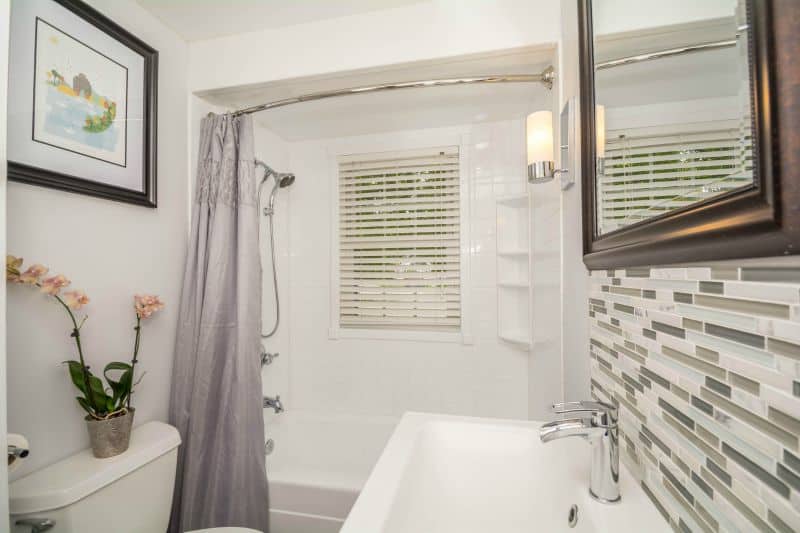
Before I share all the pretty “after” photos, let’s take a quick look back at where we started.
When we moved into this house back in 2015, this is what the primary bathroom looked like:
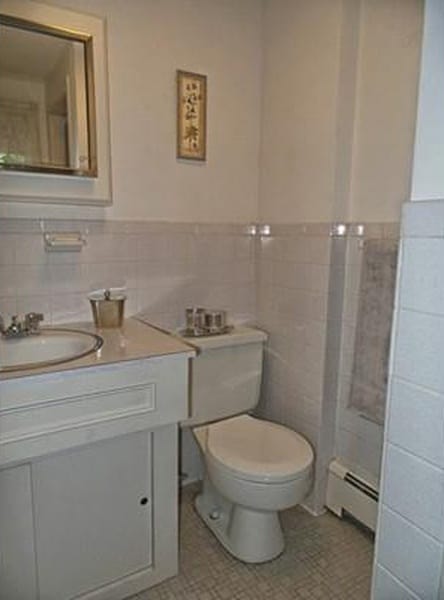
The bathroom was original to when the house was built in 1960, so it was certainly a very outdated bathroom. We didn’t have a lot of money to remodel it, so our original makeover involved ripping down the ceramic tiles and adding bead board over the damaged drywall, followed by some fresh paint on top.
The built-in bathroom vanity was trashed and replaced with a new one, the toilet was discarded and a new toilet was installed, and we floated LVP flooring over the existing floor tile.
Wondering what is the best flooring for a small bathroom? While LVP has worked for us for years in our teeny bathroom, there are also tons of other options!
We also added a glass shower door, since previously it was just an alcove with a shower curtain, but we never actually updated any of the tile or fixtures in the shower.
Well, fast forward to the present day, and the old tile inside the shower started to show signs of damage. The grout was falling out in chunks, making us worried about the possibility of mold. Well, once it all was opened up there was no mold to be found, but only because it was SO wet that it was too wet for mold to survive.
In fact, there was so much water damage that you could poke your hand right through to the outside. So the entire framing of the shower had to be removed and re-framed.
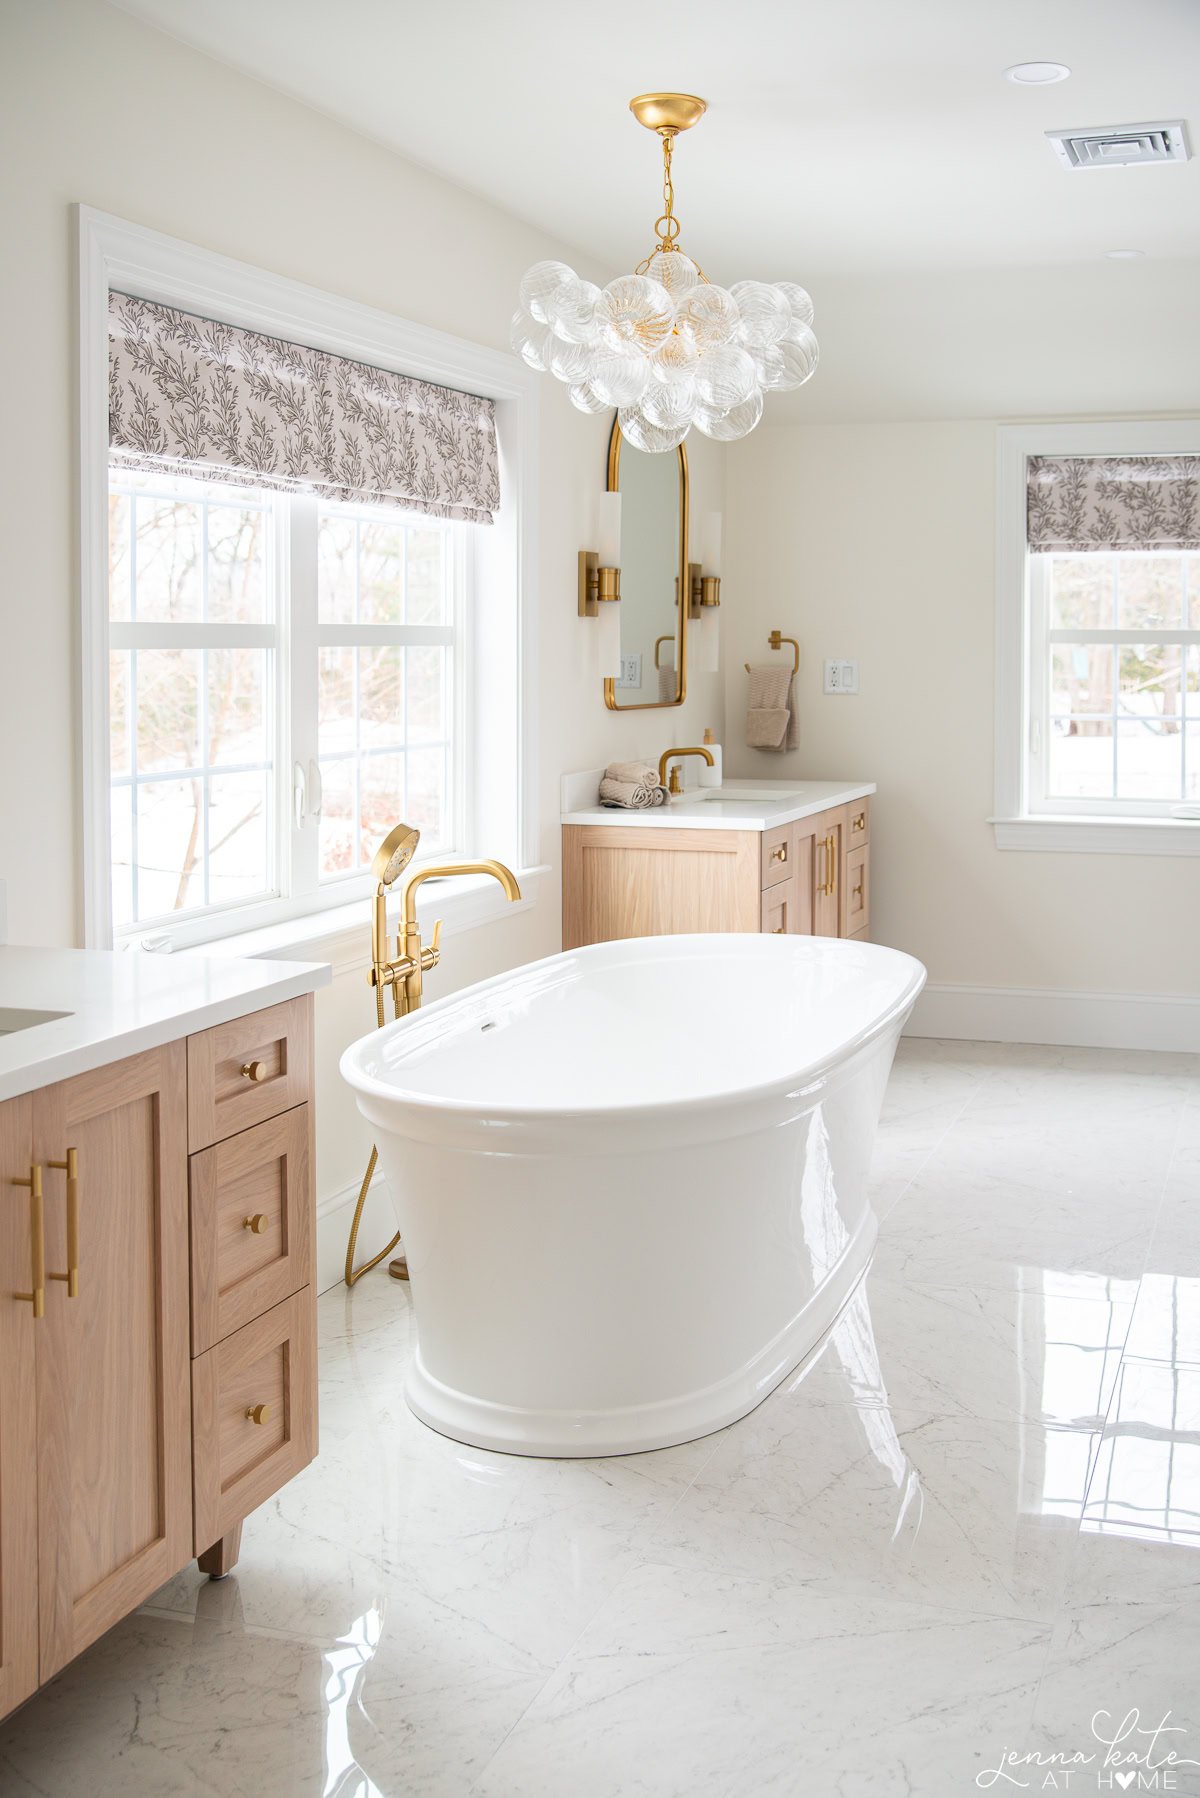
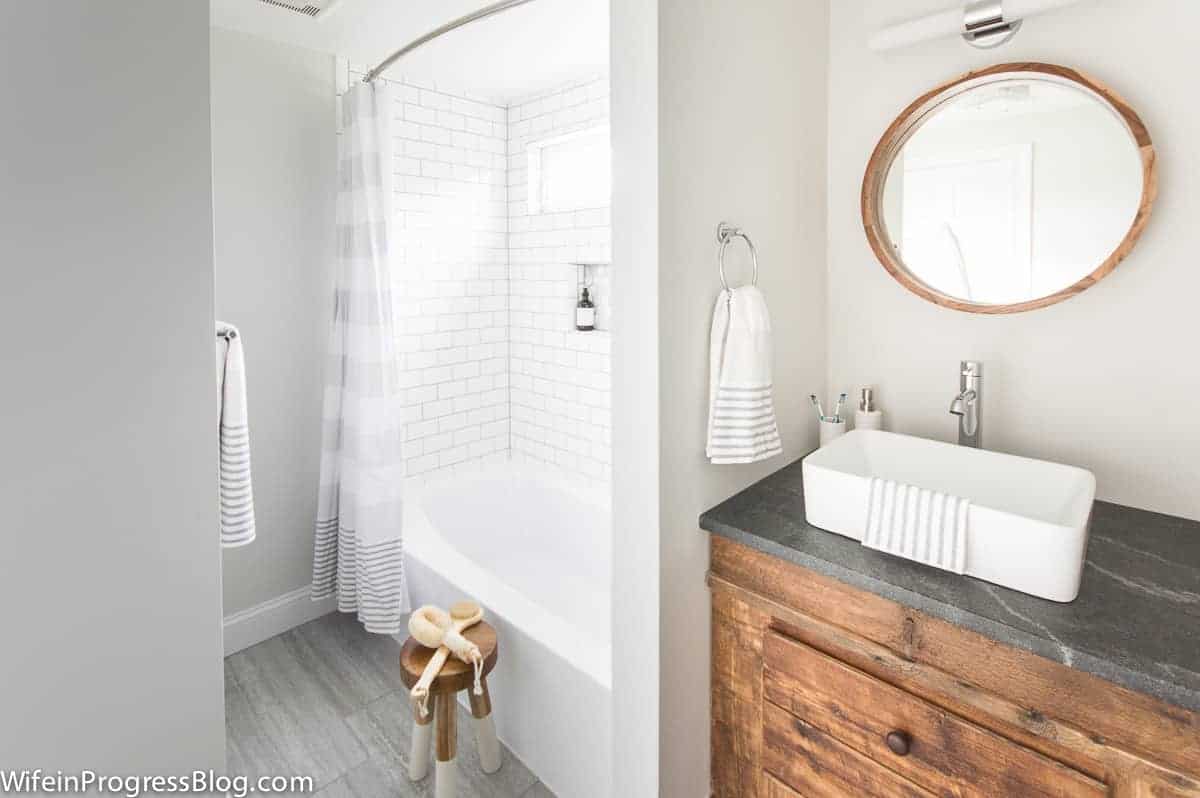
There’s only so much you can do with a teeny tiny bathroom like this, but I think the result looks a lot bigger and brighter than it did before for a budget-friendly bathroom, especially considering I had a max of $4000 for the entire remodel.
Ready to see the after? Here we go! Hopefully these bathroom remodel ideas will inspire you to get creative with your own.
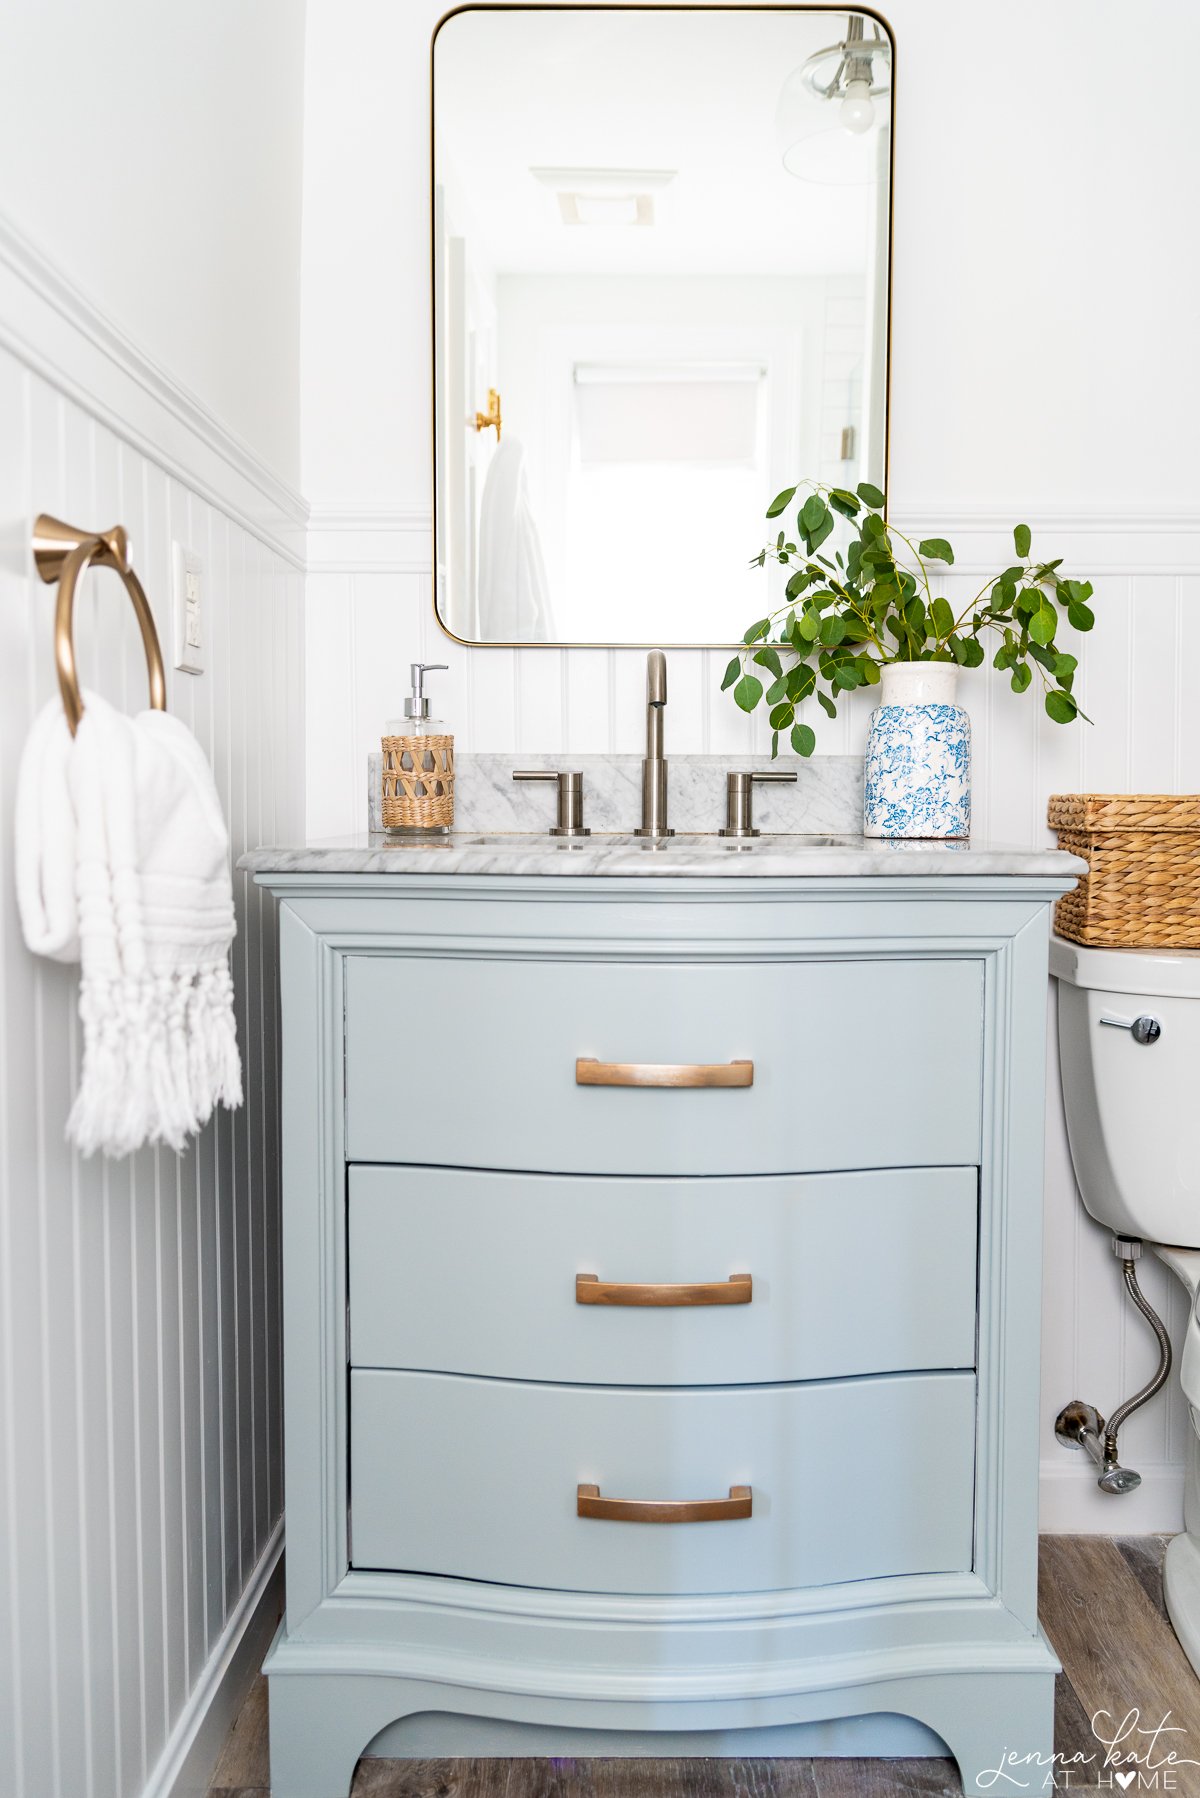
Painted Vanity
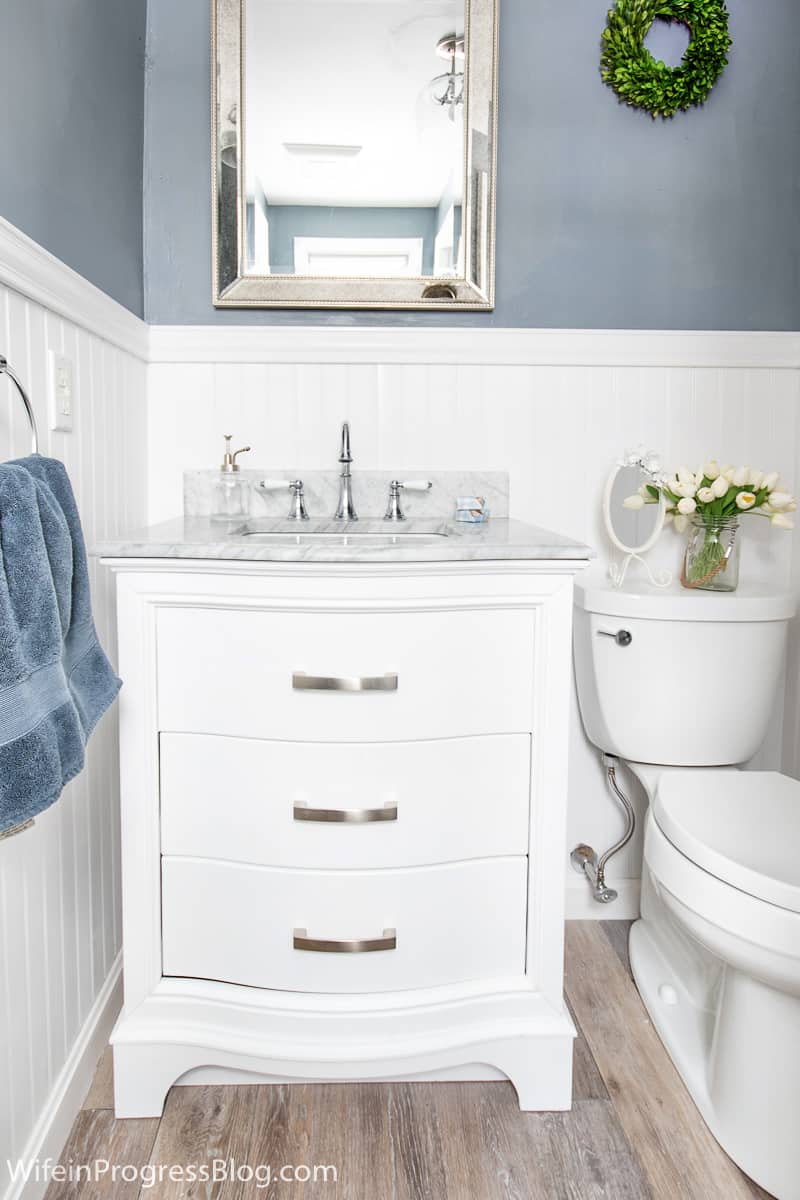
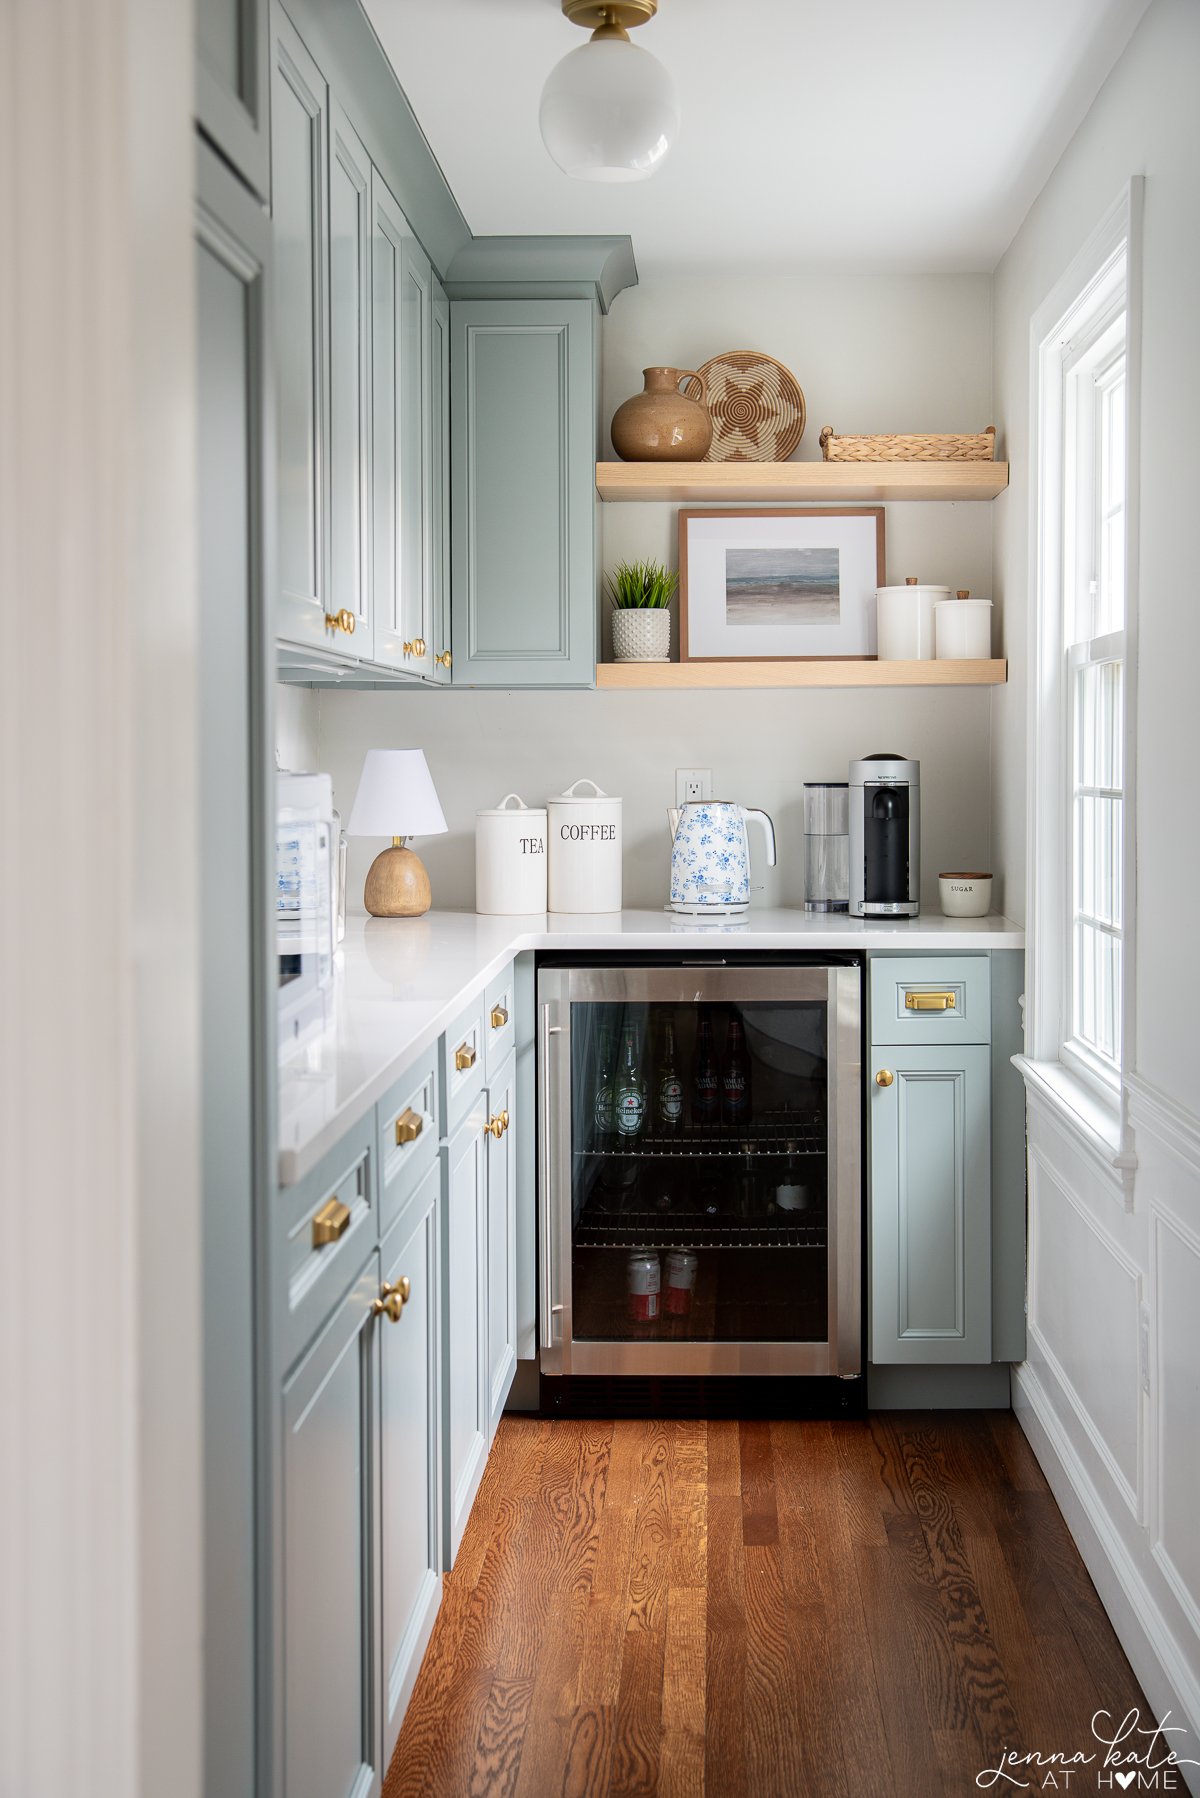
Having previously painted my kitchen cabinets, I already knew the best paint for cabinets and I was confident that painting the vanity was a good DIY project for this space. I updated the vanity with a fresh coat of paint in the color Boothbay Gray, which is the same color we used in our pantry and on our kitchen island. If you’re in the market for a new vanity, I have an entire post full of vanities for every budget.
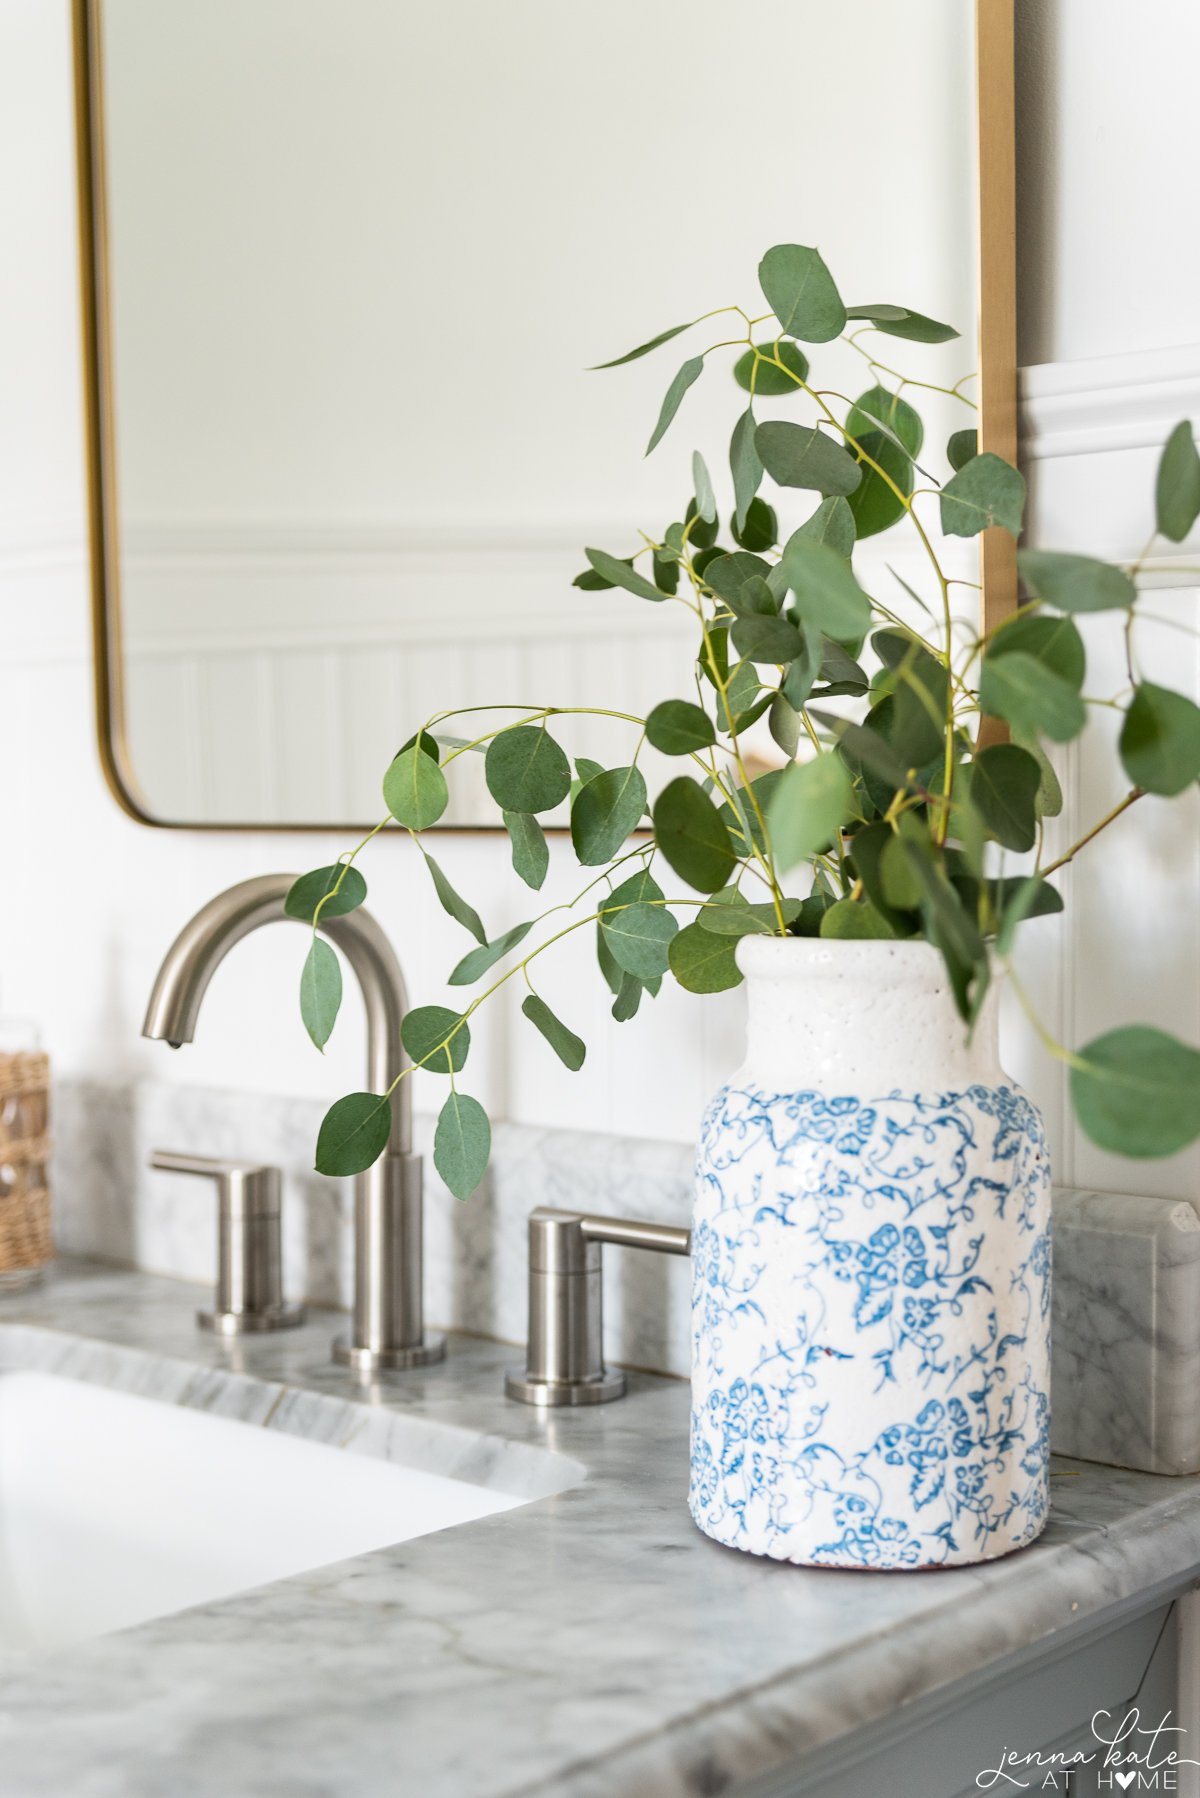
Additionally, I spray-painted the cabinet hardware gold and switched up the bathroom faucet from chrome to satin nickel instead of opting to buy completely all new hardware. This was an inexpensive way to get a whole new look without having to get rid of the vanity since it was still in pretty good condition.
The bead board got a fresh coat of paint (off the shelf bright white) and the top half of the walls were painted Sherwin Williams Pure White. I opted for Pure White because it looked just slightly creamy against the bright white bead board and stopped the room from feeling too white.
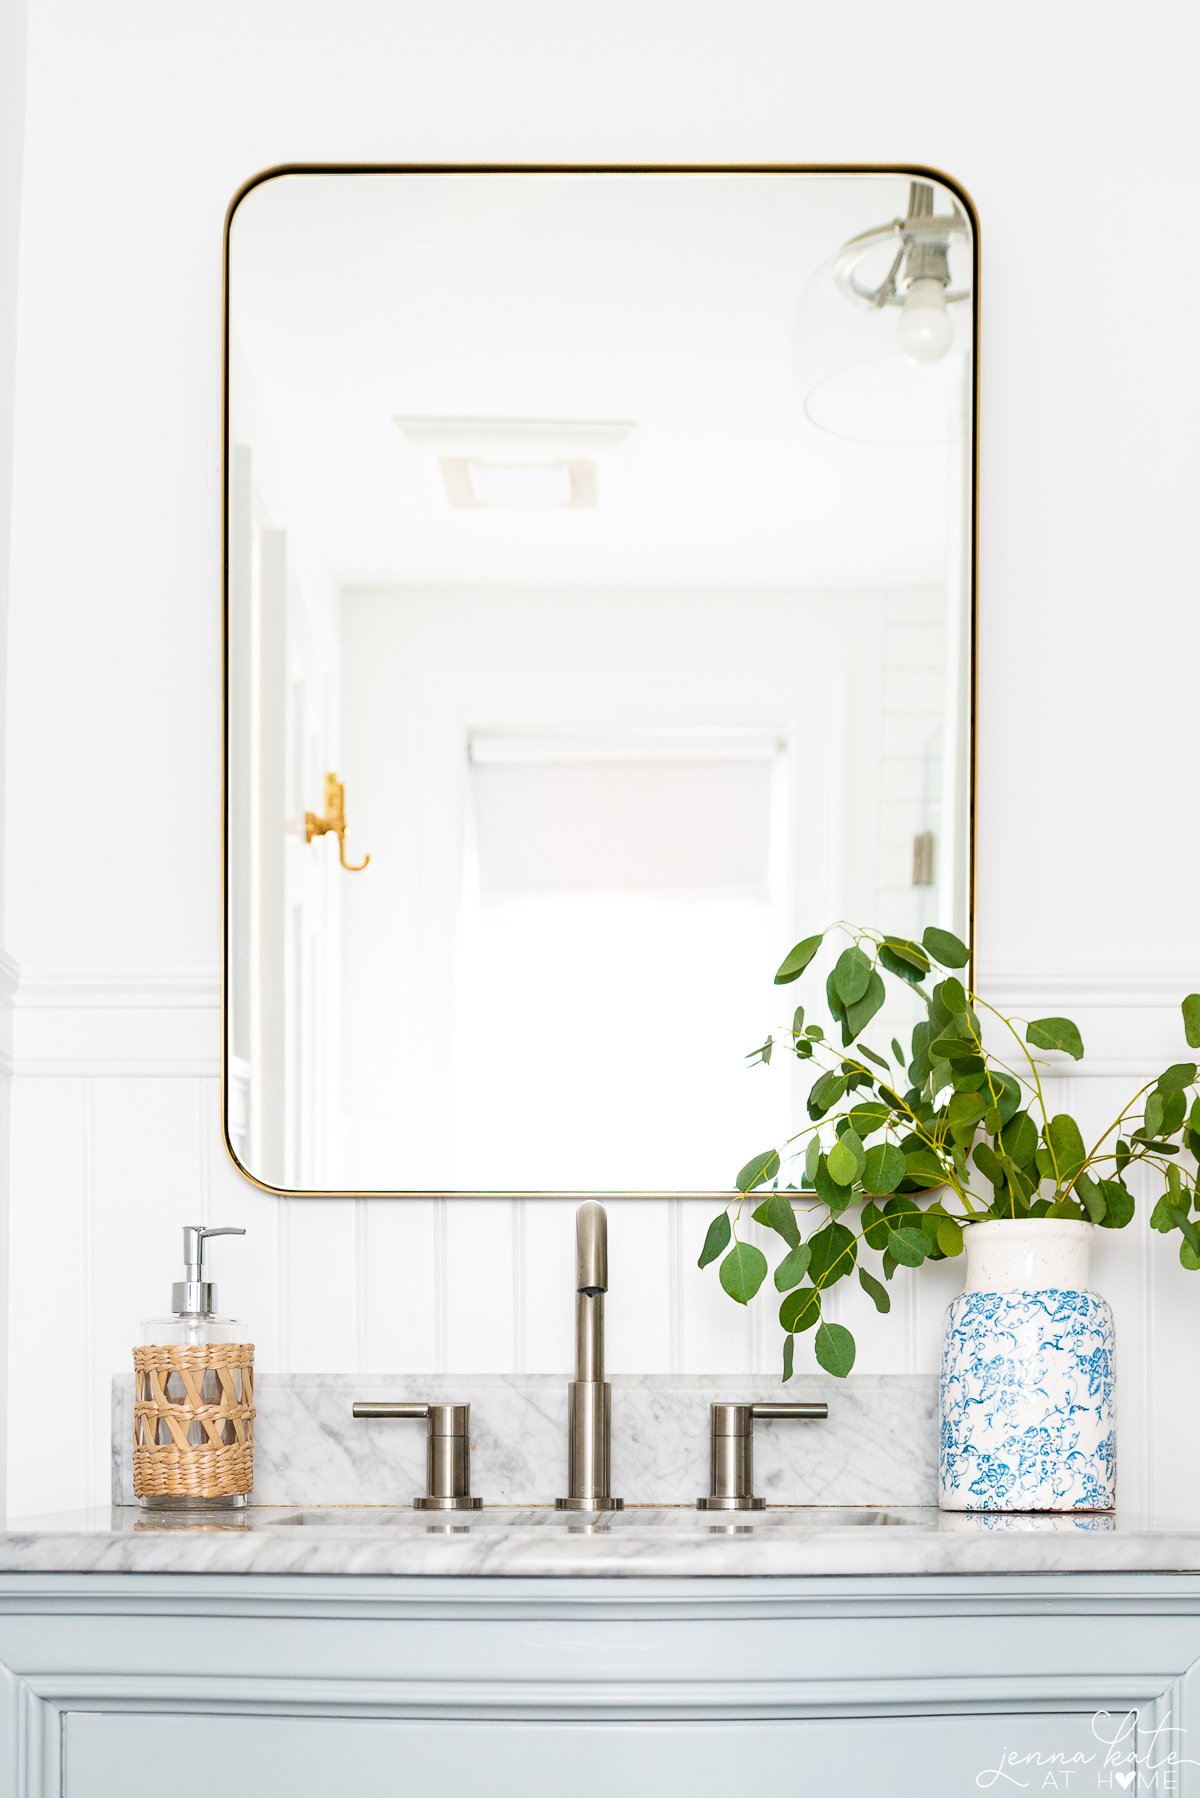
A new slimmer, more modern style bathroom mirror with a brass frame reflects a lot of light back into the room and also modernizes the space. This is a great way to bring in some natural lighting if updating the light fixtures isn’t in the budget.
Floating Shelves
White oak floating shelves not only add more storage, but have the added benefit of drawing the eye up, which makes the ceilings appear taller than they are.
These shelves were an inexpensive find on Amazon and I highly recommend them for the price! They are engineered wood & they are hollow, but they are very sturdy and look great!
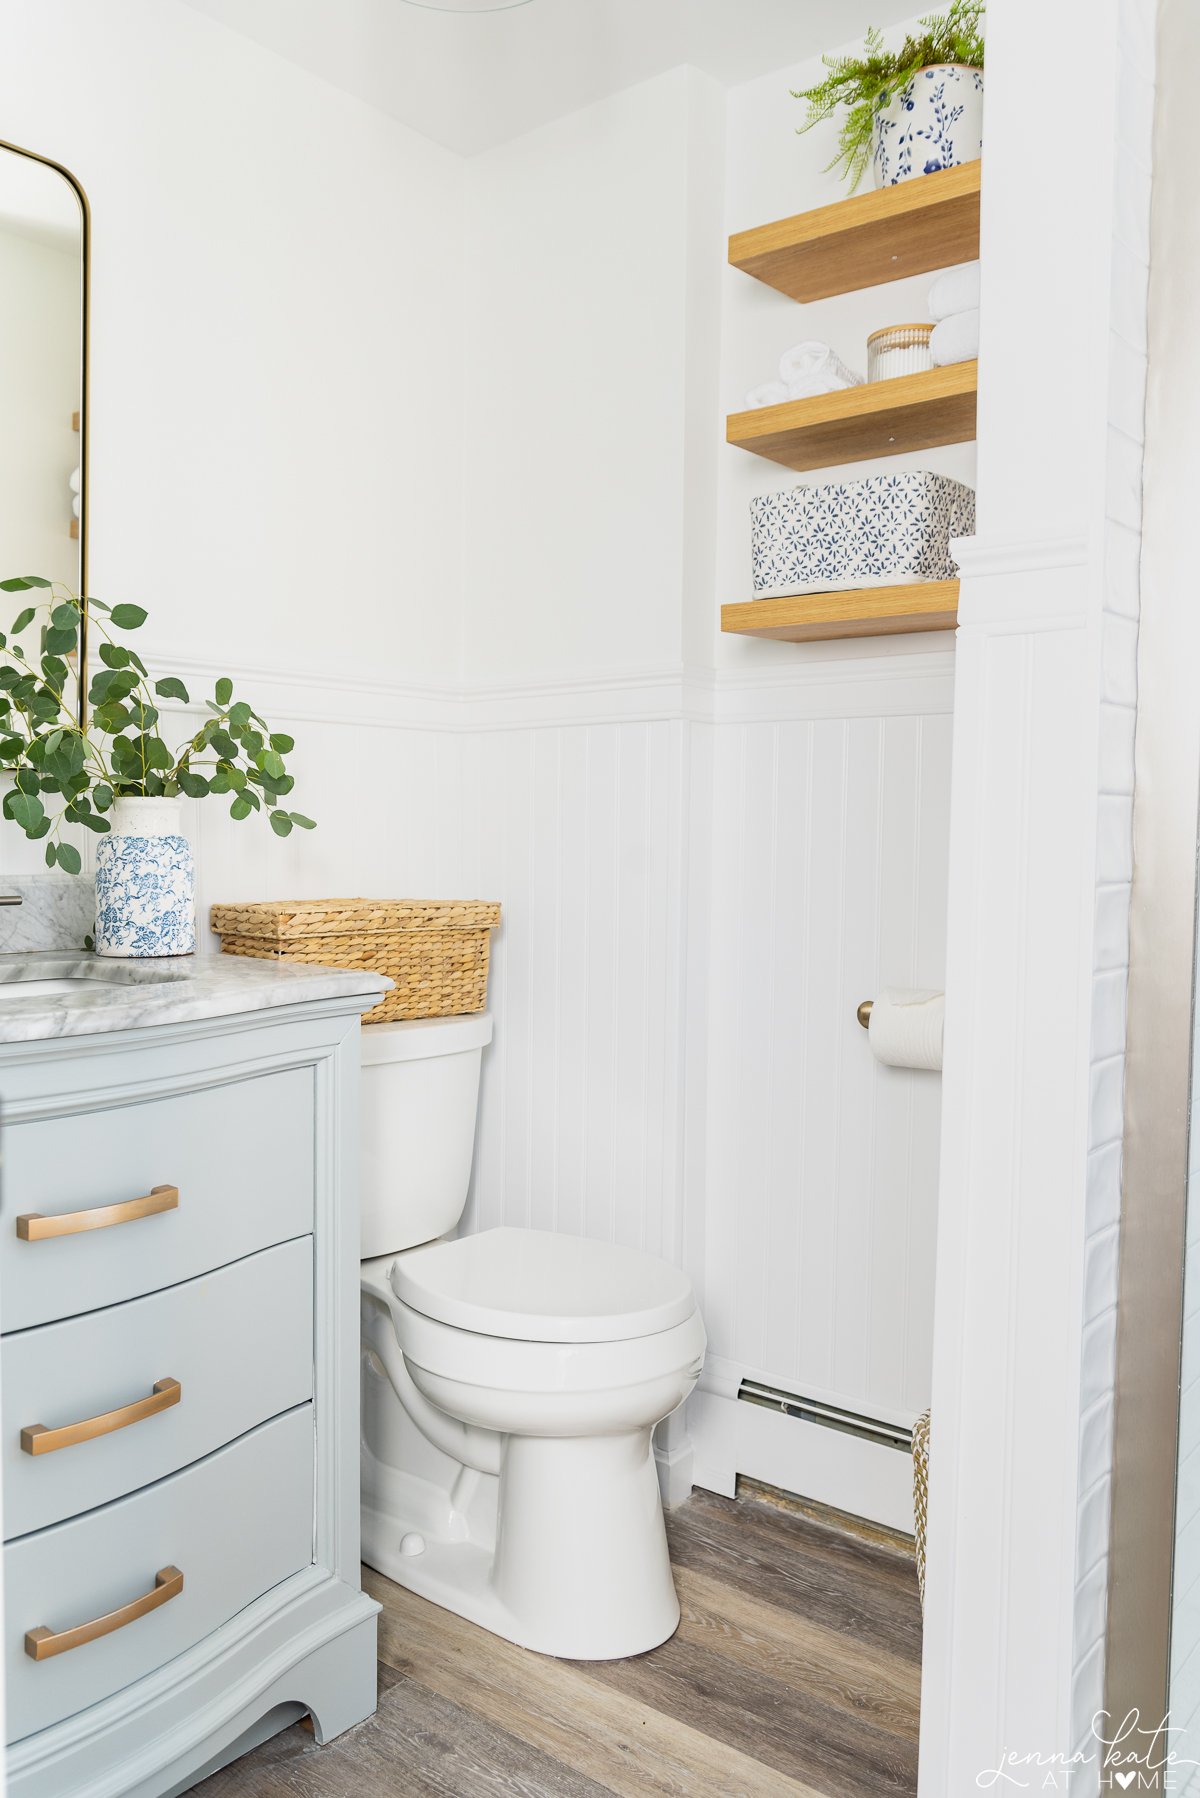
I rolled some wash cloths, stacked a few hand towels and added some of my lotions and potions into the basket. The small round containers are perfect for cotton swabs, cotton pads, hair ties, etc.
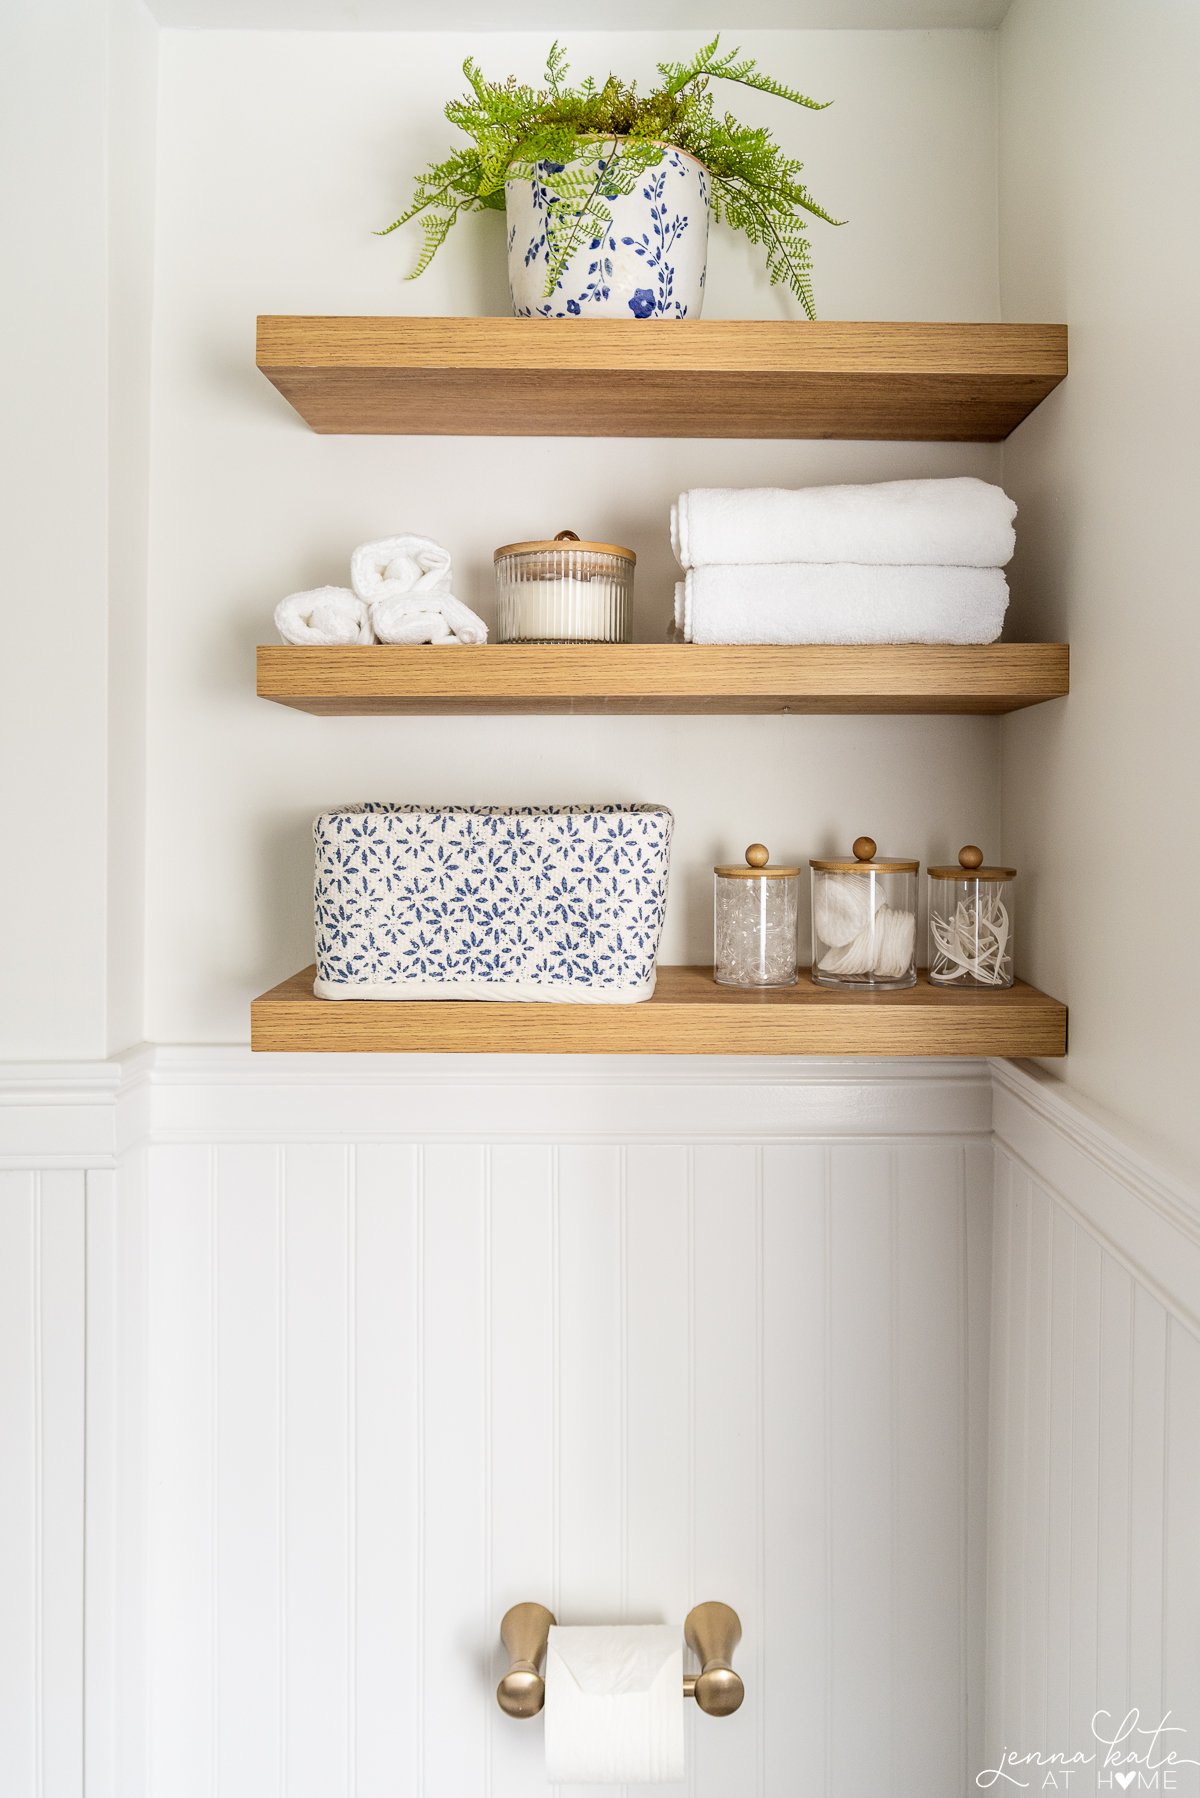
Small storage jars // Toilet paper holder
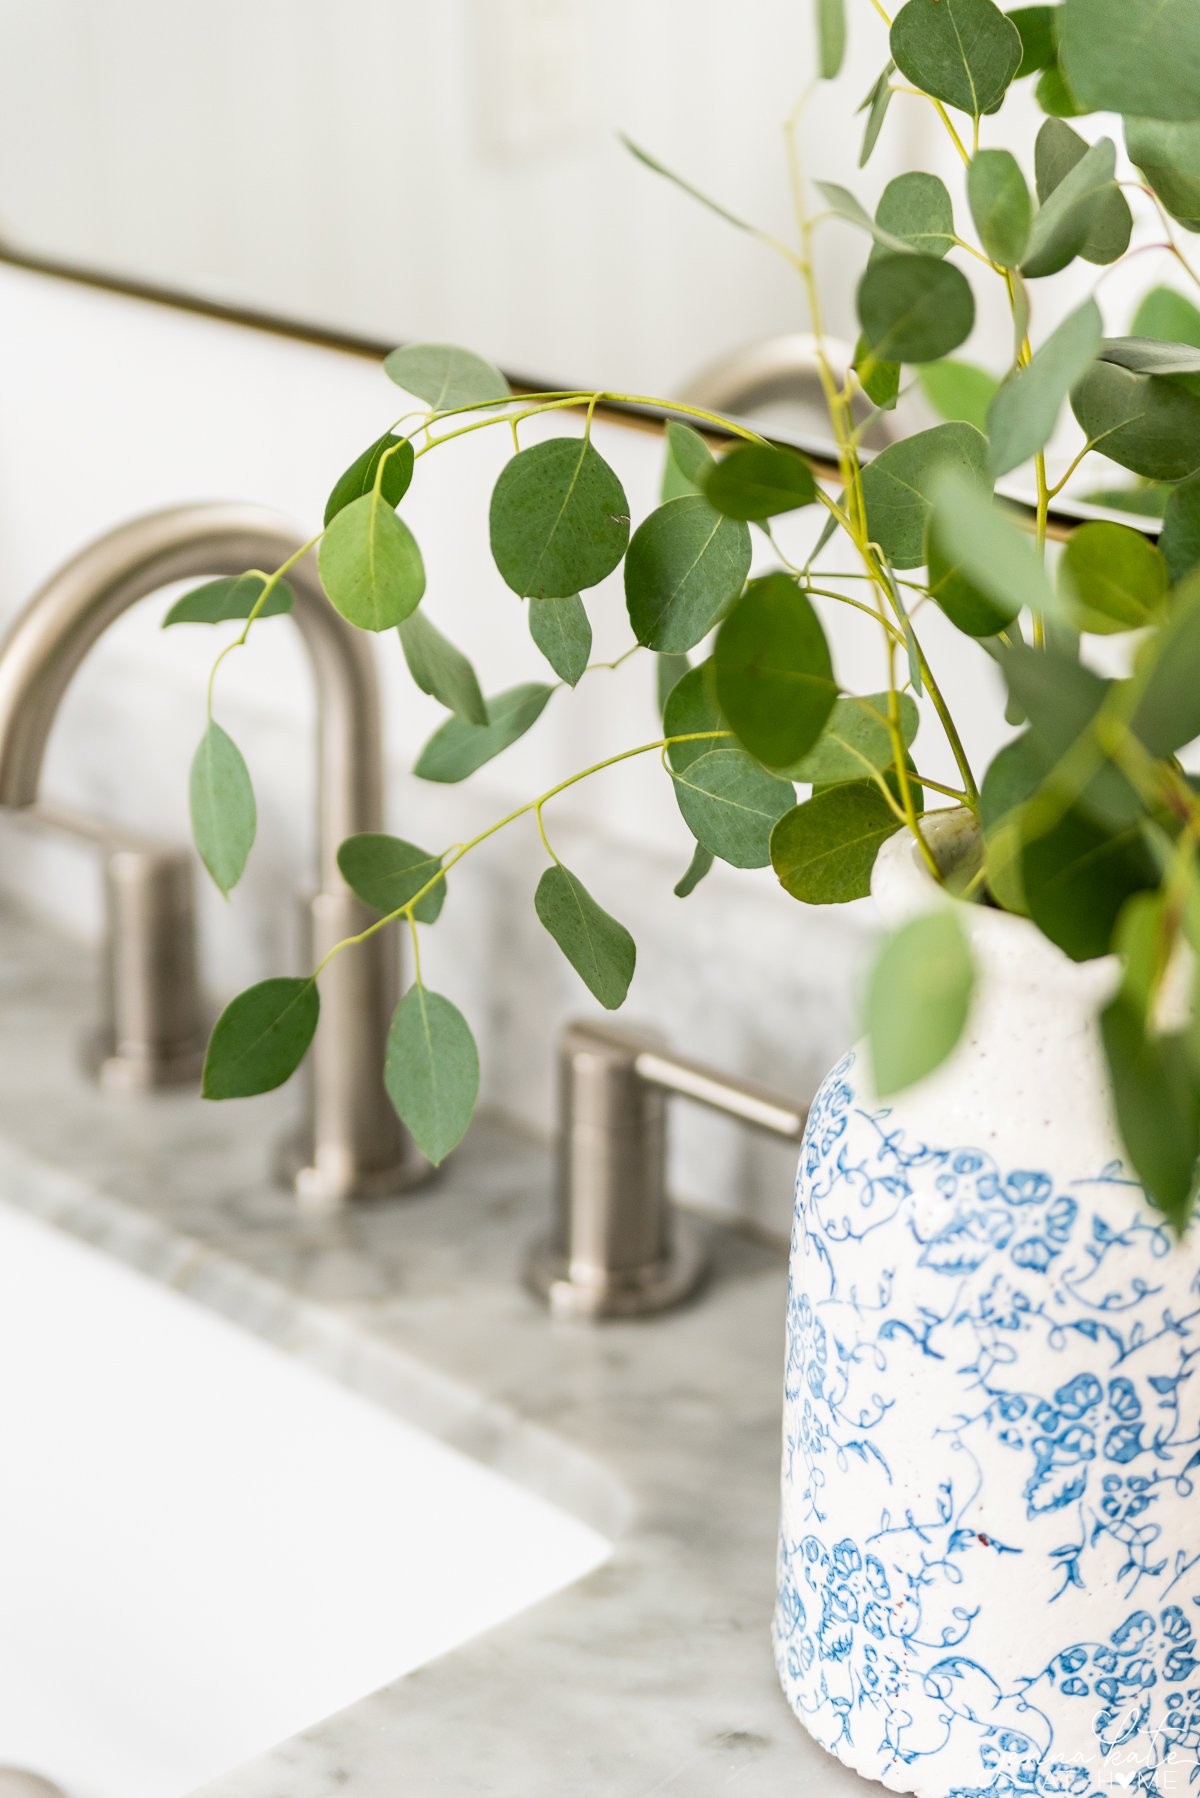
If you have a very neutral space like this (it’s mostly white), it’s really easy to add a pop of color through a planter or basket. Bringing in wood tones and warm metals helps to warm up the space, too. Otherwise, you’d be left with a white room that feels very cold and sterile.

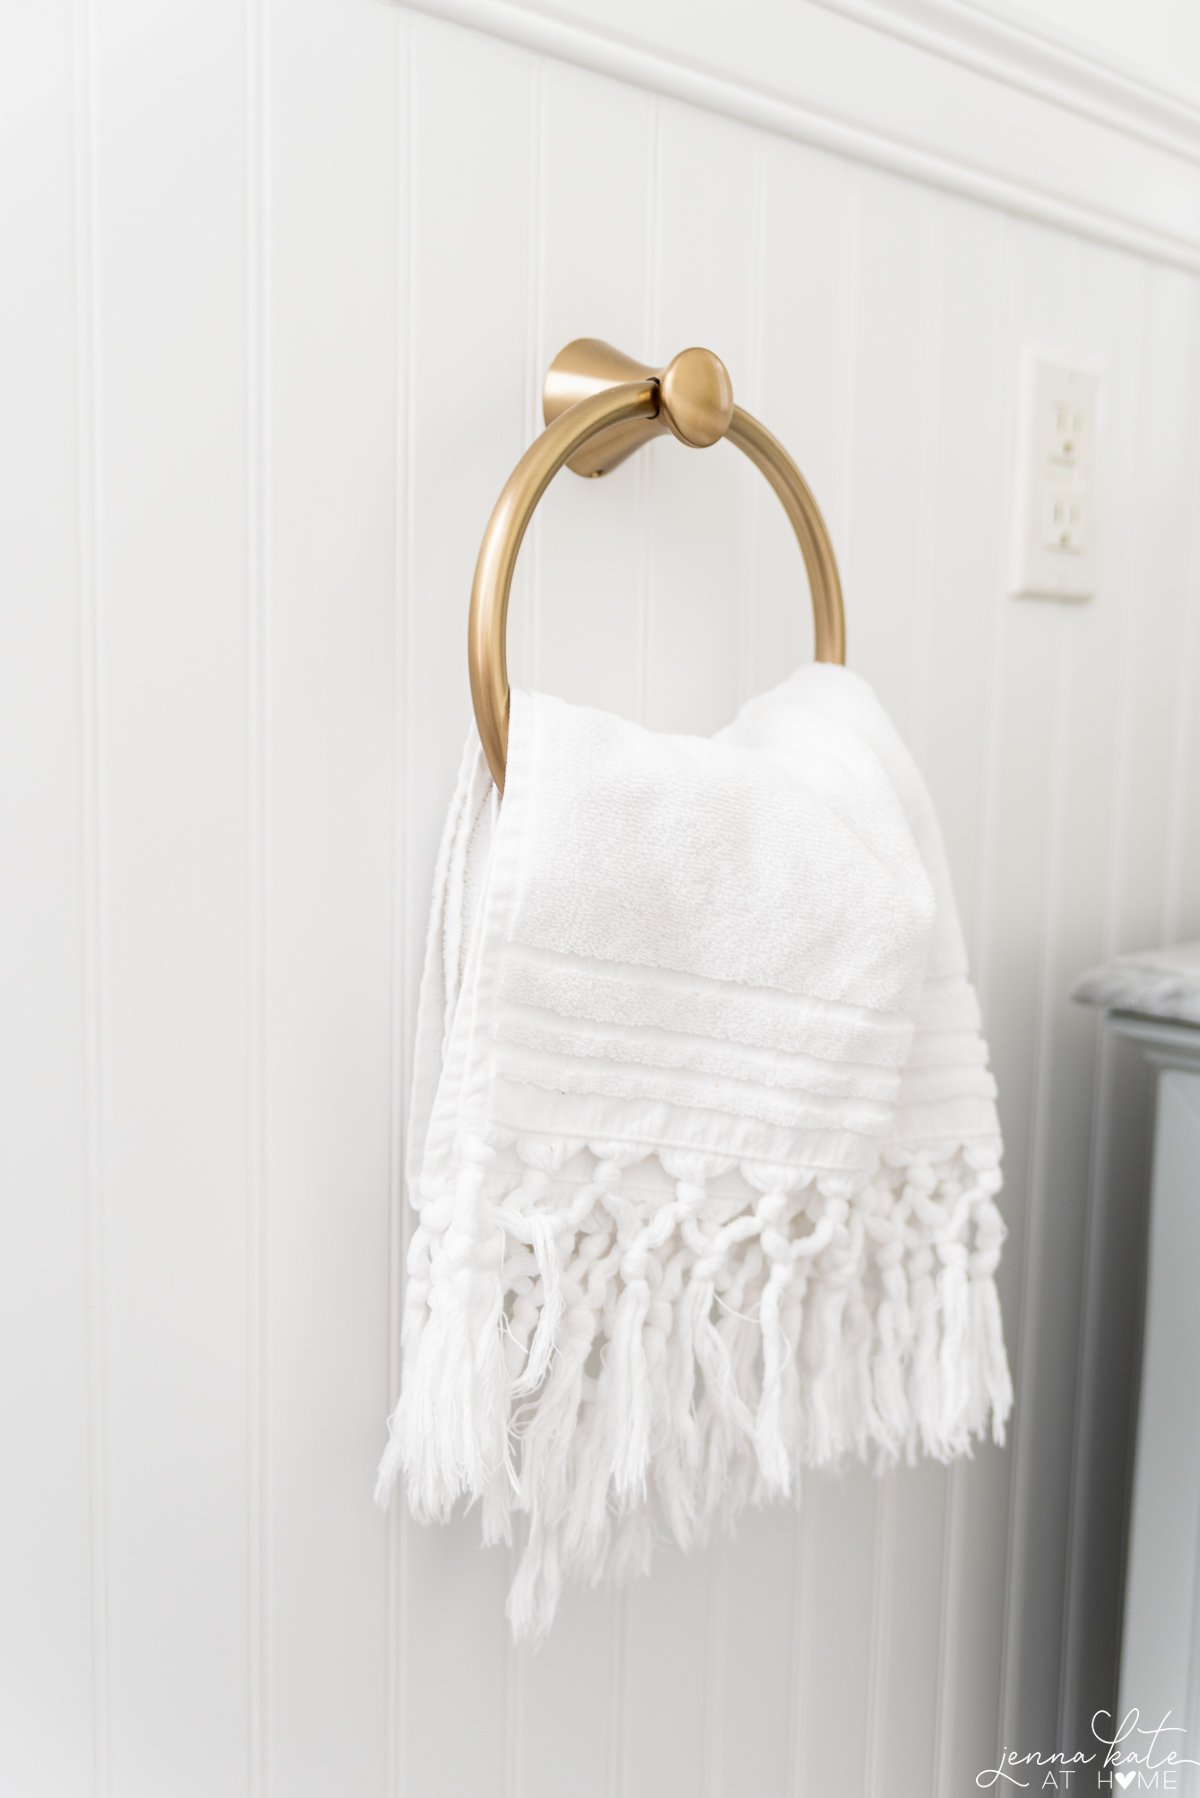
Instead of the chrome we previously had in here, I switched up all the accessories for champagne bronze which is darker than traditional (yellow) brass. We previously used the same hardware in our powder room and I love the color.
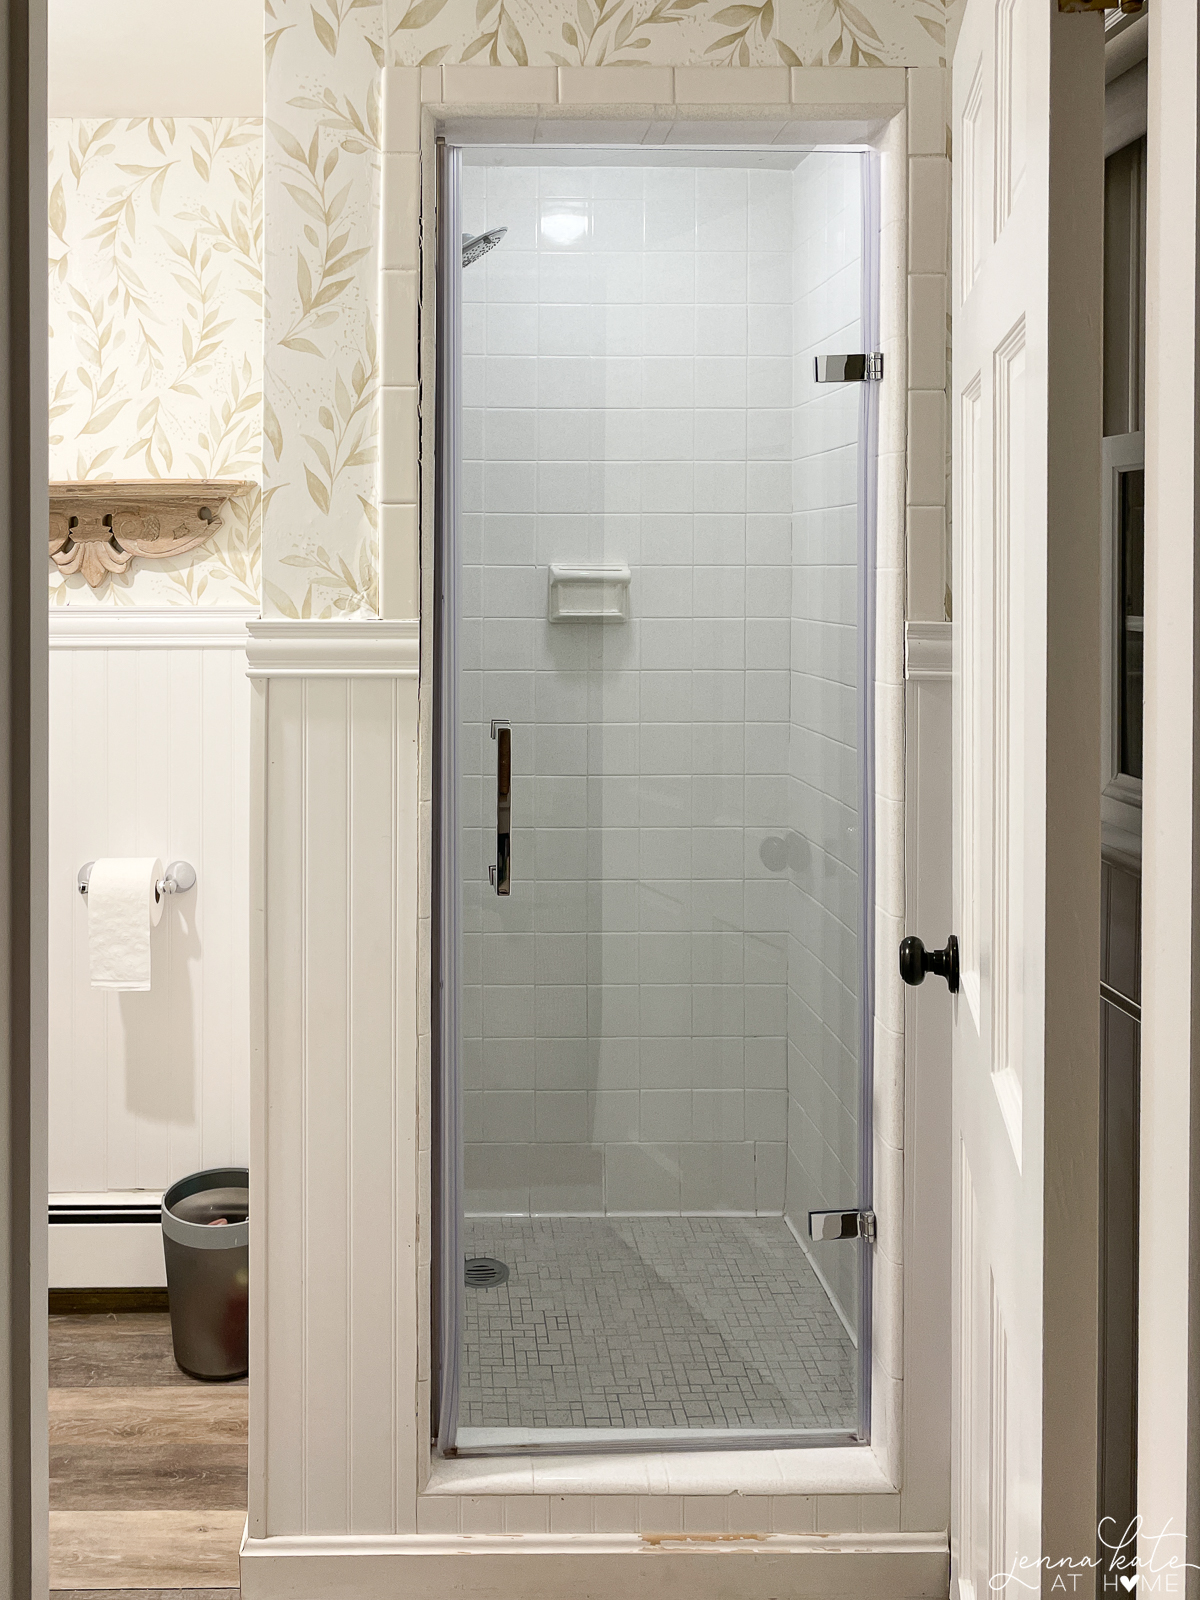
The Shower
The shower was, of course, the reason for this entire project. I’m thrilled with how it turned out and for the first time in 7 years, I actually enjoy showering in here!
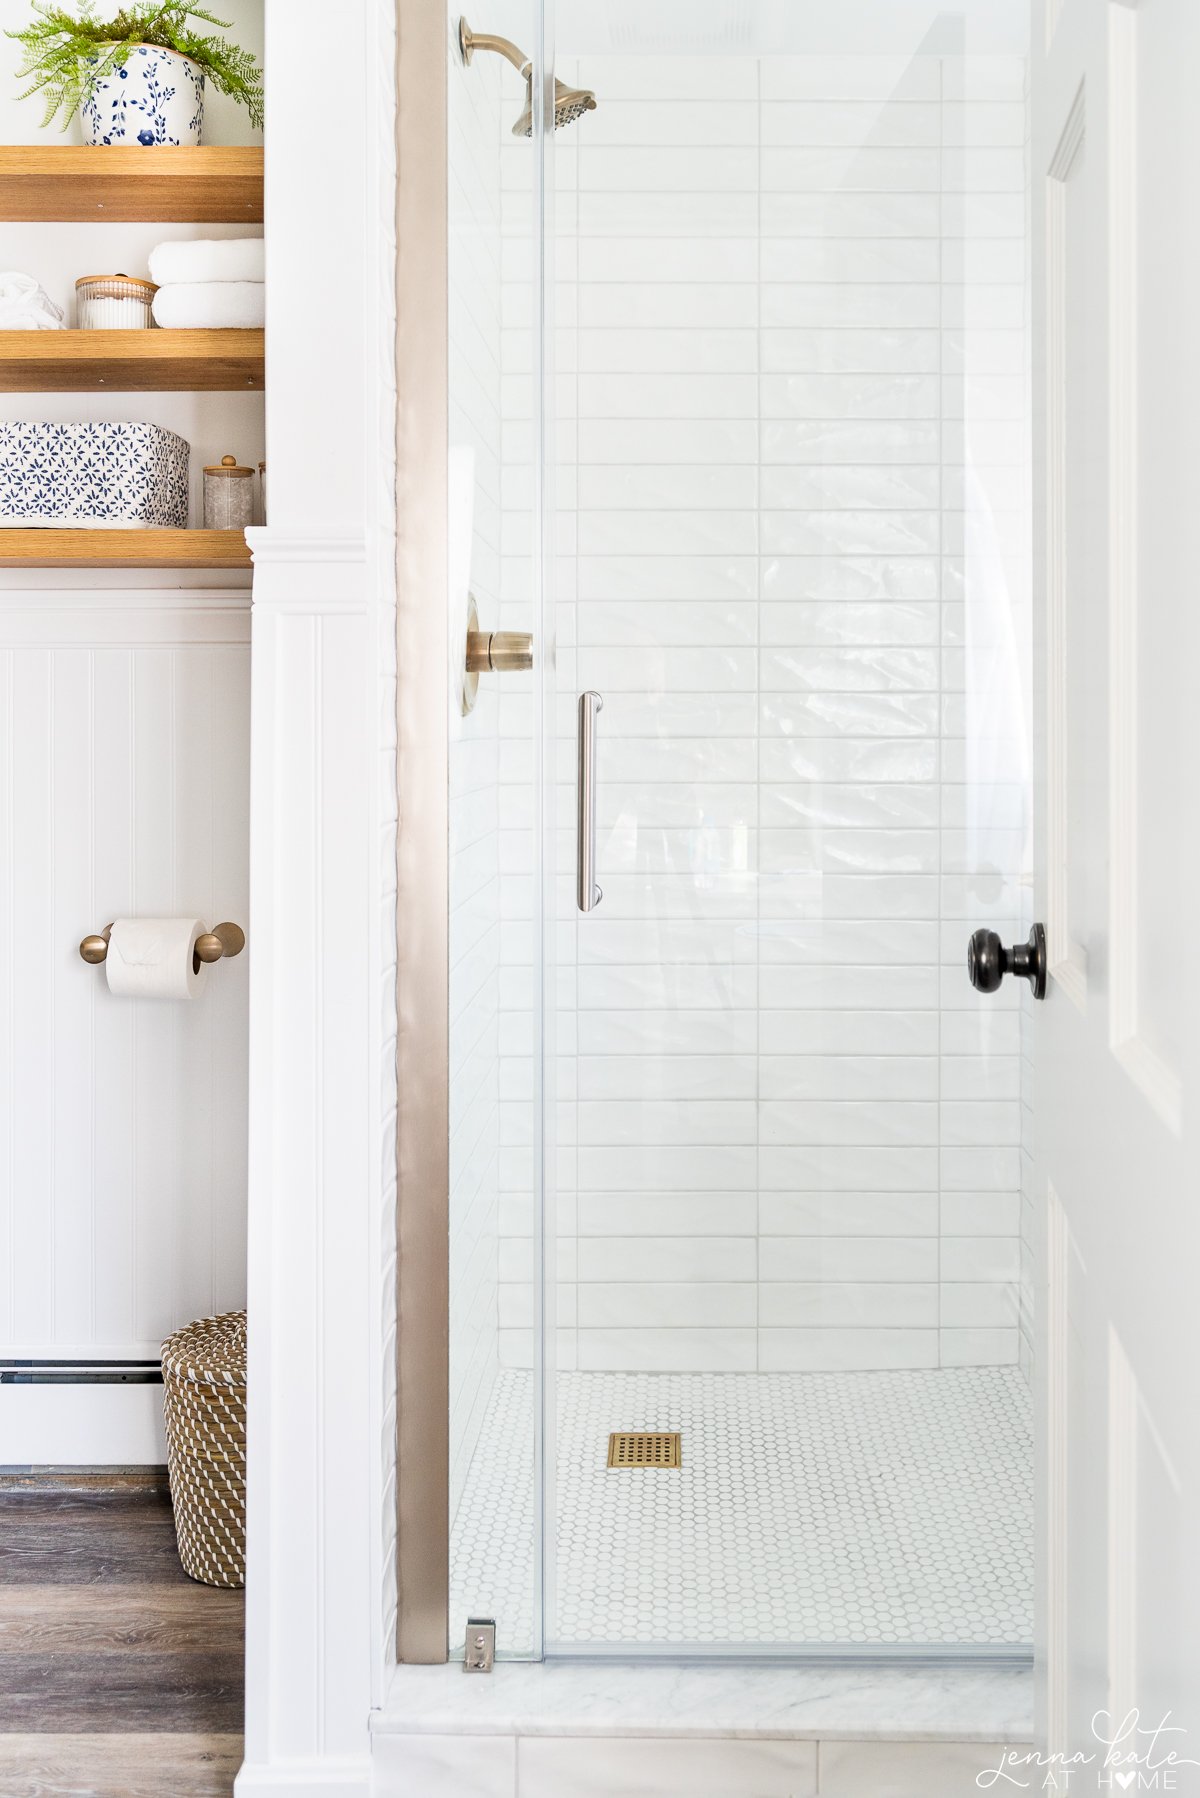
It’s such a small space that it’s difficult to get a decent photograph, but you can tell how much wider the new shower opening is.
The glass door was an online purchase, NOT custom! It saved me a fortune and was delivered within a week. It has a special coating that resists water marks and stains, and helps to keep the glass clear and shiny with minimal maintenance!
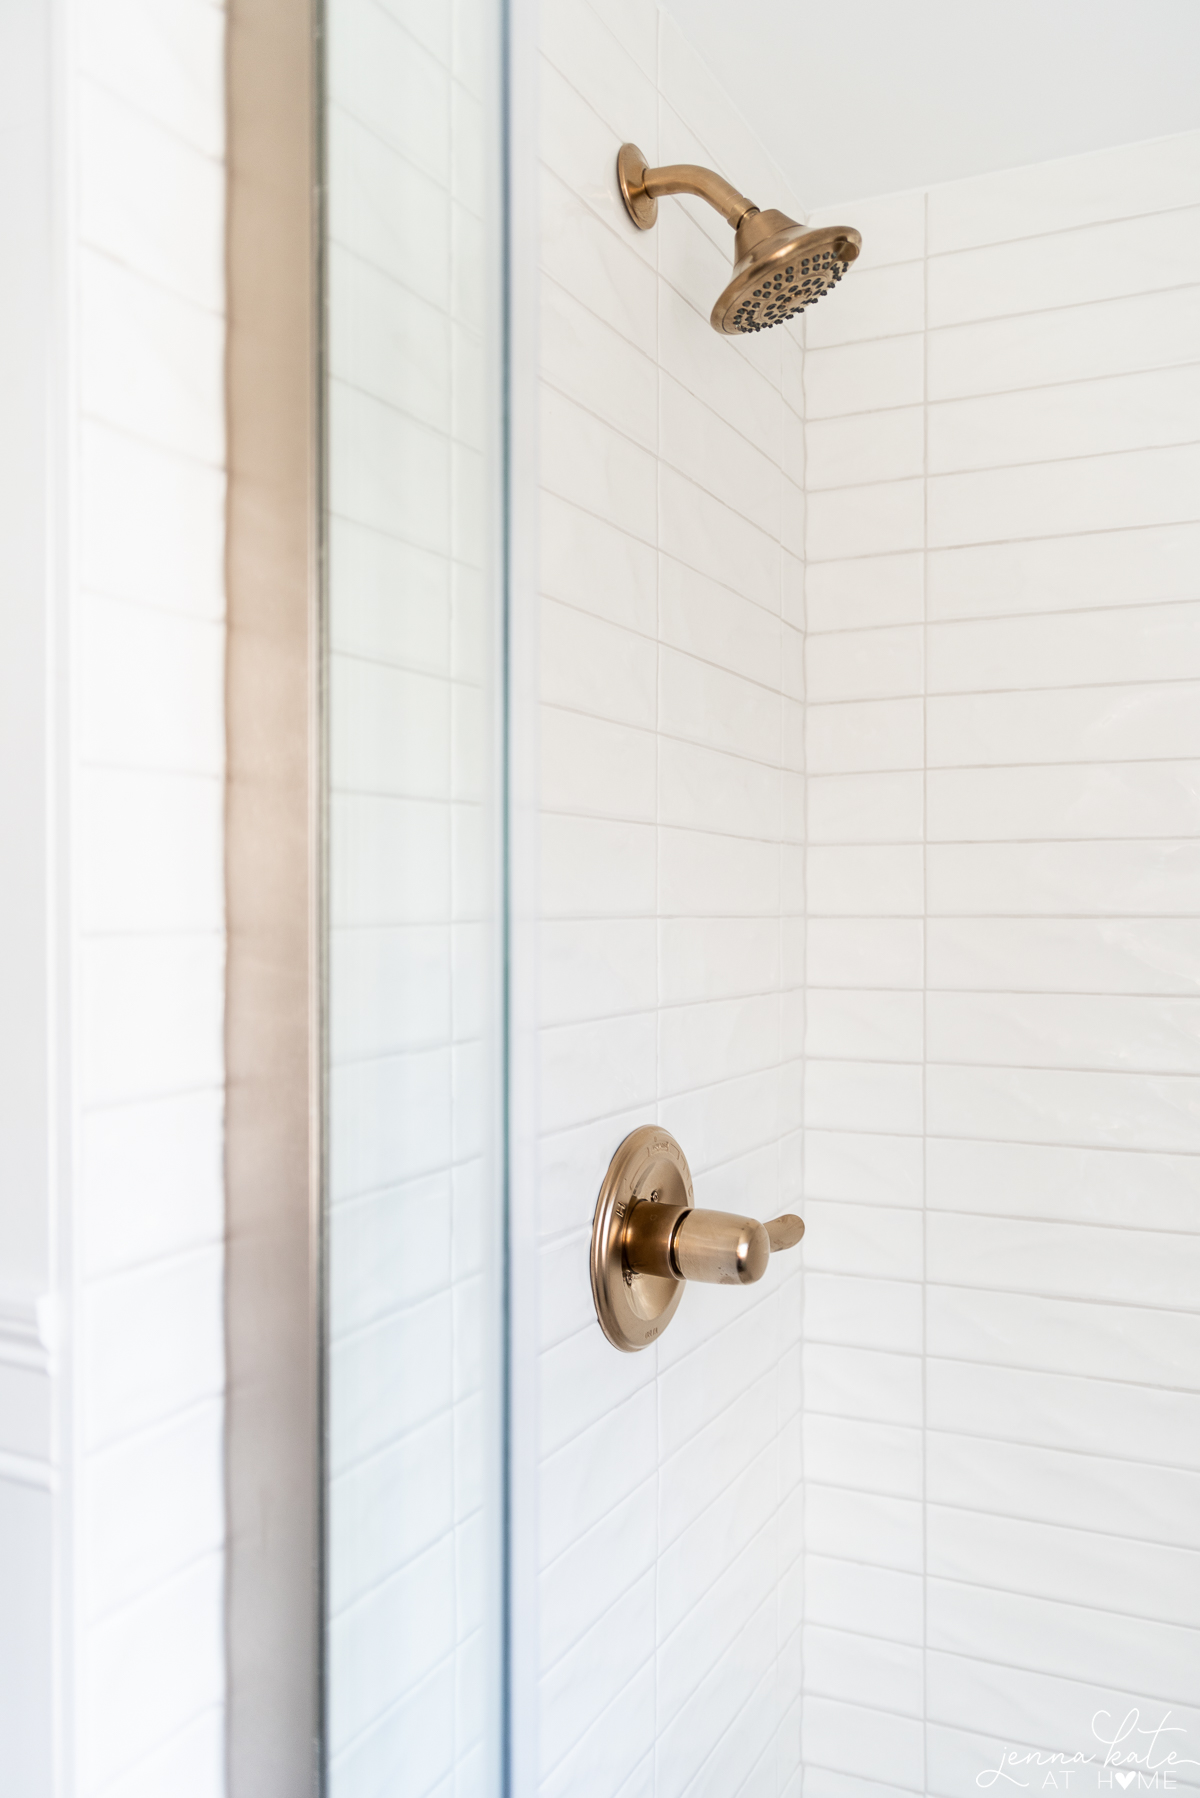
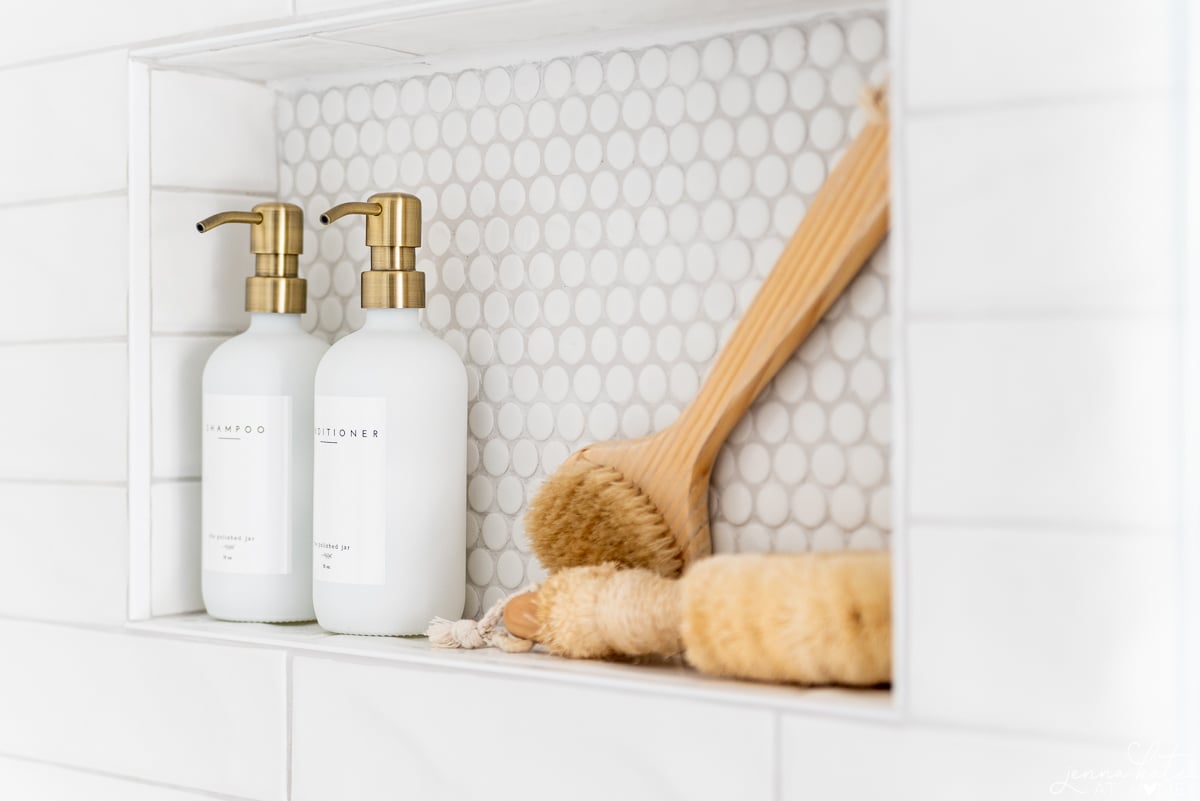
The walls are a 3 x 12 subway tile, with a white glossy penny round tile on the floor and in the shampoo niche. The grout color is Frost by Mapei and it’s a soft light gray.
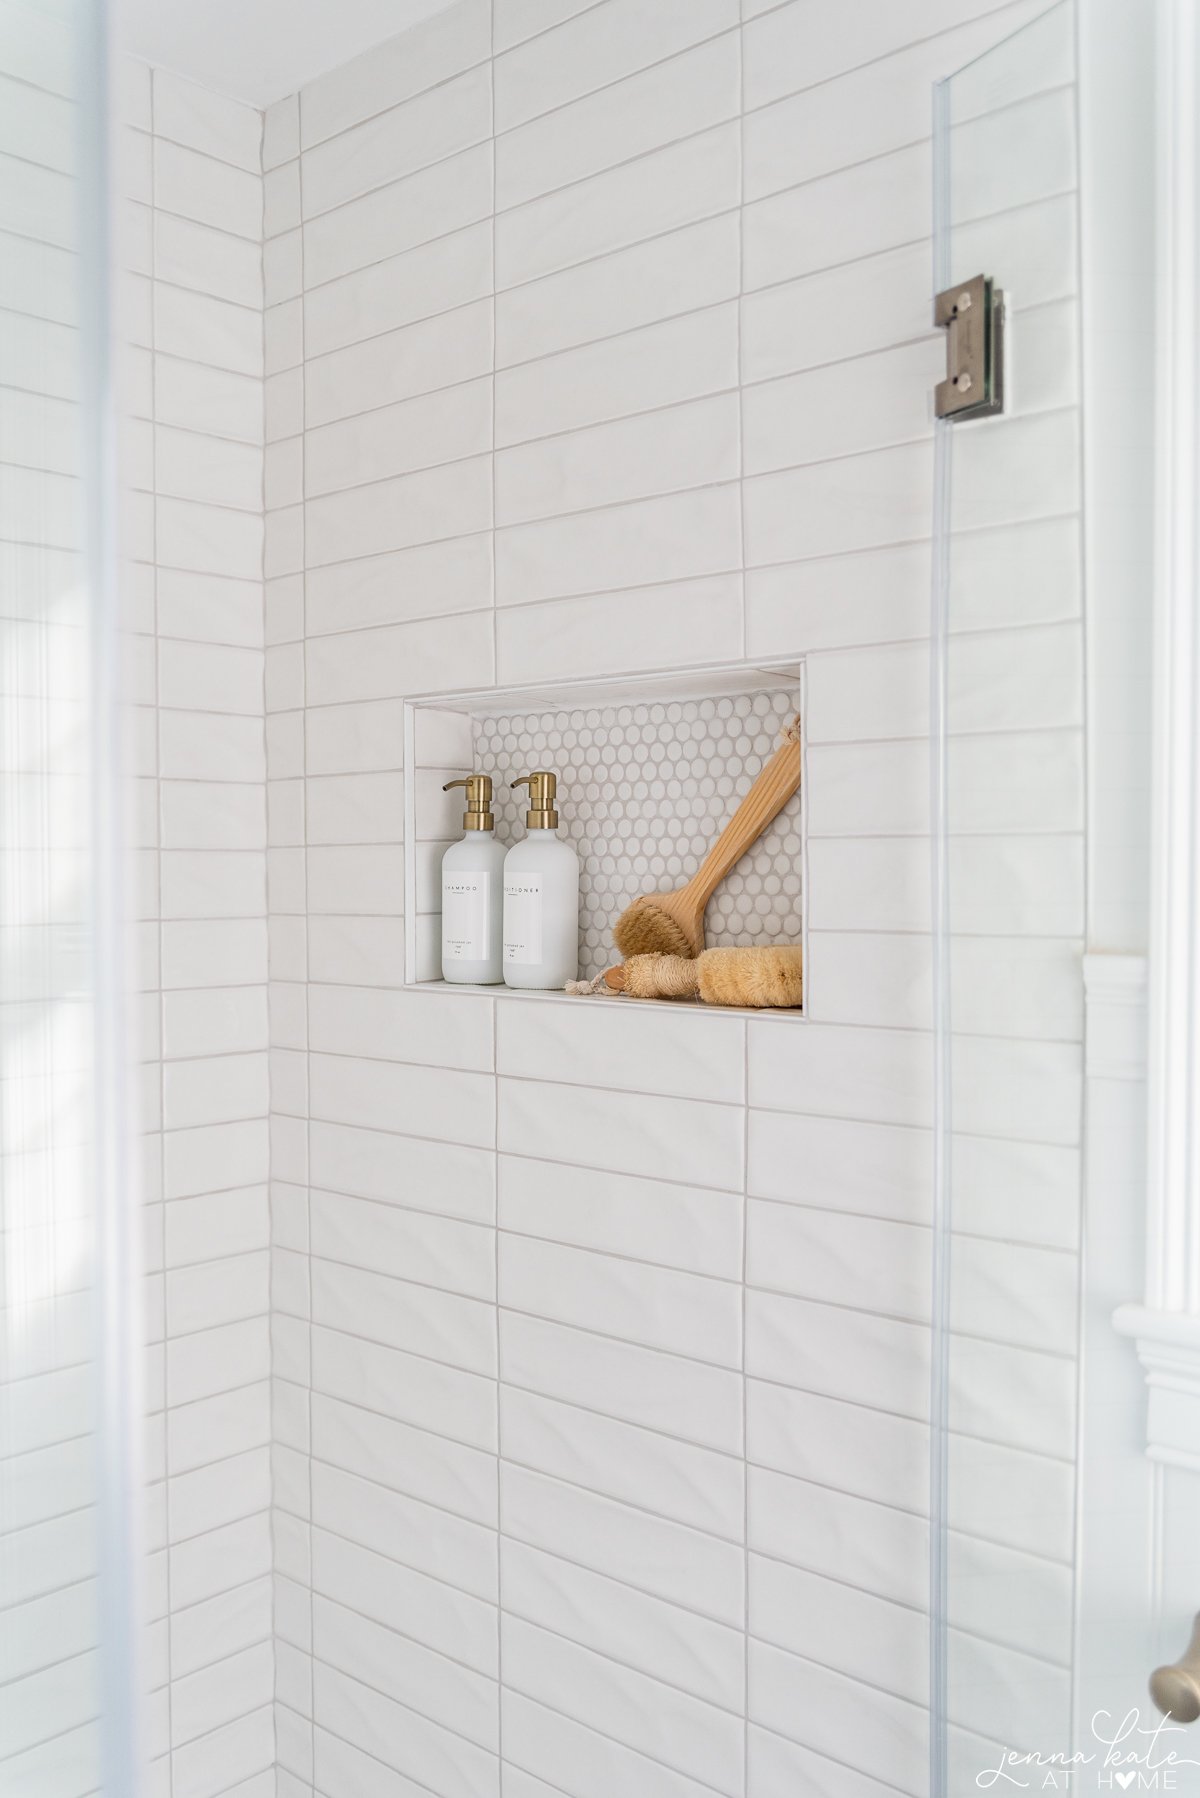
I’m so excited to actually have a shampoo niche instead of having my products just sitting on the shower tile floor. It’s the little things in life! And of course, getting to style the niche with some pretty bottles and accessories was fun for me!
As small as this primary bathroom is, I think it packs a design punch. Not only did it turn out beautiful, but it has plenty of storage for my needs with the updated look. Thankfully, the entire bathroom is all mine so I don’t have to worry about sharing the small space with anyone else.
RELATED: Mixing metals in a bathroom.
Budget Bathroom Makeover Tips
Planning your own inexpensive bathroom makeover? Here’s my best tips to spread your budget the furthest:
- Don’t start pulling tile off the walls unless you really have to. You may damage your walls and replacing the sheetrock will cost you time and money. If your tile is in good shape, a white epoxy made especially for painting tile is a cost effective way to get a fresh look.
- If you’re definitely doing new tile, consider sticking with a simple subway tile like I did. Opt for a 3 x 12 tile that looks more expensive than the basic 3 x 6, and use a fancier tile for the shower floor and/or shampoo niche if you want to add a bit of wow factor.
- Paint is truly magical. Doing it yourself will save you a ton on labor costs! Paint the walls, paint your vanity and spray paint hardware. It’s quick and easy thing to do and will completely transform the look of your bathroom in a cost-effective way.
- Accessories make a huge difference in how a space looks. Target, HomeGoods, Home Depot, and Amazon have beautiful accessories that don’t cost a fortune.
I hope these bathroom renovation ideas gave you some inspiration for your own small bathroom remodel!
Great job!