Content may contain affiliate links. When you shop the links, I receive a small commission at no cost to you. Thank you for supporting my small business.
If you like to get your Christmas decor up early, having an artificial Christmas tree is a must. No one wants to deal with a crispy real tree that will be a fire hazard, or constantly having to clean up pine needles from the floor.
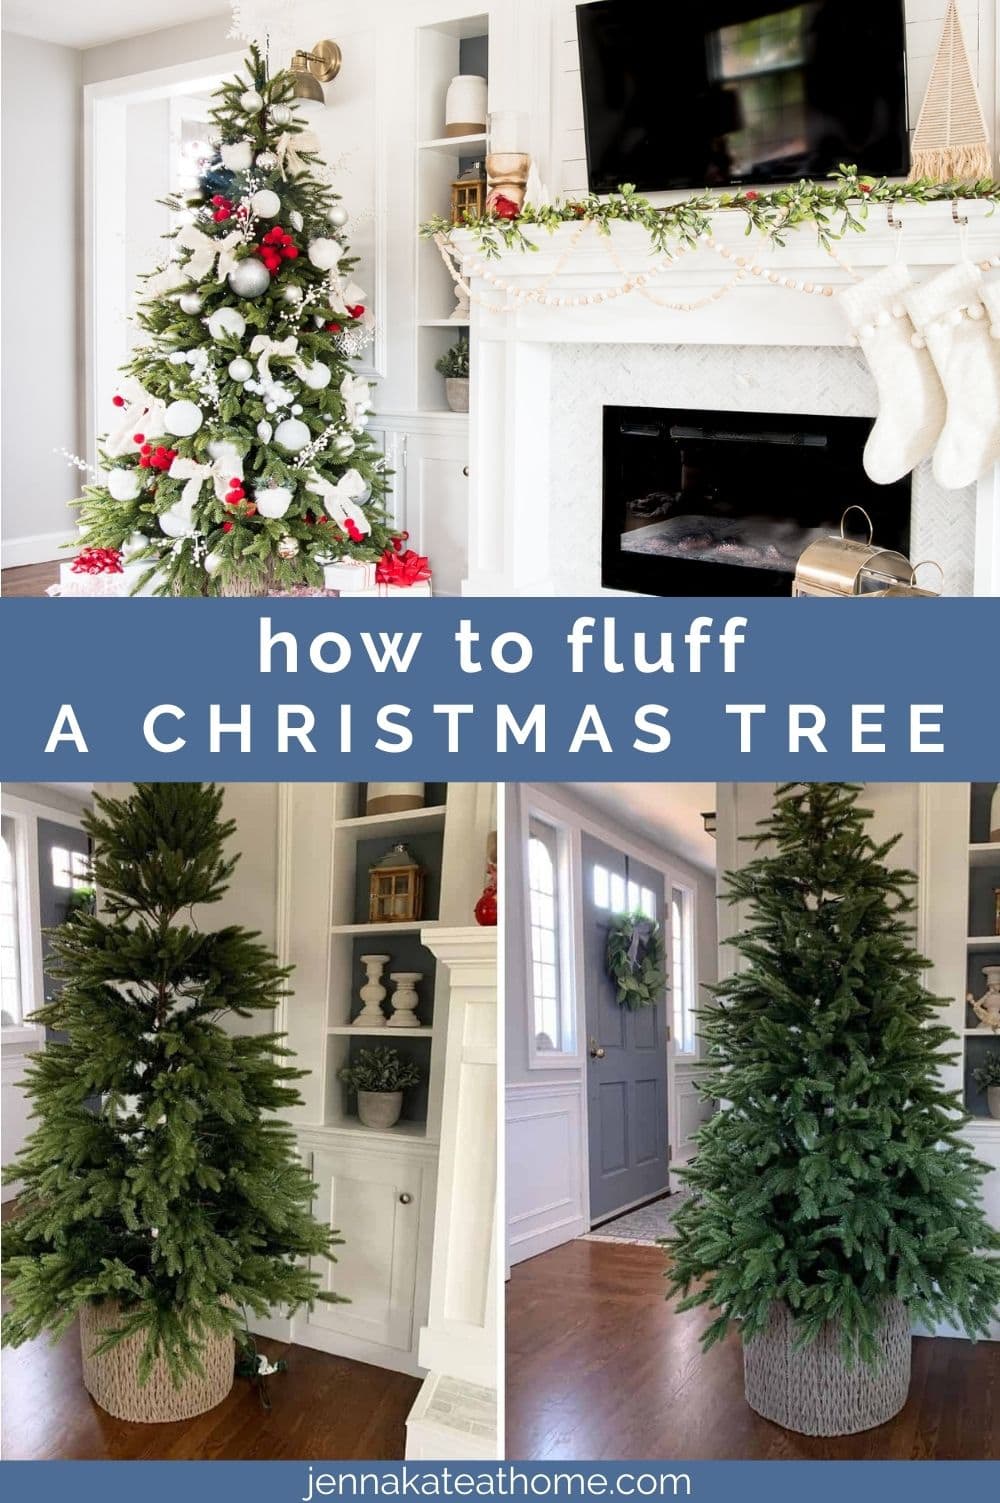
Whether you purchased an inexpensive artificial tree, or went all out on a high-end version, one thing is for certain: The difference between a fake tree that actually looks fake and one that looks realistic is the effort you put into fluffing it.
Done right, this may take upward of an hour, but you’ll have a beautifully full tree that you can enjoy in the weeks leading up Christmas.
What You Will Need
- Gloves
- Step Ladder or Step Stool
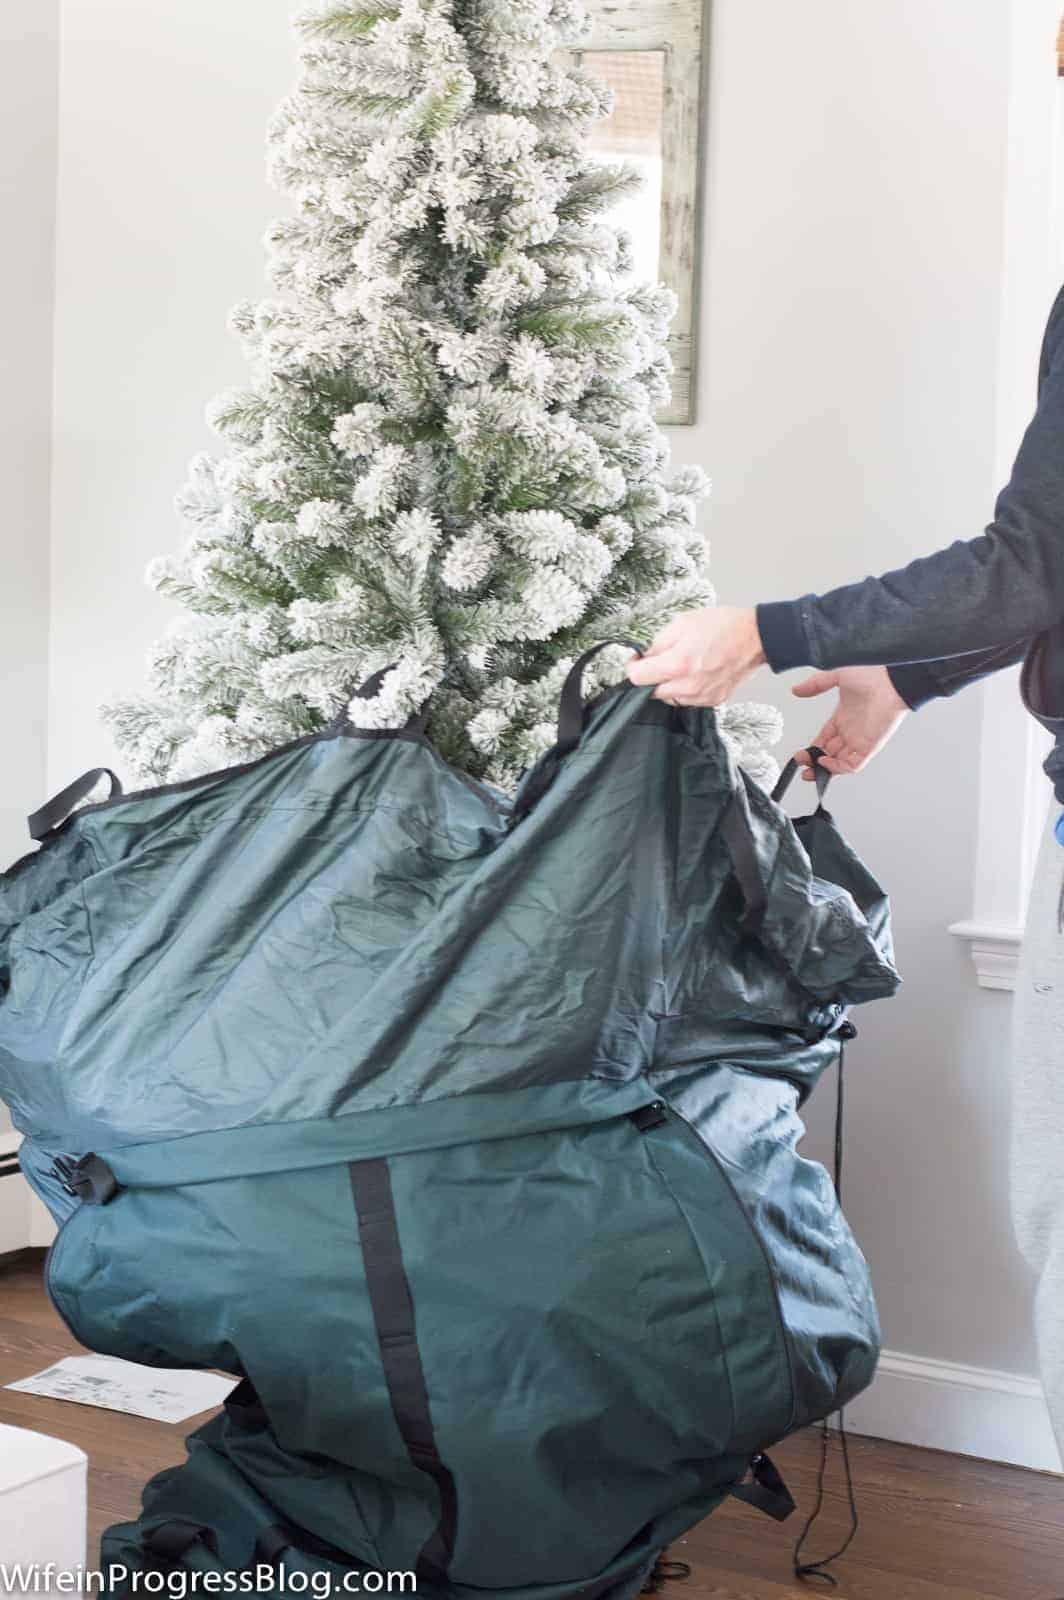
- Artificial Christmas tree & stand
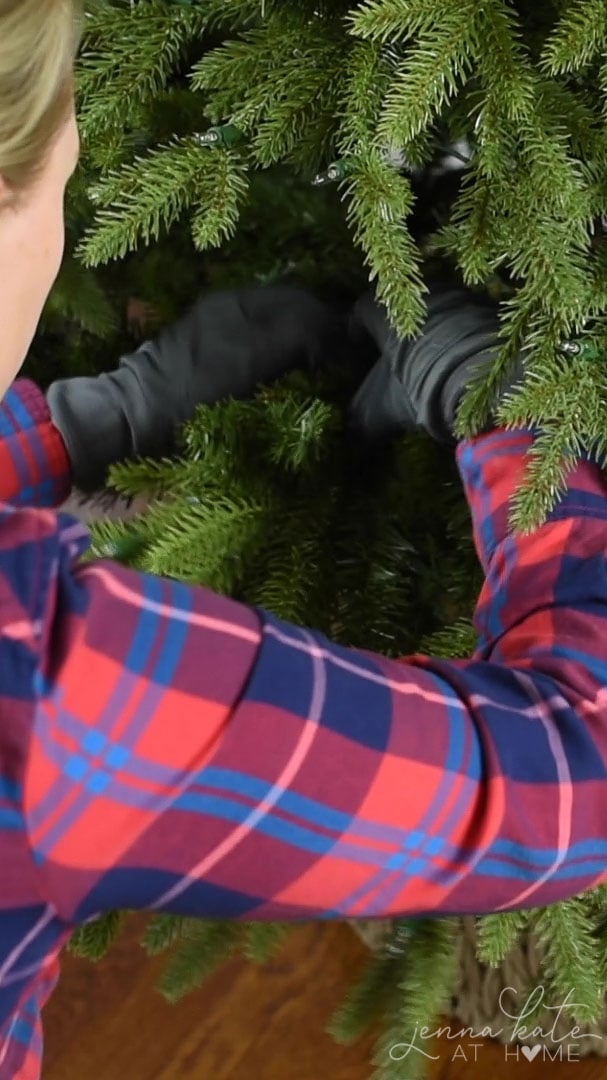
It’s important to wear gloves when setting up an artificial Christmas tree. The branches will scratch up your hands and arms if you don’t (lesson learned the hard way by me). If your tree did not come with gloves, gardening gloves or even winter gloves will do the trick.
If your tree is over 6.5 ft, you will need a step ladder to attach and fluff the tallest section.
How to Correctly Shape the Tree
This video shows exactly how to fluff and shape a Christmas tree from start to finish. The tree in the video is the Balsam Hill 6.5′ Stratford Spruce.
RELATED: My favorite artificial Christmas trees for 2024.
1. The Method to Separating The Branches
Work on a single branch at a time. Separate the branches so that they are fully fanned out – one piece goes to the left, one to the right and then one sticks up. This is the key to creating a natural look (have a look at a real tree and you’ll see that we’re trying to replicate the same idea).
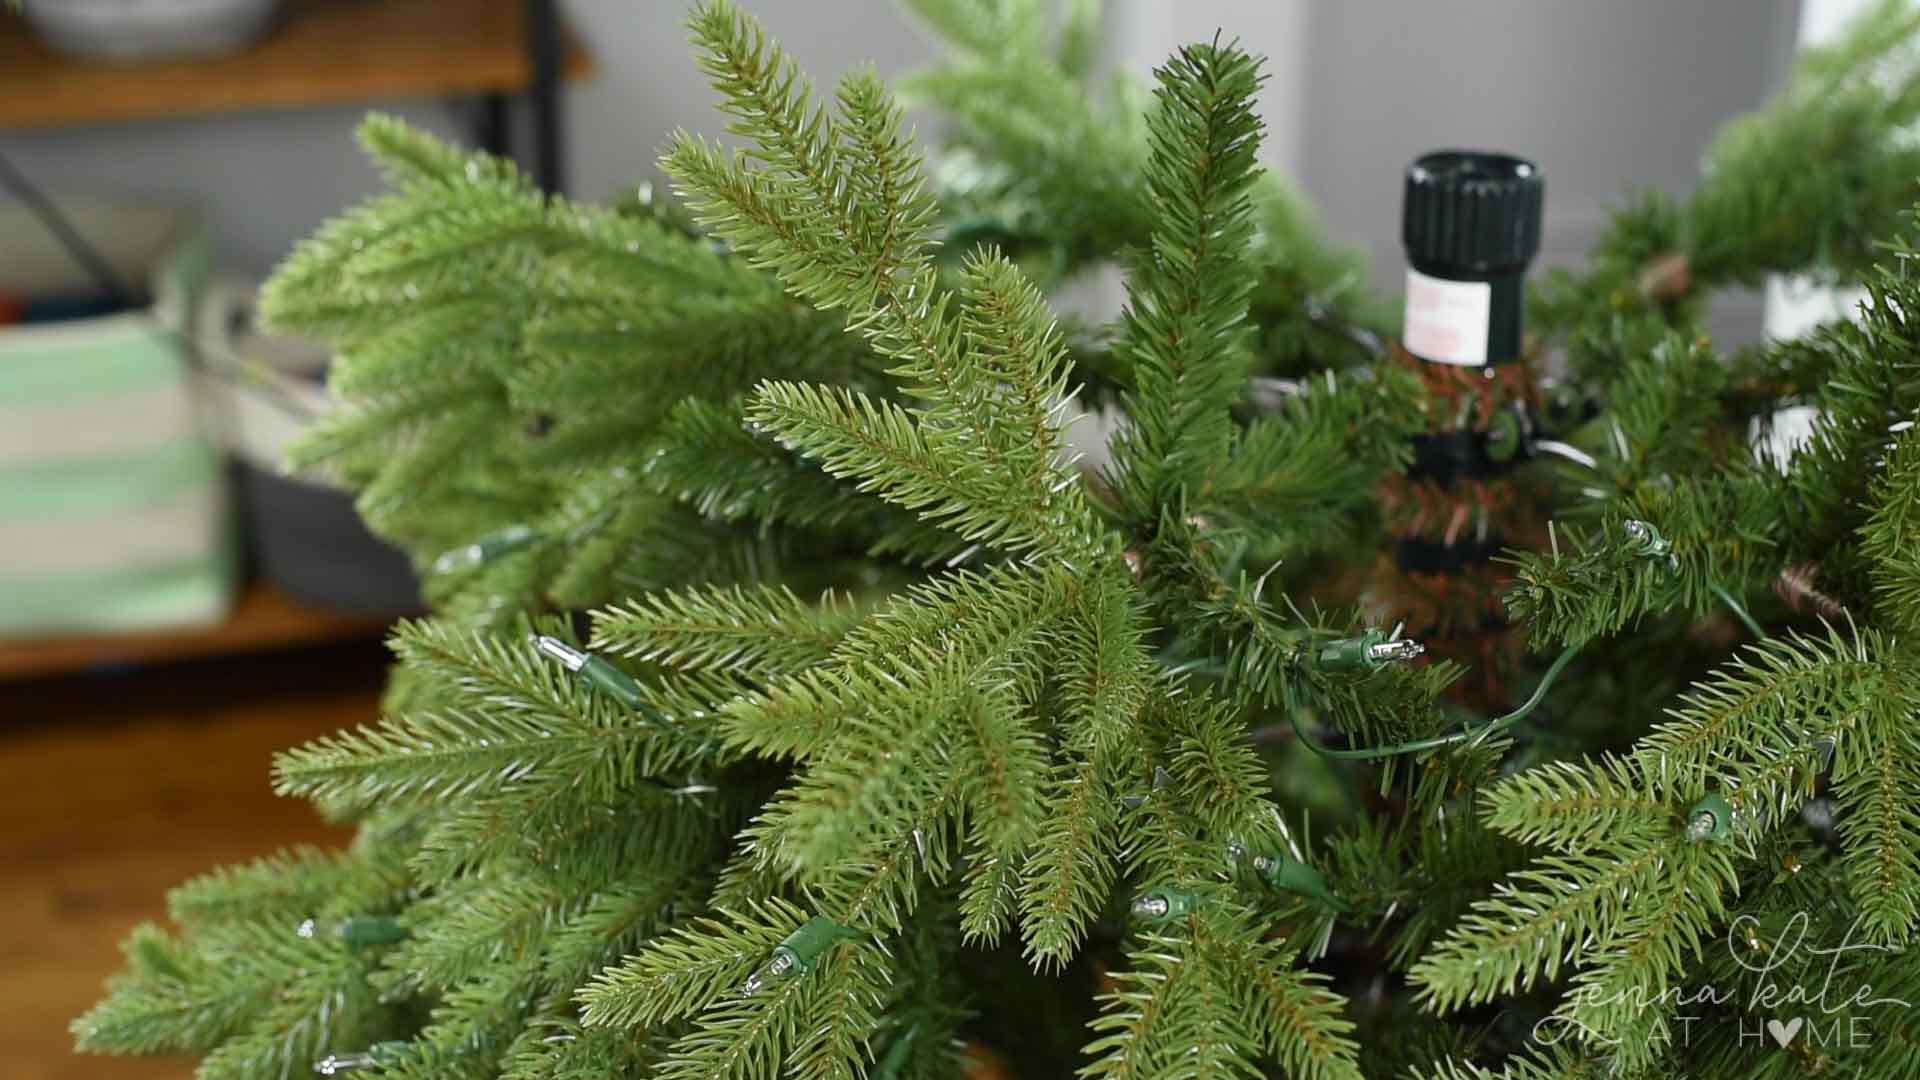
If there’s another piece underneath, have that point down. Repeat this throughout the tree, ensuring the pieces go in different directions to create a full tree and eliminate any visible gaps.
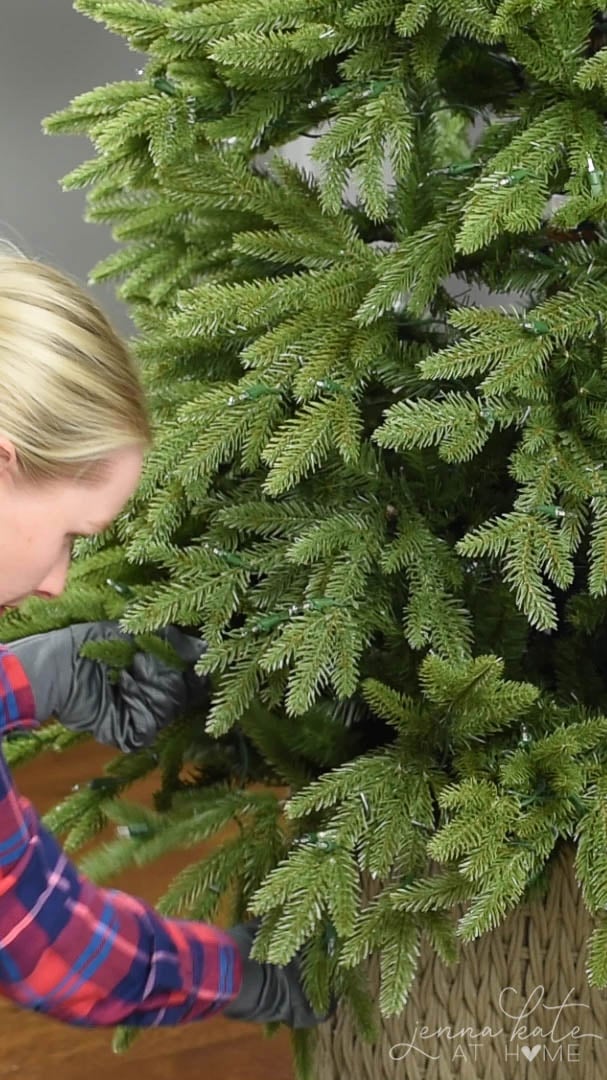
2. Work Section by Section
Install the bottom section in the tree base, and start from there. When you have the majority of the Christmas tree branches in that section fluffed and fanned in opposite directions, insert section 2, and work your way up.
3. Don’t Forget the Inner Branches
Ensure you are not just working on the furthest out branches, but right in towards the center of the tree. By really fluffing these inner sections, you will create the most realistic looking tree.
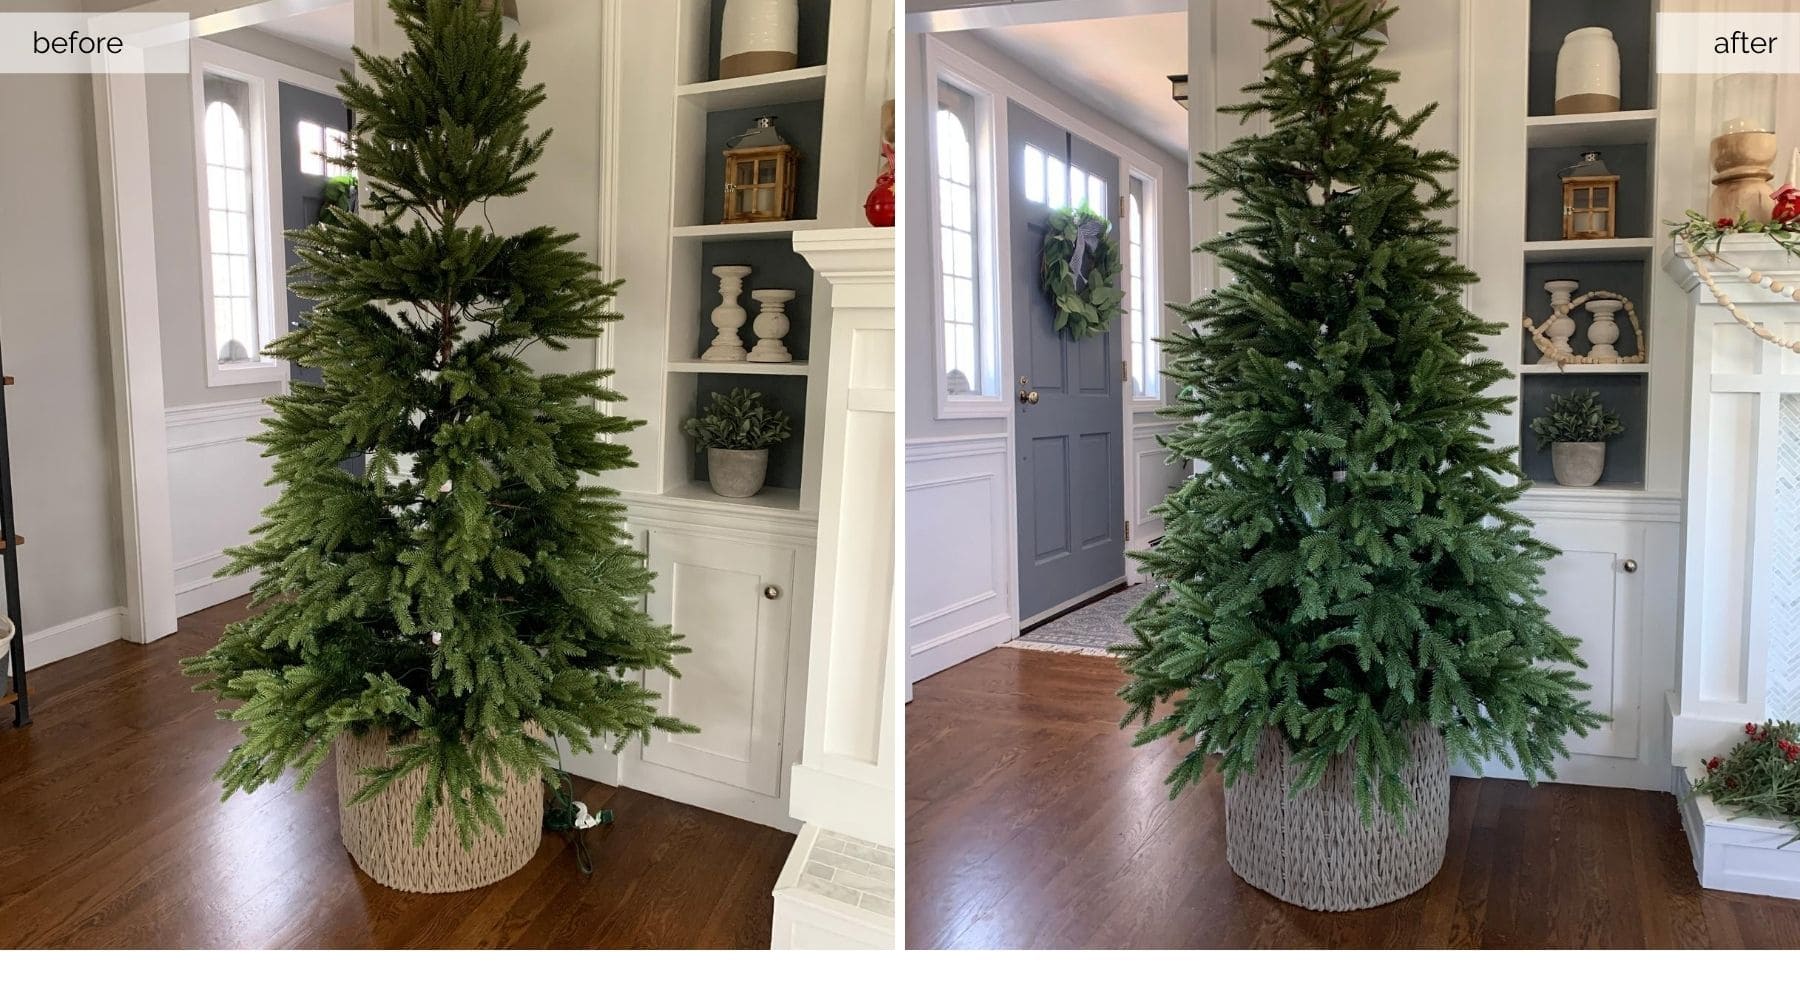
4. Stand Back, Evaluate and Adjust
When you have worked your way up to the top of the Christmas tree, stand back and evaluate. Pay attention to any gaps. Adjust and straighten as necessary to ensure no major gaps are visible.
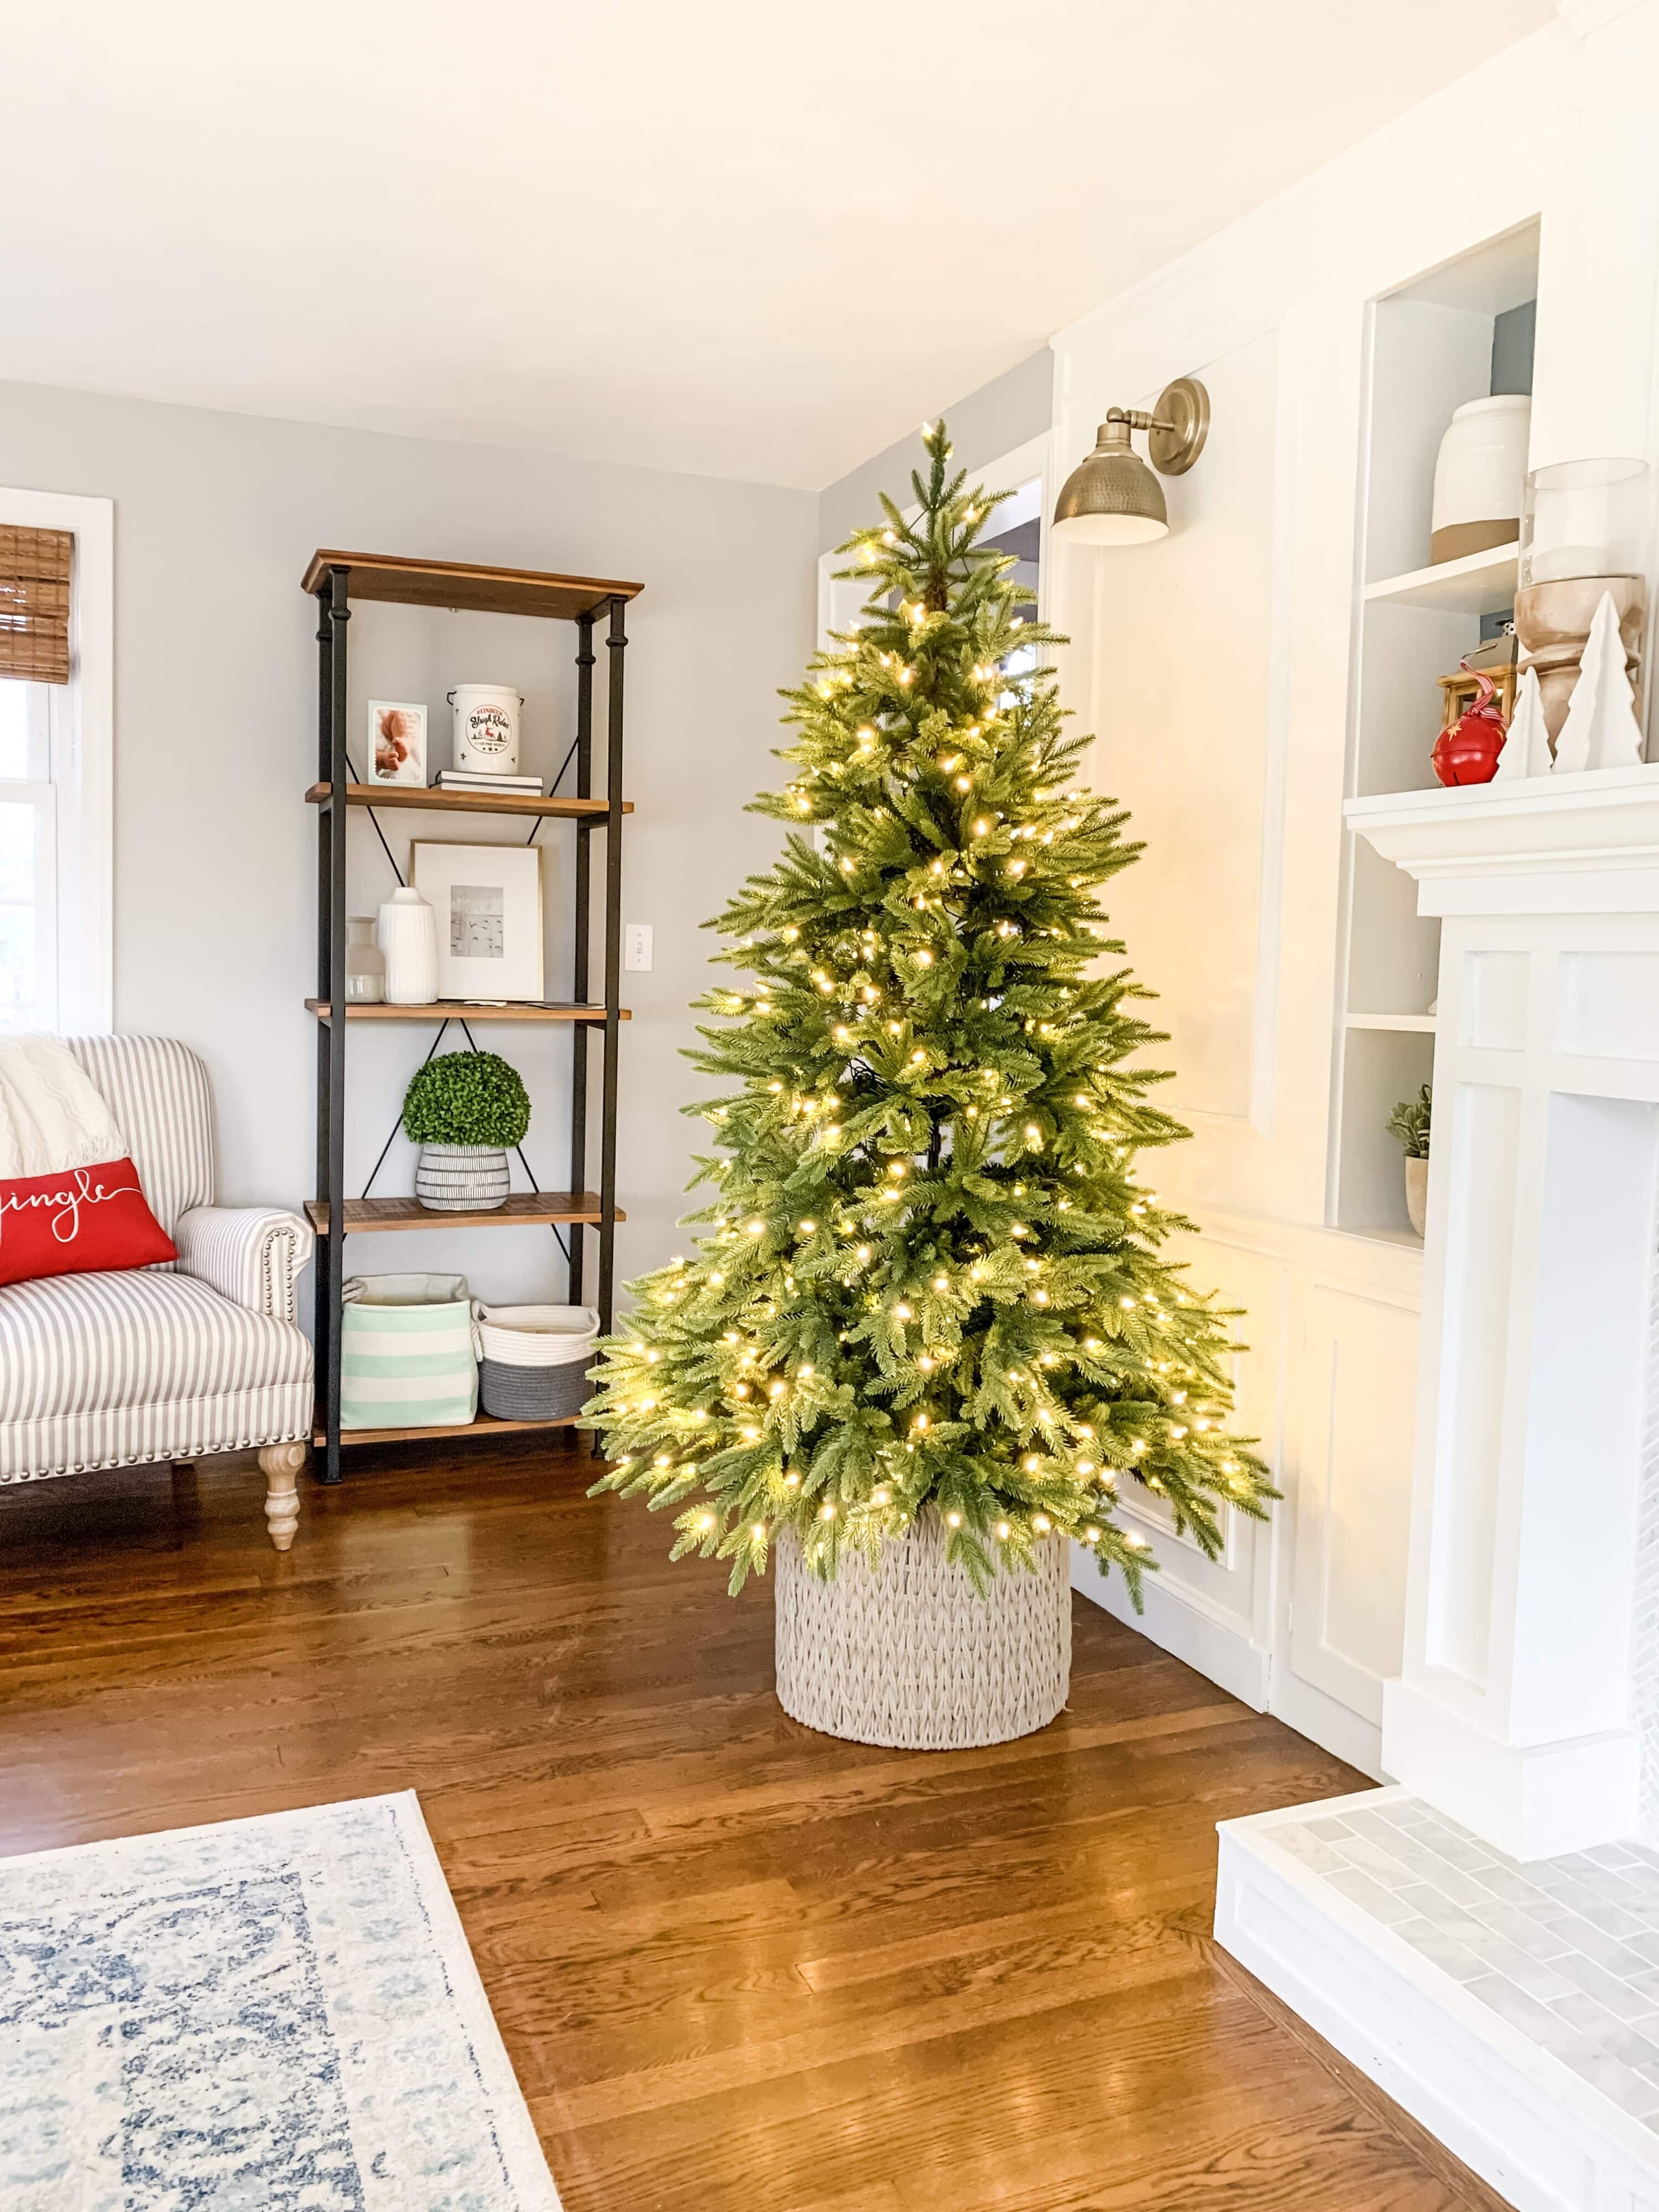
If you have a pre-lit tree, turning the lights on will also help you see where gaps are. If your tree is not pre-lit, add your string lights at this point, then turn them on and look for gaps.
Standing several feet back from the tree will also help you see where it needs additionally fluffing and straightening. It doesn’t have to be 100% perfect, as ornaments can also be used to fill gaps.
However, if you’re really unhappy with a certain section, you can use artificial pine needle picks to really fill in any extra space.
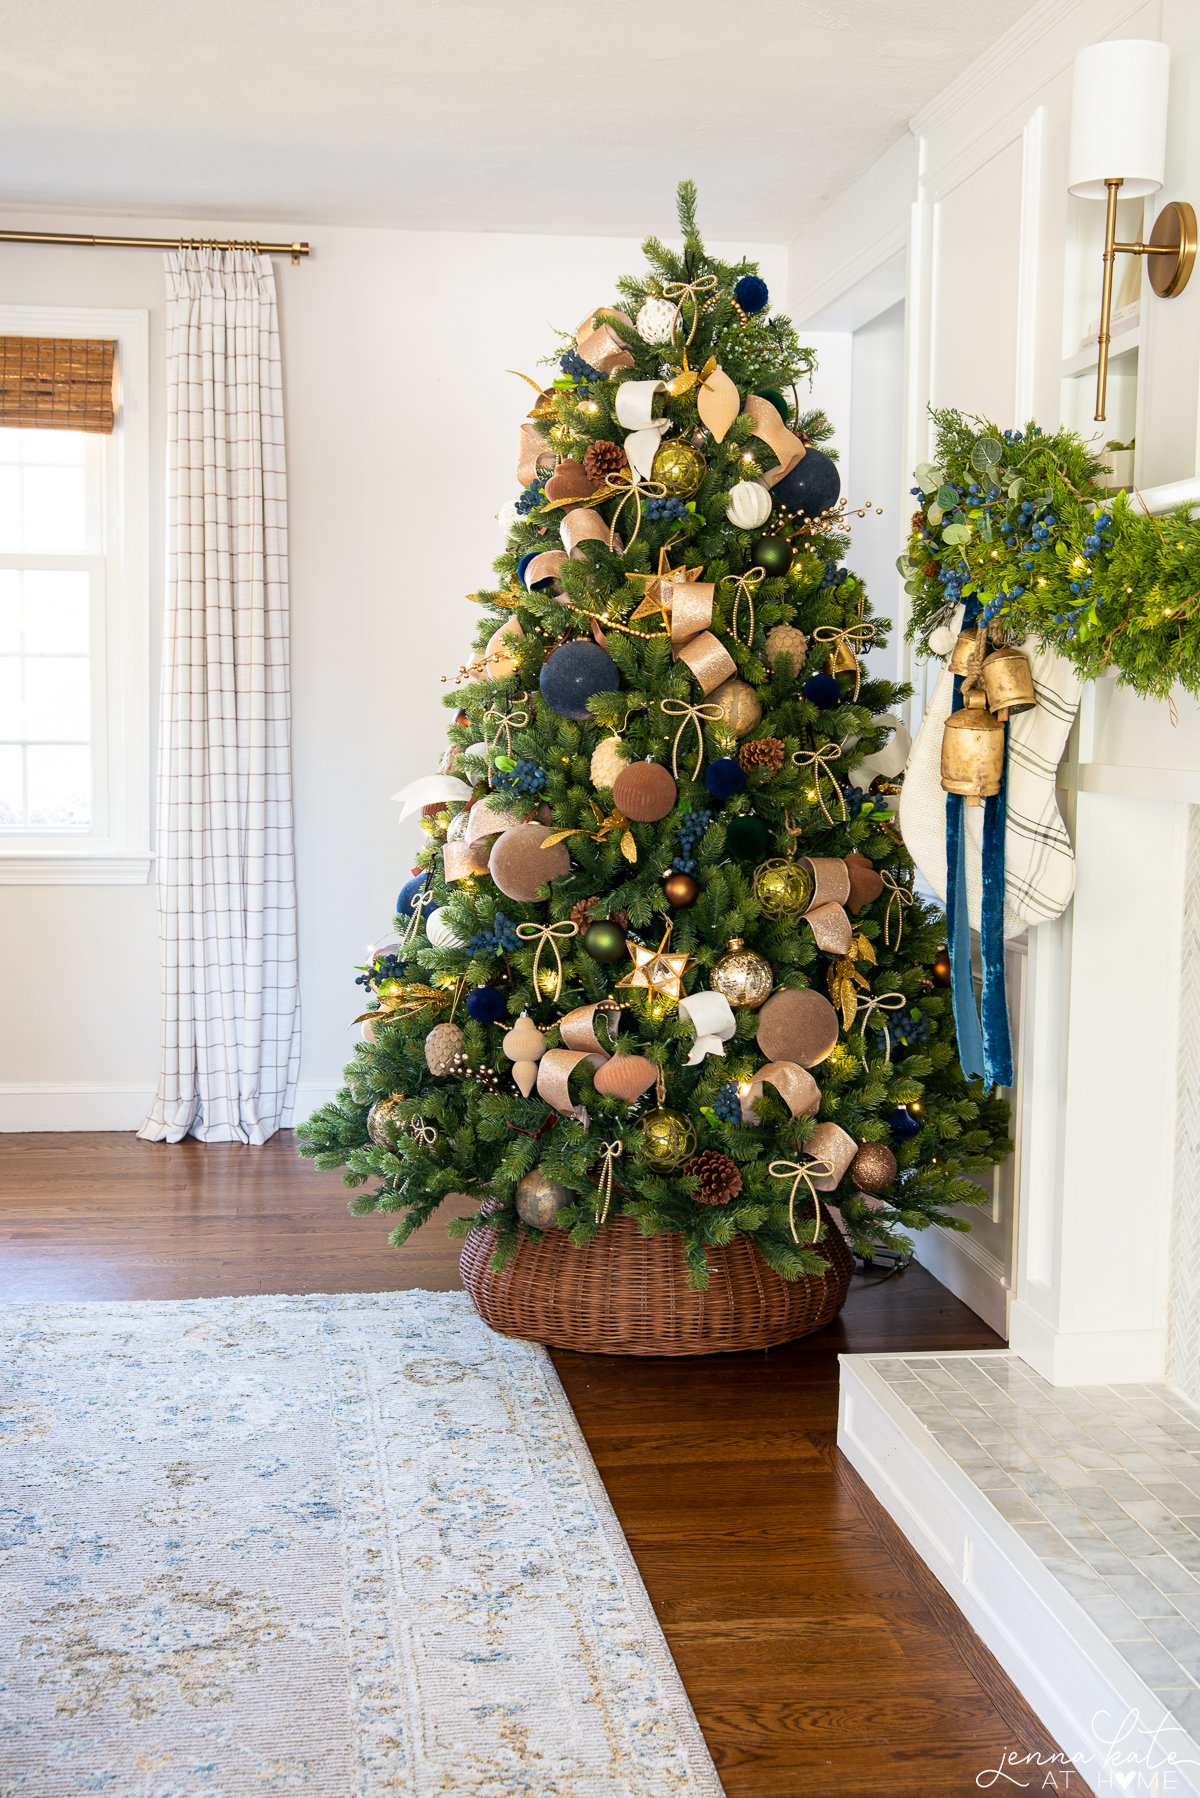
5. Decorate
Now the fun begins! Once your lights are on, it’s time to decorate. Decorating your tree takes time and patience, too. Adding depth, dimension and texture will give you a beautiful end result.
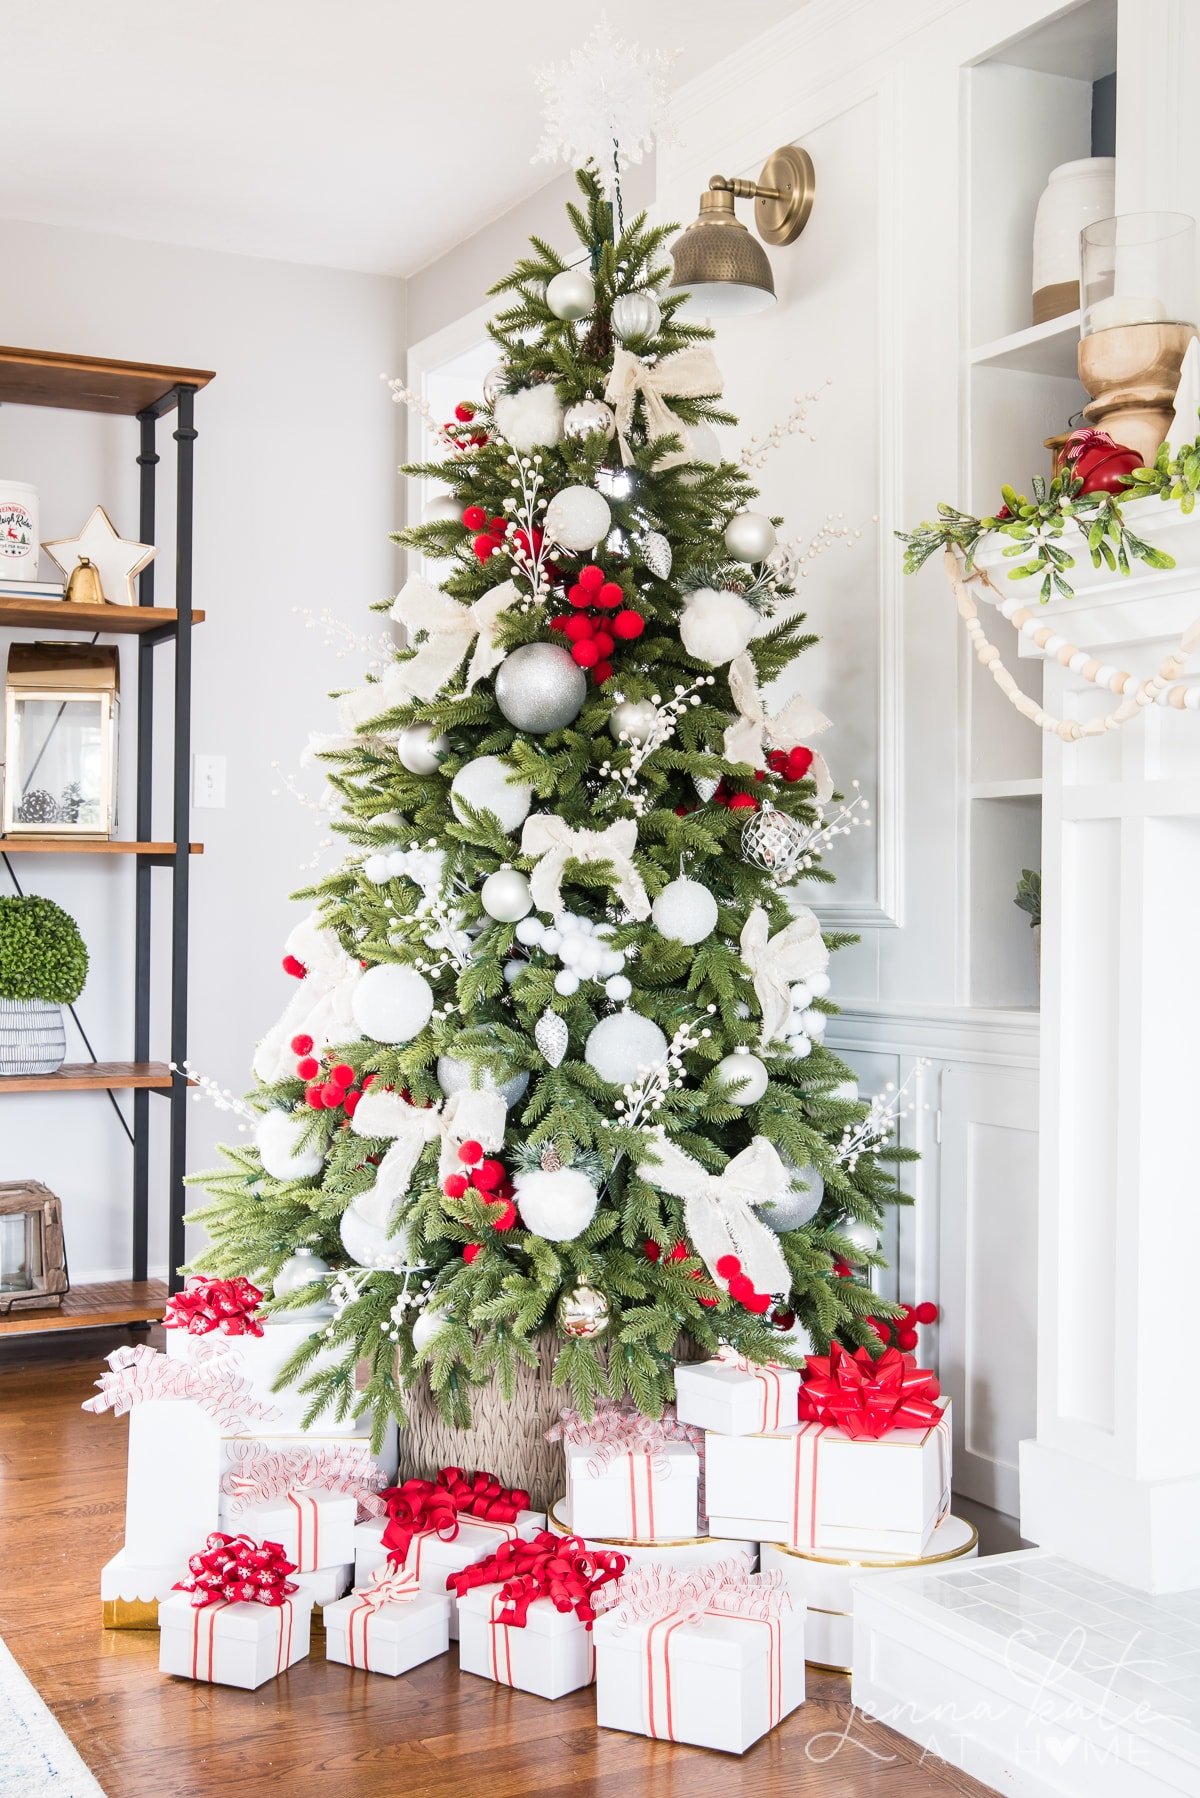
Need more inspiration? Read all about my Tree Decorating Ideas, including my formula for decorating a perfect tree every time.
6. Conceal The Stand
Don’t forget to conceal the base of your fake Christmas tree with a tree skirt, tree collar or basket.


Using gloves is such a smart idea! This is my first year having a faux tree, since getting a real tree from our local Christmas tree farm has been one of our favorite traditions for years. I had the final straw last year when almost half of the pine needles had fallen by Christmas Eve, and we had to call in a carpet cleaner to help clean up the mess. I’m excited to see how the faux tree does this year, and hopefully my pine candle can make up for the lack of scent!
I love your Christmas tree basket base. Where can I buy one? Do you know?
Hi Mary! It’s actually just a regular basket from Target that I popped my Christmas tree stand into! :-) I picked up a new one at HomeGoods this past week too – they have a TON of large ones right now!
Does your tree go all the way down or how do you fit it into the basket? I love that look too!
The tree stand is just plopped into the basket!