Content may contain affiliate links. When you shop the links, I receive a small commission at no cost to you. Thank you for supporting my small business.
If you’re on a budget, want to bring new life to an old piece or simply love the look of painted furniture, this guide will go through all the steps needed in order to achieve beautifully painted real-wood furniture every time. From prep, to putting paint on the furniture and then options for finishing, it’s all covered in this one-stop guide.
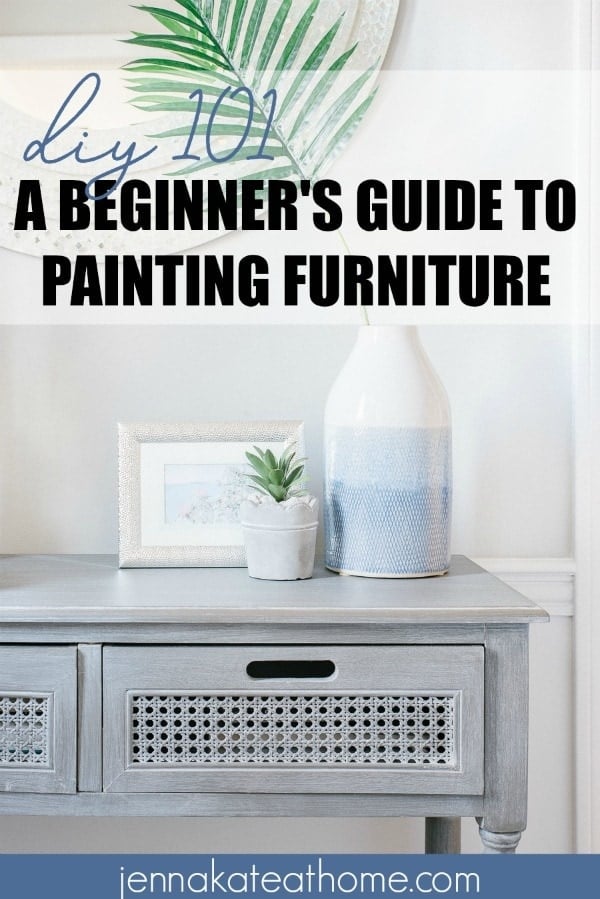
My favorite places to pick up furniture are Craigslist, local yard sale groups, thrift store and of course, curbside! Usually, if I am looking for a specific piece I won’t be able to find it. The best furniture is the pieces you buy or salvage when you’re not necessarily looking for them! If you think you may have a spot for it at some point, set it aside until you’re ready to paint it!
Supplies You’ll Need to Paint Furniture
- Cleaner (I like to use TSP, Krud Kutter or Murphy’s Oil Soap)
- Clean, dry rags (I use old t-shirts!)
- Fine-grit sandpaper
- Tack cloths
- Liquid deglosser (Krud Kutter or my favorite product, “Ready”)
- Screwdriver to remove hardware
- Primer (if your piece is stained this may be necessary to avoid bleeding. Always use a shellac-based primer)
- Furniture paint of your choice
- Natural bristle paint brush
- Sealer (this may be polycrylic, wax or another sealer depending on the finish you want)
This list is not exhaustive and some of the items require a little explanation. So let’s dive right in..
Prepping Furniture For Paint
The prep is the least fun part of painting furniture. Honestly, it’s really not a fun time but it’s essential to achieving a good end result. Depending on the piece you’re painting and the type of paint you’re using, you’ll have to do more or less prep. But don’t even think about skipping right to putting paint on that piece of furniture!
Let’s work from least prep to most prep, ok?
Remove hardware, clean and fix imperfections
No matter what paint you decide to use, you’re going to need to wipe down your furniture first to remove any dirt, dust and oil build-up, all of which will prevent paint from adhering correctly. Hardware such as knobs and pulls will need to be removed and scratches, holes and dents will need to be filled with wood putty, allowed to dry and lightly sanded.
Chalk Paint or similar Matte Finish Furniture Paint
Chalk paint no doubt requires the least amount of prep. Chalk paint itself will adhere quite readily to anything, even something relatively glossy. With that being said, I always advise to clean your furniture well with TSP or a TSP substitute and wipe down with a liquid deglosser. The deglosser is my one of my favorite tricks for helping paint to adhere. It dulls the surface which allows the paint the adhere much better than if it were to remain highly polished and shiny.
While Annie Sloan’s Chalk Paint is incredibly popular, I personally love Fusion Mineral Paint as it doesn’t require a wax top coat like Chalk Paint does.

Latex Paint
I’ve successfully painted a lot of furniture with latex paint and loved the results. But it certainly requires a lot more prep than some other methods. First, if you are dealing with a piece of furniture that has been sealed with polycrylic or polyurethane (does it have a shiny hard coat?) then you’ll need to sand down the gloss with a medium-grit sandpaper. Not completely, but again just enough so that the surface is dulled. Then using the TSP cleaner, the surface will need a good cleaning. Allow it to air dry.
I highly recommend priming the furniture with a shellac-based primer (like this) before applying a latex paint. Not only will the paint adhere better but it will seal the surface of the furniture so that any stains or tannins won’t bleed through.
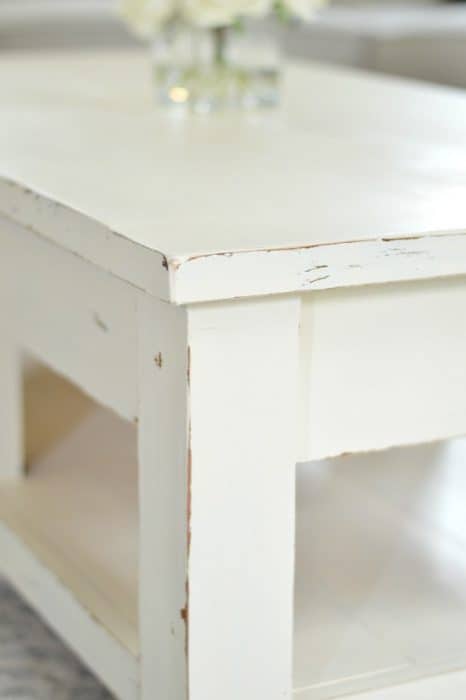
Latex paint can be applied with either a paintbrush or a roller. Always apply thin coats. Three thin coats will achieve a much nicer finish than one two thick coats. If you’re worried about brushstrokes, adding a product like Floetrol stops the paint from drying as quickly and allows it to self-level thus reducing brushstrokes. Other products that you might consider are Hard Coat (dries to a rock-hard finish) or Oil Bond if you’re painting over a piece that was previously painting with an oil-based paint. Also, always lightly sand in between coats with a fine-grit sandpaper (220 grit). Remove the dust with the tack cloth.
Latex paint takes on average 3 weeks to fully cure so don’t put anything on the furniture that could damage the finish until that time period has passed.
Velvet Finishes Paint
One of my all-time favorite paint brands to use for painting furniture is Velvet Finishes. It’s technically a latex, water-based paint but it has been specifically formulated for painting furniture. It’s also specifically formulated to need very little prep! That means no sanding and no priming. Again, I always clean and degloss furniture before I paint but that takes a negligible amount of time.
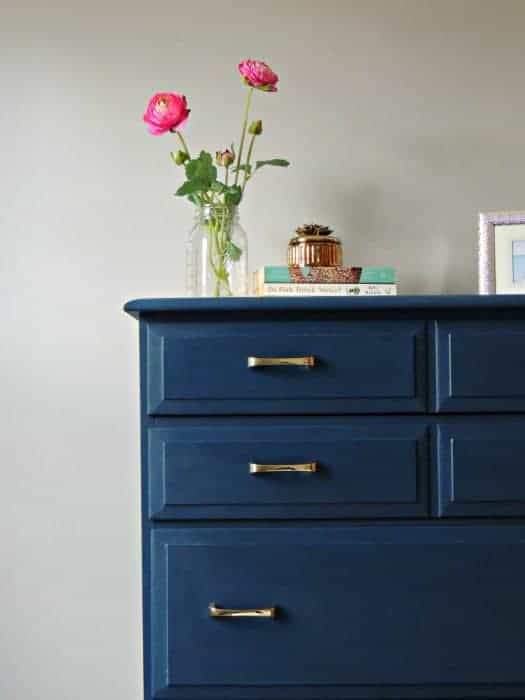
You can read more about Velvet Finishes here.
Painting Technique
I bet you’re eager to slap that paint on! It’s so satisfying to see furniture totally transformed with a fresh coat of paint, isn’t it? Take your time with each coat and apply with a natural bristle brush for the best finish. Always paint in one direction and don’t forget to get into the crevices. A high quality paint like Fusion Mineral Paint or Velvet Finishes will more than likely only require 2-coats, unless you’re painting a very dark piece white, in which case it may need a third (or you could do a coat of primer followed by 2 coats of paint).
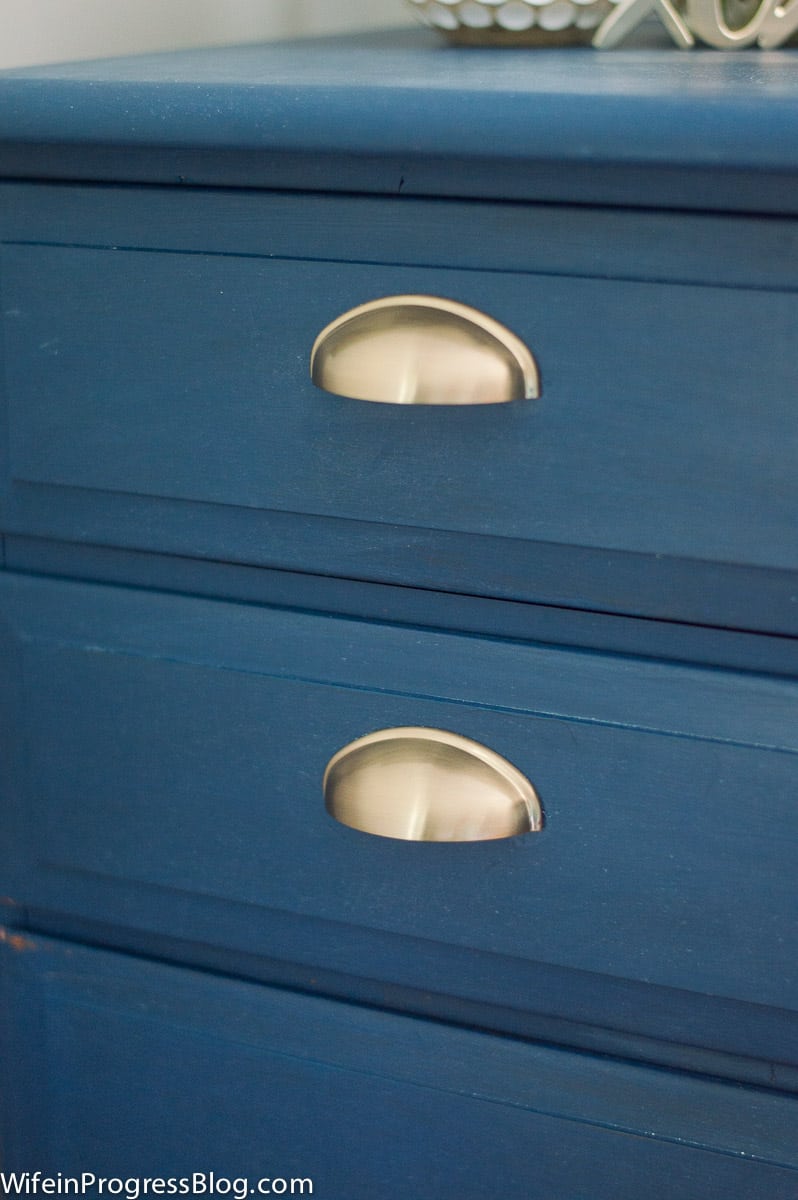
How to Seal Painted Furniture
After your last coat of paint has been dry for atleast 24 hours, you can weigh your options for sealing it.
- You can choose not to seal it
- Use furniture wax: Just rub a small amount on with a rag or cheesecloth, rub it in and allow it to dry for 5 – 10 minutes. Then with a clean rag or a special wax brush, buff it in until you get a nice, smooth finish. Allow the wax for fully dry for 2-3 days before using it.
- Apply a polycrylic finish. Do NOT use polyurethane as it will yellow over time. This is especially important if your furniture has been painted a light color. Polycrylic is water-based, cleans up easily and doesn’t have as many fumes as polyurethane, either. I personally like a satin finish but obviously chose the finish based on your own preferences.

Paint Furniture
Don't let outdated furniture distress you - upgrade the style and brighten it up with a fresh coat of paint!
Materials
- Primer (preferably a shellac-based primer)
- Furniture paint of your choice
Tools
- Cleaner (e.g. TSP, Krud Kutter or Murphy's Oil Soap)
- Clean, dry rags
- Fine-grit sandpaper
- Tack cloths
- Liquid deglosser (e.g. Krud Kutter or my favorite product, "Ready")
- Screwdriver to remove hardware
- Natural bristle paint brush
- Sealer (this may be polycrylic, wax or another sealer depending on the finish you want)
Instructions
- Remove hardware, clean and fix imperfections. Wipe down your furniture first to remove any dirt, dust and oil build-up, all of which will prevent paint from adhering correctly. Hardware such as knobs and pulls will need to be removed and scratches, holes and dents will need to be filled with wood putty, allowed to dry and lightly sanded.
- Lightly sand the entire piece of furniture (if sealed with polycrylic or polyurethane) with a medium-grit sandpaper. Not completely, but again just enough so that the surface is dulled.
- Clean your furniture well with TSP or a TSP substitute and wipe down with a liquid deglosser.
- If applying latex paint, prime the furniture with a shellac-based primer. Then, apply thin coats of latex paint with either a paintbrush or a roller. Also, always lightly sand in between coats with a fine-grit sandpaper (220 grit). Remove the dust with the tack cloth.
- Always paint in one direction and make sure to get paint in all crevices of the furniture.
- After your last coat of paint has been dry for at least 24 hours, you can leave it as is or seal it with furniture wax or a polycrylic finish
Notes
Latex paint takes on average 3 weeks to fully cure so don't put anything on the furniture that could damage the finish until that time period has passed.



Such an awesome blog! All the information provided by you is really very helpful for all. I agreed that we should keep our project dust free with the piece of a tack cloth. The perfect article shared by you for the beginners. Everyone should follow the tips provided by you, it will make their work easier. Keep Posting! Keep Sharing!