Content may contain affiliate links. When you shop the links, I receive a small commission at no cost to you. Thank you for supporting my small business.
Learn how to brighten and improve your grout lines while getting rid of those stubborn stains for good! Plus, forget the homemade grout cleaners, harsh chemicals, and that complicated cleaning solution you’re dreading.
There’s a ton of homemade grout cleaners, cleaning methods, and people claiming to have found the best way to remove stubborn grout stains out there.
I think it’s safe to say though that some tough stains just won’t come off – no matter how much scrubbing you do. So, it might be time to look to alternative solutions to achieve the look of clean grout.
Today I’ll walk through some of the easiest way to restore your grout to it’s original color no matter how bad the buildup of dirt. If you’ve tried to remove deep stains and nothing is working, this might be just what you’re looking for.
1. Acrylic Paint
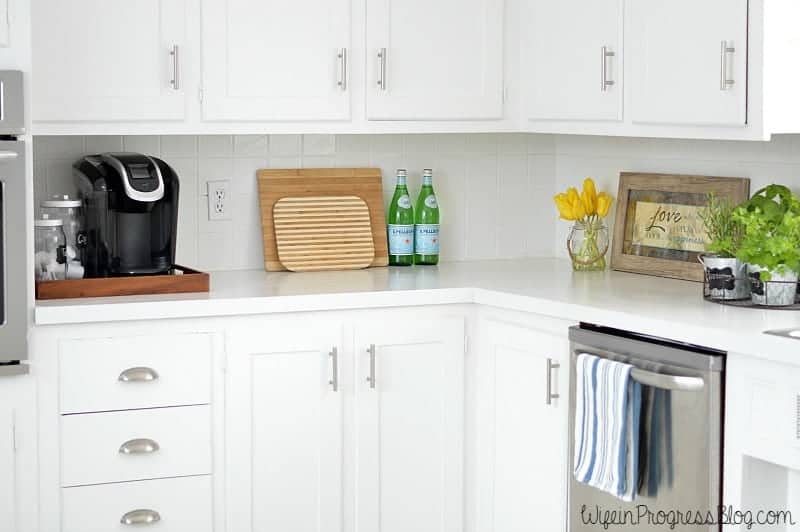
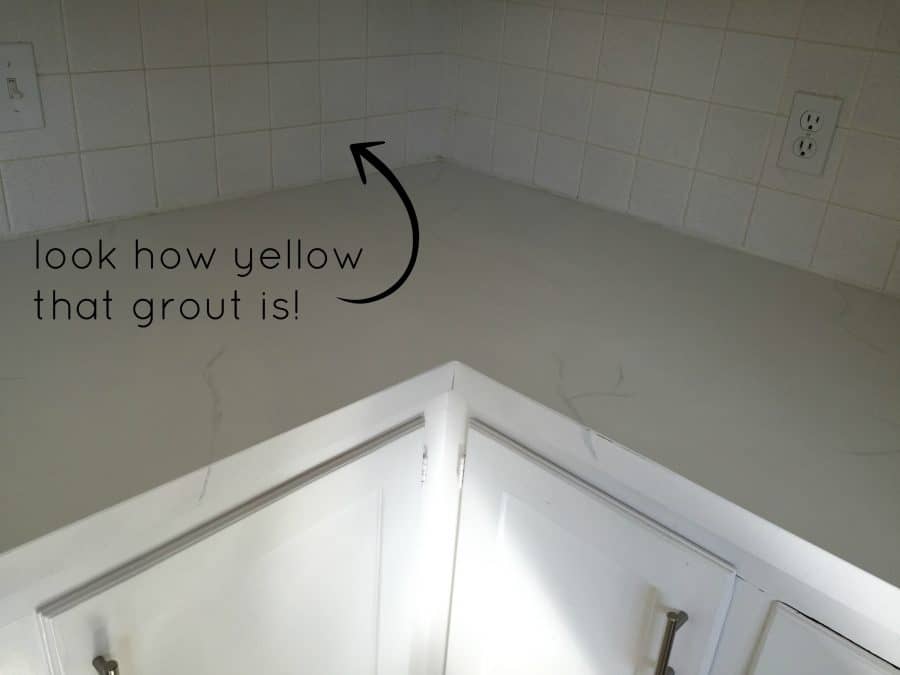
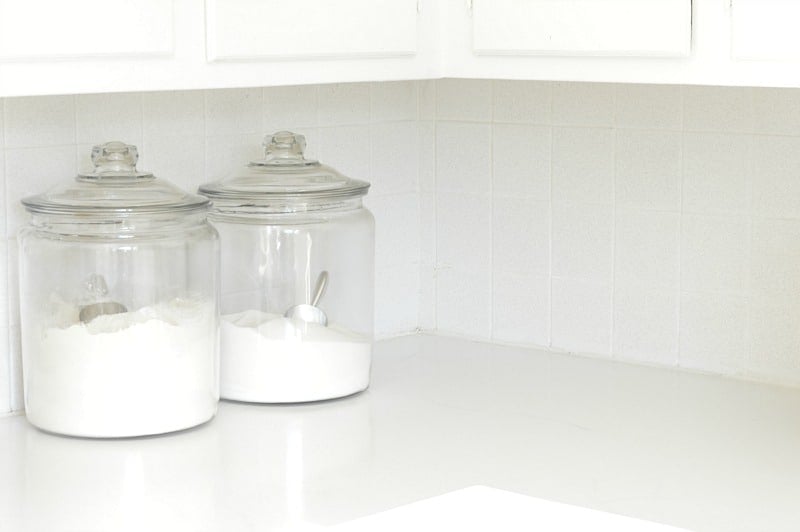
After I repainted my kitchen cabinets a brighter white, the grout on the tile above began to look decidedly disgusting. I mean, I knew it was kinda yellow…but bright white countertops made it look downright brown. Nasty right?
One of the first things I did when we moved in was replace all the dirty caulk around the counters. At the same time, I attempted to whiten the grout with maybe 3 different types of so-called “grout cleaners”.
While they seemed to do the job, they were expensive and I pretty much covered about a square foot before they ran out or the nib wore down. What a pain!
Then, I resorted to homemade cleaners. Trust me, I tried it all. White vinegar, dish soap, lemon juice, oxygen bleach, baking soda, chlorine bleach, and magic erasers were among the long list of ingredients I had used to attempt the removal of those remaining stains.
I knew there had a be a better choice.
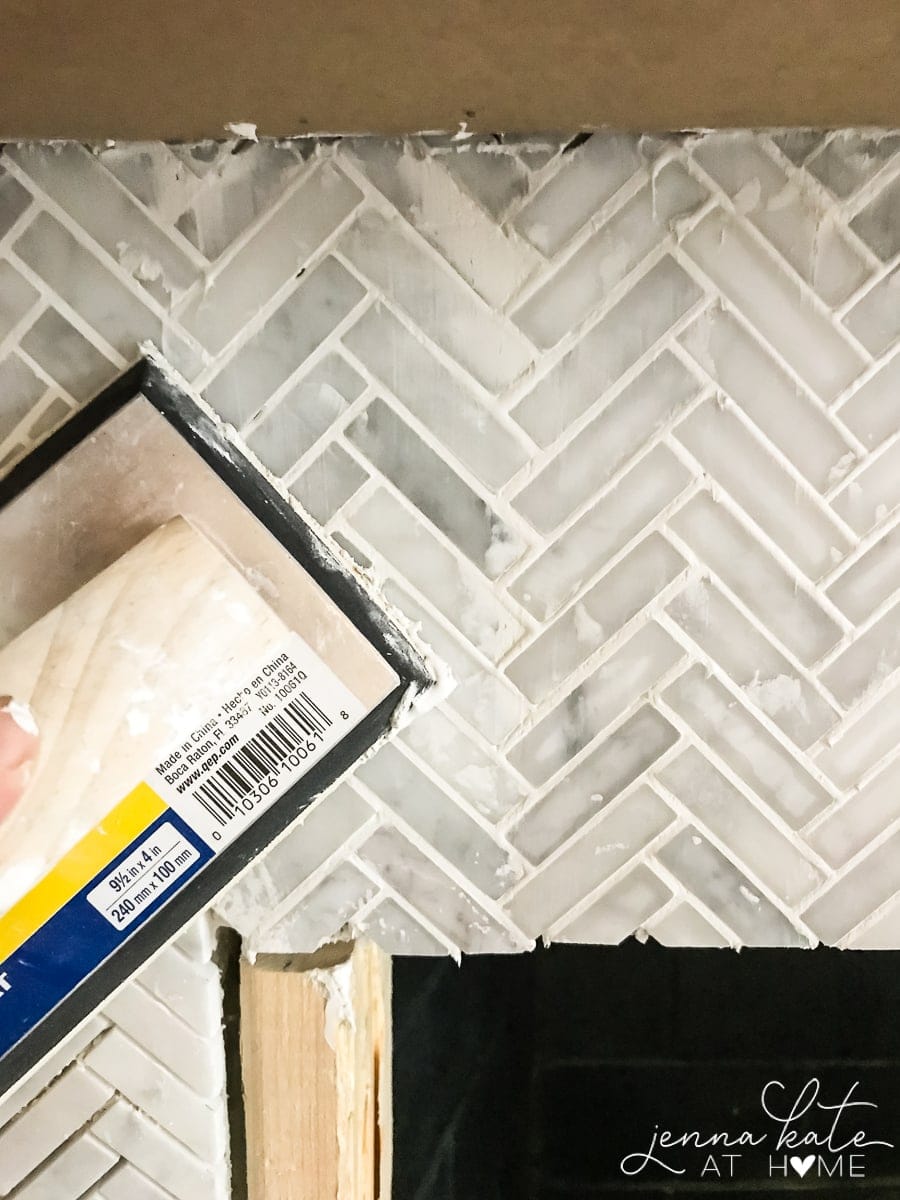
While painting my counters, I accidentally got paint on one of the tiles. As I wiped it off, I noticed that the grout had instantly absorbed the white paint and looked amazing!
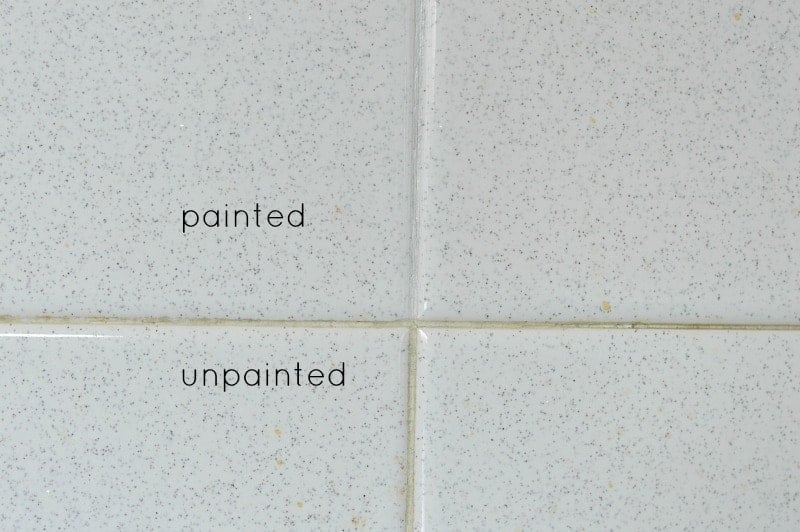
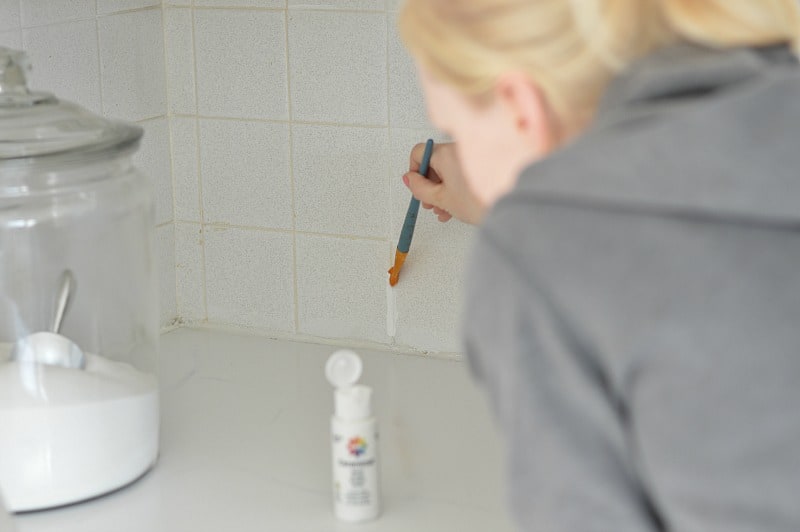
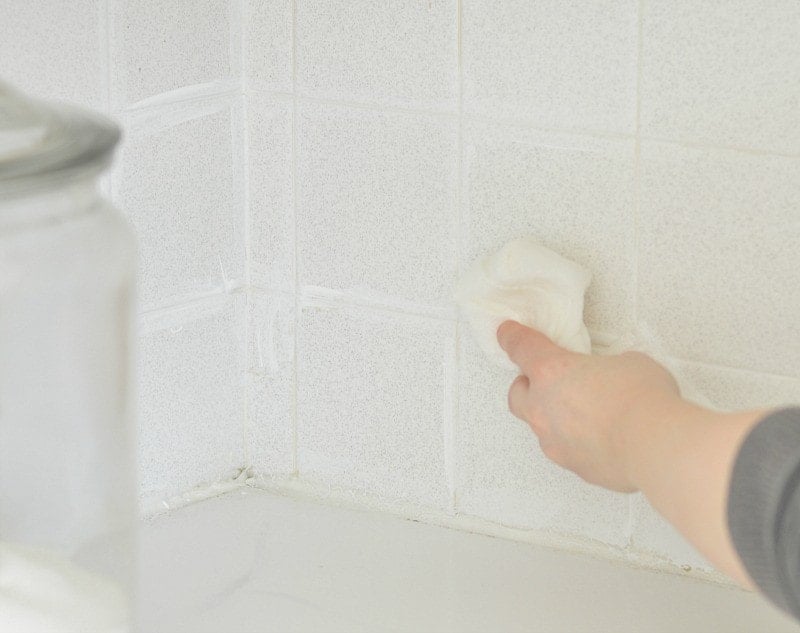
So what did I do? I grabbed an artist’s paintbrush and, working in small sections, applied the matte white paint to grout, wiping it off the tile with a damp paper towel as I went. Because it’s just regular acrylic paint, it wipes off very easily.
This means that it’s a really quick job getting through an entire room and requires very little work!
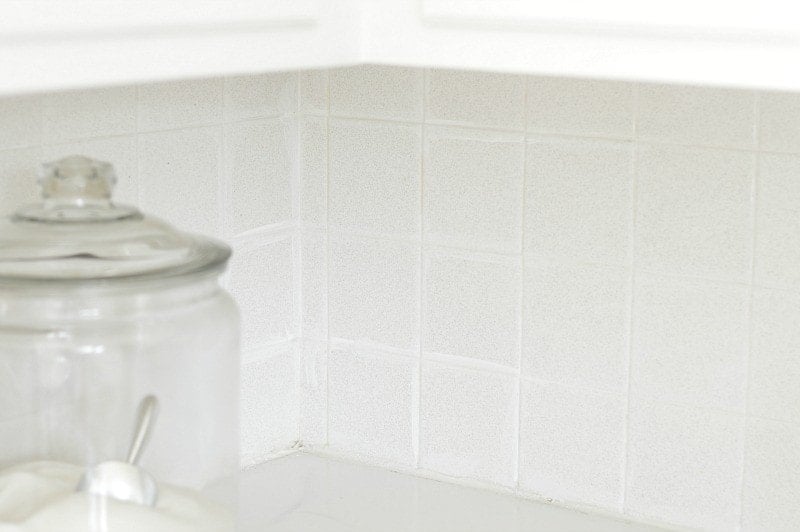
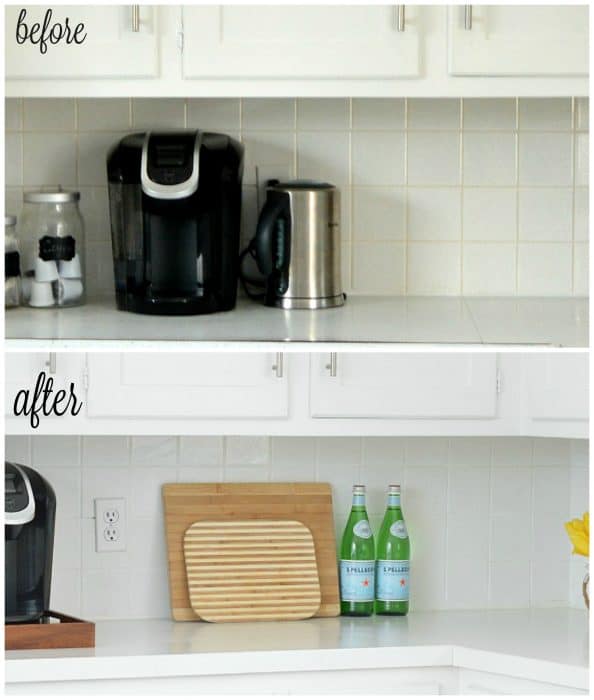
The result? Amazingly white restored grout! AND the tile looks brighter, too! And it only took me 30 minutes!
I already had the paint on hand but all you would need to do is grab a small little container of white craft paint from your local craft store. I used Delta Ceramcoat in white, but any relatively matte white acrylic paint will work.
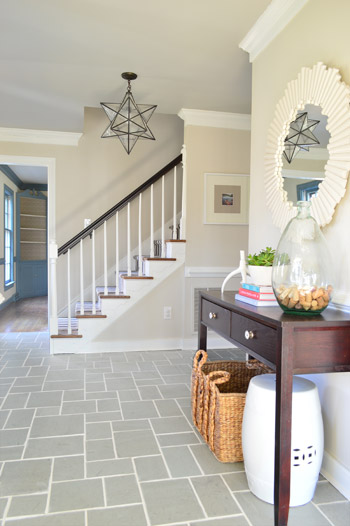
Next up, I’m going to do this in my master bathroom where one extra step will be needed – a grout sealer, just to make sure it stays nice and clean with all the humidity! Oh, and it of course works on floor tiles (or really any tiled area!) too.
2. Grout Renew Colorant
Since completing this DIY, I’ve discovered Grout Renew. Luckily, you can find these products very affordably at Amazon or Home Depot. They come in a wide range of colors from the brightest white to a more muted off-white. There’s plenty of grey and beige shades, too.
This product works very similarly to the acrylic paint trick. It’s job is not to remove the stains but simply conceal them. The product can be applied using an old toothbrush or angled paintbrush. Super simple!
The good news? This is an all in one sealant and colorant so you don’t have to worry with sealing it unlike traditional paint.
If I had discoloration in shower grout, my bathroom flooring, or kitchen grout, this is what I’d lean toward now for best results. It’s super easy to apply, lasts a long time, and is very budget friendly.
3. Grout Pen from Amazon
The Grout Pen has become a very popular choice for touch-ups or a small area. Don’t use this product on recently sealed grout, though. It won’t adhere properly. But, chances are, if you’re seeing dirt or stains it’s probably been long enough that this will work just fine. Once you’re happy with the results, add a coat of sealer to protect your hard work.
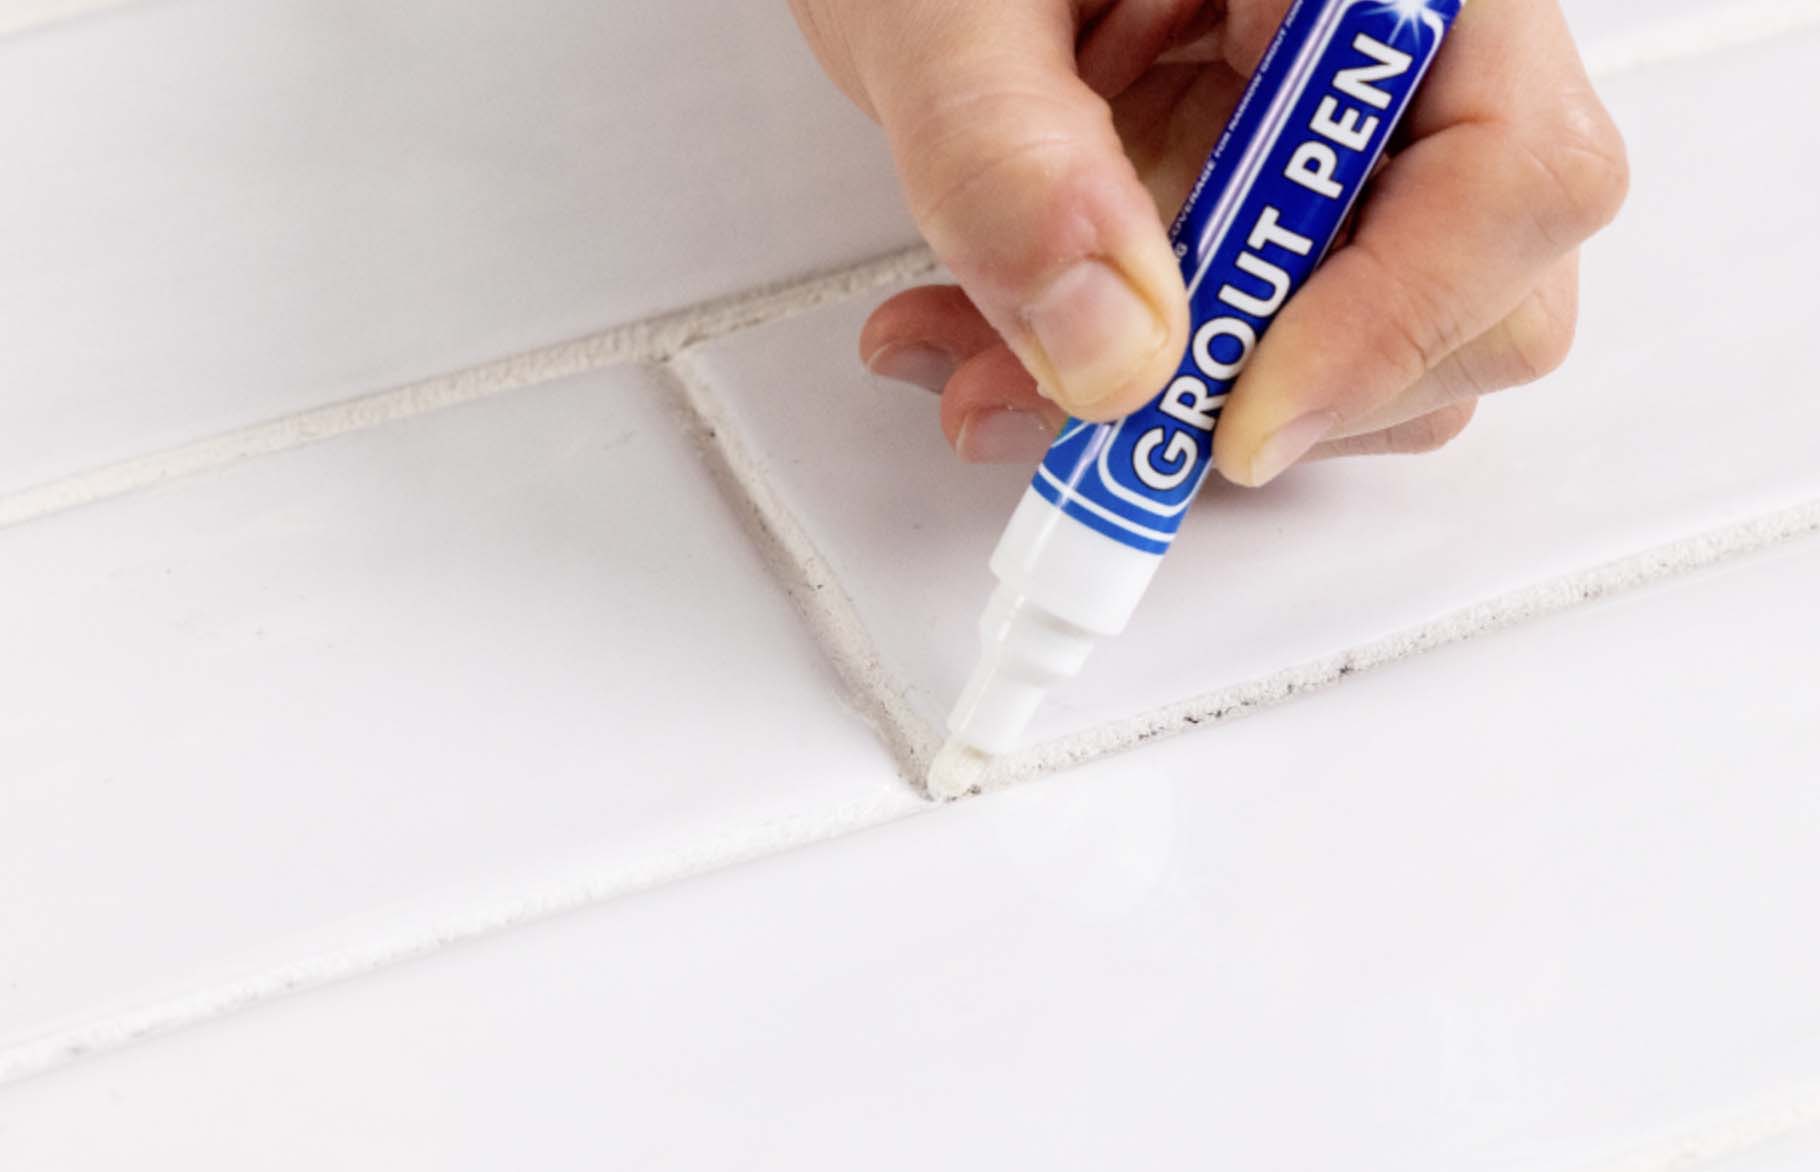
I’m amazed by how this white grout looks almost brand new with the work of this pen. And it just goes to show that a small amount can go a long way. If you are starting to see signs of dirty grout and you can’t seem to remove the stains with cleaner, try this option. These pens also come in multiple color options and don’t require any additional supplies!
Final Thoughts
Of course, it would be a good idea to wipe off the surface with some warm water before applying any of these solutions (similar to how you would always wipe off an area before painting it to avoid dirt mixing in) however you don’t have to scrub for hours or whip up any fancy concoction to clean with. It’s the perfect answer for effectively “cleaning grout”!
Once you accept the truth that you may not be able to fully restore your grout without covering up some of the wear and tear (no matter how much you’ve cleaned!), you’ll be able to quickly put in a bit of elbow grease painting and have new looking grout in no time. Now, which are you dying to revamp first? Your shower walls, kitchen floor, or bathroom grout?


Too many people define ‘remodel’ as a ‘big, money-eating, time-consuming project,’ which is just not fair to the remodeling business. I appreciate how you show that a counter renovation project that doesn’t require tearing everything out and starting from scratch. Sometimes, it can be as simple as restoring the grout to its former glory or refinishing the surface.
Thanks Helen!
This is a unique and fast trick on restoring grout to its former glory. Typically, it is a cleaning tip. Thanks for sharing.