Content may contain affiliate links. When you shop the links, I receive a small commission at no cost to you. Thank you for supporting my small business.
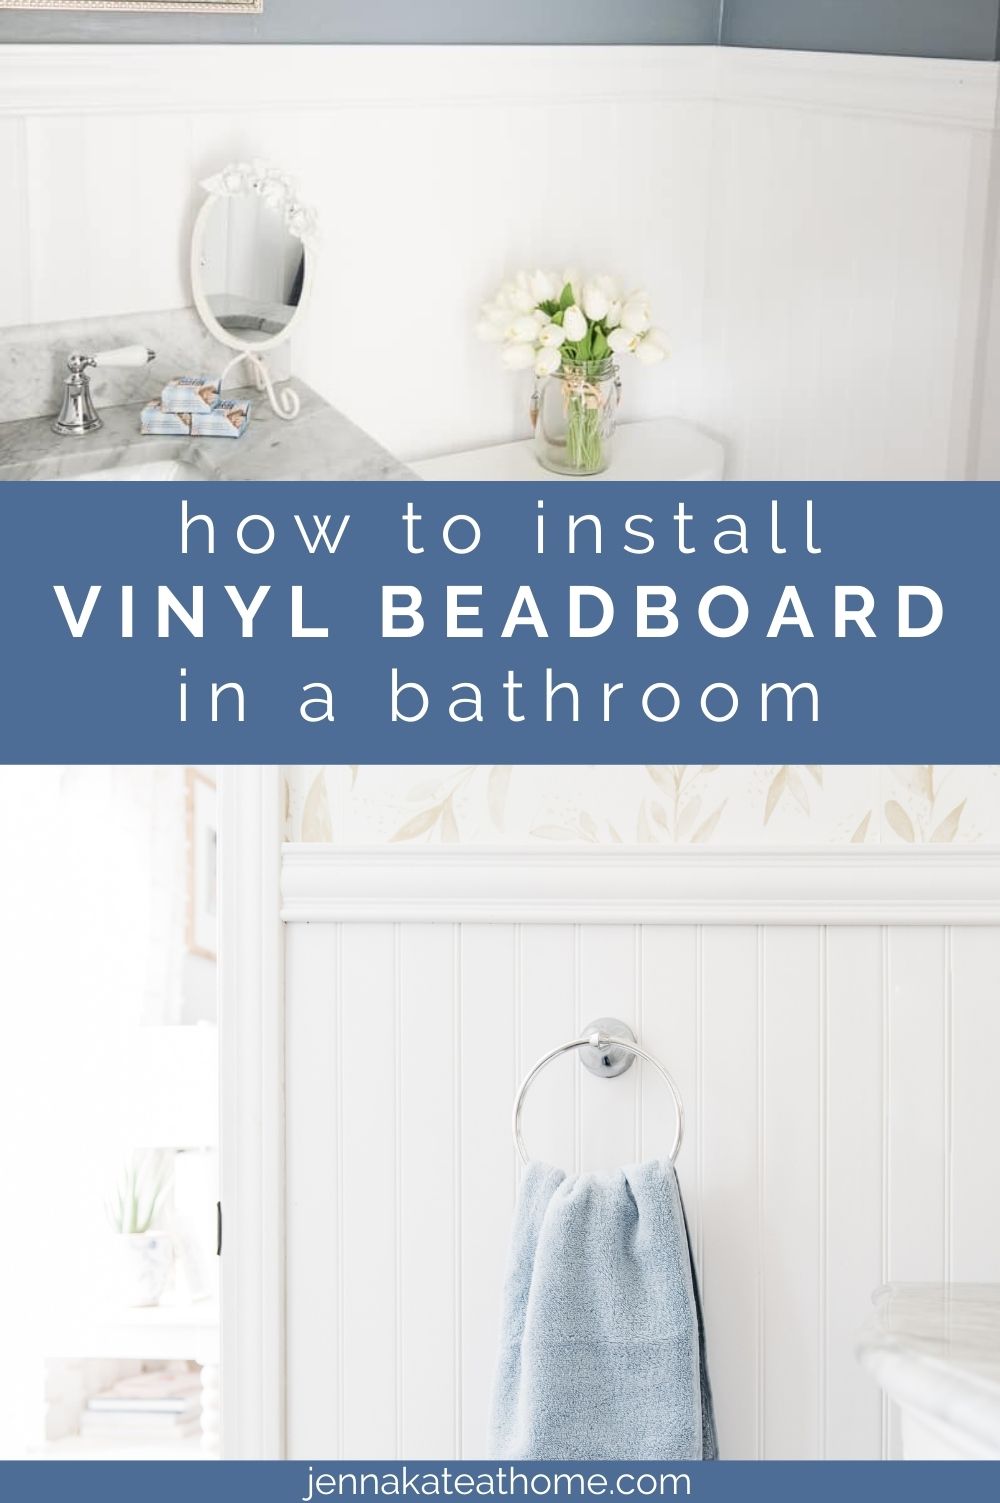
Adding beadboard wainscoting in your bathroom is a simple DIY that will cover damaged walls and instantly makeover this room in your home.
You’re at a friend’s bustling dinner party and you simply have to double-check that your bright red lipstick hasn’t smeared. After the interminable wait by the guest bathroom, you finally enter this quiet retreat.
Immediately, you feel a sense of peace as you take in this charming little space – the elegant beadboard wainscoting defines the room and sets it apart from any ordinary bathroom.
It’s not often that you get a chance to renovate your bathroom or powder room but it pops into your head that this might be how you want it to feel every time you’re there.
And so the idea of installing beadboard wainscoting in a bathroom becomes a reality!
Why We Chose Vinyl Beadboard
I originally debated adding a similar shiplap wall covering like we did downstairs but I worried about the moisture from the shower either warping the wood or possible mold issues down the road.
I realized that vinyl beadboard would in fact be the best product for the space. First, it’s vinyl (no moisture issues) and secondly, beadboard wainscoting in a bathroom is as coastal as you can get!
Like I mentioned, since this bathroom has to deal with moisture from the shower, we chose the slightly more expensive vinyl beadboard.
Vinyl beadboard doesn’t have to be painted, it’s moisture resistant and can be wiped clean. Just like the vinyl plank flooring that we installed the other day, the pieces snap together.
You will need a compound miter saw to get a clean cut on this, though. It’s not a score and snap kind of product. But saying that, installation on this beadboard is still very doable for the average DIYer.
Remove the Existing Wall Covering
When we started our bathroom makeover, one of the first things we did was to remove all the tile from the wall. While it wasn’t the world’s ugliest tile, it was outdated and certainly wasn’t giving me the coastal vibe that I was going for.
I knew the tile would come down easily with just the use of a flathead screwdriver and a hammer. I put the screwdriver to the edge of the tile and tapped with the hammer until it popped off.
In fact, they came off so easily that I did the entire bathroom in an hour!
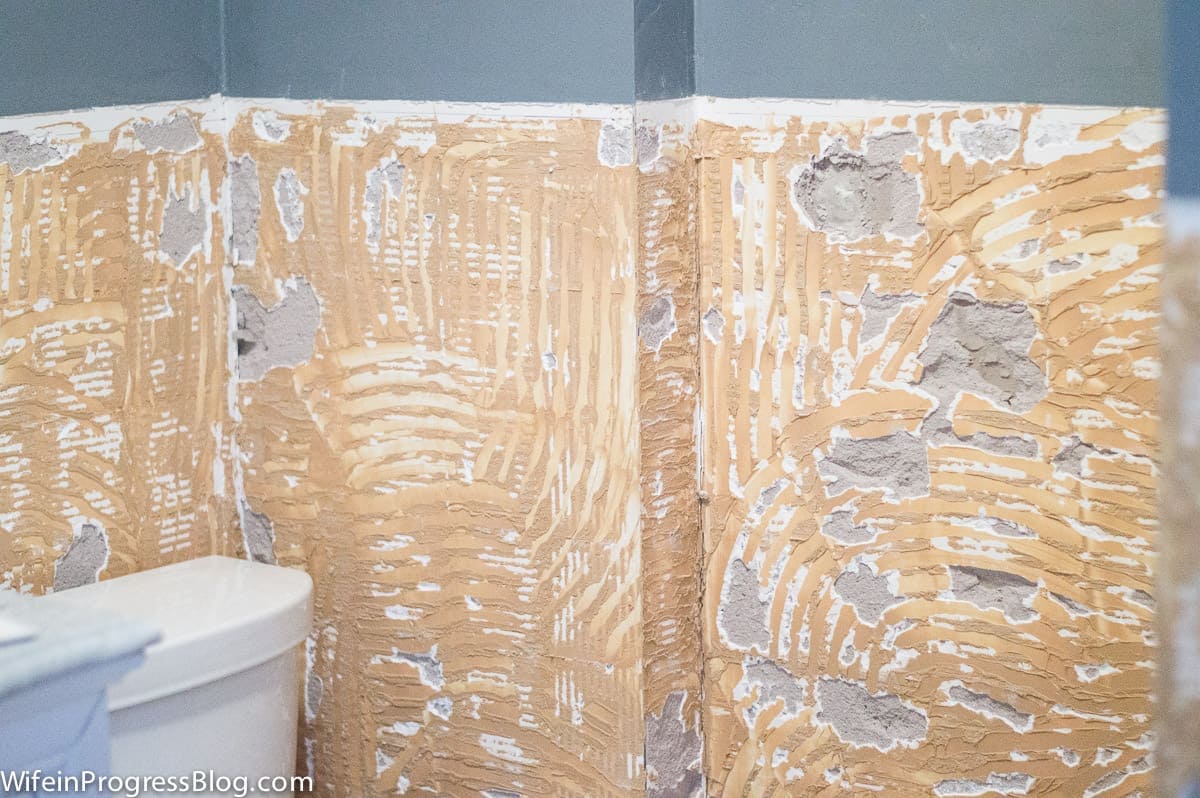
One of the reasons why I love wall coverings like beadboard, wainscoting, board & batten and shiplap is that they cover a multitude of sins. It simply was not in our budget – nor within our DIY skills – to either skim coat these damaged walls or to replace the damaged portion of the drywall completely.
Determine the Height of the Beadboard
While there is no single standard height for installing beadboard in a bathroom, the typical height ranges from 38-to-42 inches off the ground, or taller than the vanity or sink. Our beadboard needed to reach the height of the damaged wall, so we used that as a guide.
How to Install The Beadboard in the Bathroom
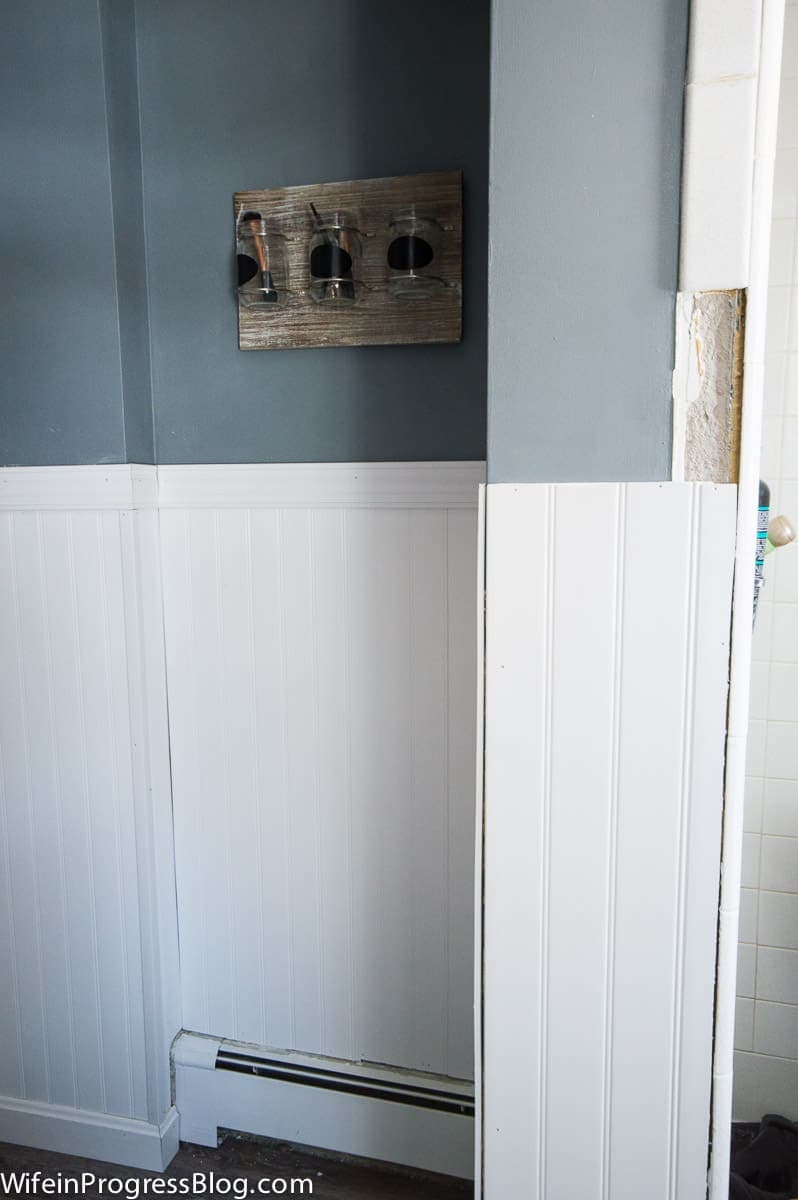
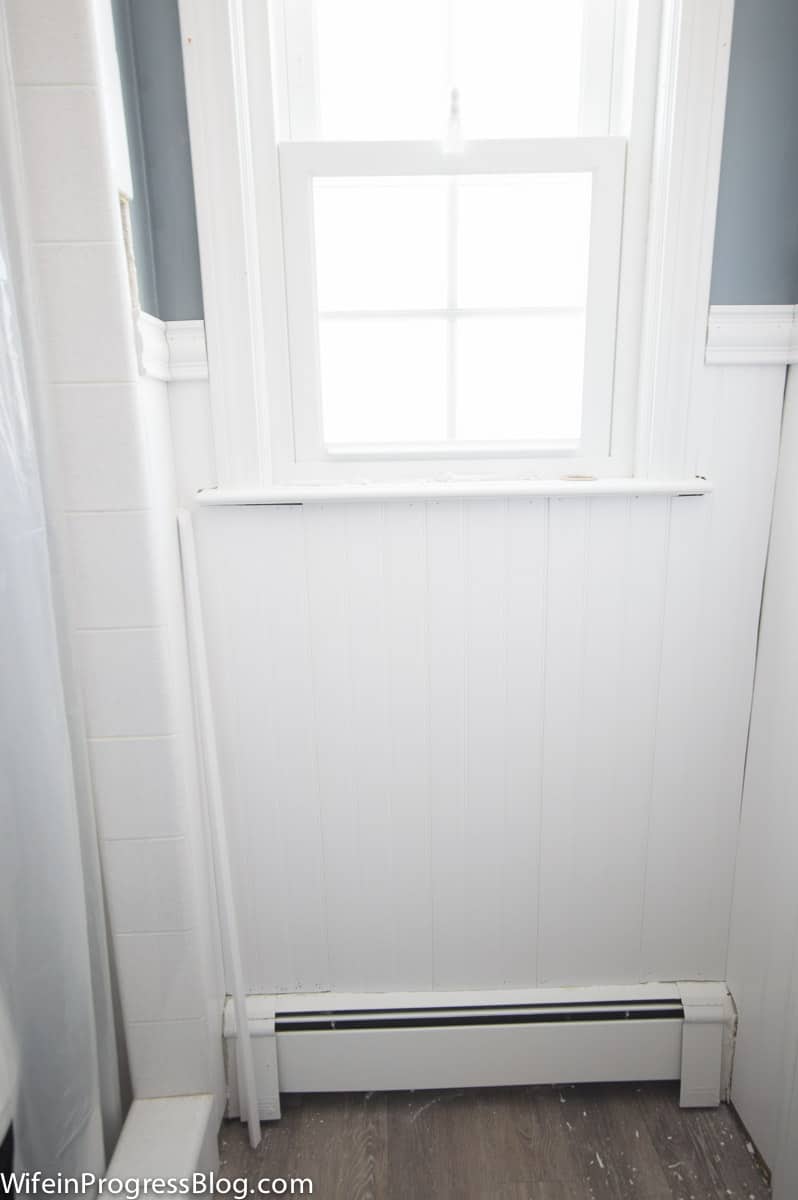
We attached the beadboard panels to the wall using some liquid nails as well and our nail gun. It all looks a little rough until you cover it up with caulk and spackle, of course.
Our toilet was already removed at this point since we needed it gone to install our floor. I highly recommend removing it if you choose to do this wall treatment, too. Otherwise, it will be very difficult to get behind it and cut around the water line correctly if it’s there.
By the way, this is where the jigsaw will come in hand to cut out a small circle or square where the water line goes. It doesn’t have to be perfect as long as it’s smaller than the little covering that slips over it.

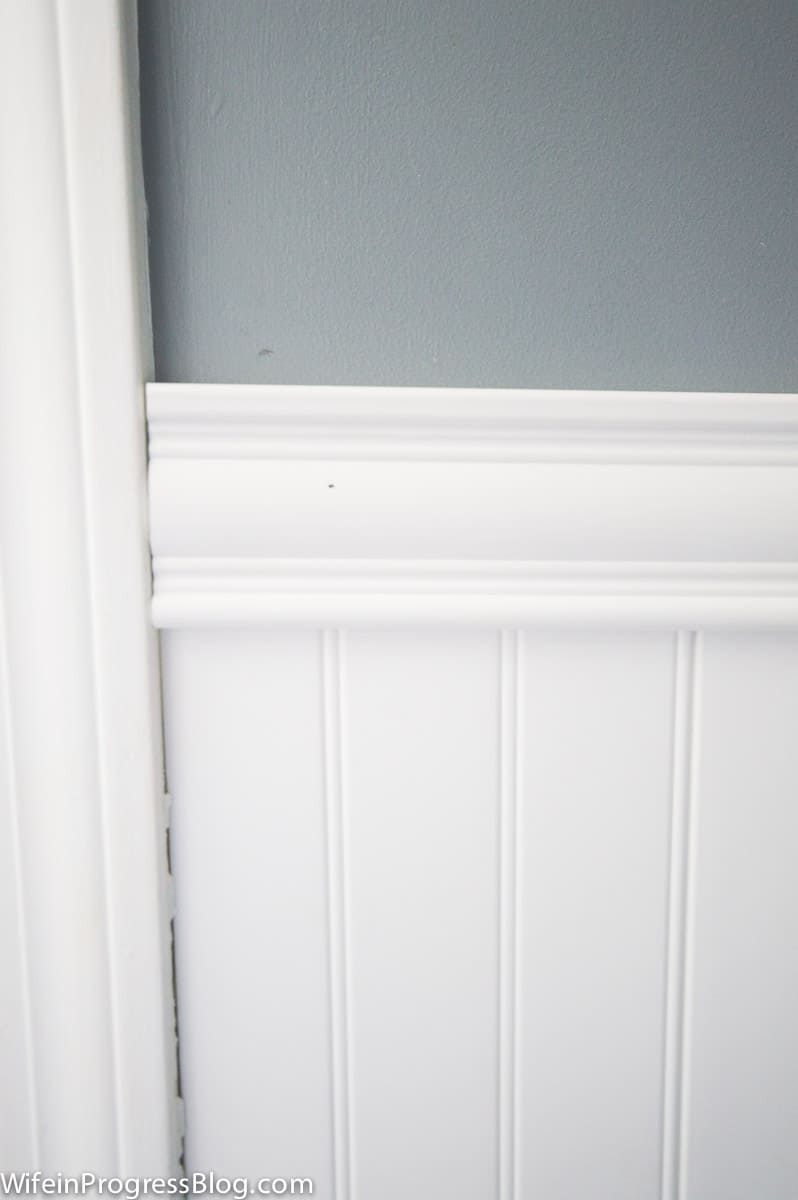
The most difficult part of the beadboard installation is the chair rail that goes along the top. Again, you’re going to need that miter saw.
The inner corners are easy to miter but the outer corners need to be bevelled which was a little trickier. But again, nothing that a little caulk can’t fix!
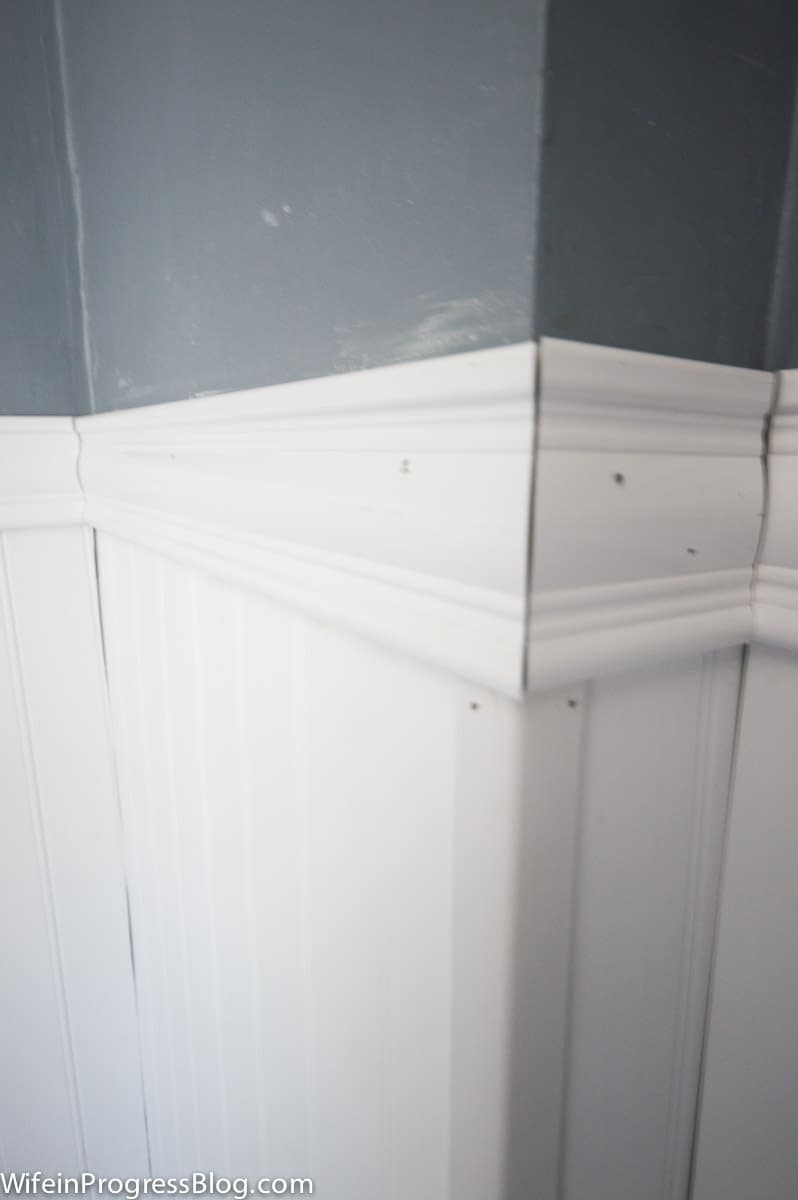
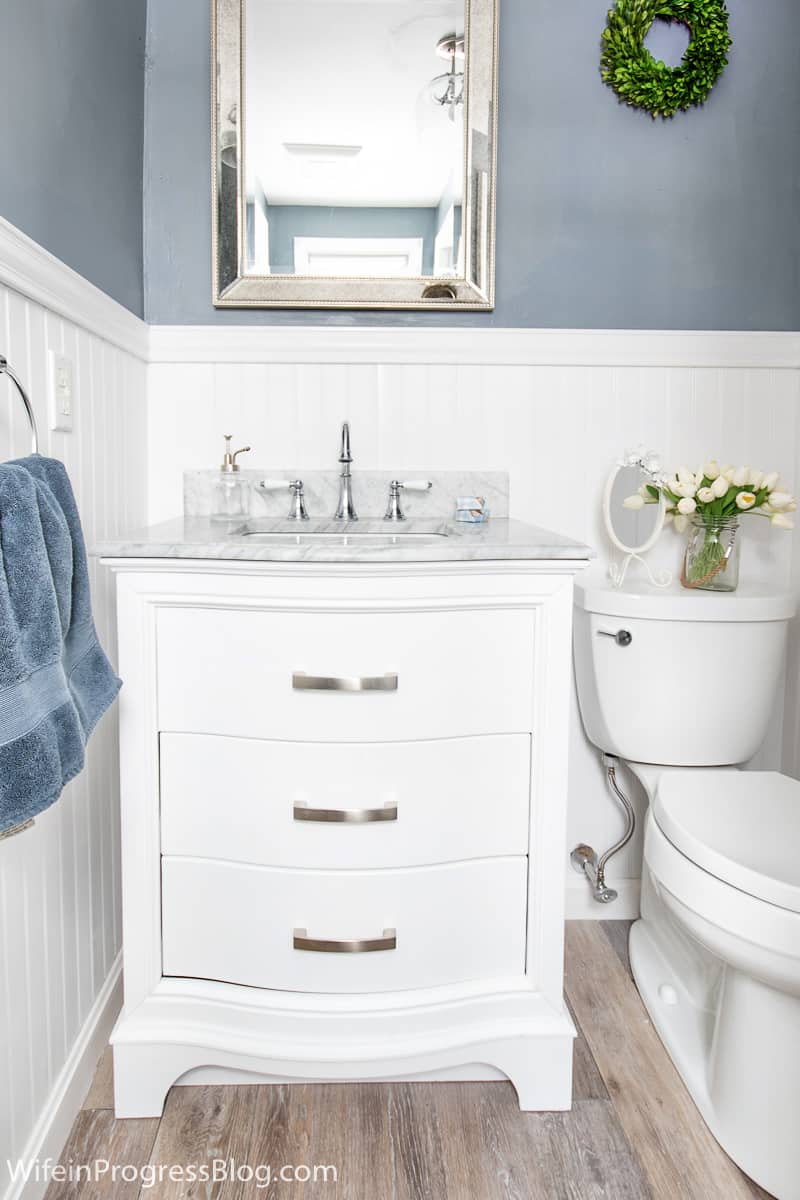
And here’s what it all looks like after we filled all the nail holes and caulked the seams:
Any imperfections in cutting magically disappear once they are caulked!
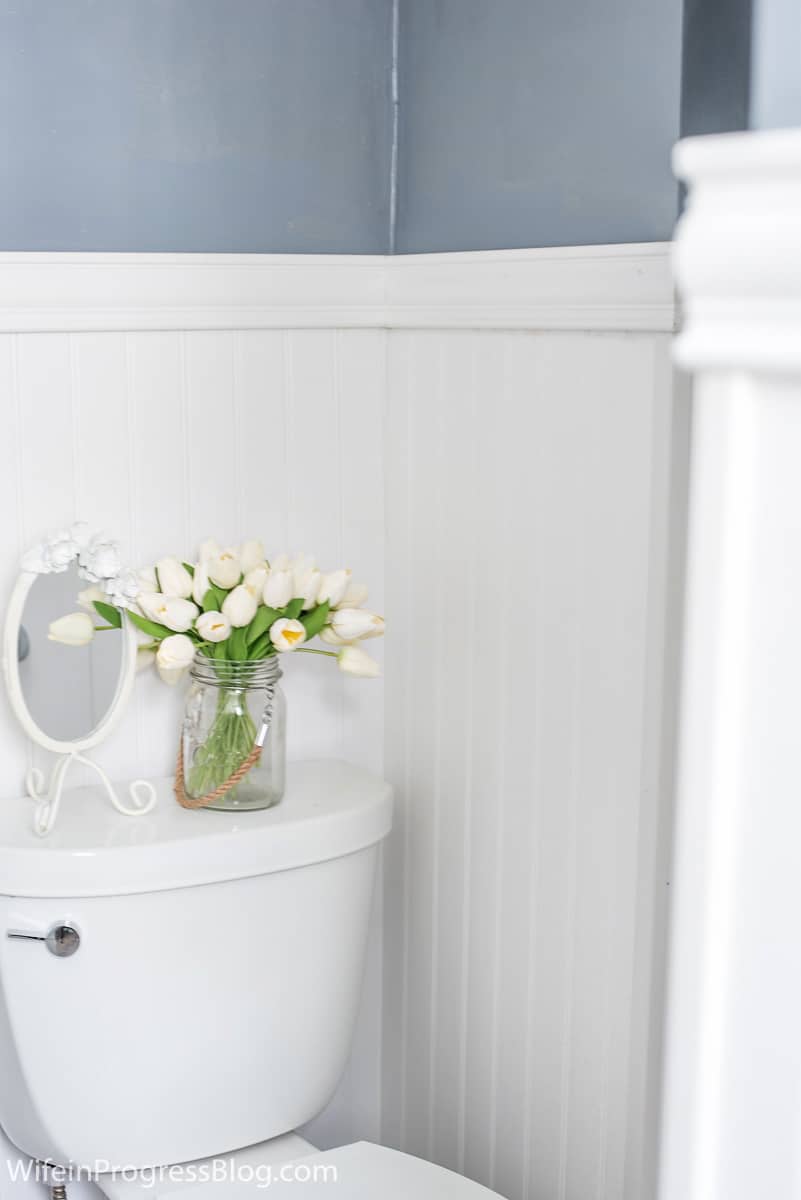
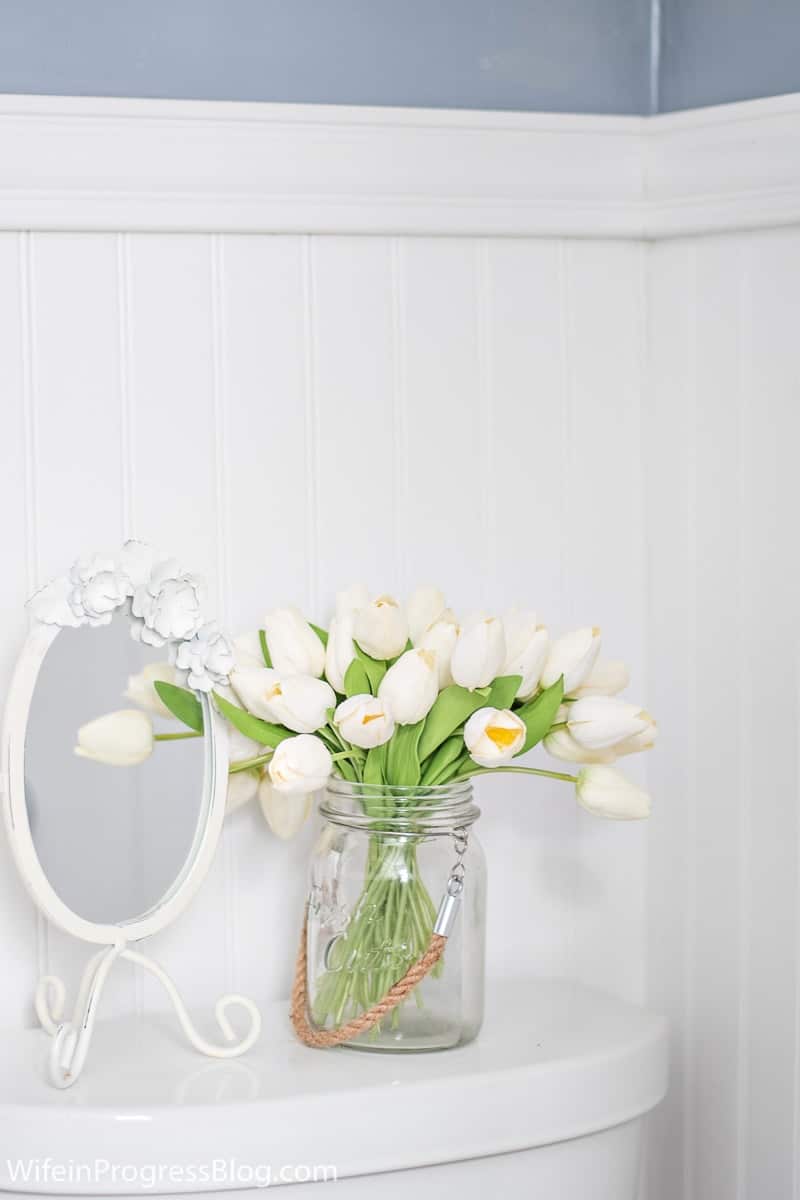
And now my small bathroom has beautiful beadboard walls that completely covers all the damage beneath it! This is such a great way to hide bad walls, right?
I hope this tutorial on how to install beadboard in a bathroom was helpful. If you’re looking for other inexpensive wall covering ideas be sure to read these other tutorials and don’t forget to check out the Master Bathroom Reveal!
- DIY Shiplap from Cheap Plywood
- How to Create a DIY Board & Batten Wall
- Reclaimed Wood Wall Tutorial
- How to Add Character To a Builder Grade Home
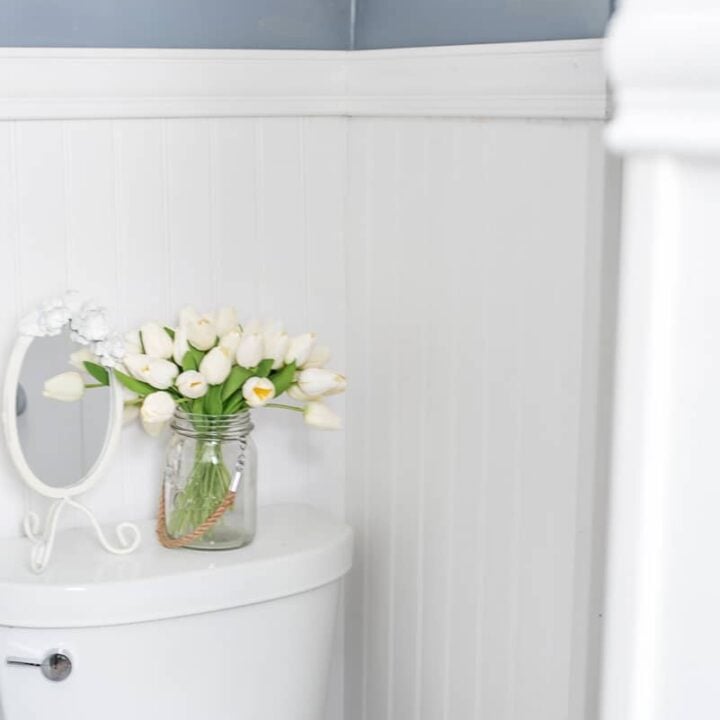
How to Install Beadboard Wainscoting in a Bathroom
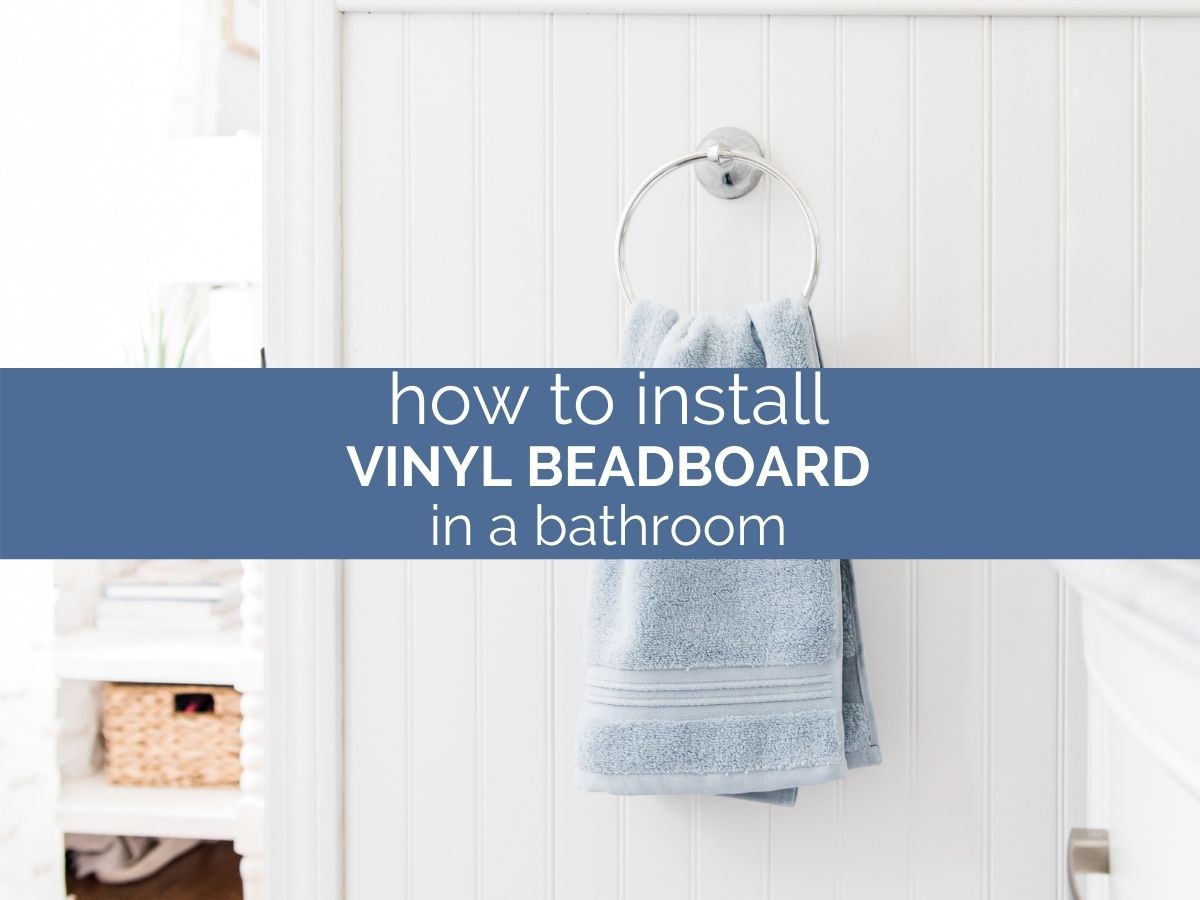
Add a touch of elegance and quaint coastal style to your bathroom or powder room with beadboard wainscoting.
Materials
- Vinyl beadboard wainscoting
- Vinyl chair rail boards
Tools
- Compound miter saw
- Jigsaw
- Caulk and caulking gun
- Flathead screwdriver
- Hammer
- Liquid Nails adhesive
- Nail gun and nails
- Measuring tape
Instructions
- Dismantle and relocate toilet temporarily to have full access to the wall behind it.
- Remove existing wall covering. If pulling off tiles, put the screwdriver to the edge of the tile and tap firmly with hammer until it pops off.
- Continue until all tiles are removed.
- Measure the desired height for the beadboard (usually enough height to cover the space where the tiles were).
- Apply the vinyl beadboard to the walls using Liquid Nails and reinforce with the nail gun.
- Use the jigsaw to cut a neat hole around the water line for the toilet.
- Adjust the corners of the vinyl chair rail with the miter saw. Apply to wall above beadboard wainscoting.
- Caulk all nail holes and seams.
- Enjoy your new space!

Can you paint vinyl bead board?
yes – but you need a special adhesive paint or it will peel right off.
Just wondering what product you used to cover the nail holes in the vinyl?
Just spackle!
Looks great! Was just wondering how you attached along the side of your vanity? I have a small gap and wasn’t sure how I’m gonna attach the side piece and the few inches on the wall next to the vanity.
We just measured the gap, applied liquid nails and maneuvered it in place!
Hi Where did you purchase your beadboard??
We got these vinyl panels at Lowes. I can’t find them online, but they have them in store.
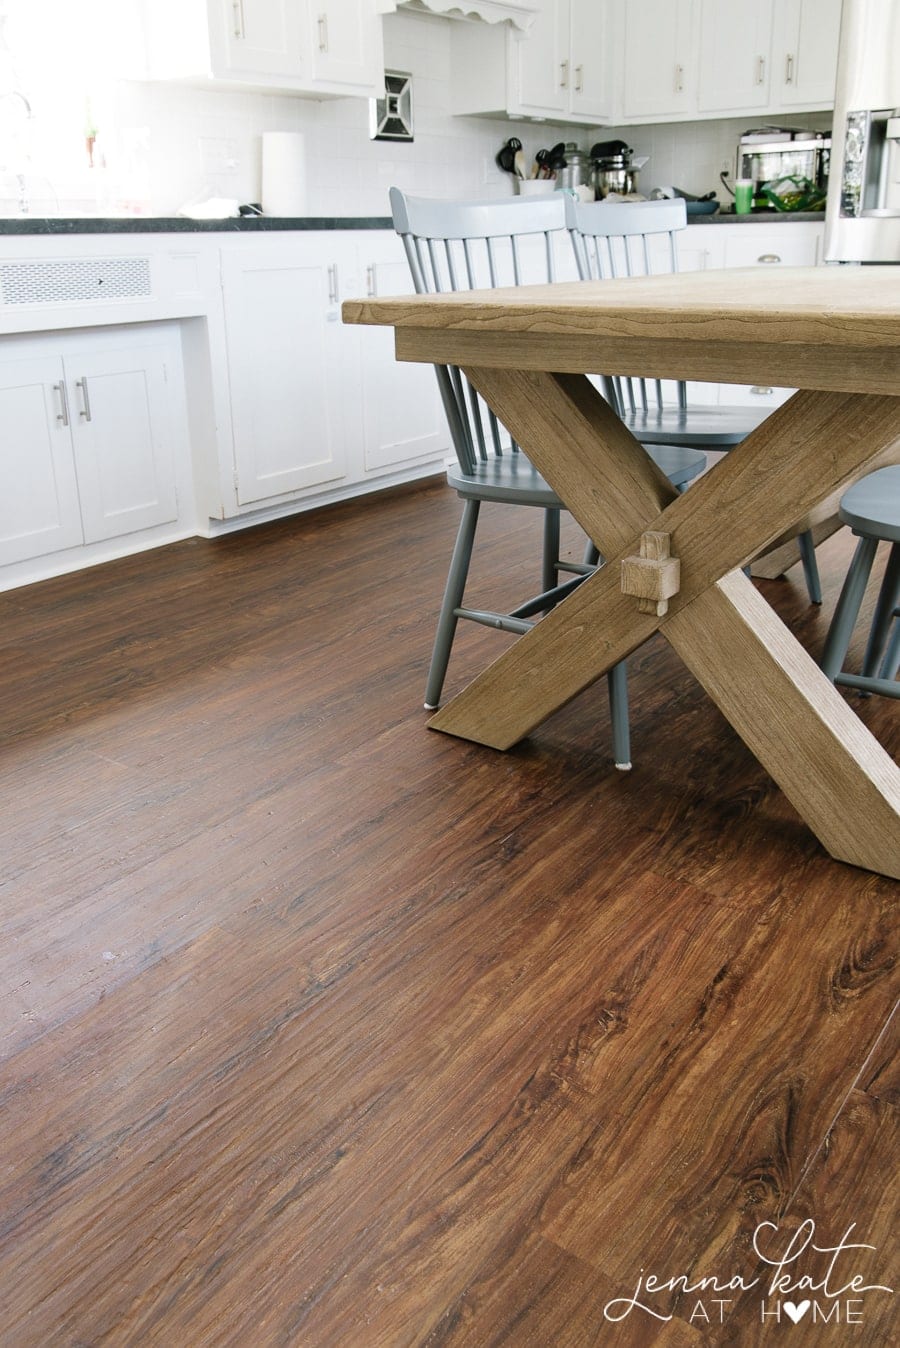
Great work, and would love to copy. :) What flooring did you install (colour, type)?
Hi Crystol – it’s all linked in this post! https://jennakateathome.com/master-bathroom-progress/
Best,
Jenna
What is the color if the paint you used?
It’s Sherwin Williams Serious Gray