Content may contain affiliate links. When you shop the links, I receive a small commission at no cost to you. Thank you for supporting my small business.
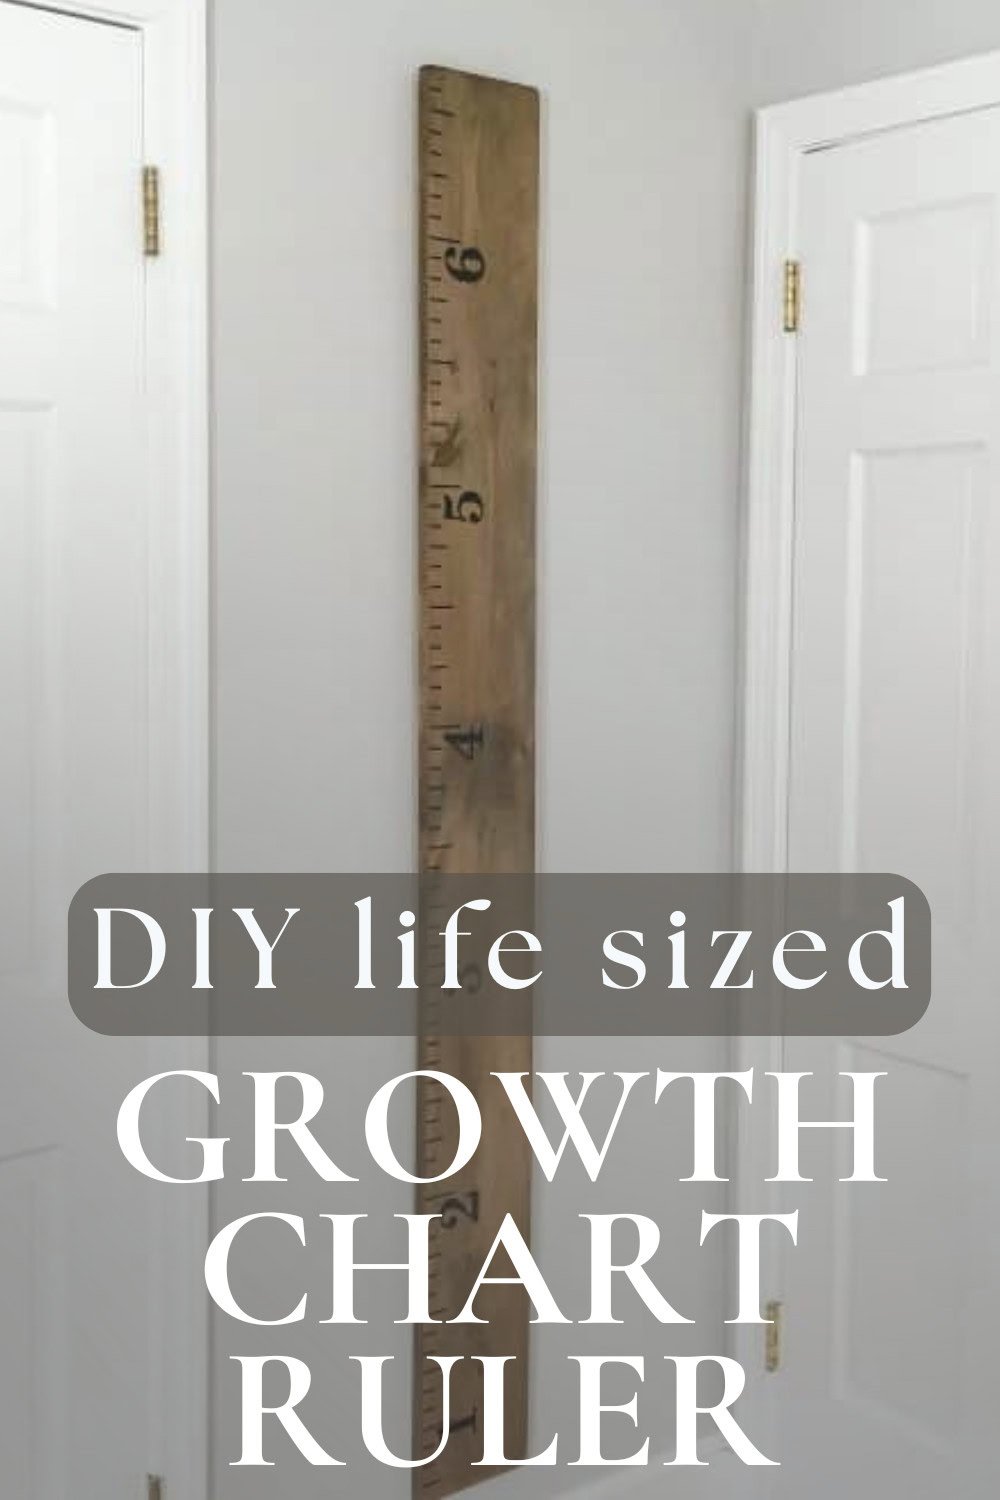
Are you amazed at how quick your little one grows? This sweet, DIY ruler growth chart is an adorable way to measure your kids’ height as they get older. Follow this simple tutorial and you’ll have the perfect decor for your child’s bedroom with a fun way to mark their milestones as they meet them!
Did your parents measure your height by marking it on a wall or door in your home? Mine didn’t but my husband’s parents did. The pencil lines are still written on the kitchen wall! Isn’t that the sweetest? I know it’s a part of many family traditions.
I wanted to do something similar for my son Cian, but knowing that I will probably paint the wall a dozen times before he’s a teenager, I needed something that wasn’t permanently attached and that could be brought with us in case we ever moved.
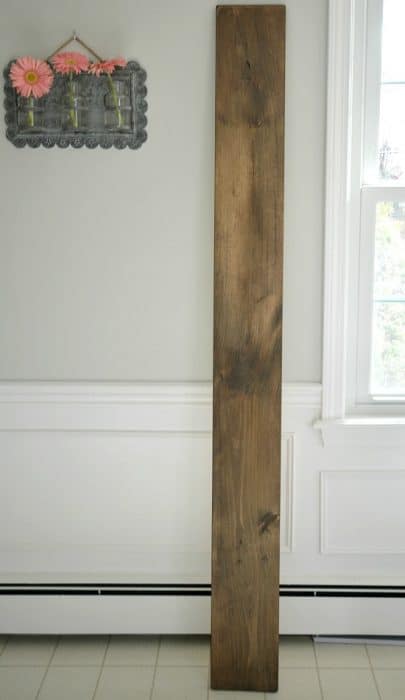
And that is how my idea for this wooden growth chart ruler was formed!
It was quick, easy, and only cost $25! I think this will really be a special piece for us as a family as our children grow. I love that we can move it room to room, take it with us if we relocate, and it won’t be affected should I decide to paint over their wall color or trim.
The best part of this project? Even the most beginner DIYer can accomplish it. It’s super simple and doesn’t require a huge amount of supplies. Home Depot of your local hardware store should have everything you need to get started.
What You’ll Need To Make This Giant Wooden Ruler:
- Vinyl Ruler Decals (I used these)
- A Piece of Wood (6ft 1 x 12 boards are the perfect size – I got mine at my local hardware store precut to 6ft but if they only have 8ft they will cut it to size for free)
- Paint or Wood Stain (I used a mixture of Minwax Dark Walnut & Classic Gray – the same technique as here)
- Tape Measure
- Pencil
How to Make A Wooden Ruler Growth Chart
After this easy five step tutorial you’ll be ready to make your own growth ruler at home! As with all DIY projects, feel free to make it your own with different colors, feet numbers, or application techniques. I can’t wait to see what you come up with!
1. Stain or Paint your Entire Board
First thing, using the stain of your choice, apply two coats to the wood board. You can also use acrylic paint if you prefer. If you stain it, you’ll need to wait 48 hours before applying tick marks and numbers. Paint only needs 24 hours to fully dry.
I think white paint would also look very modern, but my personal preference is the natural appeal of stain. I’d obviously recommend staining the entire board, but if you are low on stain and don’t want to run to the store, just make sure the front and side of the board is covered. You’ll definitely see the sides from different angles.
2. Sand the Edges of the Board
The next step is to sand the four corners of the board. This will give it a more finished look by rounding the top and bottom edges. Of course, this step is optional so you can skip it if you want a classic rectangular shape.
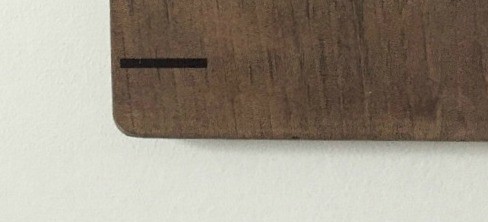
See how the bottom of the board already looks more polished? I am really a fan of this step.
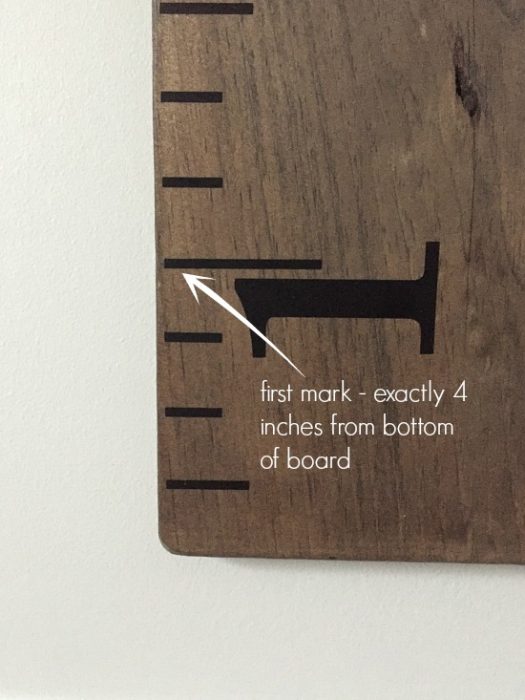
3. Measure and Outline Foot Markers
It’s time to apply some foot marks! The ruler is designed to hang 8 inches off the floor, so you will want to mark the first spot for your tick mark 4 inches from the bottom of your board. This means the first measurement will be at the 1-foot mark. Using a pencil mark, lightly mark the board.
After your first mark, add another light mark to your board every 12 inches. The 6 marks you make will account for every foot, for a total of 6 feet. This is how you’ll keep track of your child’s height so double check behind yourself after measuring. You want it to be accurate!
4. Attach the Decals
The ones I purchased were cut into strips so all you had to do was align them to the pencil marks, smooth them down and pull back the transfer paper. Try your best to keep them in a straight line.
All in all, applying the vinyl tick marks will take about 10 minutes.
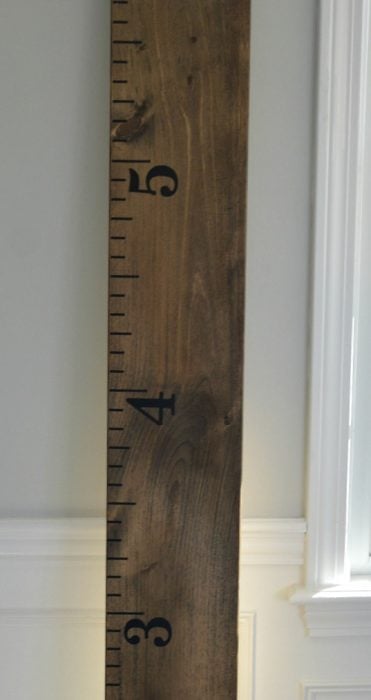
Once all the tick marks are applied, the last step is to place the numbers on. If you can find some with transfer tape it will make things much easier. You can orient them vertically or horizontally, whatever you prefer.
5. Attach a Sawtooth Hanger to the Back
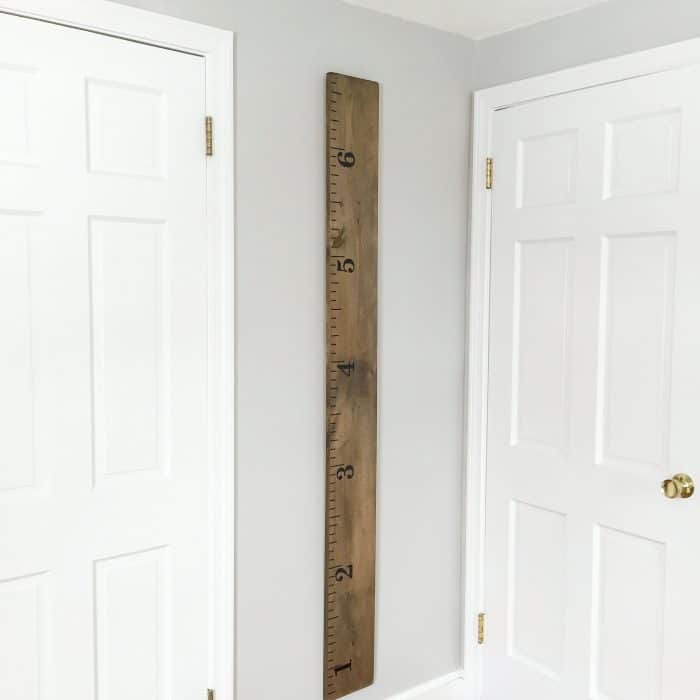
Once you have your final product, you can decide where to adhere it to the wall. If you have another method you rather use, go ahead. You can try a Command Strip pack or standard nails. I’ve found a sawtooth hanger to be the most effective for me.
Final Thoughts
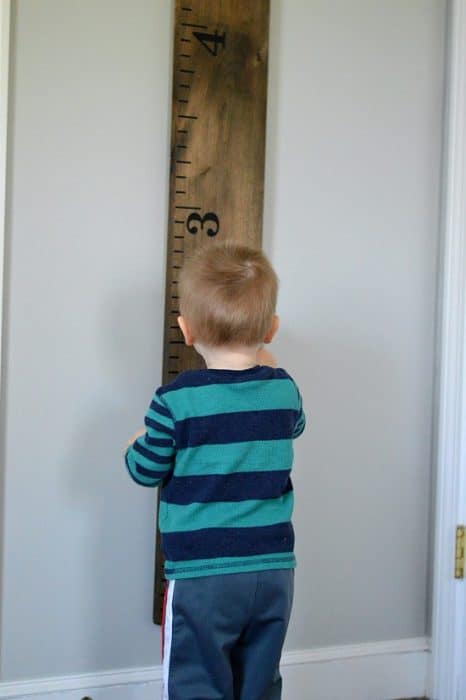
Don’t you love this DIY growth chart ruler idea? It’s a great way to keep track of your kid as they grow. This tutorial is so simple; anyone can do it! Babies seem to grow in the blink of an eye (I know my little boys sure have!).
Make this new growth chart and record their height milestones to look back on as they grow, grow, grow!


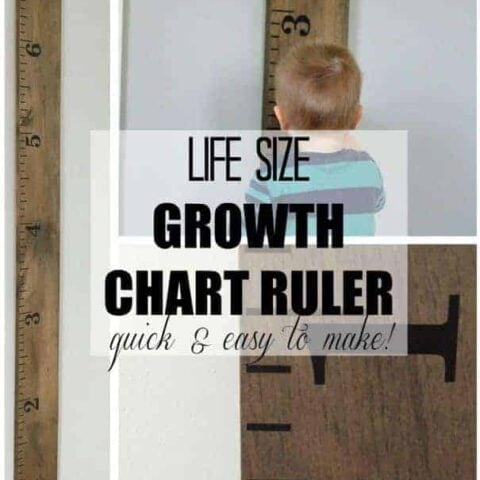
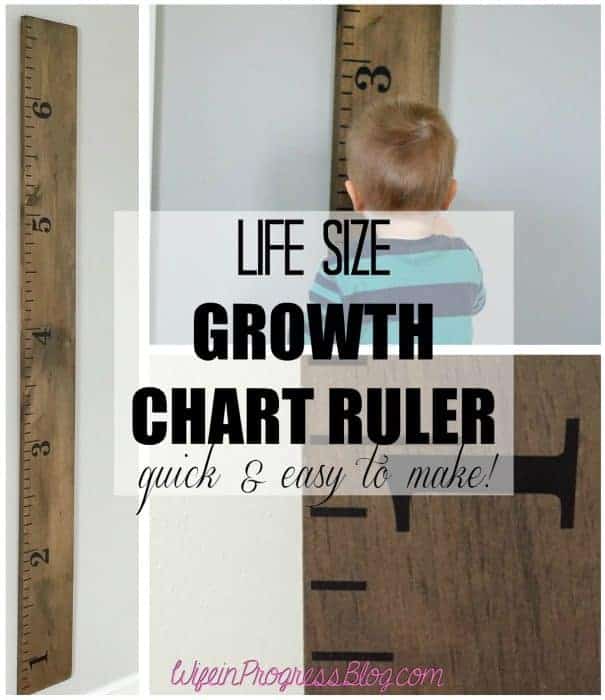
Life Size Growth Chart Ruler
This simple tutorial will teach you how to make this adorable life size ruler. Hang it on the wall and mark your child's height as they grow!
Materials
- Vinyl ruler decals
- 6 ft 1 x 12 board
- Paint or wood stain
Tools
- Measuring tape
- Pencil
Instructions
- Stain or paint your board (if you stain it, you'll need to wait 48 hours before applying tick marks and numbers. Paint only needs 24 hours to fully dry).
- Sand the edges of the board to give it a more finished look as well as to round the top and bottom edges.
- Using a pencil, lightly mark the board. The ruler is designed to hang 8 inches off the floor, so you will want to mark the first spot for your tick mark 4 inches from the bottom of your board. This means the first measurement will be 1 foot. After your first mark, add another light mark to your board every 12 inches.
- Attach the decals. First apply the tick marks. Smooth them down and pull back the transfer paper. Then, apply the numbers either vertically or horizontally.
- Attach a sawtooth hanger to the back to make it ready to hang on the wall!

Can you tell me where you bought the decals or tell me the website. I also tried the link and its not working.
Hi Karen – try this: http://rstyle.me/n/b75akdb5v87 and use code CYBER30 for 30% off for cyber monday!
Tried both links (in the instructions and email response) for where you bought your vinyl decals and it didn’t work for me. Has anyone else had that problem?
Hi Carol,
No – I’ve had lots of people buy them. I just checked the link again and it’s working fine. I’m not sure why it’s not working for you. You can try again by clicking here.
I hope it works – let me know if you’re still having issues.
I love this. Wondering how the vinyl is holding up since you made this?
Hi Sarah! It’s still perfect! We mark my son’s growth every couple of months with a sharpie and he regularly tries to “measure” his own height. It’s the perfect addition to his little bedroom!
Where can I purchase the vinyl decals?
Hi Rachel, I purchased these ones(aff). They were only $13 and were shipped super quickly!
oh I just love that growth chart! It is just perfect to track our little one’s growth and milestones! -client