Content may contain affiliate links. When you shop the links, I receive a small commission at no cost to you. Thank you for supporting my small business.


Stumped on new ideas for Christmas projects this year? This DIY wood slice wreath is made from natural wood slices and is super easy to make. It is an unexpected Christmas gift for friends or family that they are sure to love! It’s easily customizable and also makes for a great item to sell at seasonal craft fairs.

This wood slice wreath looks pretty impressive, right? Would you believe that it only took me 40 minutes to make?! That’s quicker that baking a batch of cookies to gift to your next door neighbor!
I’m always looking for new and creative homemade ideas to gift during the holidays. I think this wreath brings just a touch of rustic charm perfect for the holiday season. If you make this as a gift, a DIY Christmas gift tag would be the perfect thing to top it all off with after you wrap this beauty.

OK – being transparent here, there’s no way I’m giving this to anyone. It looks WAY too cute on my front door. But if I WAS looking for a cute gift for my mother in law perhaps, then this would be it. But yeah, I’m keeping this one for myself!
Ready to see how easy it is to make? I filmed the whole tutorial so you can easily follow along but if you’re at work at can’t turn the sound on, then you can also follow along with the directions below!
What You Need to Make The DIY Wood Slice Holiday Wreath
Local craft stores should have everything you need! You might can even source a few of these materials at the dollar tree. An affordable but high-end looking craft? Sign me up!
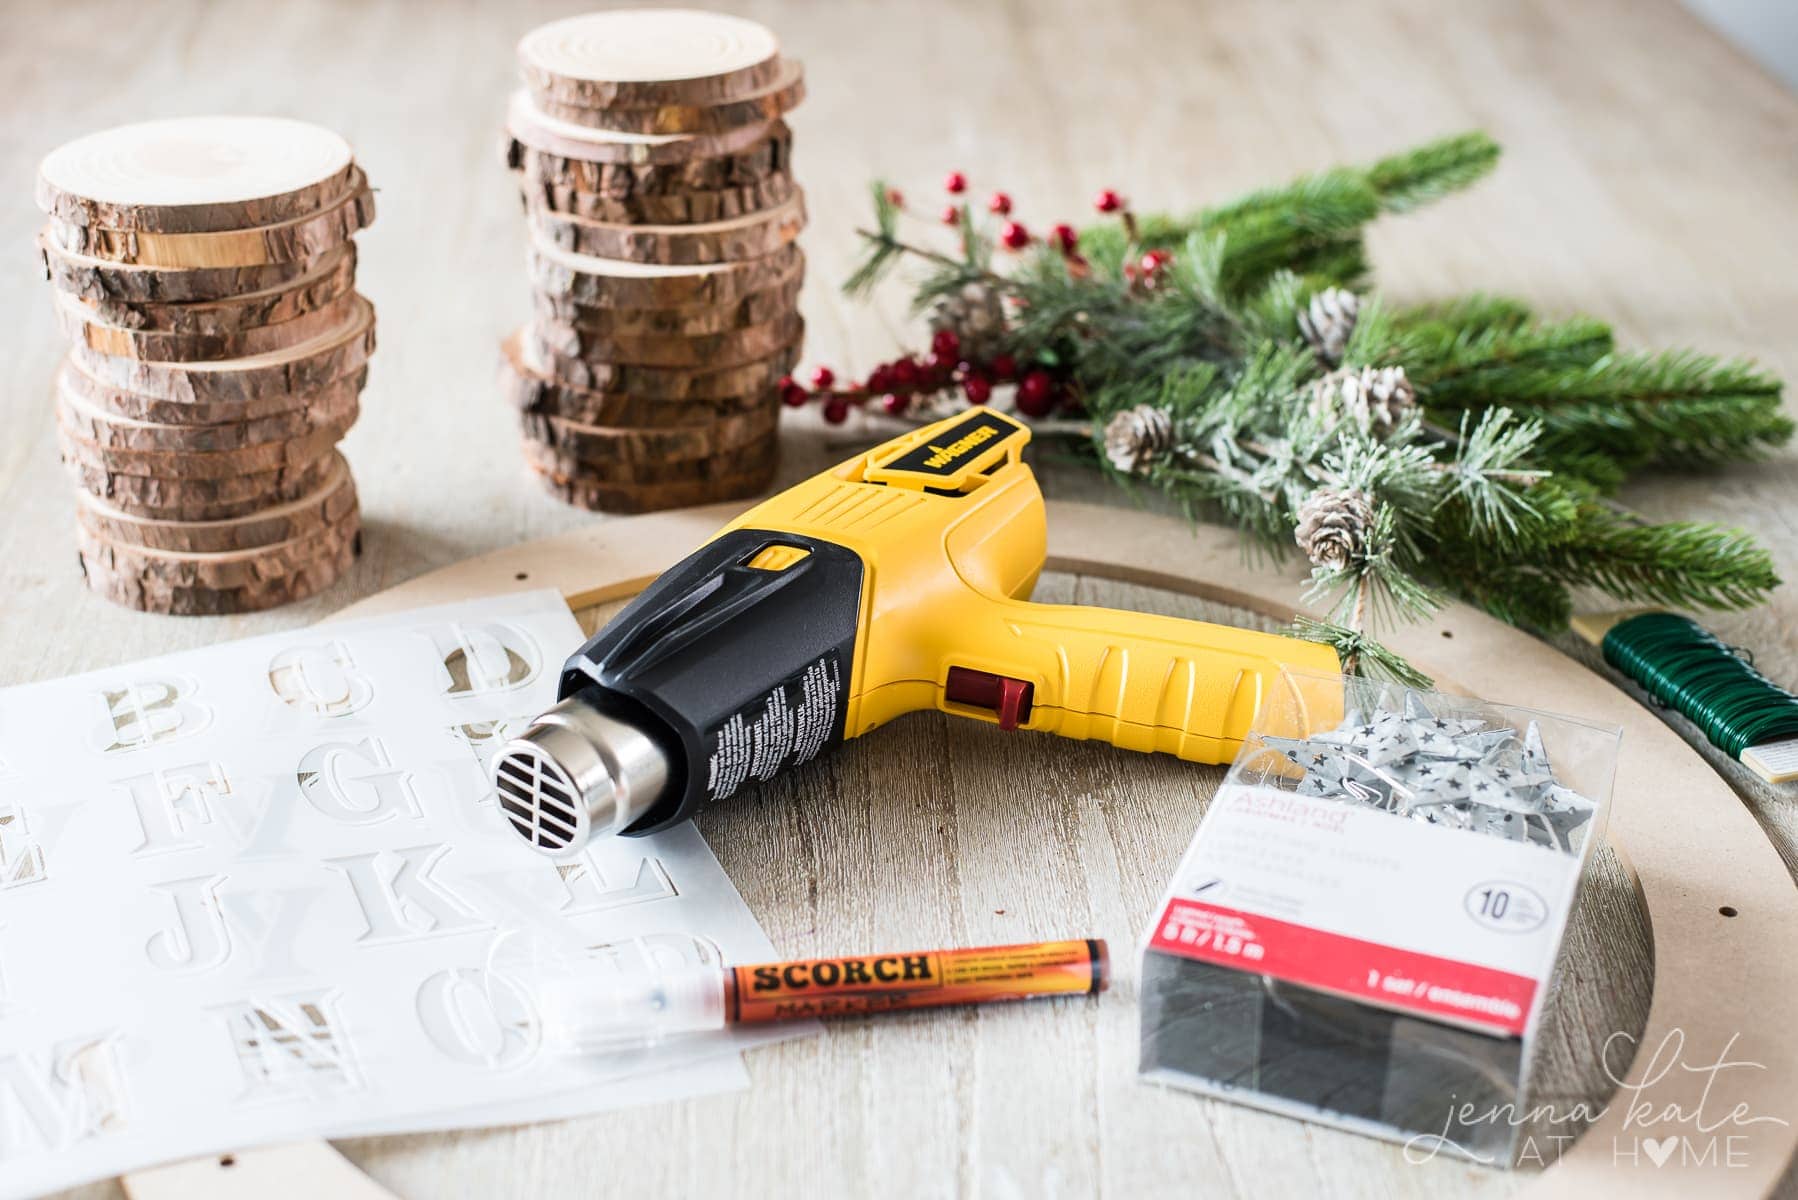

- 4 Inch Natural Wood Slices
- Flat Wooden Wreath Form (floral & craft ring)
- Wagner Furno 300 Heat Gun
- Scorch Marker
- 4 Inch Letter Stencils
- E6000 Wood Glue
- Various Greenery and Picks
- Small Set of Twinkle Lights
- Wire Ribbon
How to Make a Wood Slice Wreath
This DIY wood wreath is much easier to make than it looks and is a great way to gift something homemade to the home decor lover in your life! Follow these ten simple steps to create your own.
1. Tie String For a Hanger
I started by adding some string to my wreath since I know I can’t add a hanger to my front door. You can also add this after-the-fact but I wanted to make sure I could fit everything on the wreath correctly.

To keep with the festive theme, I opted for a red and white striped piece of string.
2. Arrange First Layer of Wood Slices
The next step is to arrange the first layer of real wood slices around the bottom of the wreath. You may need to turn them and move them around to get the best fit.
You’ll want to avoid any major gaps so playing with the arrangement might take just a few minutes. If a small gap is unavoidable, no worries. Just be sure and cover it when you lay the second layer of wood slices. Once you are happy, glue in place.
3. Stagger Second Layer of Wood Slices
Next, place the second layer of wood rounds on, staggering their placement so that they cover the gaps where the first layer meet. Don’t glue them down yet.

4. Decide on a Word to Burn
Decide on whatever word you want to burn into the slices. I chose the word “Merry” since this is a Christmas wreath. You could do “Joy”, “Peace”, a name, greeting…anything! Pull aside enough of the wood slices for each letter of the word.
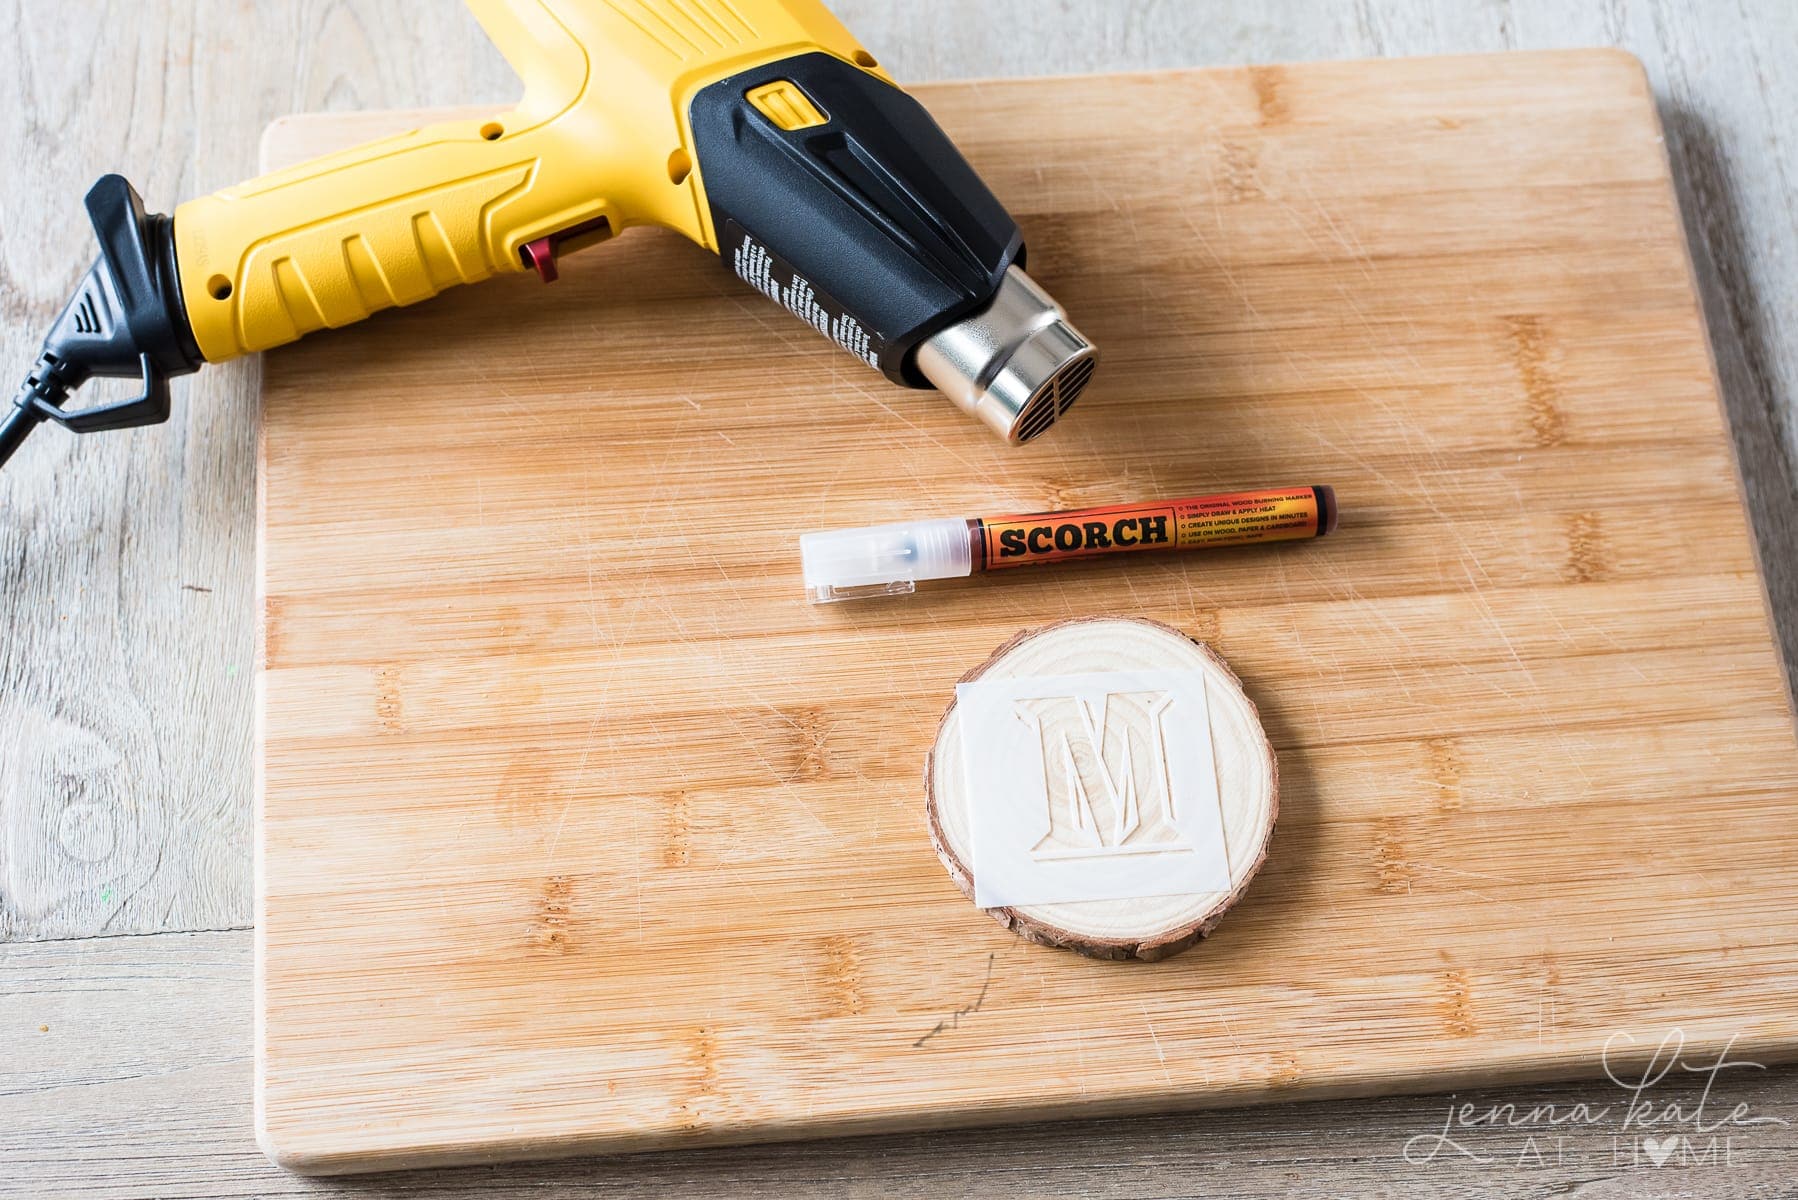
5. Cut out the Letters from your Stencils
Secure your first letter with some painter’s tape so that it doesn’t move around. Color in the letter with the scorch marker.
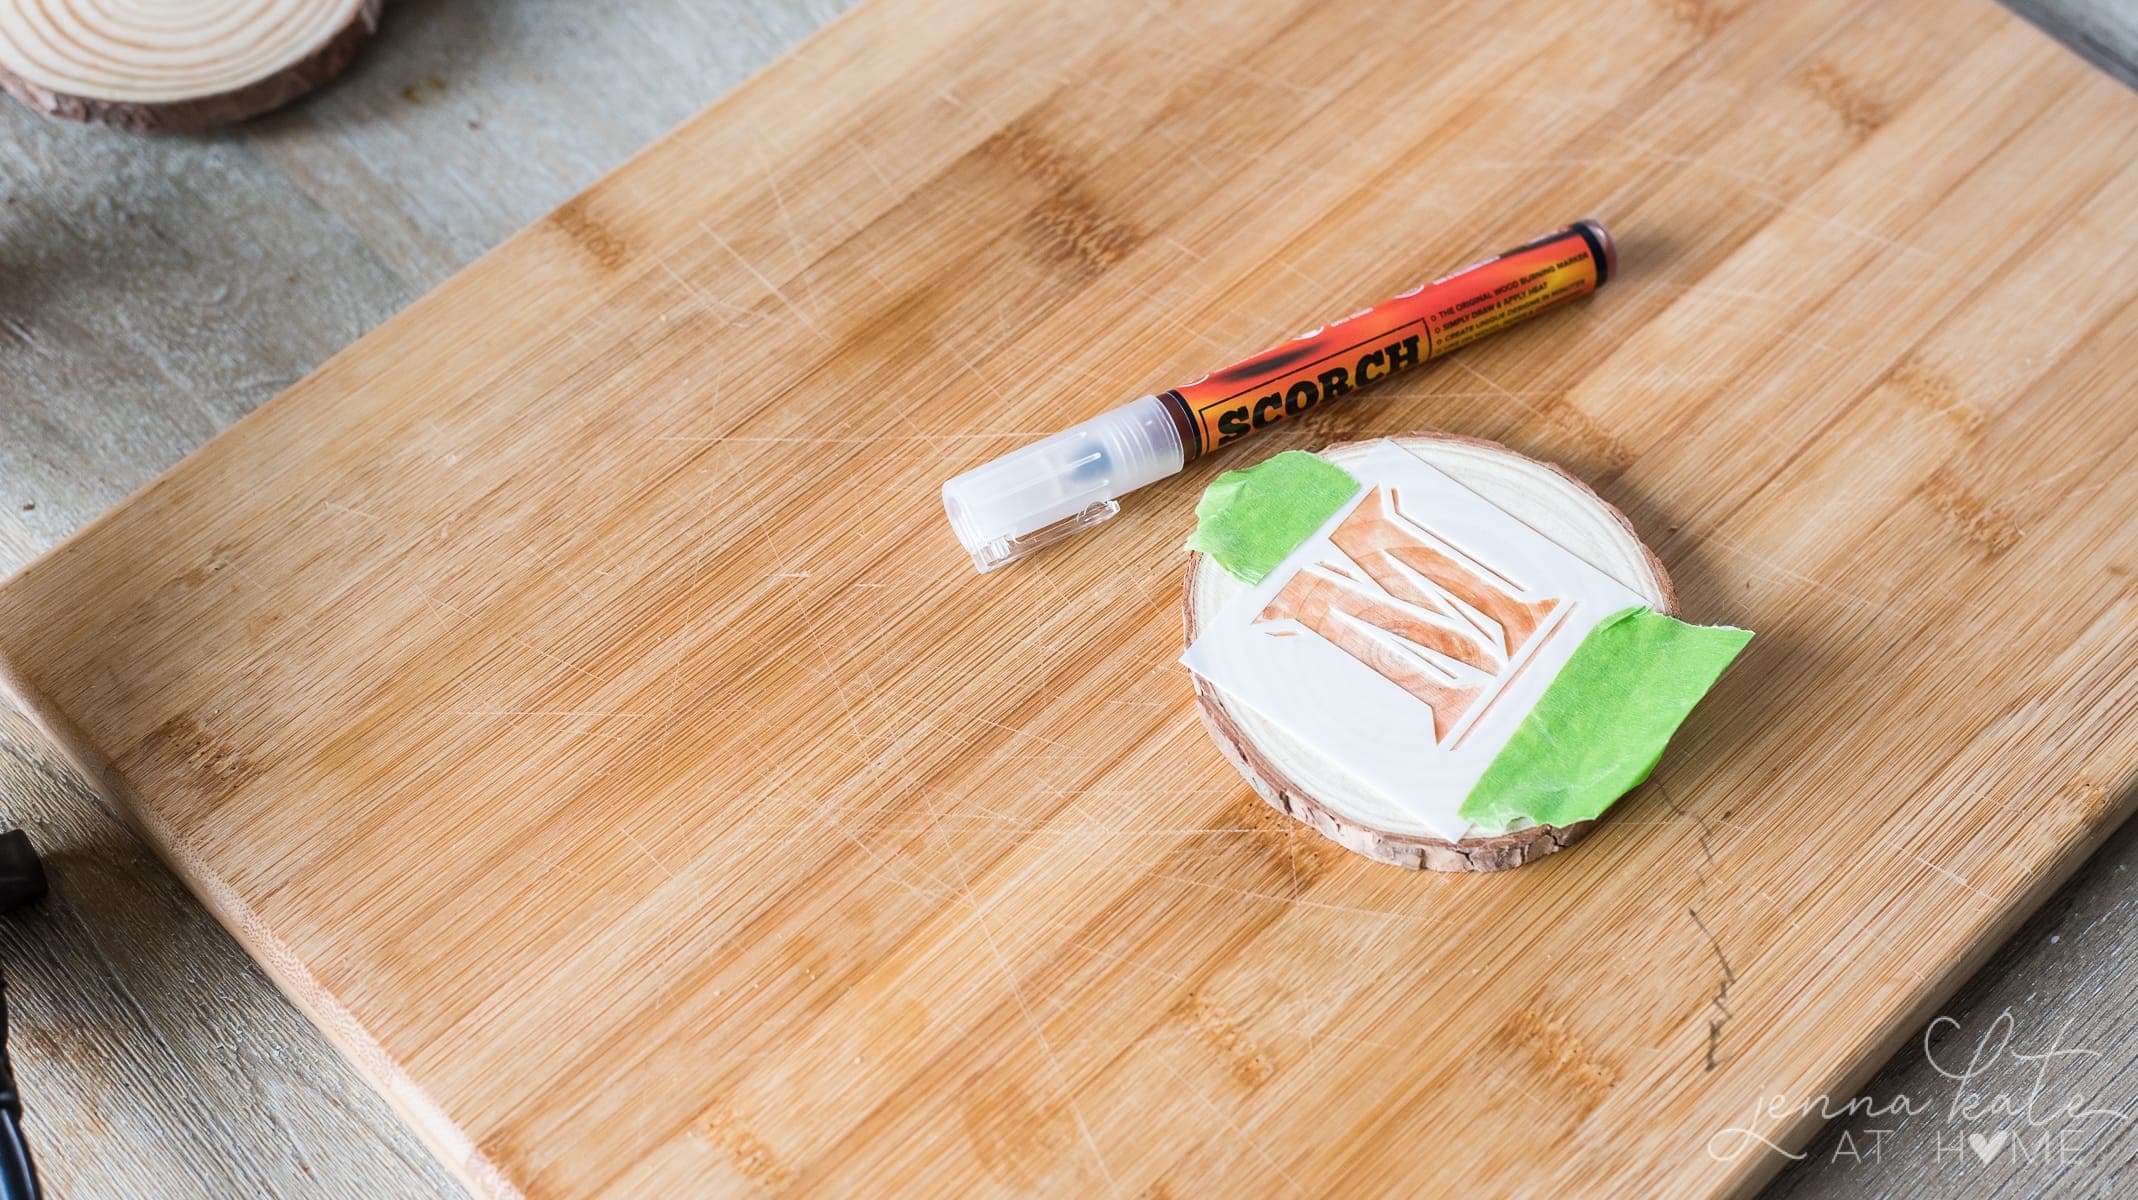
My pen required a lot of shaking, so don’t skip that step to ensure proper liquid comes out.
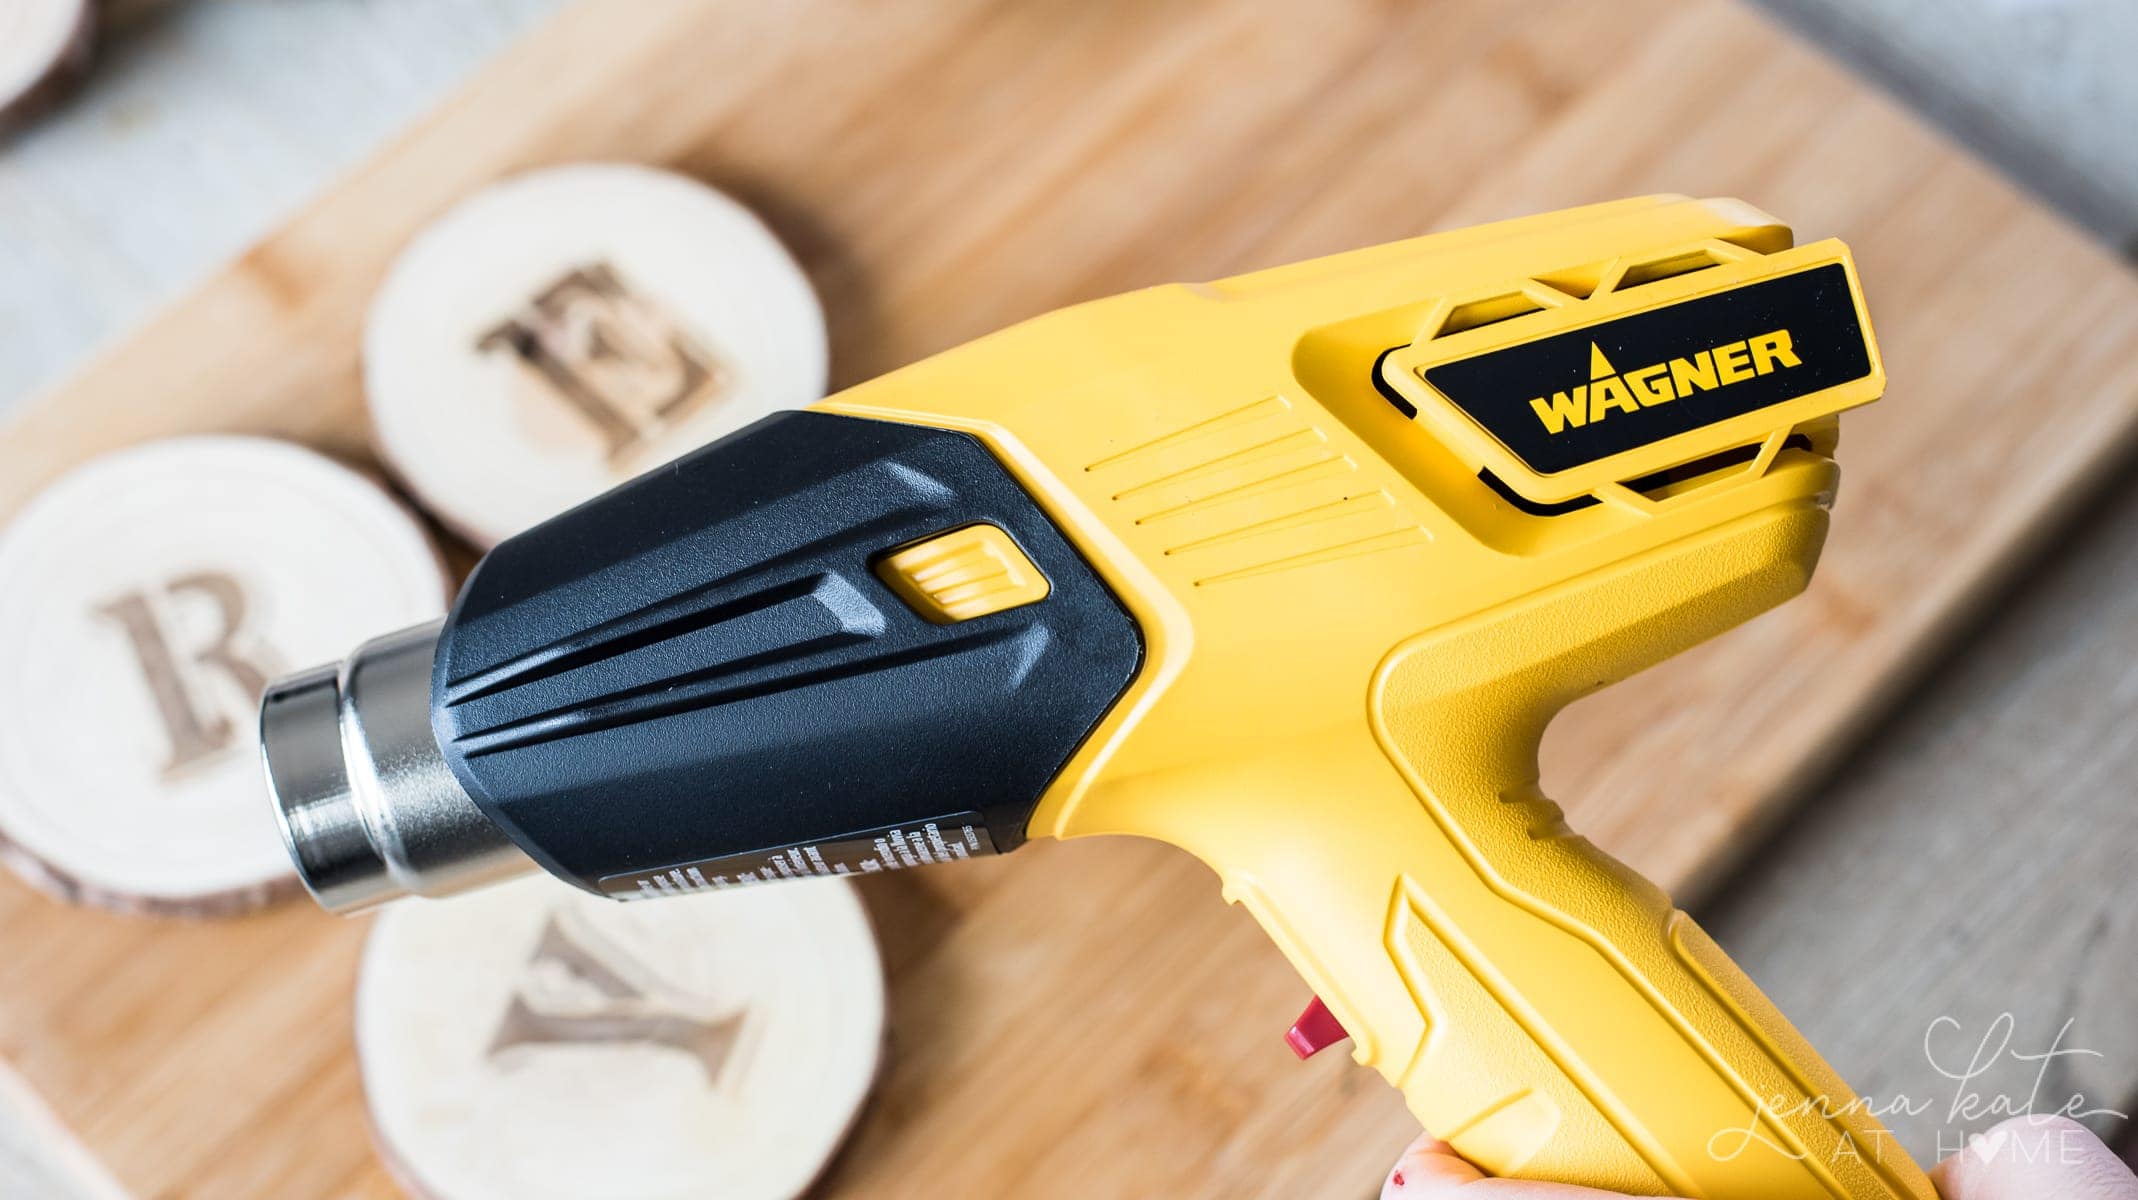
6. Turn the Heat Gun On
Hover it over the wood slice, keeping it in constant motion until the color starts to appear on the letter. Keep burning it until you get your desired color. I like mine pretty dark for contrast.
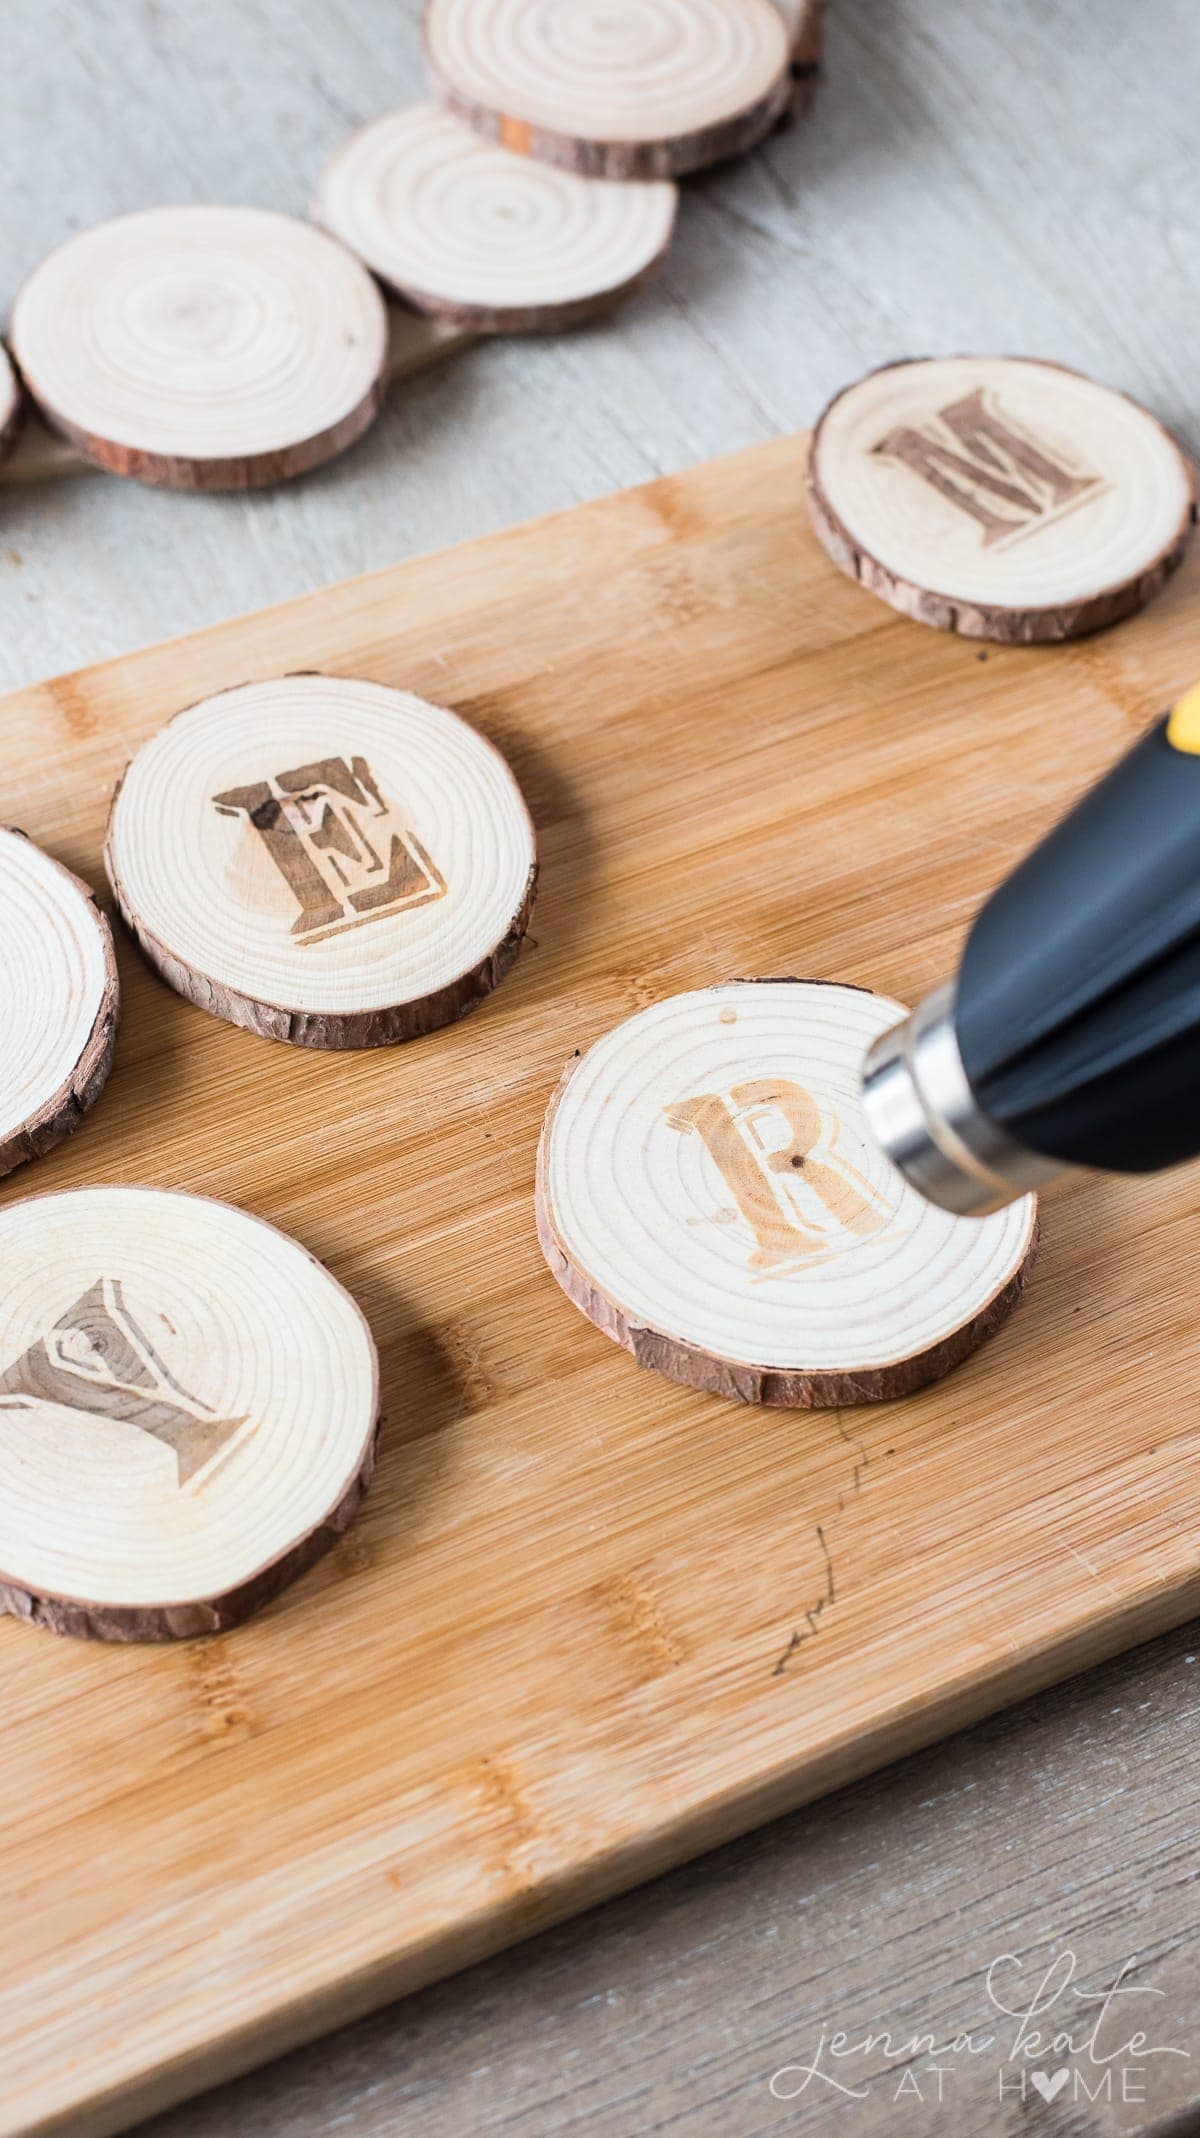
Repeat this process for all the letters in your word. It’s okay if they don’t all look identical – it adds to the homemade appeal!
Allow the wood slices to cool down before moving on to assembling the rest of the wreath.
7. Add Letter Wood Pieces
Put the “letter” wooden slices back on the wreath and arrange everything until you’re happy with how it looks. Glue them in place.

Doesn’t this have the most charming rustic look? I just love how it’s coming together!
8. Add Greenery
Gather up the greenery and floral pick and secure with floral wire. You can add any type of greenery here that you prefer.

Then attach to the wreath by wrapping the wire around to the back of the wreath.

9. Attach Ribbon Topper
Create a bow out of wired ribbon to cover the wire. Use your hands to fluff it up into a simple bow. When you are satisfied with how it looks, glue it down.

10. Wind Twinkle Lights
Wind the twinkle lights around the picks and ribbon, hanging the battery pack on the back of the wreath with some tape so that it’s easy to access the on/off switch and batteries.
Allow the glue to dry for 24 hours before hanging the wreath upright.
Final Thoughts
Pretty, right?! I love my new wreath and know you will, too! It might just be one of my favorite Christmas DIY projects to date. It’s the perfect way to celebrate the holidays and share your creativity.
Be sure and post in the comments if you make your own variation of this wreath – I’d love to see what you come up with!


Wood Slice Holiday Wreath
A rustic wreath that's fun to make and adds extra cheer to the holiday season!
Materials
- 4 Inch Natural Wood Slices
- Flat Wooden Wreath Form (floral & craft ring)
- 4 Inch Letter Stencils
- E6000 Wood Glue
- Various Greenery and Picks
- Small Set of Twinkle Lights
- Wire Ribbon
Tools
- Wagner Furno 300 Heat Gun
- Scorch marker
Instructions
- Before starting, add some string to the wreath (for hanging later) to make sure the wreath will be centered and everything will fit on the wreath correctly.
- Start by arranging the first layer of wood slices around the wreath. You may need to turn them and move them around to get the best fit. Then, glue in place.
- Next, place the second layer of wood slices on, staggering their placement so that they cover the gap with the first layer meet. Don't glue them down yet.
- Decide on whatever word you want to burn into the slices. Pull aside enough of the wood slices for each letter of the word.
- Cut out the letters from your stencils. Secure your first letter with some painter's tape so that it doesn't move around. Color in the letter with the scorch marker.
- Turn the heat gun on. Hover it over the wood slice, keeping it in constant motion until the color starts to appear on the letter. Keep burning it until you get your desired color or contrast.
- Repeat this process for all the letters in your word.
- Allow the wood slices to cool down.
- Put the "letter" wood slices back on the wreath and arrange everything until you're happy with how it looks. Glue them in place.
- Gather up the greenery and picks and secure with floral wire.
- Attach to the wreath by wrapping the wire around to the back of the wreath.
- Make a ribbon to cover the wire and glue it in place.
- Wind the twinkle lights around the picks and ribbon, hanging the battery pack on the back of the wreath with some tape so that it's easy to access the on/off switch and batteries.
- Allow the glue to dry for 24 hours before hanging the wreath upright.
Notes
This wreath is intended for indoor use only as it has not been treated to withstand the elements.


Beautiful wreath, your instructions are so clear that even a person like me who hardly has any artistic ability can do it !! I still don’t think I would be able to do the letters but hey, how about doing it without the letters or some other doable idea. Thanks for sharing.
Fantastic idea and impressive wreath! How did you get letter forms? Did you but it somewhere? Many thanks gór sparingu this great idea! :)
So pretty and I can’t believe it only took 40 minutes. Those would make great gifts!
Very creative – I wouldn’t be able to part with it either. Thanks for sharing your idea and easy steps to make it.