Content may contain affiliate links. When you shop the links, I receive a small commission at no cost to you. Thank you for supporting my small business.
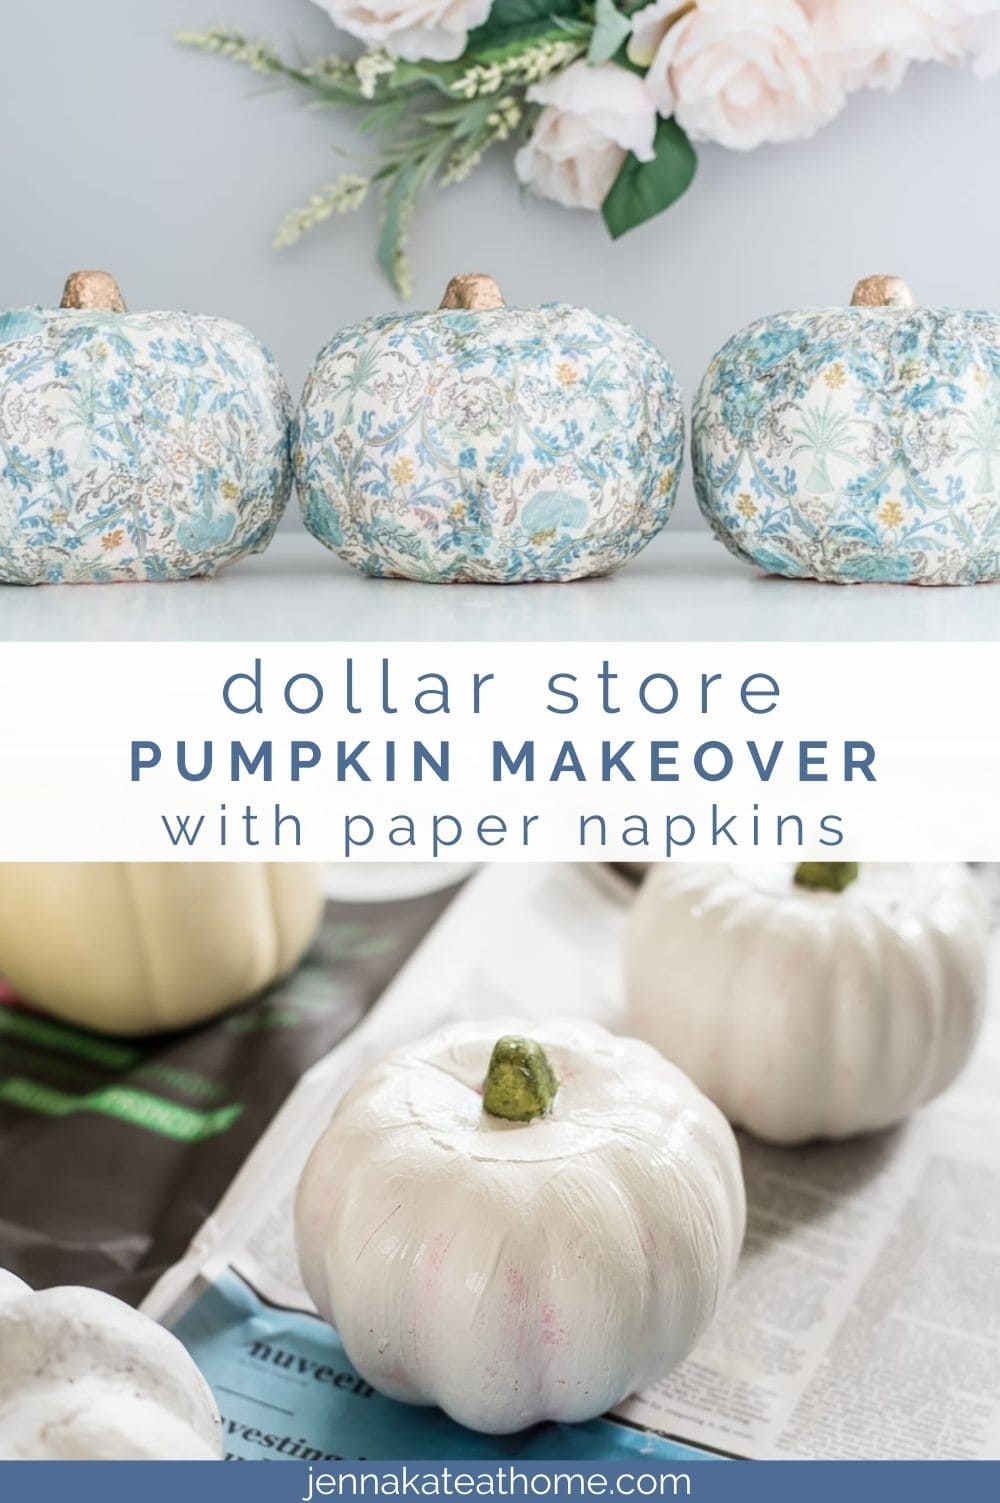
Turn fake dollar store pumpkins into easy decoupage pumpkins with this simple mod podge makeover that’s the perfect creative craft for kids and adults!

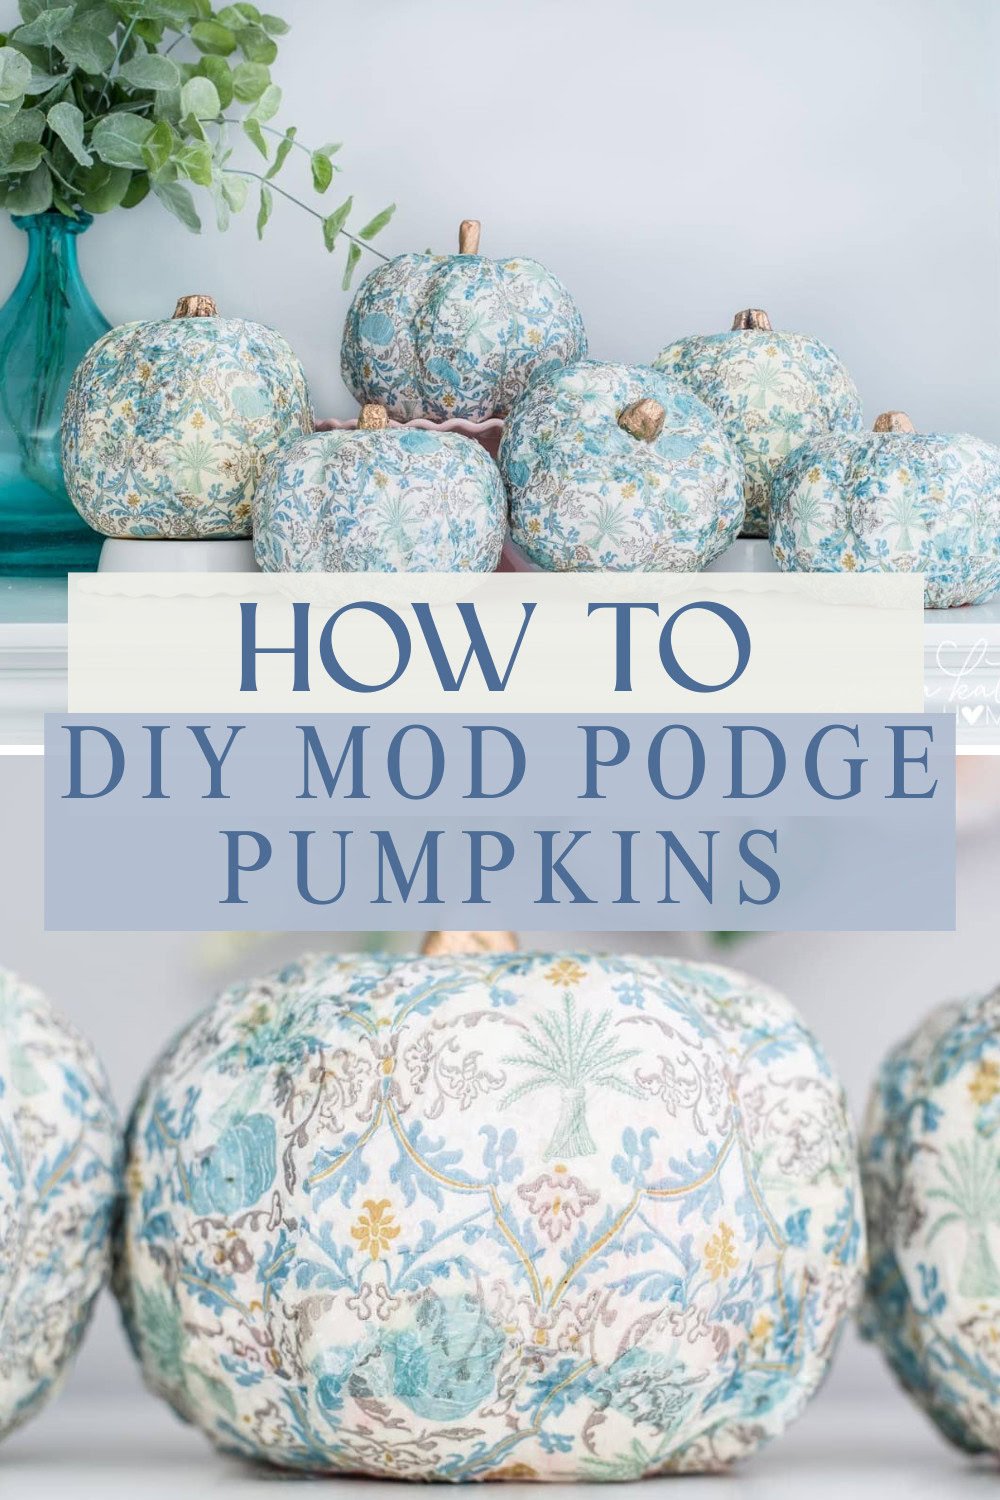
I love decorating with mini dollar store craft pumpkins – and so do my kids! Last year, I took a different approach and created these pretty vintage inspired pumpkins that are the perfect way to decorate for fall.
I recently came across some pretty blue paper cocktail napkins. I was hoping there would be some other accessories with a similar print but when there wasn’t, I instantly knew that they would be the perfect thing for decorating my little fake pumpkins.
While I’m showing this full tutorial using a styrofoam dollar store pumpkin, you can also use a hard plastic craft pumpkin found at Michael’s and Hobby Lobby. They are a little on the yellow side so if you don’t paint them first, they will have a warmer undertone like the one of the far left below.
You could even use a real pumpkin (the white baby boo variety would be best!) if you wanted to.

My son is in pre-kindergarten and was able to help me make these, so while these are a great adult craft, it’s also an easy (and messy!!) one for kids to enjoy this season.
This blog post may contain affiliate links.
What You’ll Need
- Paper Napkins
- Craft Pumpkins
- Mod Podge
- Paint Brush or Sponge Brush
- Gold Paint
Tutorial For DIY Mod Podge Pumpkins
Get ready to transform these dull Dollar Tree faux pumpkins into beautiful floral pumpkins with this super easy craft!
1. Paint Pumpkins White
If you can start with faux white pumpkins, skip this step!
However, if all you can find is yellow or orange mini pumpkins at your local craft store, you will firstly want to neutralize the color with a couple of coats of white paint.

Any paint will do as long as it’s pretty close to white. Allow the paint to fully dry.
2. Prep Napkins
Separate the paper napkins by removing the white backing so that you’re only left with the printed side. Discard the white napkins.

Then, rip the napkins into strips. I ripped mine into vertical strips so that I could maintain the correct flow of the pattern on my pumpkins.
If you’re working with a pattern that doesn’t need to be oriented a certain way, it won’t matter what way you cut up your pieces.
3. Apply Mod Podge
Apply a thin coat of Mod Podge to the pumpkin with a sponge paint brush. Next, adhere the first napkin strip by pushing it on with the paint brush, ensuring you get in around the stem.
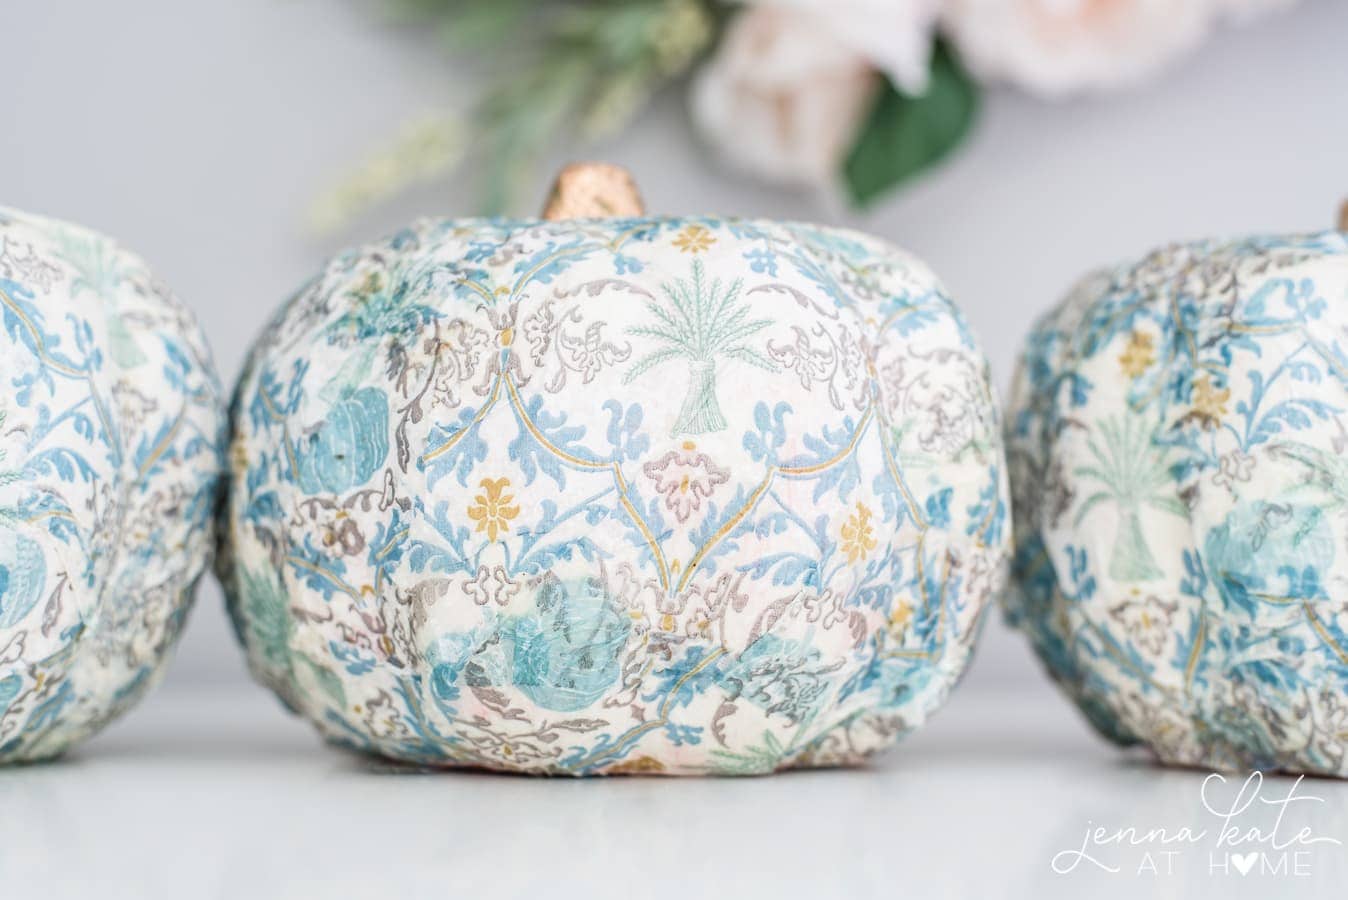
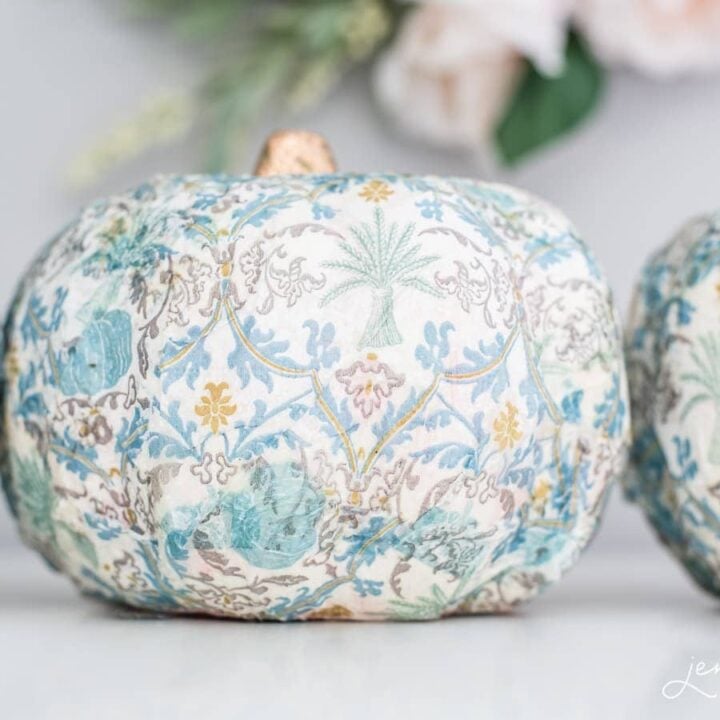
Apply another layer of Mod Podge glue over top of it. Continue this process until the entire pumpkin is covered and making sure that you follow the curves of the pumpkin.

Don’t worry about wrinkles or air bubbles in the napkins, most of them will settle down with the push of a paint brush but the ones that remain give a fabric effect to the finished look.
4. Dry Time
Allow each pumpkin to dry overnight or for a minimum of 6 hours (until they are rock hard).

If you skimp on this step, you’ll have a grand mess on your hands. Be sure your craft pumpkin is fully dry before moving on!
5. Paint Gold Stems
For the final step, paint the stems gold. I used this liquid gilding which has a beautiful metallic finish for the top of the pumpkin.
6. Display in Home
Coincidentally, these pretty blue pumpkins tie in perfectly with the color palette of my guest room decor – so they’ve found their home there! They would also be adorable table centerpieces, bedroom decor, or the perfect addition to your home office.

Final Thoughts
There you have it, the cutest chinoiserie pumpkins! Are you ready to make your own diy mod podge pumpkins now? They are so much fun and the easiest fall decor to craft up yourself! These pretty pumpkins are sure to be the first thing guests notice and double as a spectacular handmade gift idea.
DIY pumpkins are a great way to turn ordinary little pumpkins into a craft project you’ll be proud of. There’s no wrong way to go about it – just have fun and channel your creative juices!
Vintage-inspired Pumpkin
Turn a classic fall decor staple into something unexpected and exquisite with a little Mod Podge.
Materials
- Paper Napkins
- Craft Pumpkins
- Mod Podge
- Gold Paint
Tools
- Paint Brush
Instructions
- If you are starting with orange pumpkins, you will firstly want to neutralize the color with a couple of coats of white paint. Any paint will do as long as it's close to white. Allow the paint to fully dry.
- Separate the paper napkins by removing the white backing so that you're only left with the printed side. Rip into strips to maintain the correct flow of the pattern on the pumpkins. If you're working with a pattern that doesn't need to be oriented a certain way, it won't matter what way you cut up your pieces.
- Apply a thin layer of Mod Podge to the pumpkin. Adhere the first strip of napkin by pushing it on with the paint brush, ensuring you get in around the stem. Apply another layer of Mod Podge over it. Continue this process until the entire pumpkin is covered and making sure that you follow the curves of the pumpkin.
- Allow each pumpkin to dry overnight or for a minimum of 6 hours (until they are rock hard).
- For the final step, paint the stems gold.


How sweet! I have fallen in love with it!!! I’m an avid DIYer and always try to be busy with some new projects. Was searching for a unique idea to start. The Pumpkin made me stop and crazy to make it asap! In a hurry to start. Wish me good luck, Jenna! :)
Have fun with it!! Pier1 still have the napkins in store and they are 30% off right now :-)
I love this idea so much. I have used Mod Podge before, but never thought of doing it on pumpkins, even in a pretty blue print napkin. I have used Mod Podge on frames to make the less expensive frame look more classic. I then used a bronzing product to antique the edges for an elegant effect. Making things my own style is what I strive for. Thank you for the Ideas to get me thinking more outside of the box.