Content may contain affiliate links. When you shop the links, I receive a small commission at no cost to you. Thank you for supporting my small business.
Have you always wondered how to paint furniture? Or do you have a piece of furniture that you want to paint but are dreading all the prep work that must be done beforehand? You know, sanding, priming, painting, sanding some more? UGH! It’s enough to make you give up before you’ve even started!
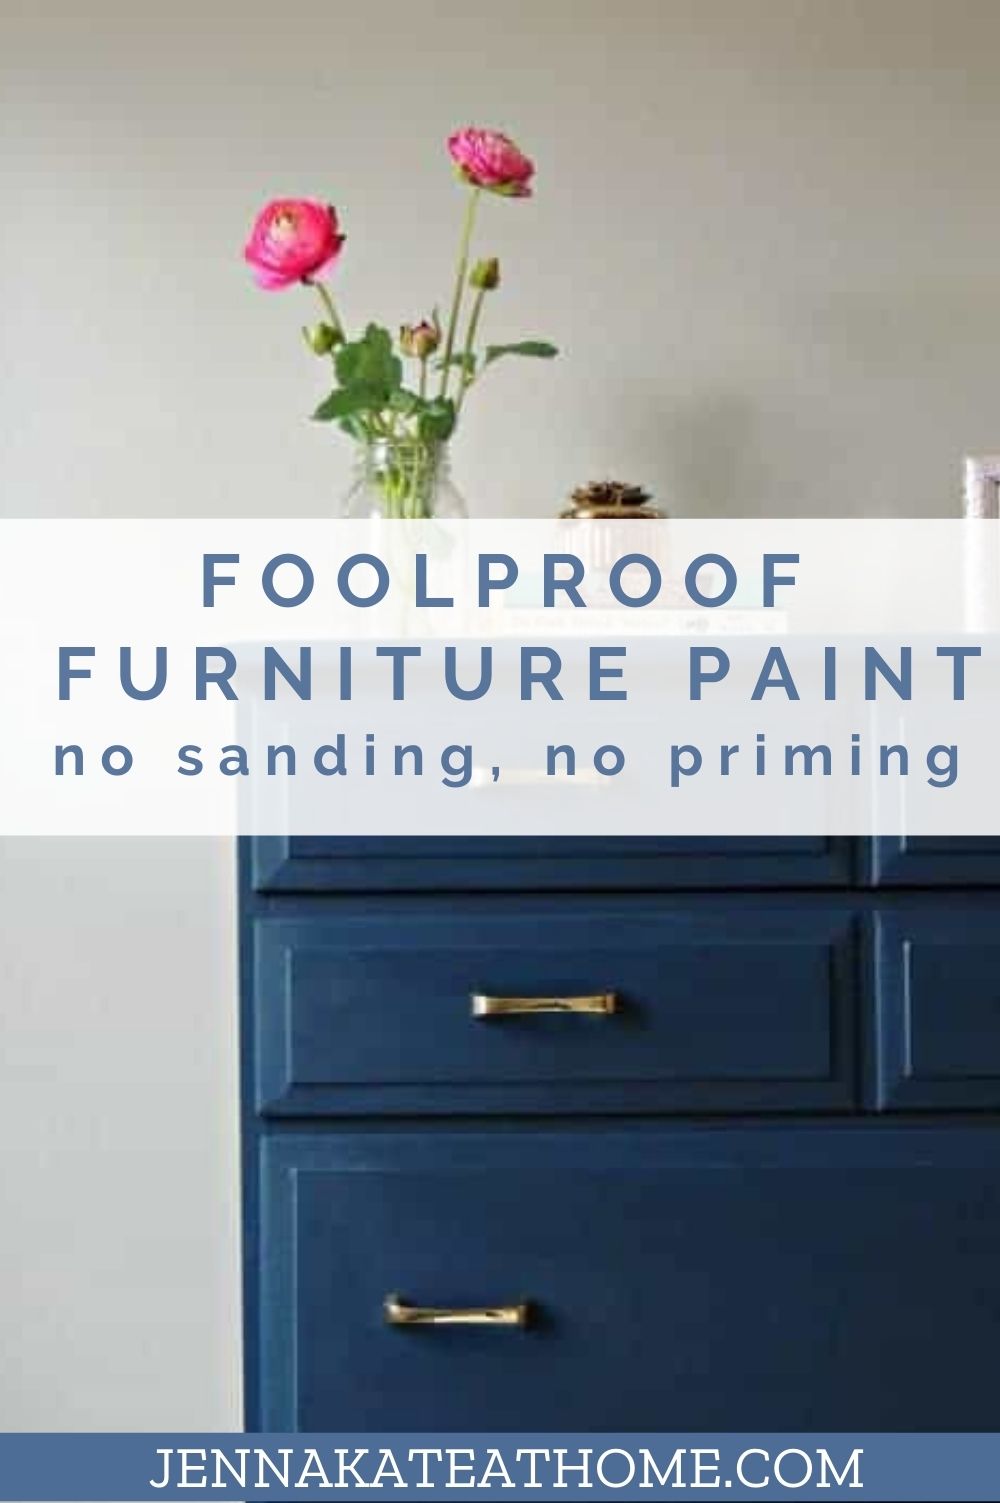
How about if I told you that you can skip ALL of those steps and end up with beautifully painted furniture? That’s right – no sanding, priming and a perfect brushstroke-free finish.
Have you heard about Velvet Finishes yet? It’s a revolutionary new paint line that makes painting furniture a cinch. Like, seriously, it’s completely foolproof, idiot proof….every single time!
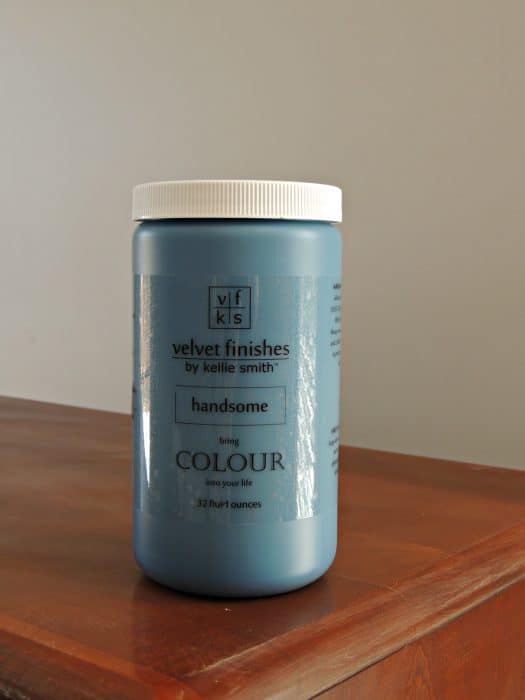
Velvet Finishes was created by interior designer Kellie Smith after not finding the finish and color palette she was seeking for a client. There are 21 amazing highly saturated colors in the line and the finish is that of a low matte sheen – like velvet!
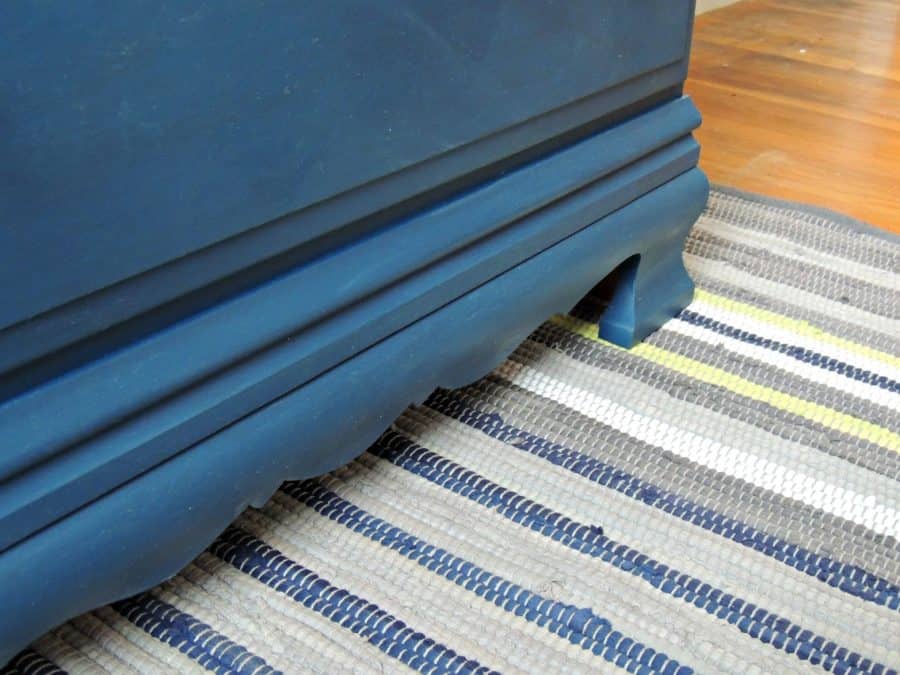
The color I chose was handsome which is a dark blue but not quite a navy. And handsome it is. I took an old beat up dresser from this…
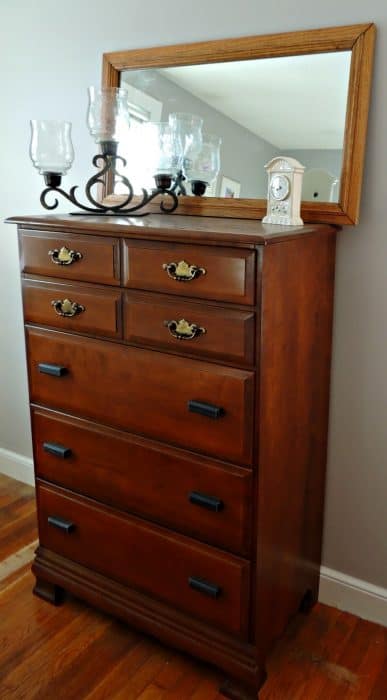
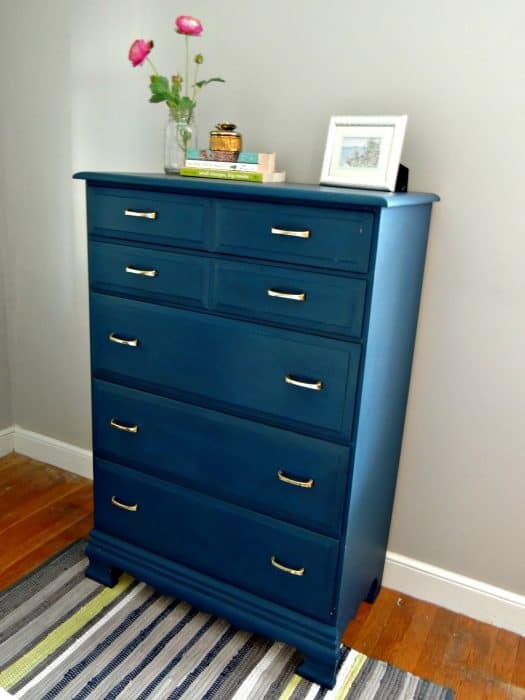
to this… in less than two hours
Velvet Finishes patent-pending formula is a DIYer’s dream. If you want to know how to paint furniture the right way, you’ll want to buy this paint!
It’s super easy to use with minimal prep (that means no sanding!!!) and no waxing. I just gave it a quick wipe-down to remove any dust.
The darker colors tend to be thicker than the lighter. If you want to thin the paint simply add water. Apply thin, even coats and allow paint to dry thoroughly before applying another coat. Never apply more than 3 coats in 24 hours.
Instructions are on the website and can be downloaded for printing.
Did I mention you do not need to wax?? WooHoo!!
Kellie had told me that it would not leave any brush marks upon drying, so, despite the (wise) advice of applying thin coats I decided to really test to power of this paint and literally sloshed it on quickly thickly and probably not that evenly. Here’s some video evidence to prove it:
[youtube=http://youtu.be/CNAj-3dUWzE&w=400]
(Yes, the quality is awful. I tried to paint with one hand and record with the other.
It doesn’t work. But you get the idea!)
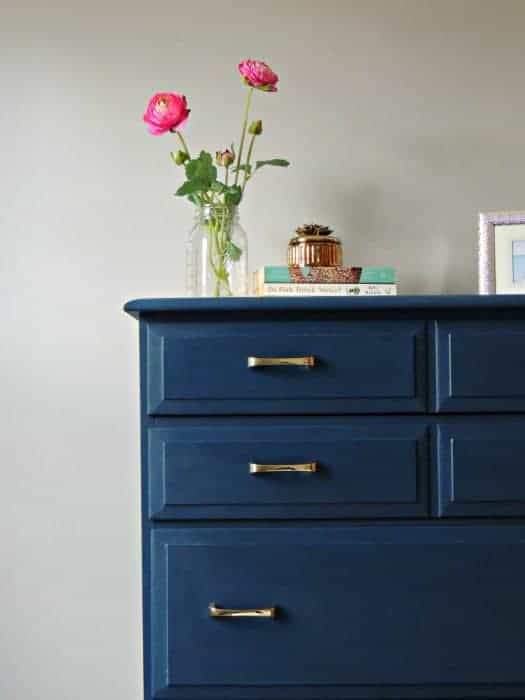
Even with such aggressive application, the final finish is, well, velvety. There is not a brush stroke in sight:
I picked up some new (and cheap) drawer handles on Ebay. I love how the brass looks against the blue. I also picked up some faux flowers at AC Moore (on sale!). Pink is another amazing color against this shade of blue.
I really love this paint. If you’ve never painted furniture before, go this route. It’s 100% foolproof and is guaranteed to provide richly-pigmented results in only a couple of coats.
Think this blue is handsome? Some of the 20 other shades are pretty fantastic too. You’re going to be majorly crushing on this line up:
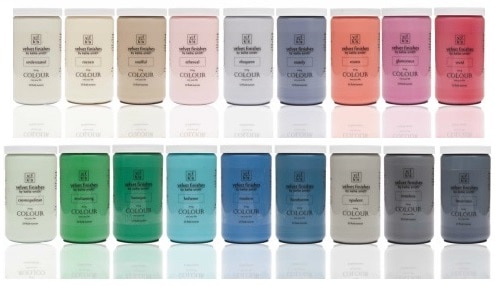
Custom colors are easily achieved with recipes available on the website!
It’s so nice when a quick project can make such a huge transformation. My guest room feels much brighter and fun now!
Which Velvet Finishes paint color is your favorite? What furniture item would you like to makeover in your chosen color?
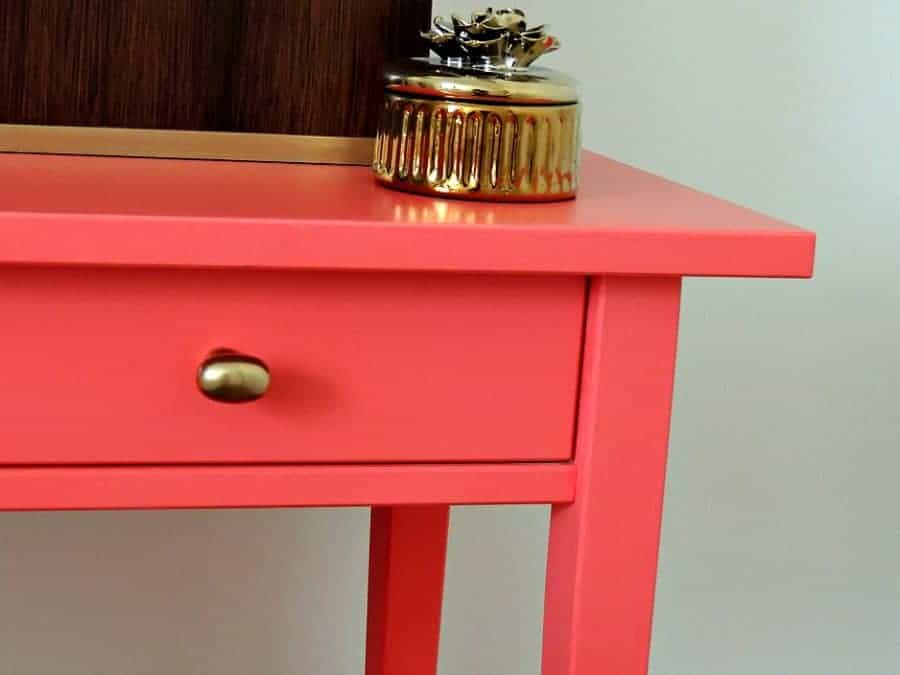
This fun rocking chair was painted with a custom mix of Velvet Finishes paints. Check out all the details here.

If you found this information helpful, you should download my FREE guide to perfectly painted furniture. It details all the steps I used here as well as other furniture I painted using Velvet Finishes – all in a printer friendly format!
Just enter your email address below and it will be sent right to your inbox.

Jenna I’m a newbie to painting furniture and when I saw this it sounded right up my alley! I do have a question. I want yt? O use the luxurious on my dresser but not sure what glaze to use. I do t want it to be whiney but I do need it to be durable. Any help you can send my way won u ‘s be greatly appreciated!
Hi Donna,
Are you looking for a glaze or for a protective finish? I haven’t used any of the glazes so I can’t speak to those but the Protect protect in the Velvet Finishes line is excellent. A couple of coats and you’ll have a very durable finish.
Thanks for getting back tonight me so quickly Jenna. I do want a protective finish so I will try the protect! Thank you! Wish me luck!
Good luck! I used the Protect product in my guest room so it might be a good idea to read that! Let me know if you have any other questions :-)
I saw in other comments that you lightly sanded your dresser before painting. Would you recommend that I do the same for my dresser, or would you have preferred to use the Ready product beforehand?
I’m excited to try the Handsome paint on my dresser!
Hi Arielle, now that I’ve used ready I would go with that…so much easier than having to sand (although you don’t need to sand anyway!).
Hi Jenna. Believe it or not, I’m a Jenna too!!!
I was wondering … I fell in love with your dresser on Pinterest and I bought the paint!! … to do a bookcase. I will let you know how it turns out.
But what I was wondering is … where did you get that area rug?? It would be kind of perfect in my room!!!!!
Thanks, the “other” Jenna. :-)
Hi Other Jenna :-)
I’m excited to see how your bookcase turns out!! I’ve had great success with this line of paint, so I hope you do too! I purchased the rug at Target last year – it’s only a small accent rug (4 x 6 maybe). They don’t have it anymore but they do have a ton of other cute options! Also, I’ve bought pretty much all my area rugs from rugs usa. If they don’t have a sale right now wait a couple of weeks for one – you can usually score between 50 – 70% off!
Good luck with your bookcase & thanks for your comment! :-)
I am unfortunately very disappointed. I bought the color minimalistic, which is a pure white. Painted a tall dresser for my son’s room. It was a medium oak color. Now after 4 coats it is covered in brush strokes, and I’m thinking I am going to need a 5th coat. I was really hoping that this was going to be a no prep, easy to apply, and beautiful application. But now I’m thinking I should have primed the dresser. And I’m stuck with a dresser that has very, very visible brush strokes every where.
Eileen, I’m so bummed that you didn’t have a good experience. When there’s a dramatic color change (for instance turning a wooden piece to white) Kellie recommends using the READY product. It’s a deglosser that allows the paint to adhere better and thus gives better coverage for a dramatic color change. With that being said, I’m still surprised that after 4 coats you haven’t achieved good coverage. Now, I’ve only used the Handsome & Exotic colors, not the color you’ve chosen, but I’ve never had any issues with brush strokes. Have you tried reaching out to Kellie? I bet she would love to help. She can be contacted at velvetfinishes@yahoo.com
Hi! I was wondering if you can give me an idea on how many pieces does the 32oz usually cover? I have 3 medium sized pieces and I’m not sure how many cans I’d need. Thanks!
Hi Christina! I used about half of the 32oz to paint my dresser (two coats). How many coats you need would depend on the color change – whether the piece is dark and you’re painting it dark or light or vice versa. My white nighstands for instance, needed 3 coats for complete coverage. I would get two 32oz containers and that should be plenty!
Help! I am not having the glorious success you apparently have been having. I am painting a medium dark breakfront in Rococo which is a French vanilla. I started with a drawer to see how it worked. I used the “Ready” product to prepare the surface. I bought one of their special, expensive brushes to use. I am on the 3rd coat and you can still see the dark peeking through and there are light brush strokes. What am I doing wrong, or is it the product? Unfortunately Kellie is out of the country so I cannot get an answer to my problem. Perhaps you can help save the day!
Hi Sharon! I think because you are going from a dark finish to a light color you may just need more coats of the paint. When I used “exotic” which is a bright coral I needed three coats to get good coverage on a white nightstand. If the next coat doesn’t turn out well let me know!