Content may contain affiliate links. When you shop the links, I receive a small commission at no cost to you. Thank you for supporting my small business.
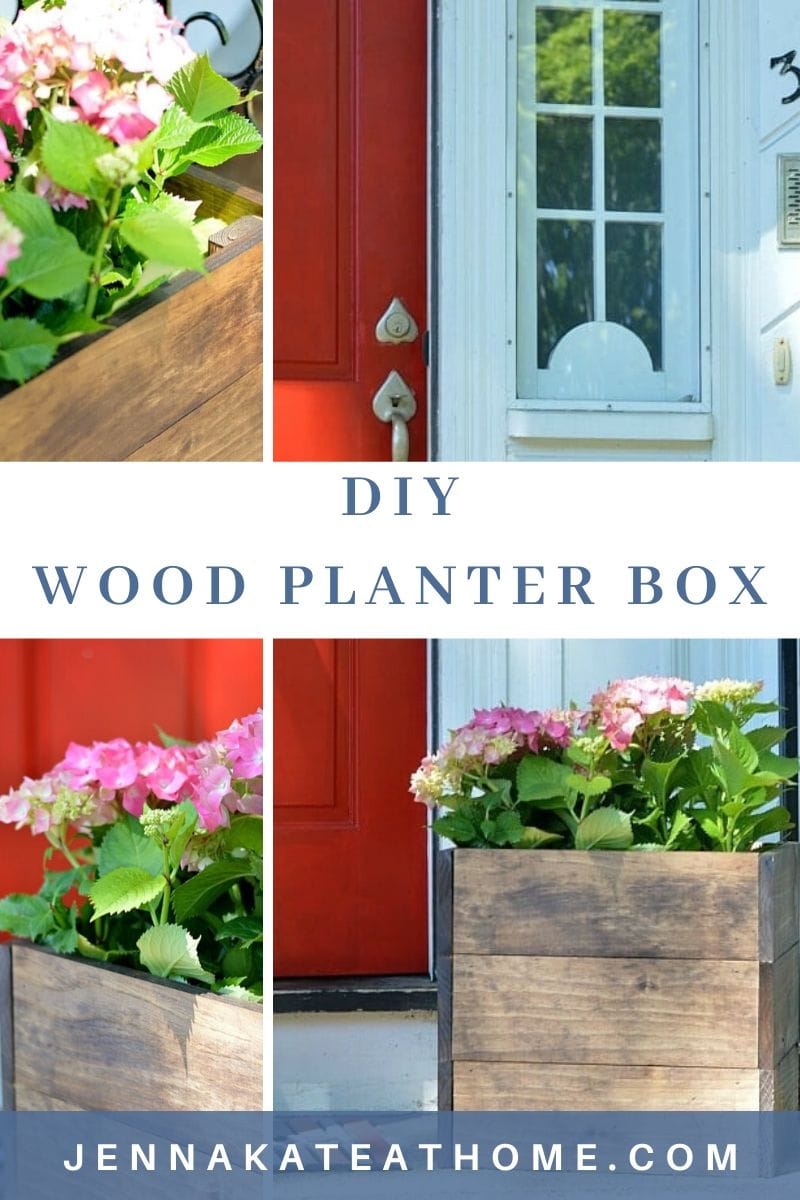
Does your front porch need some sprucing up but your budget is almost minimal? This easy DIY wood planter box might be just the thing! Dress up your outdoor space with just a few materials, thirty minutes, and this step-by-step tutorial. Even the most beginner skill level can achieve this simple wooden planter box in almost no time.
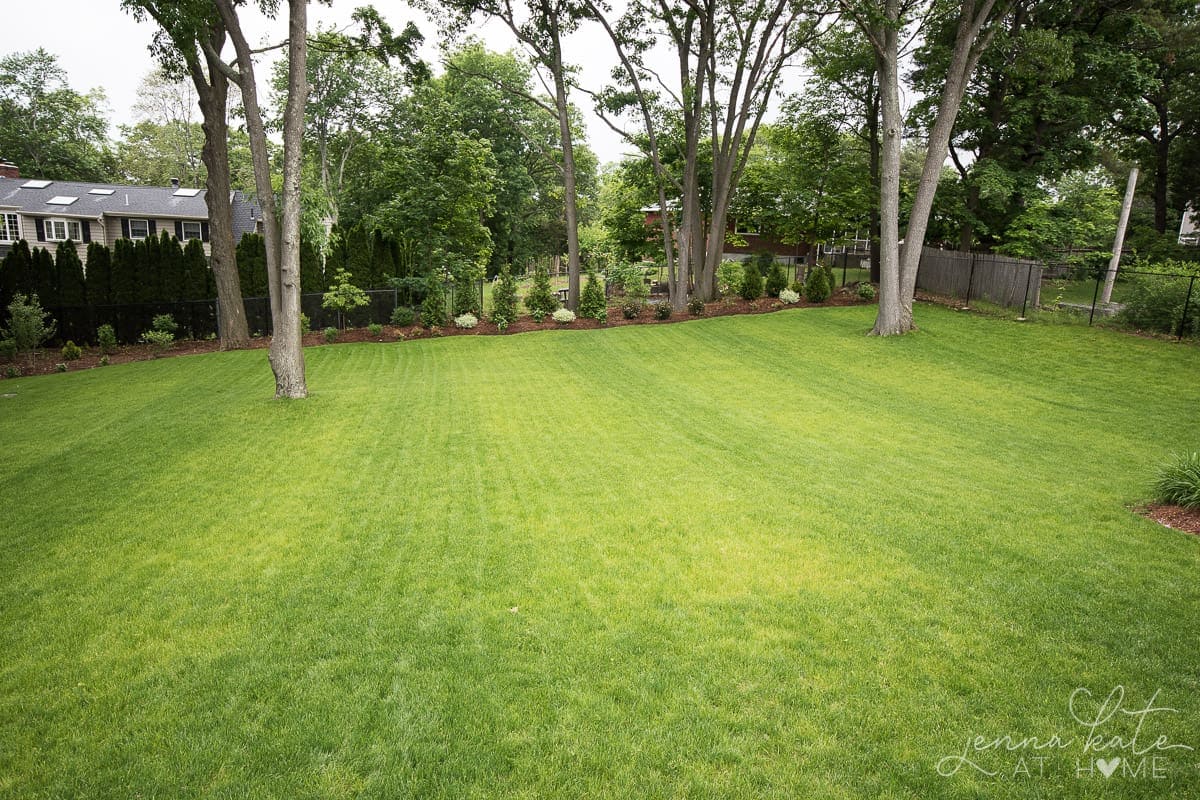
When we first moved into this house, our front and back yard needed a lot of work. We had several trees removed and the stumps grinded down which ruined the little bit of grass we did have. Although we were planning to reseed the entire yard later on, I wanted to still have some beautiful greenery and plants to admire.
When shopping for wooden planters I discovered just how costly they can be. In order to work more economically, I decided to build my own sweet little DIY wood planter box for both the backyard and front steps.

I’m in love with the results and can’t believe how easy this DIY project really is. If you think it would make a great addition to your front door too, follow along!
Why Build Your Own Planter Box?
If you’re looking to add some quality, eye-catching outdoor planters to your porch or patio you’ll quickly become overwhelmed with all of the choices at the hardware store. In addition, you can end up dishing out quite a bit for one, and obviously even more if you need two or three!
The solution? Make your own! It is truly a very simple design and really doesn’t require a lot of work. Just commit a half hour to the build and some time gathering supplies. If you have a small space to fill, this is the perfect project!
What Type of Wood to Use?
I love the simplicity of this project in that you have a lot of freedom in what kind of wood you choose to use. Treated or untreated wood will work because you can always add a sealant for protection and stain for color.
I choose to apply a coat of medium toned stain and spar varnish. That should provide enough weather resistance for the climate I live in.
If you are concerned with your environment altering the wood over time, redwood, teak, or cedar wood are popular choices for an outdoor planter because they are naturally water resistant and withstand rotting, decay, and pests. The likelihood of it warping due to humidity is low so if you live in a hot area these might be perfect!
Overall, don’t stress too much on what type of wood to use. If you choose a high-quality outdoor protectant sealant you should be good to go!
What Materials Will You Need?
I picked up all my supplies at my local Home Depot. Luckily, your materials list won’t be very long and you just need a few basic tools.
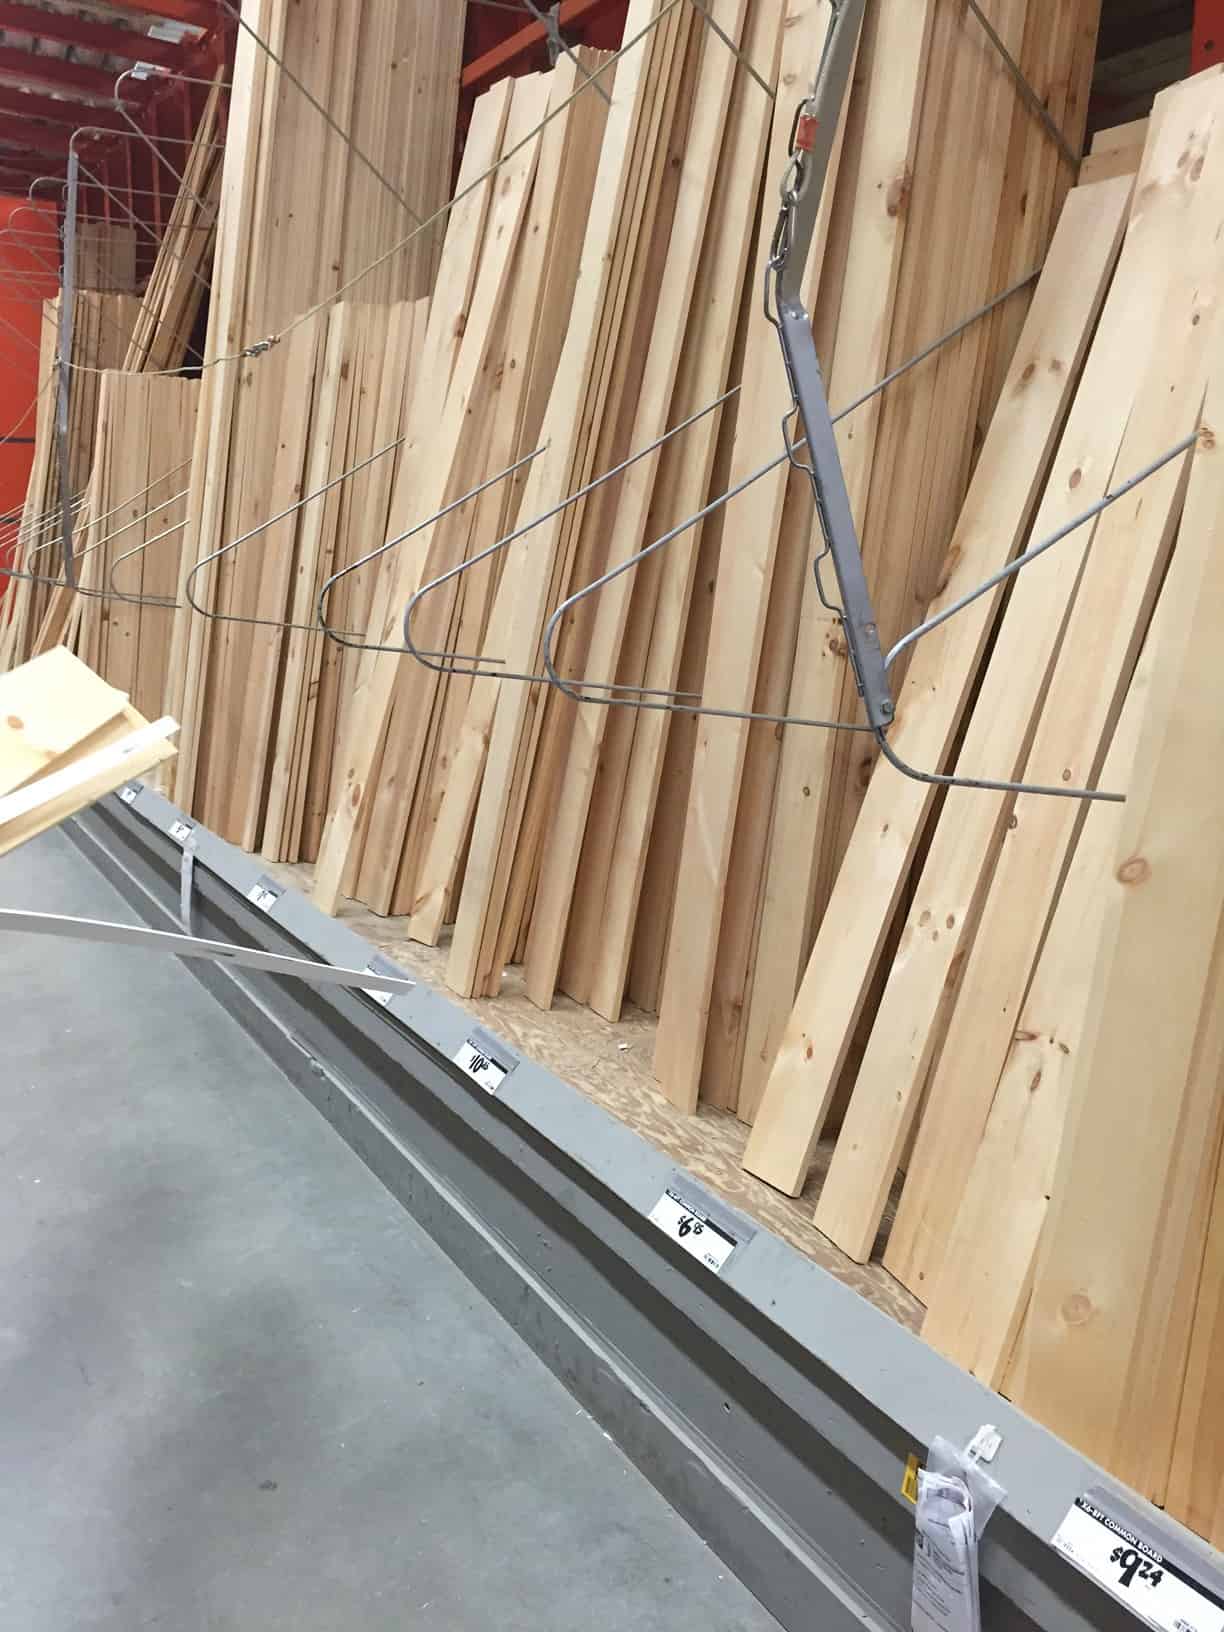
I had to go during the week sans hubby, so trying to find the correct wood and check that they weren’t warped – all the time trying to keep my toddler happy – was a bit of a challenge. However, the folks that work at the Home Depot were super awesome and helpful!
If you’re lucky enough to have access to scrap wood (that is still in good condition) you could cut your own pieces since they are small, straight cuts!
DIY Wood Planter Box Cut Materials:
- 12 1×6’s cut to 16″ (3 boards per side x 4)
- 4 2×3’s cut to 16″ (to form the inside supports)
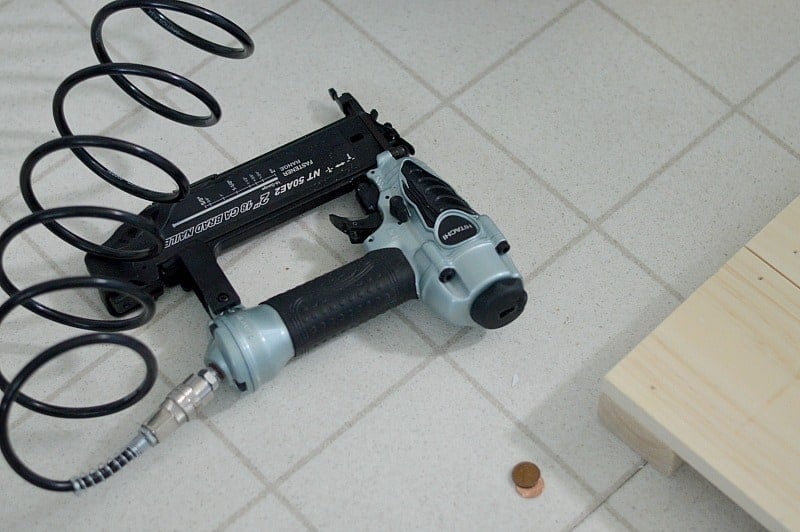
- A nail gun (or you can just use brad nails and a hammer)
- A level (to ensure boards are straight)
- Stain (optional)
- Spar varnish (to seal and protect the wood)

How to Make Your Own DIY Wooden Planter Box
Now that your materials are prepped, you are ready to get started on your easy build! Follow these five simple steps to create a piece of rustic charm for your porch.
1. Assemble One Side of Box
Take three of the 1×6 boards and line them up along one of the 2 x 3’s. Nail into place. Then, attach another 2 x 3 to the end and again, nail into that place. Below you’ll see a photo of how your first side should look coming together. Try to line everything up as level as possible!
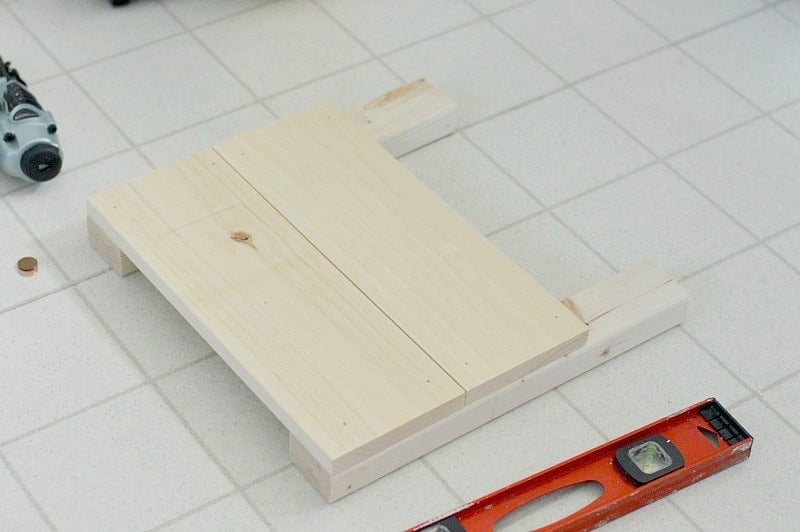
Optional: Use pennies to space out the boards for even gaps. However, it’s up to you whether you want a tight fit or little gaps like I did.
2. Attach Second Side of Box
For the second side, attach another three of the 1 x 6 boards to the outside edge of the 2 x 3 you used in step one. A great way to align everything is by using a level. This will help you keep it straight!
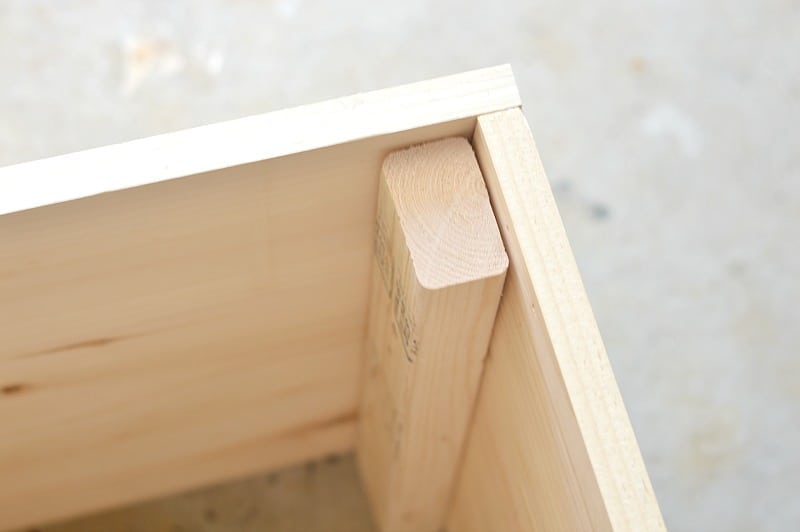
3. Repeat This Process
Keep repeating the process described in step two on all sides of the planter until your box is built. As you work your way around the box, you’ll begin to see the planter take shape and get so excited to have the finished product!
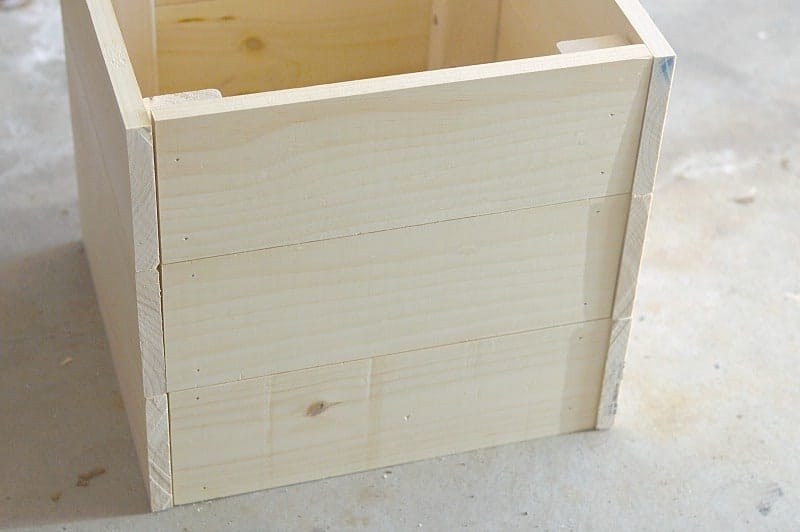
You’ll notice there’s no bottom board to this planter – it’s more like a sleeve. By all means, flip it over and add one! Personally, I like to just pop pots in there and since no one will see the bottom, it works just fine!

4. Apply Stain and Seal
Finally, apply a stain of your choice (or keep it natural) and seal with a Spar Varnish which will provide the weather resistance needed to keep this in tip top shape for years to come.
The stain color used is named Provincial. It’s a perfect warm brown, and the same color we used on our hardwood floors!
5. Add Plants and Display on Porch
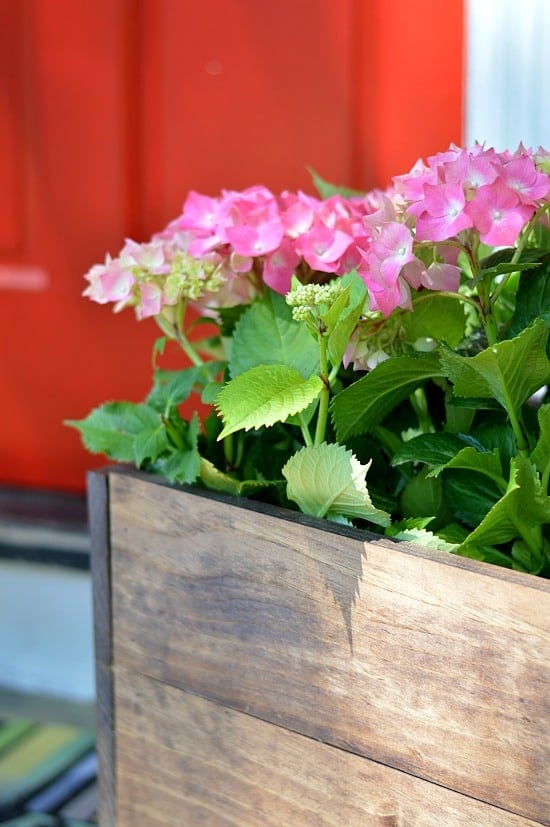
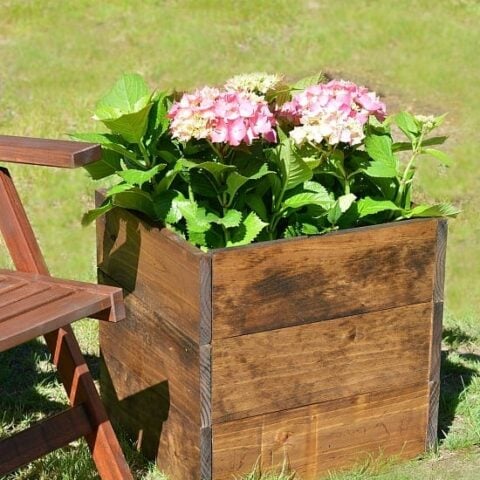
Once your stain and sealant is dry you can select some plants to arrange and start enjoying this beautiful new planter. I picked up two gorgeous hydrangeas from Home Depot and popped them right in.
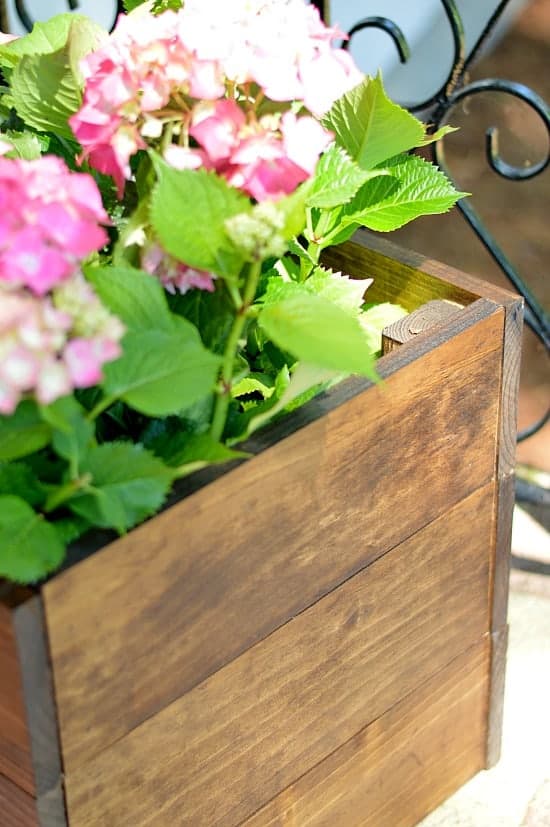
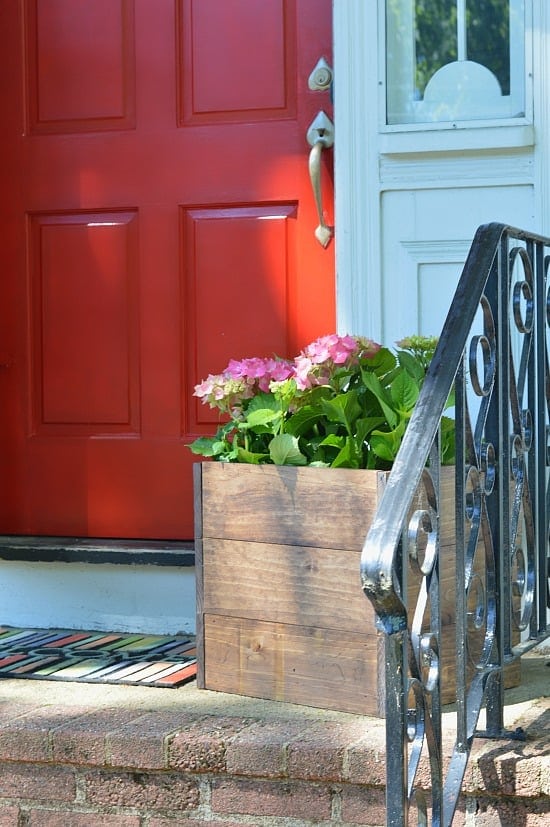
The planter box adds the perfect amount of rustic, farmhouse charm on our front steps. Aren’t the hydrangeas simply stunning, too?
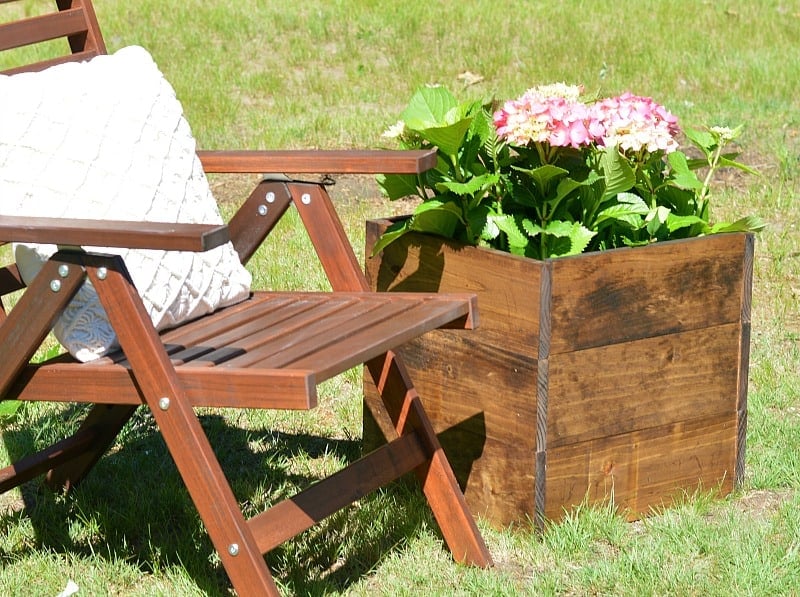
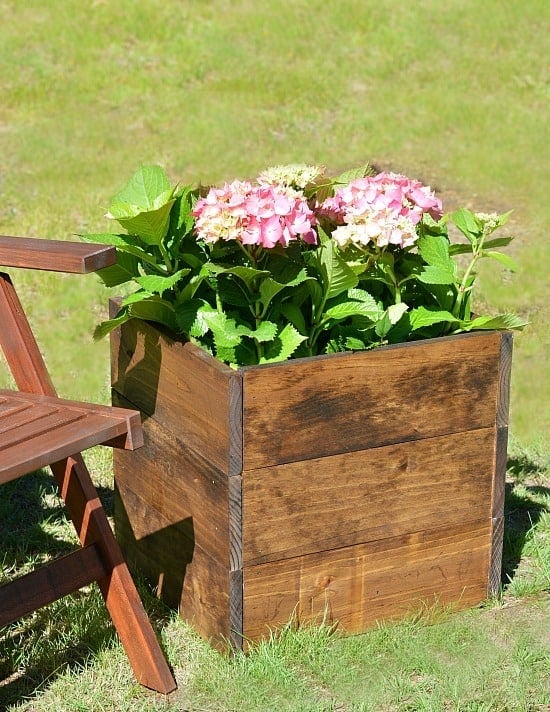
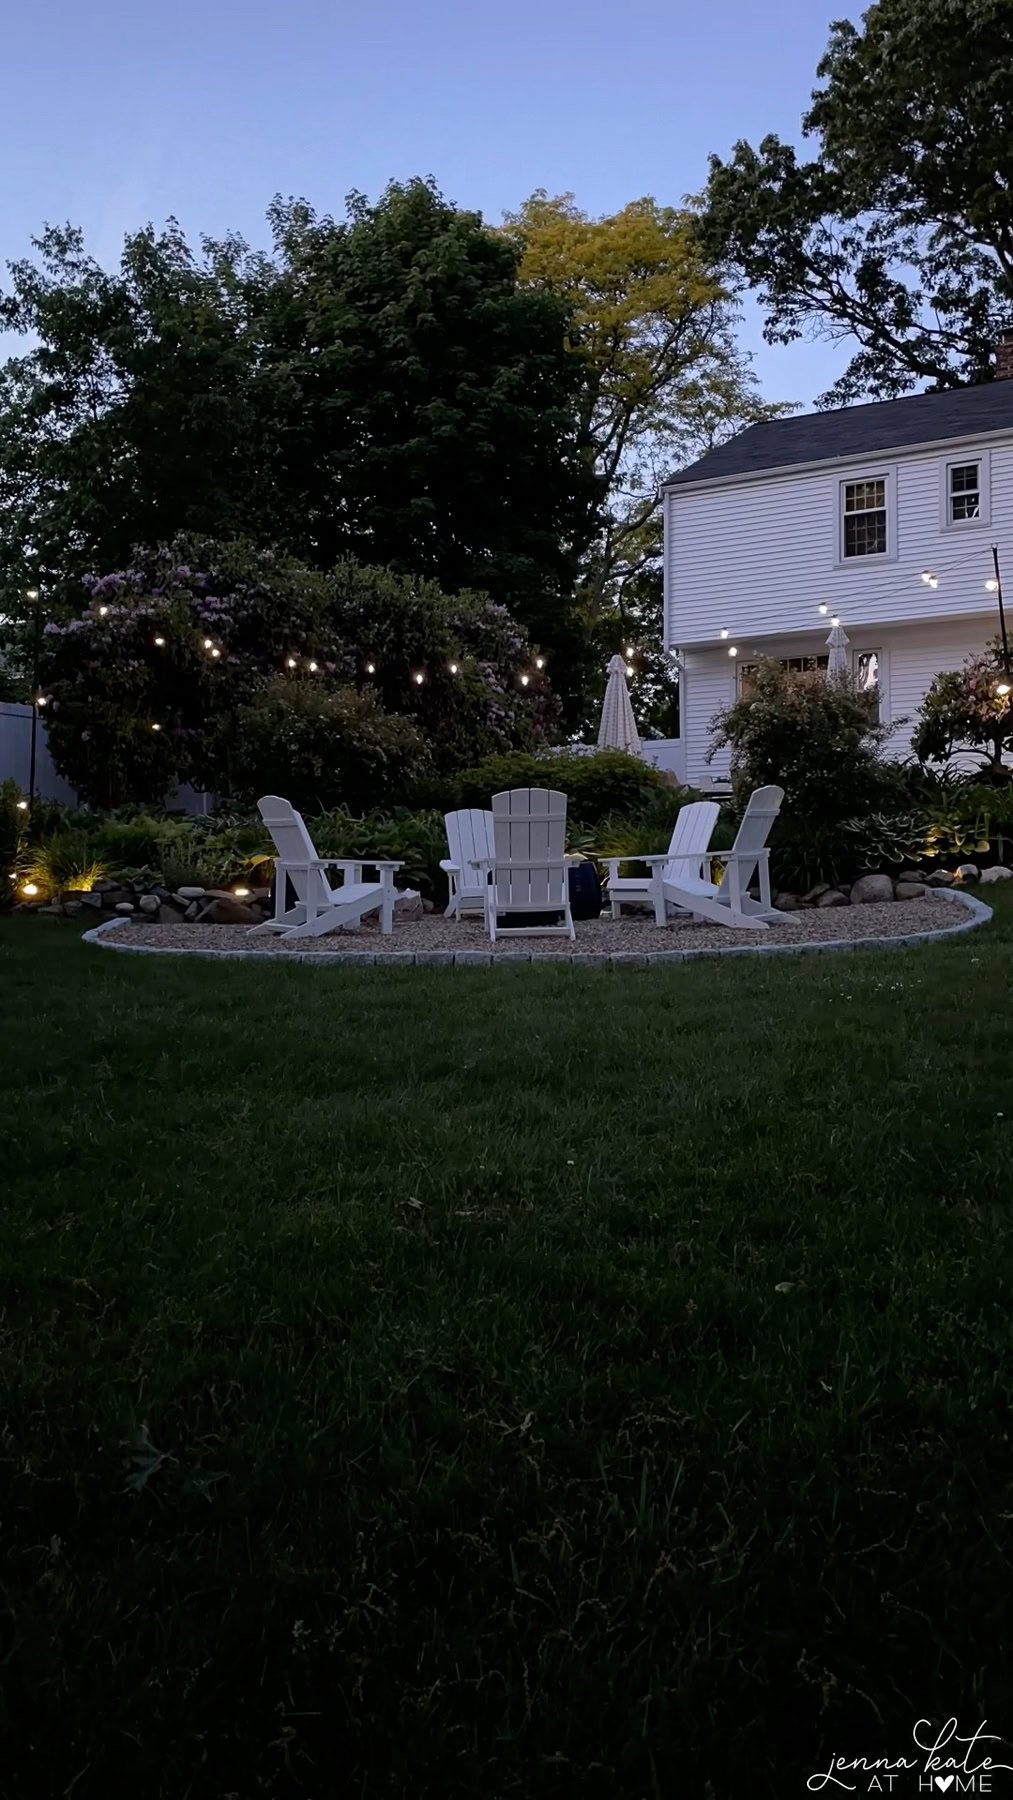
Of course my DIY wood planter box doesn’t only look great on the front steps. It’s a great idea for backyards, too! I built a second one and created a little area for myself with a chair and cozy pillow. This would be the perfect planter if you had a patio or a deck, too!
I’m also imaging this stealing the show in an herb garden, replacing the look of your old flower pots, or incorporated into a container garden.
And there you have it, my simple wood planter box! At least that’s one little project I can check off my outdoor list.
Final Thoughts
I know you’ll be amazed with how practical and stunning these turn out to be. The best part? You can swap out the plants year round to match the seasons! My favorite plants to display are mums, potted evergreens, and hydrangeas.
Will you be making your own modern planter box? It’s a great first DIY that adds some serious curb appeal!

Wood Planter Box
If you're looking for a classic wood planter to showcase your summer flowers, build it yourself in a few easy steps.
Materials
- 12 1x6's cut to 16" (3 boards per side x 4)
- 4 2x3's cut to 16" (to form the inside supports)
Tools
- A nail gun (or you can just use brad nails and a hammer)
- A level (to ensure boards are straight)
- Stain (optional)
- Spar varnish (to seal and protect the wood)
Instructions
- Assemble the first side by taking 3 of the 1x6 boards and lining them up along one of the 2 x 3's. Nail into place. Then, attach another 2x3 to the end and again, nail into place. I used pennies to space out the boards but it's up to your whether you want a tight fit or a little gap.
- Attach the second side, adhere 3 of the 1x6 boards to the outside edge of the 2x3.
- Repeat this process until all sides are built.
- Apply a stain of your choice (or keep it natural) and seal with a varnish to provide weather resistance.
- Add plant and display It's time to fill your planter and place on the porch to admire!
Notes
You'll notice there's no bottom to this planter - it's more like a sleeve. By all means, flip it over and add one! Personally, I like to just pop pots in there since no one will see the bottom.

Hi Jenna, I was curious to what you used to cut the wood. Thanks!
We have a compound miter saw that we use now, but originally we just had a simple miter box + hand saw that cost us about $20 from Lowes.