Content may contain affiliate links. When you shop the links, I receive a small commission at no cost to you. Thank you for supporting my small business.
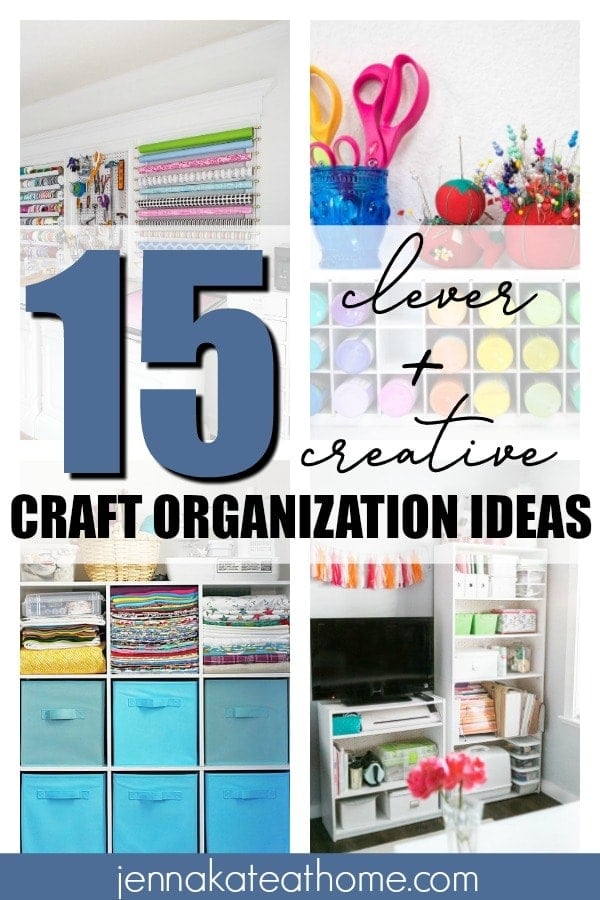
There are many ways to store and display your craft supplies that are creative, clever and won’t break the budget. Whether your craft room is small or large, make the most of your organization with these simple yet functional ideas.
Simple Craft Organization Ideas
Storing essential craft supplies can be a challenge. I don’t know of any crafter that doesn’t want a beautiful, functional space. After all, you want to display your favorite things proudly!
There are a lot of great ideas out there on Pinterest, but it can be overwhelming to have so many options in front of you at one time. Luckily for you, I’ve decided to pull together just 15 clever and creative craft organization ideas that are easy to implement, stylish, and downright clever.
I hope one or two will inspire you to tackle storing your supplies and help you smile when you enter your space to get creative.
1. Fill Drawers instead of Cabinets
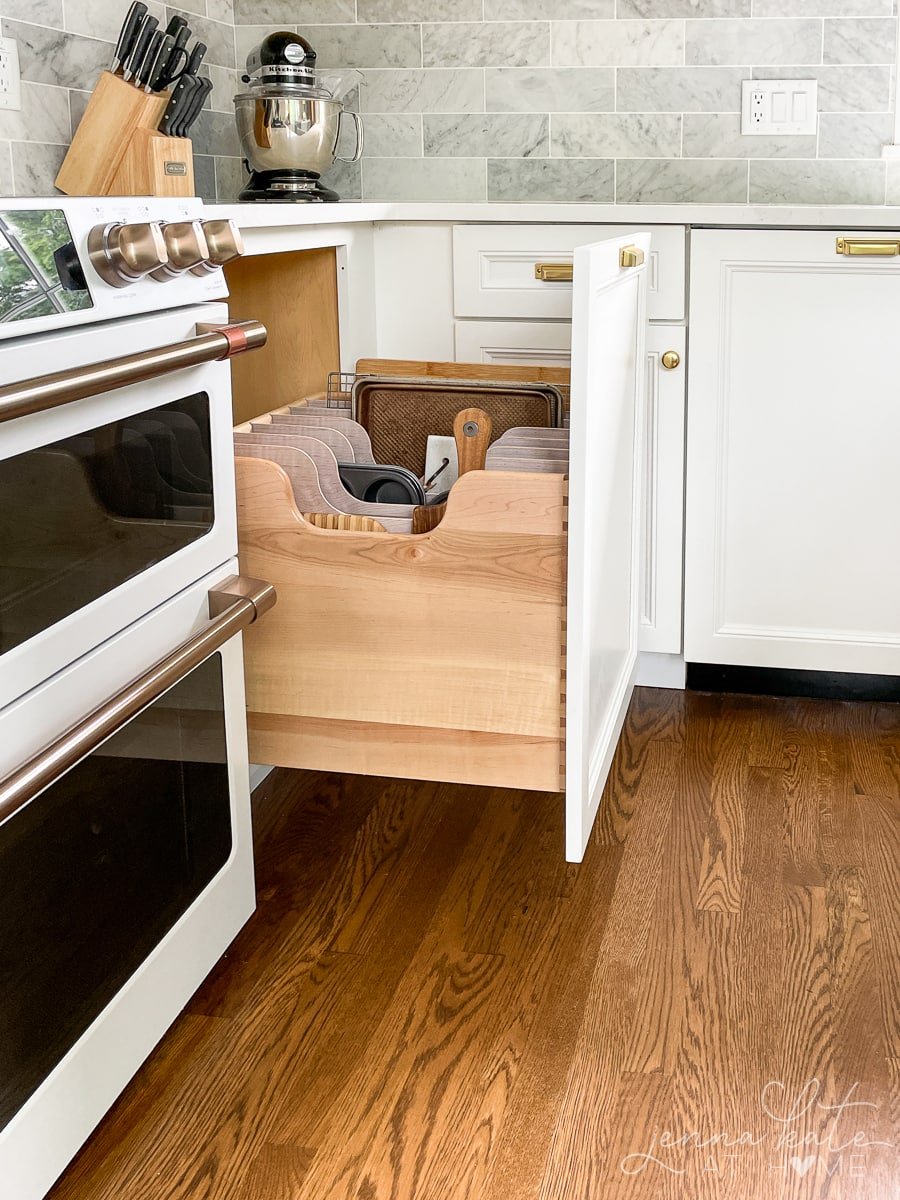
Cabinets tend to be tall and deep, making it hard to optimize the space when its not feasible to stack what you’re storing.
Think of other places in your home when cabinets are utilized properly with stacked dishes, towels, etc. More than likely, your art supplies can’t be stored in this same way and you’ll find yourself with a lot of empty cabinet space.
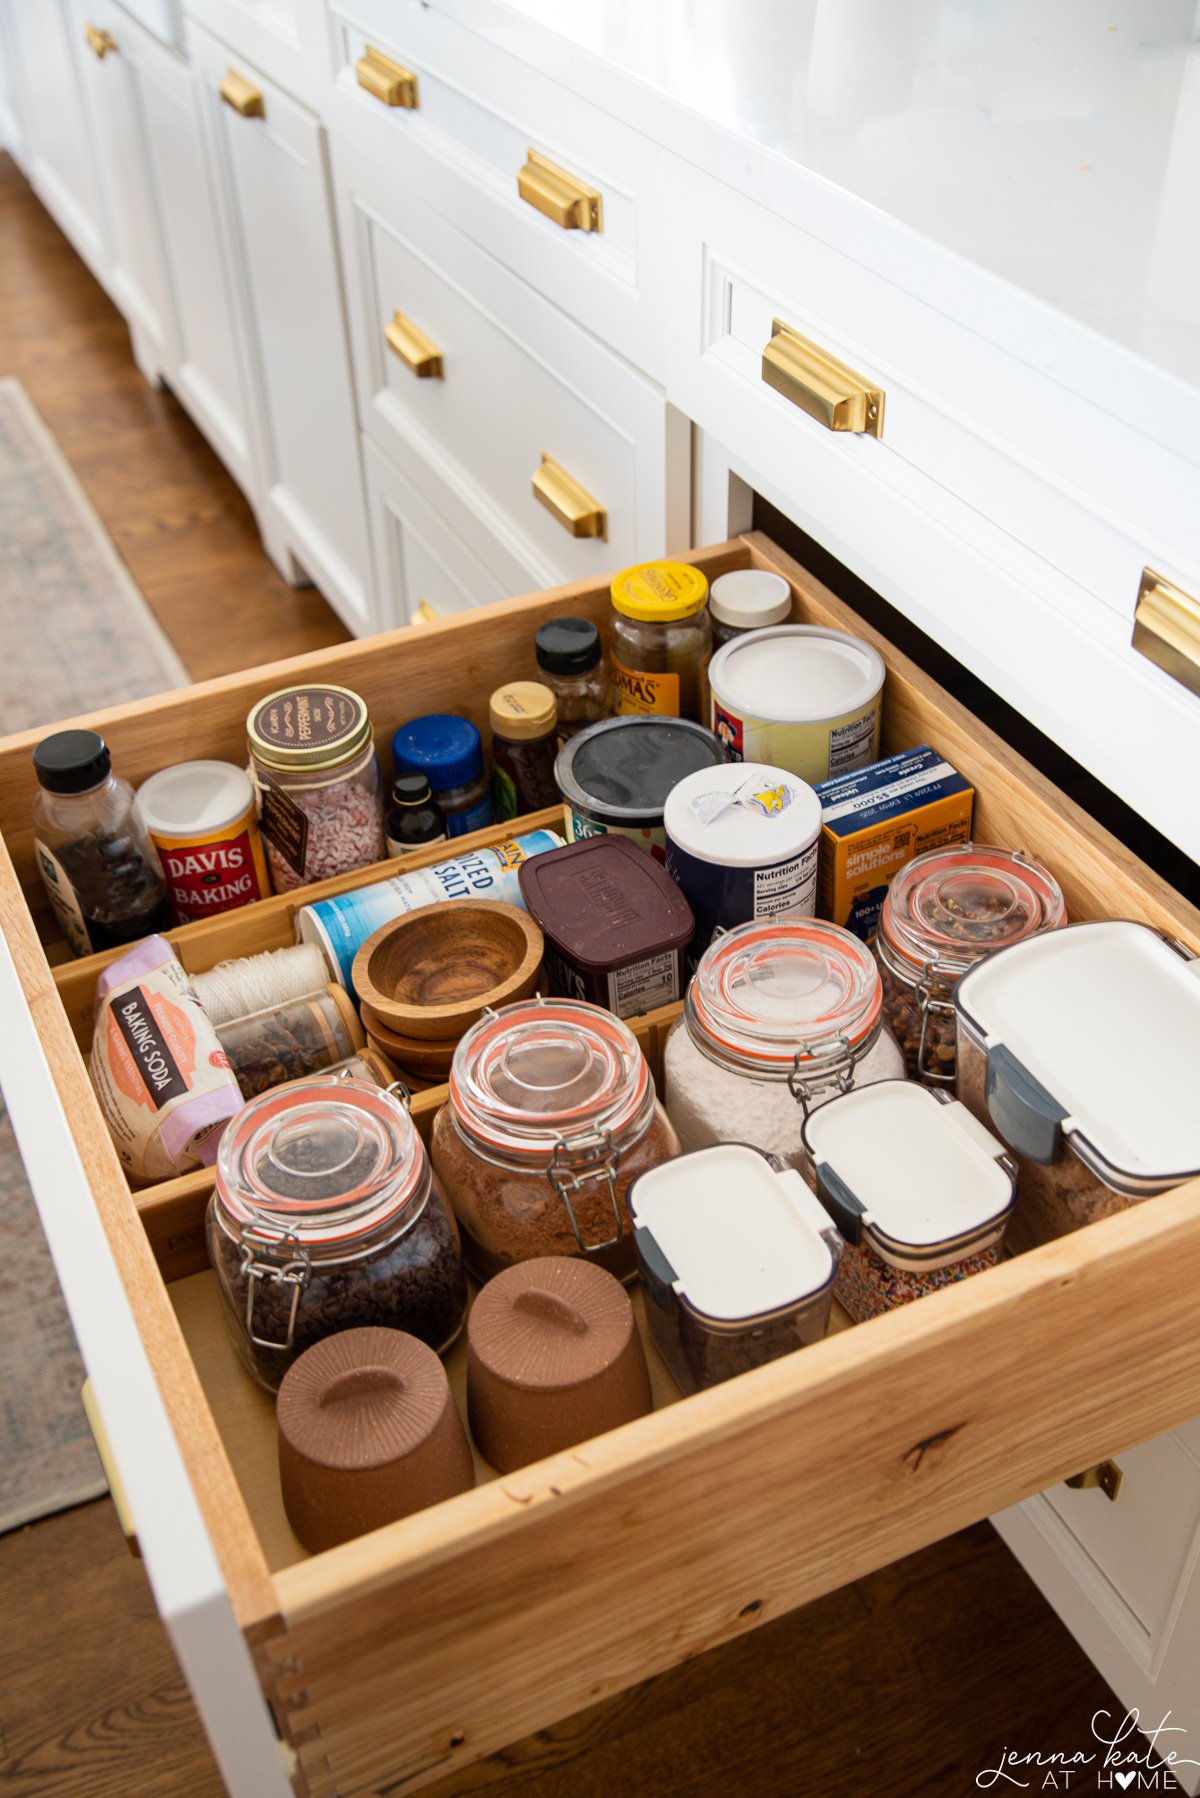
To make sure you’re maximizing the space you have (no matter how large or small) use drawers instead for easy access.
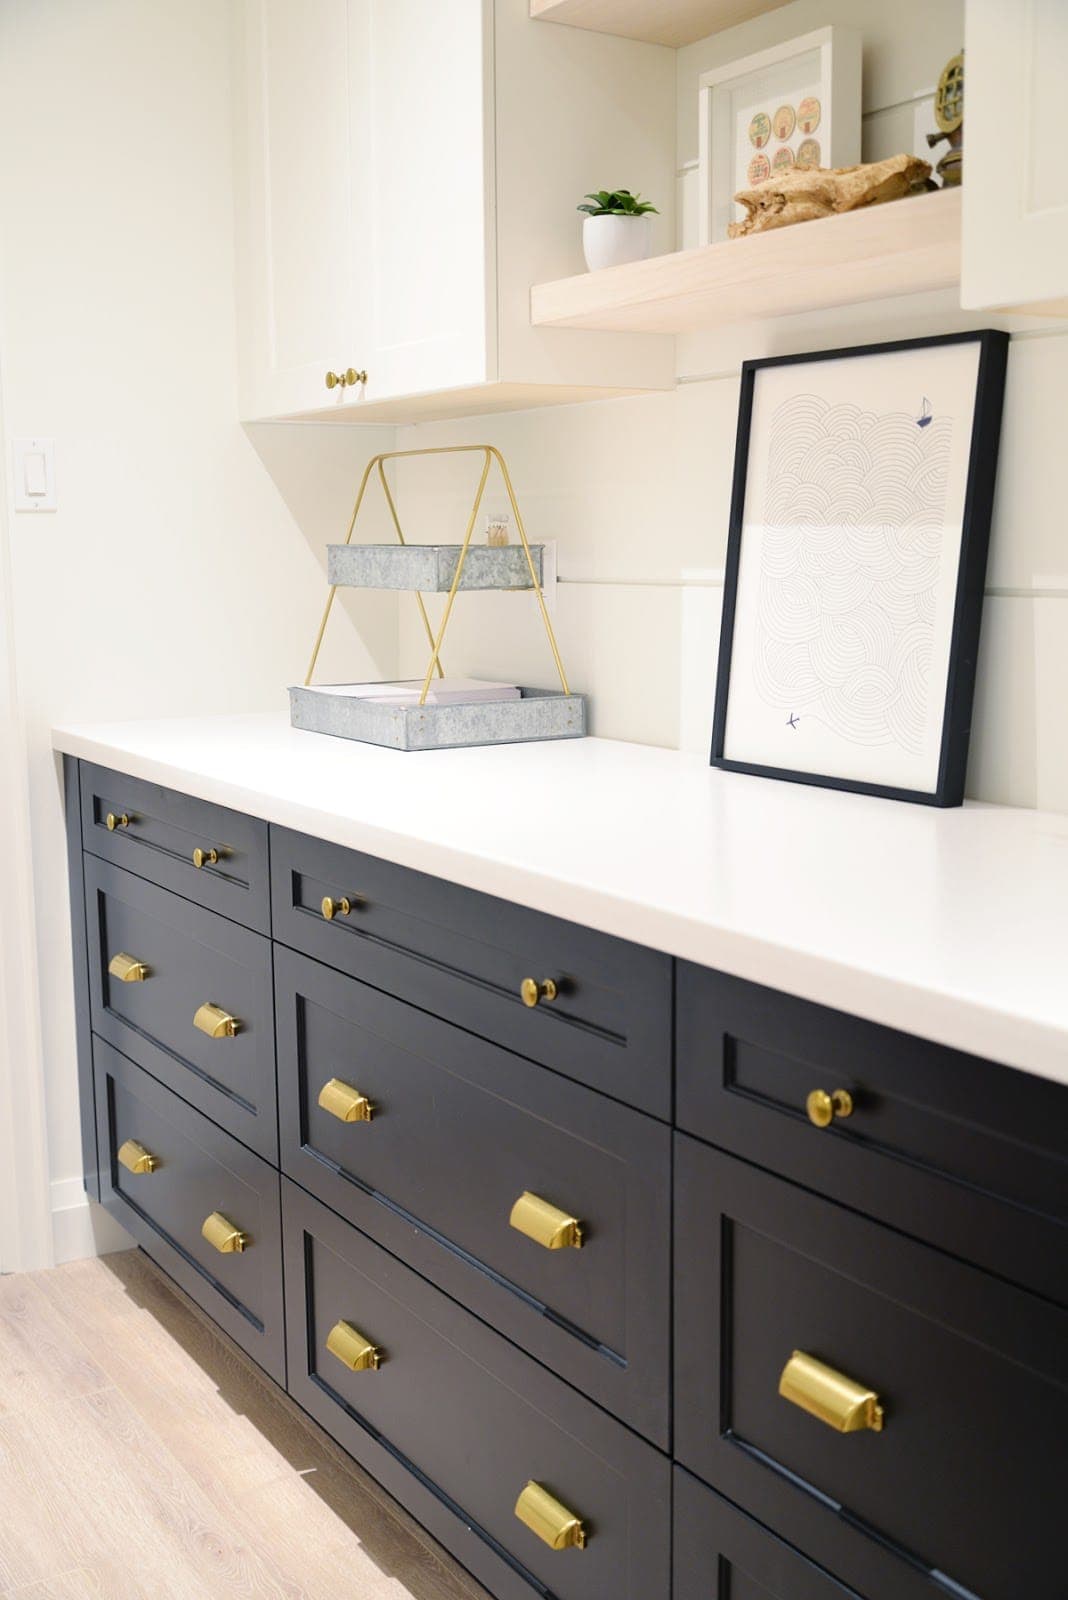
If you only have cabinets available, invest in a few cabinet shelf organizers to double the amount of space at your fingertips!
The idea is to find a way to use vertical space if you must use cabinets. Otherwise, drawers are normally shallow, so perfect for a single layer of items such as paint, pencils, scrapbook paper, and felt.
Other Organizational Ideas You May Enjoy
- How to Get Your Playroom Organized & Toy Clutter Under Control
- 12 Ingenious Ways to Organize a Small Bedroom on a Budget
- The Best Solutions For an Organized Fridge
- How to Organize Kitchen Cabinets
2. Sort Small Objects in Vases or Jars
Top your storage carts or shelves with small clear jars and glass vases to store small items or scrap ribbons. This is a beautiful and functional way to store the bits and bobs you have left over from any project.
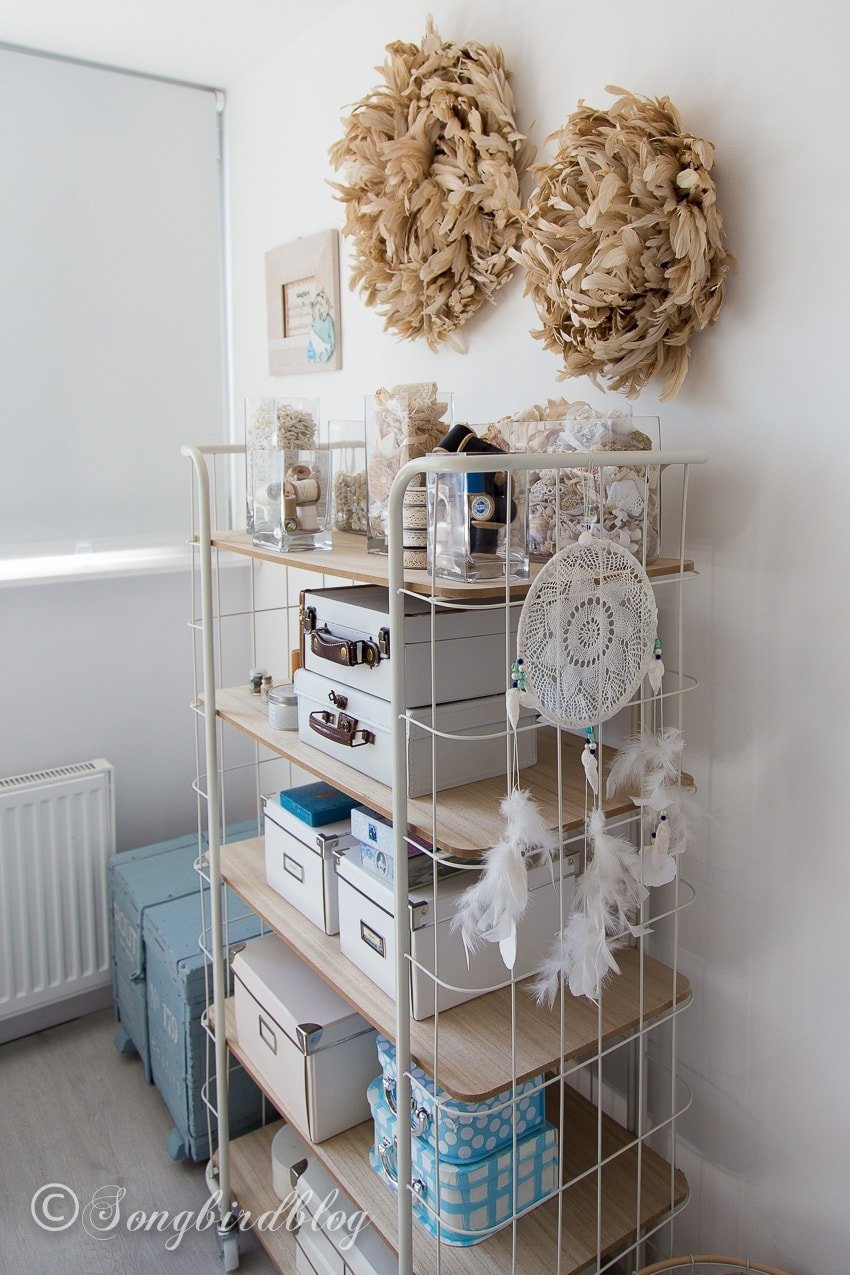
See the various glass jars in different sizes on top of this display? Not only are they easy to grab, but it’s visually appealing, too!
3. Utilize a Rolling Cart
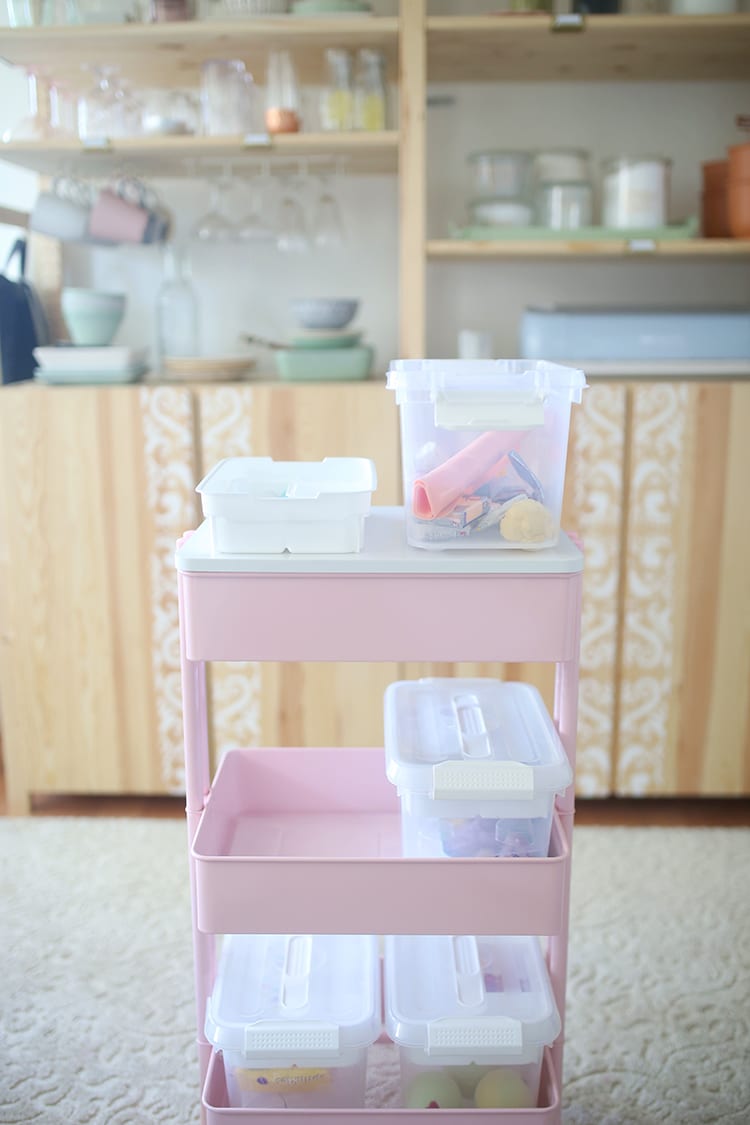
Rolling carts are very trendy right now, (thanks Ikea!) but they are also functional and easy to store away in a corner if you need them out of the way. Personally, I think they are a great option for busy crafters.
I don’t know any DIYer that doesn’t have unfinished projects. But what do you do with all the unfinished projects you have piling up?
I love this idea from Shrimp Salad Circus. Use a rolling cart and inexpensive clear containers to store all of the pieces and tools. If you need to tidy up, it’s as simple as clasping the lid and pushing the cart out of sight.
4. Use Bookcases
If you have a spare bookcase, they can work wonders in your creative space! You can probably store way more than you think between all of the different shelves. It will keep things neat and tidy too.
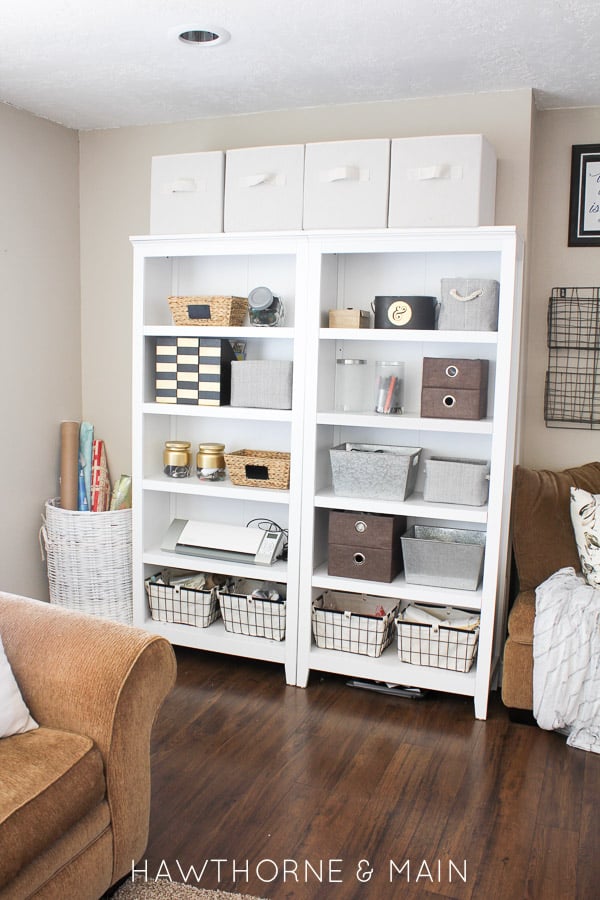
If you decide to include a bookshelf in your craft room, this is a great opportunity to implement a few labeled storage baskets or neat decorative boxes.
5. Repurpose Old Furniture
We’ve all inherited hand me down furniture (think college days). It doesn’t always suit your style, but you can give it a quick and inexpensive makeover with paint and new hardware. Remove doors, add baskets and bins for a gorgeous storage craft cabinet.
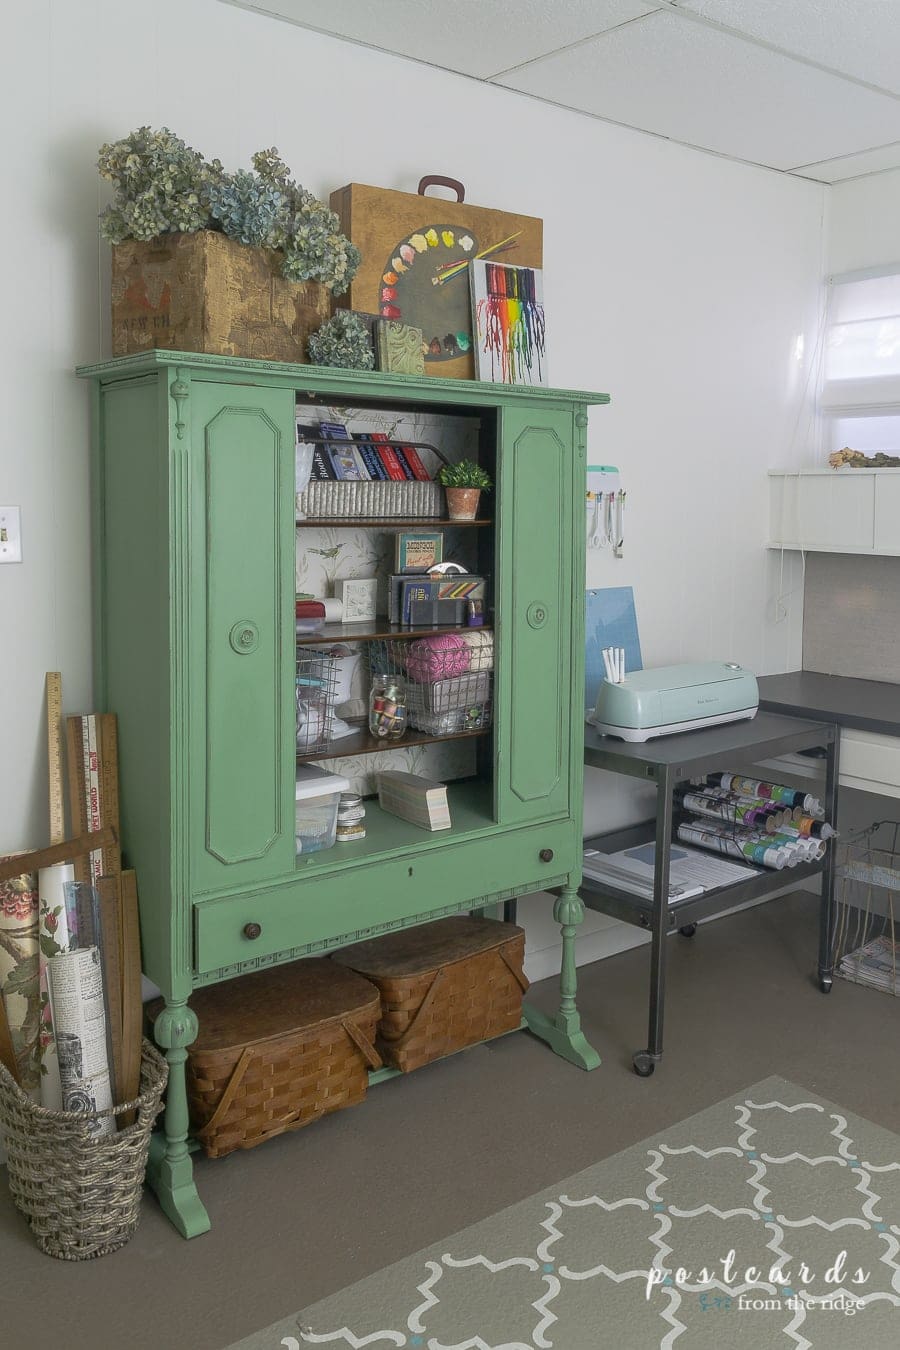 Fresh and Inspiring $100 Studio Makeover via Postcards from the Ridge
This is also a fantastic tip if you’re looking for jewelry storage ideas. I’ve never seen a upcycled piece of furniture turned into a necklace case that I didn’t love!
6. Storage Cubes
Storage cubes and cubbies are another common find on Pinterest, but they really are a practical solution for a craft space. You could also add cohesive or coordinating bins, and baskets for a uniform look. Even the smallest space would benefit from a shelving unit like this.
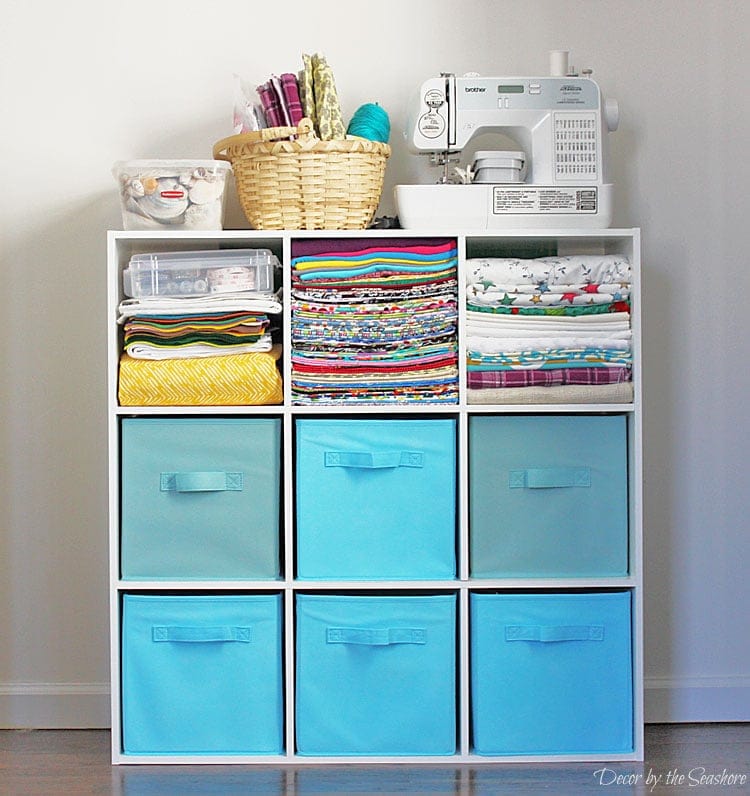
It’s also convenient to store your sewing machine on the top. There’s plenty of room for material and fabrics underneath!
7. Storage Baskets
Not sure what to do with those fabric scraps, cricut tools, pom poms, and other knick knacks floating around? Baskets are the answer!
Storage baskets are great because they can easily be labeled for quick access. Not to mention their sleek and clean appearance. I’ve used this method in various other rooms of the house too, like the boy’s playroom.
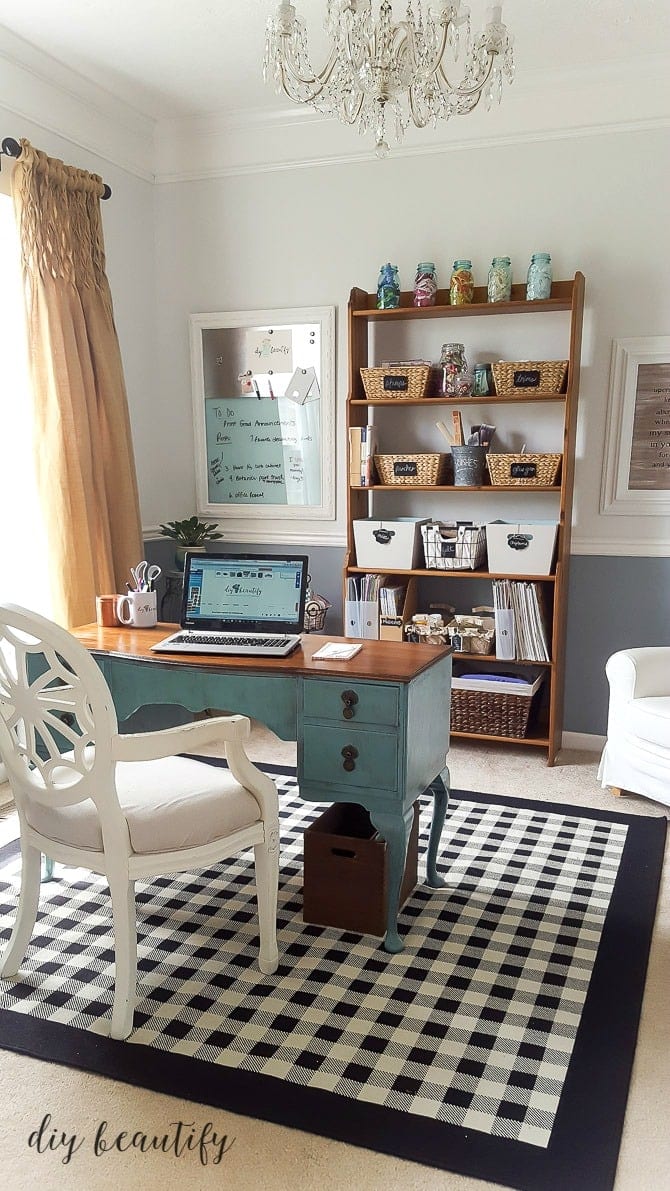
This is yet another basic shelving unit with a cohesive look by using pretty blue mason jars, storage baskets, and bins for craft supplies. Storage baskets are easy to display on an old book shelf, in a closet, or in a cube unit.
8. Label Bins and Baskets
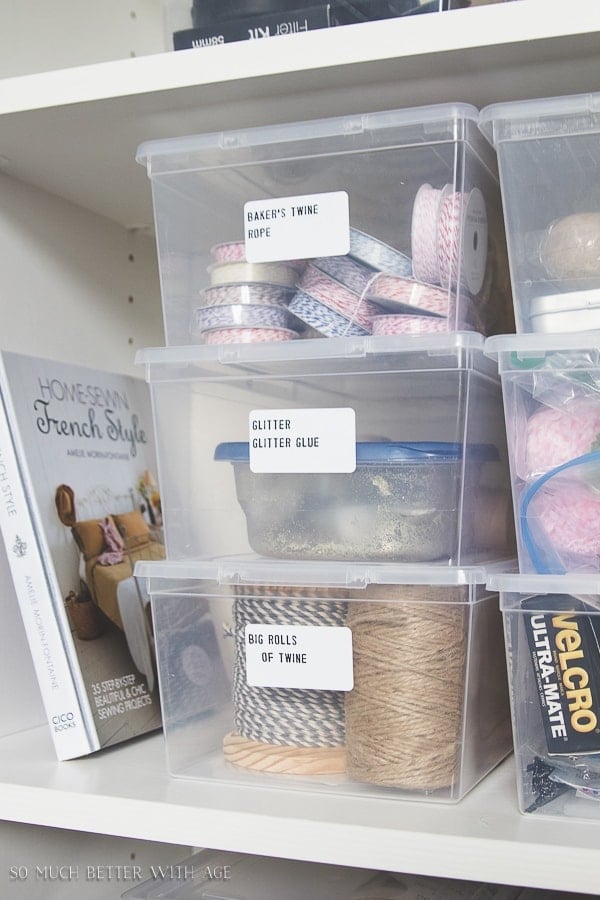
Plastic bins with labels might seem like a basic tip, but there’s a reason it’s mentioned often. It works! You can find inexpensive plastic bins with lids at any big box store these days. Opt for ones with colored lids to add a splash to your space.
9. Peg Boards as Wall Storage
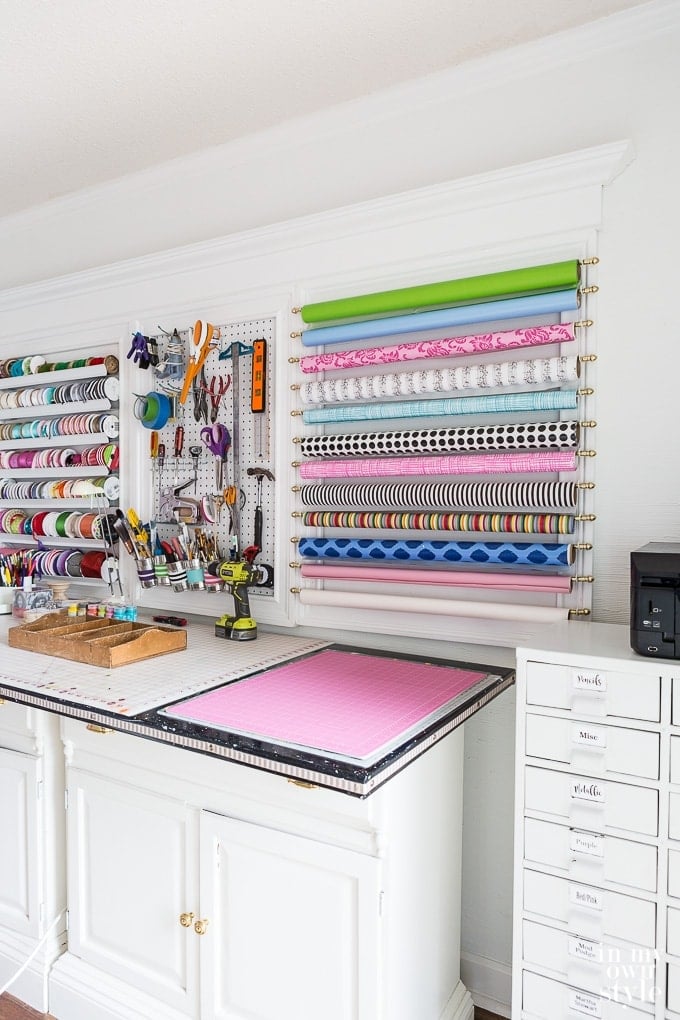
Use a peg board and hooks to create a “creative wall” like this one. I love how wrapping paper is stored up and off the floor. All the ribbon and tools are up off of the crafting surface and it looks pulled together and colorful too. Especially when dealing with a small craft room space, you’re going to want to utilize the walls to create as much storage as possible.
The Creative Wall via In My Own Style
10. Hang Drawers on a Wall
I’m a big fan of using up some wall space to bring practicality and functionality together. This unique storage idea combines an easy to use storage method with something whimsical, fun, and useful.
Think outside the drawer. I know that I’ve seen old drawers on the curb more than once, but I never considered giving them a quick paint job and hanging them up to store bottles of craft paints, adhesives or glitter.
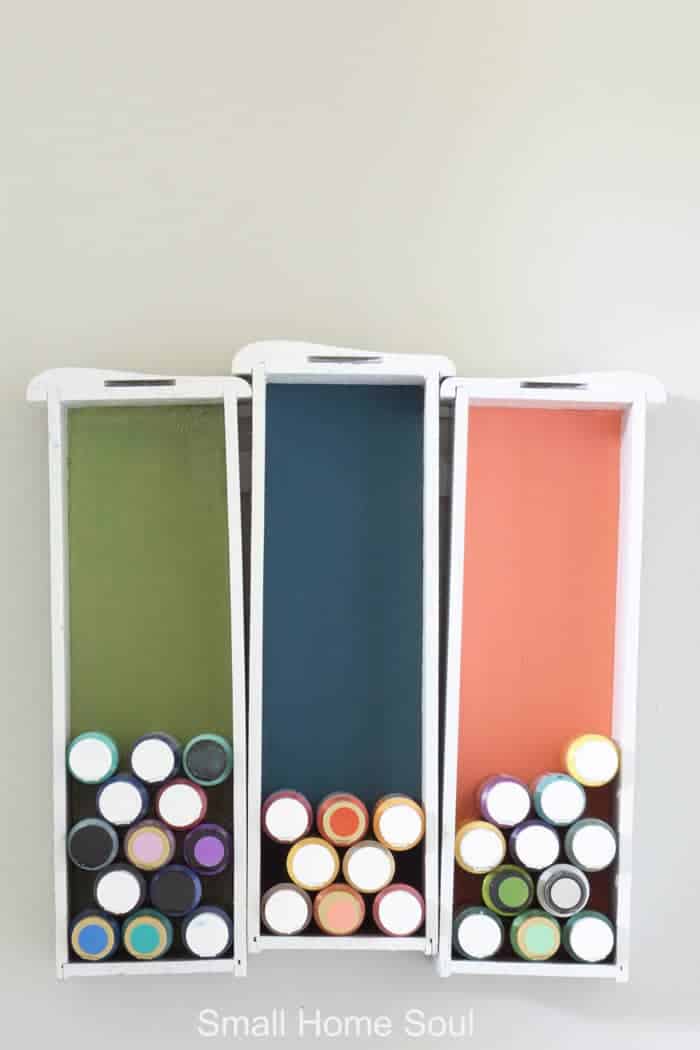
I just love how quirky and distinctive this approach feels. It definitely doubles as a focal point for the room and an awesome decorative element.
11. Floating Wall Shelves
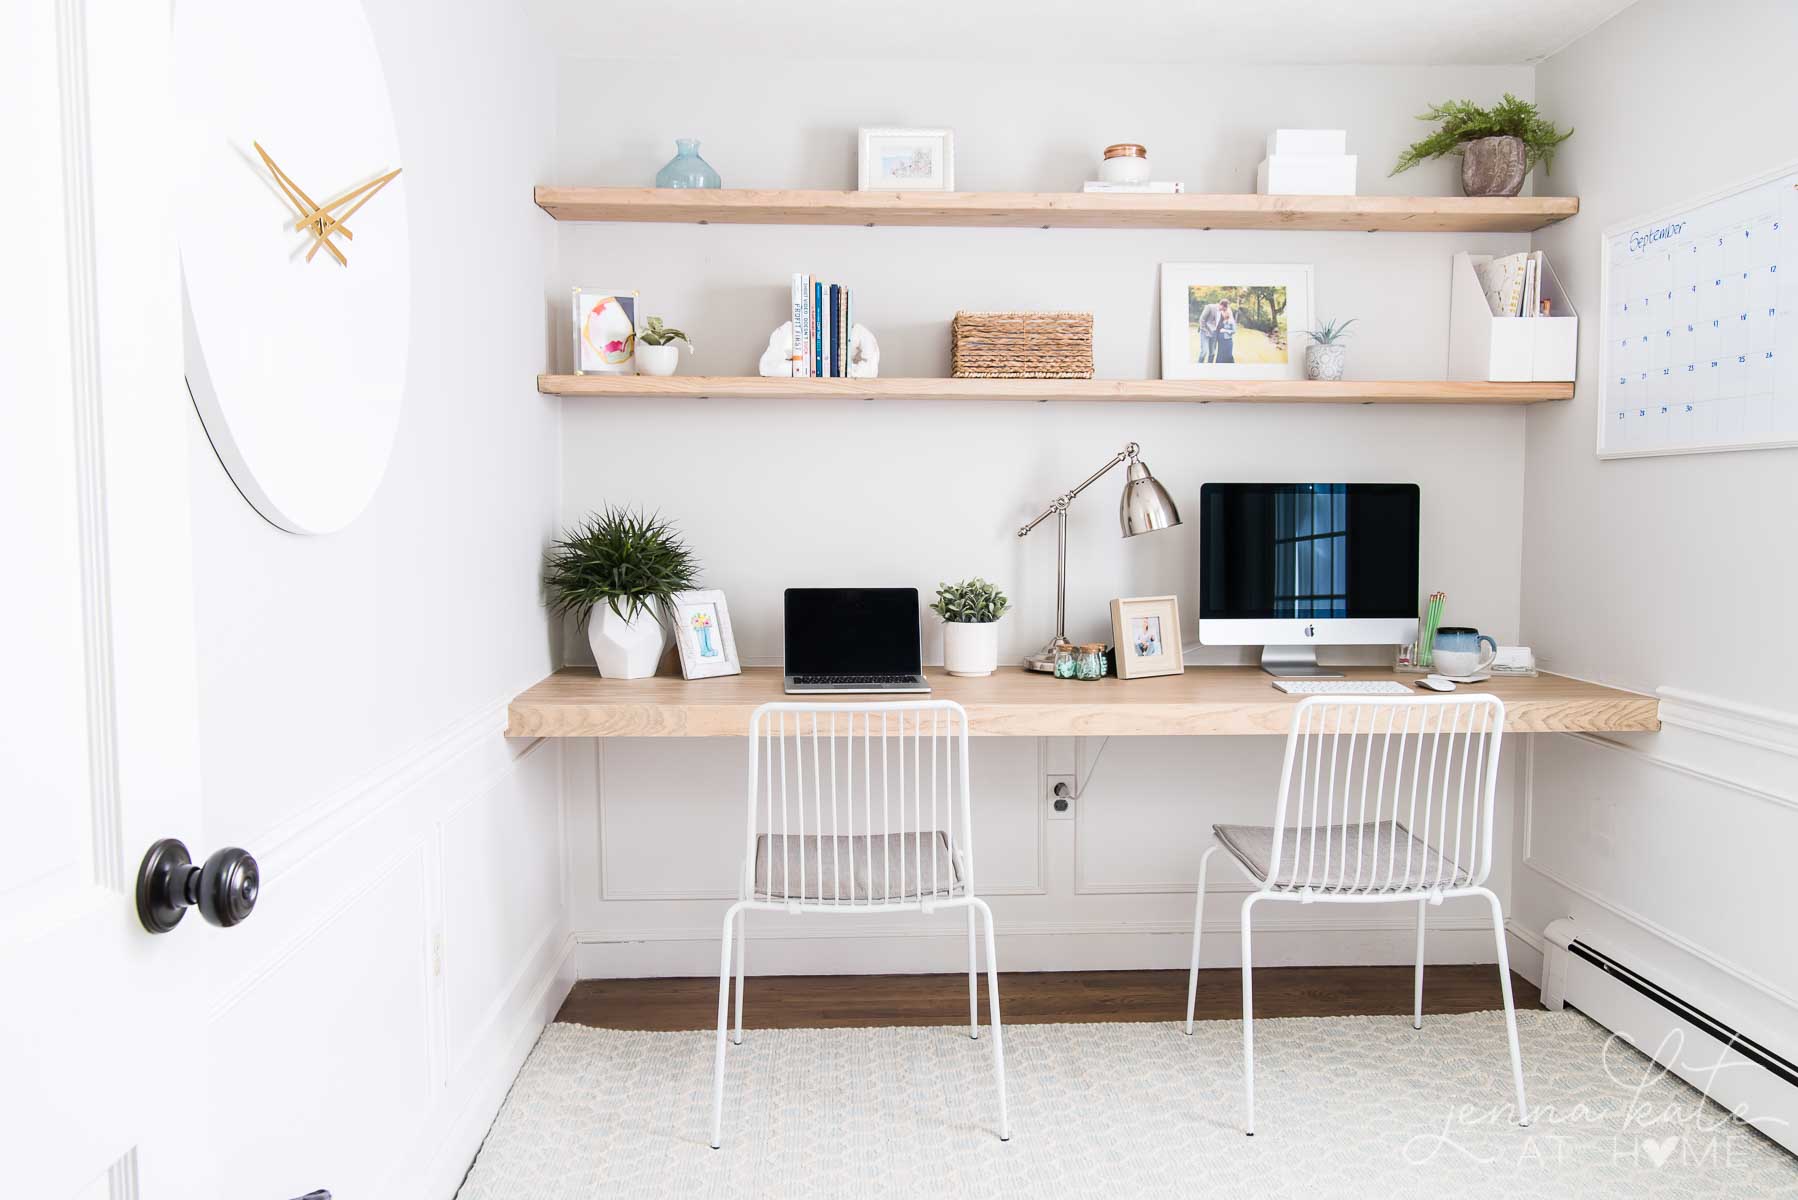
Just like I transformed my office space with this floating desk and shelves DIY Project, you can install floating wall shelves into a craft space for a modern look! A wall shelf can be a great place to store small jars and baskets. Or, display some of your latest craft projects proudly. This will help open up floor space and fill up some of that white on the wall. Luckily, you don’t have to be an experienced DIYer to get this one right.
12. Build a Craft Closet
Looking to downsize your current craft room? Or, maybe you’re still deciding altogether if you have the capacity to dedicate an entire room to crafting. Whichever the case, a craft closet might just be the answer!
This is a great way to still organize and house your supplies together without taking over too much square footage.
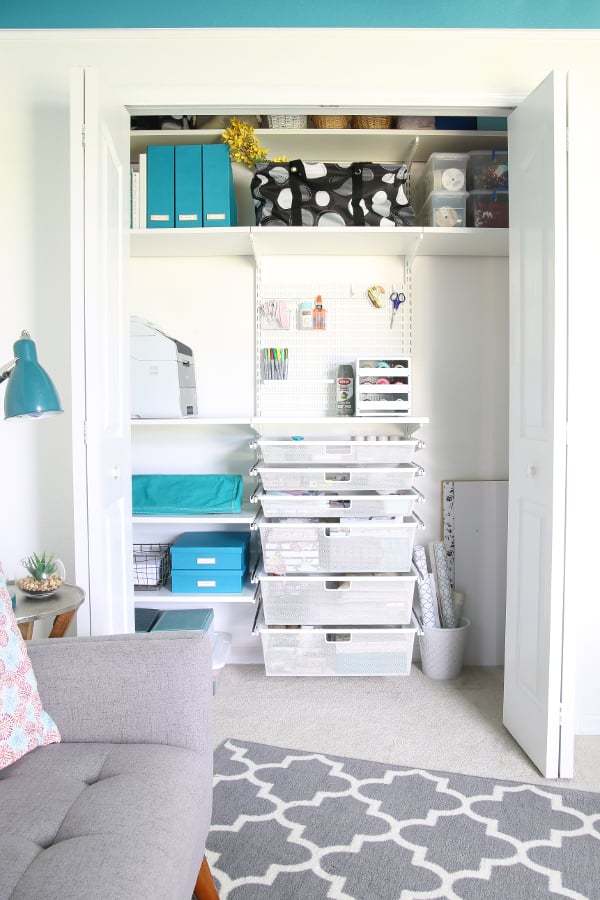
Kalyn did a fabulous job straightening up and easing the workflow of her at home craft closet!
13. Make Your Storage Your Decor
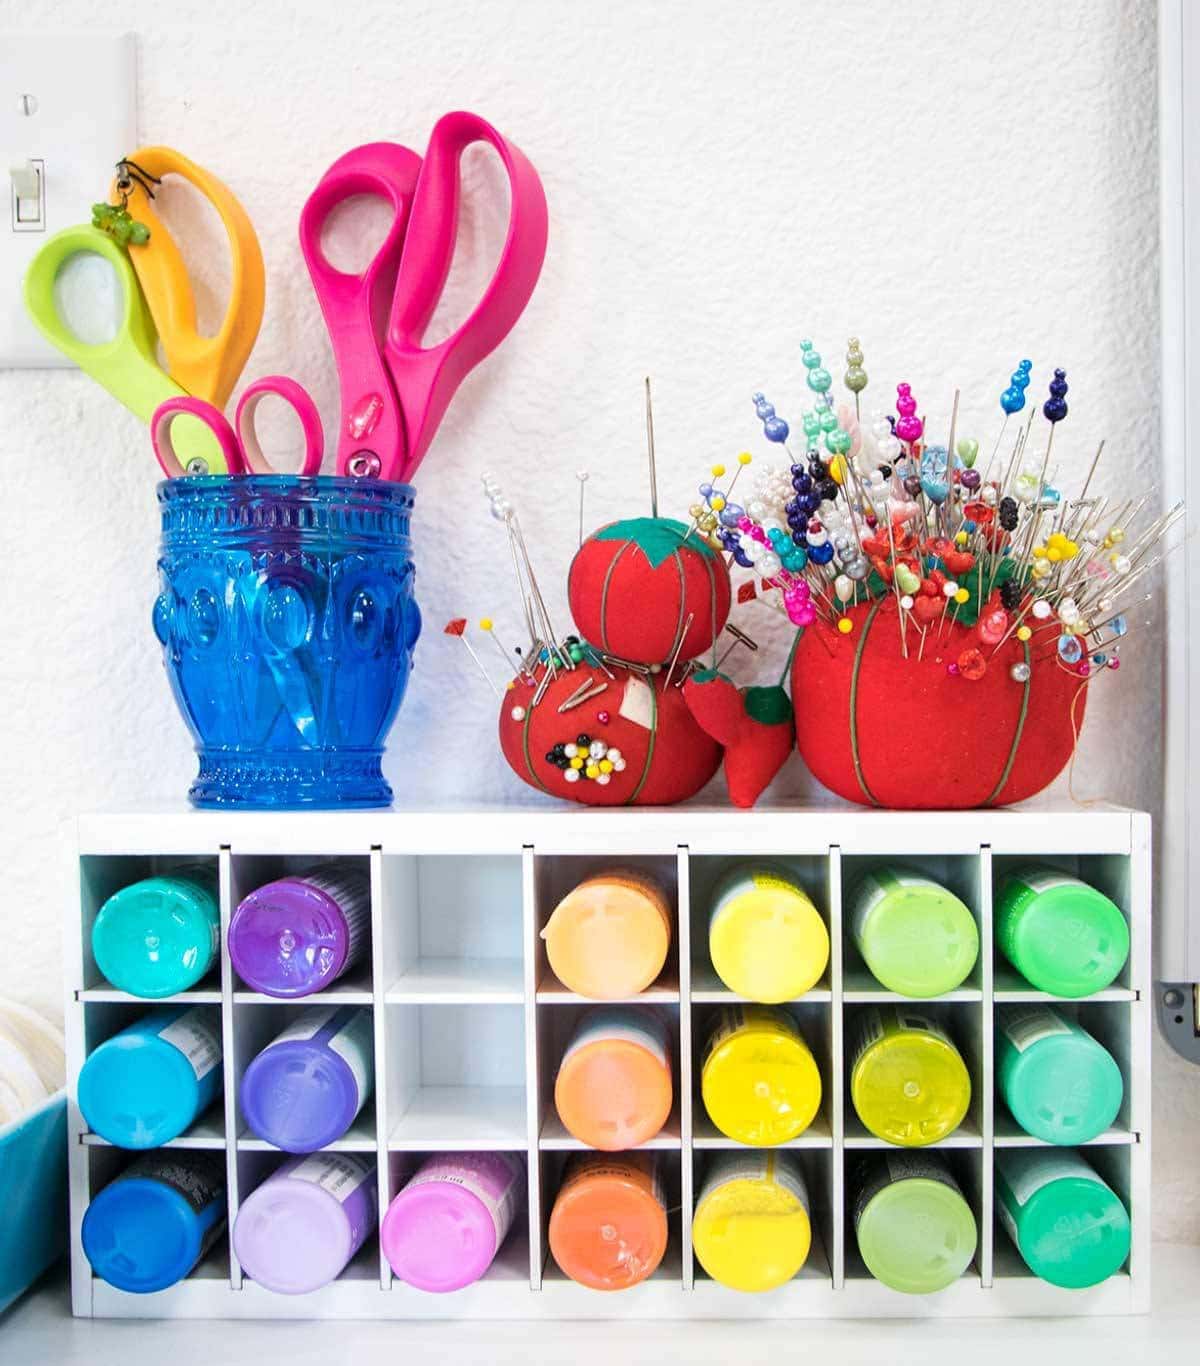
Don’t hide your supplies. Instead, use them to decorate your space. I love the idea of displaying your pin cushion out in the open (though up high if you have small hands in the house) or storing scissors and paint brushes in an otherwise unused vase. It’s colorful and functional.
14. Upgrade Inexpensive Shelving with Fabric
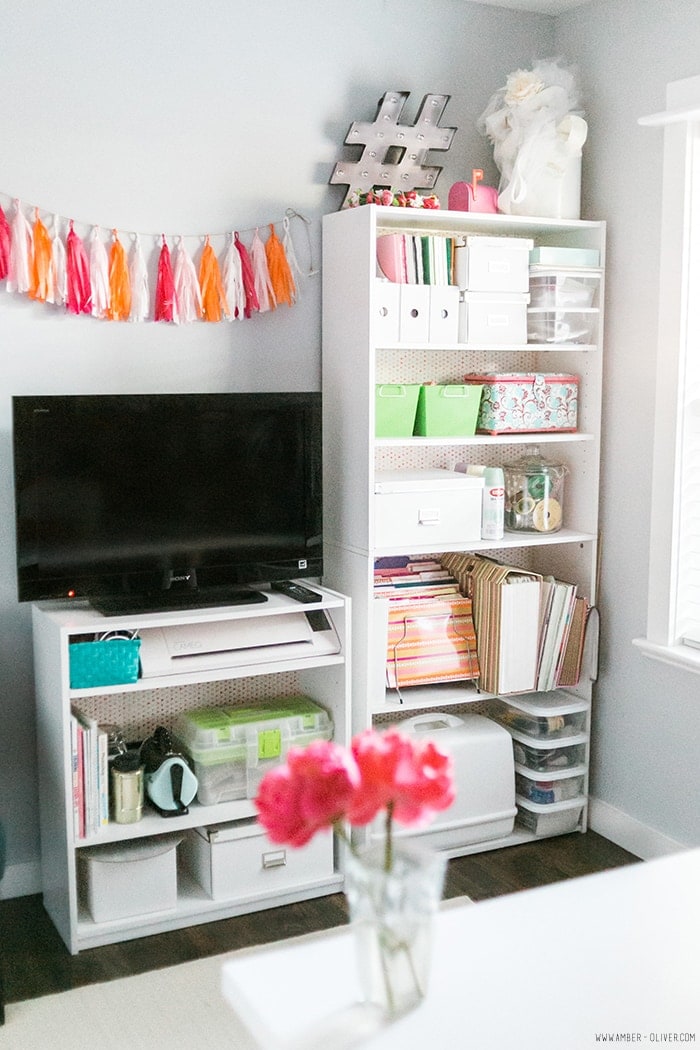
Craft storage doesn’t have to cost a lot of money. Instead, buy affordable shelving and give them an upgrade by adding fabric or wallpaper to the backing. Then just add neutral bins and boxes to store your craft supplies.
15. Craft Table with Storage
A great double punch is a table with storage. These are perfect for corner craft stations or smaller rooms. Knock out both your work space and storage space in one quick swoop. Bring in a crafting table with storage for the ultimate hack!
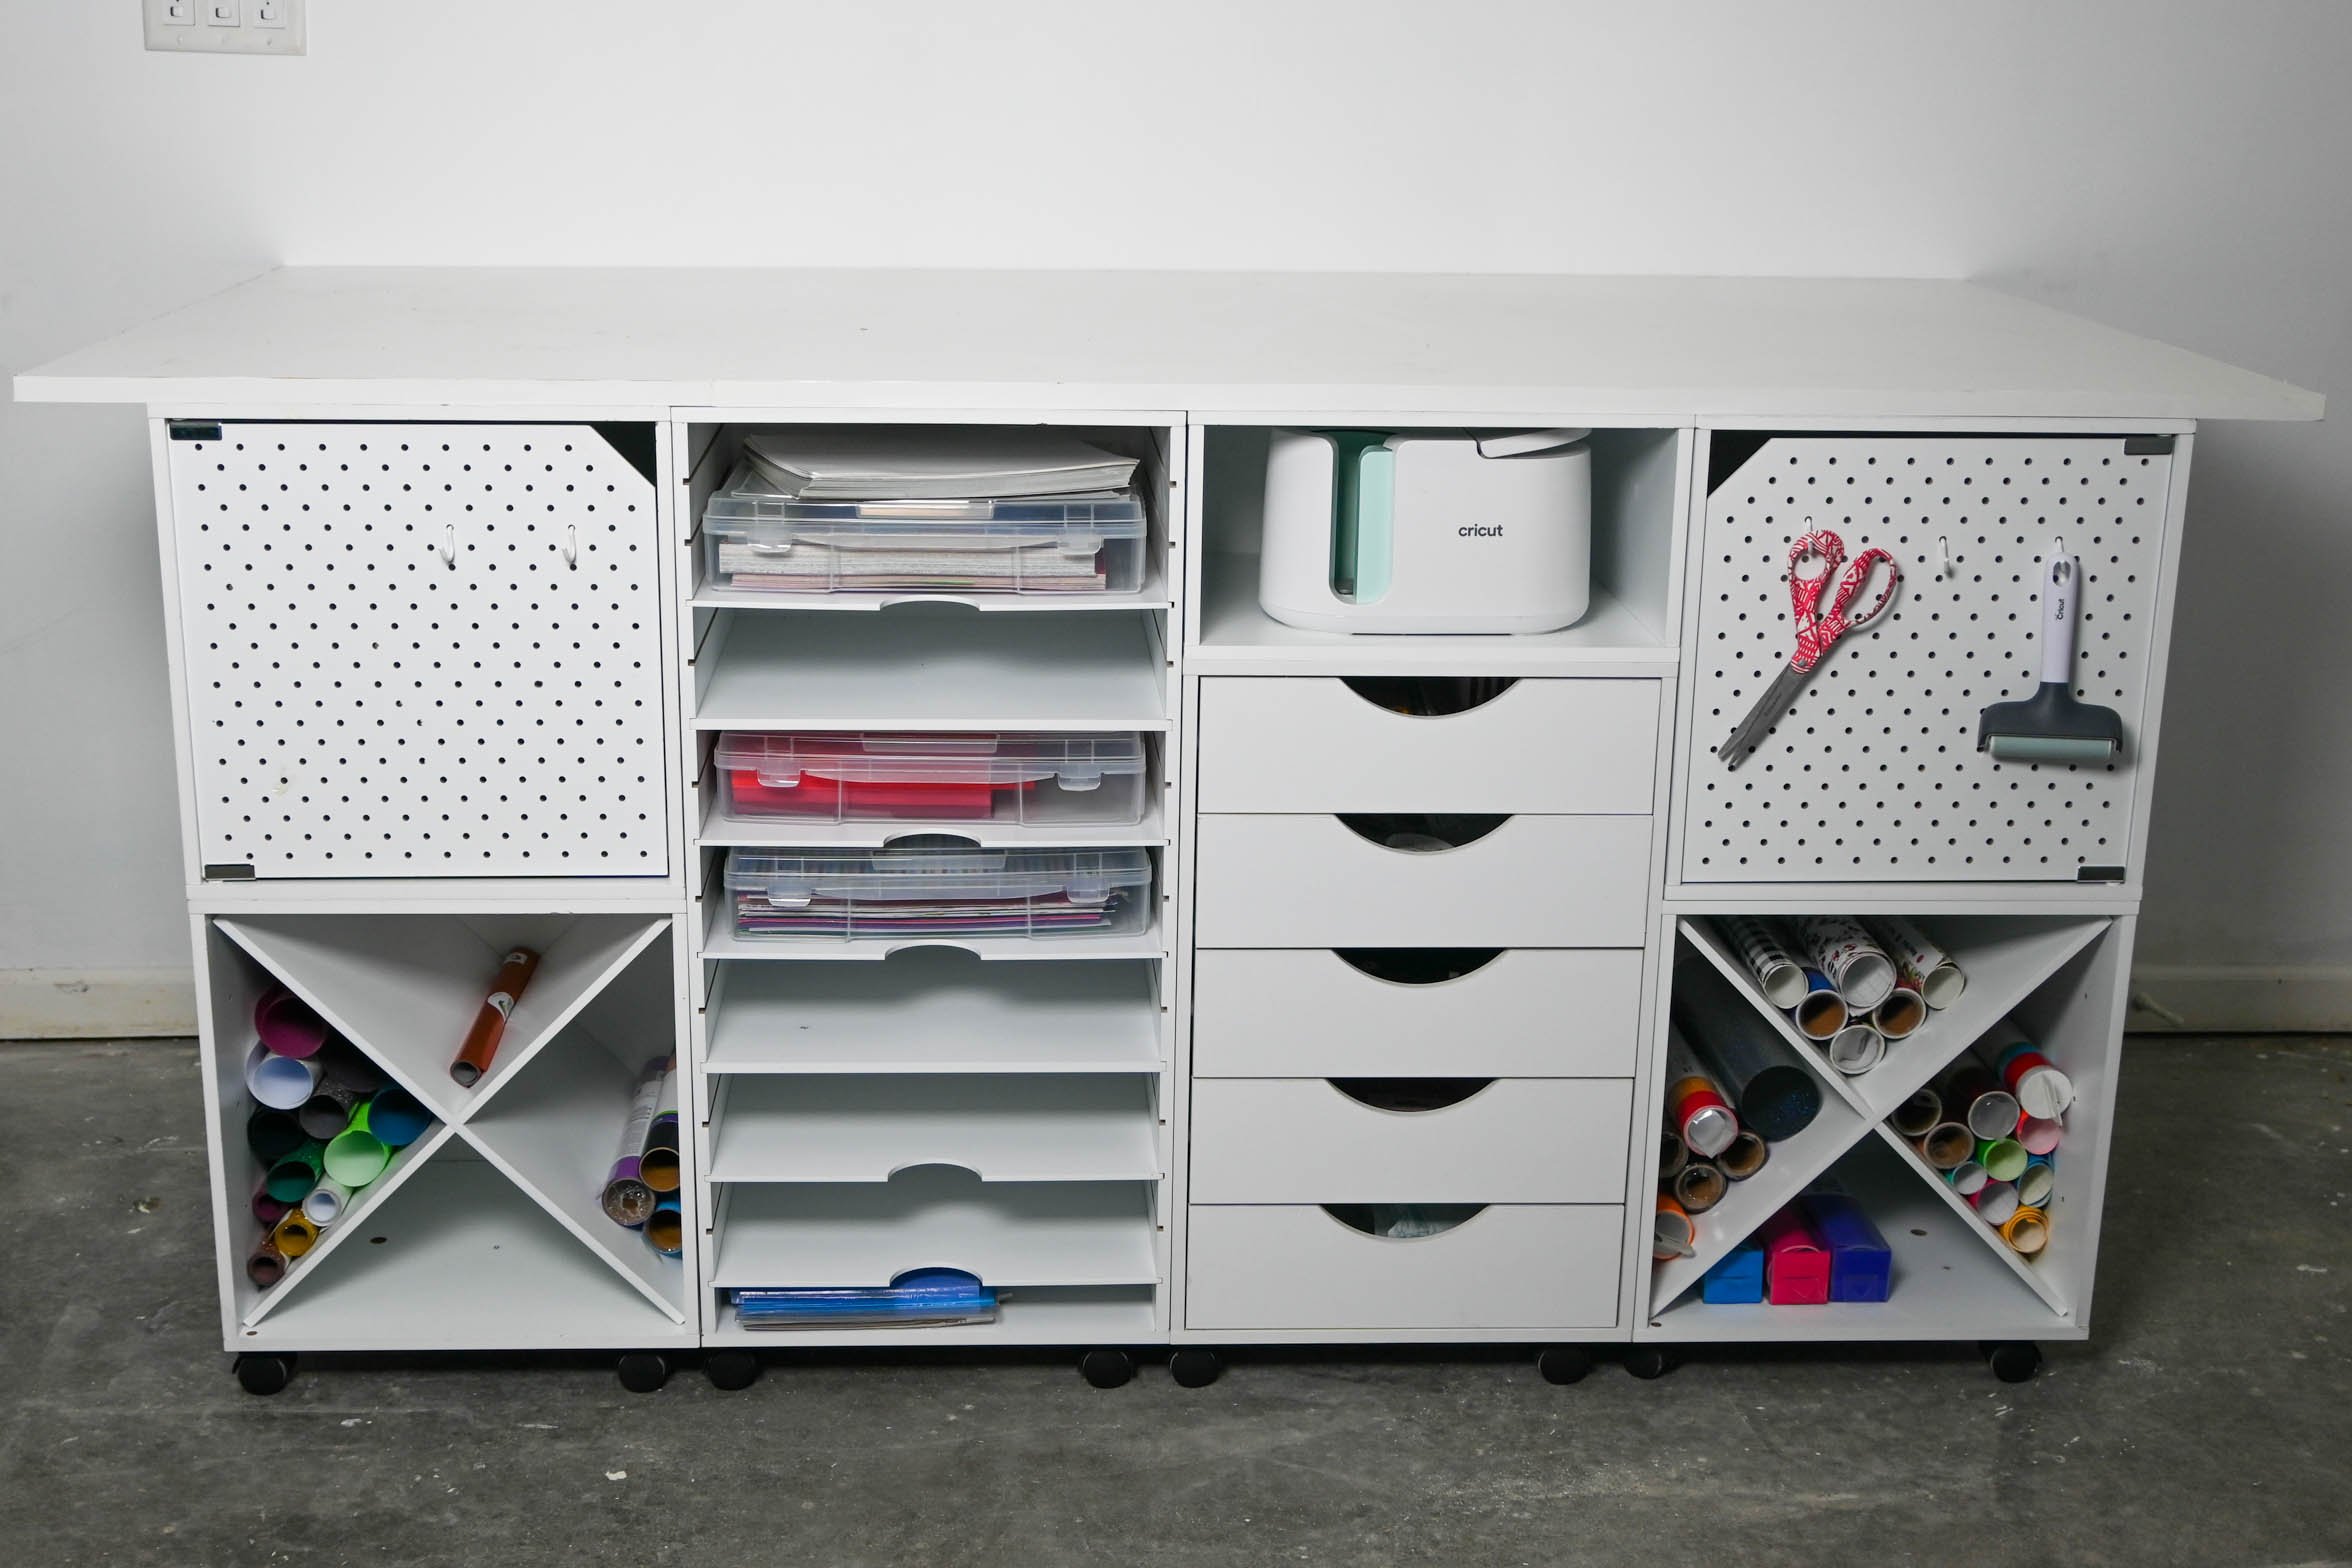
This designated space doesn’t need much else and could easily be useable in a room that has multi purposes.
Final Thoughts
Craft room storage doesn’t have to be expensive or complicated. With these craft room ideas, you’ll have a functional and personalized space in no time. Use what you have, shop estate sales, and add color to what you find and soon you’ll have the most organized space in your home!
What’s your best tip for storing your craft supplies? Let me know in the comments!

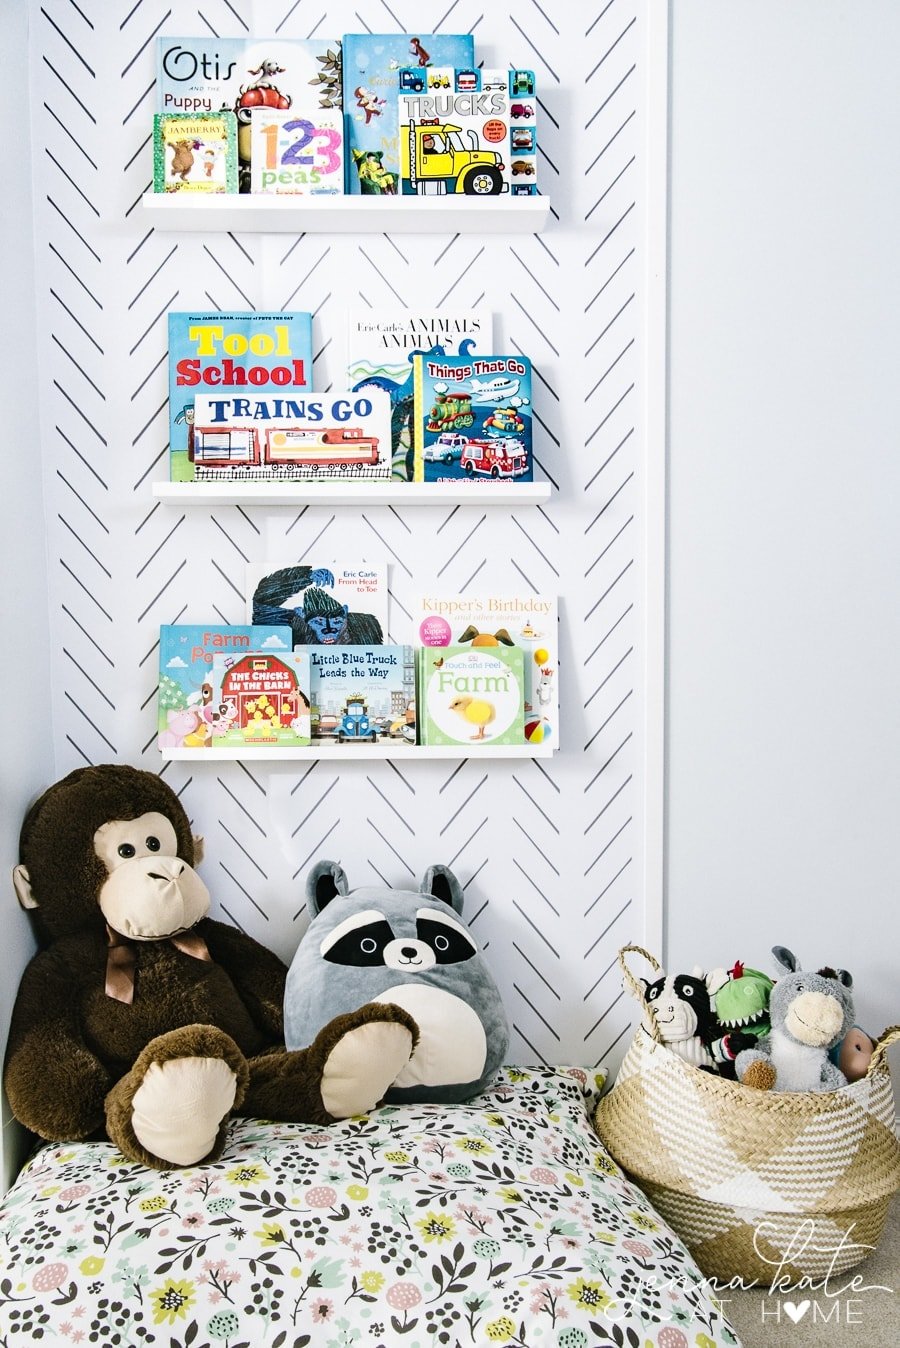
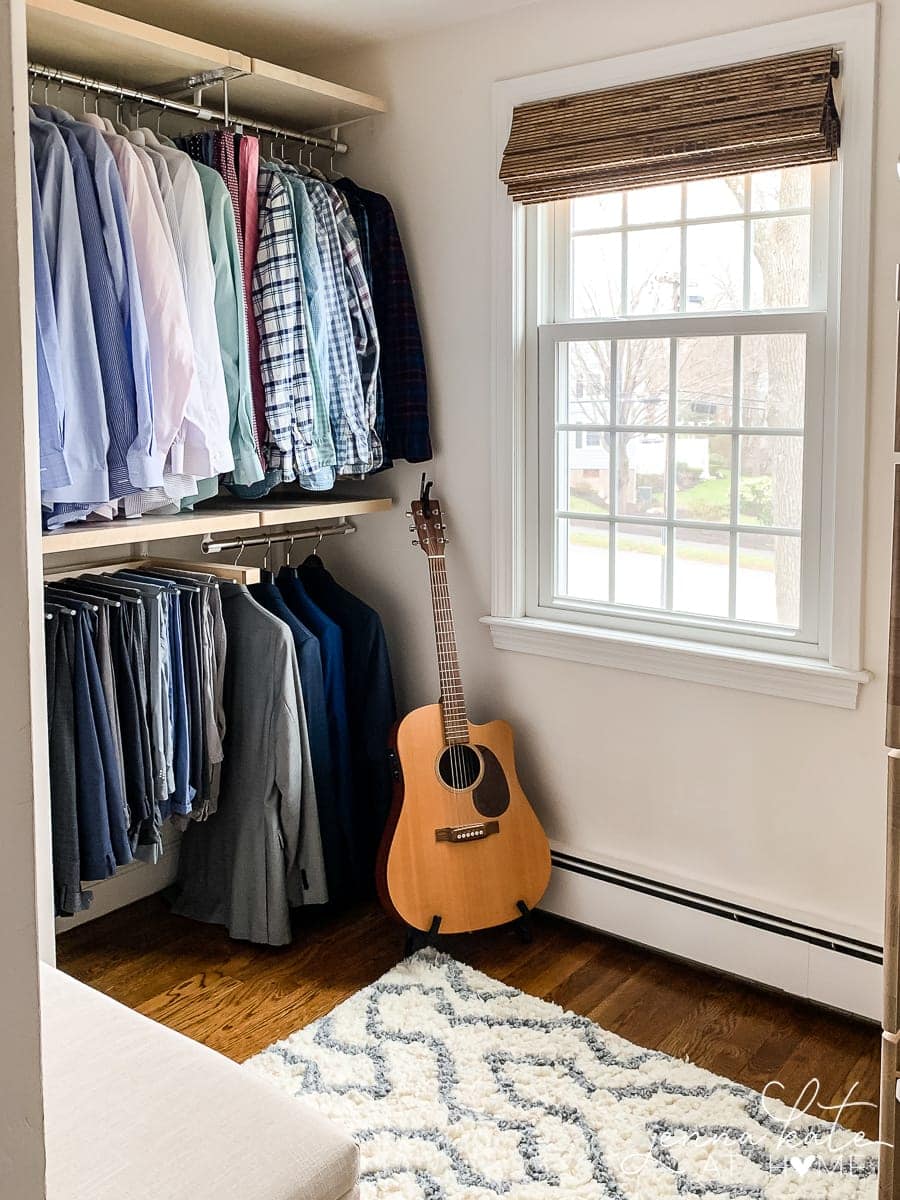
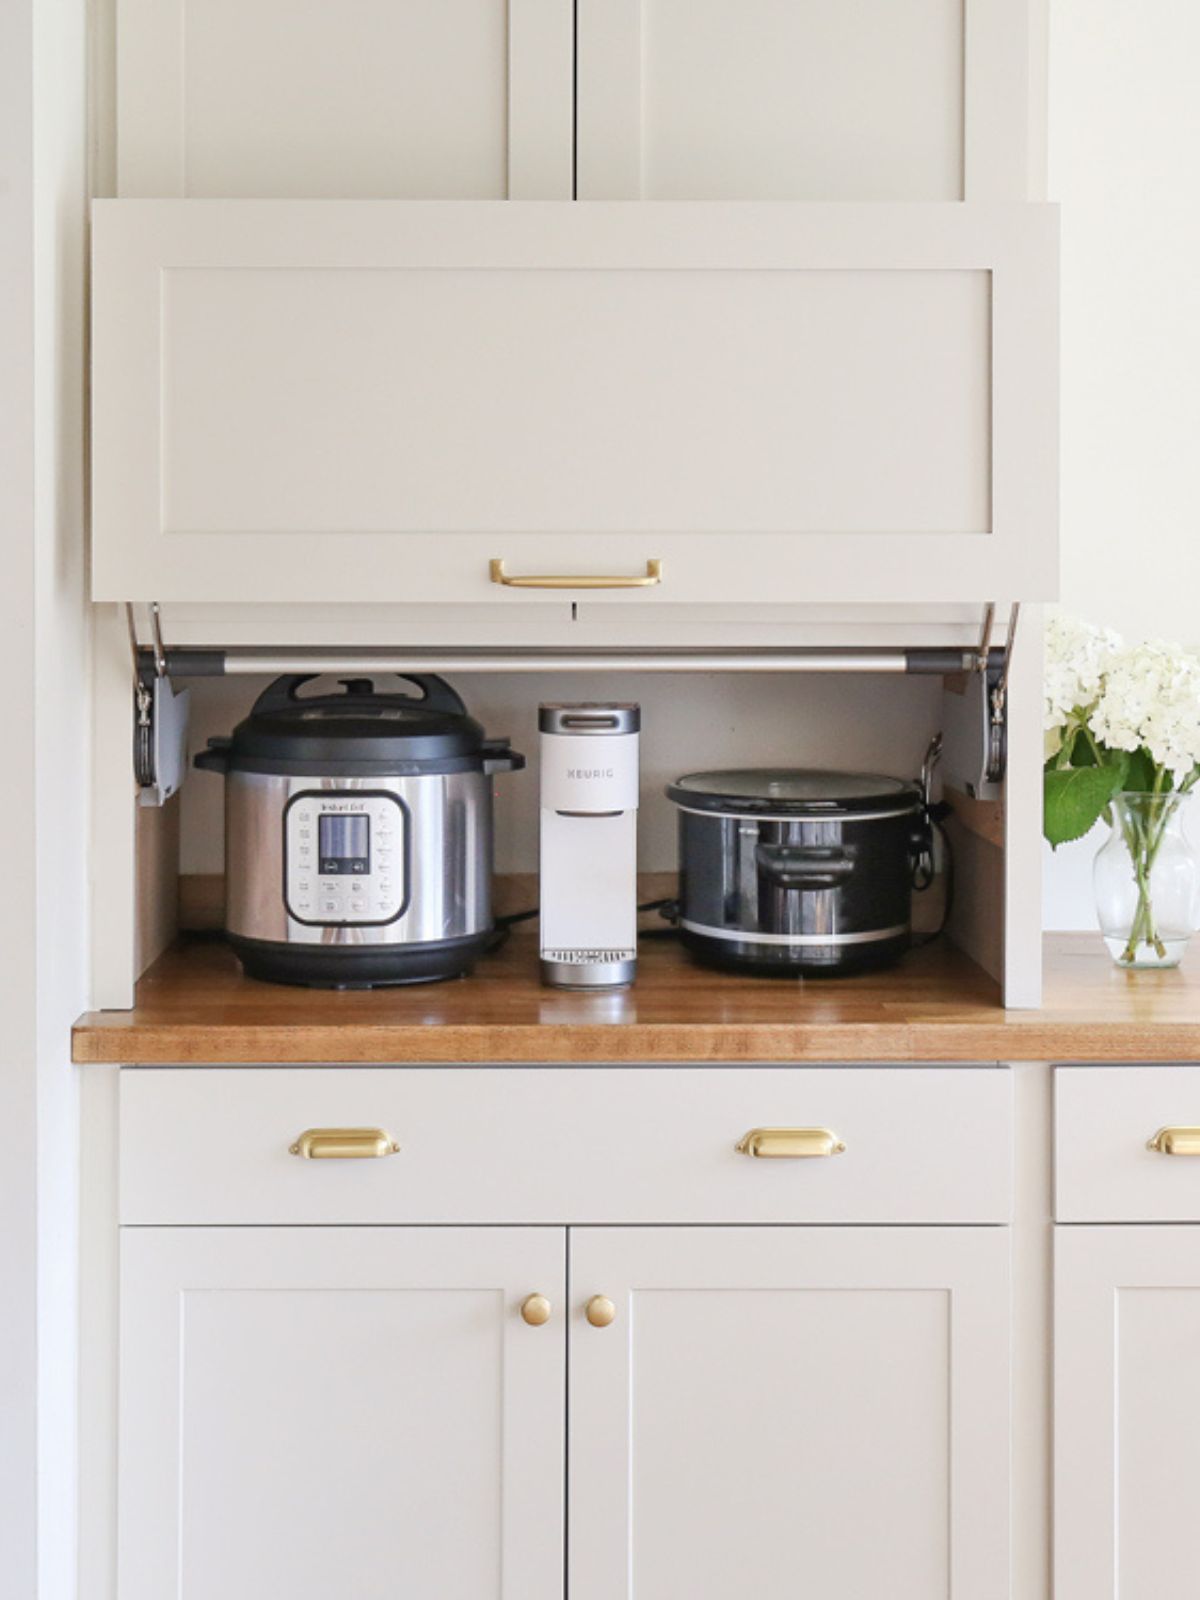
The tips, like using drawers instead of cabinets for easy access and sorting small objects in vases or jars, are practical and add a stylish touch to any craft space. As someone who loves organizing, I appreciate how these ideas blend functionality with creativity. Seeing such innovative yet simple solutions for craft room organization is great.