Content may contain affiliate links. When you shop the links, I receive a small commission at no cost to you. Thank you for supporting my small business.
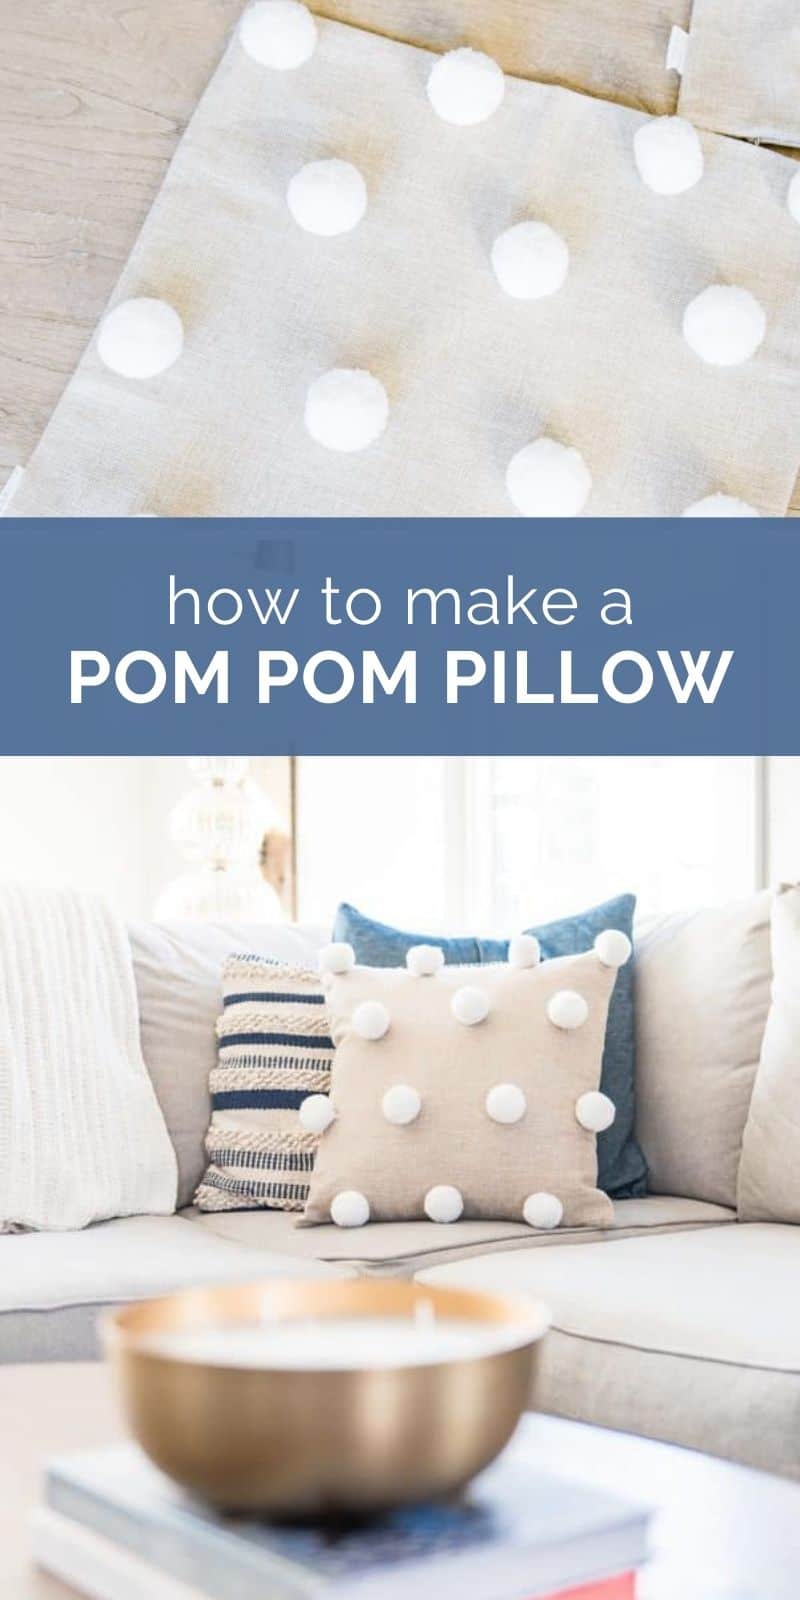
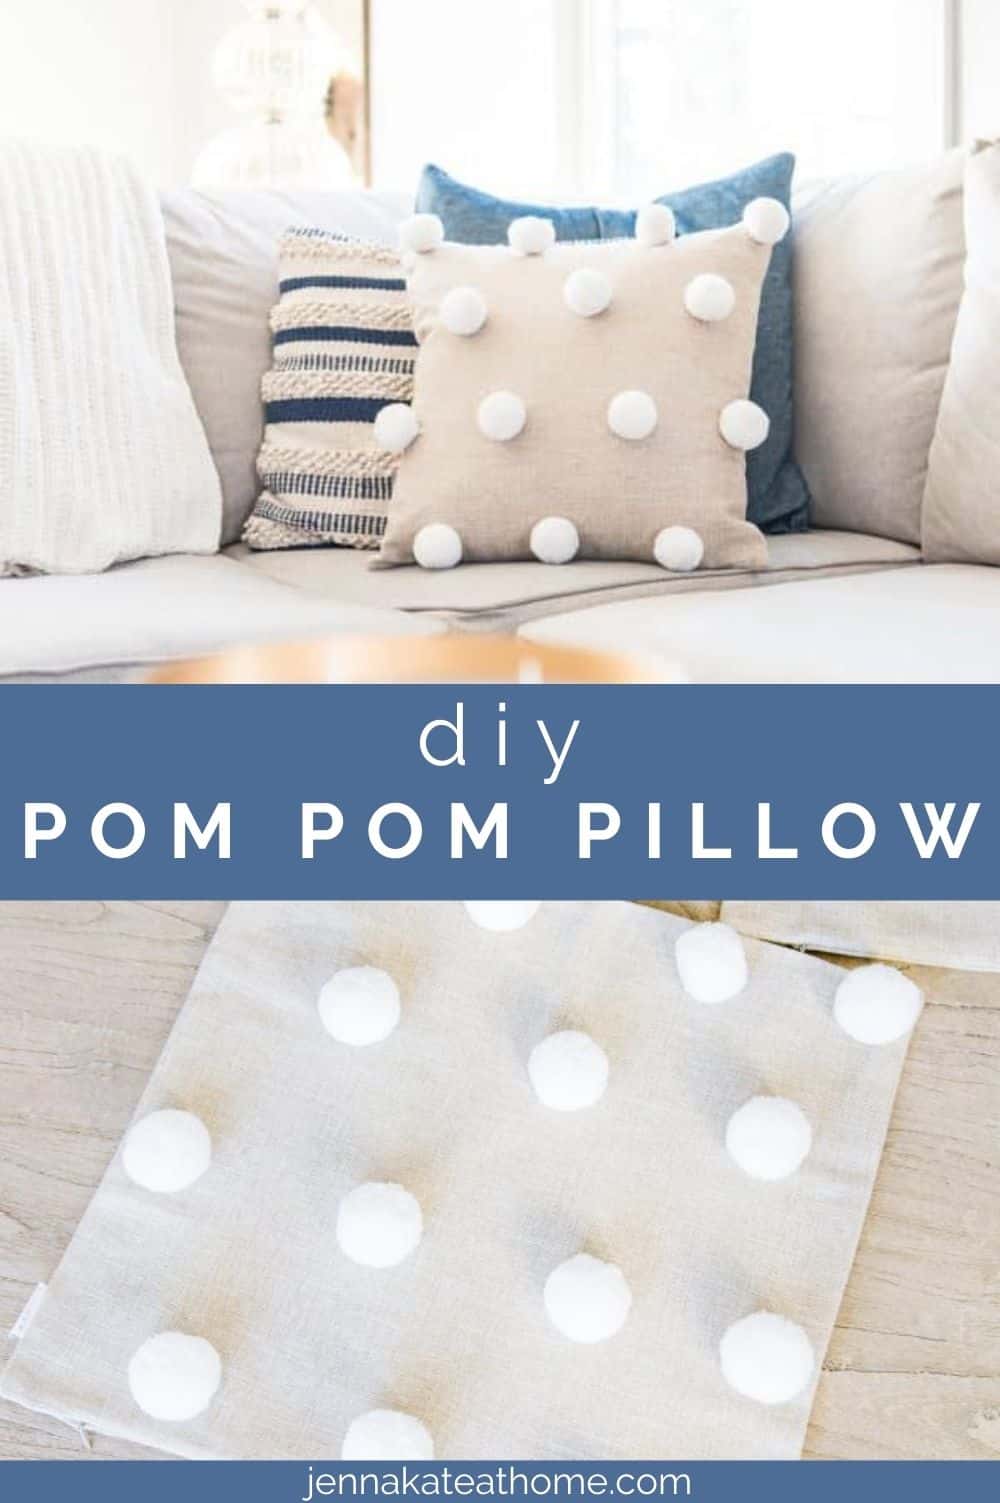
Add coziness to your couch or bedroom with this easy to make DIY pom pom throw pillow cover. Not only does it look fun but it adds the perfect amount of texture to your winter decorating efforts.

One of my favorite ways to elevate a couch or bed is by adding texture and layers. On a couch, the layers will be throw pillows and blankets but they also function as the texture. It’s important to vary the textures, though, and not just use all one type of fabric.
That’s why I love this DIY pom pom pillow so much. It’s an easy way to add texture to any couch or bed! A pillow like this is incredibly easy to make in only 15 minutes, and you can make it any color you want. I like this neutral version as I know it will work in any room of my home.

- Plain throw pillow covers (I used these ones – both the quality & price are great)
- Pom Poms (These are the exact ones I used but these are another option although a bit smaller)

How to Make the Pom Pom Throw Pillow Cover
- Figure out Spacing: Figure out how you want your pom poms spaced on your pillow cover. I chose to alternate a row of 4 with a row of 3.
- Attach Pom Poms: To attach the pom poms you have 2 choices – glue them on with fabric glue or a mini glue gun or sew them on. I chose the lazy route and just hot glued them on. But then my toddler got his hands on them and messed it up a bit so I went back and added a stitch to each one to make them secure. BUT if you don’t have kids that will pull at them, glueing is just fine! They were pretty secure on there.
- Add the Insert: Stuff an insert into the pillow and call it a day! Tip: for an 18 x 18 cover use a 20 x 20 insert to create a fuller look

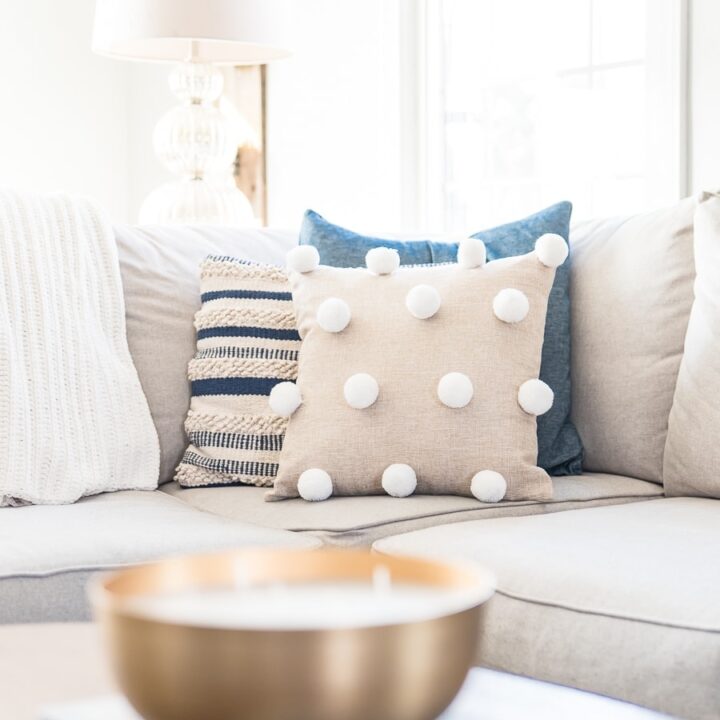
So easy but so beautiful! This is definitely a DIY project that anyone can do and even if you end up stitching on each pom pom, it won’t take you very long!

Doesn’t it add the perfect amount of texture? There’s something about texture in winter that I absolutely adore and I think it goes a really long way to keeping a living room cozy in winter.

That’s it! I hope you enjoyed this stupidly easy tutorial and that you’ll make some of these pretty pillows for you own home!
Want More Winter Decorating Ideas?
Pom Pom Pillow
Add texture and whimsy to your pillow collection with this easy tutorial - and you don't even need to sew!
Materials
- Plain throw pillow covers
- Pom Poms
- Pillow insert (for an 18 x 18 cover use a 20 x 20 insert to create a fuller look)
Tools
- Fabric glue
- OR hot glue gun
- Needle and thread to reinforce
Instructions
- Figure out Spacing: Figure out how you want your pom poms spaced on your pillow cover. I chose to alternate a row of 4 with a row of 3.
- Attach Pom Poms: You can either glue them on with fabric glue or a mini glue gun or sew them on. Or both, if you want to reinforce them.
- Add the Insert: Stuff an insert into the pillow and call it a day!