Content may contain affiliate links. When you shop the links, I receive a small commission at no cost to you. Thank you for supporting my small business.
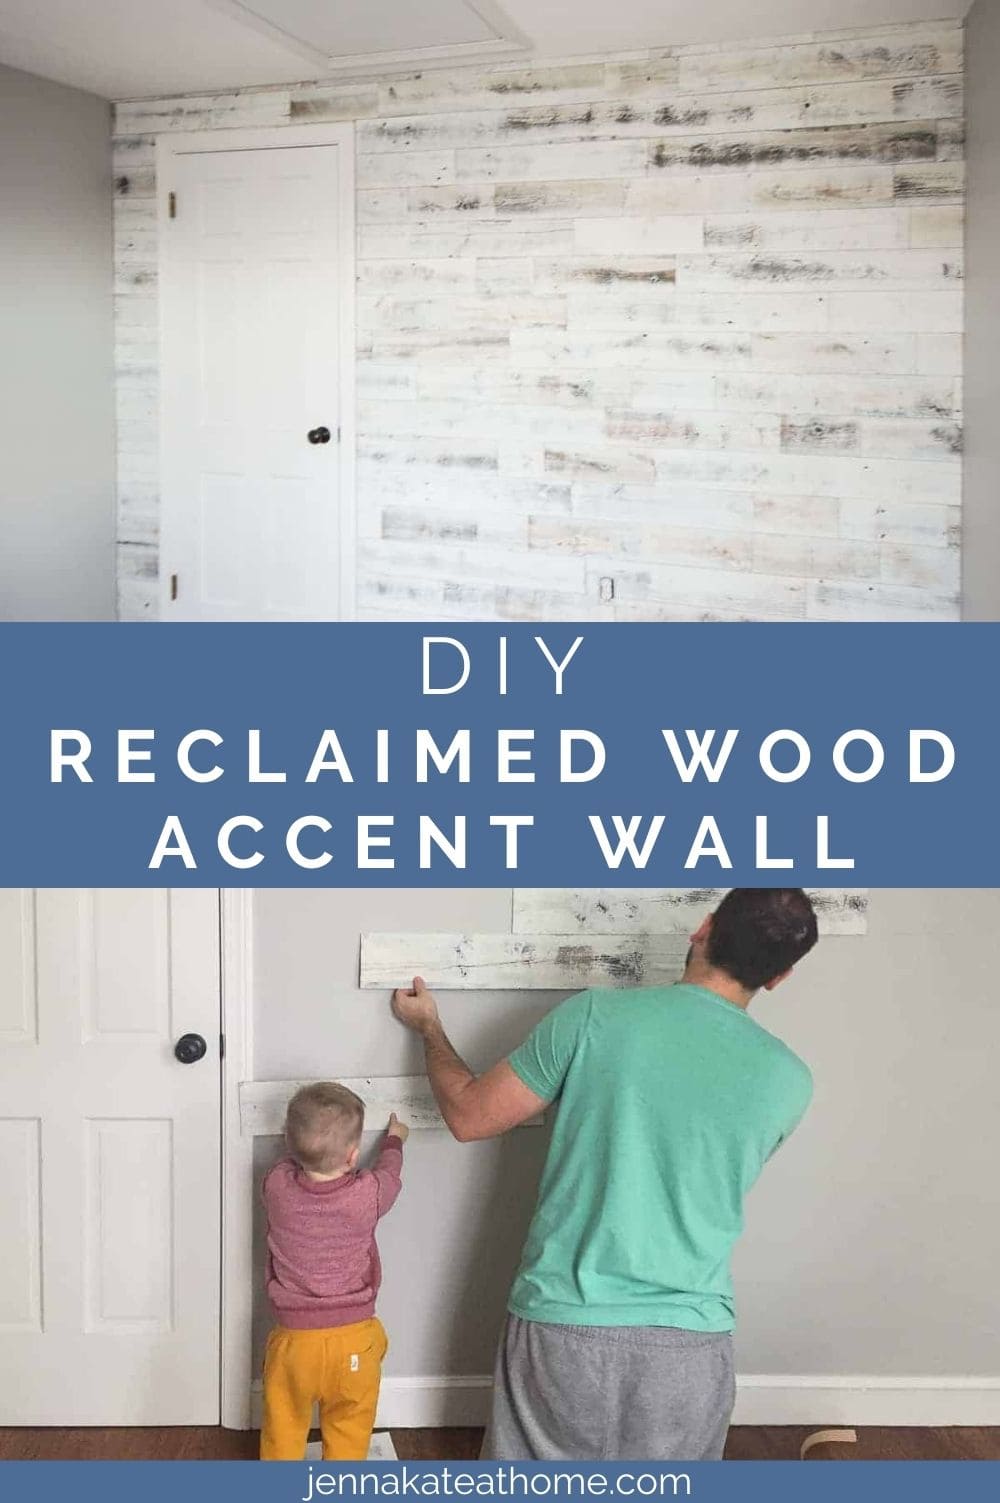
Adding a reclaimed wood accent wall to a room is an easy way to add interest and texture to any wall, whether it’s a bedroom, living room or even a ceiling.

Reclaimed Wood Accent Wall
I love the bright, sleek look of freshly-painted walls. It’s a blank canvas for any decor or even as a bold accent wall in a bold color.
But have you ever thought of creating a reclaimed wood accent wall?
Using actual reclaimed wood elements in your design can transform an ordinary room. And it’s environmentally-friendly since you’re reusing wood pieces.
These planks of wood might have come from a barn overlooking a picturesque farm or an old ship that fared the rough seas!
When we were preparing the baby nursery, I was eager to try a reclaimed white wood accent wall. It was surprisingly easy to install and the results were impressive!
We started with a pretty plain room…

The nursery is the smallest of our four bedrooms but it’s still a decent size, and perfect for a baby. This is the view when you enter the room. We thought the wall with the closet door would make a great focal point for the design.
It would also serve as a gorgeous background for the baby’s crib.
As you can see, the room gets plenty of bright light. With the flawless gray walls, it’s a cozy space.

By the way, if you’re wondering, the wall color is Stonington Gray by Benjamin Moore. It’s a cool, crisp mid gray with a slight blue undertone, so it’s best in rooms with warmer light.
If your room does not have many windows, these are some of the best paint colors for dark rooms.
The product that we used to get create the wood accent wall is from a company called Stikwood. The planks are real reclaimed wood but they are super thin. You apply them directly to the wall with a peel and stick backing. They could not be easier to install!
The adhesive is very strong. I would not recommend this if you’re renting or if you plan to remove the planks in the near future.

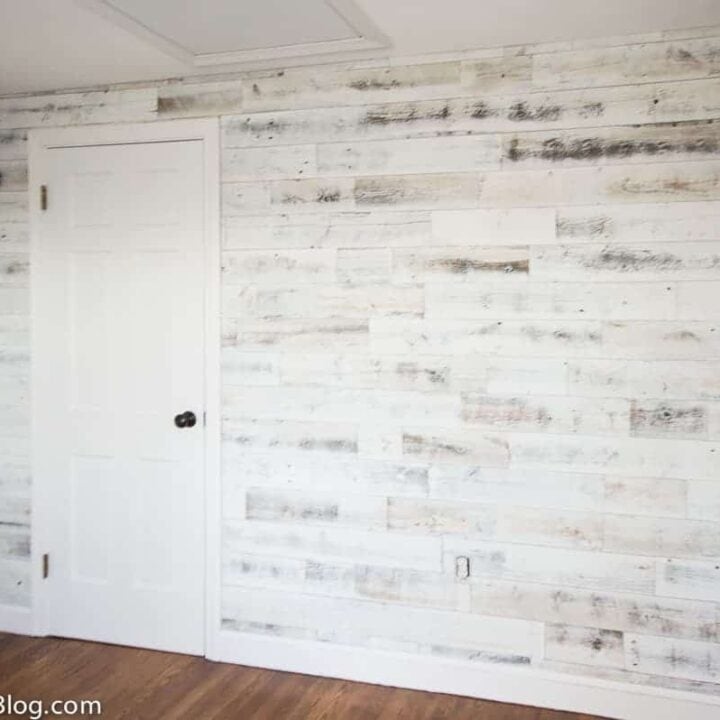
The color we chose is Reclaimed Weathered Wood White. The variation in every piece is breath-taking – some pieces are almost all white, some have more gray than others and some have a ton of gray.

Every piece is unique with knots and holes and beautiful texture. You can feel good about the Stikwood products too as they are responsibly sourced and FSC® Certified.
In addition, they use only European oil finishes and VOC-free paints. Sometimes, when you buy products, you instantly know they have nasty chemicals and VOCs because they immediately off-gas. You won’t need to worry about that with this wood product, especially if you’re putting it in a baby’s nursery.
How To Install The Wood Accent Wall
Step 1: Find the center of the wall
The first thing you will want to do is find the center of your wall.
From there, using a level to draw a line 20 inches in each direction, left and right. This will be the starting point for your first plank and you’ll need to make sure that you’re starting off level.

Step 2: Start placing the planks on the wall
Simply peel the backing off the plank and adhere it to the wall, using the line as your guide, either along the top of bottom of that first plank.

Press the plank firmly on the wall and use a j-roller to ensure full adhesion.

Step 3: Stagger the seams as you go
Now you’re ready to rock and roll and pick up the pace!
You’re going to want to stagger the seams to give your wood accent wall a more natural pattern. We tried to avoid having areas where seams aligned vertically. (We only ended up with 2 or 3 in the entire wall!)
Also, make sure to use a mixture of different length boards and vary the colors for a more organic look.


Above, you can see how we used different length planks (they come precut for you!) for the most natural effect.


Start in the middle and work your way out and up.
Any planks on the sides that needed to be cut can wait until the end. By doing this, we were able to get as much done without having to constantly stop and start to make cuts.
Cute toddler helpers are optional and also a great story to tell baby when he arrives.

We made sure to butt the planks right up against the door frame so that we didn’t have any gaps. The same went for the opposite side where they butt up against the wall. The wood is so thin that it fits perfectly above baseboards, too.


Step 4: Measure and cut with your saw
The quickest way to figure out the cuts you need is to line a plank up below or above where it needs to fit and mark it with a pencil. It’s just as accurate as using a ruler but faster!

While the Stikwood website suggests that a jig saw is fine for cutting, we found ours made the wood split every time we tried it. Our compound miter saw made faster, cleaner cuts with less frustration.

Overall, this project took us about 5 hours from start to finish and it was worth every minute.
The white wood accent wall adds a worldly, unique touch to this otherwise plain bedroom and completes the cozy feel of the room.
Now all we need is its dapper new resident!
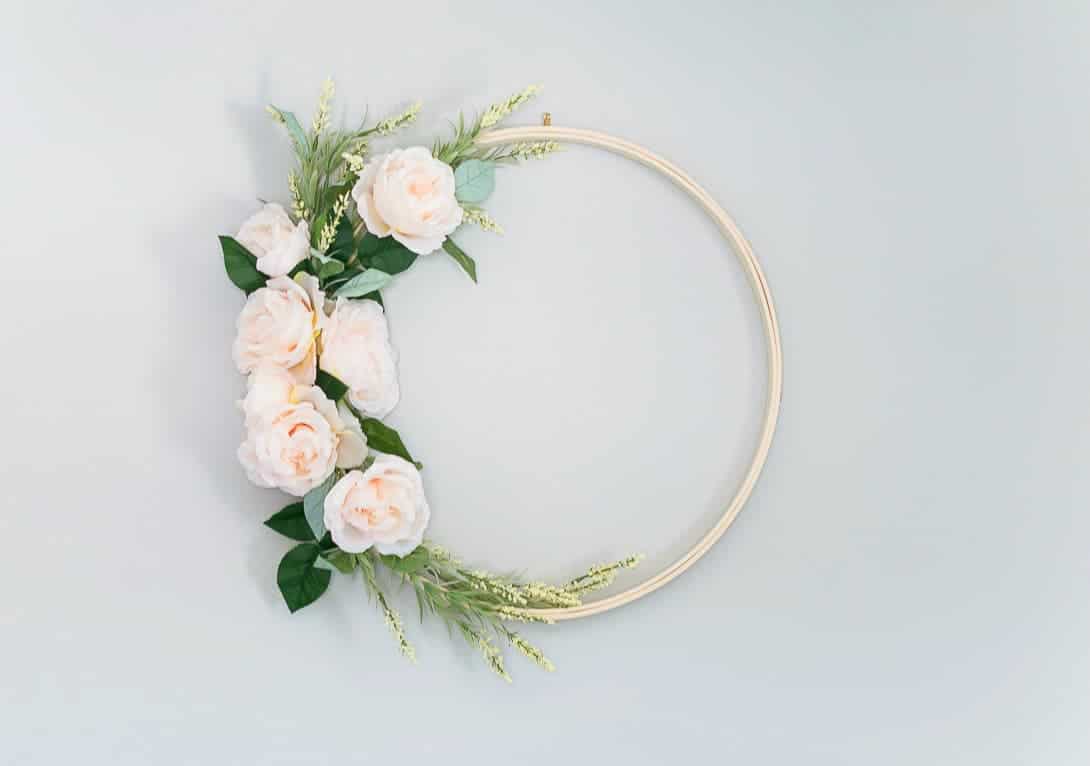
Get even more creative by nailing accessories and wall decor on top of the wall planks. Take a look at my free floral wall art to get you started!

Other DIY Projects
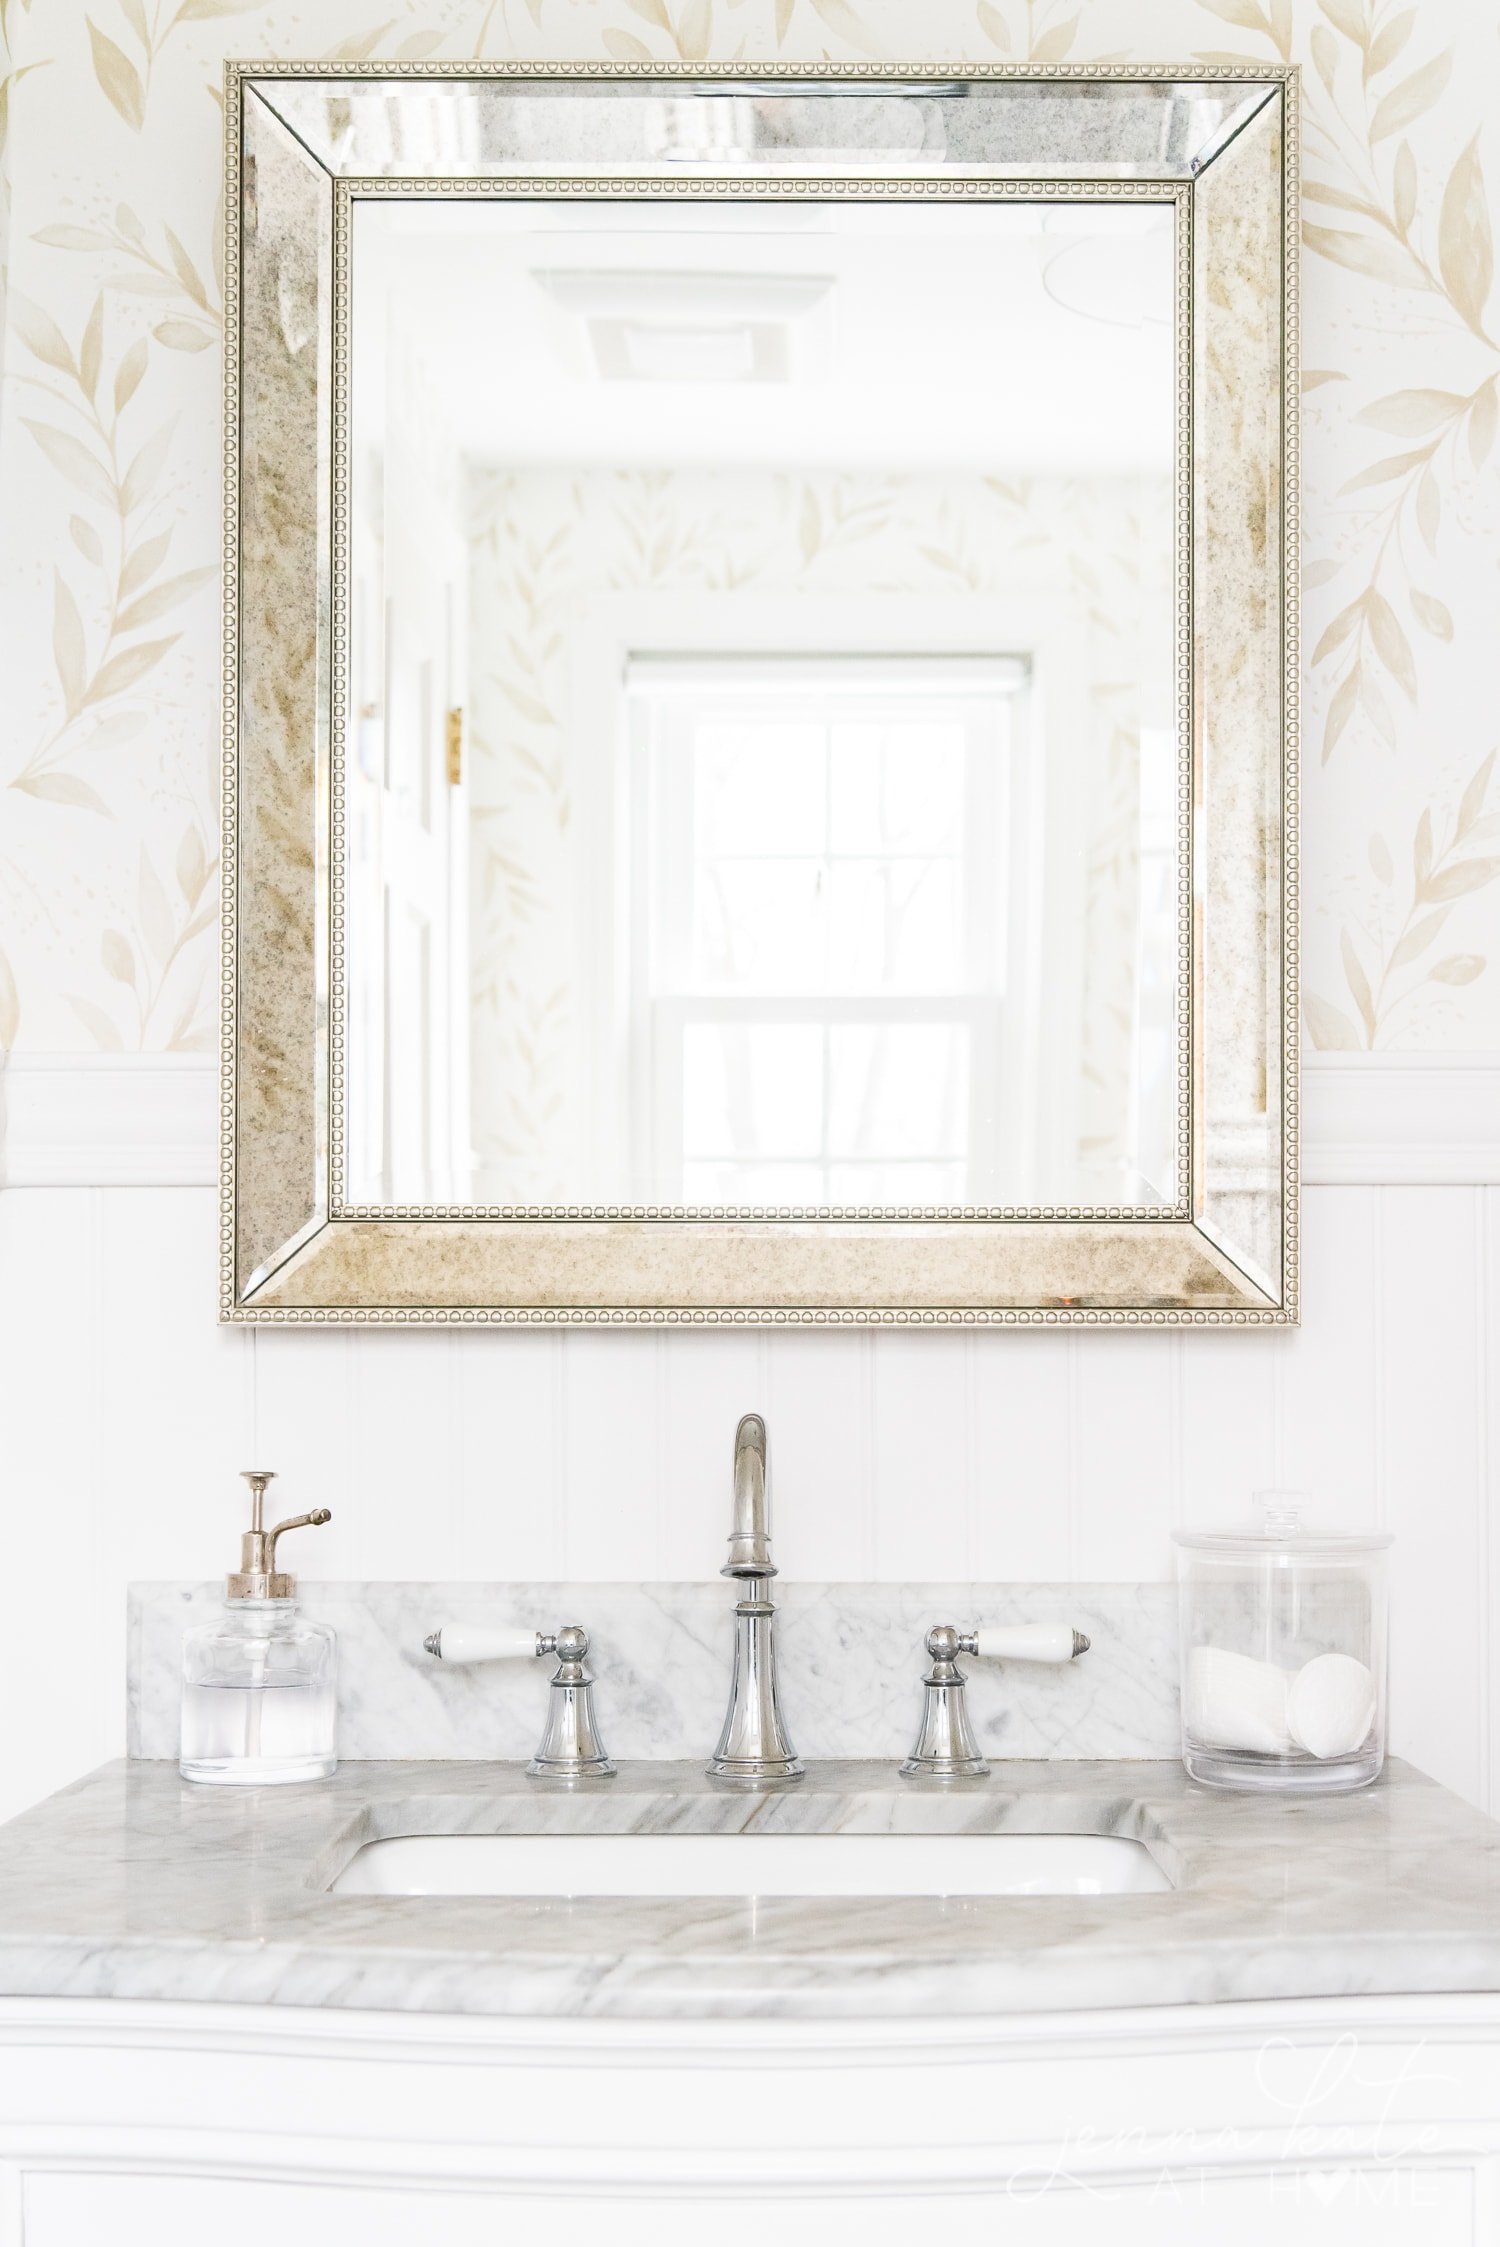
- How to Install Beadboard Wainscoting in a Bathroom
- Using Wallpaper to Create an Accent Wall
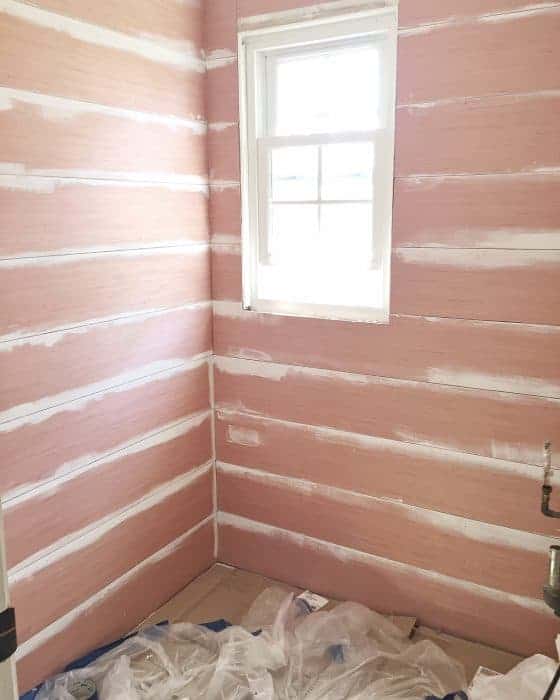
- DIY Plywood Shiplap Walls
- How to Build a Fireplace Surround
Easy Reclaimed Wood Accent Wall
Materials
- Peel & Stick reclaimed wood planks (Stikwood)
Tools
- Level
- J-Roller
- Compound miter saw
- Pencil
Instructions
- Find the center of your wall.
- From there, using a level to draw a line 20 inches in each direction, left and right. This will be the starting point for your first plank and you'll need to make sure that you're starting off level.
- Start placing planks on the wall by peeling the backing off the plank and adhering it to the wall. Use the line as your guide, either along the top of bottom of that first plank.
- Press the plank firmly on the wall and use a j-roller to ensure full adhesion.
- Stagger the seams to give your wood accent wall a more natural pattern. Start in the middle and work your way out and up.
- Measure and cut with a saw to have different lengths of boards and colors for a more organic look.
- Leave the edges for last.

The title to me indicated actual real used wood. I have lots of wood that is thin and would be perfect for planking in my dining room so was disappointed to see that you bought your planks and even ordered the color. I’ll move on.
It is *real* wood. Just because it was purchased doesn’t make it any less real.
how many sq ft of stick wood did you need to buy for your wall? what are the dimensions of the wall. Also do you think it will go an ugly wall of mirror in a bathroom?
Hi Izzy, you can calculate the square footage needed for you own space on the Stikwood website. Off hand, I don’t remember exactly how many boxes we purchased.