Content may contain affiliate links. When you shop the links, I receive a small commission at no cost to you. Thank you for supporting my small business.
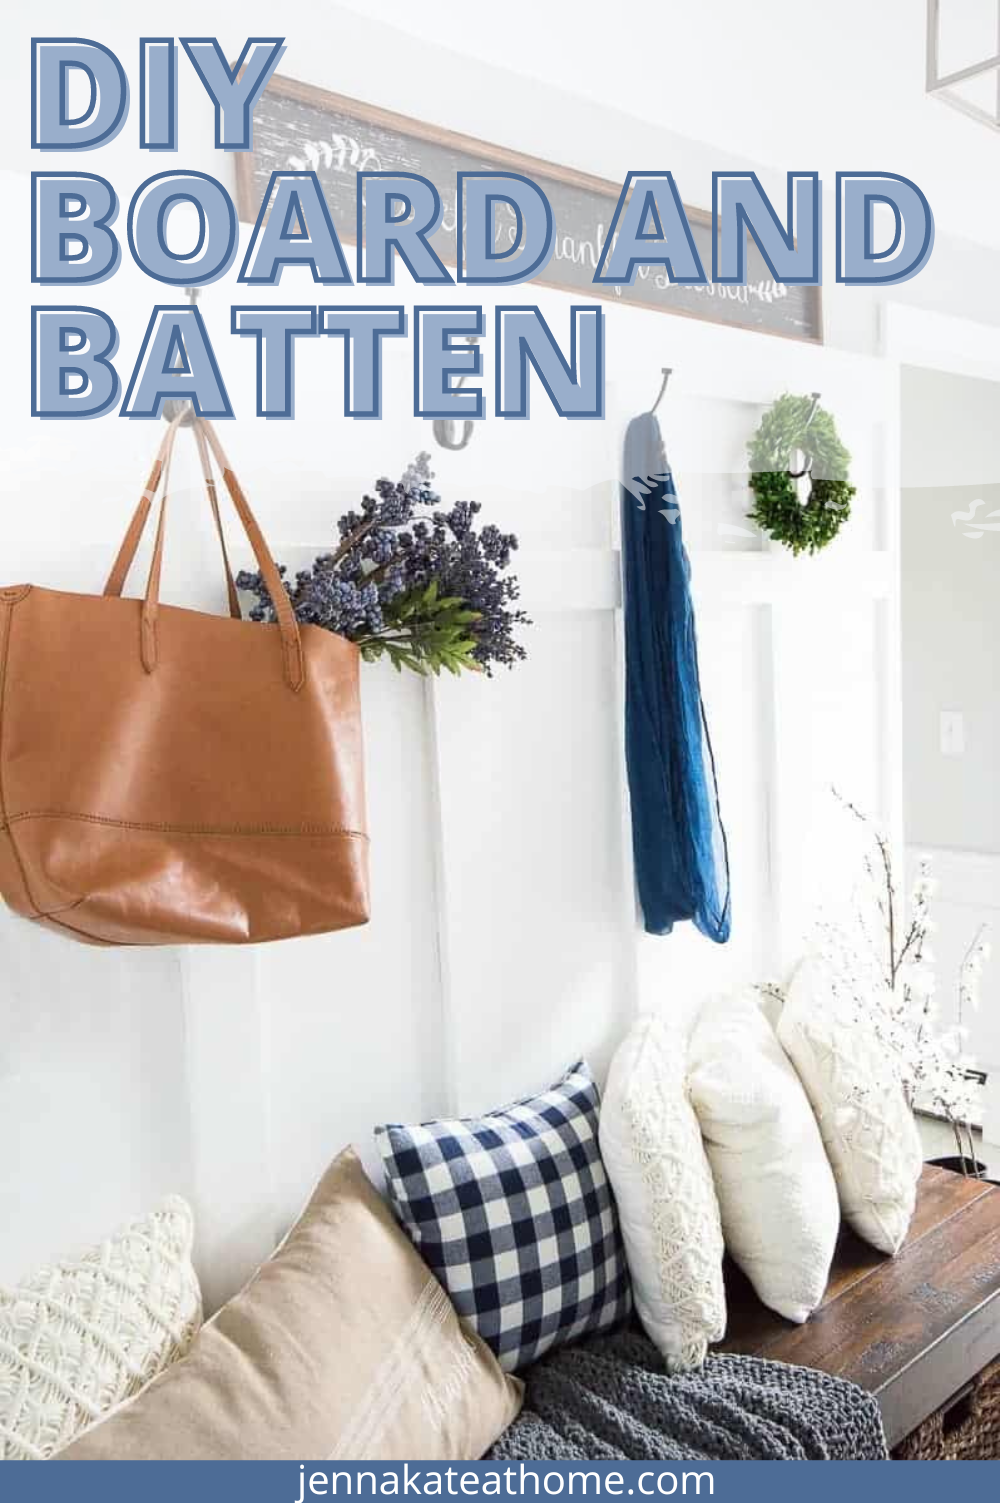
Learn how to build and install interior board and batten from the comfort of your home. It’s a beautiful wall treatment that’s a great weekend project for any level of DIYer!
Itching to add some personality and texture to your walls? A DIY batten accent wall might be just what you need to spruce up your space. This classic design element has been around for centuries and is still popular today for its timeless appeal and versatility.
Plus, it’s a relatively easy and affordable DIY project with only a few basic tools and materials needed.
What is a Board and Batten Wall?
Board and batten is a type of wall treatment that involves installing narrow horizontal pieces (battens) over vertical wider strips (boards).
The result is a grid-like pattern that adds depth and interest to your walls. You can customize the spacing and size of the battens to create different looks, from traditional to modern.’
Plus, you can easily paint or stain the wood to match your home decor.
Why Choose Board and Batten?
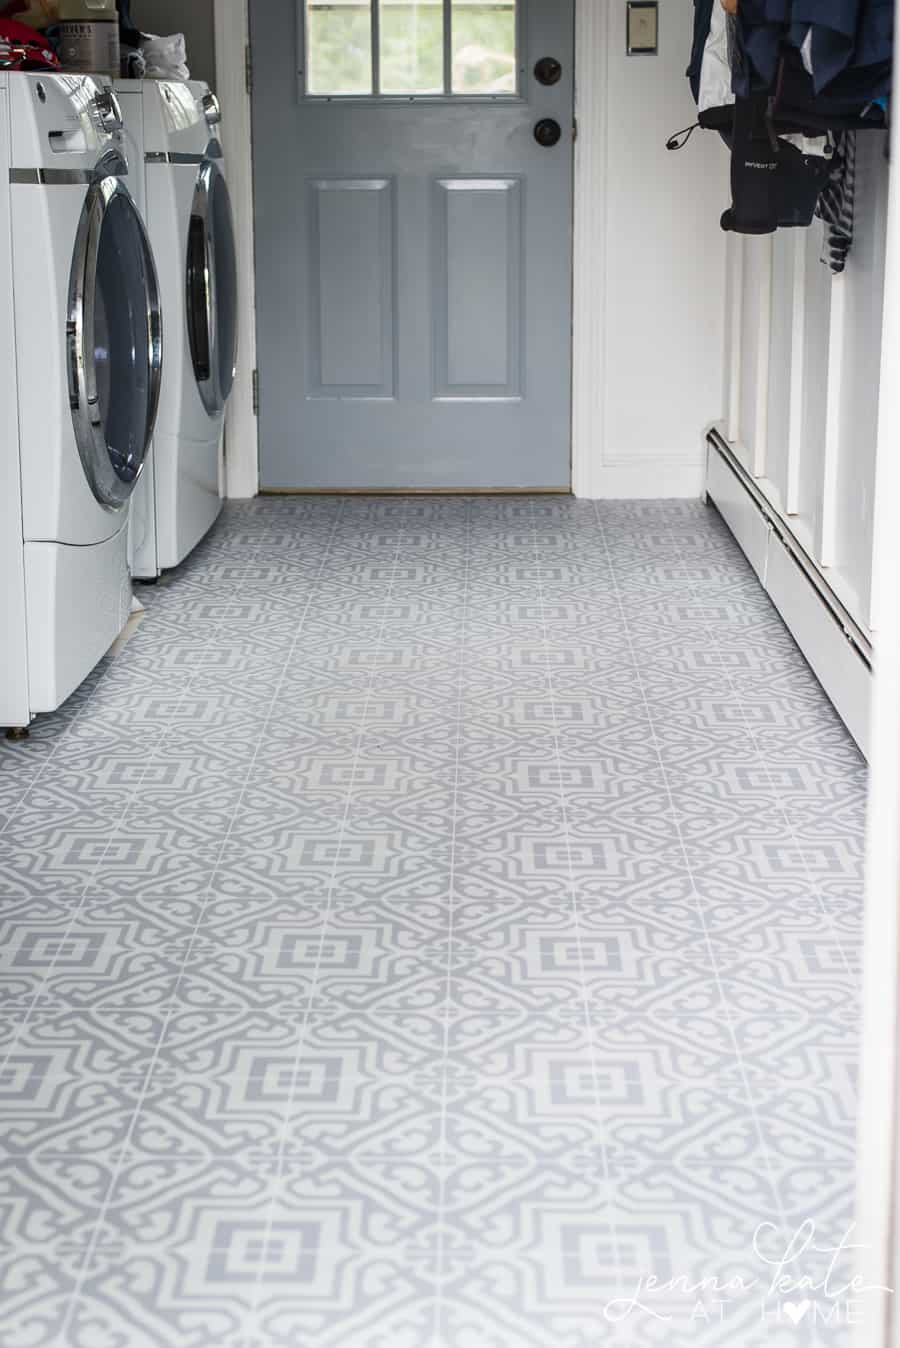
I love adding architectural detail to walls. The majority of our home has beautiful custom wainscoting that adds so much character. But our mudroom, where we enter our home, lacked a single ounce of that character that the rest of our home has.
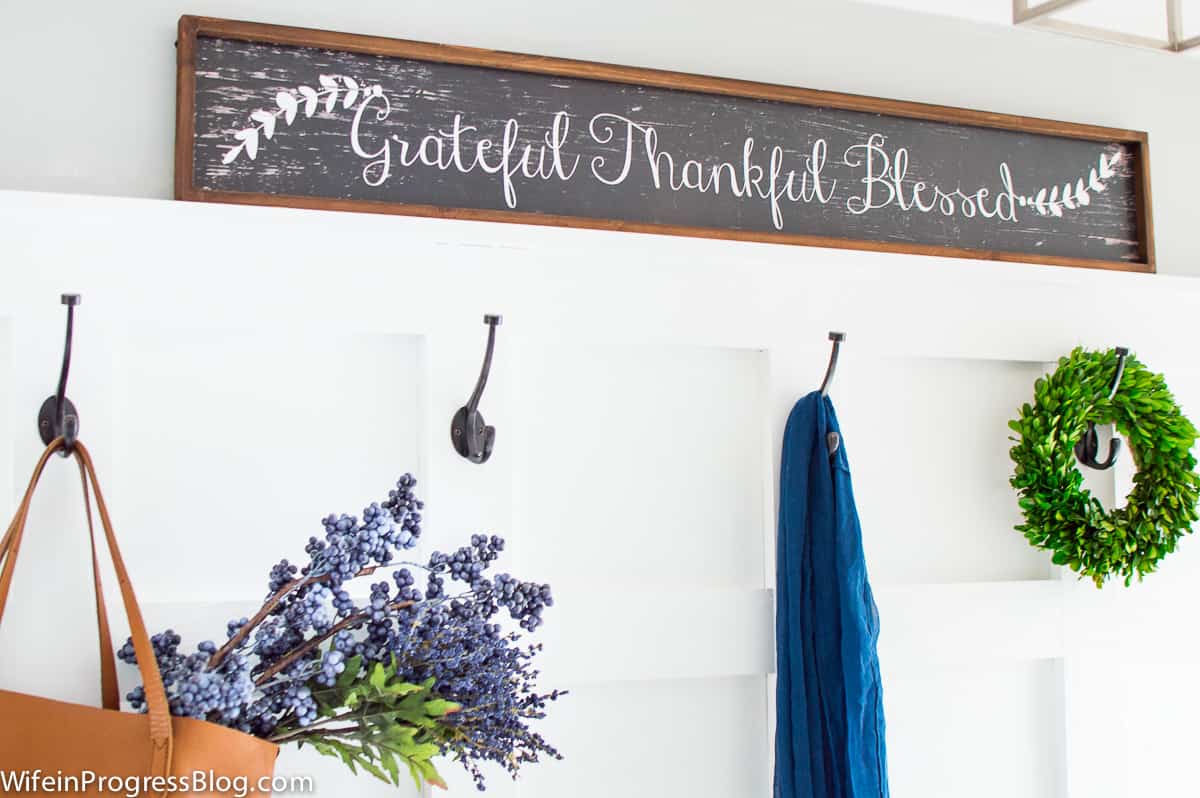
I decided to add a DIY board and batten treatment to the walls because it complements the existing moldings and details throughout the house. Plus, the vertical batten boards lend themselves nicely to attaching hooks!
Our walls are nice and smooth, but this can also be done on textured walls. You might just want to downplay the texture by painting the wall with a flat (or at least eggshell) sheen of paint.
Whether you want to add some architectural interest to a plain room like our mudroom, create a focal point in a space such as a master bedroom, or just try your hand at a new DIY project, a board and batten wall is a great option.
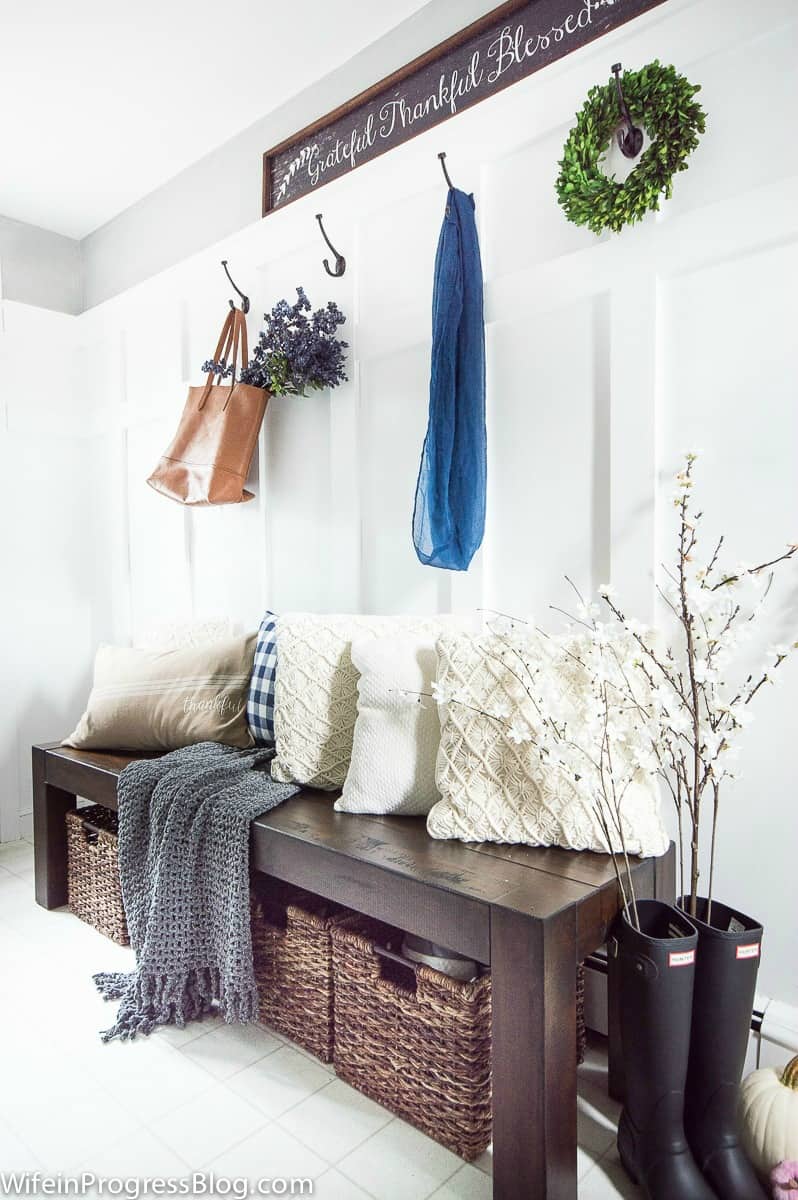
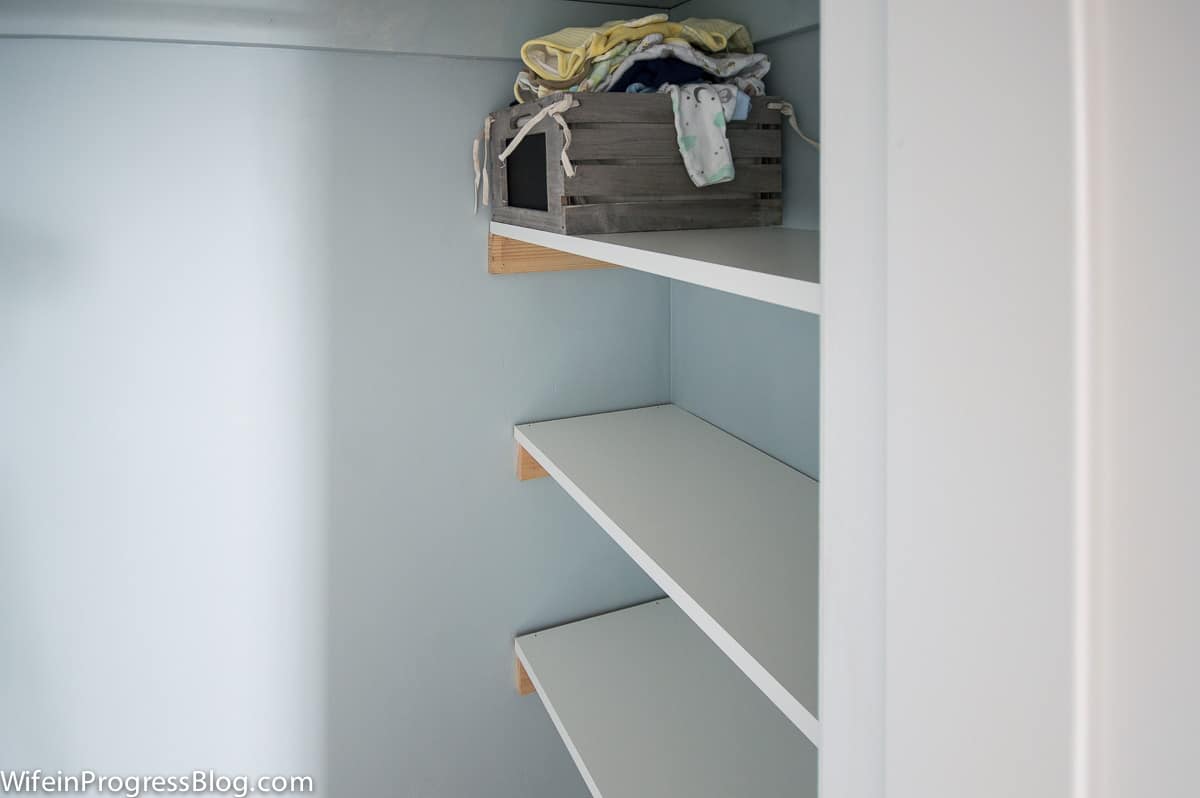
I’ve wanted to create a more functional mudroom with storage for shoes and sturdy hooks for coats for some time, now. With my home tour approaching, several weeks ago we bit the bullet and completed our mini-makeover in just one weekend.
To create a DIY board and batten wall, you will need to gather a few materials before you begin. Luckily, you will probably have several of these items already.
You can easily find the rest at your local Home Depot or Lowe’s. You’ll also wants to get the exact measurements for the wood prior to purchasing so you’ll know exactly how much you need.
Materials
Materials Needed for Board and Batten
You will have to figure out the total length of boards you need for your own space.- 1 x 4 boards for both the horizontal and vertical batten boards*
- 1 x 2 to to add as a trim piece to the very top horizontal batten
- Nail gun (or an old fashioned hammer and nails – it will just take longer)
- Brad nails for the nail gun
- Stud finder
- Saw (we use one of these but a regular hand saw and miter box will work too)
- Level
- Caulk and spackle
- White paint & paintbrush/roller
Additional Items for Decorating
How to Install Your DIY Board and Batten Treatment
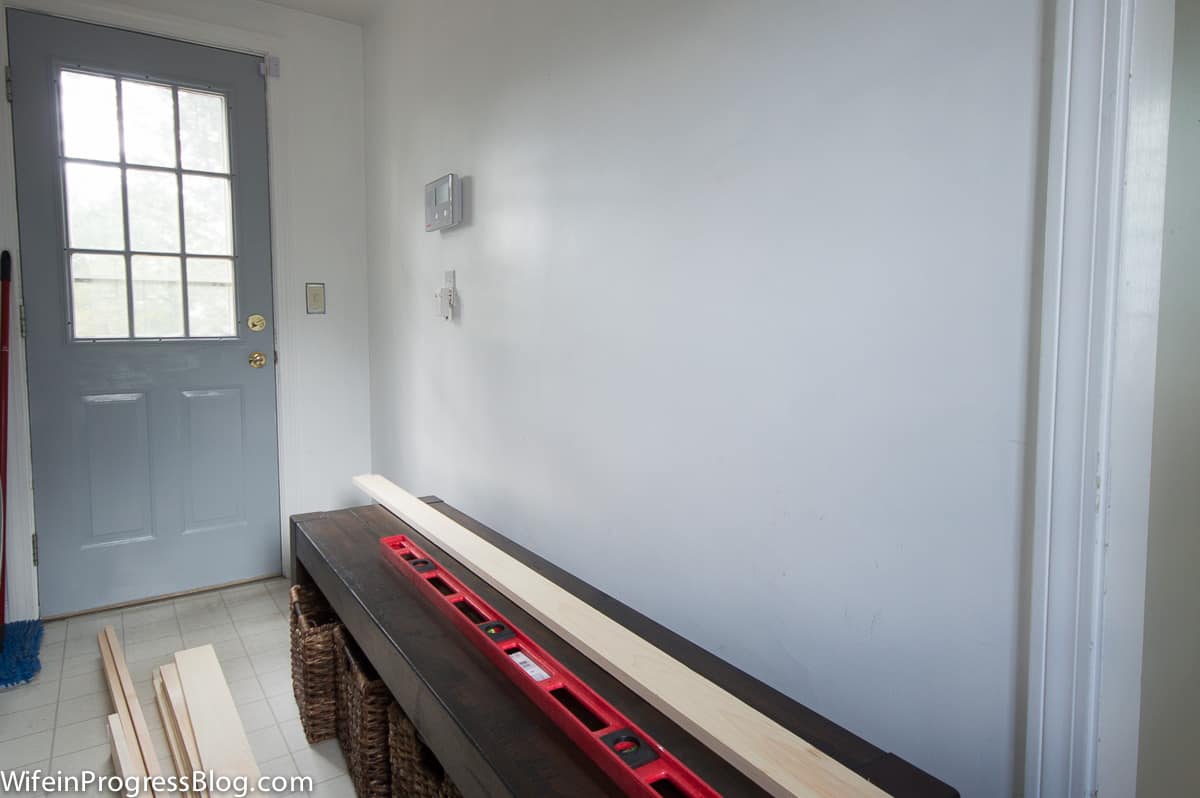
1. Select Height for Top Batten
It’s time to lay out the first board’s location!
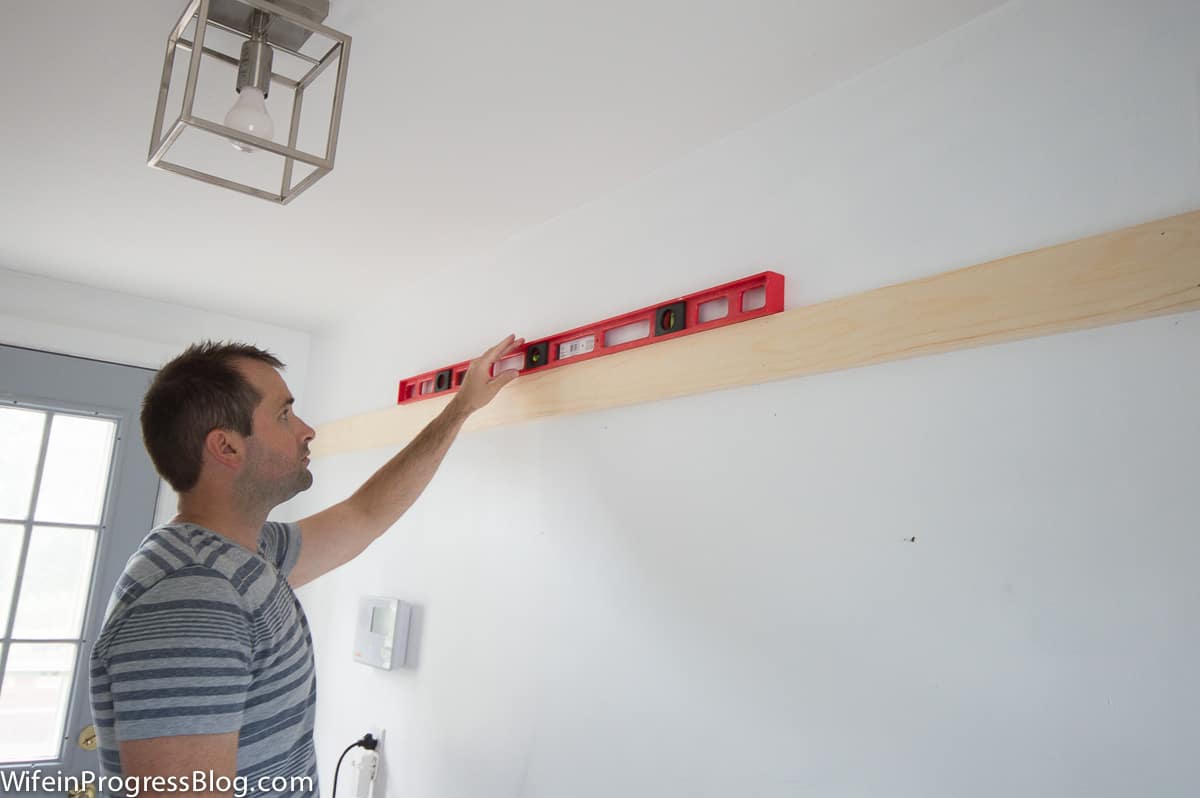
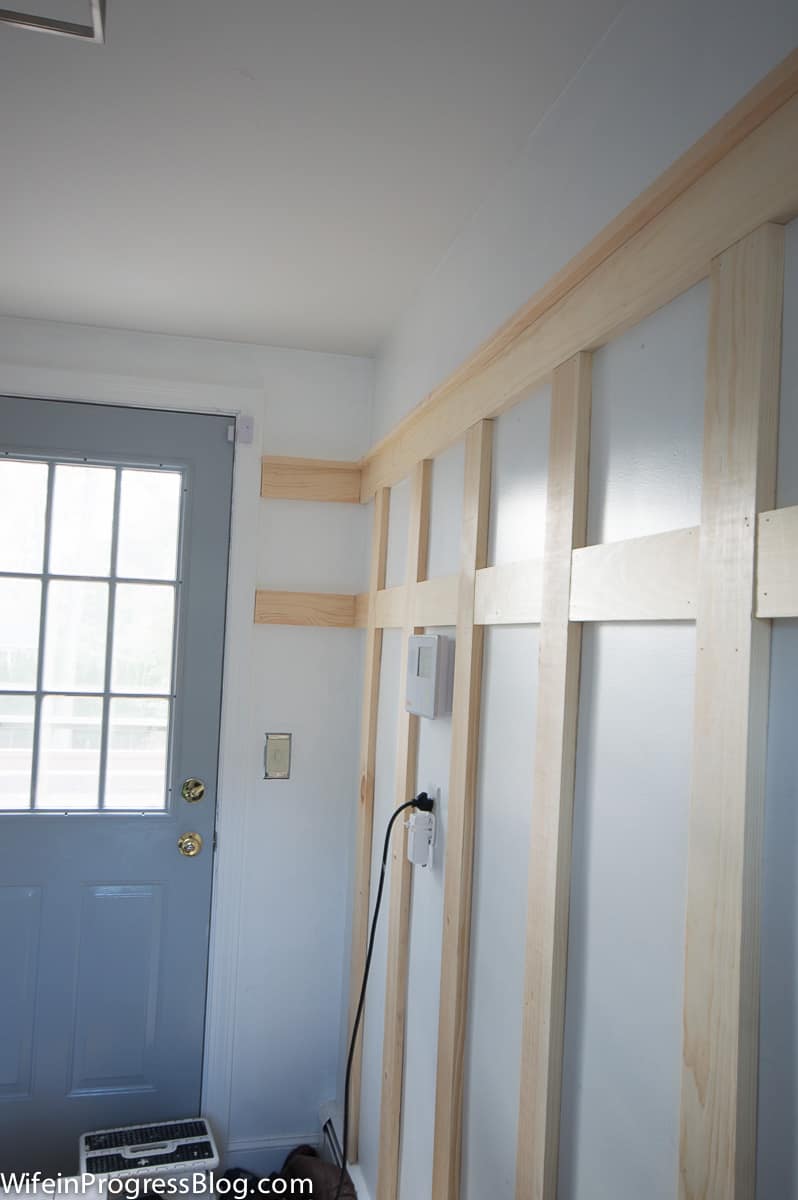
Decide how high you want the top horizontal batten to go. Mark your studs using the stud finder. Checking first for level, secure the batten to the wall using the brad nailer, nailing into the studs.
2. Create Box Effect
The next step you’ll repeat several times simultaneously with step three to form the box effect for this board and batten project.
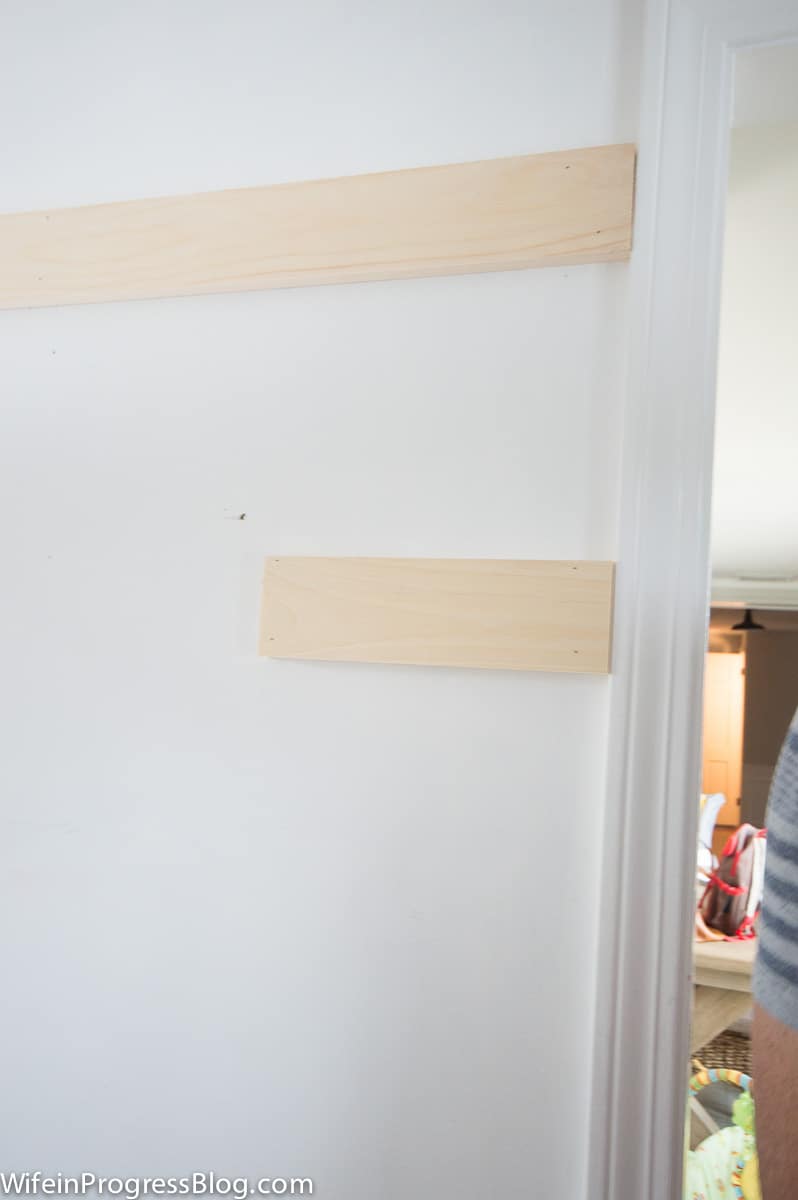
To create the box effect, another horizontal batten is nailed 12 inches below the top one. You could do all the vertical boards first if you wanted to, but then your horizontal “box” cuts would have to be really perfect to avoid gaps, so this is a better way to do it.
By doing horizontal first, then the vertical and repeating until the end, you get a much tighter fit, which means less gaps to try to hide with caulk! Repeat until you’ve reached the end of the wall and implement step three along the way.
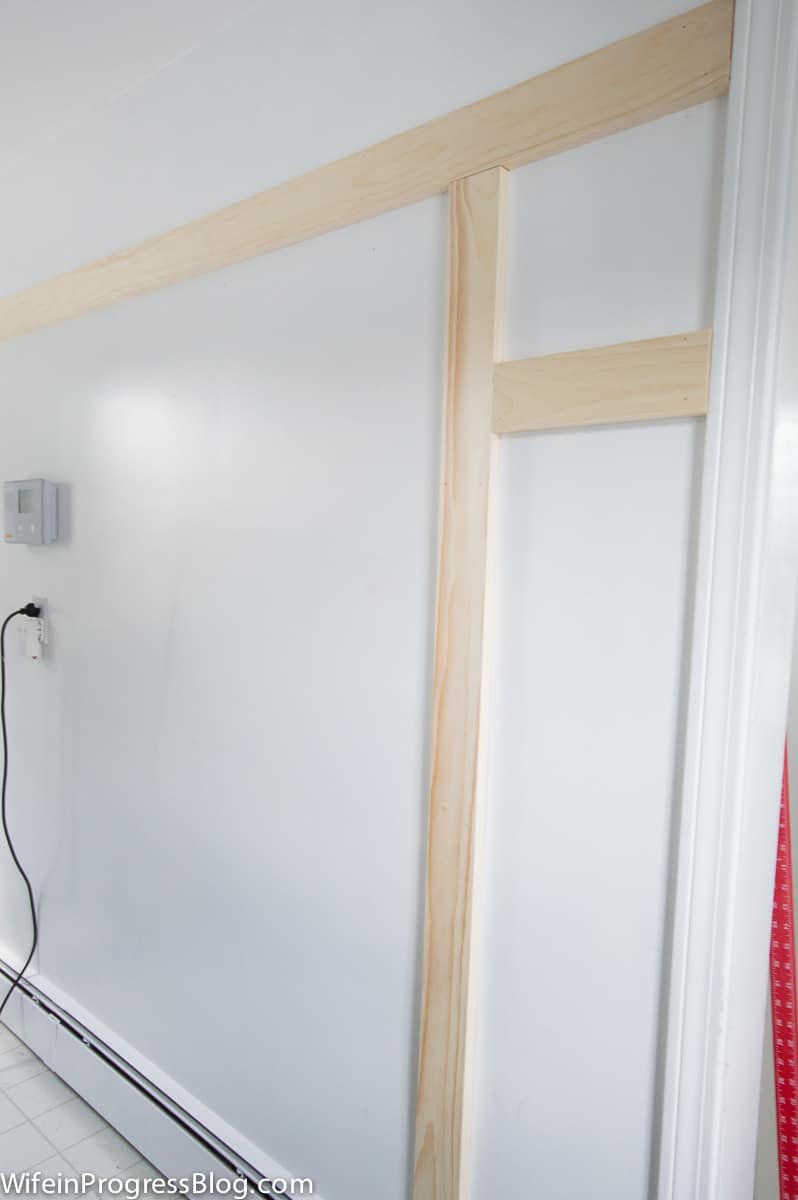
3. Install Vertical Pieces
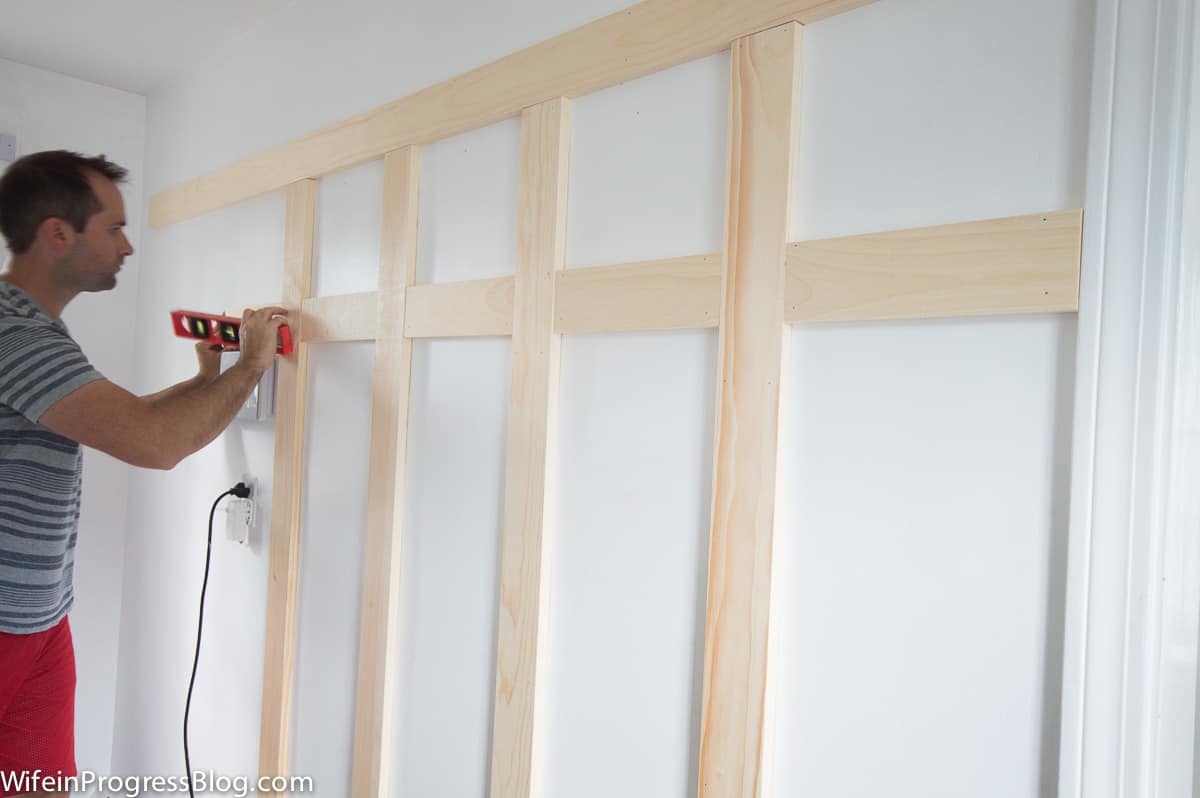
We repeated the process for the entire wall, spacing the vertical battens every foot. When trying to figure out how far apart to space the vertical pieces, we first measured the width of the wall. Taking the width of each board into account, we divided the space up as equally as we could. The result 4 sections that were 12 inches apart with the last section being an inch smaller (but that’s ok!).
4. Fill in Corner Wall
If you just have one wall, you can butt the edges right up against the end of the wall or door trim. If you have a corner wall or half wall between the main accent wall and door like we did, you may choose to fill that in too. You might need to also consider the length of your wall and how much wood you would like to use up.
We decided to wrap it around so that it met the door frame and the half wall was filled in.
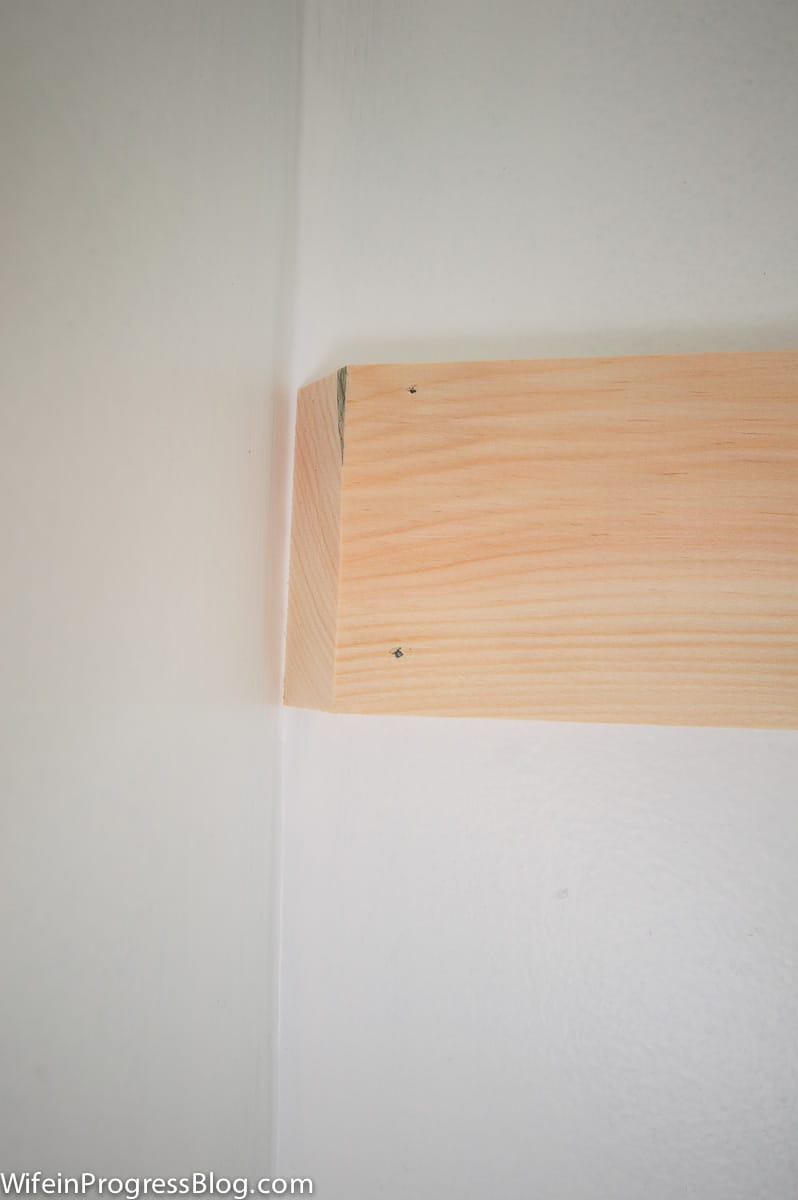
We cut the trim pieces at a 45 degree angle to create a mitered edge. If you don’t have a miter saw or miter box, you could also just butt the edges of the wood.
5. Add Top Accent Batten
This part is optional but really transforms the final look and adds the extra texture to the room. The top horizontal board is the secret sauce to an intricate Board and Batten design.
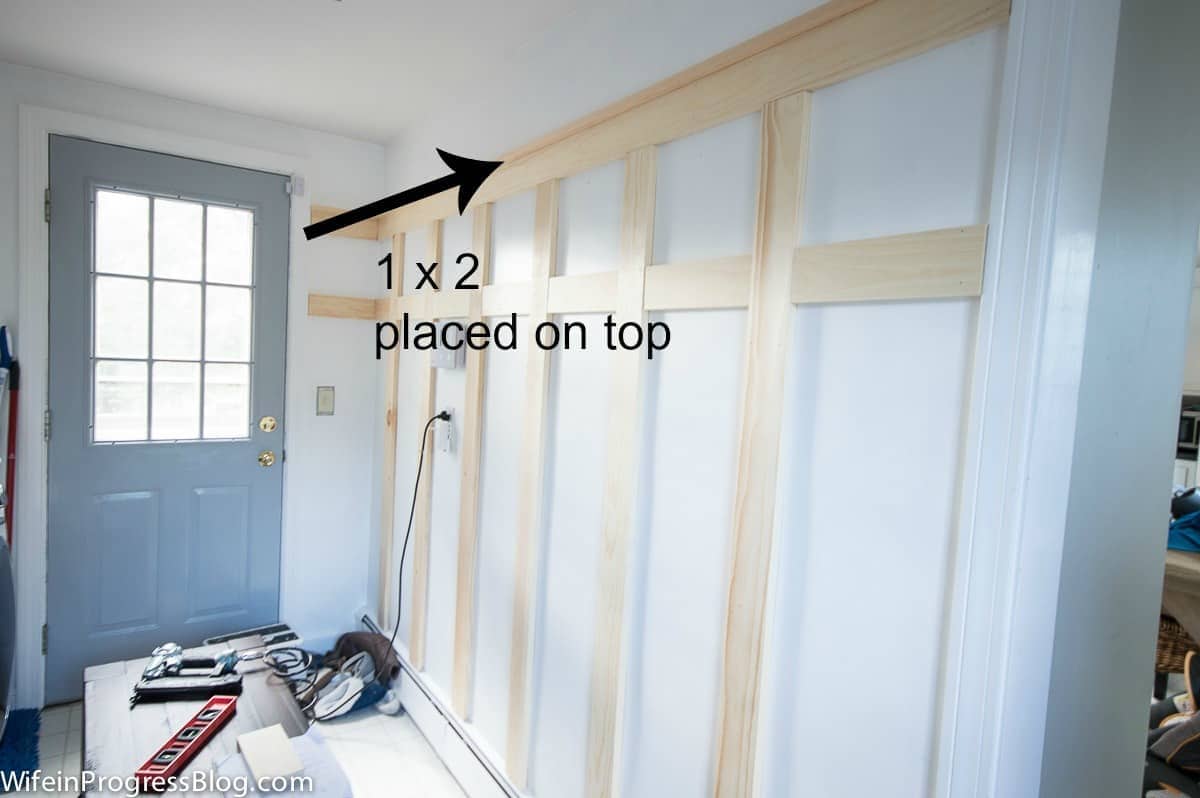
Add the 1 x 2 board to the top batten for that final touch of visual interest.
6. Fill in Gaps and Holes
Once all the wood has been installed, fixing all the gaps and nail holes with wood filler commences. Caulk should be used to fill the seams between the wood and the wall and spackle (since it’s sandable and paintable) to fill the nail holes. A putty knife or caulk gun might come in handy.
(Being real for a second – I still have a few gaps to caulk since I chose to paint it all first in the name of getting it photographed on time!!)
7. Prep for Painting
If you didn’t sand the wood prior to installation, now is a good time to use some fine grit sandpaper to smooth out any imperfections.
Next, seal the wood and get it ready for paint with a coat or two of primer. Look for a primer that is compatible with your paint and will provide good adhesion.
8. Paint the Wood
Apply two coats of white satin paint. When selecting your paint, choose a high-quality paint that is durable and easy to clean. A semi-gloss or satin finish is a good choice for a board and batten wall. If you opt for a paint sprayer, just be careful along the edges. However, a traditional paint brush works just fine!
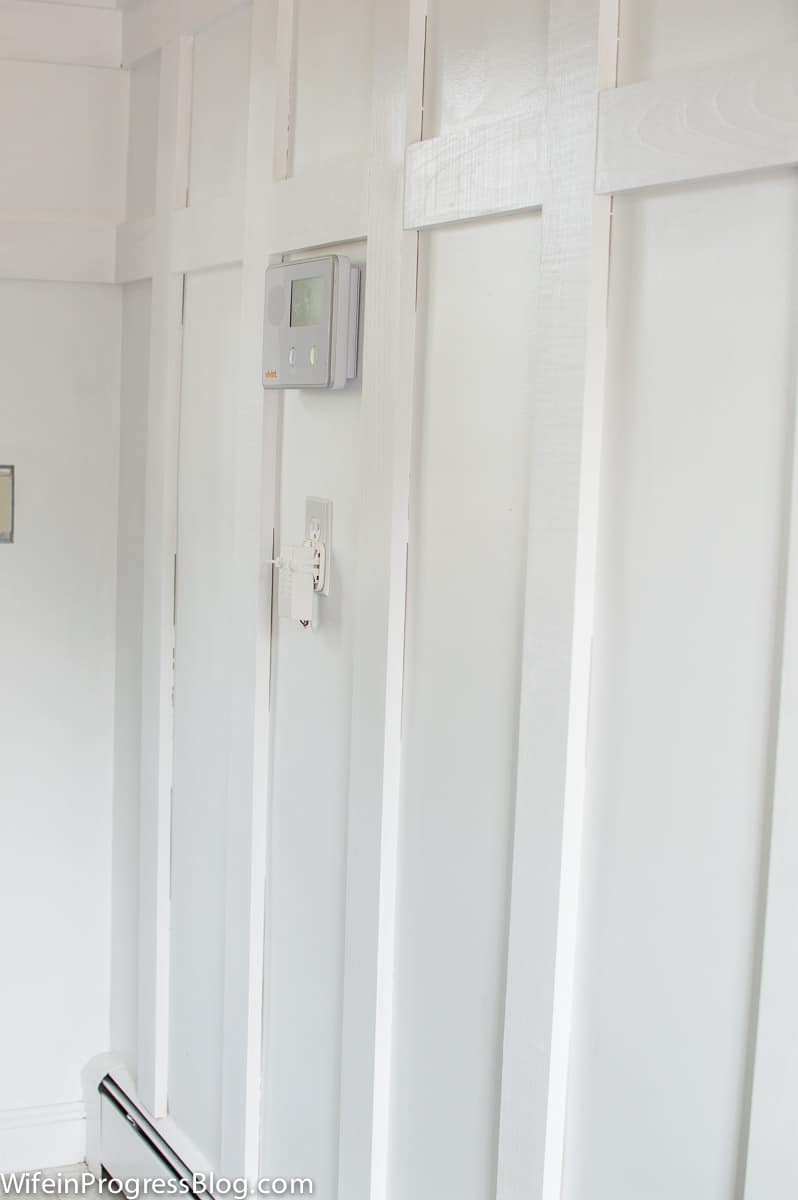
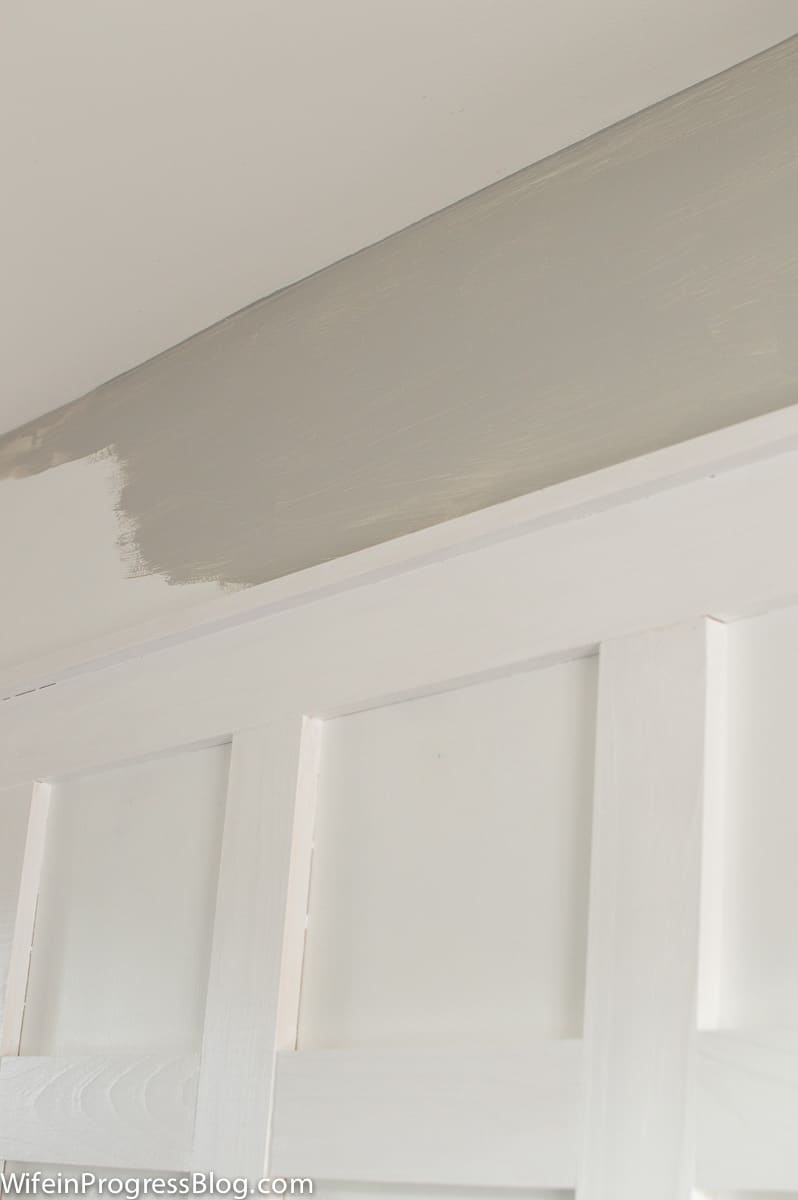
To really make the white board and batten pop, paint the wall above it with a contrasting color. We had an unused gallon of Sherwin Williams Light French Gray paint in our basement that we cracked open…and it proved to be the perfect color!
After that, you’ll let everything dry and take a step back to enjoy your hard work! Now, let’s get into a few technical tips and tricks to help you follow these steps perfectly. Painting, decorating, and maintaining the project might be the last pieces of the puzzle, but they certainly aren’t the least important!
Painting and Finishing Techniques
When choosing paint, consider the type of finish you want. A satin or eggshell finish is a good choice for walls, as it’s easy to clean and has a slight sheen. For a more dramatic look, consider a matte or flat finish. There really is no wrong answer here as long as you choose a high-quality paint that provides good coverage and is durable.
When painting your board and batten wall, use a high-quality brush or roller. Start by painting the edges and corners of the wall with a brush, then use a roller or paint sprayer to fill in the rest of the surface.
I prefer a neutral paint color and think white is a classic, but if you’d like to throw a spin on this project, play with different colors. Contrasting trim can look amazing when done right.
It’s a good idea to use long, even strokes, and avoid over saturating the brush or roller with paint. This will help prevent drips and ensure a smooth, even finish on the wood.
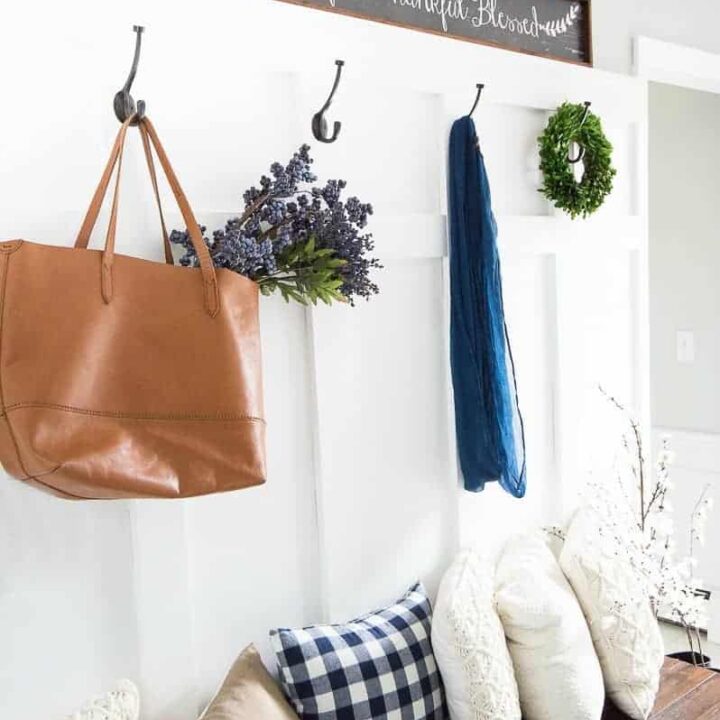
Decorating the Final Space
We screwed in some oil rubbed bronze pilltop coat hooks, situated our new bench ($124!) added some rattan baskets and we had a fully functional mudroom! There are certainly many different ways to personalize the space, so really make it your own.
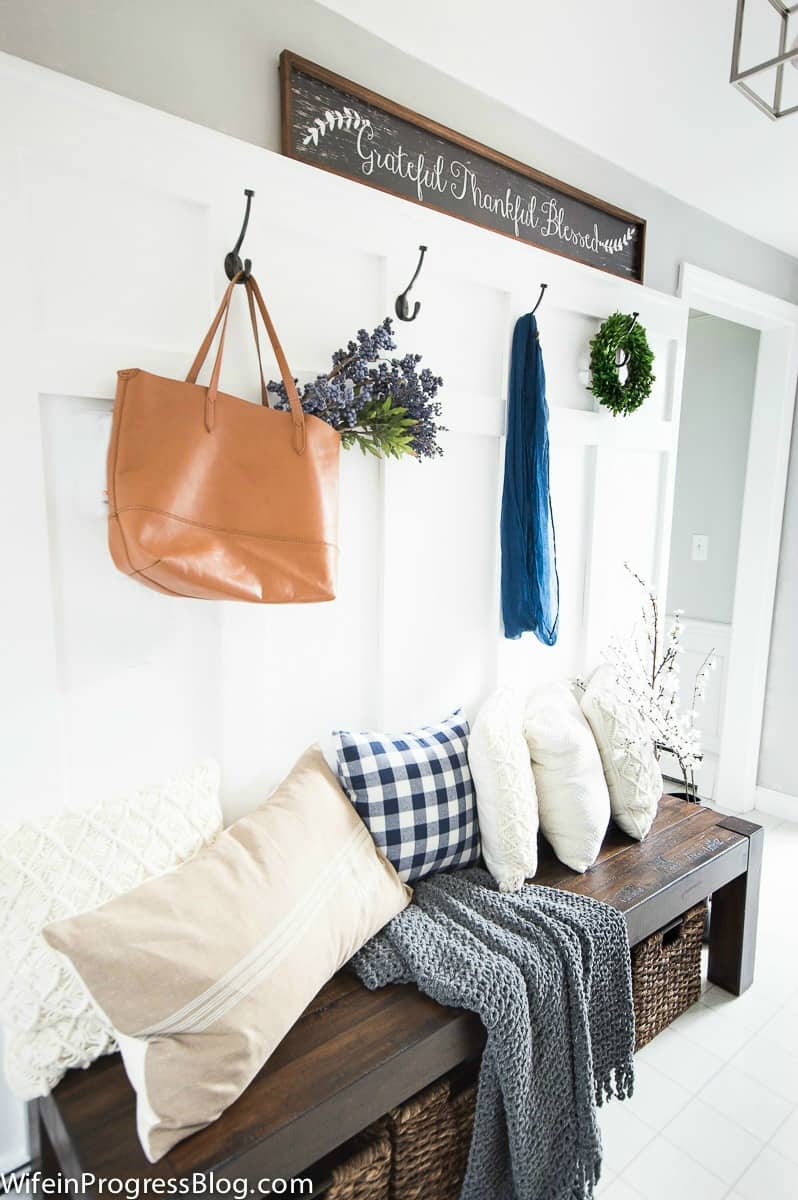
Decorating is the fun part! Whether you choose to add a bench, console table, or nothing at all next to your Board and Batten wall, let your personal preference guide you!
Maintaining your Board and Batten Wall
After completing your DIY board and batten wall and decorating the surrounding area, it’s important to properly maintain it to ensure it lasts for years to come. Here are some maintenance tips to keep in mind:
- Clean Regularly: Dust and dirt can accumulate on your board and batten wall over time, so make sure to clean it regularly. Simply use a soft cloth or duster to wipe down the wall. You’ll want to maintain smooth walls for easy cleans.
- Touch-up Paint: If you notice any chips or scratches in the paint, touch them up as soon as possible. This will prevent further damage and keep your wall looking fresh. Keep a bit of the paint in storage to pull back out for any touch-up’s.
- Protect from Moisture: Moisture can cause wood to warp and rot, so make sure to protect your board and batten wall from moisture. Consider applying a sealant or waterproofing product if your wall is near humidity or has the potential to be hit with rain coming in if the door was to open.
- Avoid harsh chemicals: Harsh chemicals can damage the paint and wood on your board and batten wall. Do not use any abrasive cleaners or chemicals, and stick to mild soap and water for cleaning.
By following these easy maintenance tips, you can keep your DIY board and batten wall looking great for many years.

A simple weekend project, right? I promise you, you can do this without a lot of time. In fact, a similar (lower height) board and batten wall was one of the first ever DIY projects we completed in our first home.
The total time we spent on this DIY project was about 6-7 hours (a couple hours installing board and batten pieces and about 4 hours caulking/spackling/painting). As you can see, this won’t take much time and can characterize your home in a great way.
Now, who’s ready to tackle this Board and Batten DIY home project?!
Board and Batten
Elevate your entryway with charming architectural elements that are also functional.
Materials
- 1 x 4 boards for both the horizontal and vertical batten boards (measure your wall to find out how many you will need)
- 1 x 2 to to add as a trim piece to the very top horizontal batten
- Caulk and spackle
- White paint
Tools
- Nail gun or hammer and nails
- Brad nails for the nail gun
- Stud finder
- Saw
- Level
- Paintbrush or roller
Instructions
- Decide how high you want the top horizontal batten to go. Mark your studs using the stud finder. Checking first for level, secure the batten to the wall using the brad nailer, nailing into the studs.
- To create the box effect, nail another horizontal batten 12 inches below the top one. By doing horizontal first, then the vertical and repeating until the end, you get a much tighter fit, which means less gaps to try to hide with caulk!
- Repeat the process for the entire wall, spacing the vertical battens every foot. When trying to figure out how far apart to space the vertical pieces, measure the width of the wall. Taking the width of each board into account, divide the space up equally.
- If you just have a one wall, you can butt the edges right up against the end of the wall or door trim. However, we decided to wrap it around so that it met the door frame. To do so, cut the end piece at a 45 degree angle to create a mitered edge. If you don't have a miter saw or miter box, you could also just butt the edges of the wood.
- Finally, to create a finished look, add the 1 x 2 board to the top batten.
- Once all the wood has been installed, fix all the gaps and nail holes. Use caulk to fill the seams between the wood and the wall and spackle to fill the nail holes.
- If you didn't sand the wood prior to installation, now is a good time to use some fine grit sandpaper to smooth out any imperfections. Seal the wood and get it ready for paint with a coat of primer, then apply two coats of white satin paint.
Notes
We chose to purchase cheap pine boards. We selected boards that had no warping and few knots. If this is a concern to you, purchase a higher grade wood or MDF - just know that it will increase the cost of the project.


This is WONDERFUL! And so easy and inexpensive!!
I think I’ll try this while my husband is away on a business trip. I love this stuff!
That looks amazing. I wouldn’t mind doing similar in my laundry/mudroom. May I ask, what color is your door painted? I’ve been contemplating painting our backdoor navy but think I’d like a softer denim blue.
Hi! It’s SW Morning Fog…it’s a little purple, though. I would suggest going with the darker shade SW Serious Gray BM Polaris Blue
This looks fabulous and I love your directions! I’ve been wanting to add a board and batten wall to my house so I”m definitely saving this one for reference! What a difference it made in your mudroom!
Thanks so much, Melissa! It was such an easy project but yes, it made such a difference!!