Content may contain affiliate links. When you shop the links, I receive a small commission at no cost to you. Thank you for supporting my small business.
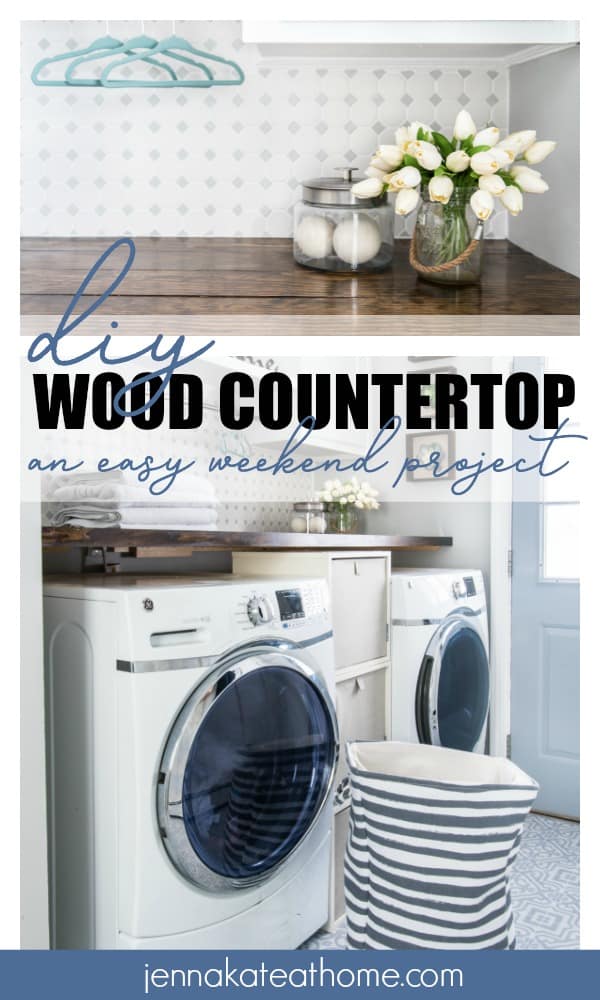
Learn how to make your own DIY wood countertops. They’re perfect for the laundry room makeover you’ve been meaning to tackle! Not to mention, it’s a great budget-friendly option!

Why Add Wood DIY Countertops?
Do you have an area in your house, like the laundry room, where you spend a lot of time in a small space, doing mundane tasks? Are you struggling to find space to sort and fold?
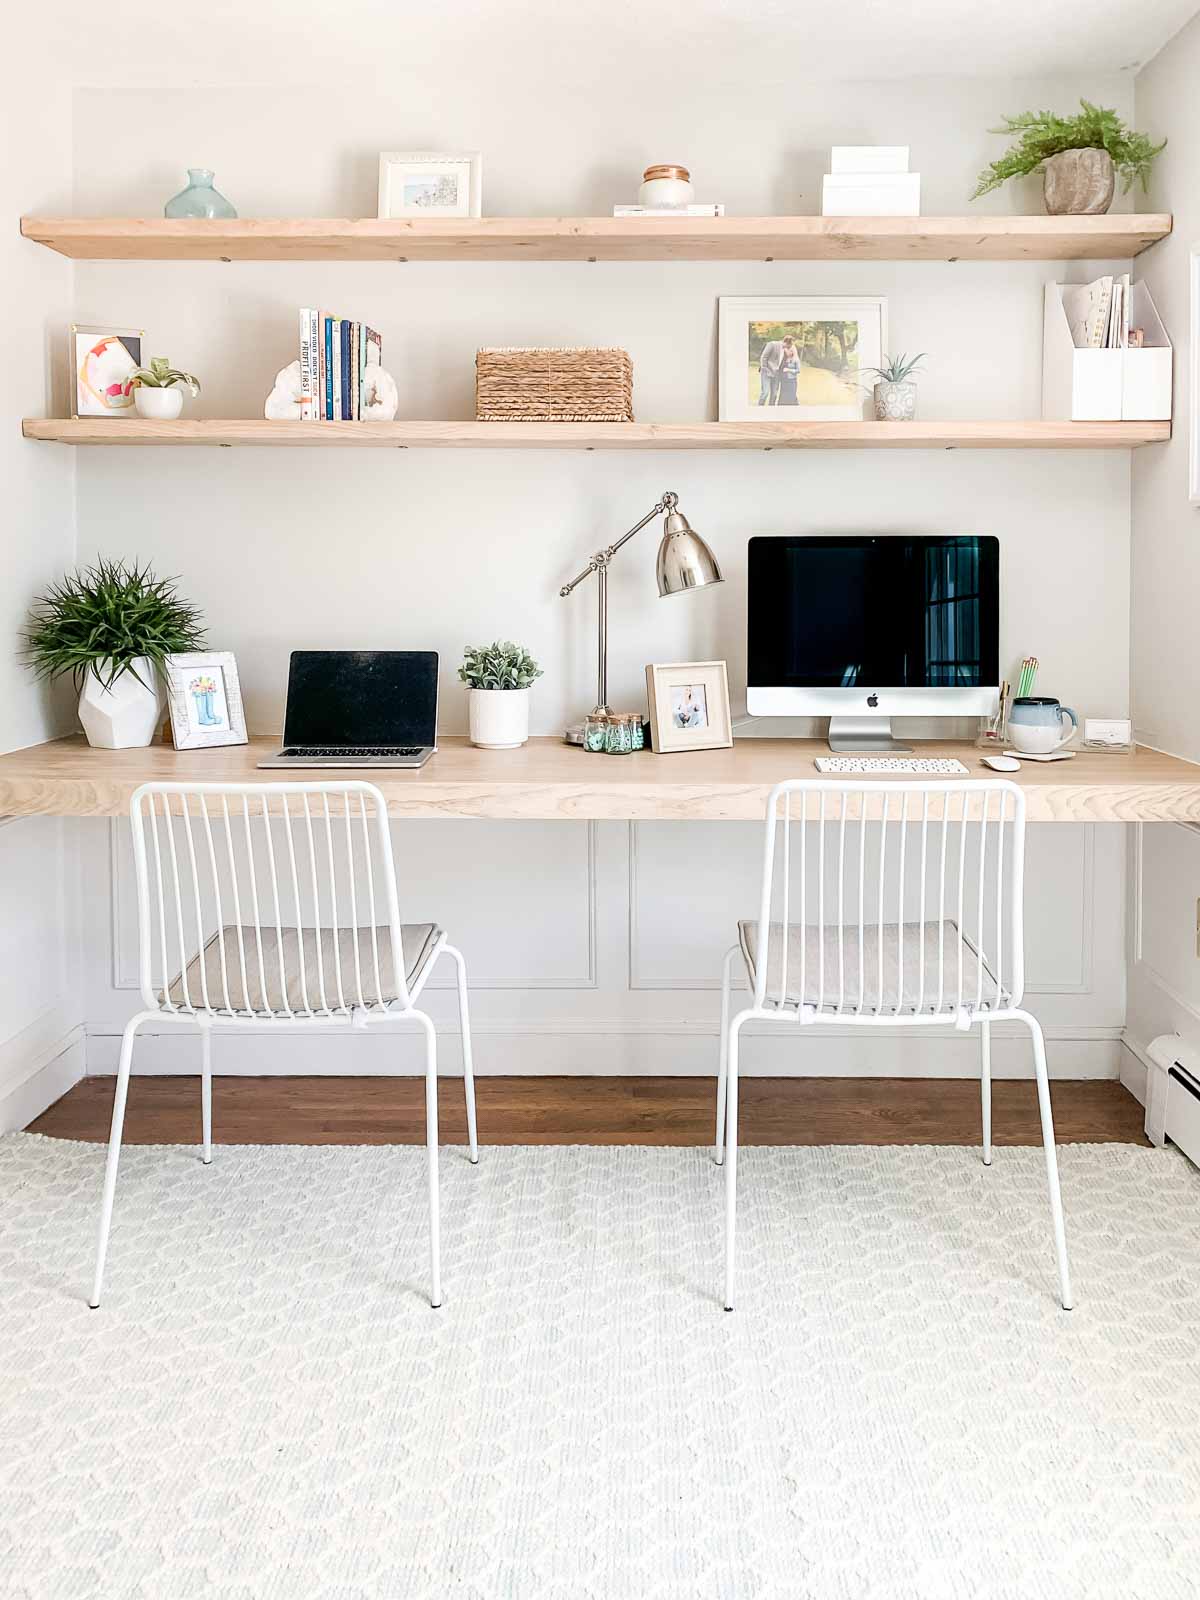
Related: More DIY countertop ideas.
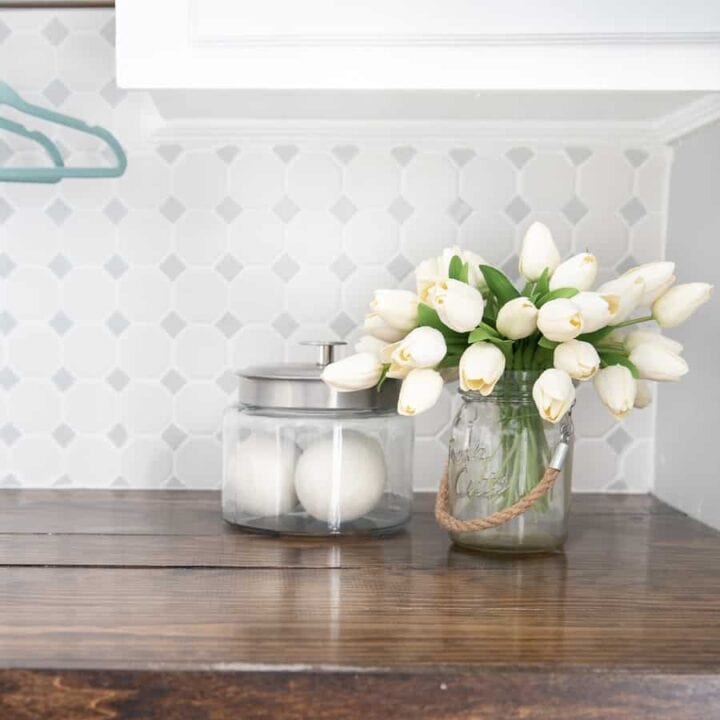
The DIY wood countertop was the one addition that pulled everything together in our recent laundry room reveal. Of course, the tile and floors are beautiful improvements but the gorgeous countertop is what made the space functional and tidy.
When I planned this makeover, all my inspiration images featured wide plank butcher block countertops. But since I had a limited budget for this makeover (and the majority of it needed to go to the flooring), almost all of the countertop options were out of budget.
Luckily, we had enough experience with sanding, staining and cutting wood to know that building a basic countertop would be a quick and easy project. The same goes for you – if you can cut a piece of wood, then you can build one of the countertops for yourself. Trust me!
This might be my favorite out of the diy projects I’ve completed because this pine countertop looks so stunning when it is finished. It’s also an inexpensive do-it-yourself project that will help save the budget!
How Much Do Wood Countertops Cost?
In comparison to granite, quartz, laminate, or various other options, this DIY project is actually very cost efficient. I did this entire flip for right under $100, but it will really just depend on the cost of wood at the time you are purchasing.
I’d definitely anticipate a higher price tag now, but still very low in comparison to buying wood or granite countertops you don’t DIY. Softer woods will be less expensive, but might require heavier coats of sealant. Maple or oak hardwoods might be pricier, however deliver more powerful results.
Chances are, you already have the supplies you need for this project aside from the wood. Your main expense will be the boards and stain. You could anticipate this saving you about 70-80% opposed to having new countertops installed for you. Quite the difference!
Wood Types
There are multiple different types of wood to choose from. I went with pine wood, however you can select the type of wood that is right for you. The pricier woods such as oak, maple, and walnut are great options if your budget allows.
These are sturdy pieces of wood that can take a few hits and still look okay. If you think you might be rough on them, be placing heavy objects on them, or just want them to last a lifetime these are great options.
Pine wood is a very cheap option, but still does the job well. Ash wood resists moisture well which is crucial for a laundry room. It’s another great affordable wood option. Finally, poplar is another relatively inexpensive wood type that would work just as well for this project.
If you feel like you’re in the middle of a lumber yard at the store perusing the different options, I would encourage you to research different wood products and review the pros and cons of each. You may have different priorities for your space, and another wood type may be better suited for you over another.
Now, let’s get in to how to make your own beautiful wood countertop! First, gather the materials needed for this project. Luckily, there aren’t many!
What You’ll Need:
- 1 x 6 Pine boards – we needed five 8 foot wood pieces
- One 8 ft 1 x 2 board for the front of the countertop and more to create the ledge on which the countertop will sit. We purchased three 1 x2 boards in total, but figure out how much you need based on the length and depth of your wall niche. We needed the wider boards, but yours may be narrower.
- Wood Conditioner
- Minwax stain in Dark Walnut
- Minwax Polyurethane in satin finish
- Cotton rags
- Grit Sandpaper
- Circular Saw
- Brad Nails & a nail gun (or just small finish nails and a hammer)
- Wood screws
More than likely, you already have a few of these items in your home. If not, the nearest Home Depot is calling your name! If you can avoid the big box stores and support local hardware shops, that’s a great option as well.
1. Prepare the Boards For The DIY Wood Countertop
The first step is to start by sanding any imperfections from the wood. You want it nice with a smooth finish. This will be much easier done now opposed to when the board is already up, so take your time and be precise.
Using a rag or foam brush, treat the wood with the wood conditioner according the instructions. This makes a huge difference when it comes to staining and the stain will penetrate evenly. Wipe off the conditioner and allow the wood to dry.
Using a rag, apply the stain. This is where you can pick the wood color that matches your laundry room best. Apply in sections and wipe off the excess as you go. Allow to dry for 24 hours.
Each board needs a minimum of 2 coats of polyurethane. If you have time for a third, that will make sure that the wood is protected from any moisture. Since I’m only planning on folding clothes on mine, the last top coat wasn’t necessary. Two coats sufficed! Allow to dry for 24 hours.

After you have sanded away the imperfections, treated the wood with conditioner, applied a coat of stain and let dry, you’ll be ready to install this beauty into your house!
When you’re ready to install over your washer/dryer pay careful attention to any laundry hookups and sockets. In order to maintain access to our water, we had to install our countertop over the water hookups.
It wasn’t ideal since the countertop is a bit higher than I would have preferred but we needed to be able to still easily access those, so it is what it is. Just be sure and maintain a flat surface. The last thing you want is a crooked countertop!

2. Install the Countertop
The next step is to actually get this countertop up! The first thing to do is to create a ledge or cleat on which the countertop will be nailed to.
We just measured the sides and the back of the wall and cut the wood to fit. Using a stud finder, we found the studs and screwed the wood directly into those to make sure it was secure and that it could handle the weight of the countertop.
Once the ledge was in place, each of the 1 x 6 planks were set down and nailed into place. We cut and measured each piece individually, since walls on older houses are rarely perfect.
In fact, there’s a full half inch difference between the first piece of wood that was installed and the last piece! Yikes!

In order to add some additional support under the middle part of the countertop (since it’s not resting on anything other than the side/back ledges), we added a brace directly underneath that we also nailed the boards into.
It’s just another piece of 1 x 2, attached to the back ledge with another 1 x 6 attached to it so that the countertop boards were fully supported.

If your countertop rests directly on your washer/dryer you may not need this step. We had also talked about building a box underneath it that would in effect be a stacked storage cube but that would also act as a support. In the end, this was just a quicker solution!

Finally, attach the 1 x 2 board to the front of the countertop to create a finished straight edge. Then, stand back and admire your DIY wide plank pine countertop that you installed in oh, about an hour.

3. Seal The Countertop
It’s important to seal your newly installed countertops so that the wood is smooth, easy to wipe down and doesn’t absorb any moisture.
Using a foam brush or paint brush, apply a minimum of two coats of satin polyurethane, leaving 24 hours in between coats.
4. Finishing Touches
Don’t forget to fix any paint that may have nicked on the walls in the process of installing the wooden countertop.
I know our walls took a bit of a beating when we were maneuvering planks in and out to make them a perfect fit!
Gently clean the surrounding areas for any debris and check the washer/dryer for dust or small chips of wood that may have fallen. It’s worth the extra time to perfect your new project!
Final Thoughts
I told you it was easy right? Wood counters are both beautiful and timeless. I truly believe they can work in just about any home! I hope you can see the value in this simple change within your laundry room. The finished product is well-worth the minimal time and money!
If you think you’re going to tackle this little update this weekend (or next!) be sure to save this post for later.


DIY Wood Countertop
Find out how simple and inexpensive it is to build and install your own wood countertop that will last for years!
Materials
- 1 x 6 Pine boards (we used five 8-foot pieces)
- One 8 ft 1 x 2 board for the front of the countertop and more to create the ledge on which the countertop will sit. (We purchased 3 1 xv2 boards in total, but figure out how much you need based on the length and depth of your wall niche.)
- Wood Conditioner
- Minwax stain in Dark Walnut
- Minwax Polyurethane in satin finish
Tools
- Cotton rags
- Sandpaper
- Saw
- Brad Nails & a nail gun (or just small finish nails and a hammer)
- Wood screws
Instructions
- Sand any imperfections from the wood until you have a smooth surface.
- Using a rag or foam brush, apply wood conditioner according the instructions.
- Using a rag, apply the stain in sections and wipe off the excess as you go. Allow to dry for 24 hours.
- Now, apply a minimum of 2 coats of polyurethane, ideally 3 coats to the boards. Allow to dry for 24 hours.
- Next, create a ledge or cleat on which the countertop will be nailed to. Measure the sides and the back of the wall and cut the wood to fit. Using a stud finder, locate the studs and screw the wood directly into those.
- Once the ledge is in place, set each of the 1 x 6 planks down and nail into place.
- Provide some support under the middle part of the countertop by adding a brace directly underneath. It's just another piece of 1 x 2, attached to the back ledge with another 1 x 6 attached to it.
- Finally, attach the 1 x 2 board to the front of the countertop to create a finished edge.
Notes
When you're ready to install over your washer/dryer pay careful attention to any laundry hookups and sockets. In order to maintain access to our water, we had to install our countertop over the water hookups. It wasn't ideal since the countertop is a bit higher than I would have preferred but we needed to be able to still easily access those, so it is what it is!


If you were goong to use this as a kitchen counter top would it be better to try and use one wide board if possible..due to the creases in between then..keeping it free of foods..or and moisture in between..or is there axway you would suggest to seal the the spaces in between.
yes! You would probably be better off doing one solid piece of butcher block for hygiene reasons